
I am Athena Nagel from http://www.thestuffofsuccess.com/ and I am so excited to be a guest on Keeping It Simple! I am the proud mom of five kids (two are grown young men) and the younger three have varied special needs. My site is dedicated to accidental learning opportunities for my children, crafts, life and all the surprises that are thrown at us. My projects vary based on the time of year but I love kid/family crafts, my power tools, paint, E6000 glue and duct tape. My site and the associated projects allow me strong quality bonding time with my kids and family and I am very proud of the results. Today’s feature will be balloon drums (and an added bonus is that balloon drums are not unbearably loud)…
The Frame Drum upcycle here started a revolution in my house. The kids now want “sets of drums”. Not just the purchased kind – but every kind we can possibly make. Our house has multiple sets of OCD situations going on… So this is the one we had supplies on hand for – the Balloon Drum. We made two – each drum required a can, two balloons and duct tape. Remarkably I don’t think I have had one duct tape project on my blog yet! I have no idea how that happened – guess you will be seeing more of that soon. This project is great to do with the kids – they can select the colors of the balloons, help with the construction of the drums and design the outside based on the colors of duct tape or other options that I detail below.
I had two cans on hand from Lowes (the small clean, empty paint cans) – actually I still have more – they are great for tons of crafts and only cost about $2 each. Take the covers off – if you are using a regular can (choose a larger type can) that you need a can opener for – throw the cover out. I chose the paint style cans because I wanted to use what I had on hand and I don’t have a safe-edge can opener. Additionally these cans provide resources for multiple projects since I will be using the covers for other creations.
Cut the mouthpiece off balloons and stretch one at a time over the top of the open can. One balloon on each didn’t seem to provide enough of a taught surface so we used two balloons, on top of one another, on each. The only color you care about is the last balloon color used. It takes a little practice to get them to stay on but if you do it slowly it works. This is where you can really use the little hands help from your kids. It is great to have an extra set (or two) of hands holding the balloon steady on one side of the can while you place it gently on the other side.
Then you decorate the can. We chose duct tape because I have a wide variety of colors PLUS we wanted it to help hold the balloons on. The balloons were staying on just fine but I wanted to be DOUBLY sure. My daughter opted for the brighter colors (yes I have so many rolls of duct tape they struggled with choices) and my son chose the camouflage tape. There are so many ways you can decorate though – you could also Mod Podge the cans to decorate like I did for my tin can phones here – it is all a matter of preference.
This is the result – they are using them with their hands like Tom Toms.
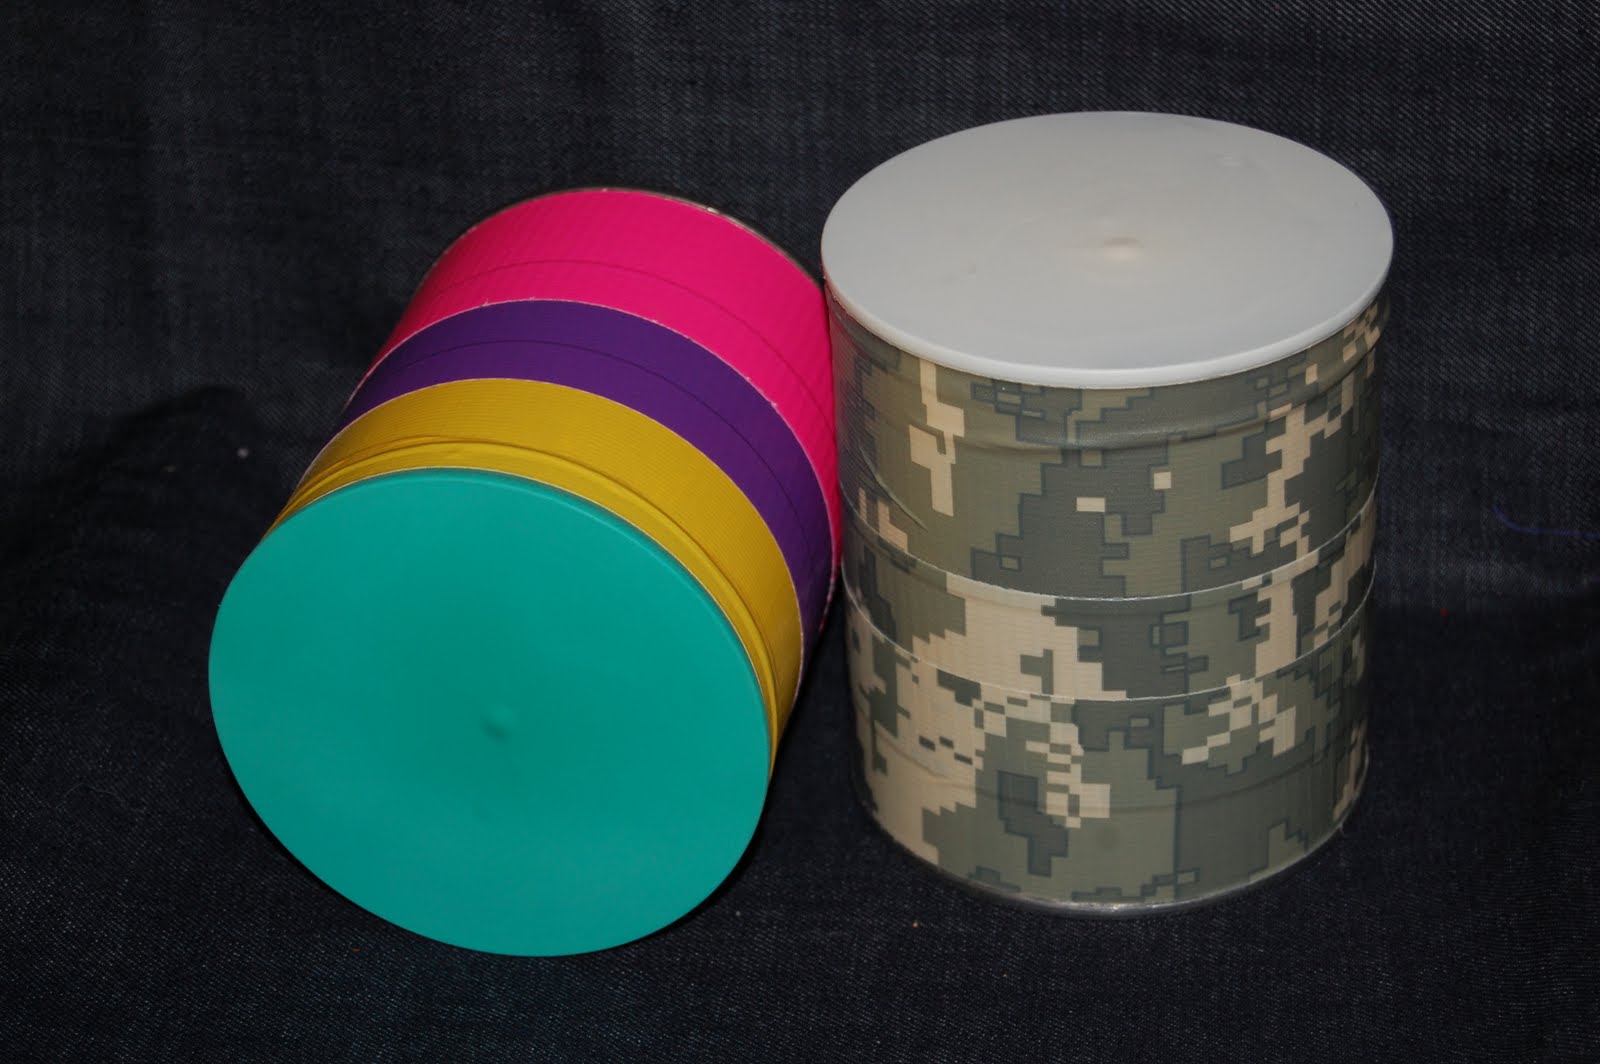
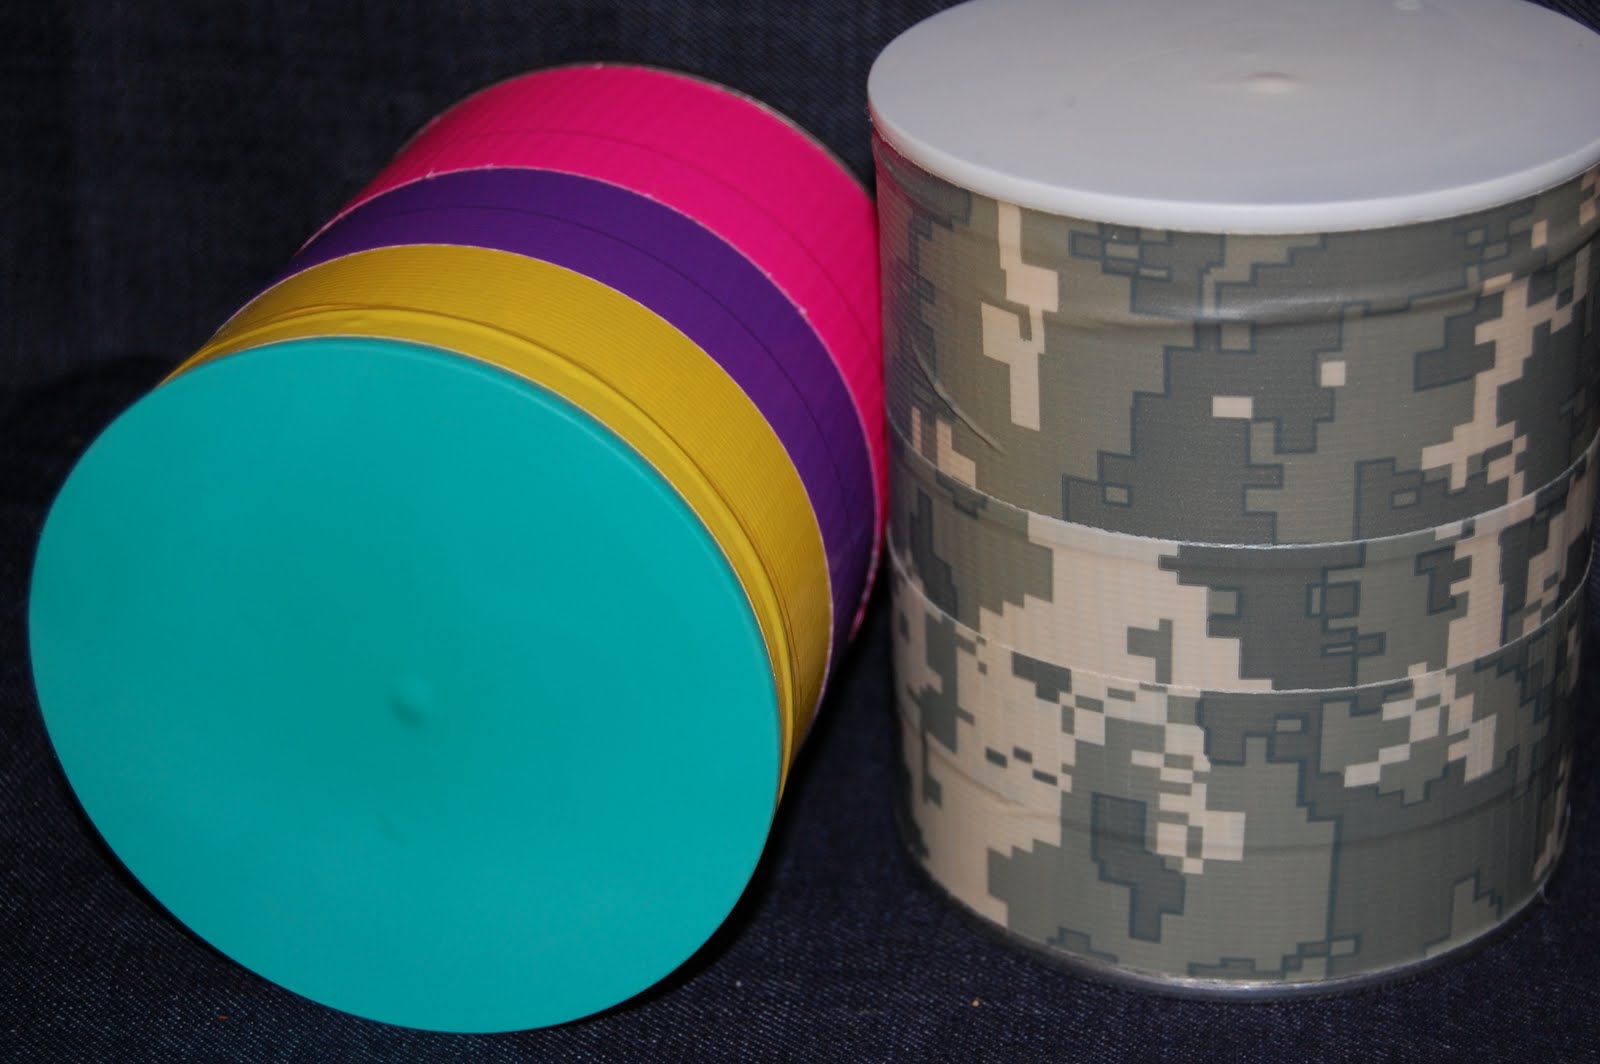
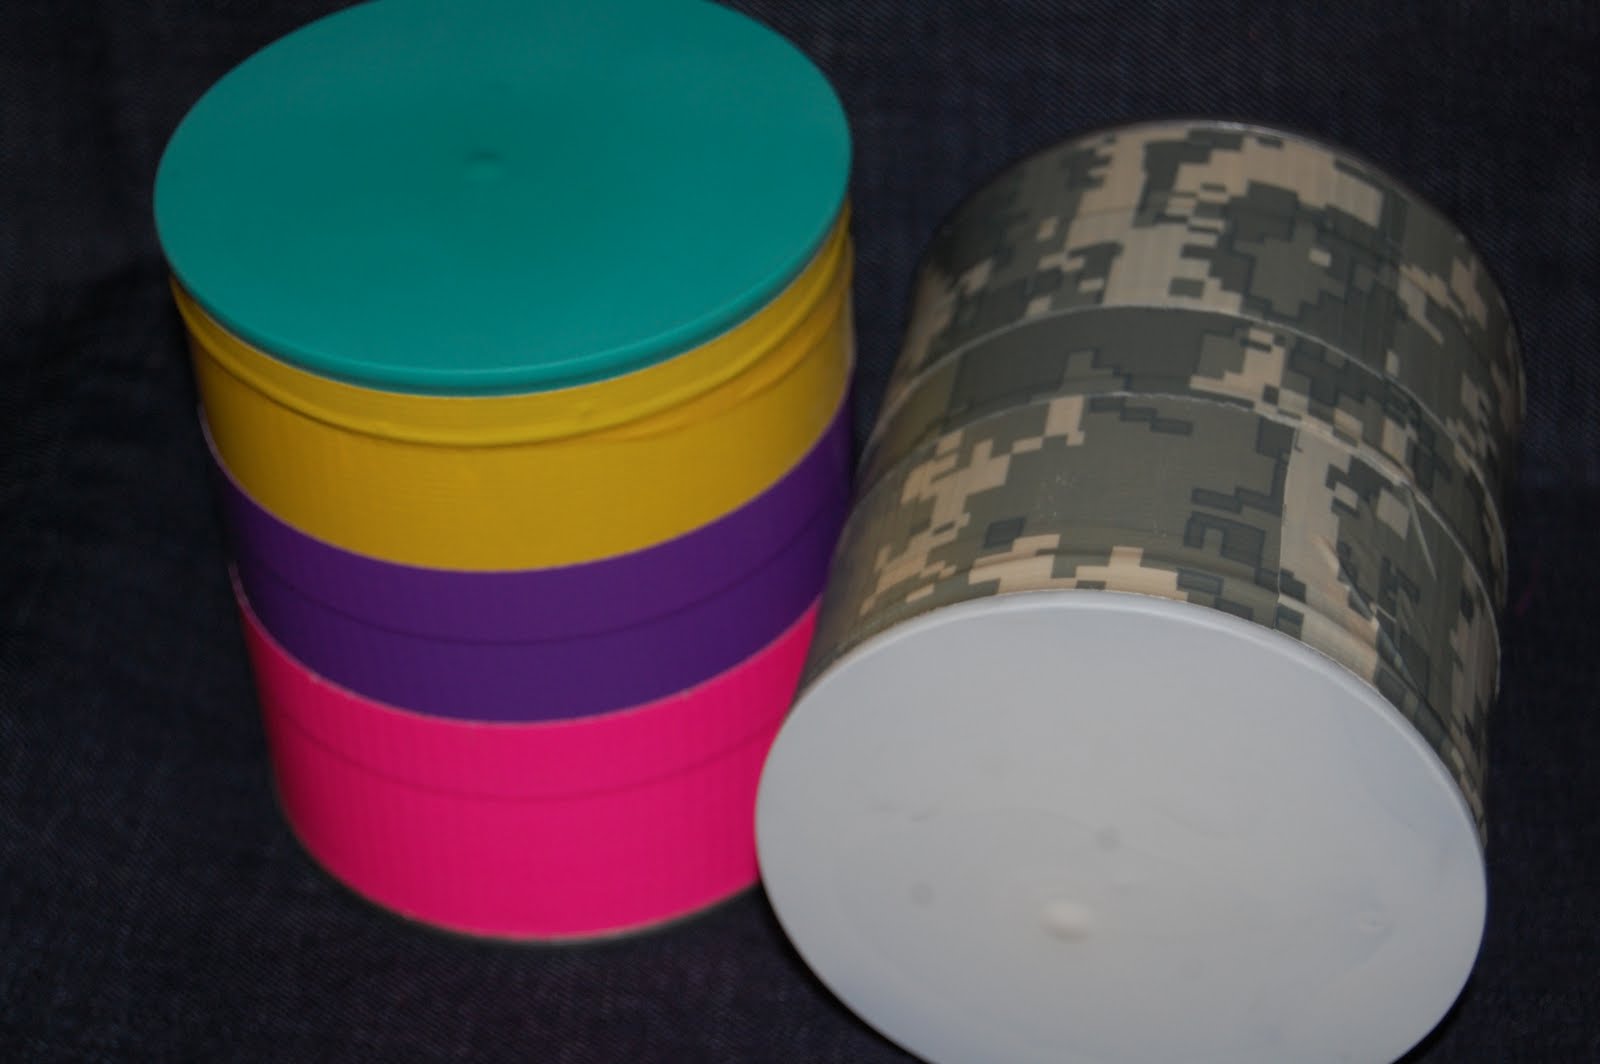
As you can see I even have girly colors and manly colors!
And just an FYI – when and if the kids tire of these drums, you need the cans for some other purpose, or you need to replace the balloons – the duct tape is removed very easily from these types of cans and doesn’t even leave a gummy residue. If your kids are like mine I will need to repurpose these cans several times over their useful lives.

These drums would make cool "activity props" for a kiddie music party, don't you think?