School started today!!!! I don’t know where the summer went. Like always, it just flew by.
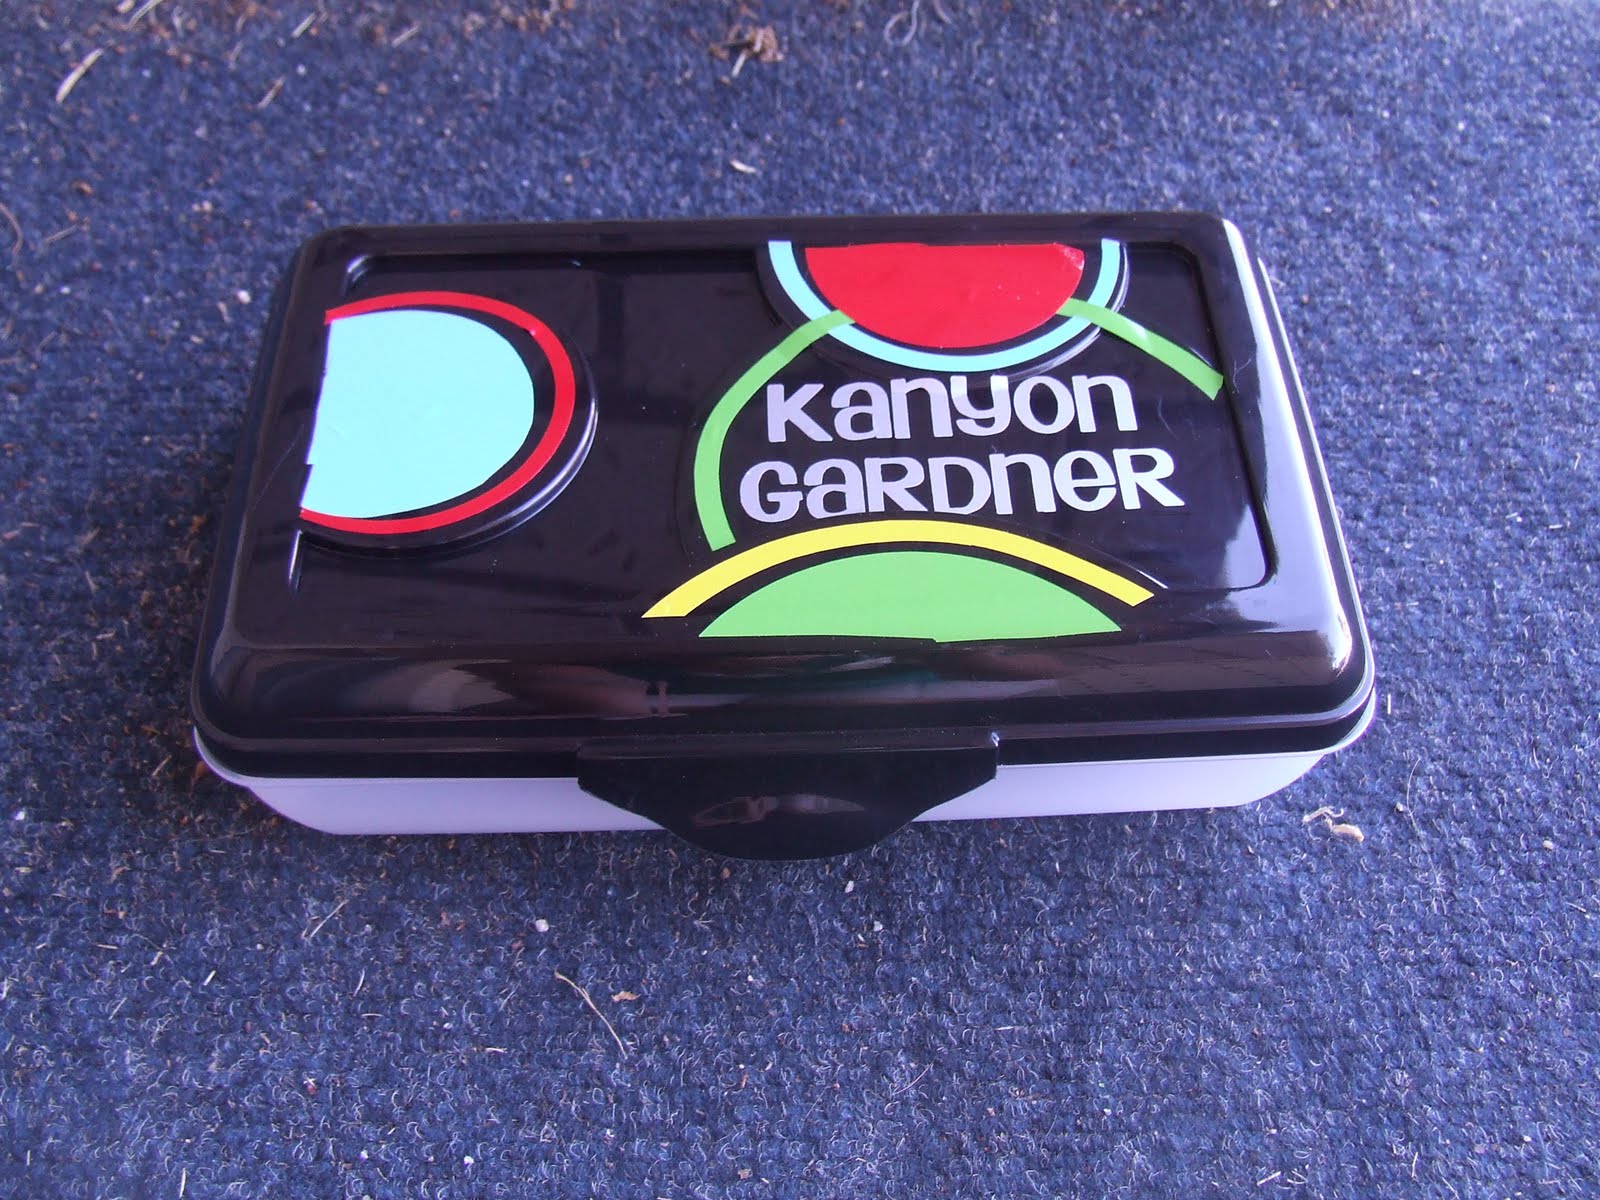
When I was getting my son’s school supplies, I looked at all of the different options of pencil boxes. There were the cheap ones and then themed ones that were three times as much. So I got the plain one and then decorated it with vinyl. I figured that I had to put his name on it anyway, so why not make it a little brighter and fun!
This is how I made it:
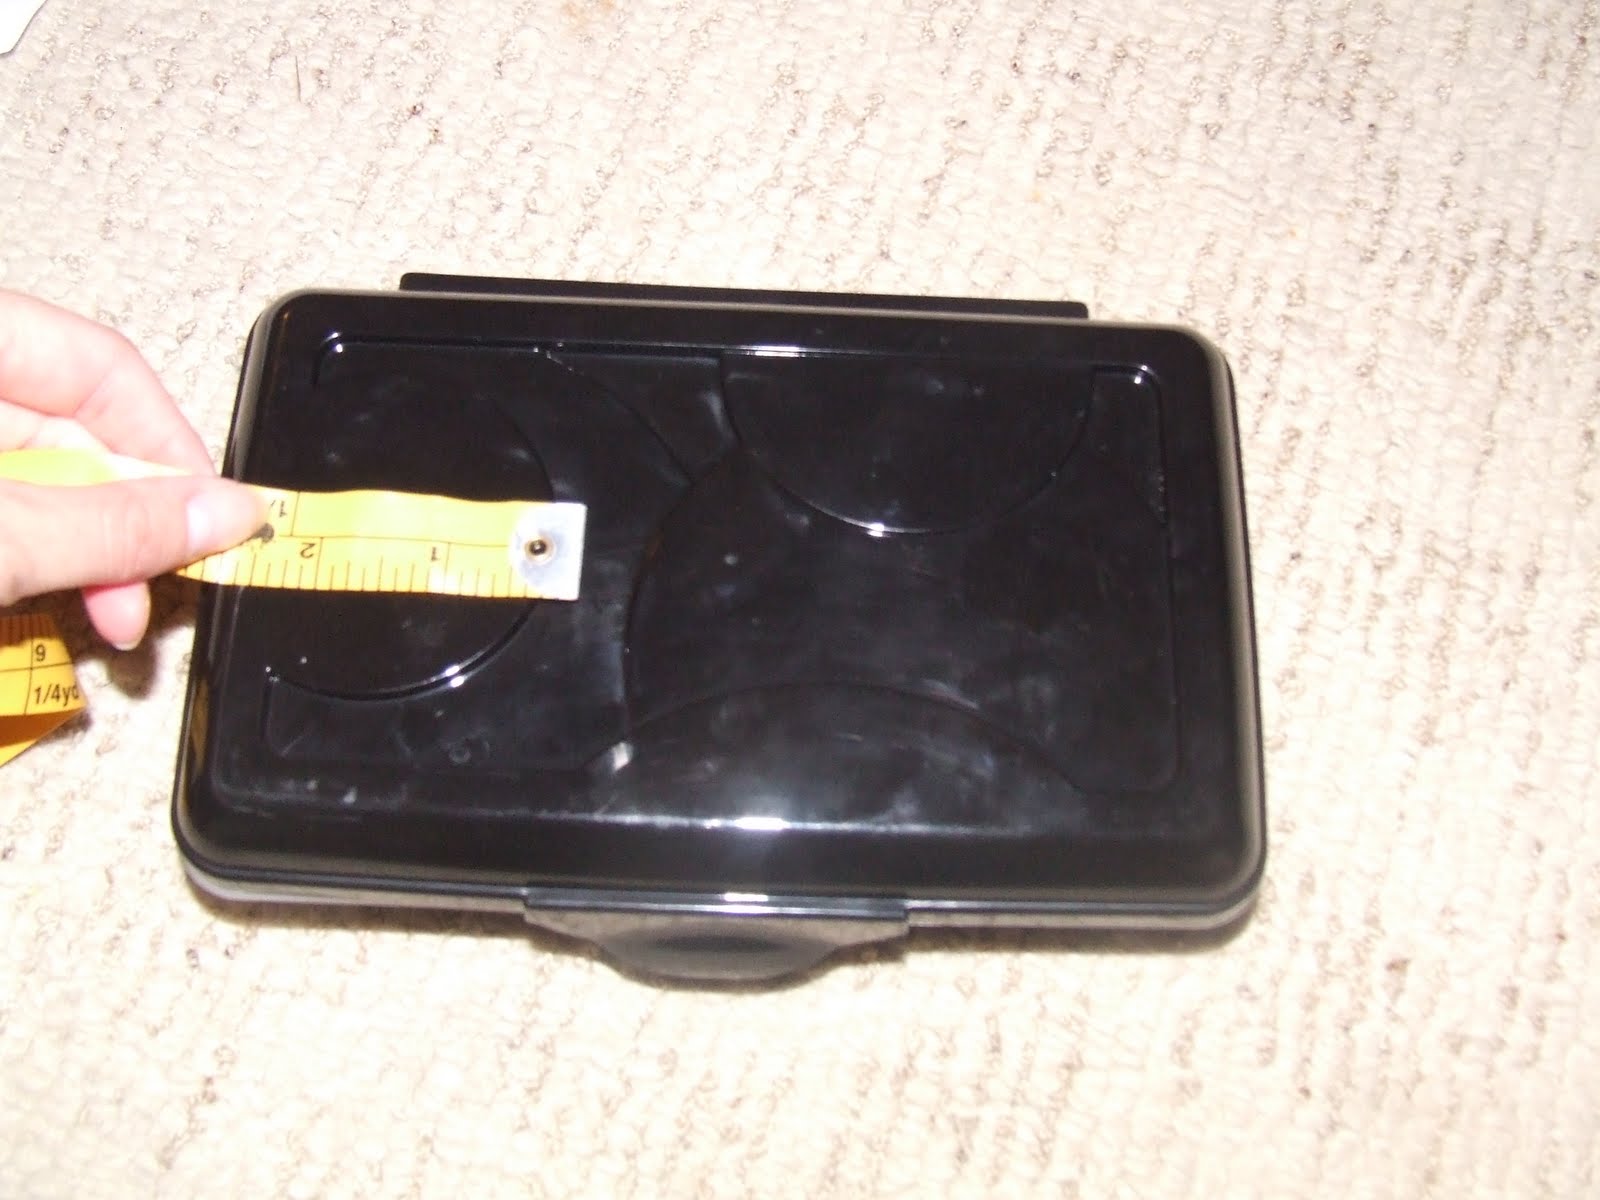
1) I first took the pencil box and then measured the circles on the lid.
2) Then on my Silhouette program, I used the diameter of the circles and made a few.

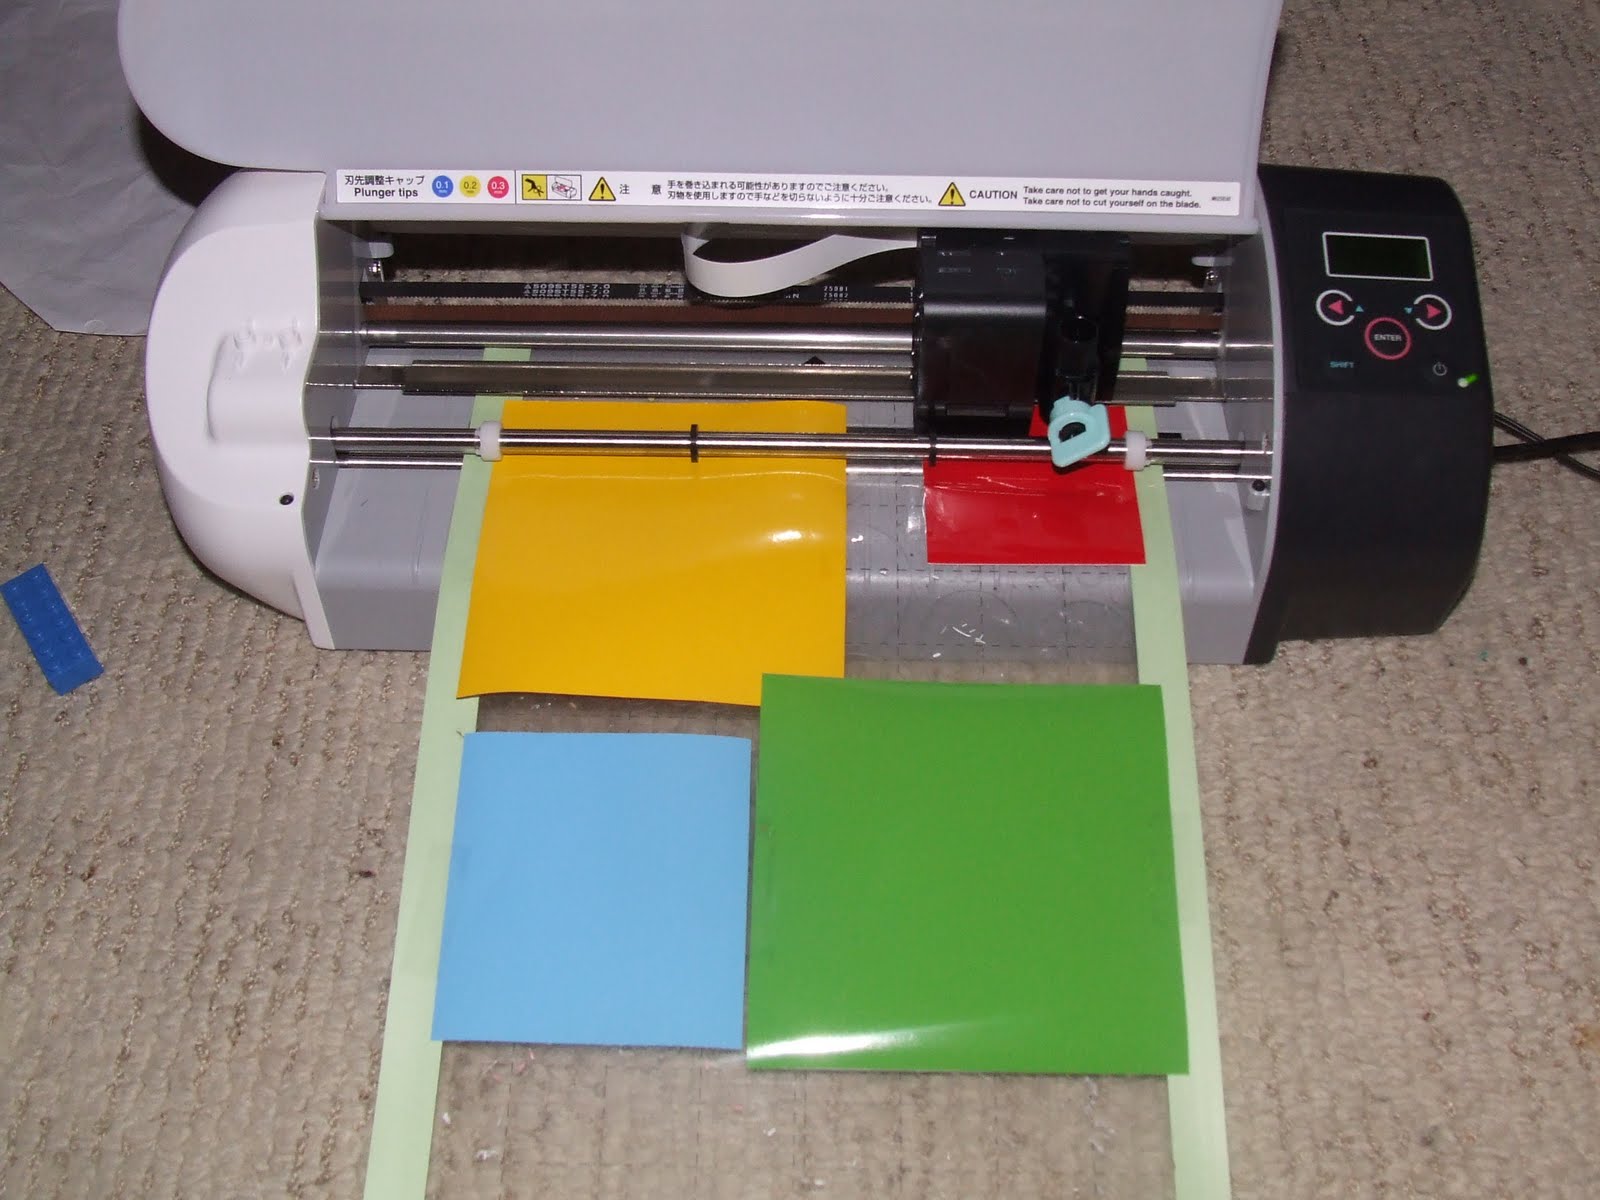
3) Then I took my Expressions Vinyl and cut them into squares. Then I placed them on the mat according to where it would be cut. I used the grid on the program to help me line up the vinyl. I used some fun colors: ice blue, red, yellow and lime-tree green.

4) I fed the mat and vinyl into the Silhouette and used the same settings as I would have without the mat.
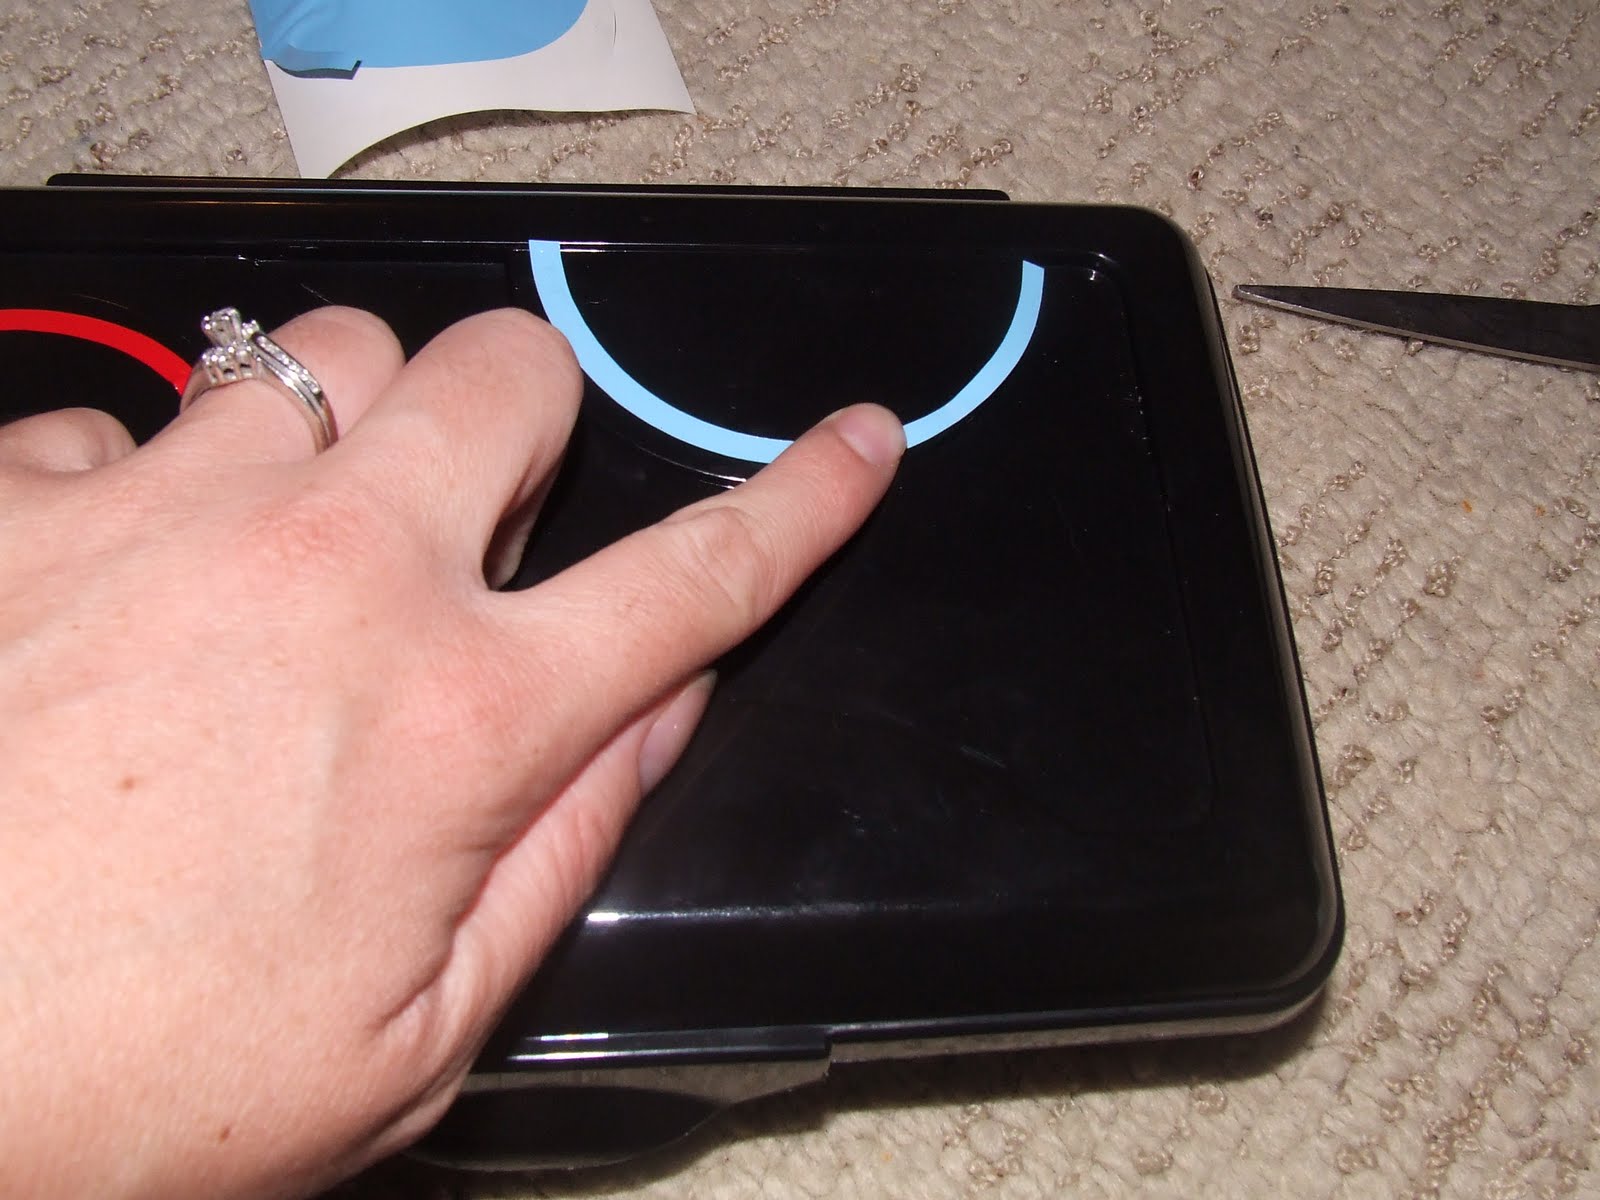
5) I then placed the vinyl directed onto the lid.
6) My son wanted his name to be in silver, so I used my silver Expressions vinyl for this.
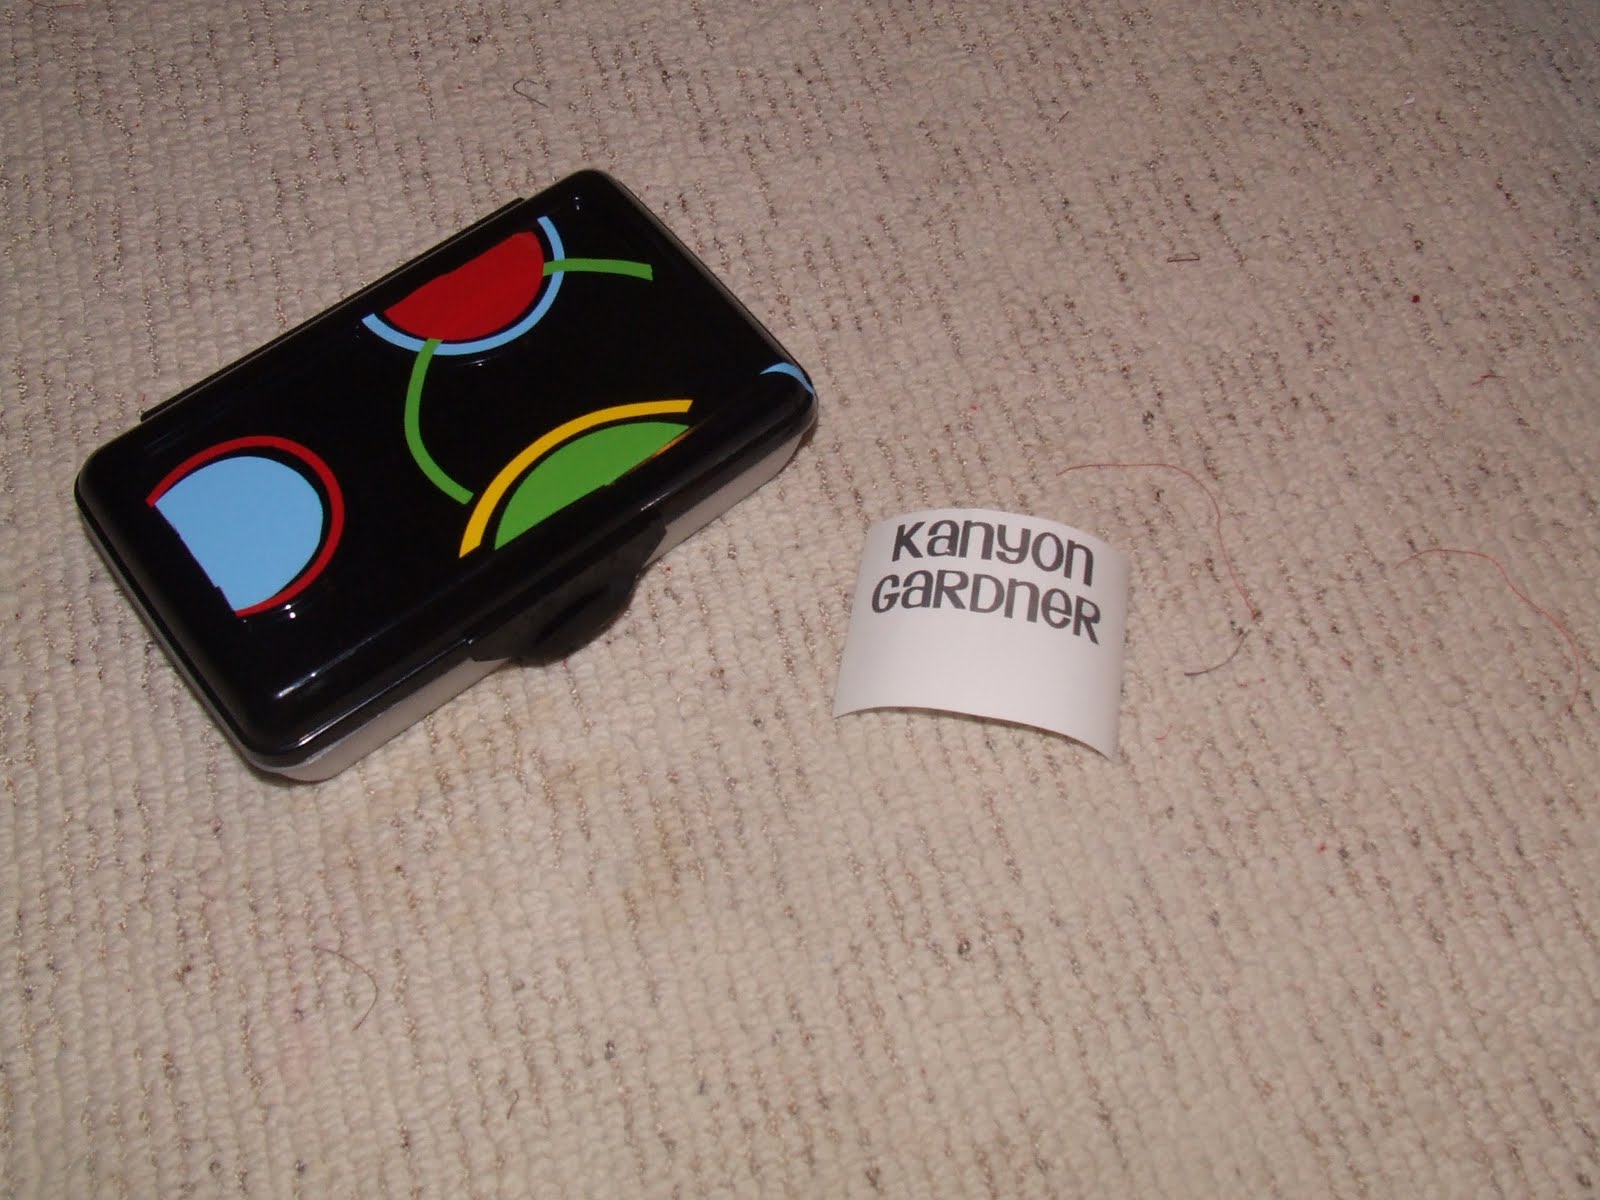
7)I applied his name and just like that he has a personalized pencil box!


Awesome tutorial
That is great! Everyone always has the same 'ole pencil boxes! Love it.
Super cute! Your little one has a special mommy!
This is the cutes pencil box ever! Thanks for the tutorial…I always love seeing how people do things.
You always have such fun ideas!
Thanks for sharing at Show & Share! This is such a fun idea!
I need to do this with my son's! Great idea.