The past few weeks, my husband was in Utah starting his new job and the kids and I were left at home in Kansas. I decided to take the time to scrapbook in the evenings. I got quite a bit done, too bad I’m not even close to being caught up, but I’m closer! I’ve never done a tutorial on how I scrapbook, so I thought it would be fun to show you the process.
1) The first thing I do is print out some pictures. I printed 100 or so this time. Then I go through each set of pictures and pick out 2 or 3 colors I want to use and then I come up with ideas to scrapbook. I sketch all of them out in a notebook.
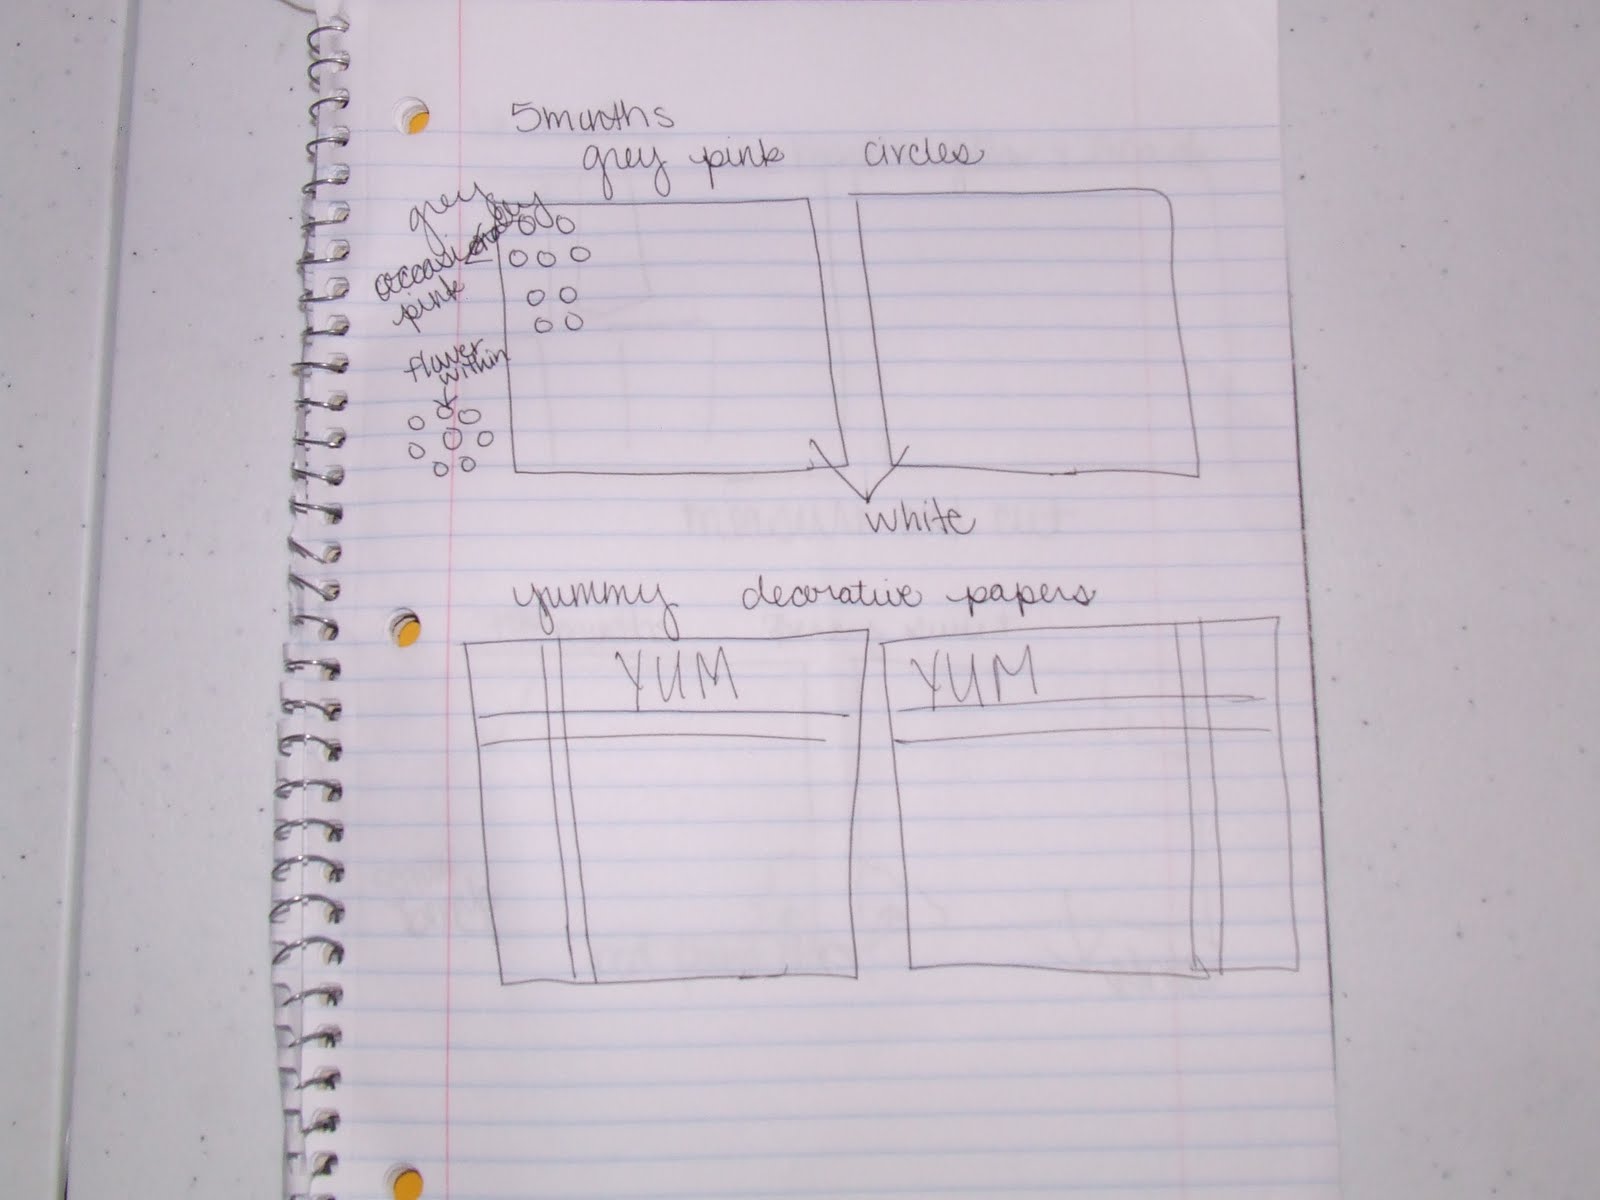
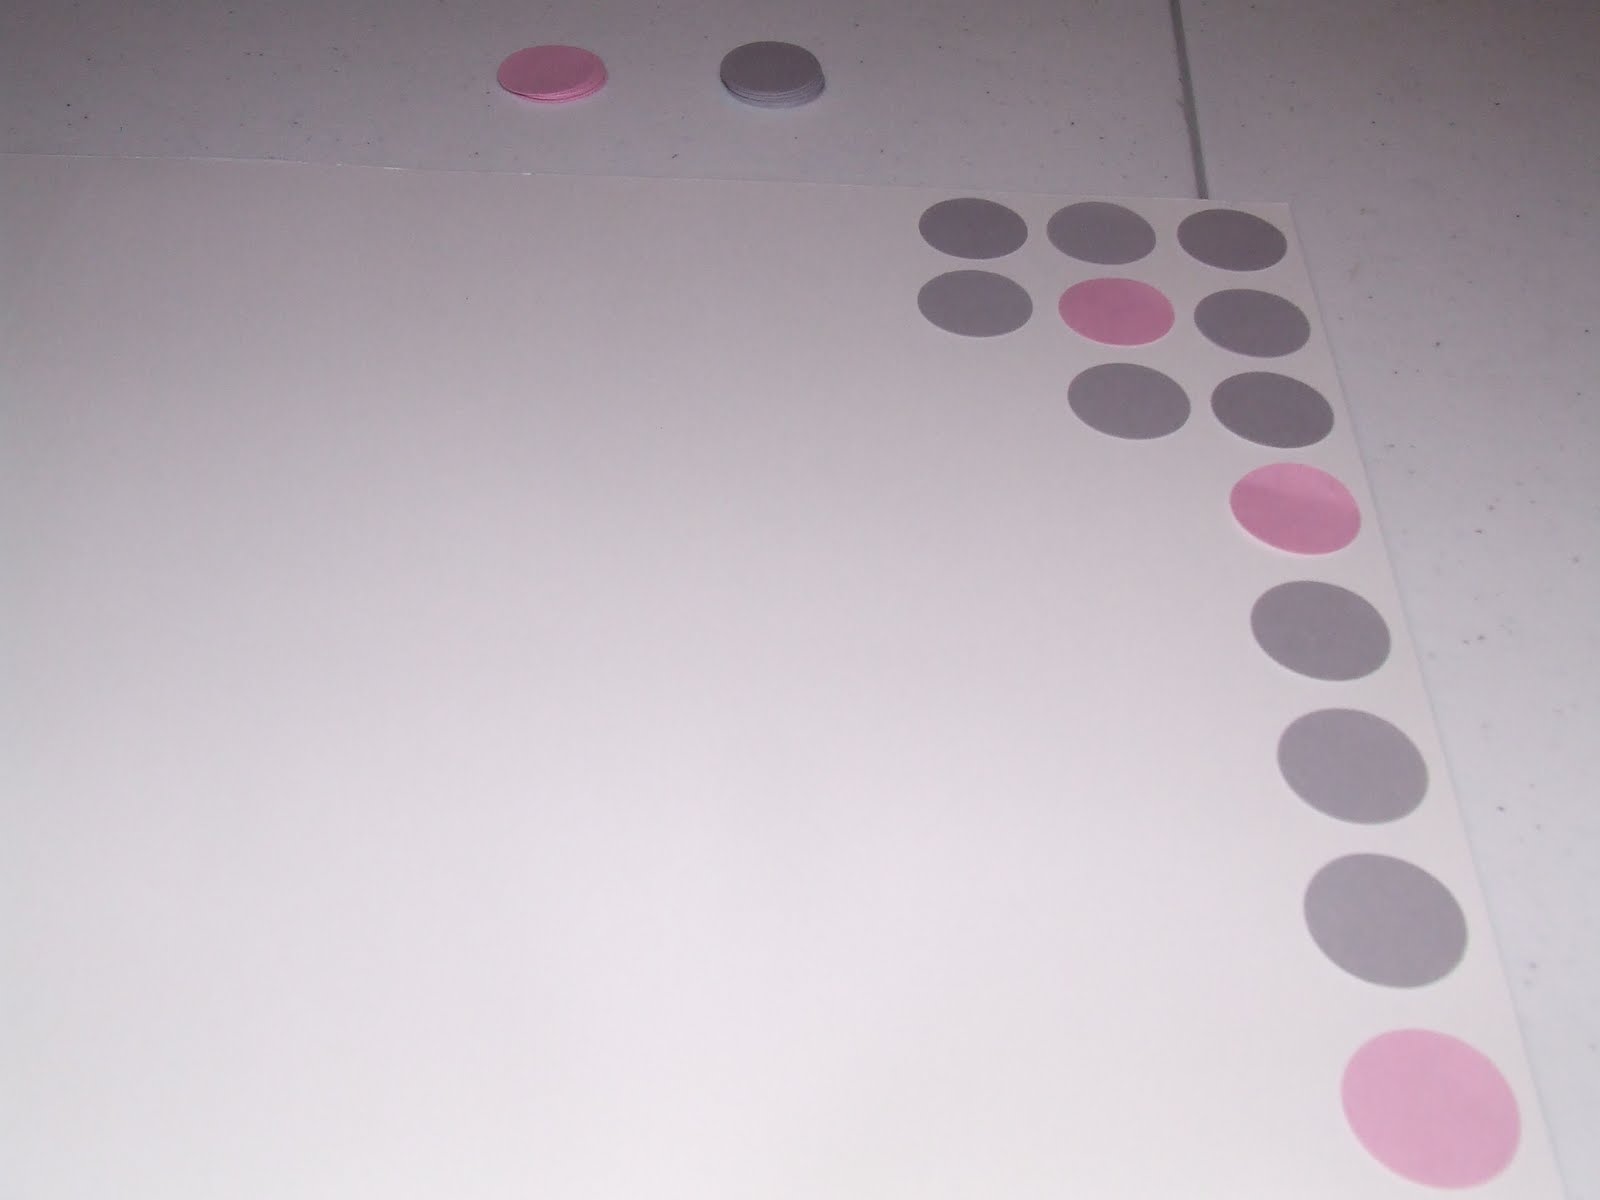
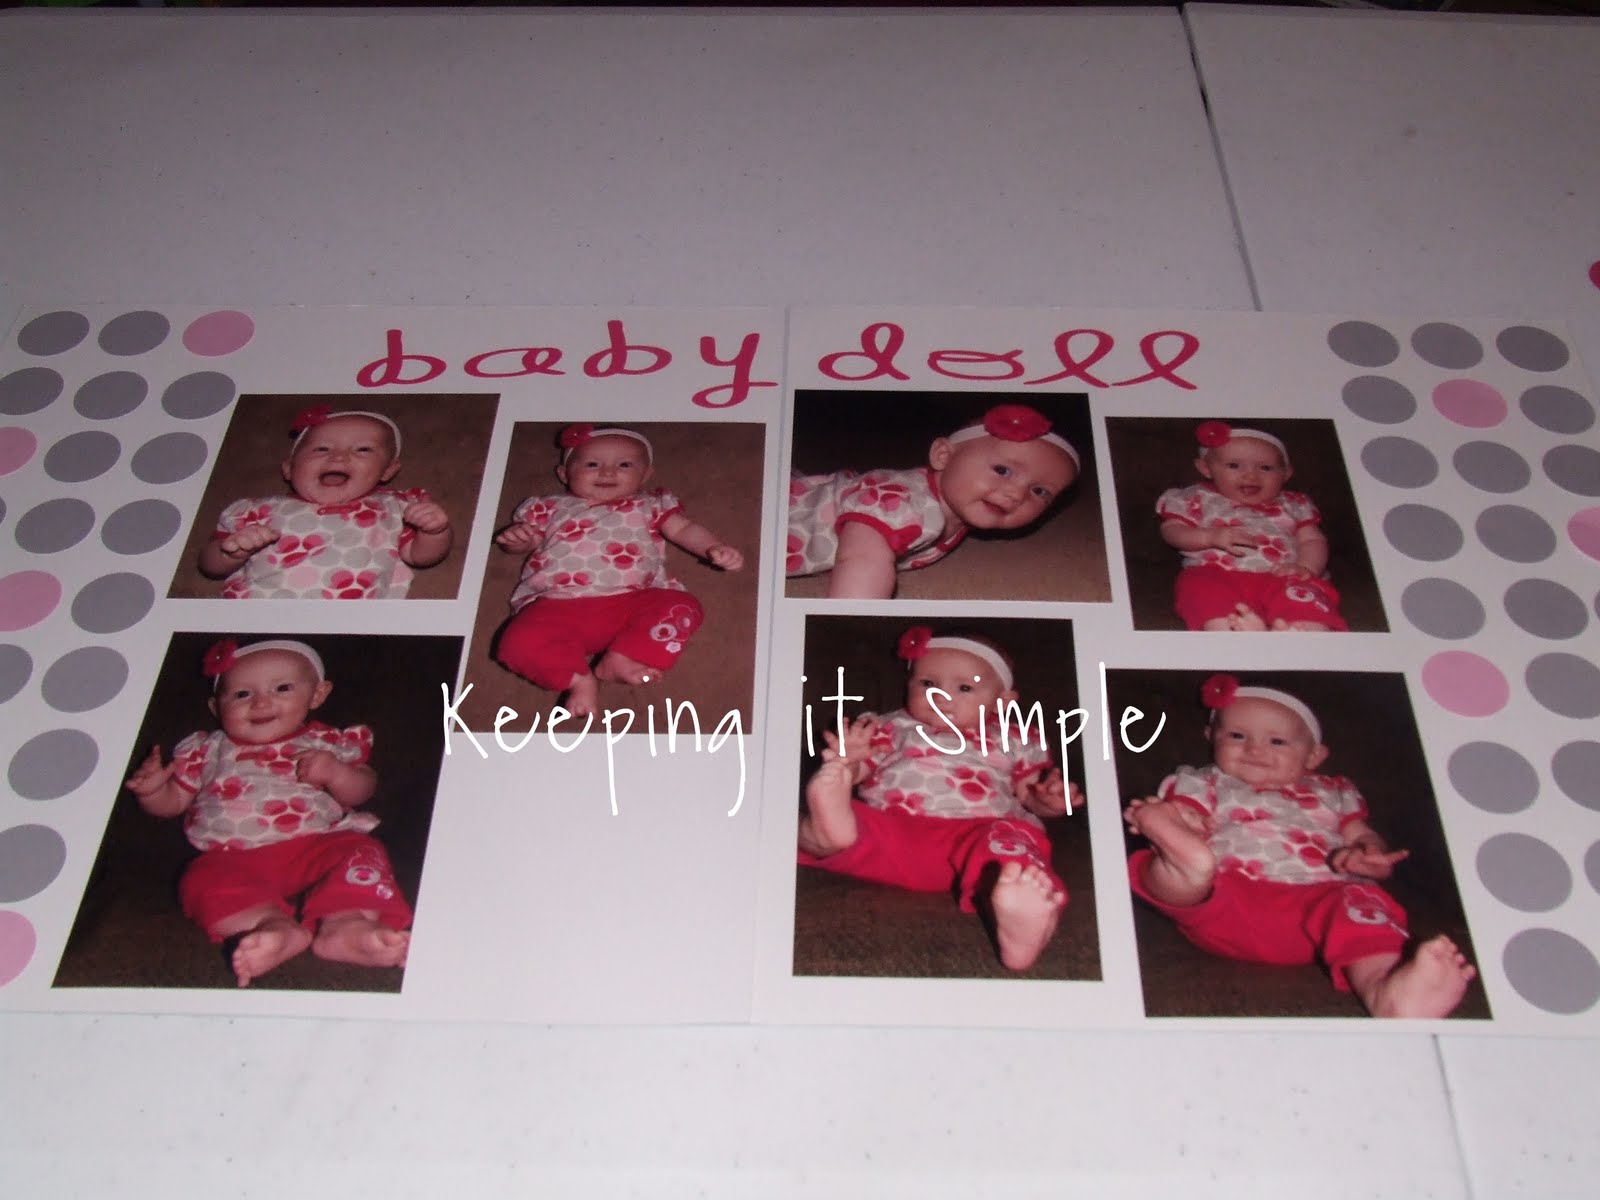
2) Since I don’t have to come up with an idea, I can start up immediately. I always start with a sidebar. I did grey and pink circles for this sidebar, that is what her shirt looks like and I love her shirt! I glued several circles onto the page.
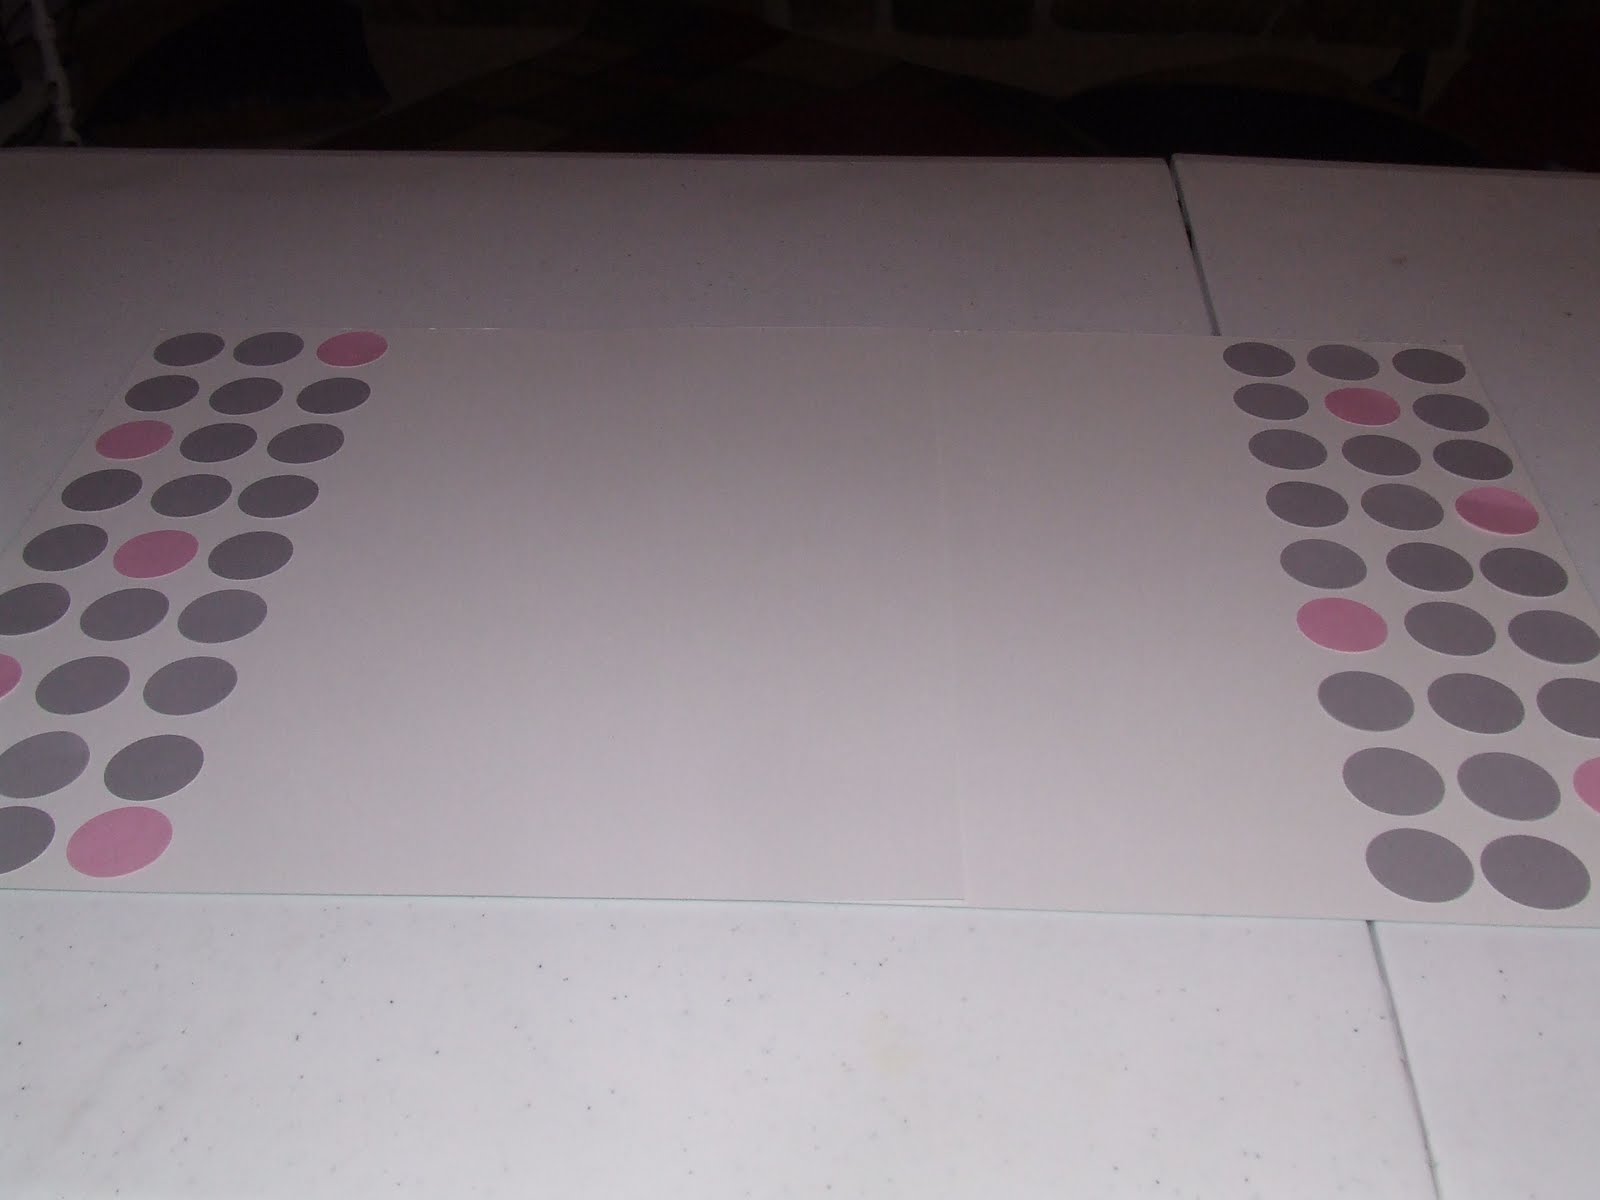
3) Then did it on the other page. I put the pink ones here and there.
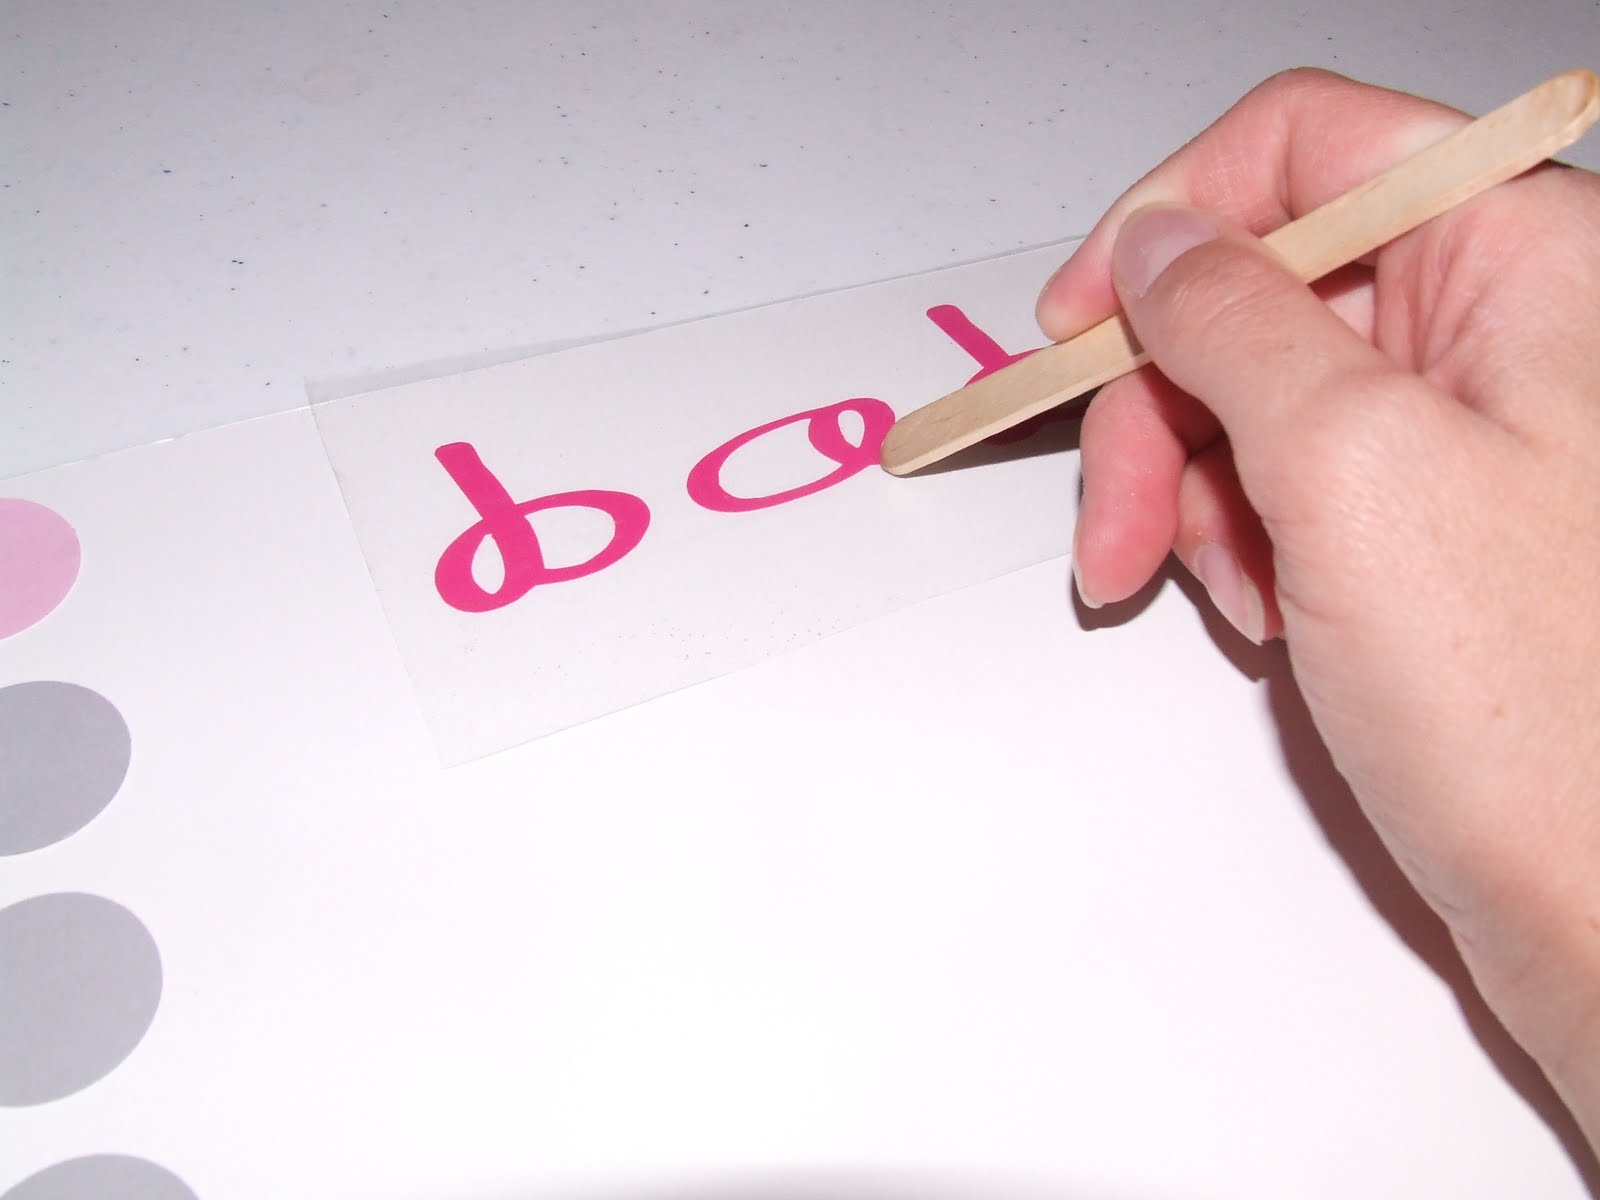
4) Next I do the title. I love using vinyl for the title! It is so much easier and quicker than card stock. Since Expressions Vinyl has so many colors, I can find one that matches perfectly! I cut the vinyl with my Silhouette and then placed it onto the page using clear contract paper and a stick.
5) Next I add the pictures. I usually cut my pictures so I can have several on a page. I try to have at least four on a page, but sometimes I just have three.
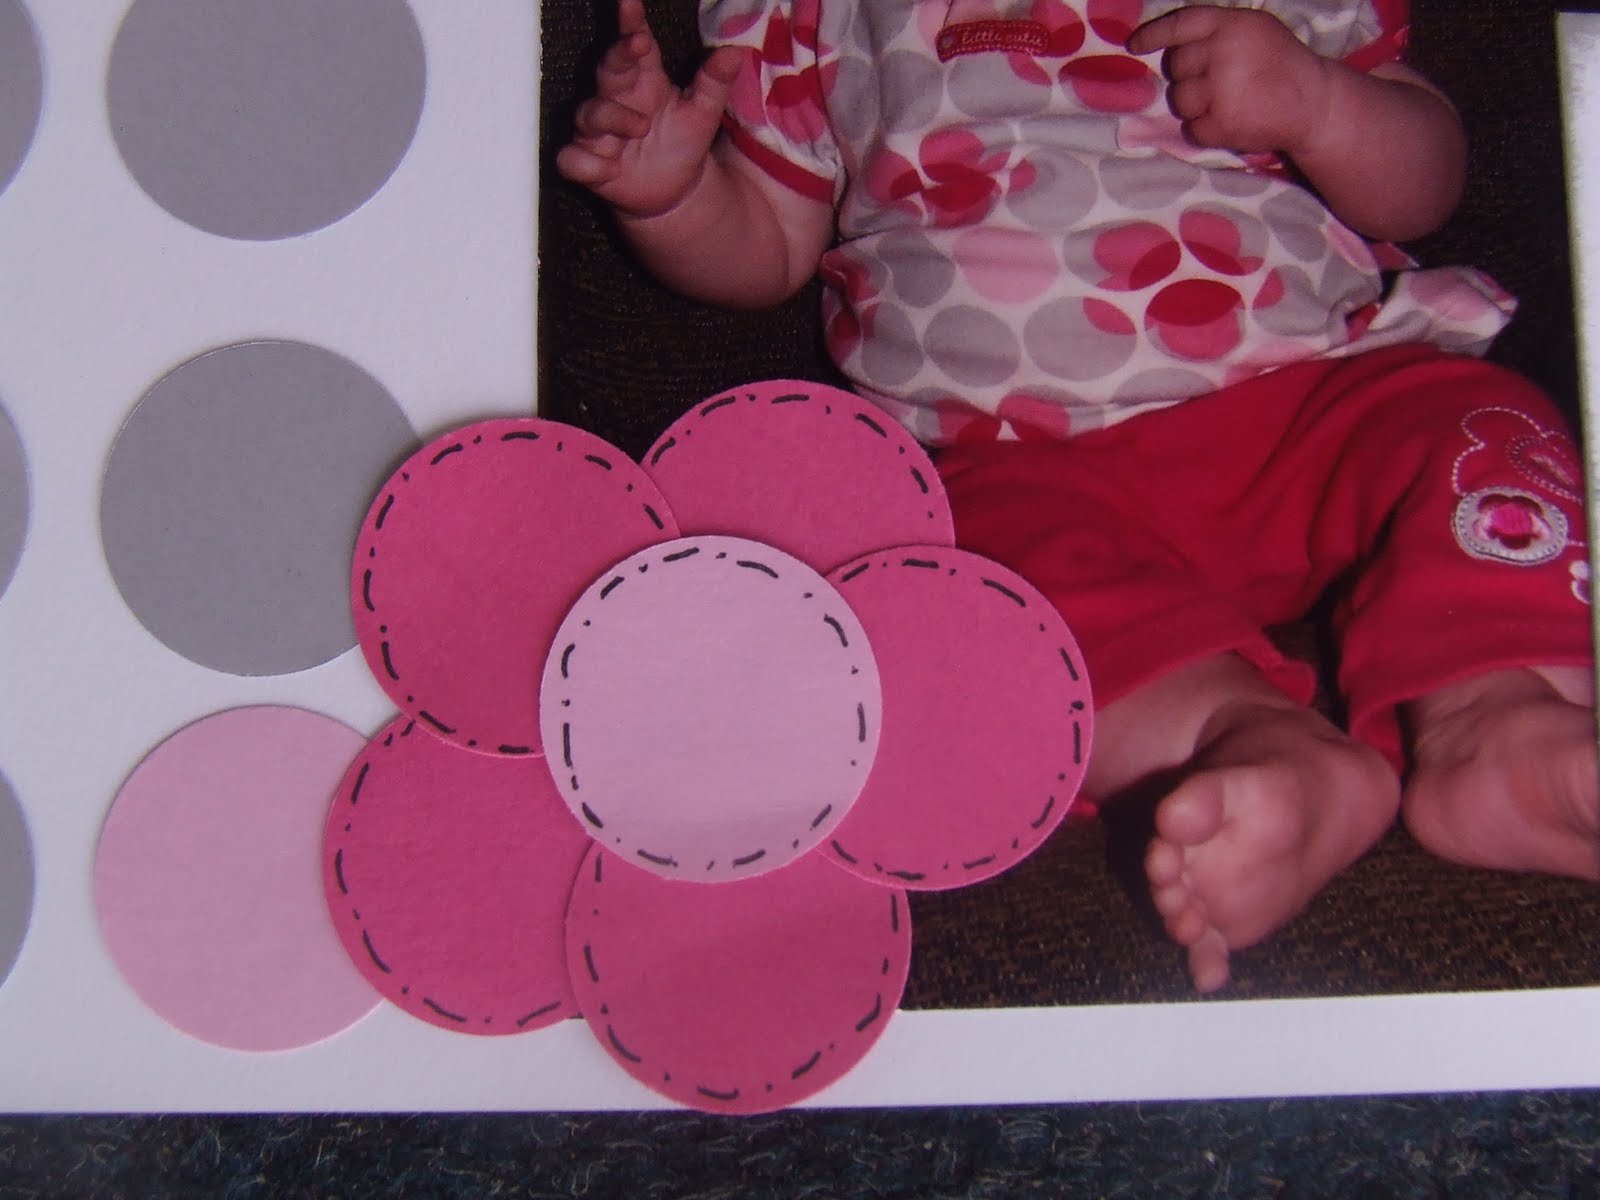
6) Once I have all of the pictures on, I then add a few embellishments. Sometimes I add several, sometimes not so many. It all depends on the mood I’m in :). I added two circle flowers to the pages.
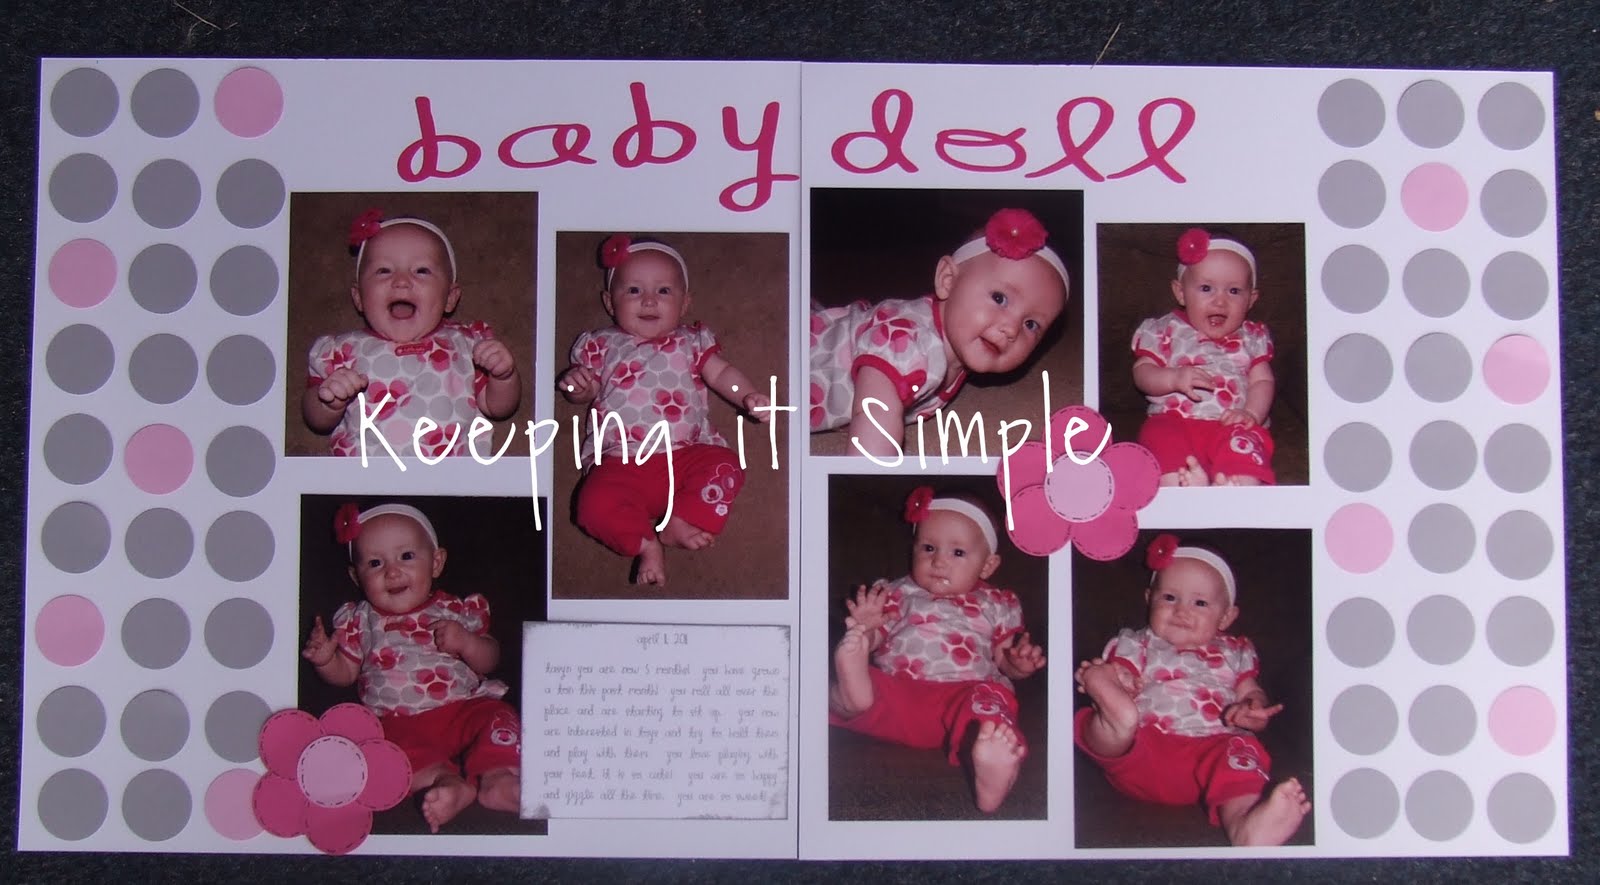
7) I add some journaling and then I’m done! It looks so easy, why does it take so long? 🙂

Great job! Scrapbooking does take a lot of effort, but your little ones will so appreciate all the time and love you put into capturing those special times of your lives!
Love how simple it is!!! Super cute too. Thanks for linking to Scrappy Saturdays! Featuring this: http://www.scrappy-gifts.com/2011/08/friday-favorites-60.html