I’m starting to have guest bloggers again on my blog!! I felt like I was writing too much lately and not featuring you guys as much. So if you want to do a guest post for me, please email me at kaysiscrafts@gmail.com
Today I’m excited to have Jenny from The NY Melrose Family, she has a super cute blog and you should go check out when you’re done reading this fun tutorial!
I am so excited to be guest posting here! My name is Jenny and I am a teacher mommy. I love using The NY Melrose Family as an opportuntiy to share our family’s love and life through diy decorating, crafts and organization. I often have a wonderful assistant in the majority of my projects. My little munchkin is a two year old diy-er. She inspires me to make the most of our time together and many of our projects become ways to remember the times we spent.
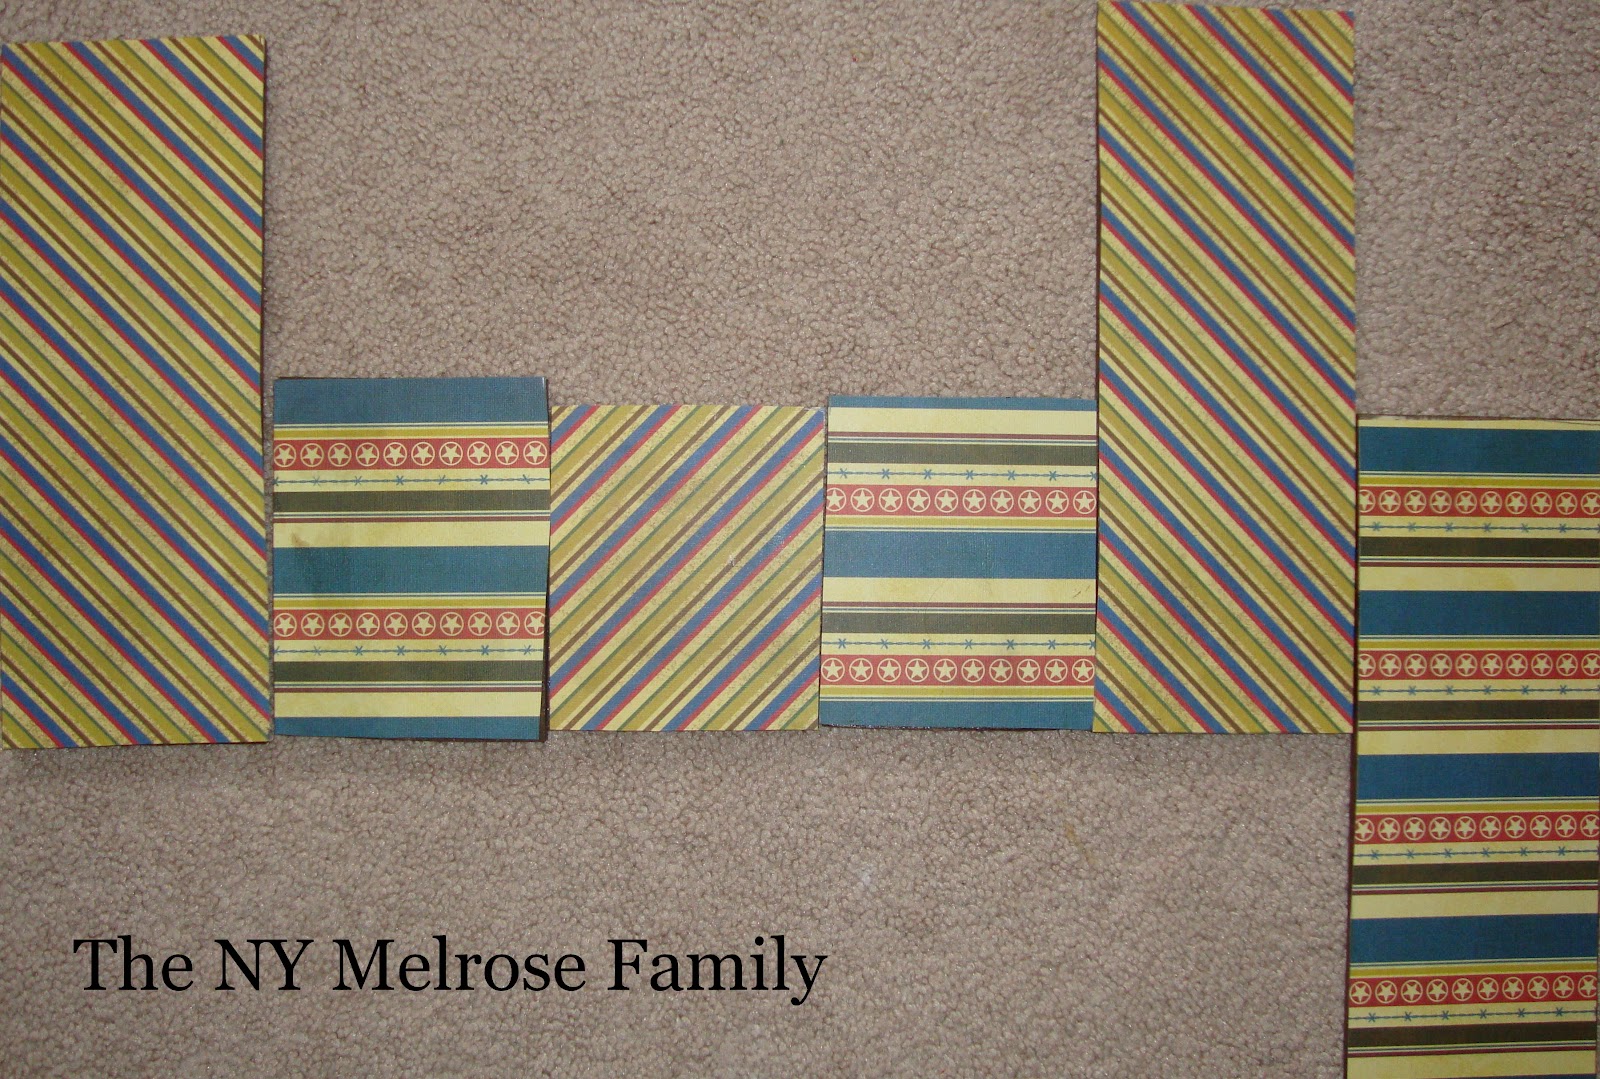
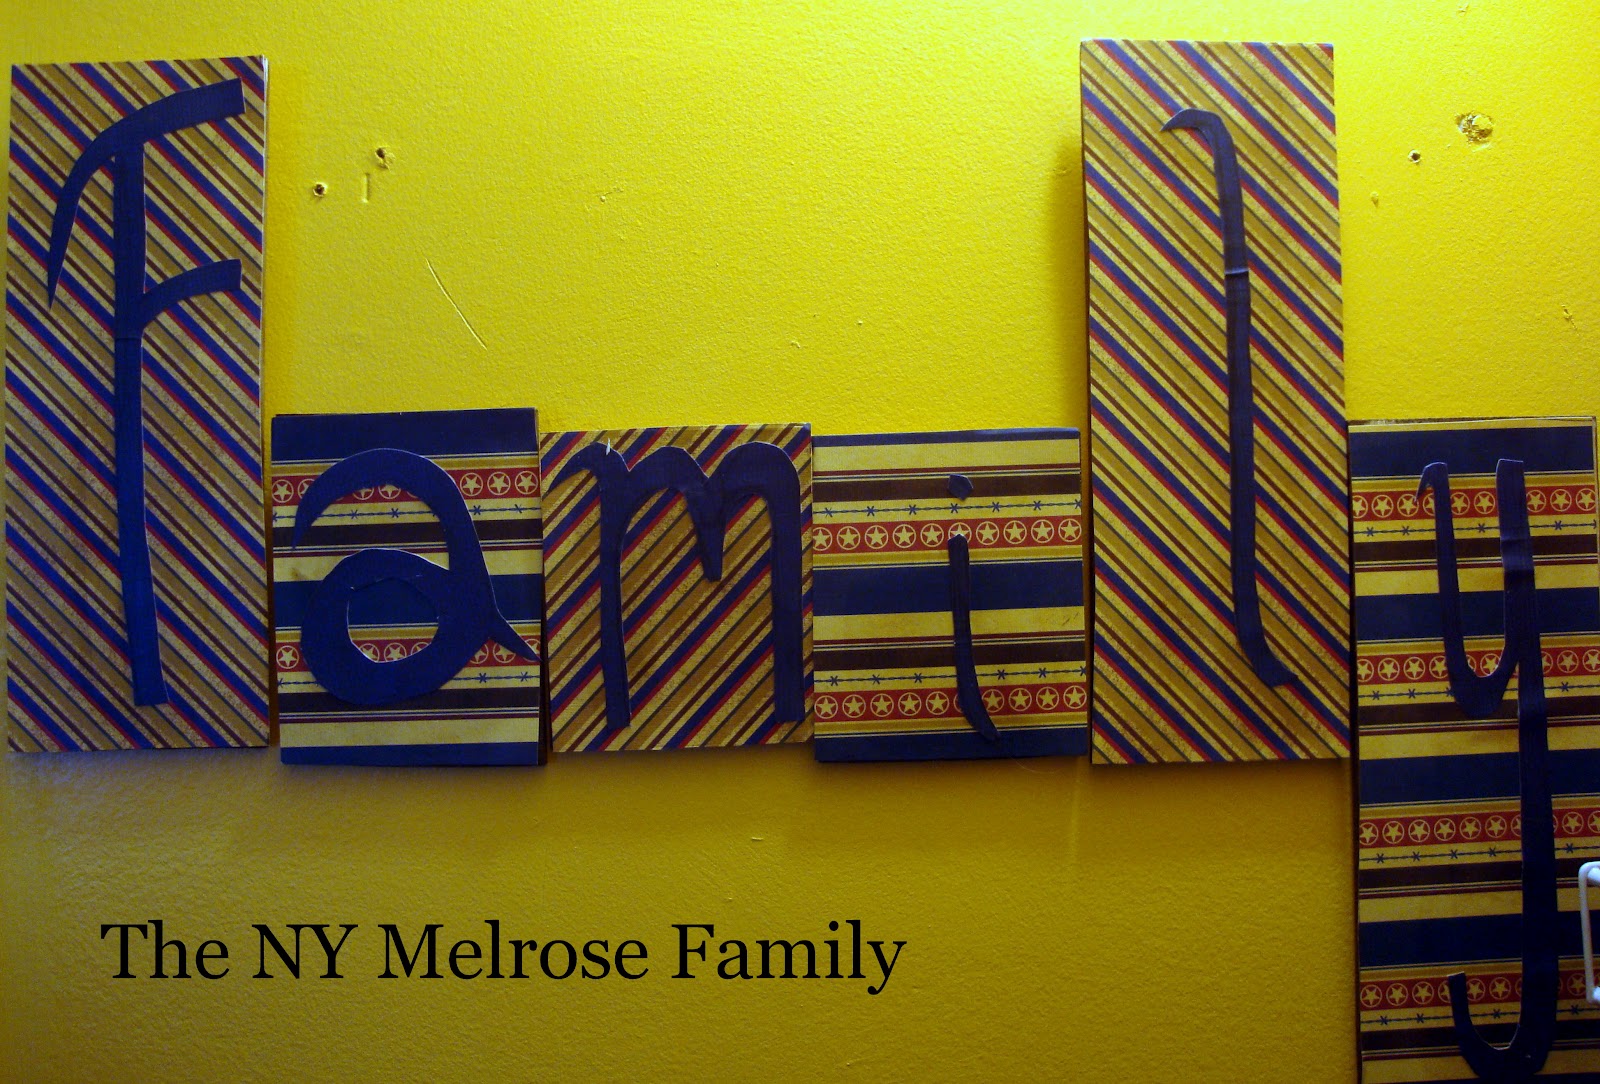
I am here to share our scrapbooked wall tiles for our Mud Room Closet Transformation. I started out with quarter inch plywood, which was leftover from my Sports Puppy Plaques. I was left with three pieces, which I had the wonderful guy from Home Depot cut down so that I ended up with three 2″ x 8″ pieces and three 2″ x 4″ pieces. I wanted to use the pieces to spell out FAMILY, which is where my focus has been lately.
Riley and I stained the outside of the pieces so that it would look finished when it was hanging on the wall.
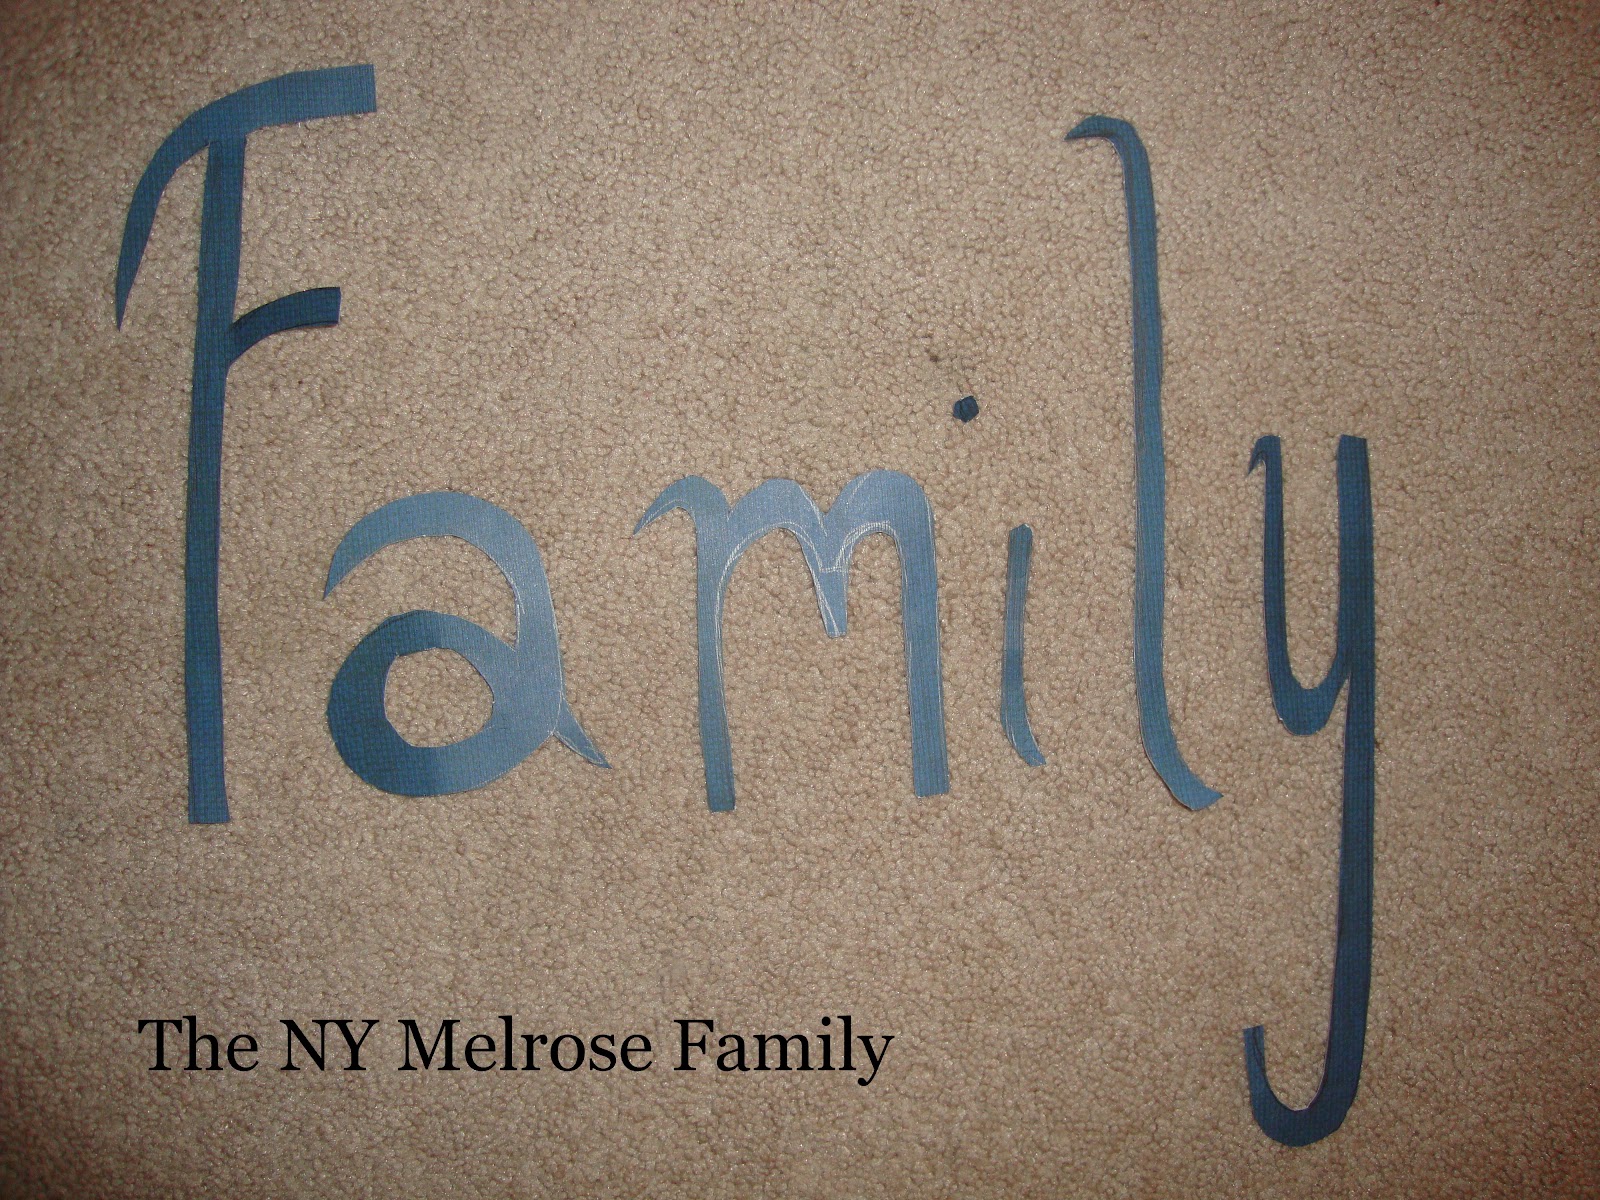
I decided I wanted to use scrapbook paper for the background and the letters. I free handed the letters onto the scrapbook paper.
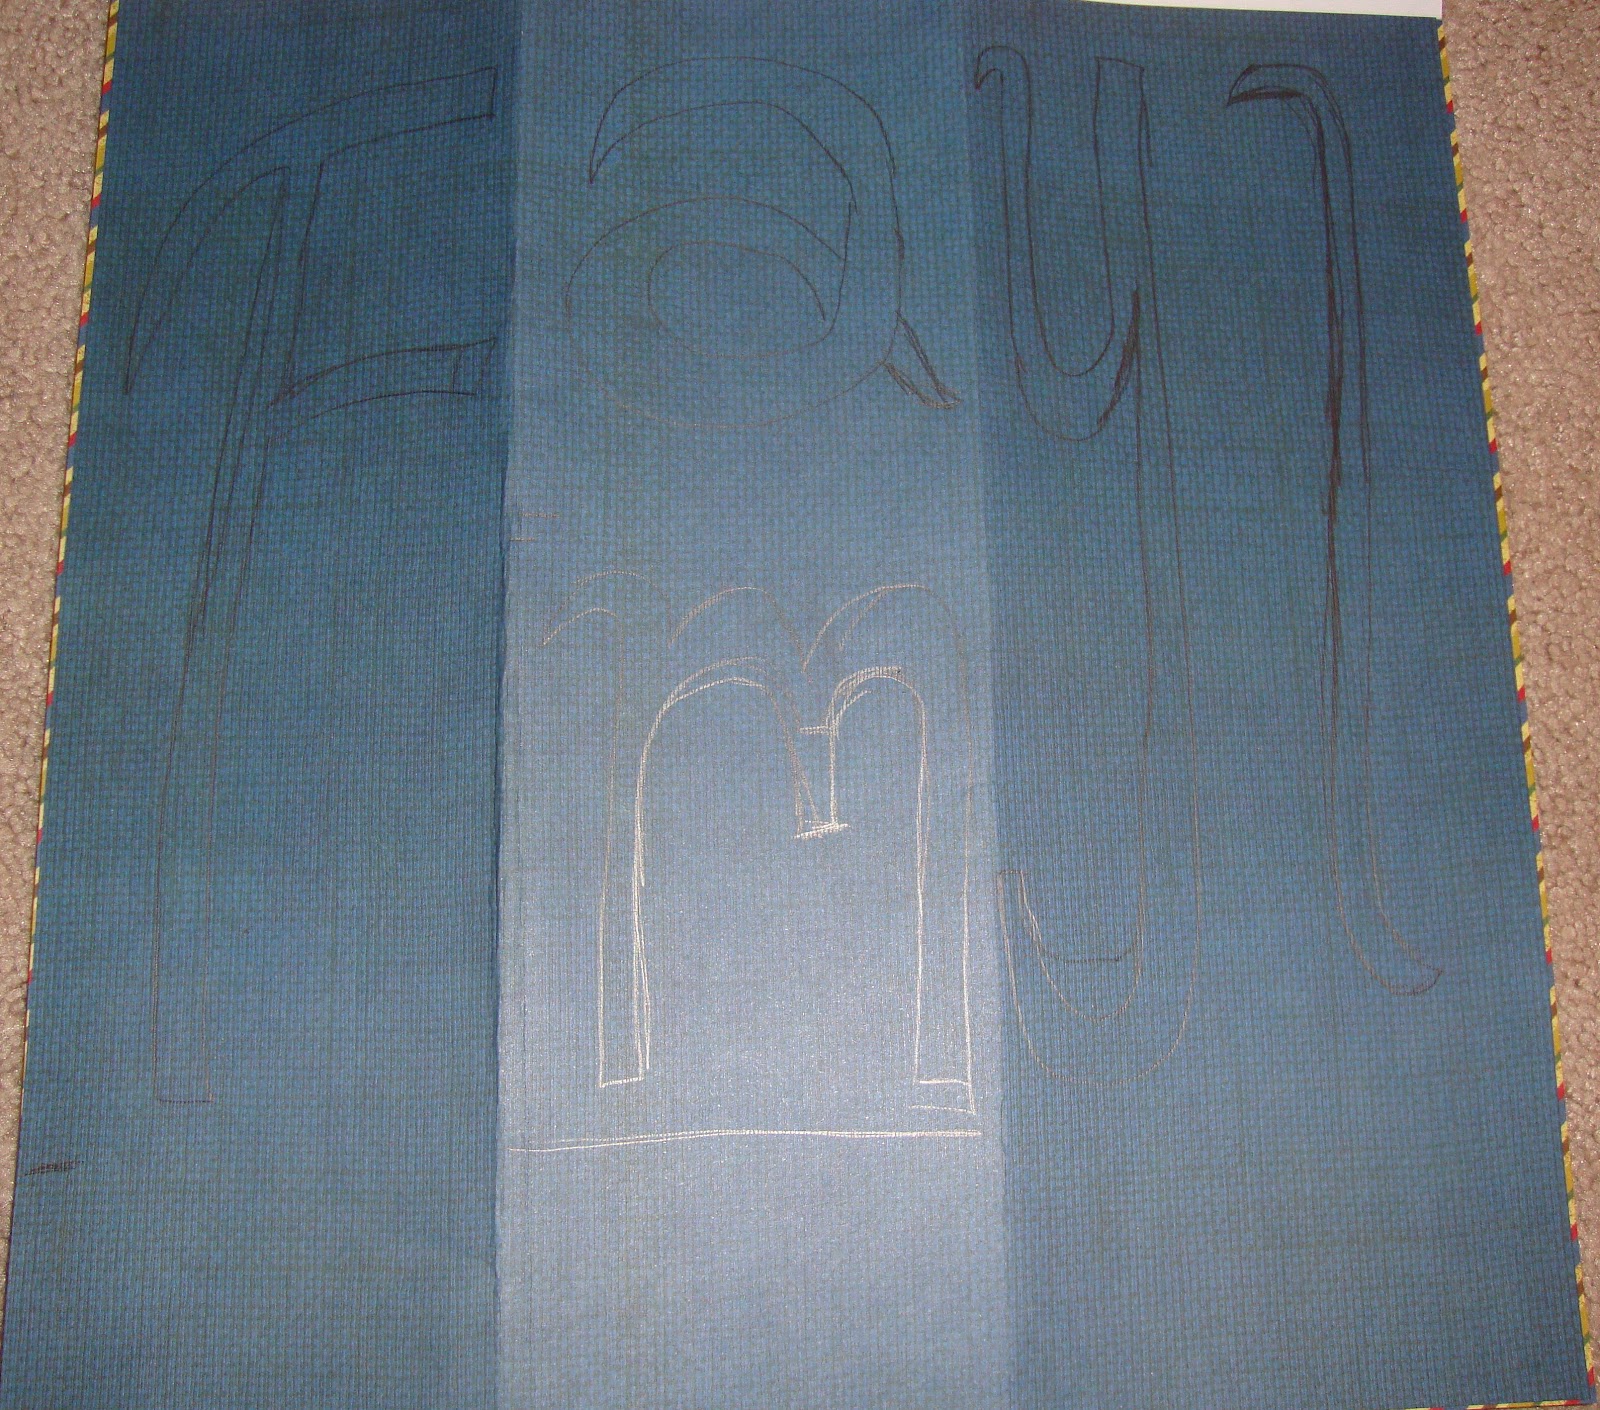
Once I cut them out, I realized that you could see the pencil marks. (Don’t worry about this because the Mod Podge is going to cover this up.)
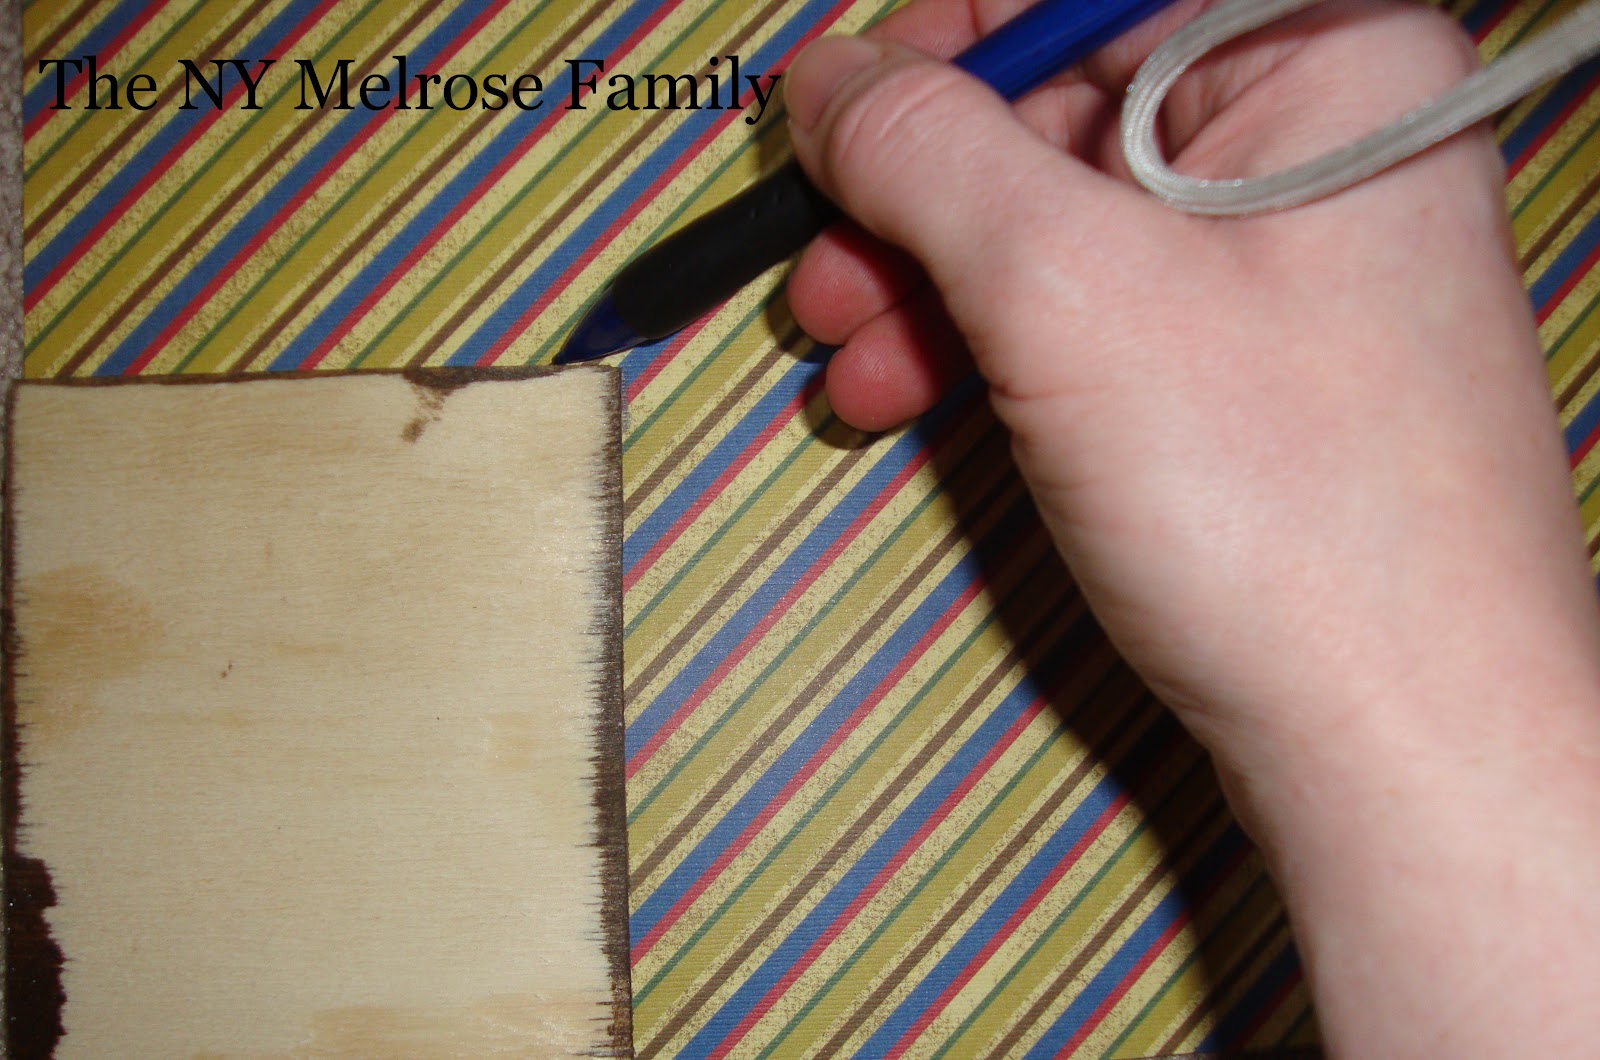
I then took my pieces and traced them onto the scrapbook paper that was going to be the background.
I alternated the paper for each of the letters. I used spray adhesive to glue the pieces down. The spray adhesive does not bubble, but you need to make sure that you use it in a well ventilated area.
The letters were placed down using Mod Podge on the bottom and top of the letters. (This is where the pencil lines went away.)

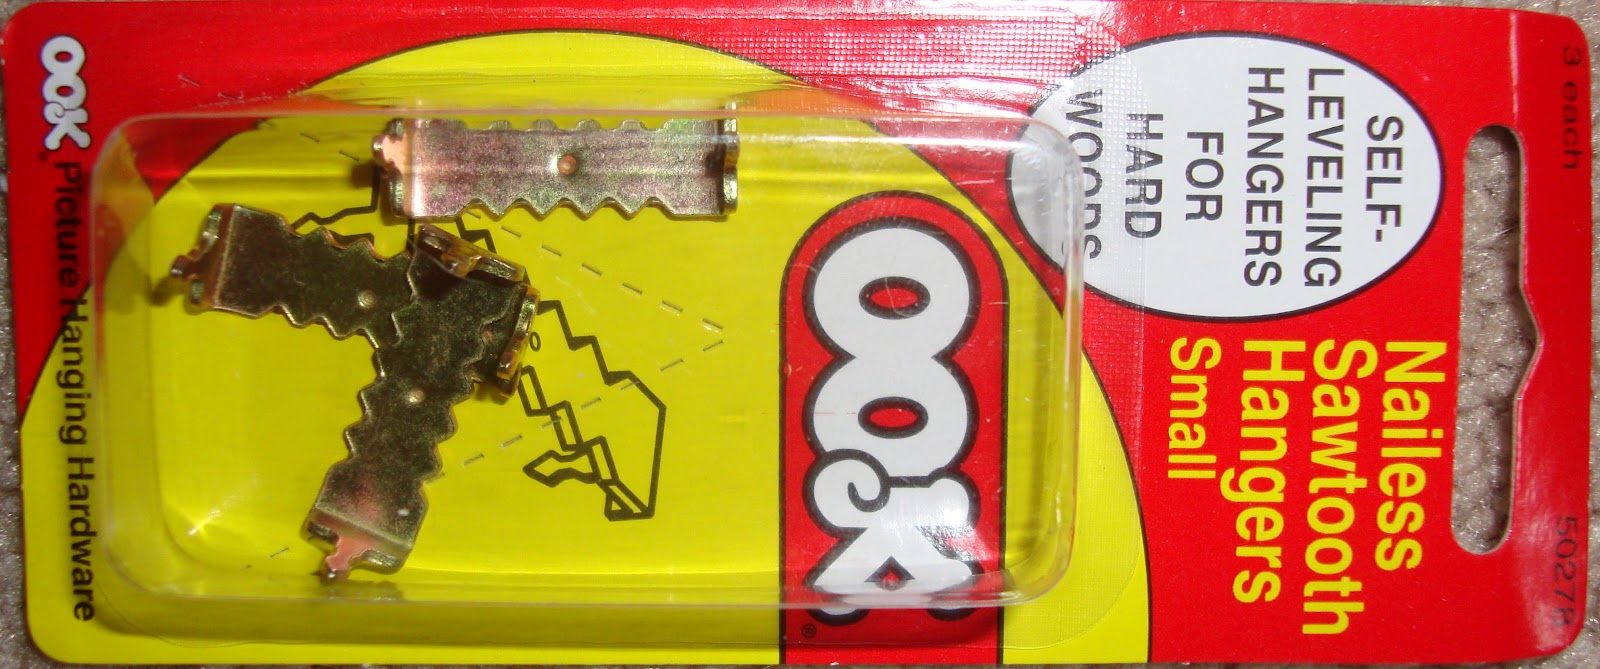
I hammered on sawtooth hangers onto the back of each tile. The package said to tap it into the wood, but I definitely had to hammer it on down.
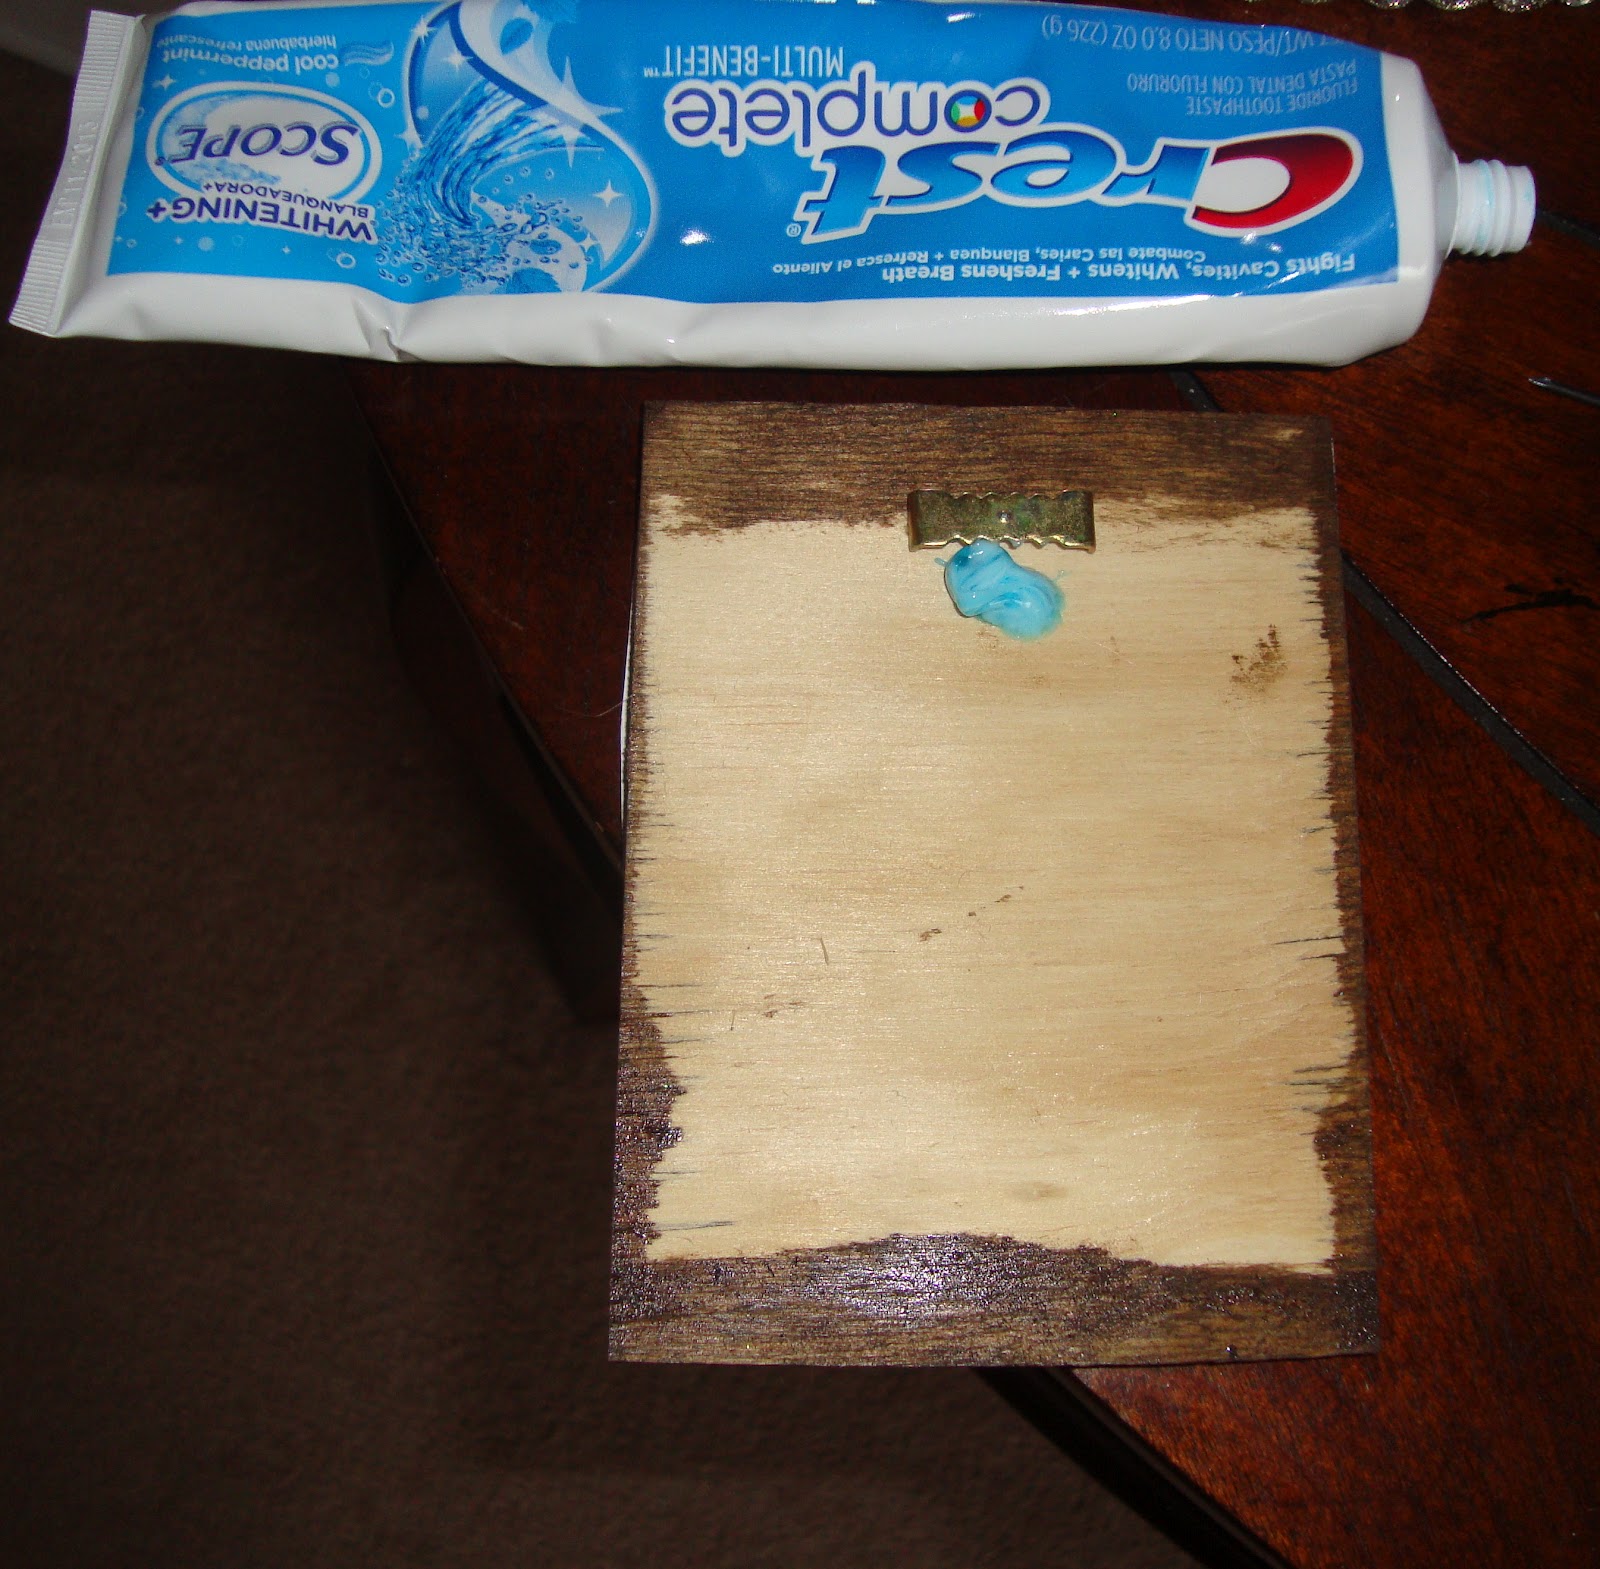
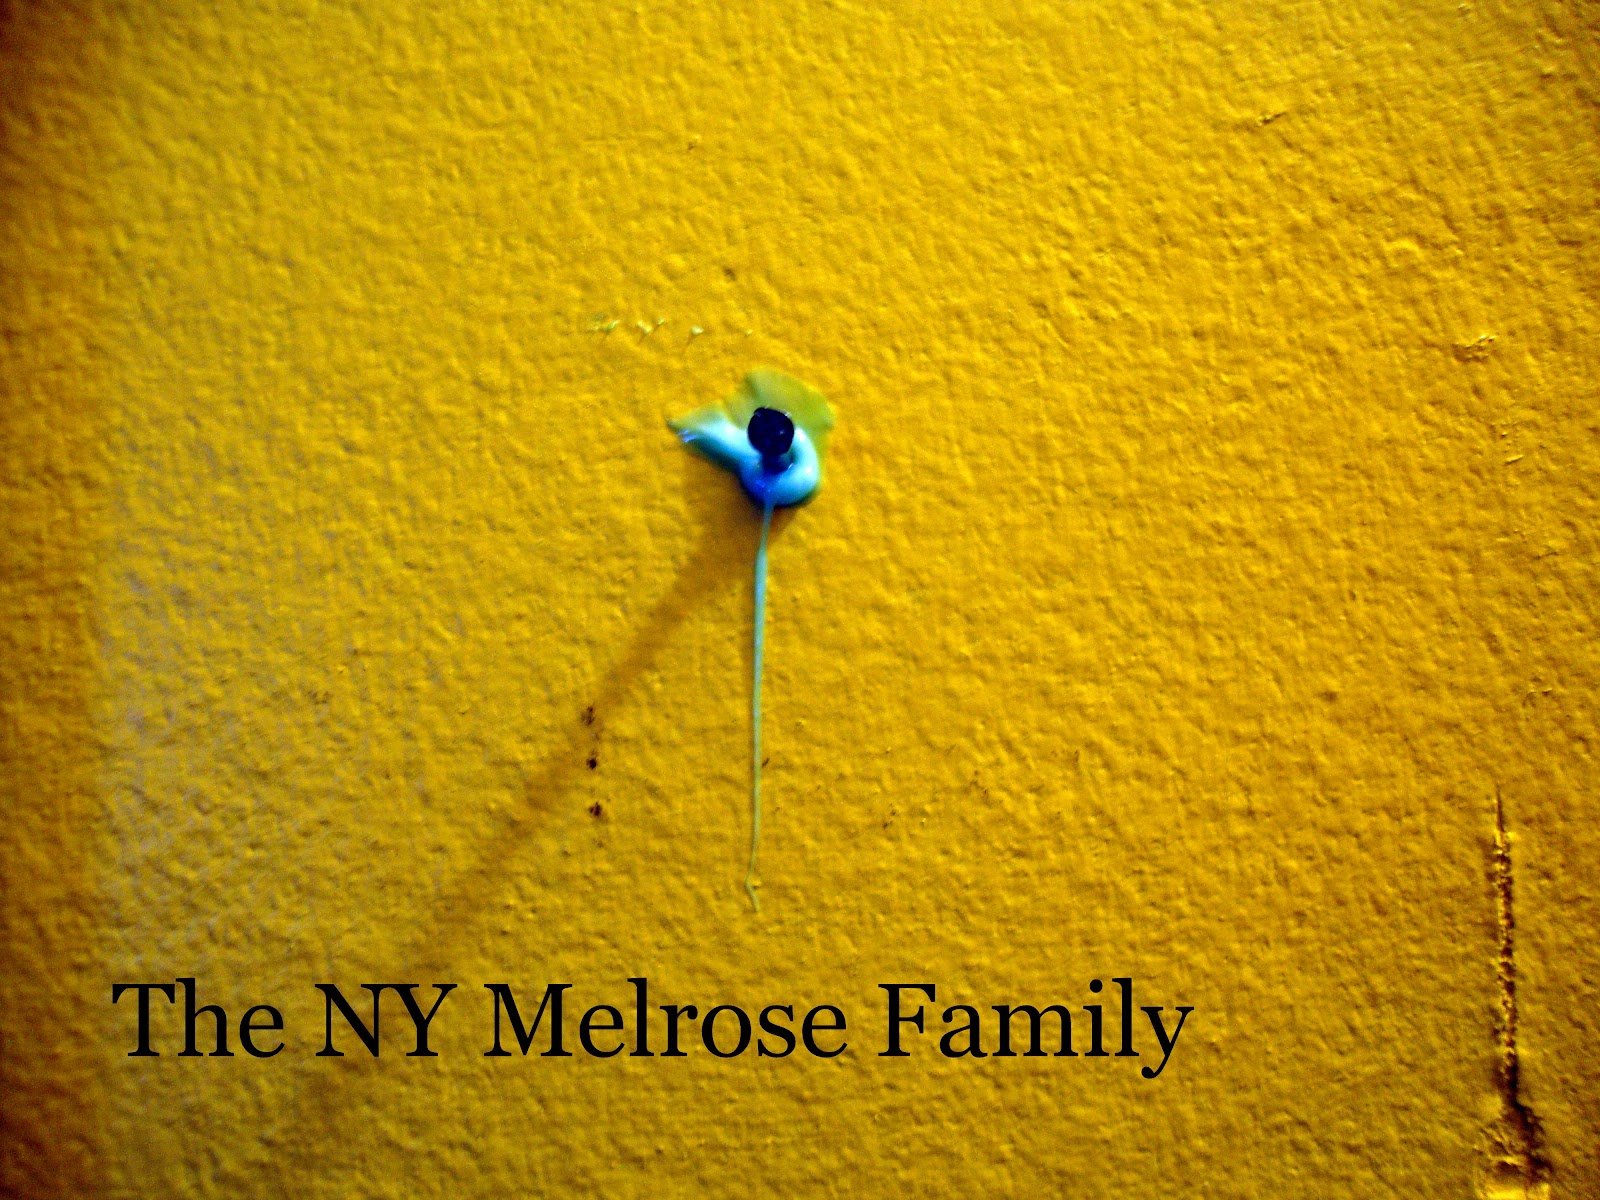
Once the hangers were down I got out my trusty Crest toothpaste to make sure that the pieces were level. I found this trick just the other day from Somewhat Simple. When she used the toothpaste she was using it on hooks so I wasn’t quite sure if this would work because I needed to place the toothpaste below the sawtooth hanger. Once I had a good glob of toothpaste on there, I simply pressed the tile onto the wall where I wanted to hang it.
Voila! The toothpaste stayed on the wall. Minty fresh and straight!
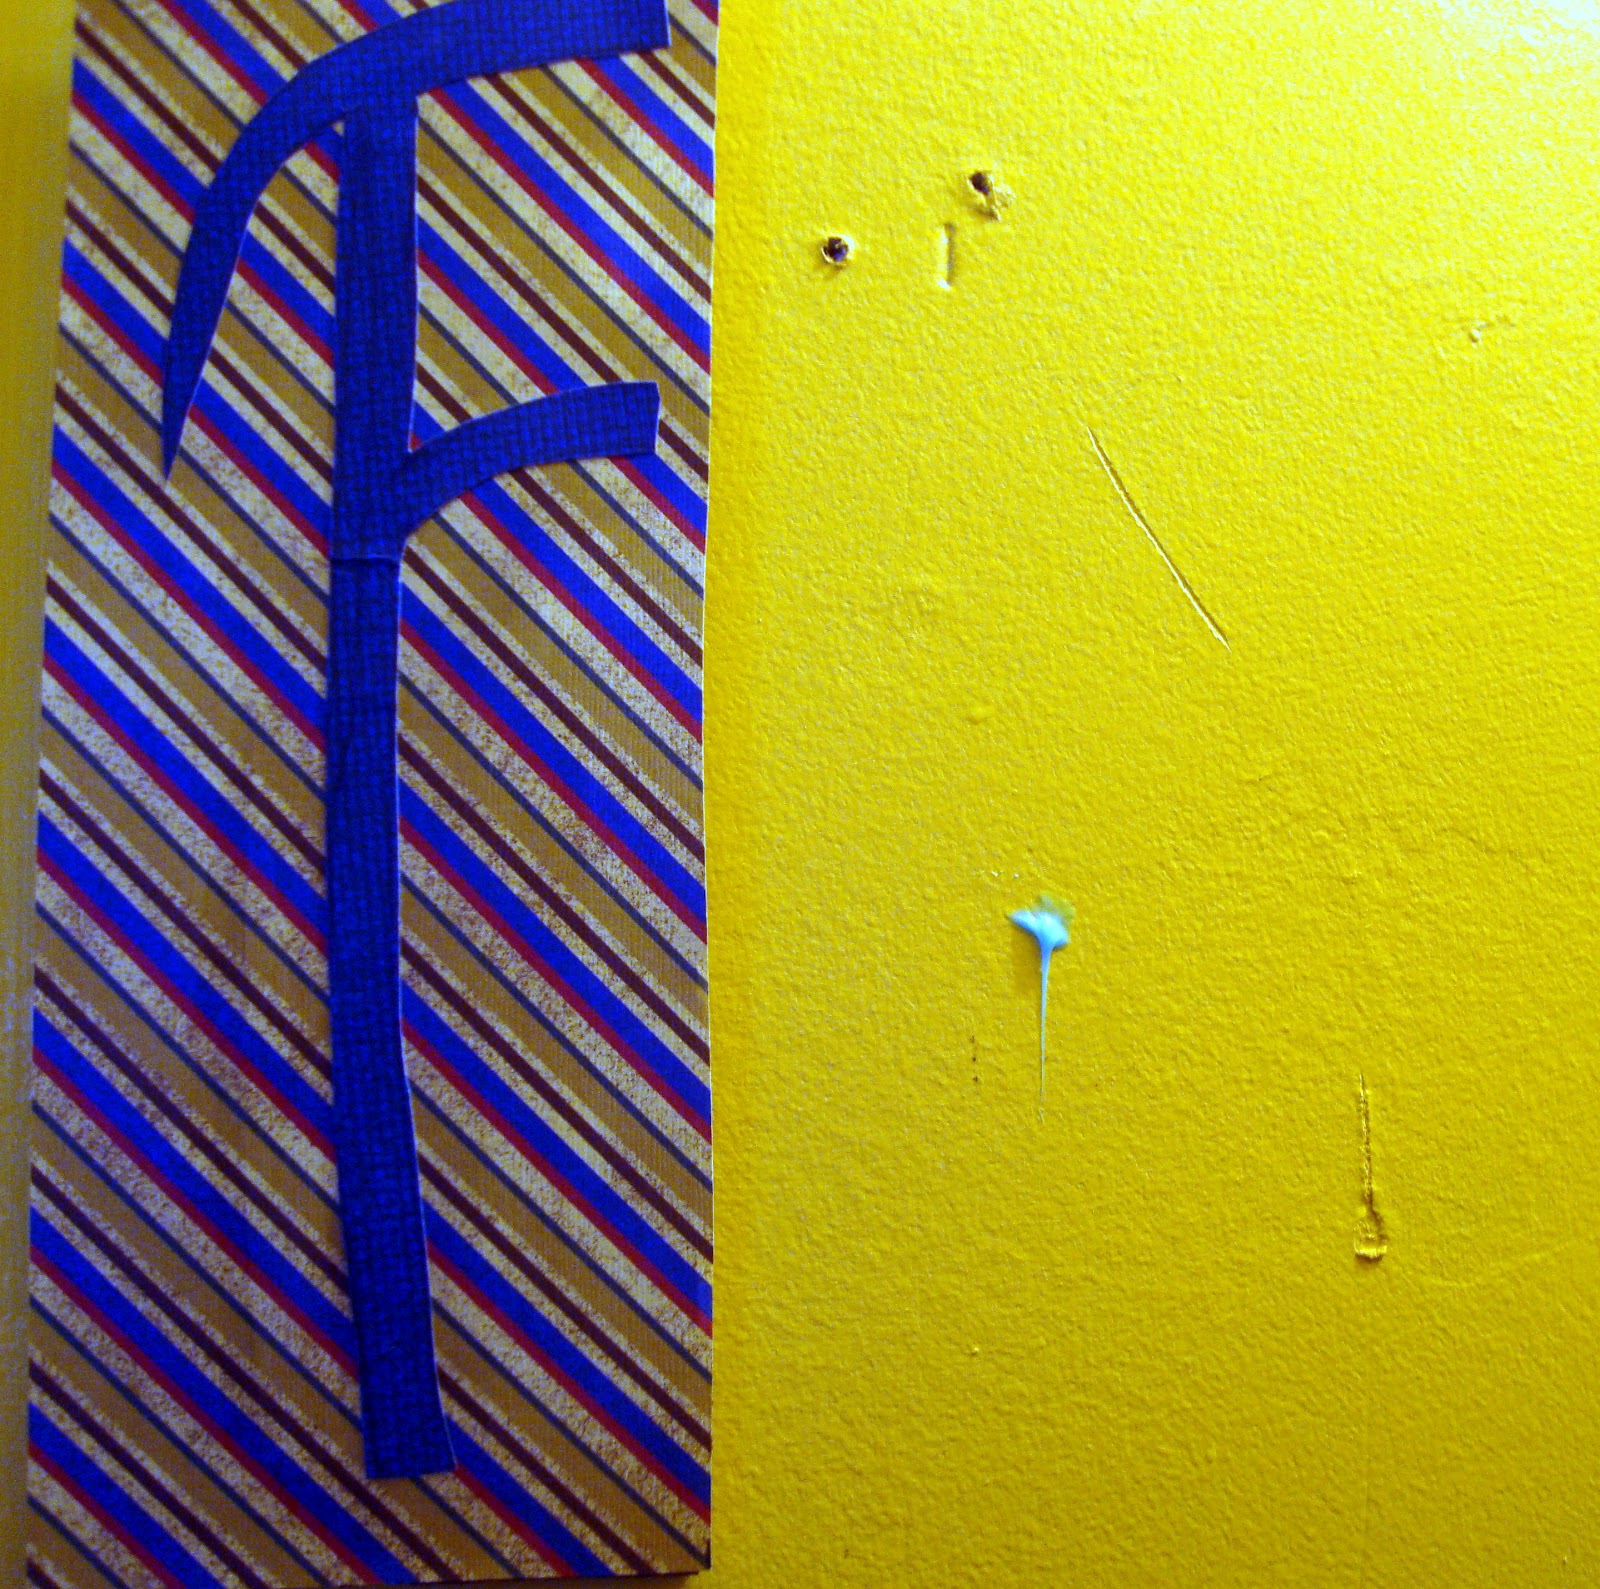
I put the nail into the center of the toothpaste and then cleaned up the toothpaste.
I couldn’t even get over how easy it was. I, normally, never hang pictures because I am terrible at it, but this made it so easy!
There it is in all of its glory!
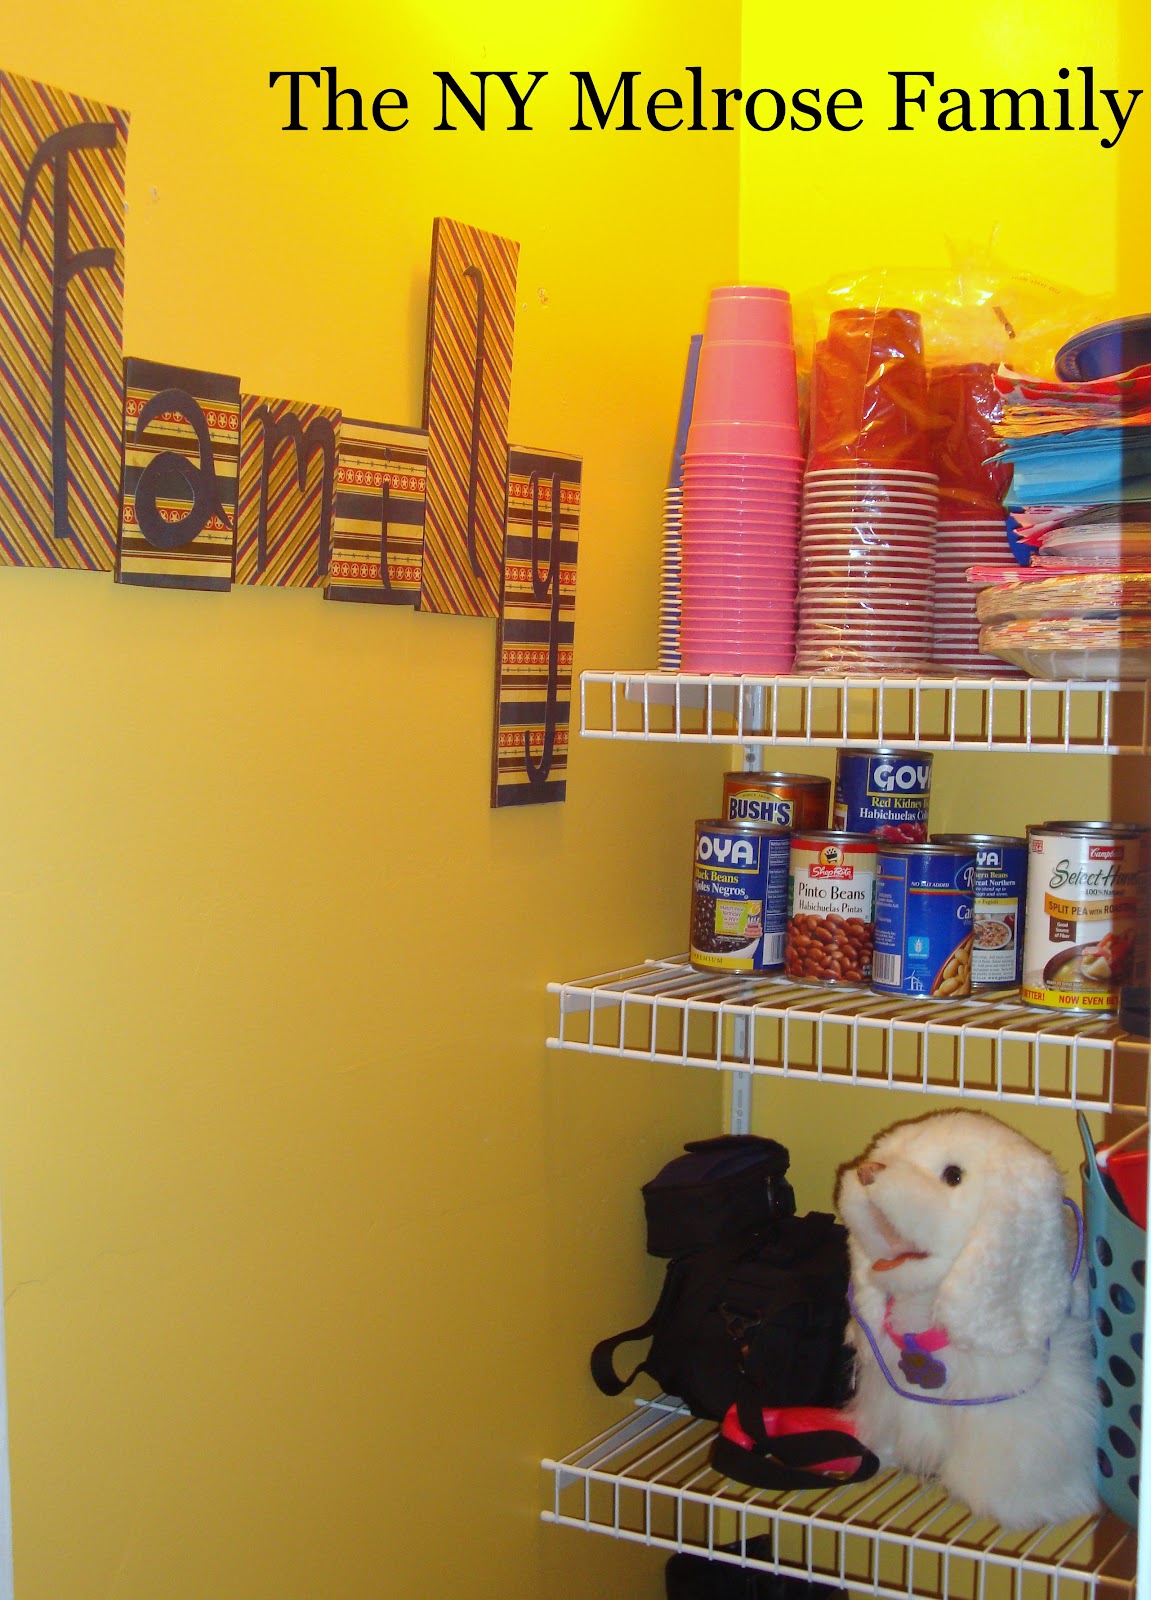
Every time I open that closet it makes me smile because I think of my beautiful family. I am so blessed! I’d like to thank all of Kaysi’s readers for letting me share a project that is close to my heart!

Thanks for that fun post Jenny. I love the colors that she picked!!

Leave a Reply
You must be logged in to post a comment.