
Hey there Keeping it Simple Readers My name is Whitney and I am the momma behind the blog A mommy’s life…with a touch of YELLOW I feel so honored and am so excited to be guest posting today I LOVE Kaysi and all her amazing projects she comes up with. I feel so honored that she asked me to fill in today while she is on maternity leave and just soaking in that new sweet baby boy of hers. I hope we can all get to know each other a little better.


I am a mommy to my crazy cute little boys, 8 months old and 3 and a wife to the love of my life.
I live in Salt Lake City, Utah, and love the beauty that surrounds me here. I change my hair probably more than anyone you know and get asked if I do hair all the time. I love funky fashion and am not scared to try new styles. I have my bachelors and a teaching license in Physical Education and Health Education and will one day be out there teaching your teenagers. I have a passion for fitness and love to share it. For now I love to keep myself busy with projects of all sorts while the hubby is finishing up school (graduates next week woot) and the babes are napping. Everything I do is on a tight budget and when it is cheap but amazing it is so rewarding and exciting.
Enough about me…. Now lets get onto the fun mother’s day gift idea and tutorial.
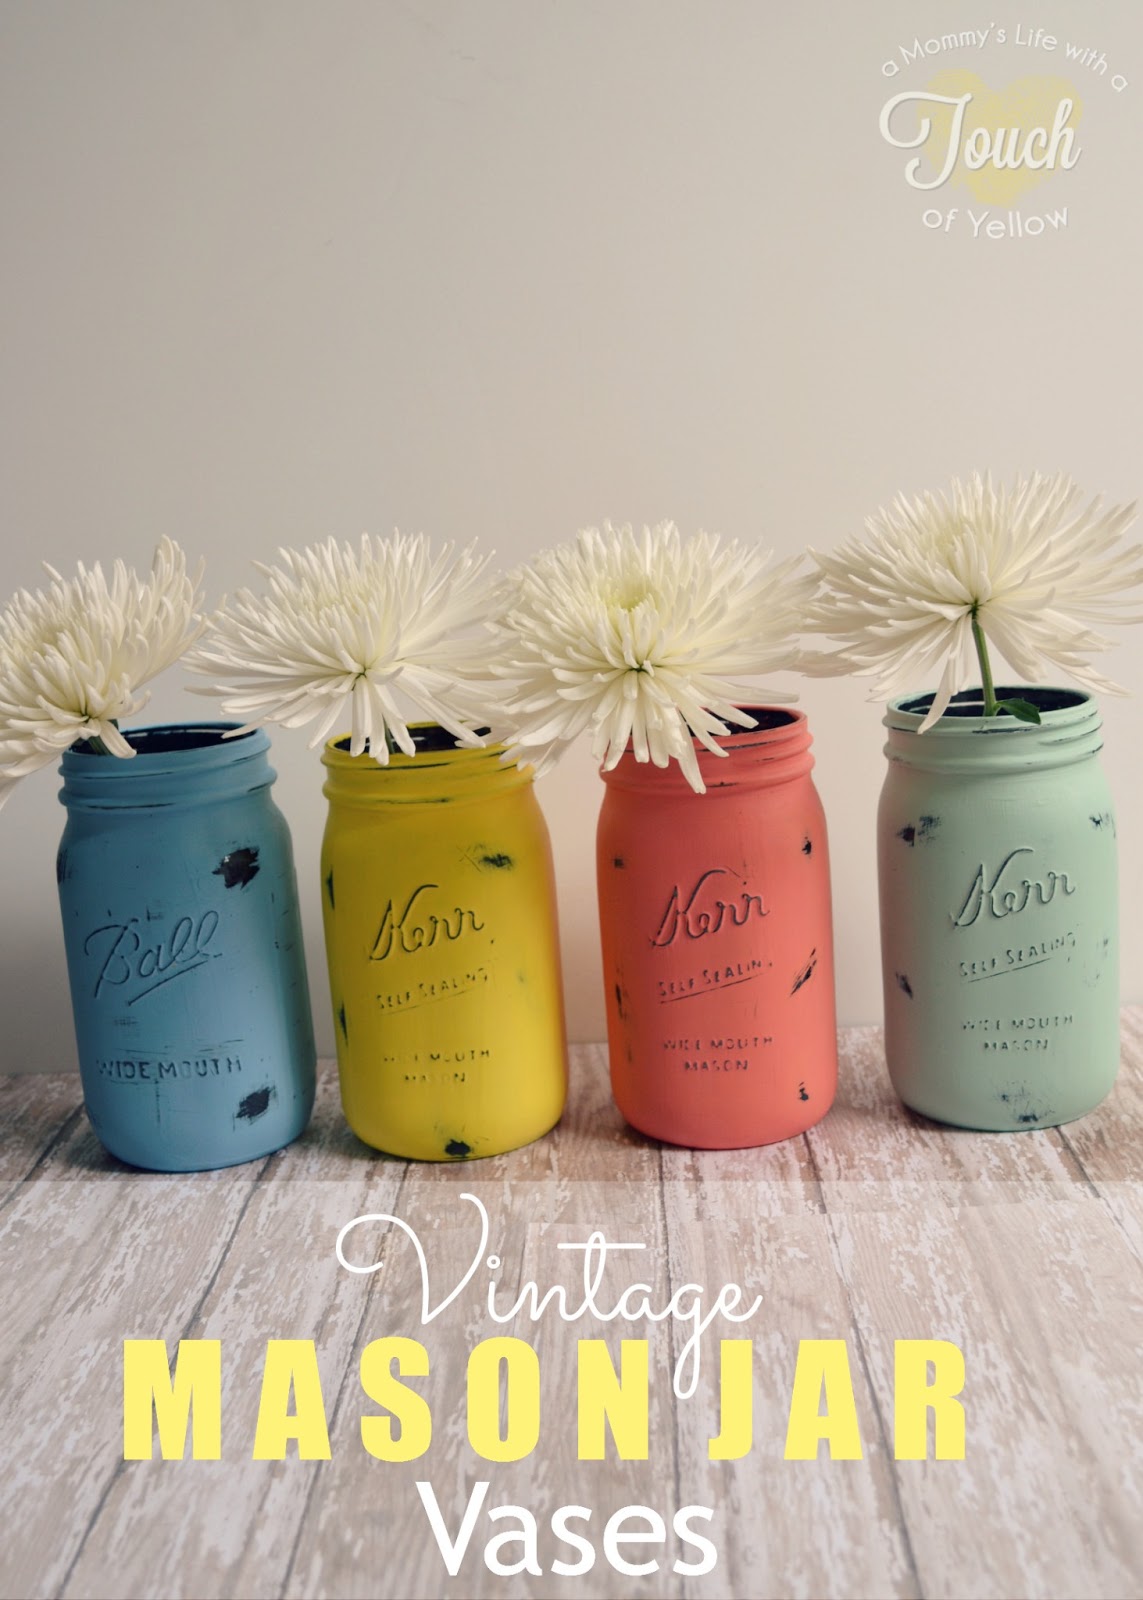
I don’t know about you but I love mason jars. There is so much you can do with them. I have done a whole picnic using only mason jars, stored salads for the week in them, used them as cups and for decor containers for parties, utensil holders, and vases. They are so pretty and you can do so much with them just in their pure clear form, but for a mother’s day gift, also perfect for spring, I wanted to spruce them up a bit. I love this look but thought of going a bit more bold and making them look shabby chic and vintage, but elegant and pretty all at the same time. I am in LOVE with how they turned out and I am excited to show you how easy they were. One with a simple flower, or a whole set would be the perfect gift for your mom especially if they already have everything.
{Supplies Needed}

–mason jars {big, small, medium whatever your heart desires} I already had mine so that was nice. I ended up using the big ones for mine
–chalkboard paint {Michaels super cheap like $1.29 or something like that}
–Paint the color you want your vases to be {I just used paint I already had in my stash}You could use craft paint or spray paint, but since I already had the craft paint I just went with that
–Sponge brushes {if you are spray painting you wont need these}
–Clear spray paint
-Sand paper or block
–pretty lids {optional}
{How I made them}

1. The very first thing I did was paint them with chalkboard paint. I wanted the black so that when I distressed it at the end the black would show through and give it that shabby look I was going for. The reason I did the chalkboard paint instead of just black paint is because it adhered to the glass better and was a good coat to put on before the colored paint plus I loved the chalky matte look it gave to the glass once they were all painted. I did 2 coats one going horizontal and one going vertical. {If you are spray painting you probably only need one coat}.
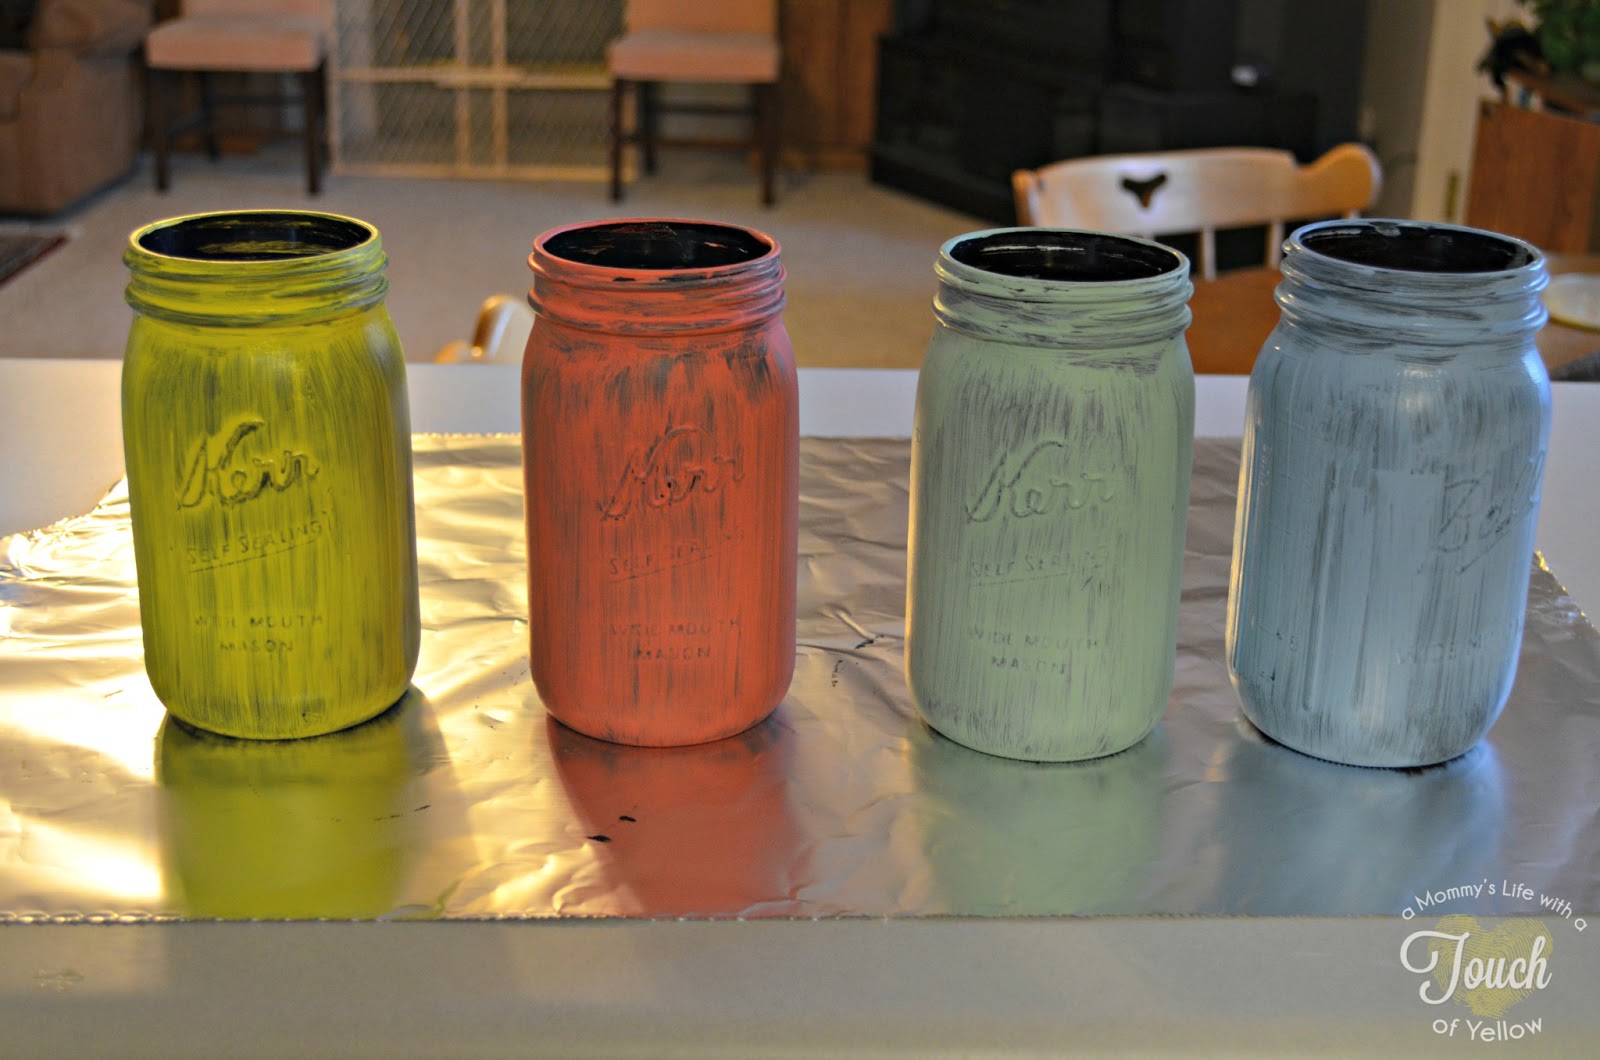
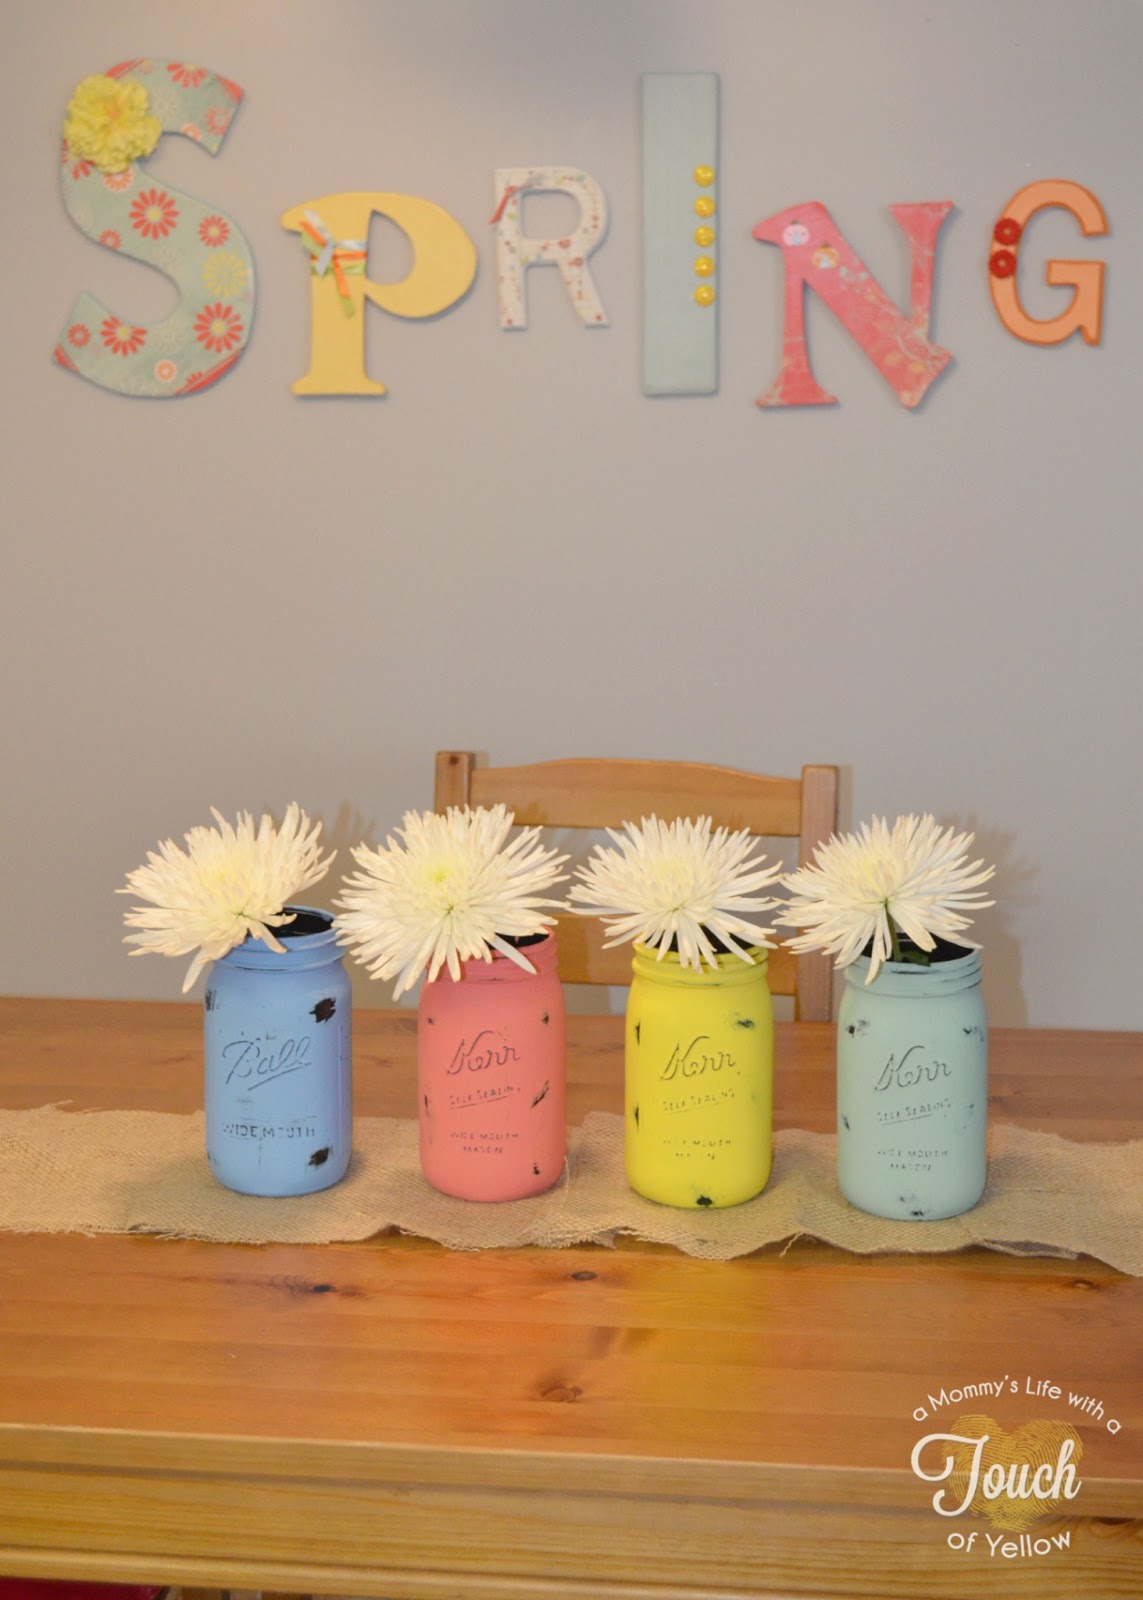
2. Once the chalk paint was completely dry I started to paint the jars the colors I wanted with just regular old craft paint {again you could use spray paint if you would rather}. I chose the light blue, coral, mint and yellow because they reminded me of spring and summer and that is exactly what I wanted them for. The perfect pop of color. You can do these in all different colors, for whatever you want them for or where you want them to go. The picture above it one coat of paint {don’t be alarmed if it looks like this at first} after a few coats it looks awesome I promise.

3. This is after 3 coats of the colored paint. It looks much better now 🙂 told you they would look good. Even the 3 coats only used about 1/3 of the small bottle of craft paint, so it is very inexpensive especially if you already have most of the supplies like I did.
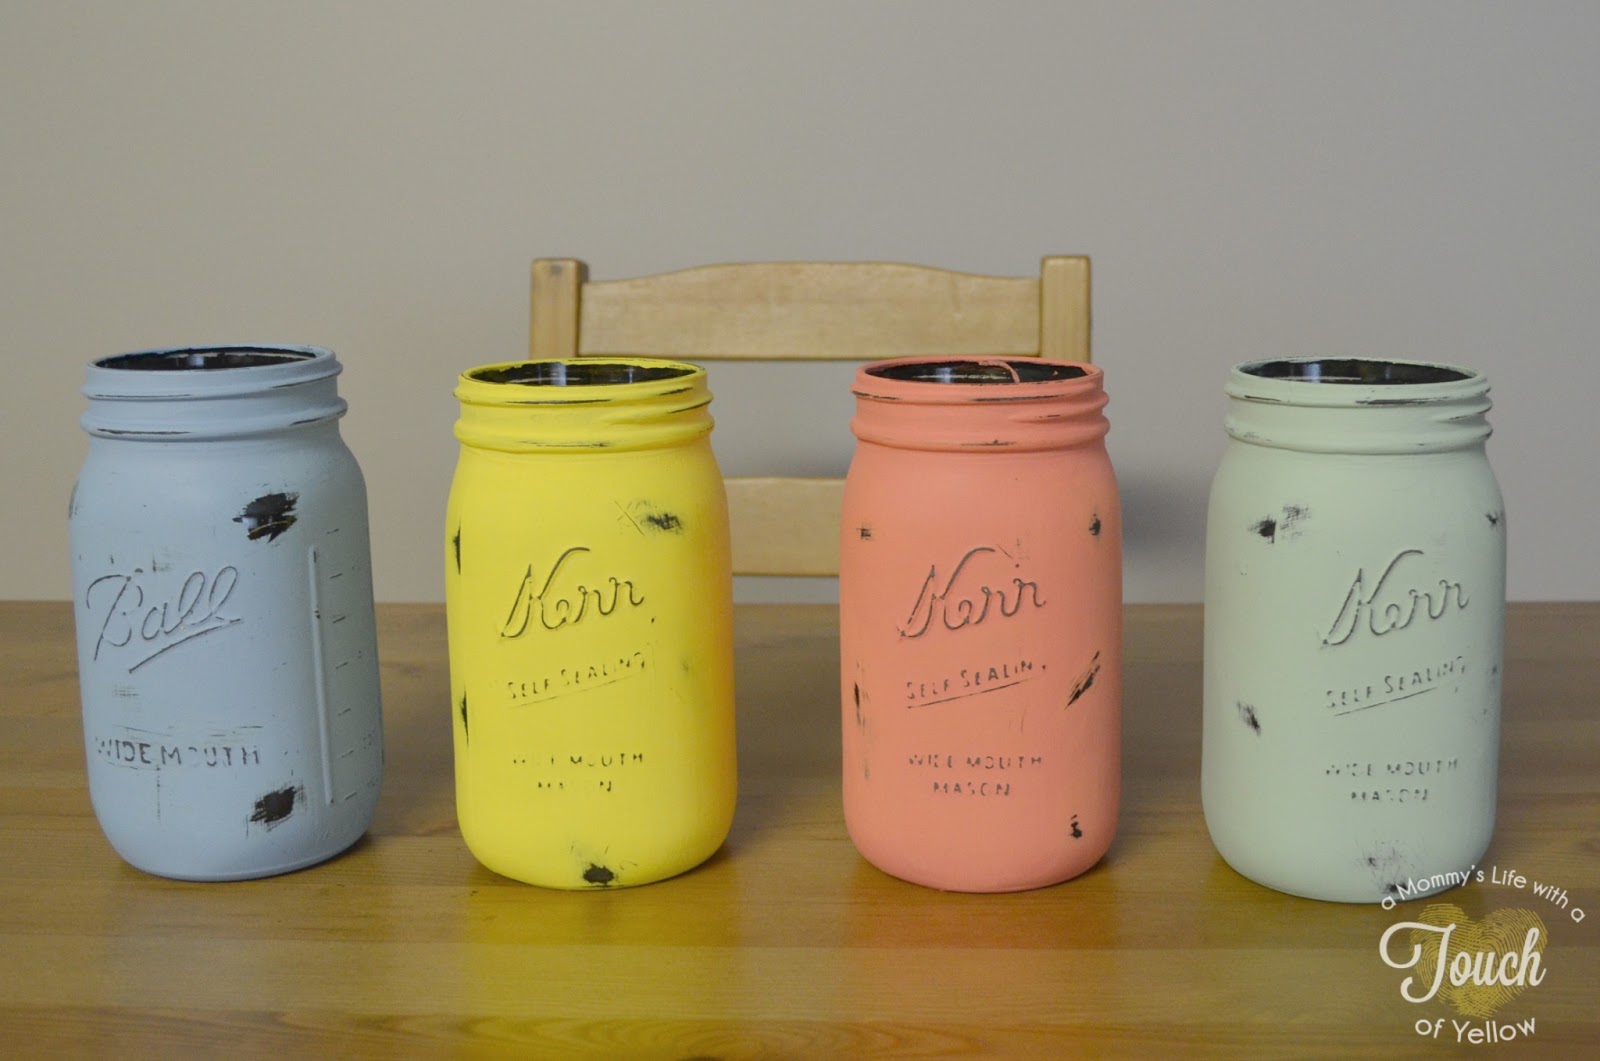
4. Now they looked pretty but they looked a little too clean for me so I got out my sanding block and started roughing them up so you could see the black showing through. Again I love how they look matte {remember use chalkboard paint underneith for this look} and not shinny anymore it just gives even more of the vintage vibe to it.
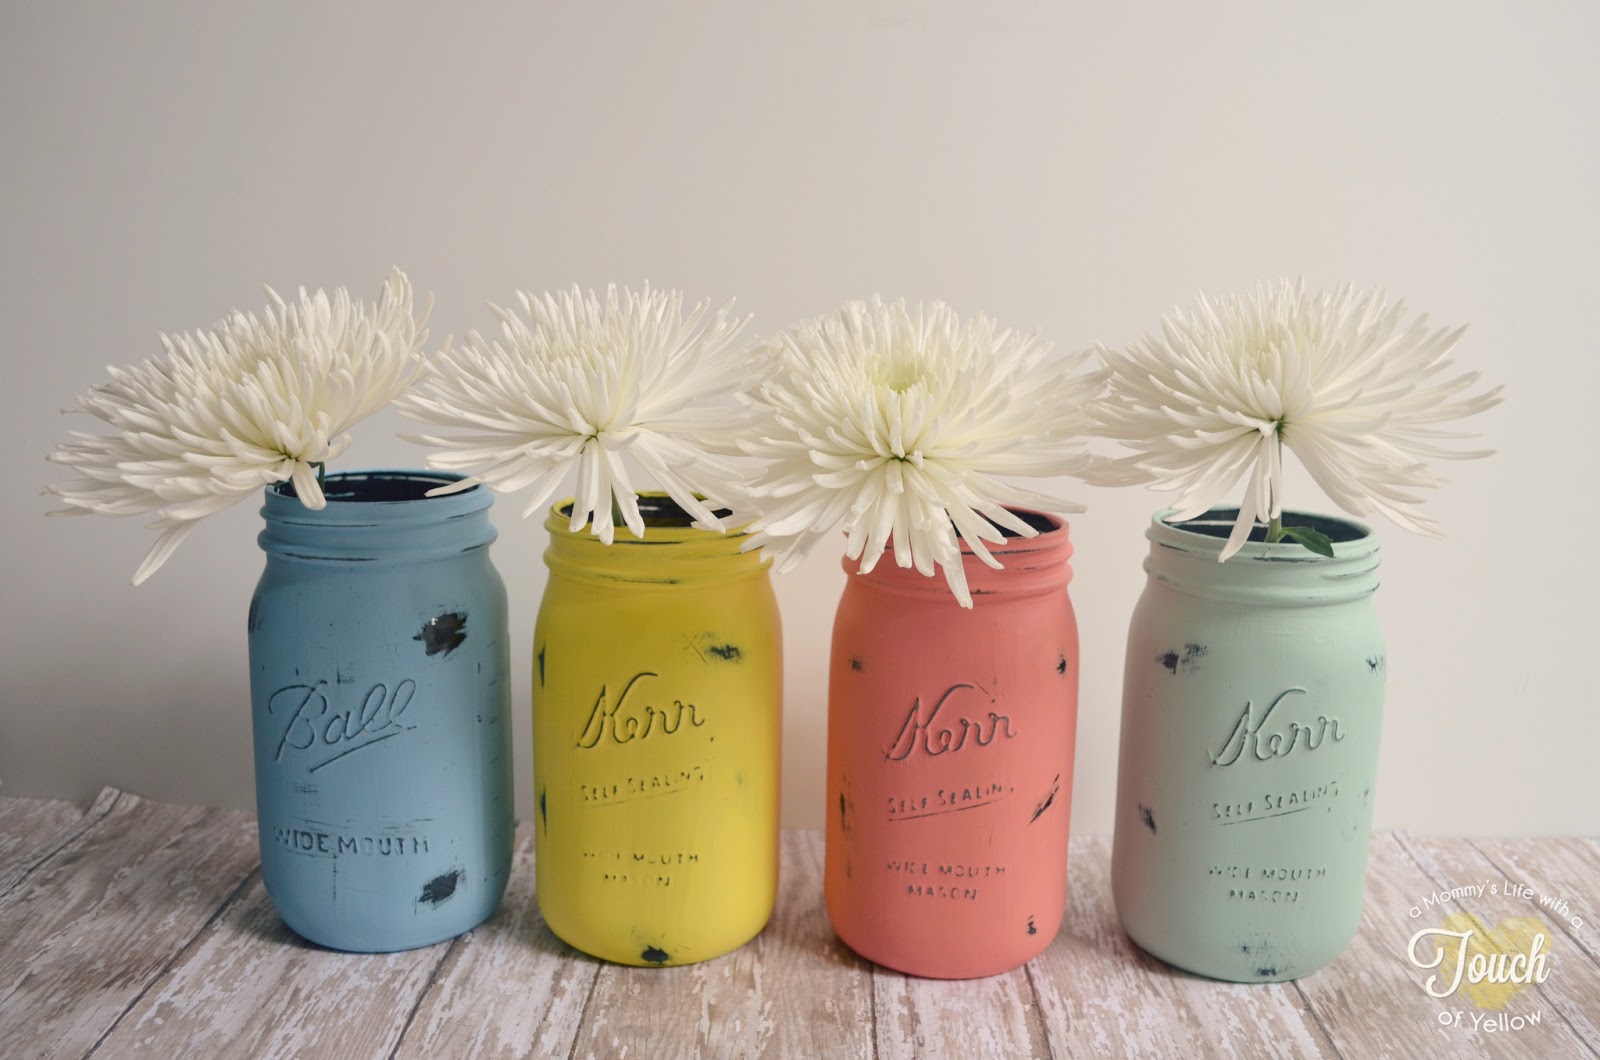
5. The last thing I did was spray them with a clear spray paint to seal them up so the paint would not chip anymore and so they would be protected.

Fill them up with some water put pretty fresh spring flowers in them and
you have the perfect mother’s day gift, for your mom, mother in law, grandma, sister or any other women that you want to celebrate.
you have the perfect mother’s day gift, for your mom, mother in law, grandma, sister or any other women that you want to celebrate.
Put in your mom’s favorite flower in them.

don’t forget to PIN!
Thank you so much Kaysi for having me today
and thank you keeping it simple readers for reading along.
Please come and check out my blog here at A Mommy’s life with a Touch of Yellow
Over at my blog you will find DIY projects, knock offs, Holiday, redoing, crafts, a little about health and fitness, decor, fashion, recipes, a little about my family, learning new things and this is all rolled up in my mommy adventure.

These are so pretty!