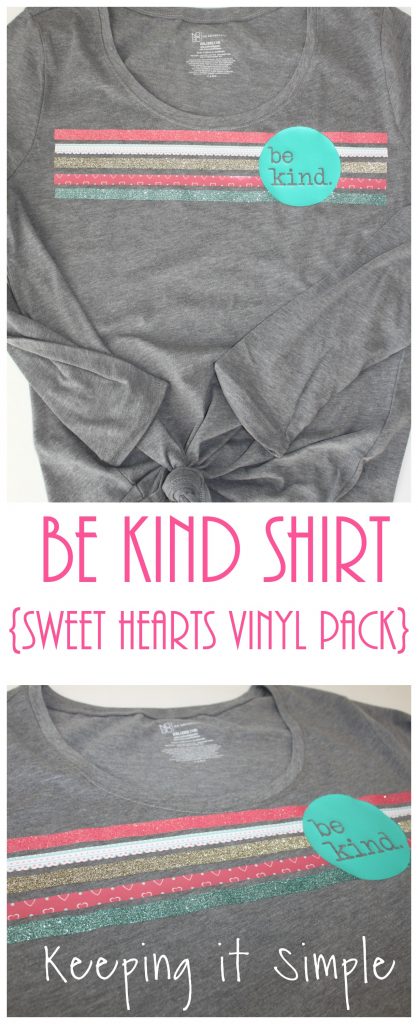
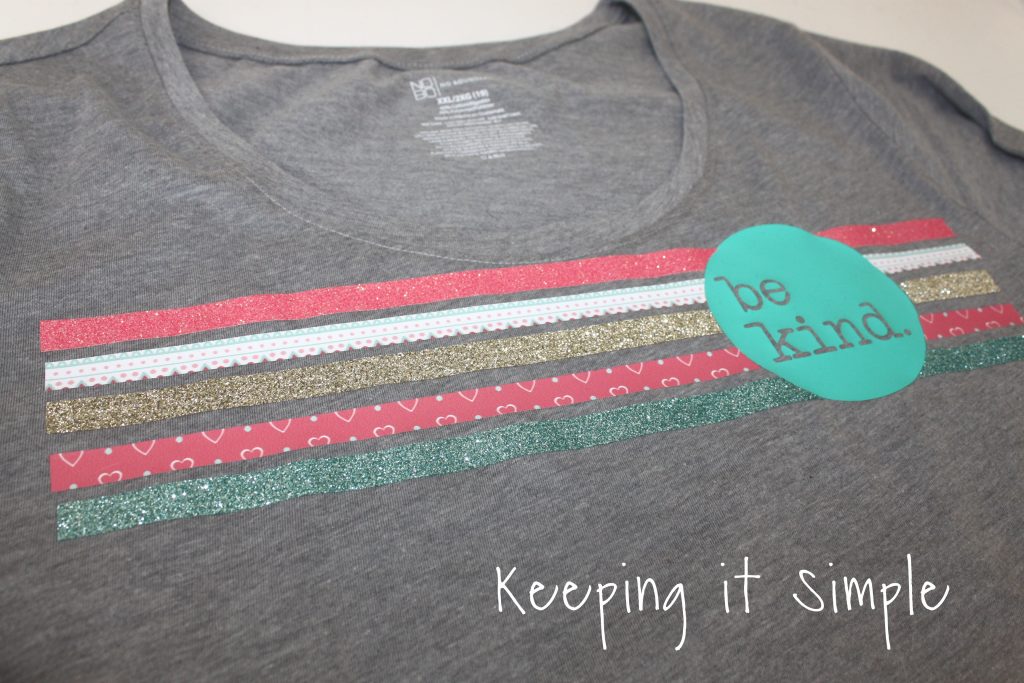
Be Kind Shirt- Sweet Hearts Vinyl Pack
One of my favorite things about holidays is the fun and new things companies come up with. I love going to the store and just browsing the holiday aisles just to see the new products and the fun designs that they have come up with. I also love when there are lots of new craft supplies too, actually that is my favorite! Expressions Vinyl just came out with a new Valentine’s Day vinyl pack called Sweet Hearts and it is super fun! They have it in adhesive vinyl and in heat transfer vinyl. I took the heat transfer vinyl pack and made this fun be kind shirt with it. The colors are just perfect! I can wear it around Valentine’s Day but it isn’t just for Valentine’s Day, it’s for all year round because everyone can use the reminder to be kind all year round!
Here is a quick video to show you the process of how to make this fun be kind shirt.
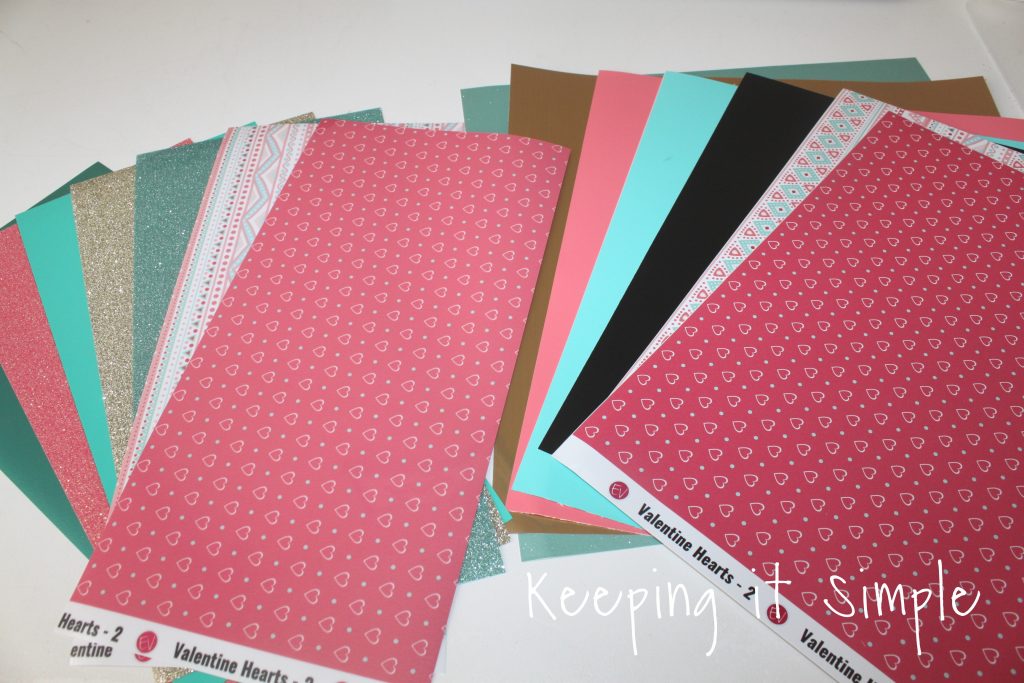
Here are the Sweet Hearts vinyl packs, both of them come with the two patterned vinyl, Aztec Valentine and Valentine Hearts 2. Then they have some teal, gold and pink solid sheets. The adhesive pack comes with a chalkboard vinyl, then some permanent vinyl in colors sea glass, cherry blossom pink and coral reef, it also has an gold chrome brushed vinyl and a glitter sea foam green. The heat transfer pack has some awesome glitter HTV in champagne, rainbow coral and mint, and an electric peacock teal and an Easyweed in jade. They are all so pretty and go so well together. That’s the best part about these vinyl packs, they all go together so well.
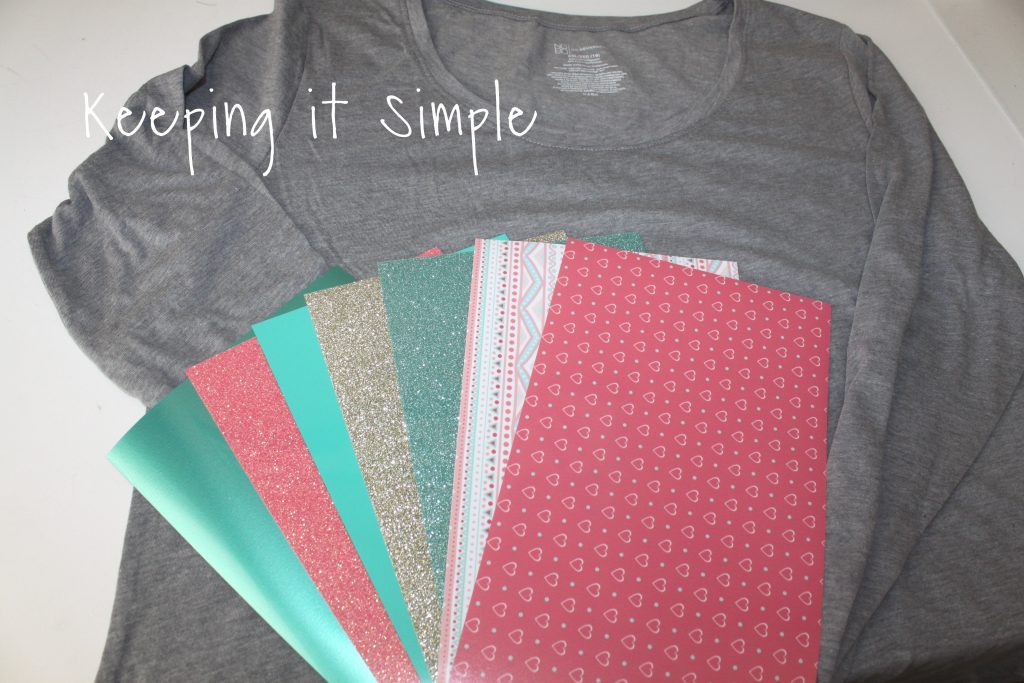
This is how I made the shirt. I started a blank gray shirt (I found this one at Walmart for only $1, yay for winter clearance). I then used the Sweet Hearts vinyl pack. I used all of the colors except for the shimmery teal one.
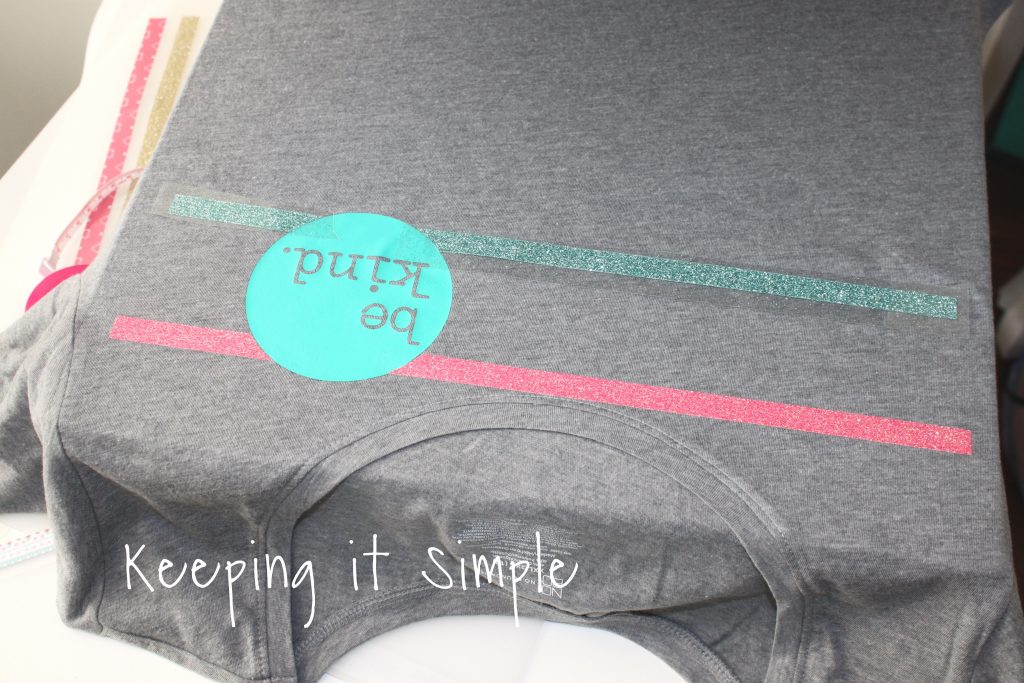
Using my Silhouette CAMEO I cut out the design. I separated each sheet and cut them individually. I mirrored the image before I cut the design and then placed the shiny/plastic side down on the mat before cutting. You can get the design here:

I weeded the vinyl, leaving the design.
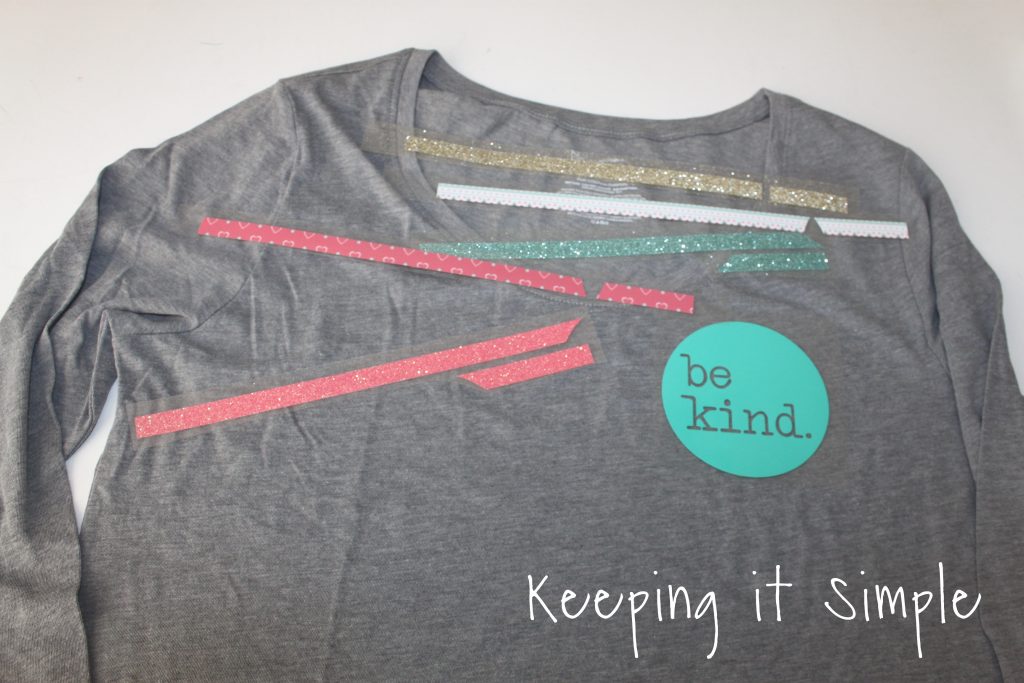
Before pressing the design onto the shirt, I rearranged it on the shirt to get an idea of how it was going to look.
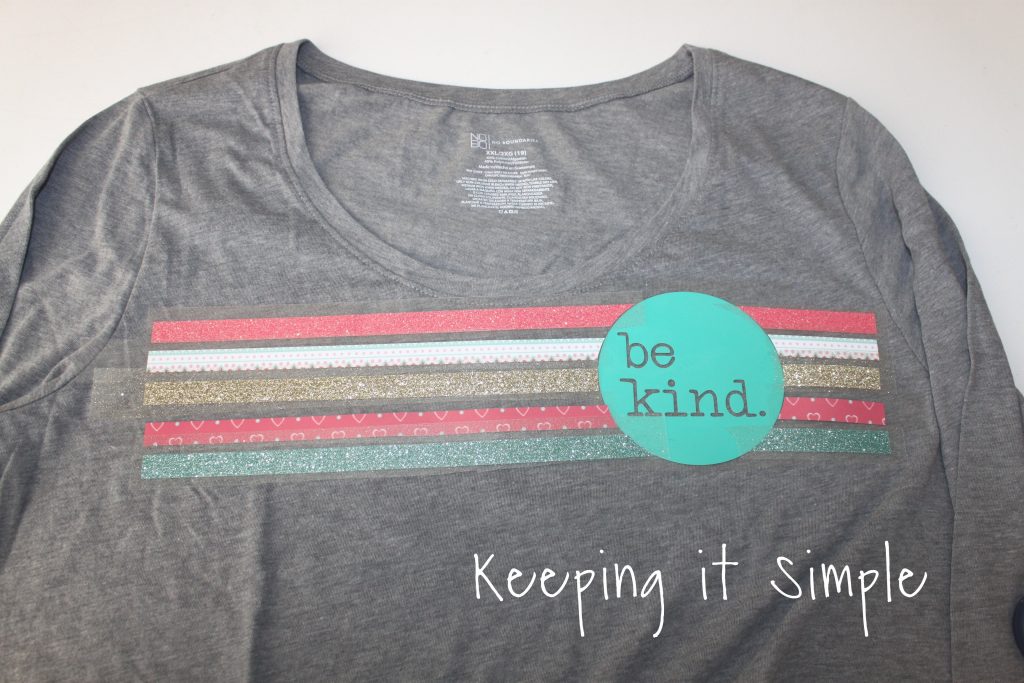
Using my heat press, I pressed the design onto the shirt. You can also do this with an iron. I started with the circle and then worked from there. I measured the two sides of the line to make sure that they were level and straight. I started with the top line and then did the bottom line. Once those were on, I did the middle and ended with the two patterned vinyl.
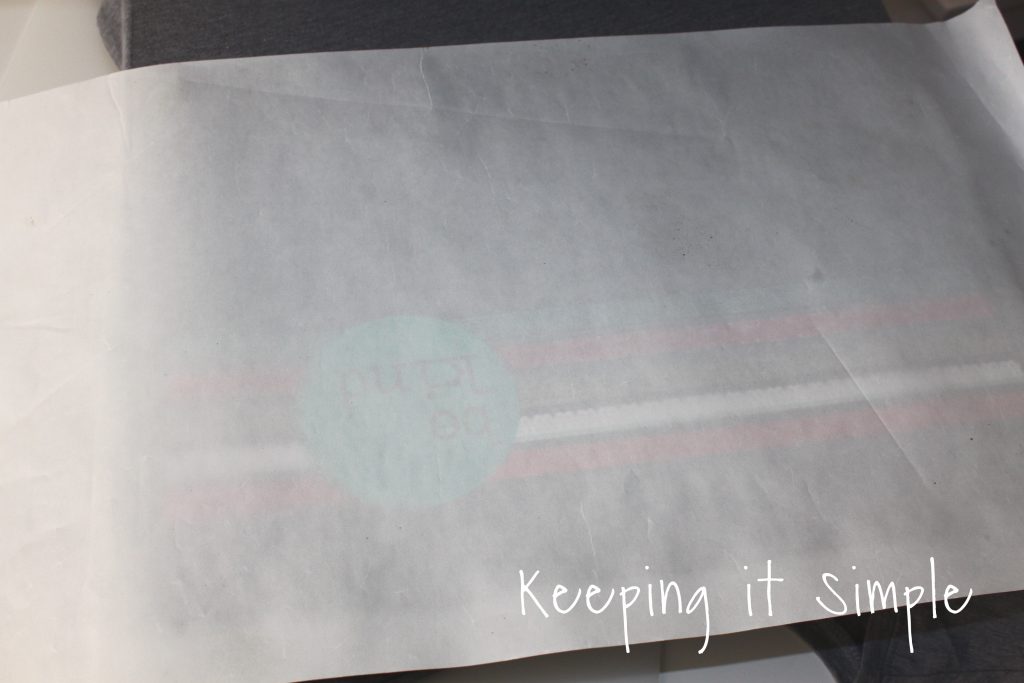
Between each layer, I used multi-use paper to protect the vinyl from the hot press. I pressed each layer for 15 seconds at 305 degrees and once all of the design was on, I moved the shirt to a different spot on the heat press and pressed it one more time, just to make sure that the design was pressed evenly through out the whole shirt.
And that’s it!! I love how it turned out and I love how well the colors go together.
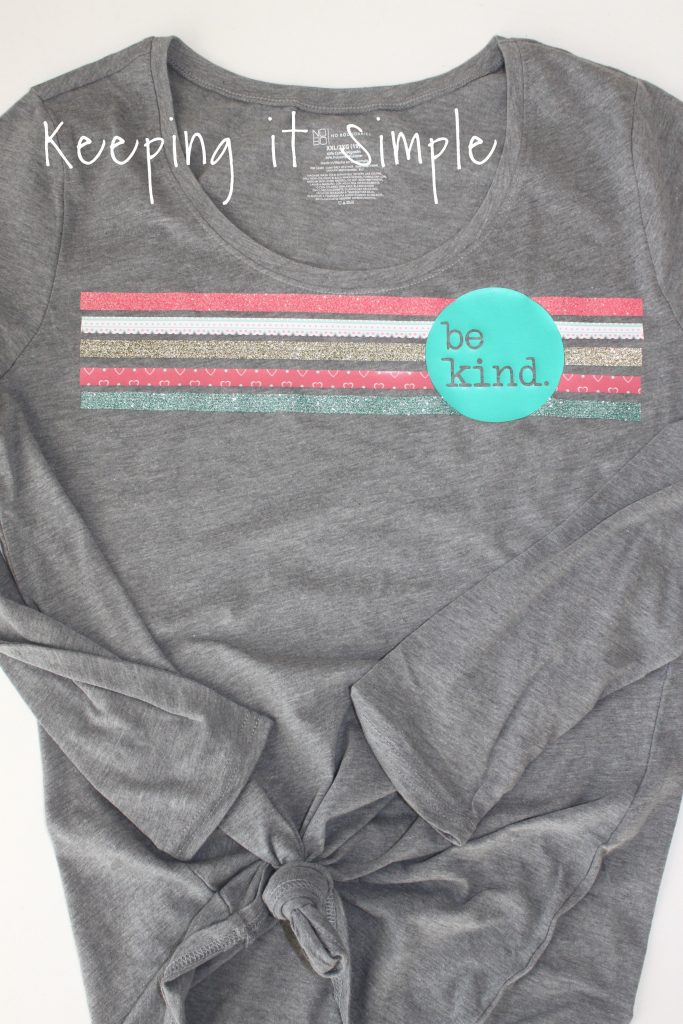
Here is a close up of the be kind shirt. I love the patterned vinyl, I want to make more with it!!
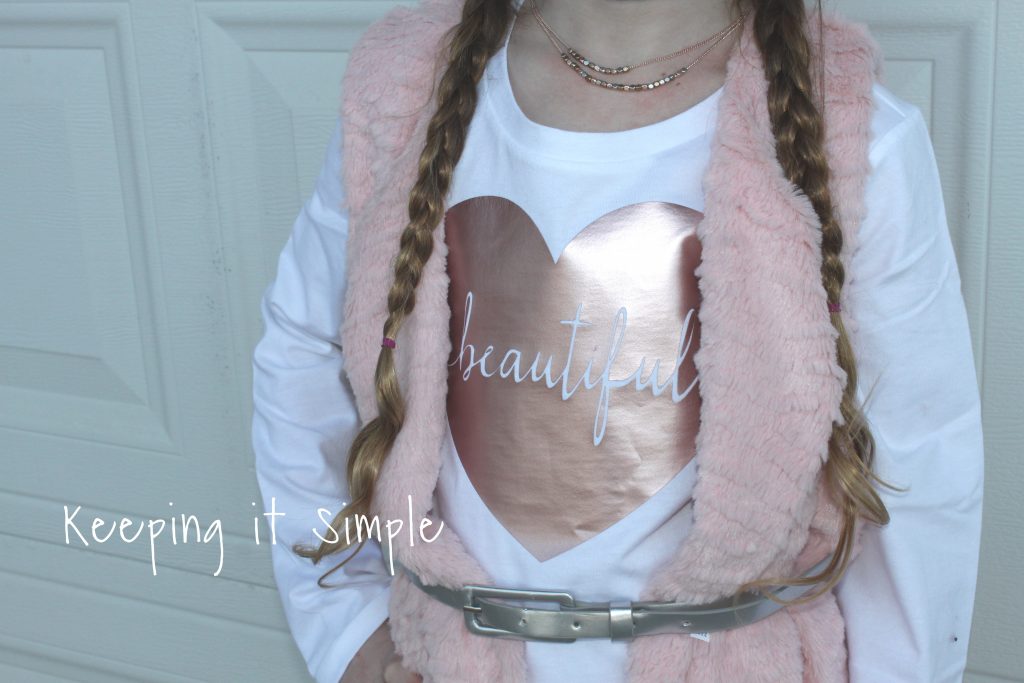
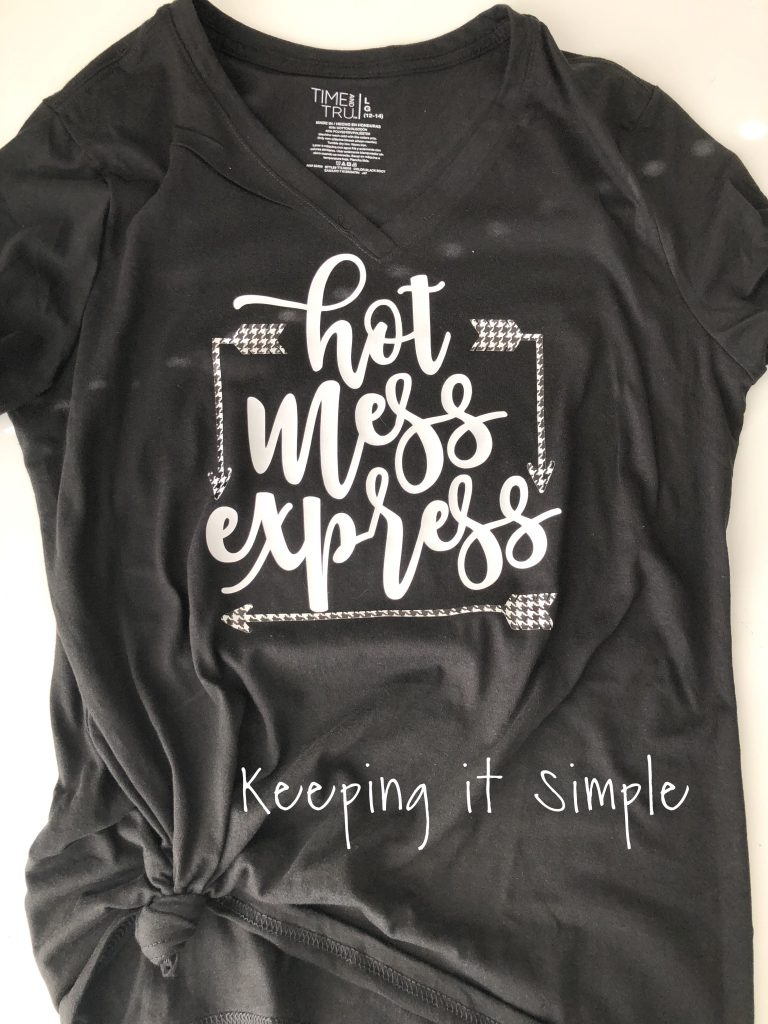
Make sure to check out the other shirts that I have made!
![]()
This post contains affiliate links.
Leave a Reply
You must be logged in to post a comment.