Girls Halloween Shirt {Unicorn Witch}
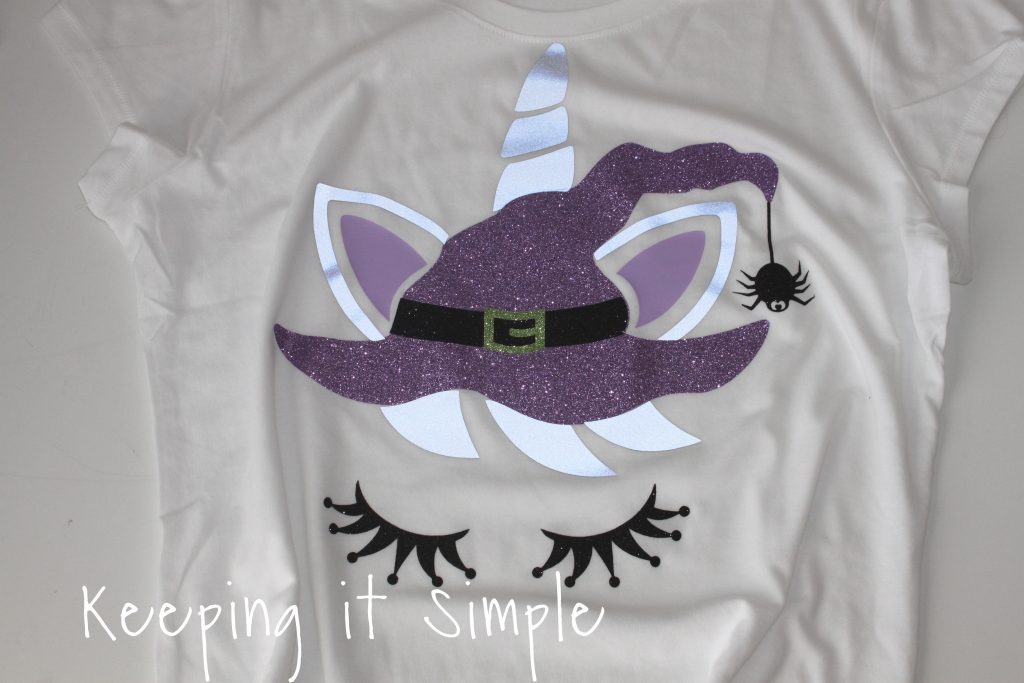
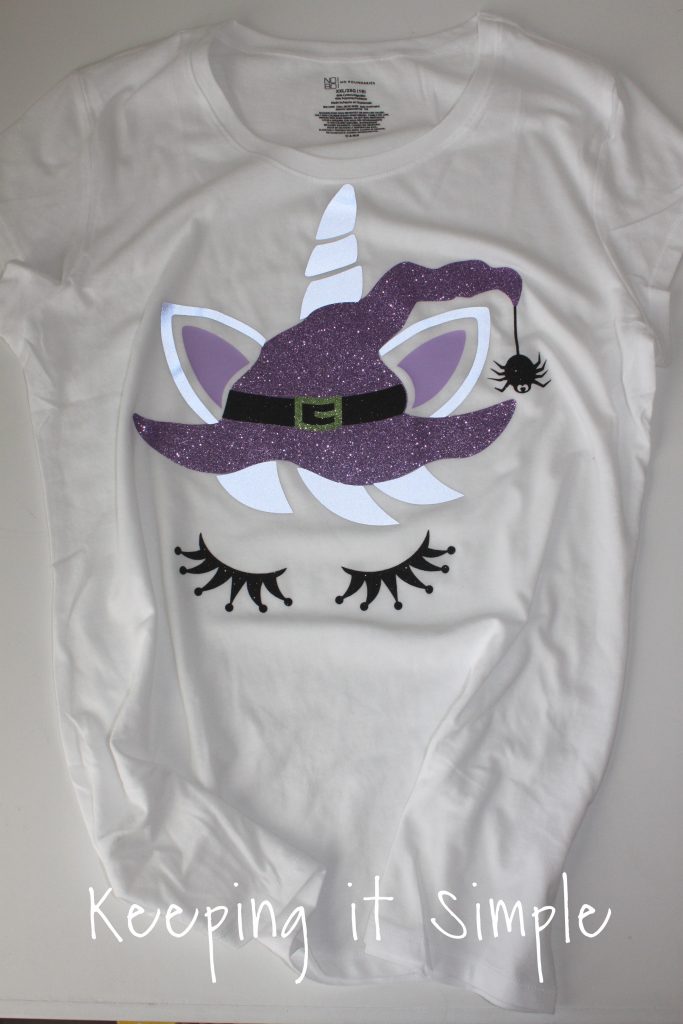
My daughter and I love everything with unicorns! I swear I buy anything that has a unicorn on it. Well when I saw this unicorn witch cut file in the new fall bundle, I knew that I needed to have it! It’s so cute and cuts so well! I loved it so much that I made myself a Halloween shirt and I can’t wait to wear it all month long!

Here is a video of the process of how I made it 🙂
This is how I made it:
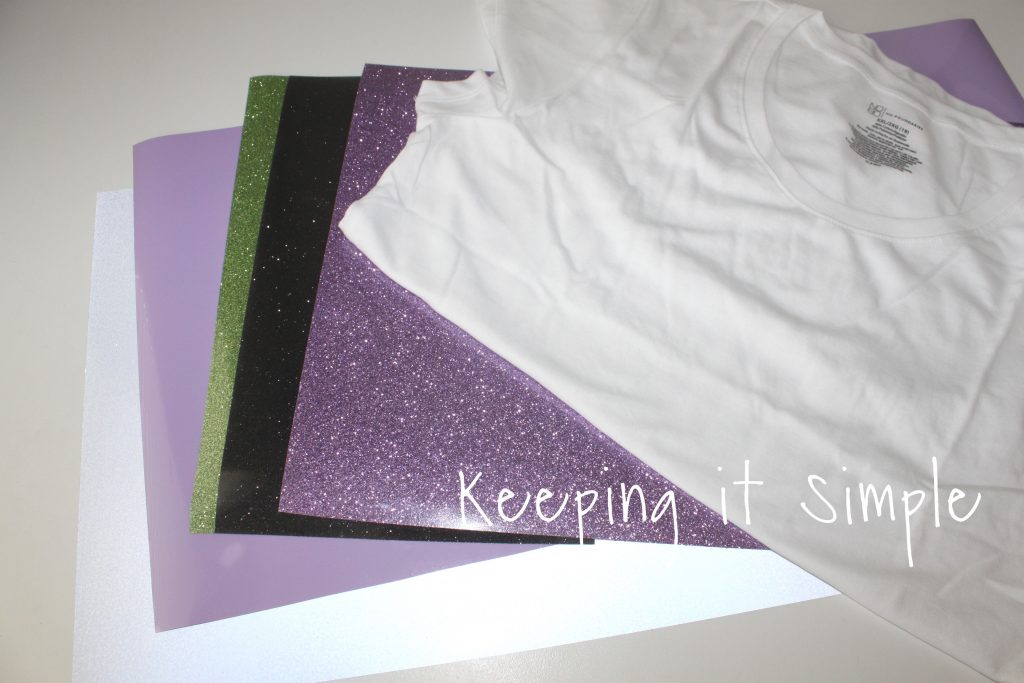
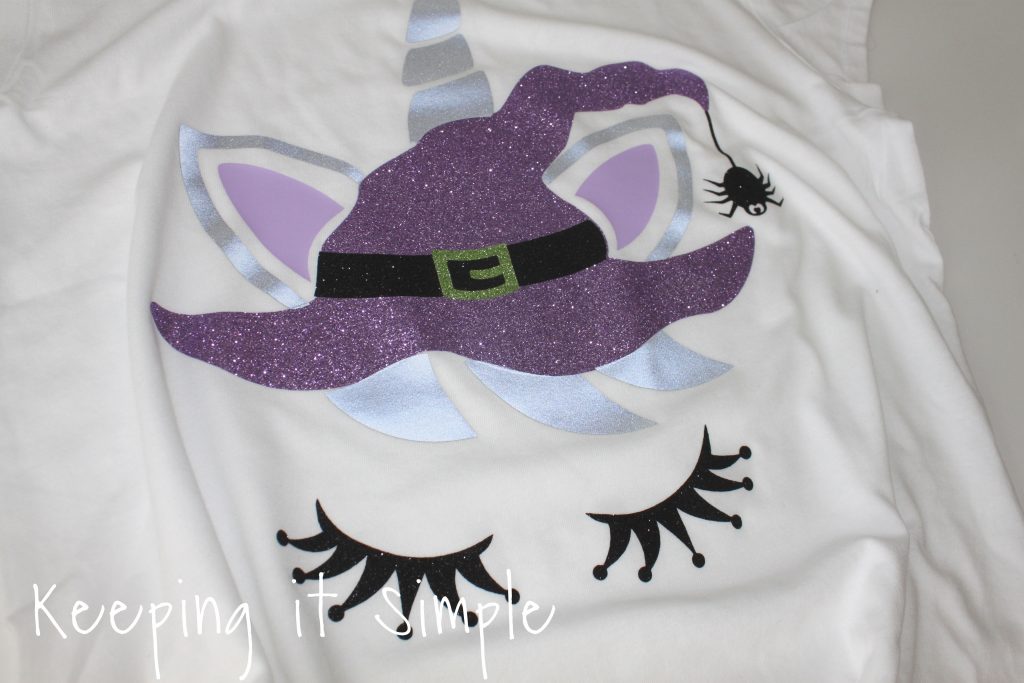
I took a shirt and then lots of different colored heat transfer vinyl. I used three different glitter heat transfer vinyl, in lavender, black and light green. I then used a smooth heat transfer in lilac. For the ears and the horn, I wanted something that looked really cool and stood out, so I went with a grey reflective heat transfer vinyl. It is really cool and definitely reflects light!
The first thing I did was I arranged the SVG cut file in Silhouette Studio. To open the cut file, you look at the design portion of the fall bundle and then open the unicorn face and click on the file that ends with .dxf, that will give you the design all ready to cut! Make sure you mirror the image and cut the HTV with the shiny/plastic side down.
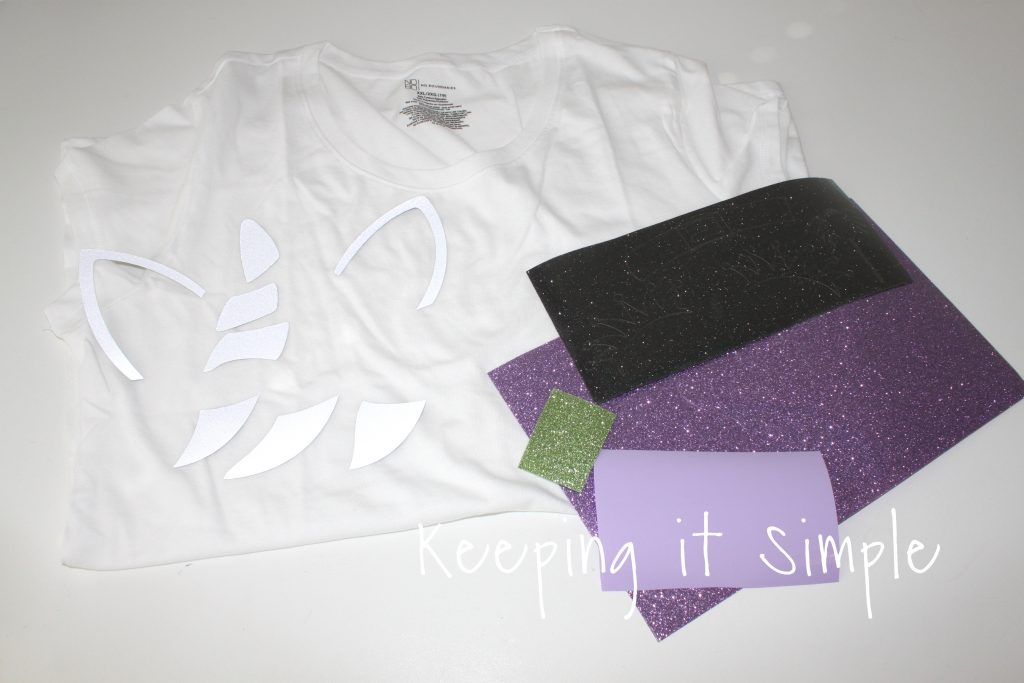
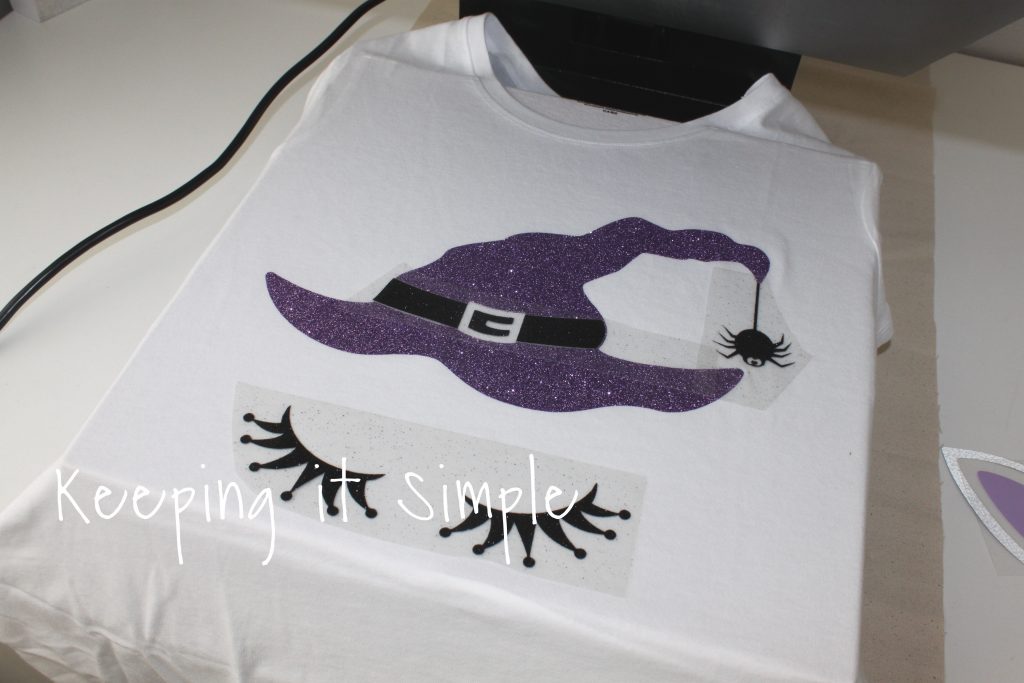
When I was moving around the image, for the hat I had a cut in the middle of it (where the belt and buckle are) but you can’t layer glitter heat transfer vinyl, it has to go onto the fabric. I did the same thing for the belt, the bucket is cut out of it so that I could put a green buckle on it. With the reflective vinyl, I accidentally cut it too deep, so it cut through the plastic. It’s not a big deal because you can still use it.
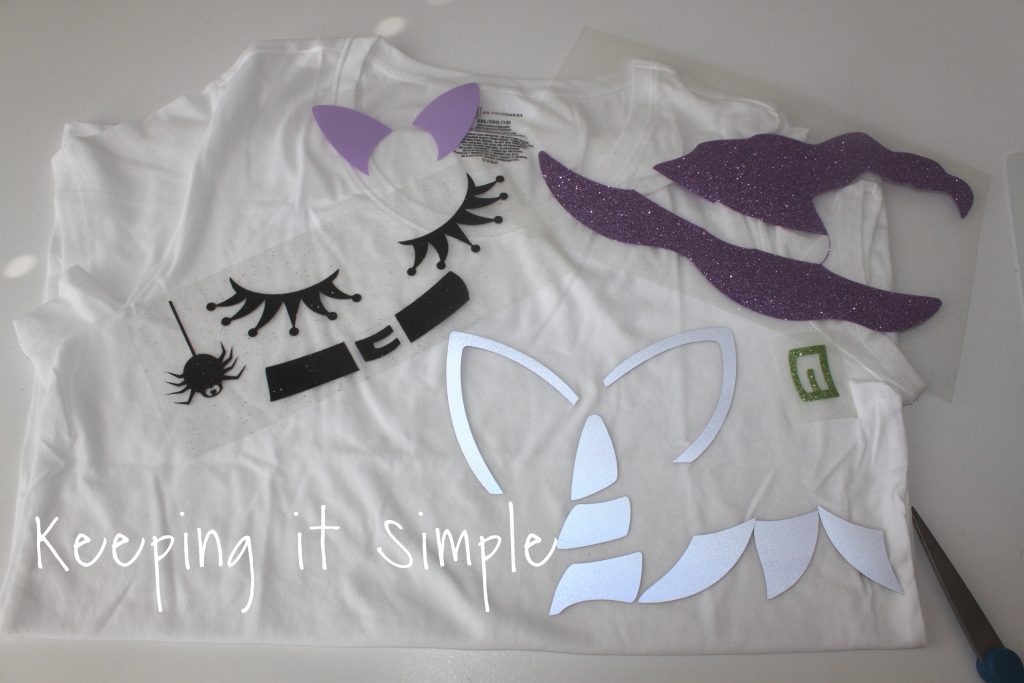
I arranged the heat transfer vinyl onto the shirt to see how it would look and then it was time to put it onto the shirt.
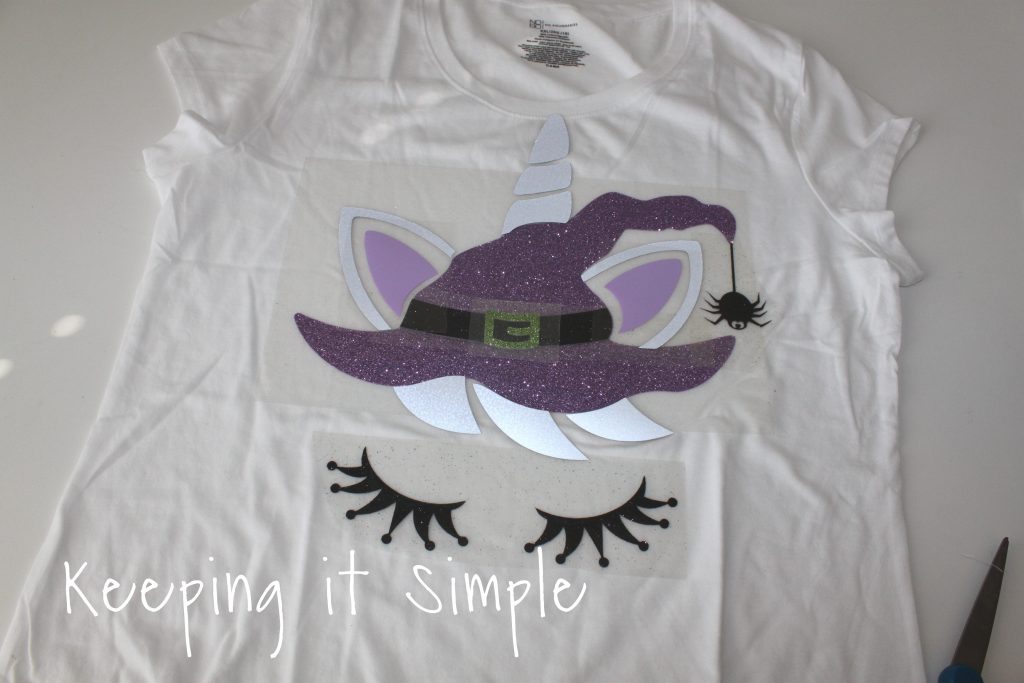
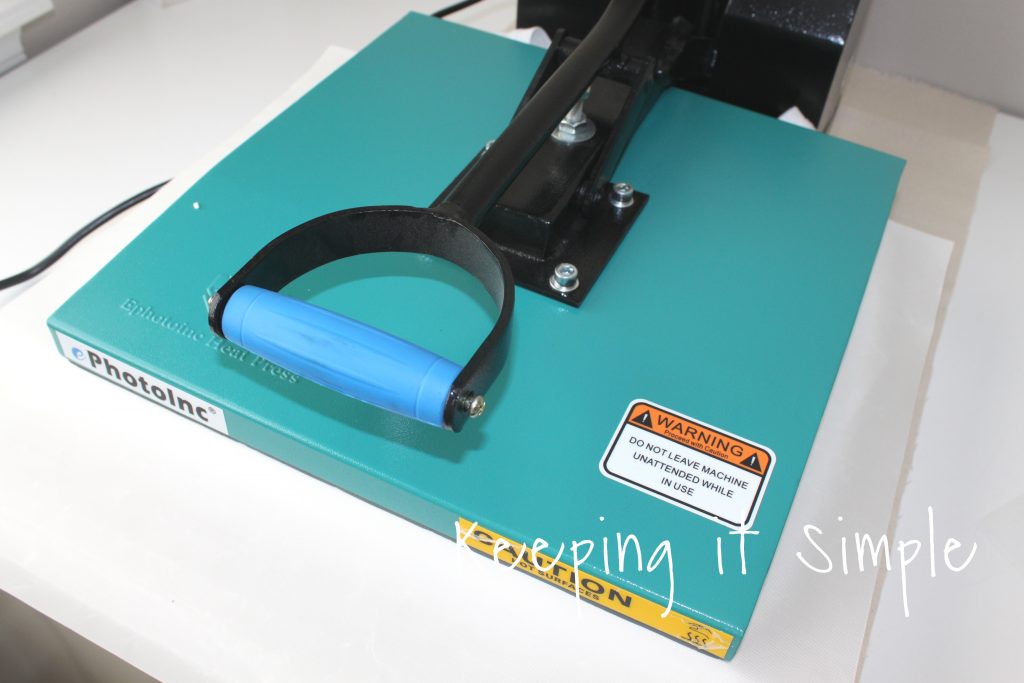
You can use an iron to put on the heat transfer vinyl, you just have to use a lot of pressure with it. I used a heat press because I make a lot of shirts :). The first thing I did was heated up the shirt in the press to get the wrinkles out. Then I added the hat to the shirt. I set the heat press at 320 degrees and closed the press for 15 seconds for each layer. For the settings of the heat press, check out this chart.
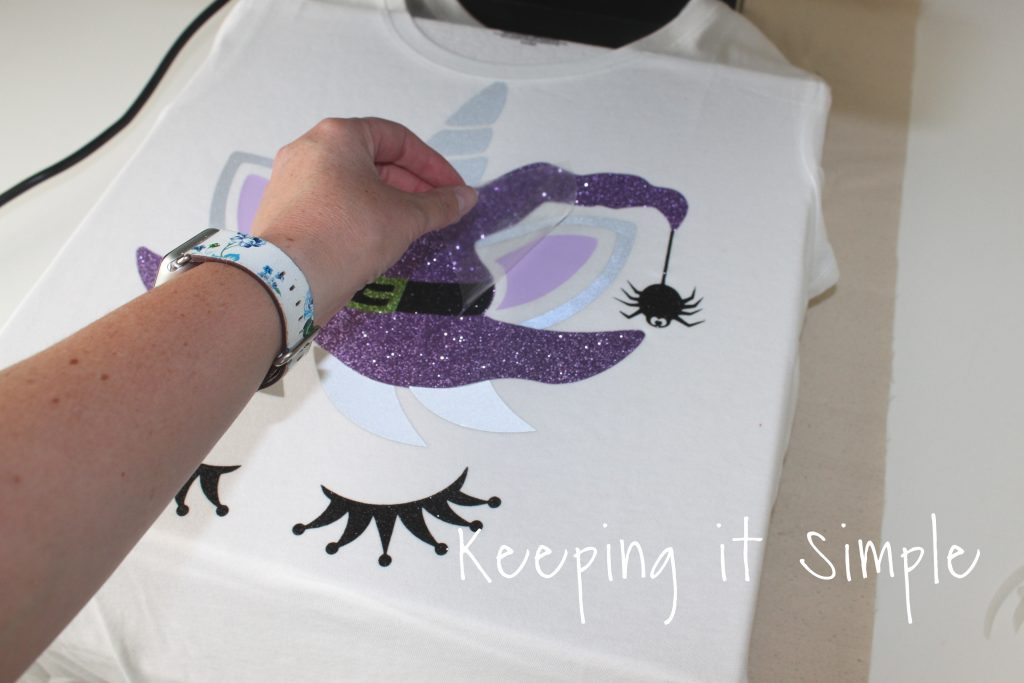
After the first layer, you take off the plastic and then add the next layer. After the first layer you will need to cover the design with a multi use paper or heat press over sheet.
I continued to add the different colors and layers onto the shirt and each time pressing it for 15 seconds.
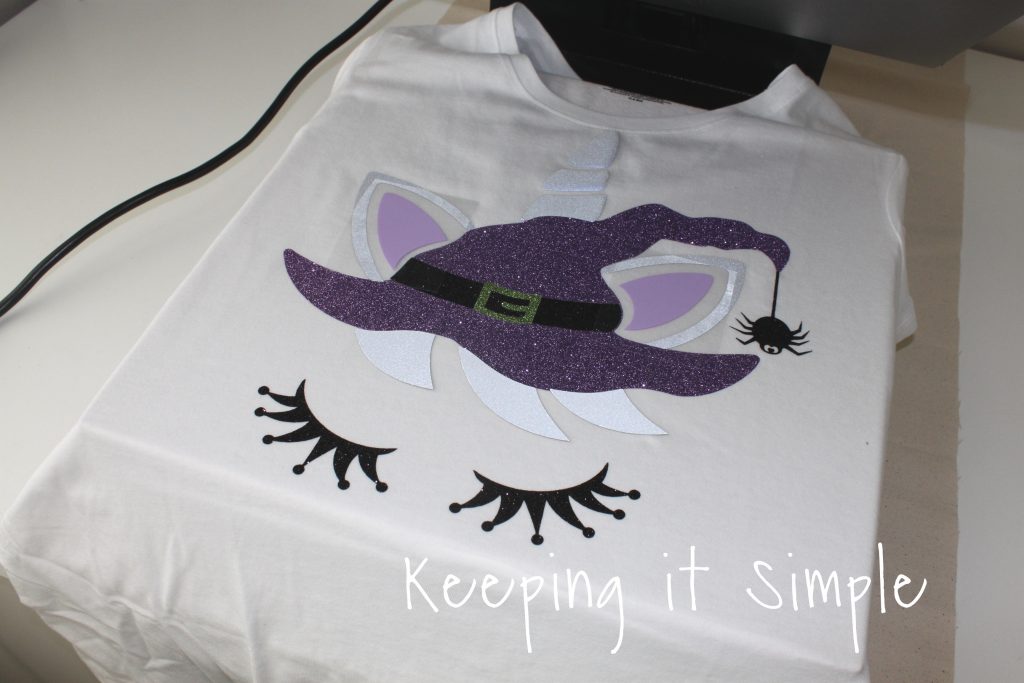
And after each layer I took off the plastic.
And that’s it! I love how it turned out! It’s so much fun and I can’t wait to wear it soon.
There are a lot of great designs and fonts in the fall bundle, so you should get it before it’s gone!
Check out my other Halloween ideas!
This post contains affiliate links.
Leave a Reply
You must be logged in to post a comment.