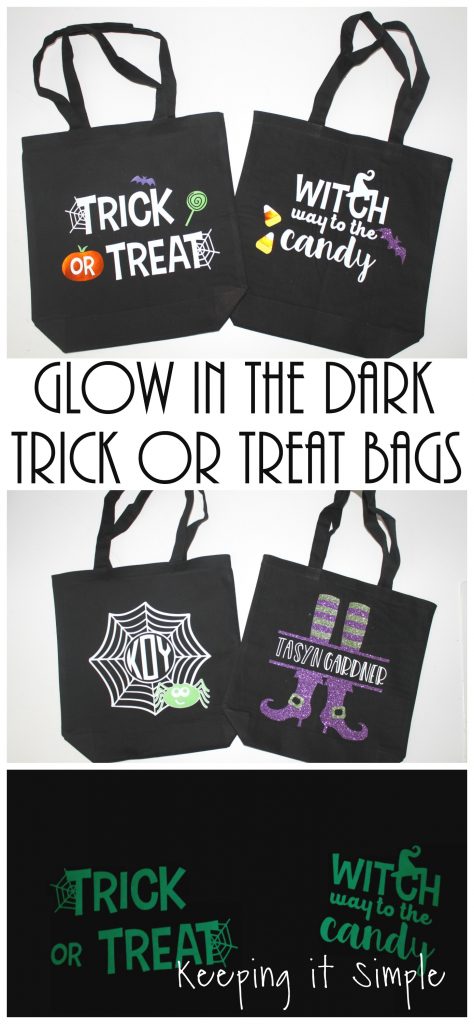
Glow in the Dark Halloween Trick or Treat Bags
This year I decided that it would be fun to make some glow in the dark trick or treat bags for my kids. They were super fun to make and they turned out so cute! I made them double sided, one side has a saying and then the other idea has a fun design with their names in it. It’s fun to see how their eyes just light up when they see their names on something! The best part about these bags is that they glow in the dark, it will be perfect for Halloween night when we go trick or treating.
Here is a quick video to show you the process of how it make these fun Halloween trick or treat bags.
This is how I made them:
I took lots of heat transfer vinyl and then some tote bags that I found from Hobby Lobby. I used several different types of HTV. First off I used the glow in the dark HTV, then I used a Easyweed HTV in wicked purple, green apple, lemon yellow and white. I used a glitter HTV in lavender and light green and then an electric orange.

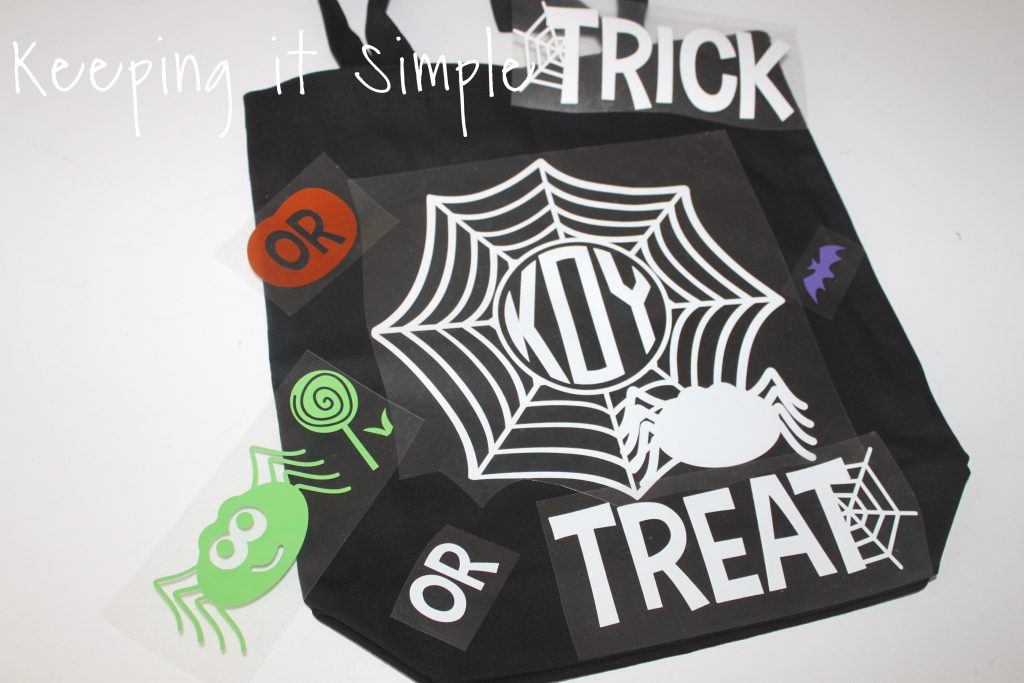
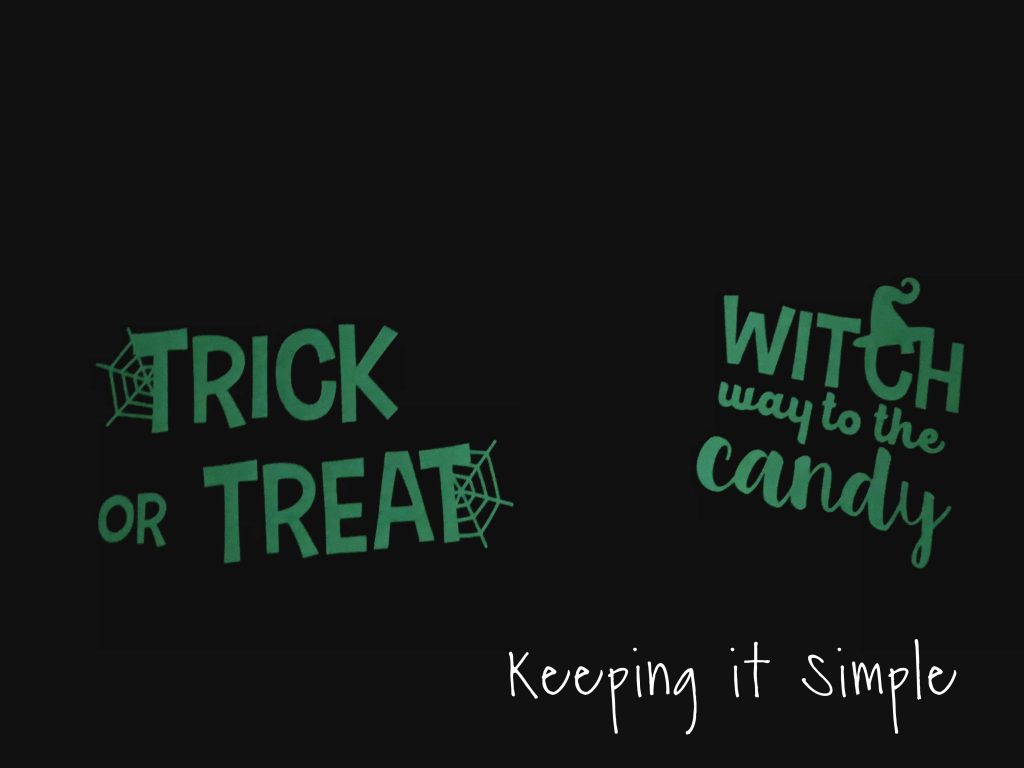
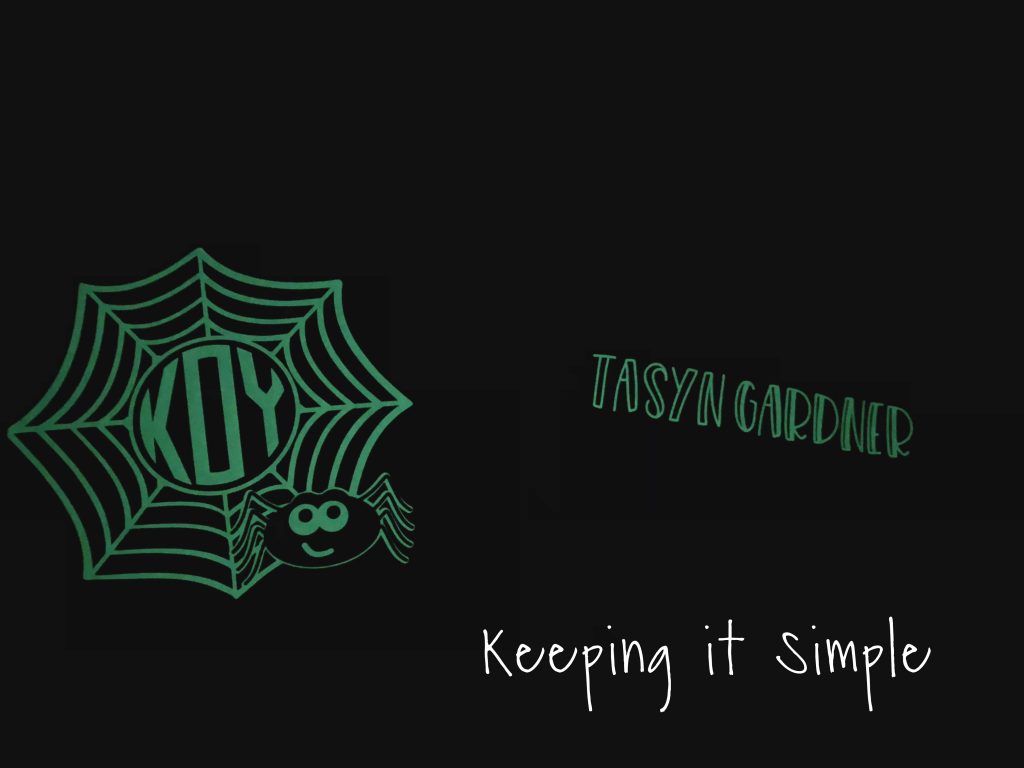
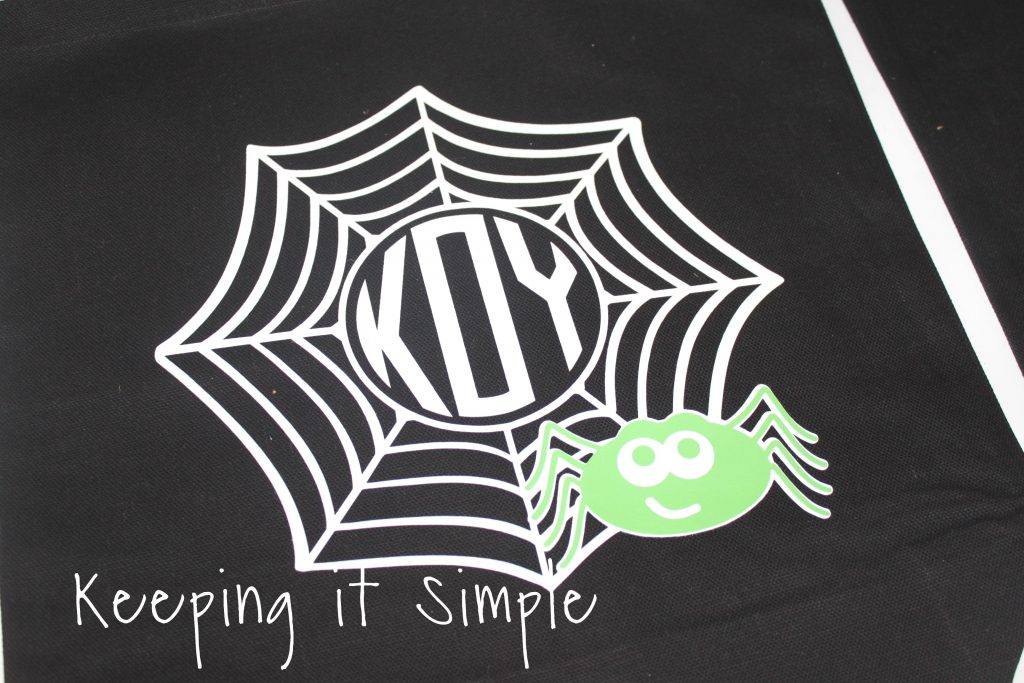
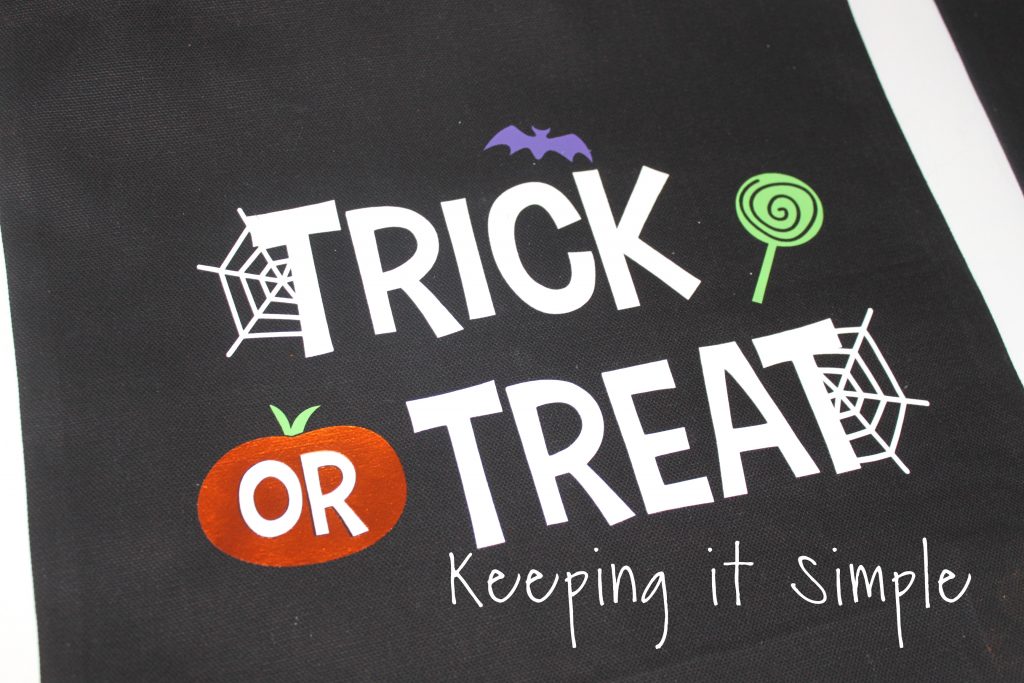
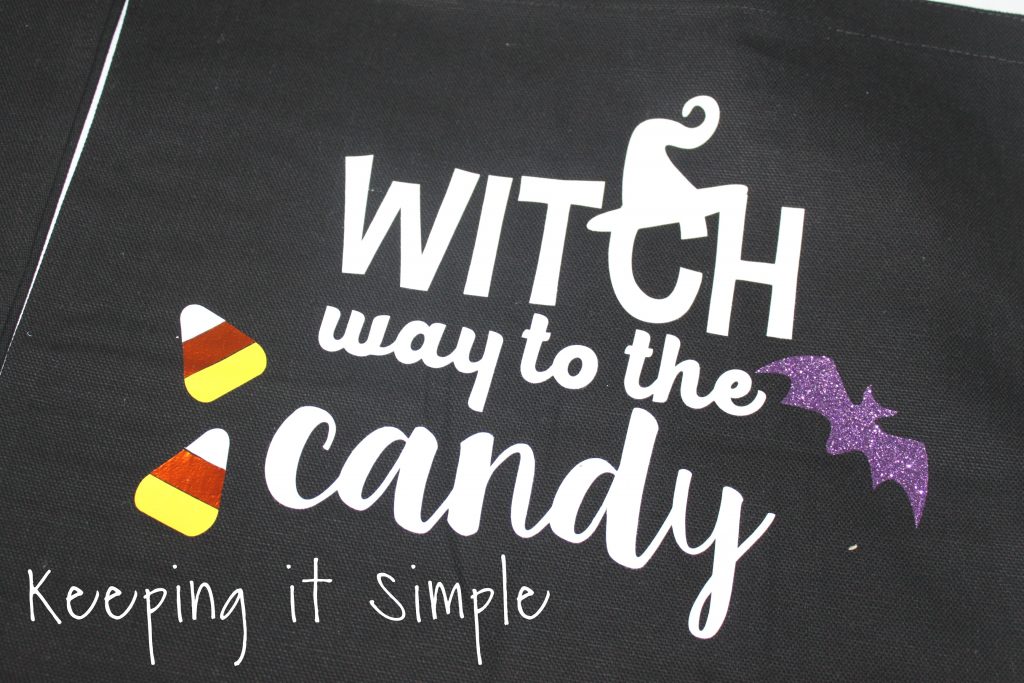
Using my Silhouette CAMEO I cut out all the designs. I mirrored all the images and put the shiny/plastic side down onto the mat. I got all of the designs from here. Here are the two designs for my daughter’s trick or treat bag.
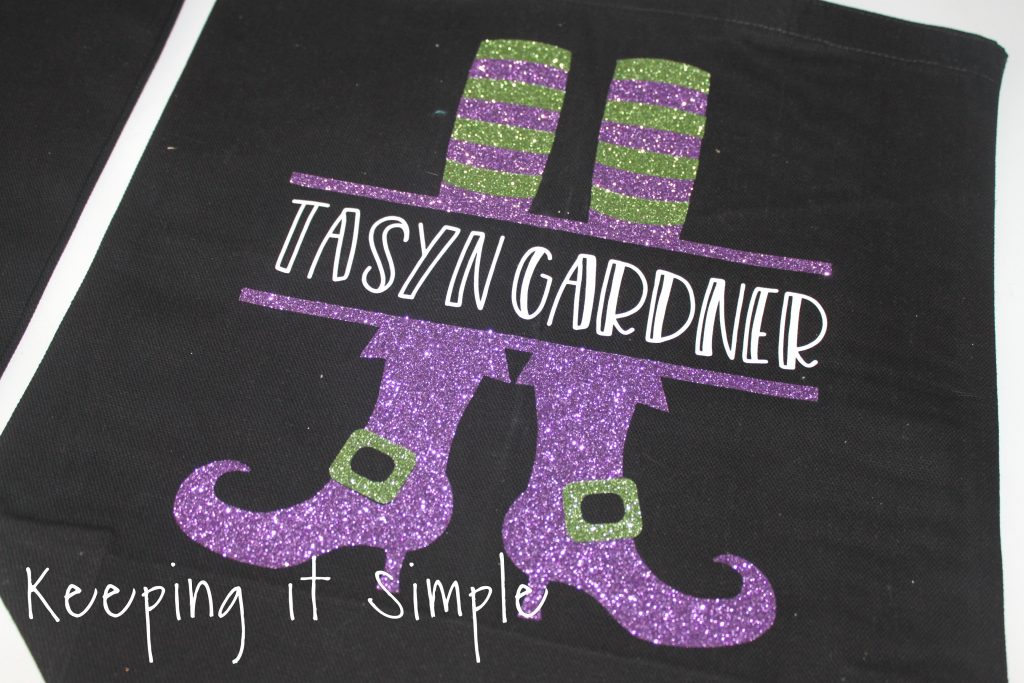
When you are working with glitter heat transfer vinyl, you cannot layer it on top of each other, so when I was cutting the parts of the design that had two colors, I cut the full image in the base color and then just the part of the design in the second color. I know that didn’t make much since, so I’ll try to explain it more. So for example, in the witch’s socks and shoes, I used green and purple. For the purple I cut the whole design, including the stripes and the bucket. If you were laying on top of the socks and shoes, you would just cut out the outline, a solid sock and a solid shoe. That works for vinyl and smooth HTV, but not glitter. So instead of the purple being solid, I cut out the full design so I could remove the parts that will be green, leaving room so that the green can adhere to the fabric. I hope that makes more sense :).
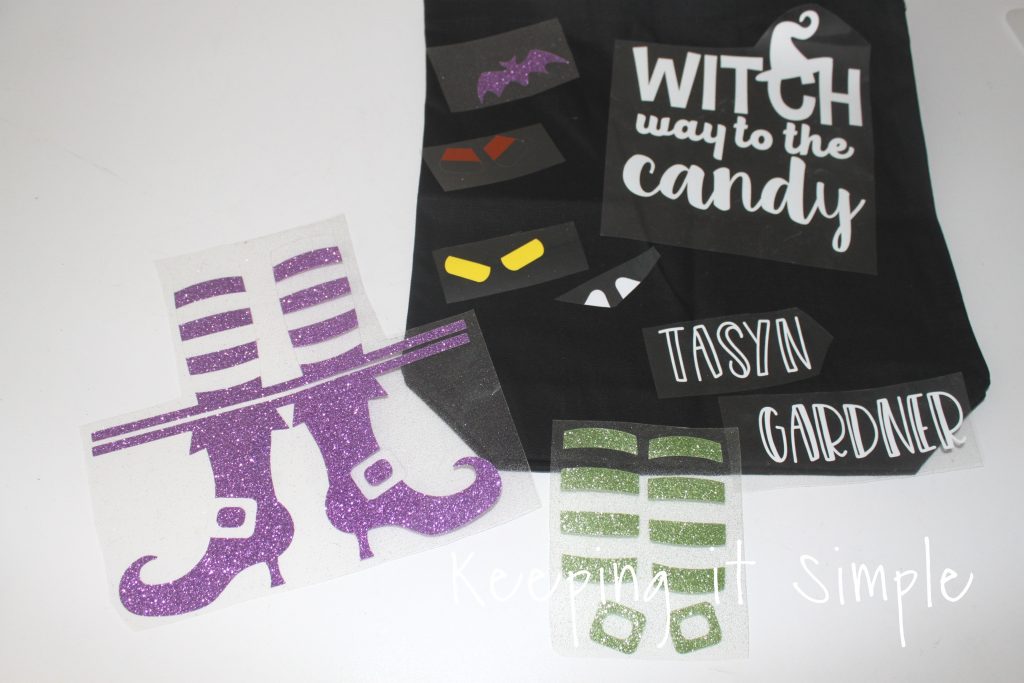
Once I cut out the design, I arrange it it onto the tote bag.
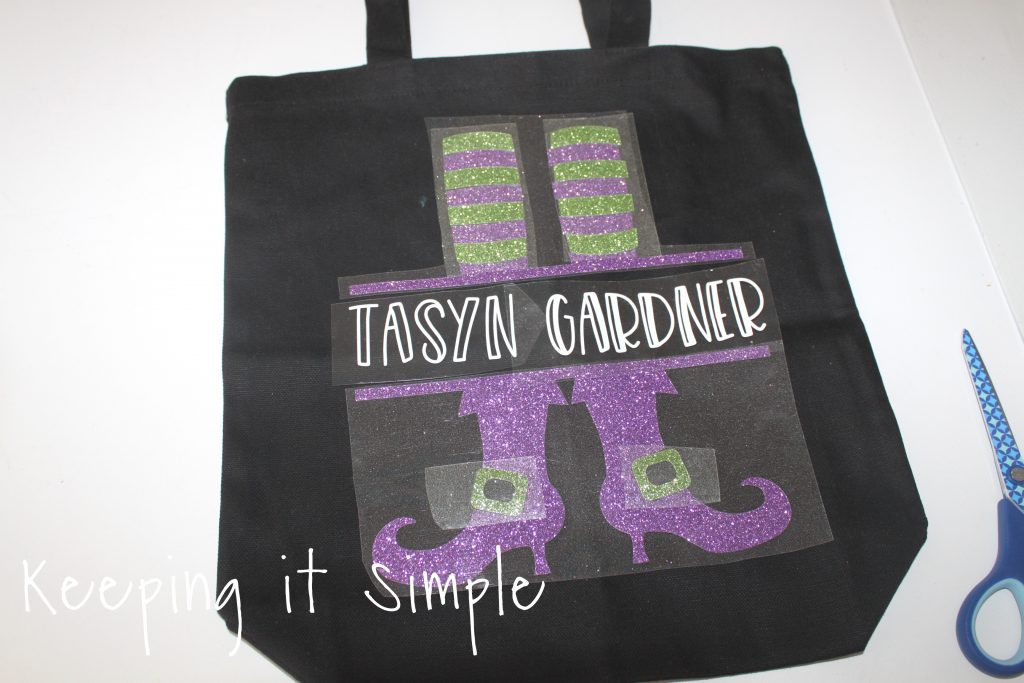
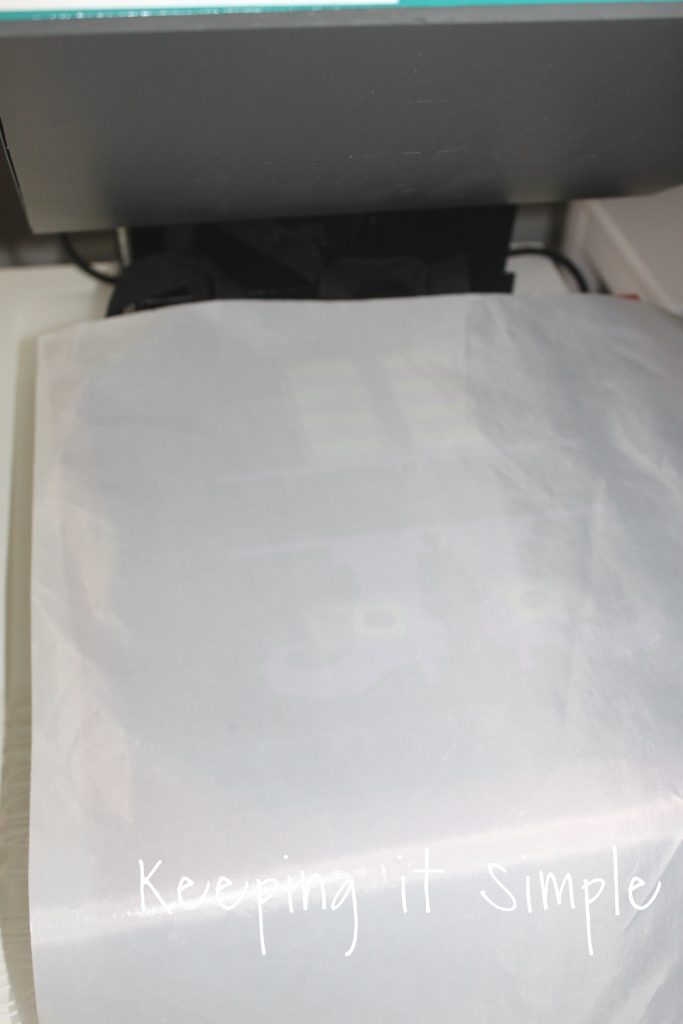
Now time to put it onto the tote bag. I used my heat press and set it at 320 degrees. I pressed each layer for 15 seconds.
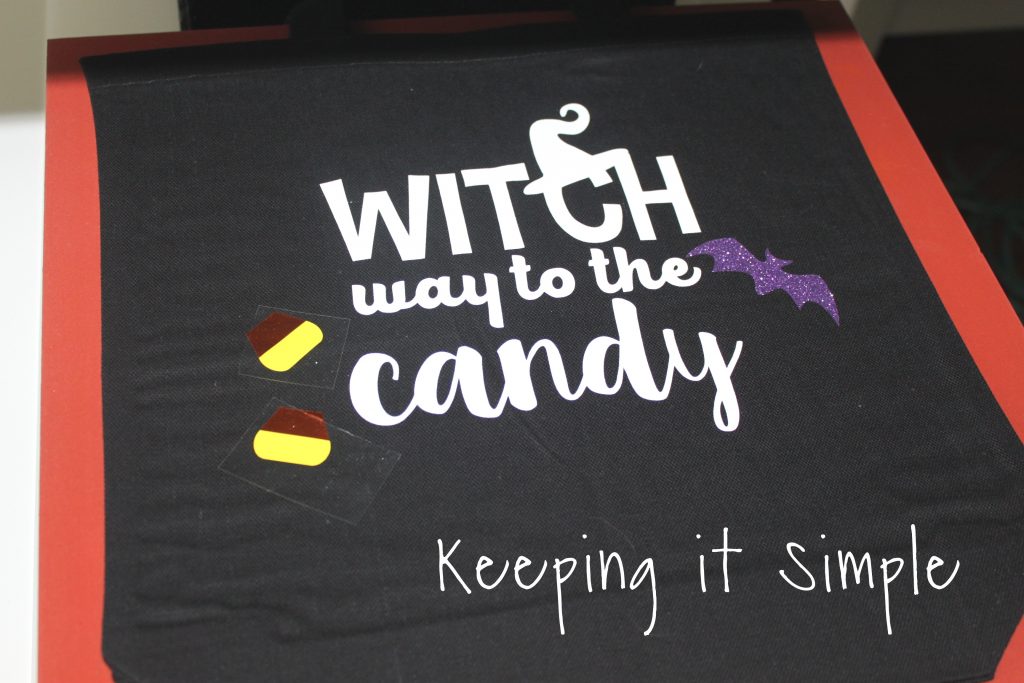
In between each layer I used heat press cover sheet to protect the design from sticking. You can also use an iron to do this too, just use enough pressure to make sure that the HTV is really on there good. One thing I have to mention is that since the tote is thick in some parts it might mess up the seal of the heat press, so you will want to switch directions when you are pressing it (you will see me do this in the video). I did this to make sure that all of the design is getting a good press and seal.
Here are the designs of my son’s trick or treat bag.
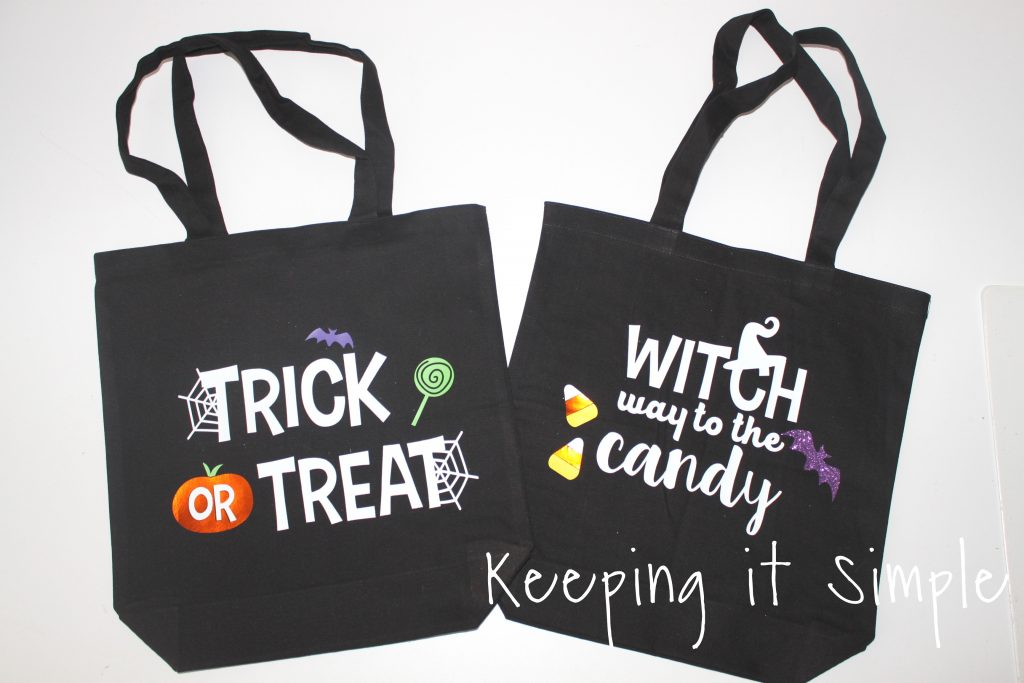
And that’s it for the glow in the dark Halloween trick or treat bags! Here is the front of the them.
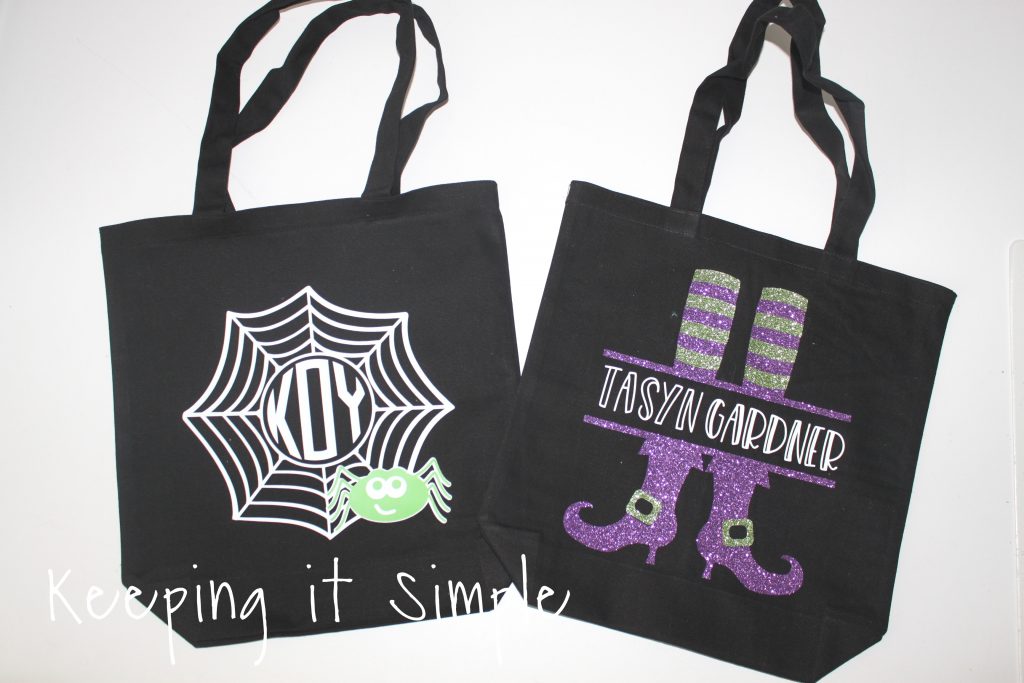
And here is the back. I love how they turned out.
This is my favorite part about it, that they glow in the dark! I love it!
And here is the back of the totes glowing :).
The designs are so fun and my kids love them! Here are some close ups of all of the designs.
Make sure to check out my other Halloween posts!
![]()
This post contains affiliate links.
Leave a Reply
You must be logged in to post a comment.