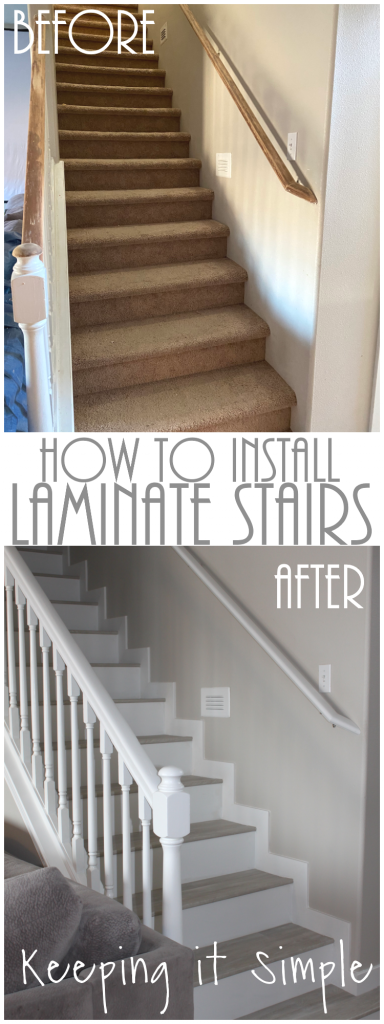
How to Install Gray Laminate Stairs with White Risers
We have been in our house for almost 7 years and we have been wanting to replace the carpet that is on our stairs. Our cats ruined it the first year of living here, so we have been talking about replacing it since then. We thought about putting new carpet in but decided to go with hard floors so they are easier to clean and last longer. We recently changed the floors in our master bedroom, I loved them so much that I wanted to put them through out our upstairs, including the stairs. I love the look of our gray laminate stairs with white risers and I’m sure you will agree that they look a TON better than the nasty beige carpet.
I just wanted to let you know that installing laminate to stairs is easy but very time consuming, because everything has to be cut for each stair individually. We have 16 stairs, so it was very time consuming but it is totally worth the time and effort!
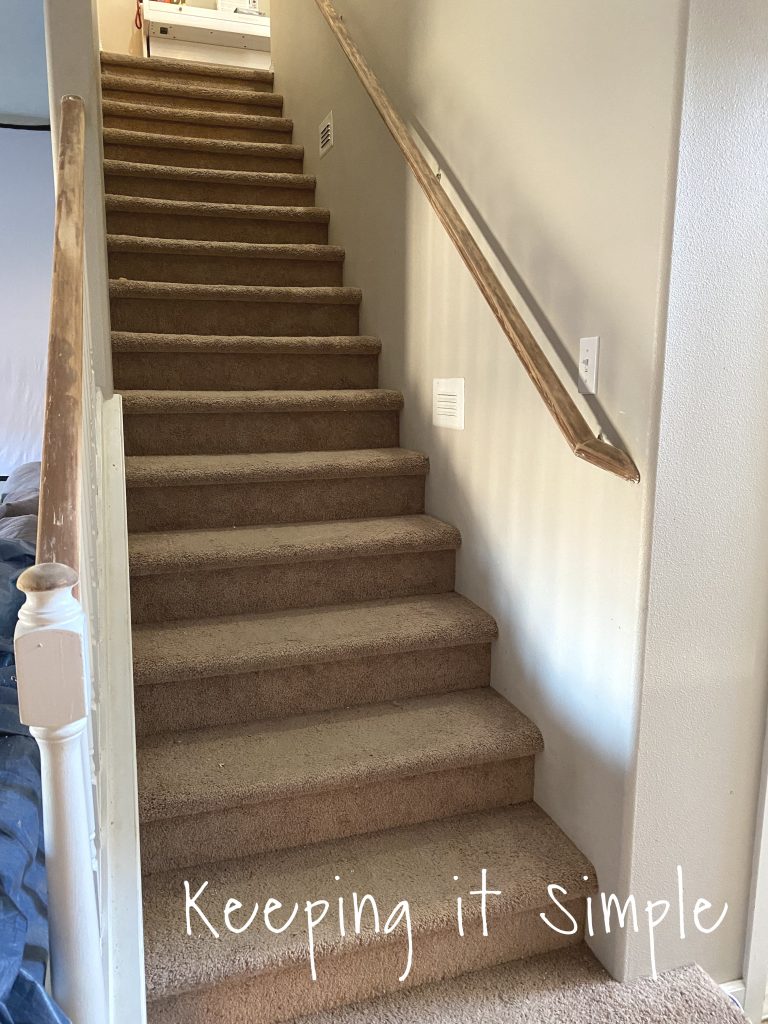
Here is the before picture, the carpet was so dirty and gross. I was shocked by how much dirt was under it. SO GROSS!
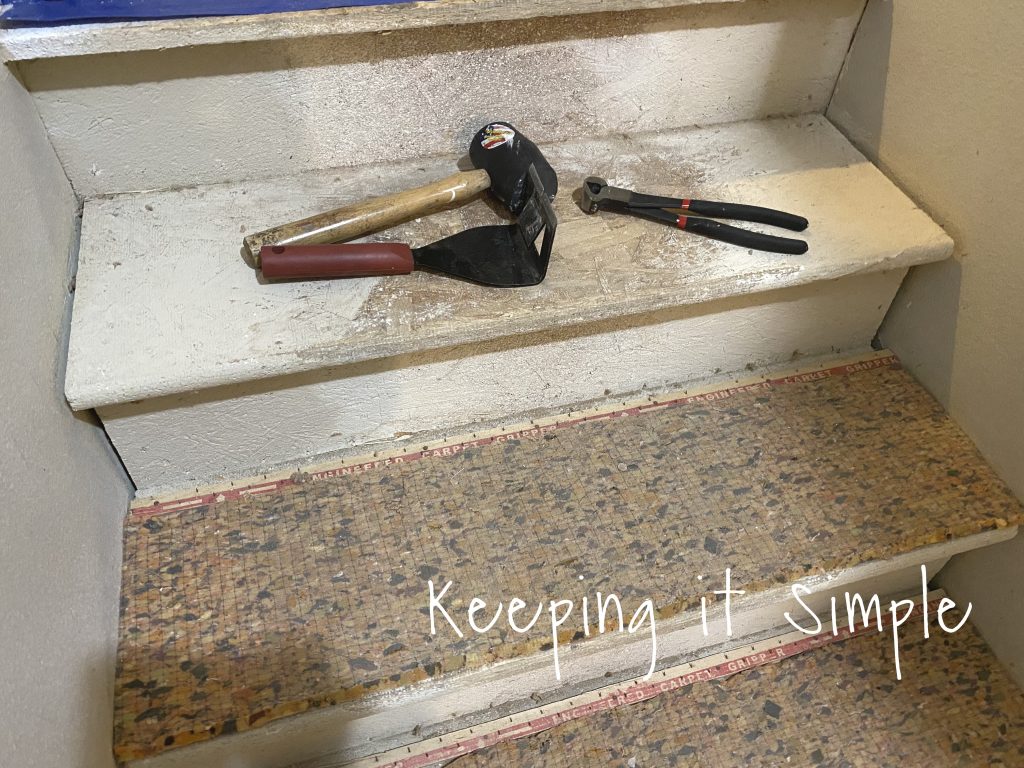
The first thing we did of course was rip out that horrible carpet. There were a LOT of staples in it, so I recommend wearing gloves when you rip it out, we learned that the hard way. Each stair has the tack strip and padding that needs to be removed too. I used this trim puller and nail nipper to remove the strip and staples. If you don’t have these two tools, you NEED them. They are amazing!
Once all the padding, nails and staples were out, we vacuumed and swept the stairs to make sure that there wasn’t any dirt on them.
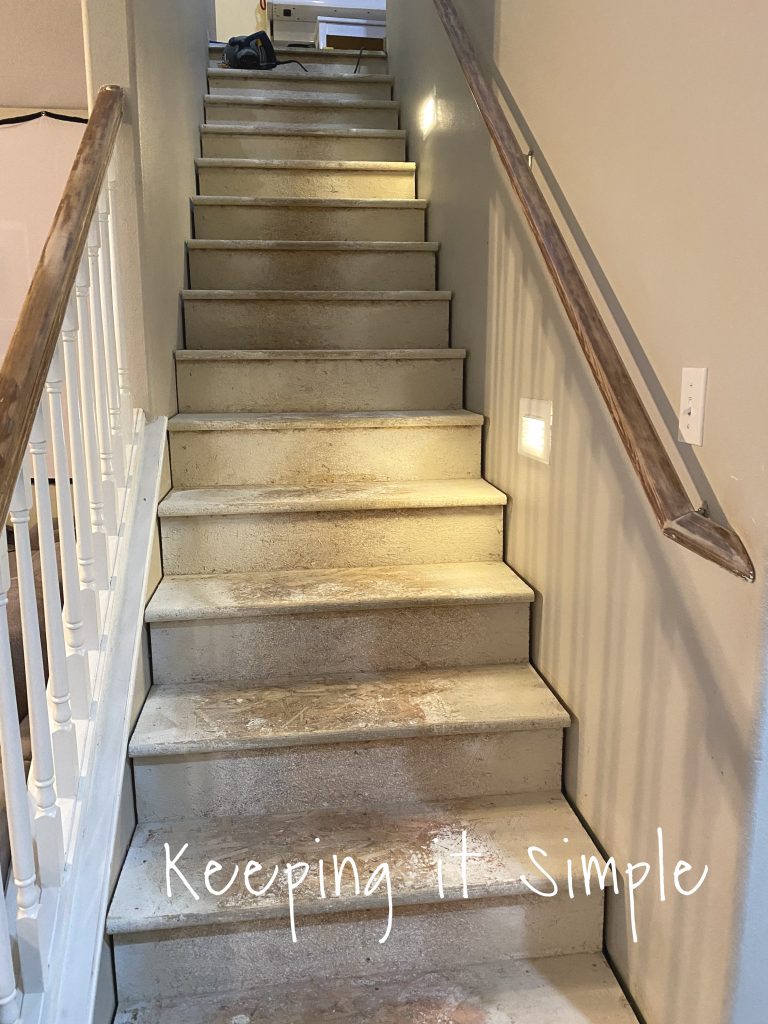
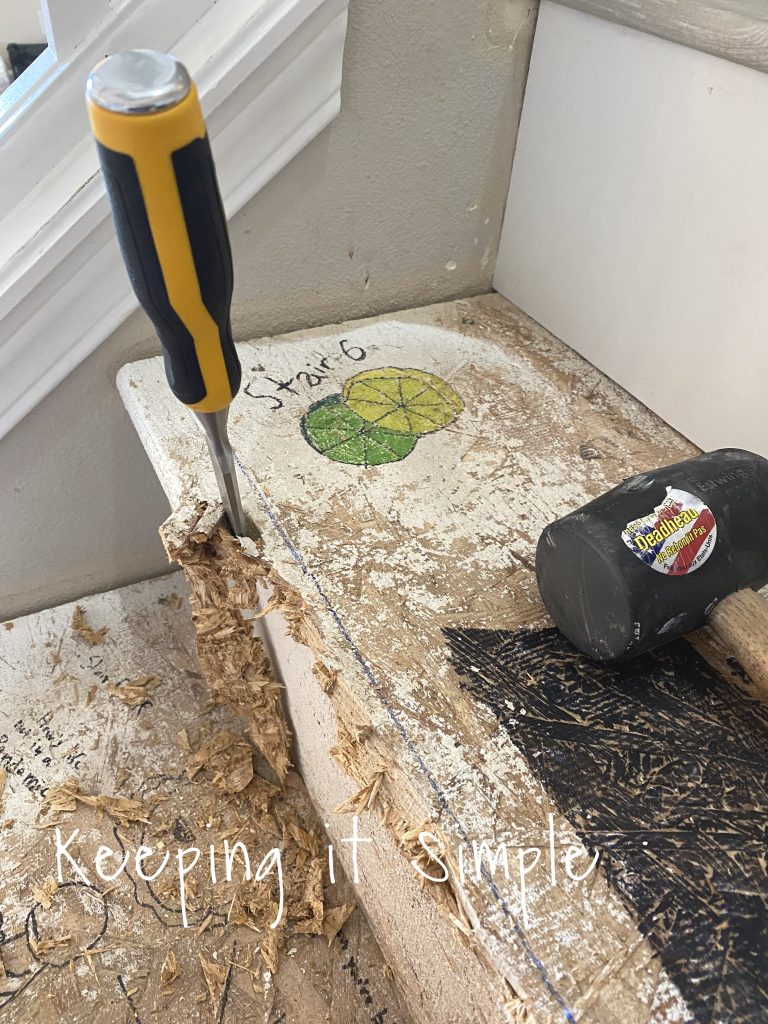
Next thing this we did was take off the carpet noses. The stairs have to be flush to put on the laminate, so you have to remove the lip. We tried lots of things to do it, but the best things that we found to work was a circular saw, jig saw and chisel. There was no perfect way to do it, so we did a combination of all three. The circular saw was great for the middle, but couldn’t go all the way to the edge. The jigsaw was great for evening it all out and the chisel was great for the edges and trickier parts of the carpet stair nose.
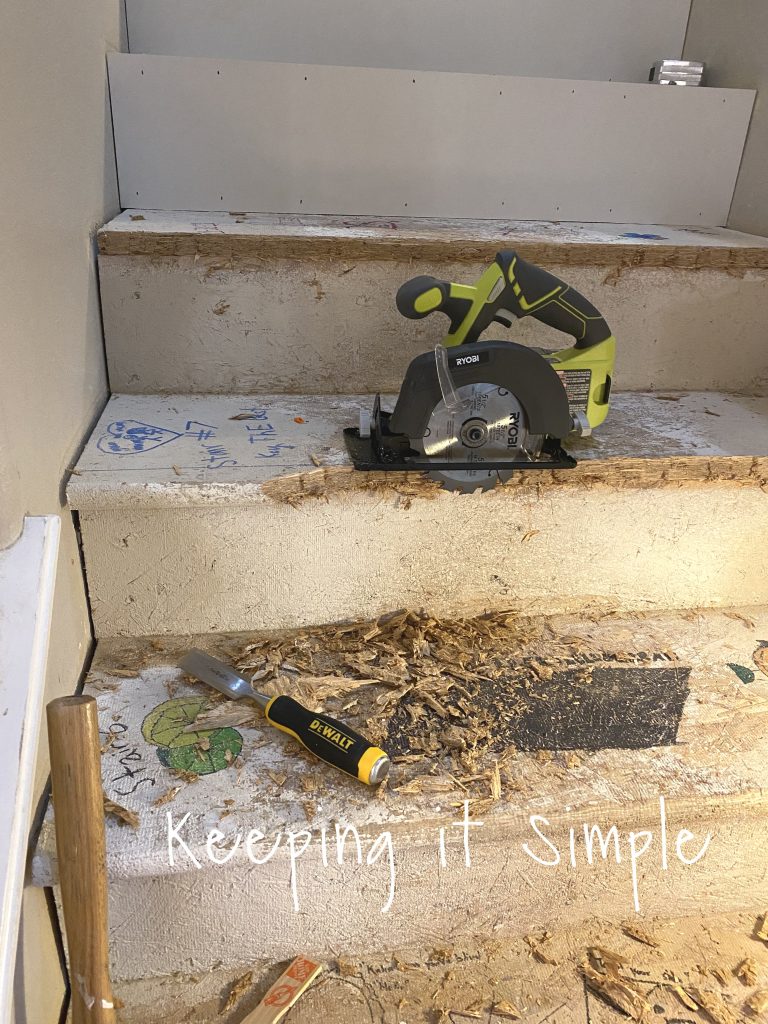
If you don’t want to use a saw, a chisel works just fine. It is a lot slower but it’s not as messy. The saws make a lot of saw dust. When I was taking off the noses, I used the chisel. When my husband did it, he used the saws.
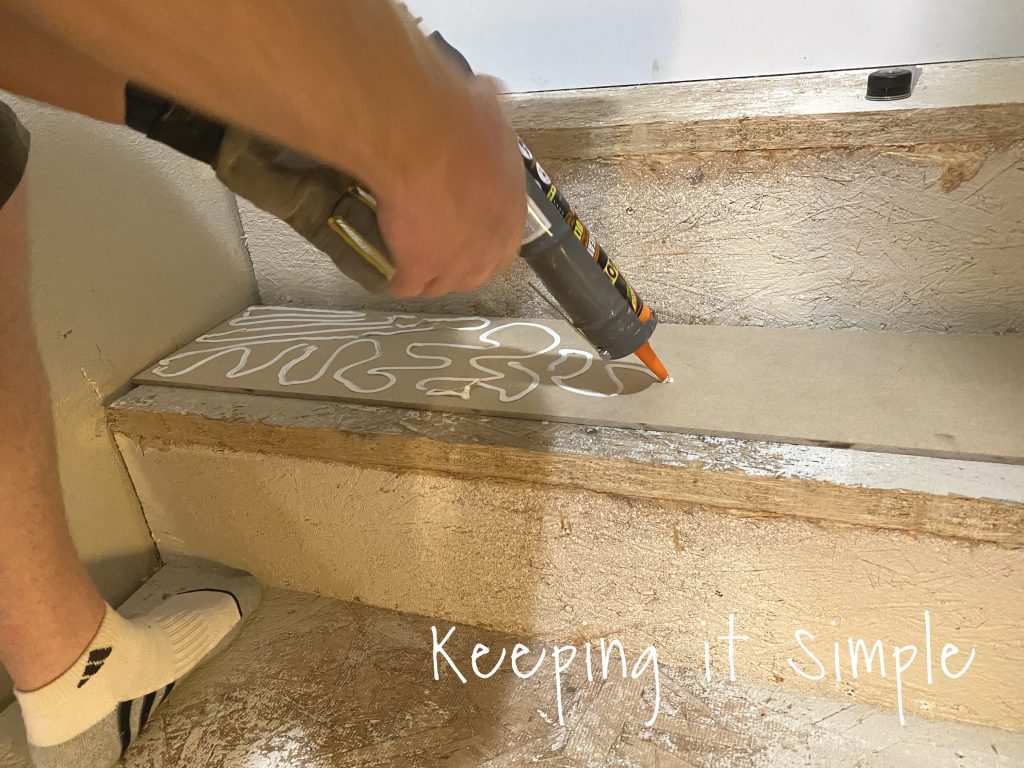
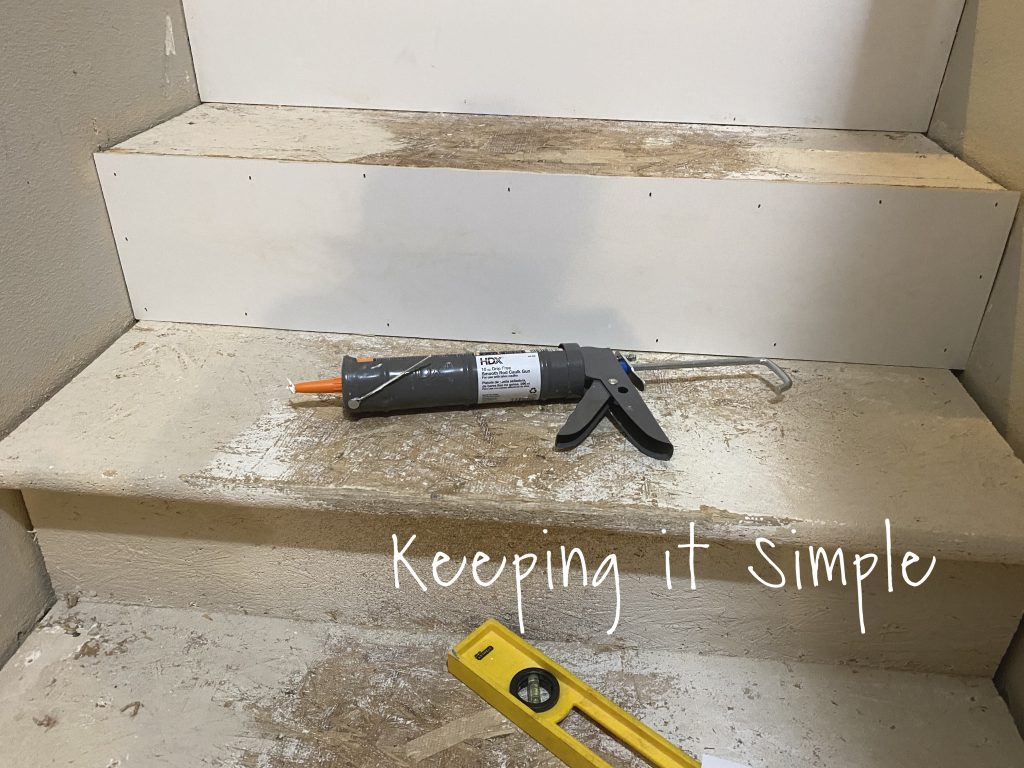
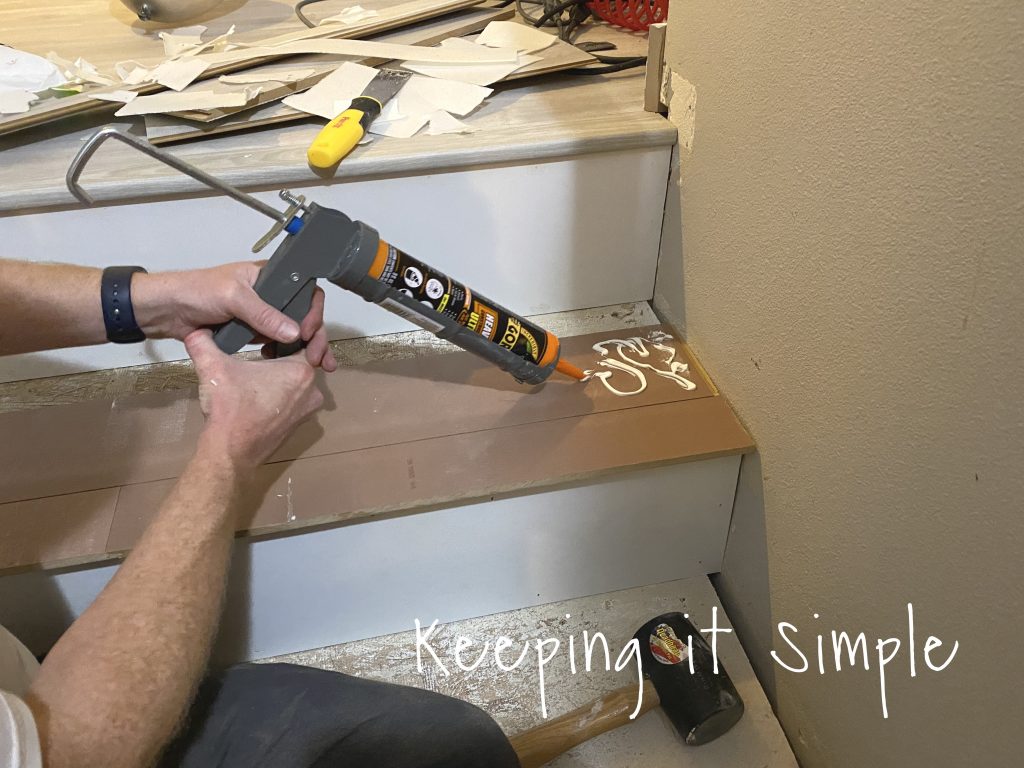
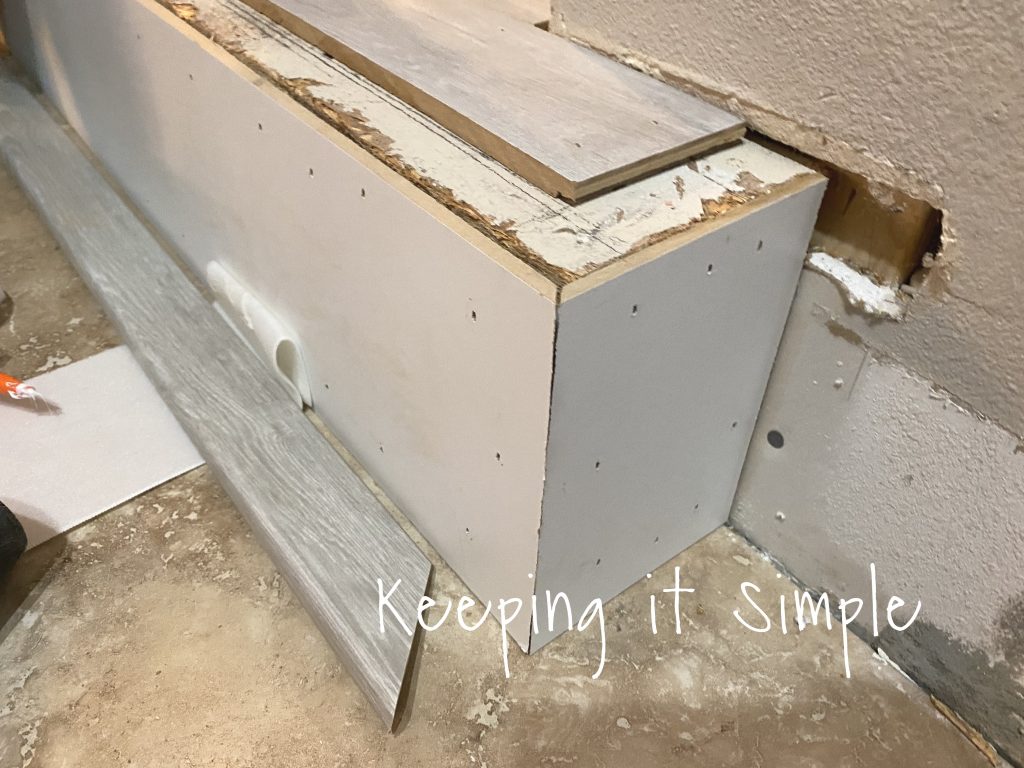
Once the noses were off, it was time to start working on adding the laminate to the stairs! The first thing we did was put the risers on. We used a white, 1/4″ thick vinyl 4×8 plywood for the risers. You can use the laminate on the risers too, it just depends on your preference. Once the riser is cut to size, we used a strong construction adhesive to put it onto the stair. You will want to use a generous amount.
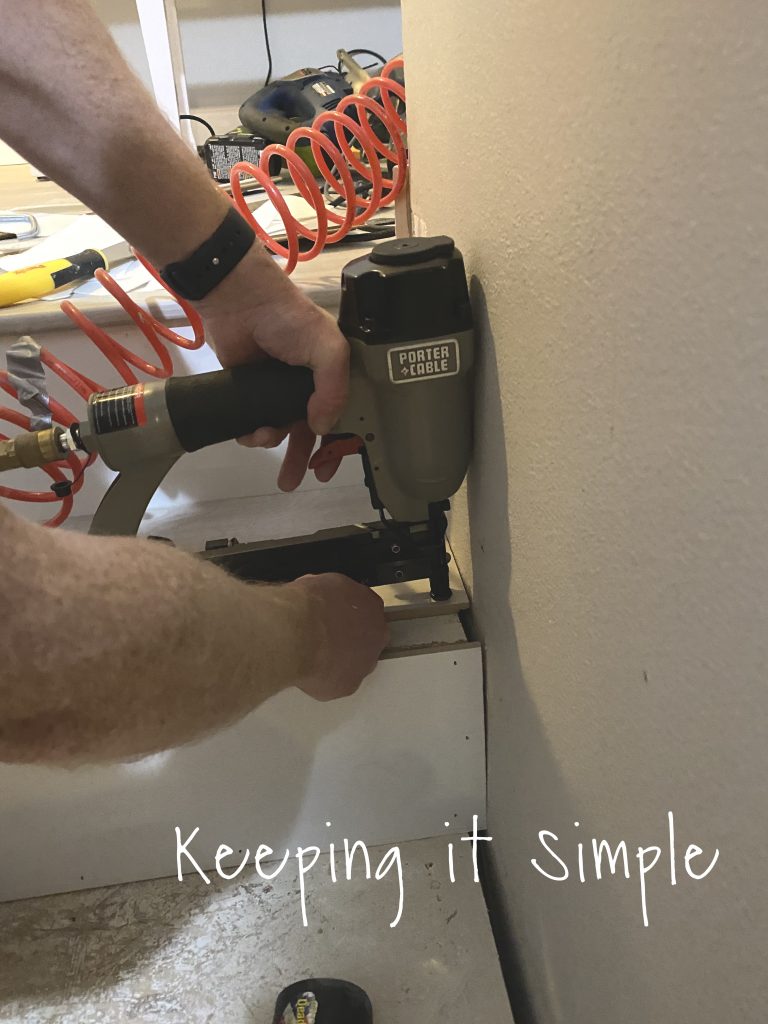
Once it was on, we nailed it to the stairs using 1 1/2″ finishing nails and a nail gun.
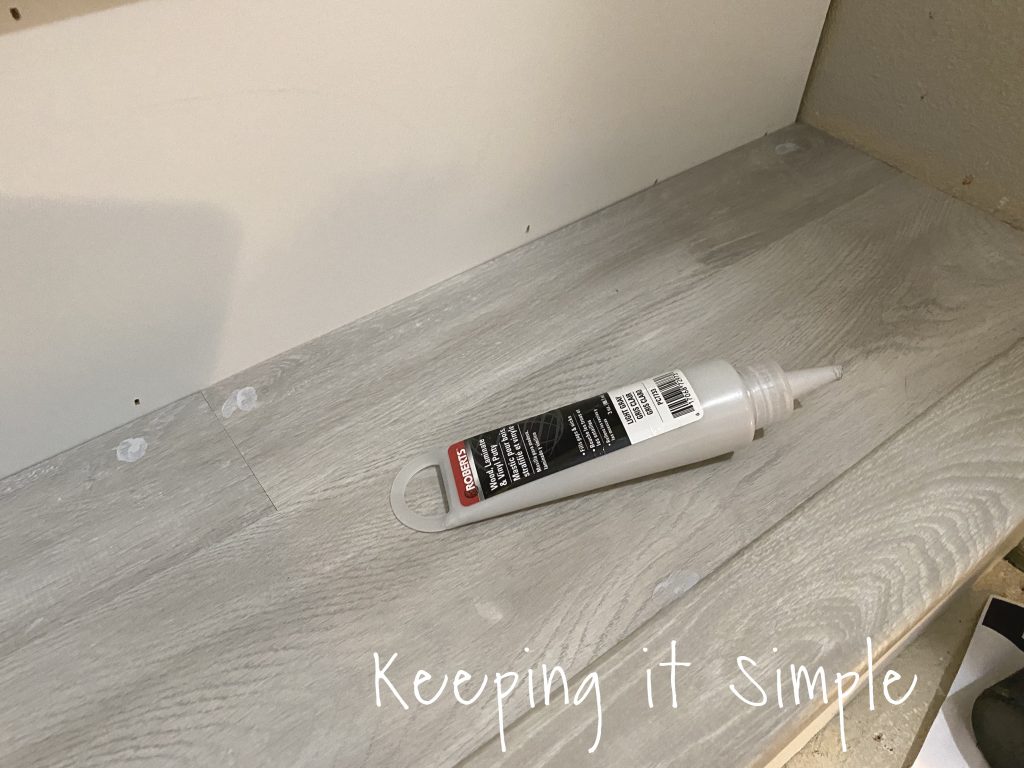
 Once the riser was in place, we then worked on the stair part. We used a waterproof laminate called Soft Oak Glazed from Pergo Outlast. The length of the stairs were a little bigger than 8 inches and our planks were 7.48 inches, so instead of always having an inch strip at the back, we cut the laminate to be about 5 inches and 3 inches. And to make the laminate stairs have a more natural look, we put two pieces of the smaller pieces in the back. We put them altogether and then added the adhesive to it. We also scraped off the underlayment that was attached so the laminate would adhere to the wood, not just the padding.
Once it was on and secure, we then nailed the laminate into the stairs.
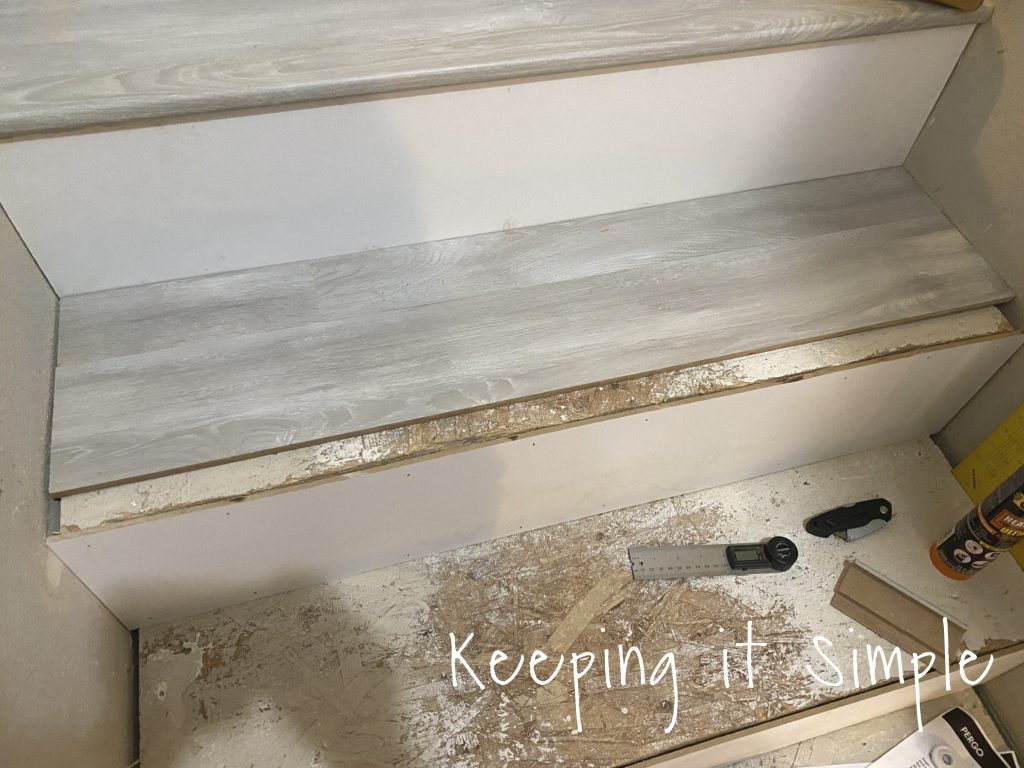
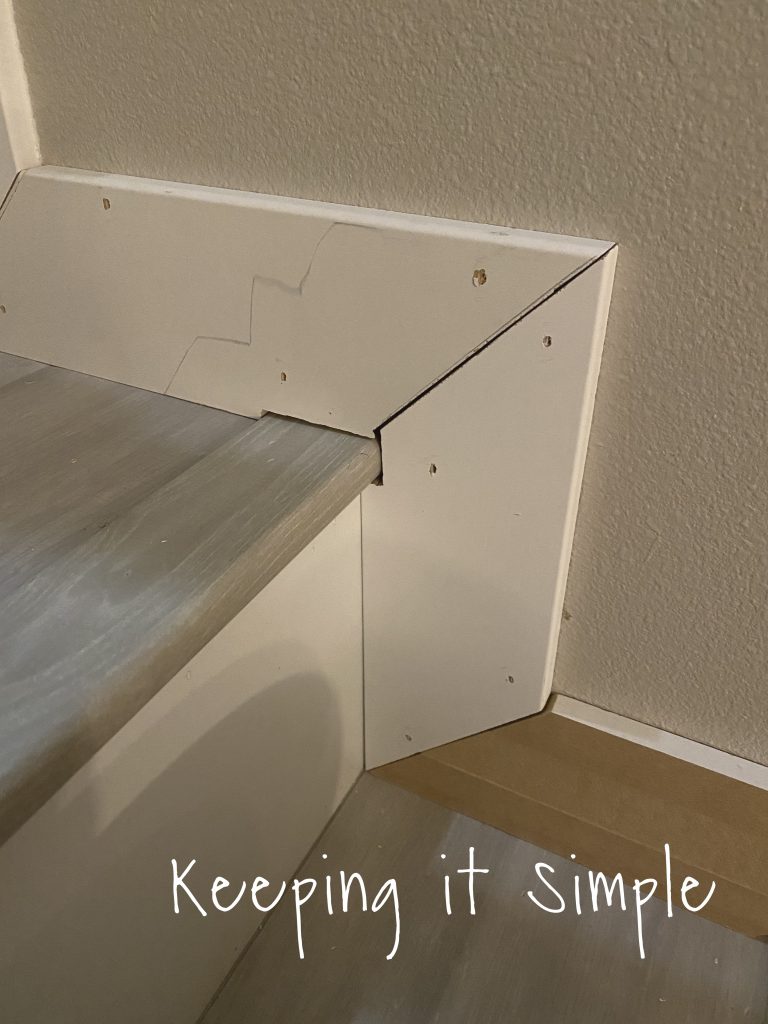
As you can see, there is a gap in between the laminate stairs and the riser. This is where the stair nose goes. There are detailed instructions on the package with the stair noses, it tells you how far of a gap it needs to be. For the ones that we used, it said to have the gap be around 1 1/4- 1 11/16″.
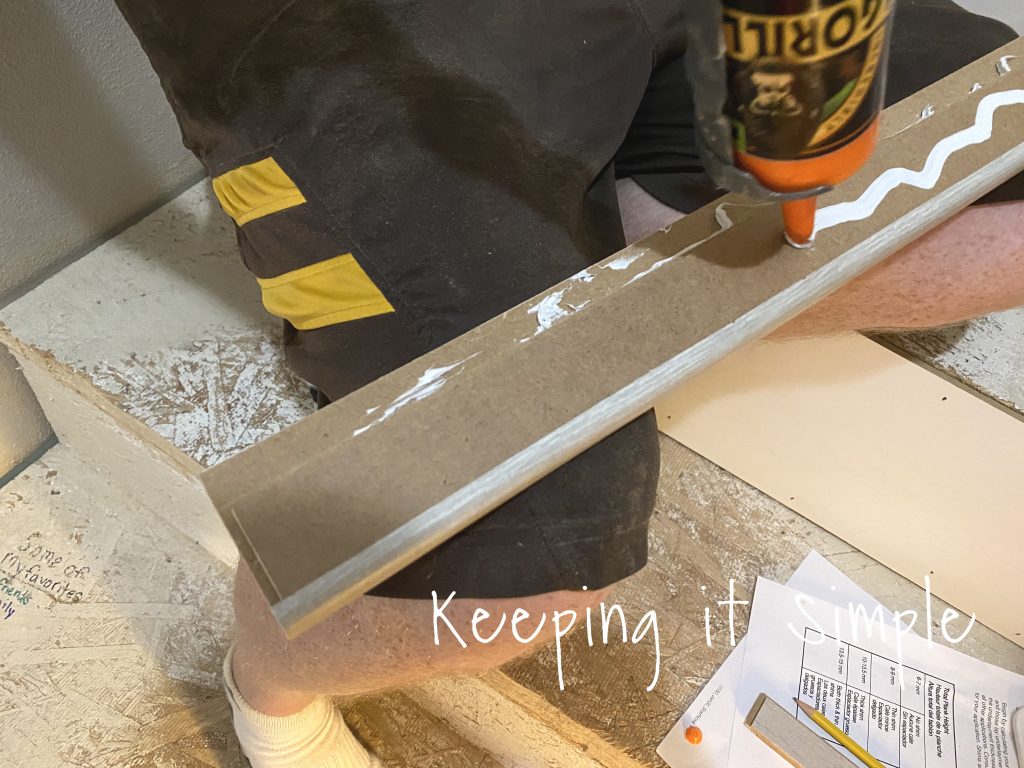
There is also a shim that goes with it, there is a thick and thin one included with the stair nose. Since our laminate was 10mm thick, we used the thick shim. We glued it to the stair nose and then glued the whole thing to the laminate on the stairs and then nailed it into place.
For the bottom stair, we used a 45 degree angle for both the riser and then stair nose.
Once all the laminate stairs were finished, we filled in the nail holes with a gray floor putty.
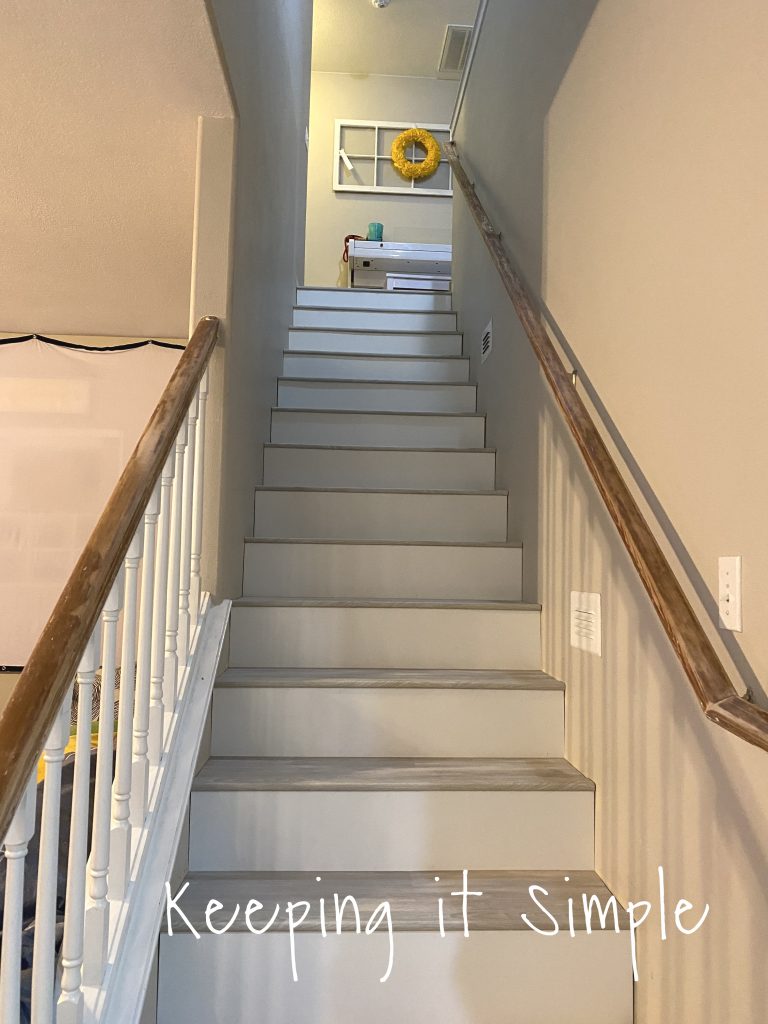
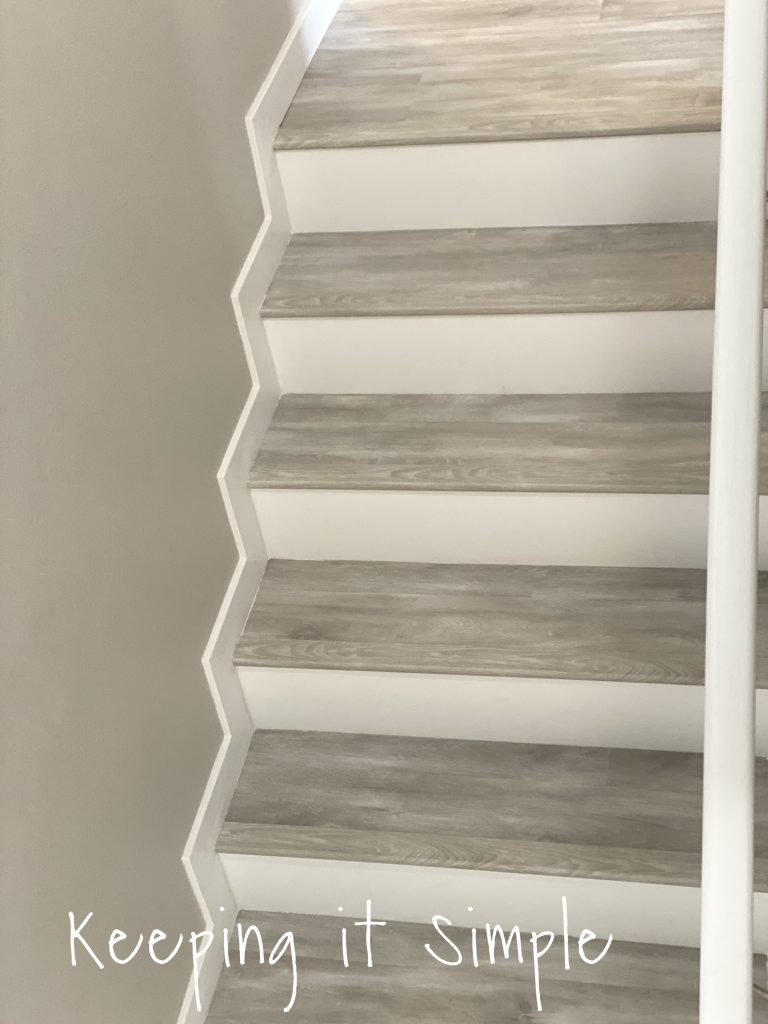
Here is the stairs with all the gray laminate and white risers, I am loving it already!
Now for the trim.
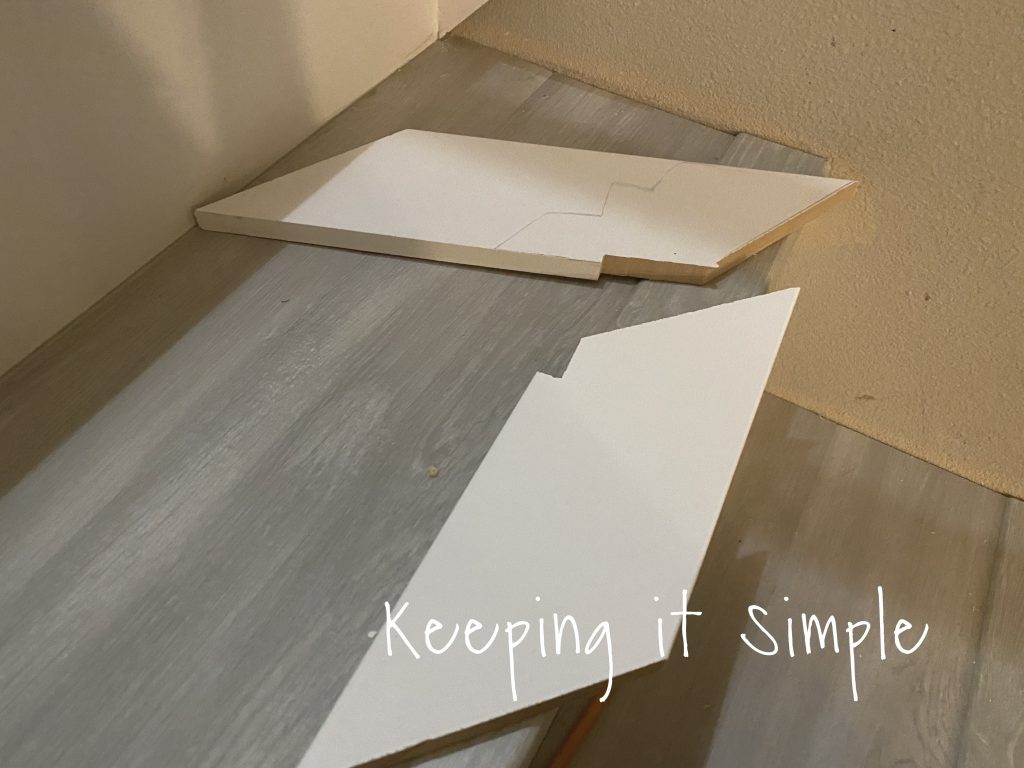
***We put the trim on after the noses were on, but if I were to do it again, I would put the trim on first before the noses. That way the you don’t have to cut the notches into the trim.***
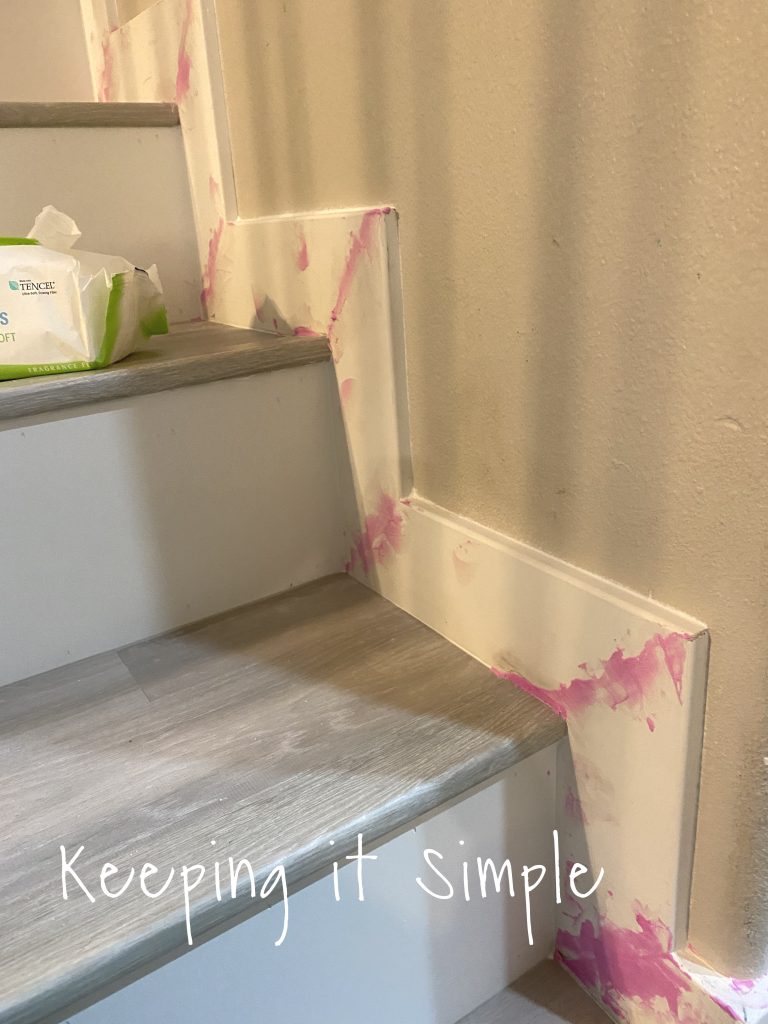
For the trim, we used baseboard trim that was 3 1/2″ wide. For the corners, we cut 45 degree angles. Then for the notches, we used a band saw. To save on wood, we would have one piece of the trim be for the vertical boards and another piece of the horizontal boards. If you don’t do that, there are a lot of triangles you will cut that are just a waste.
The cuts weren’t perfect, but that’s what caulk is for. We nailed them into the wall.
Once the trim was all on, we filled the holes with caulk and wood filler. Once it was dry, we sanded it down to be smooth.
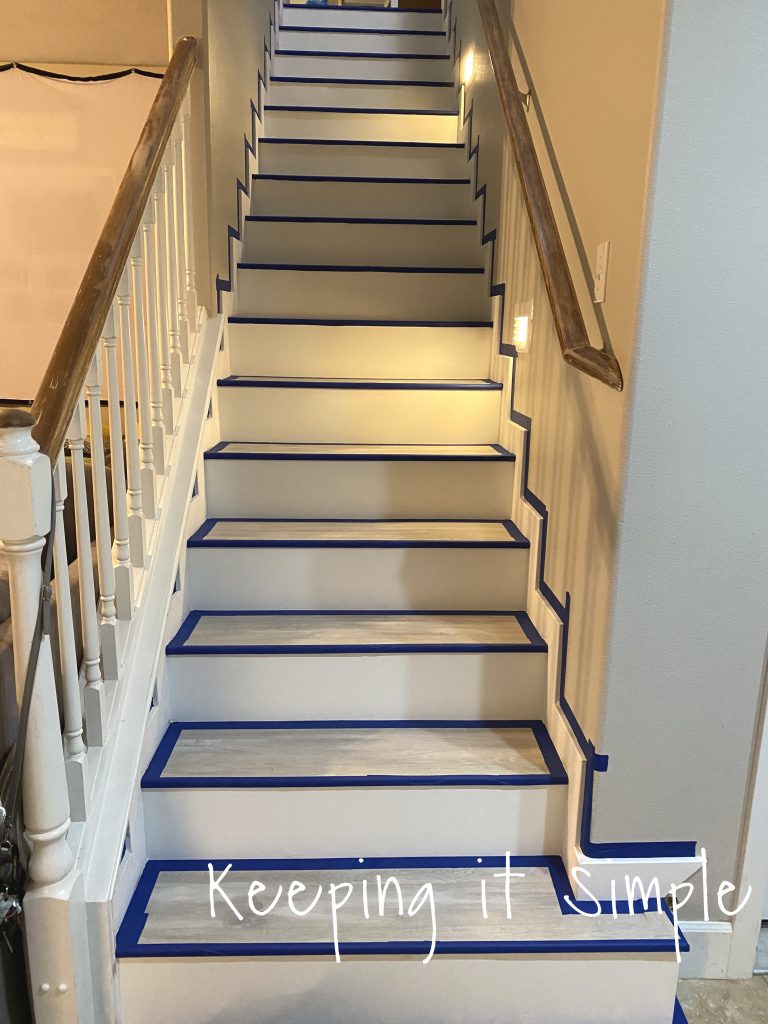
Now that the laminate stairs and white risers are done, it’s time to paint! We taped it off and painted it all white. I used a semi-gloss Pro Classic paint from Sherwin Williams.
I primed and then painted the railing and banister with the same semi-gloss paint. Before painting, I sanded them down really good to take off all of the shine and old finish.
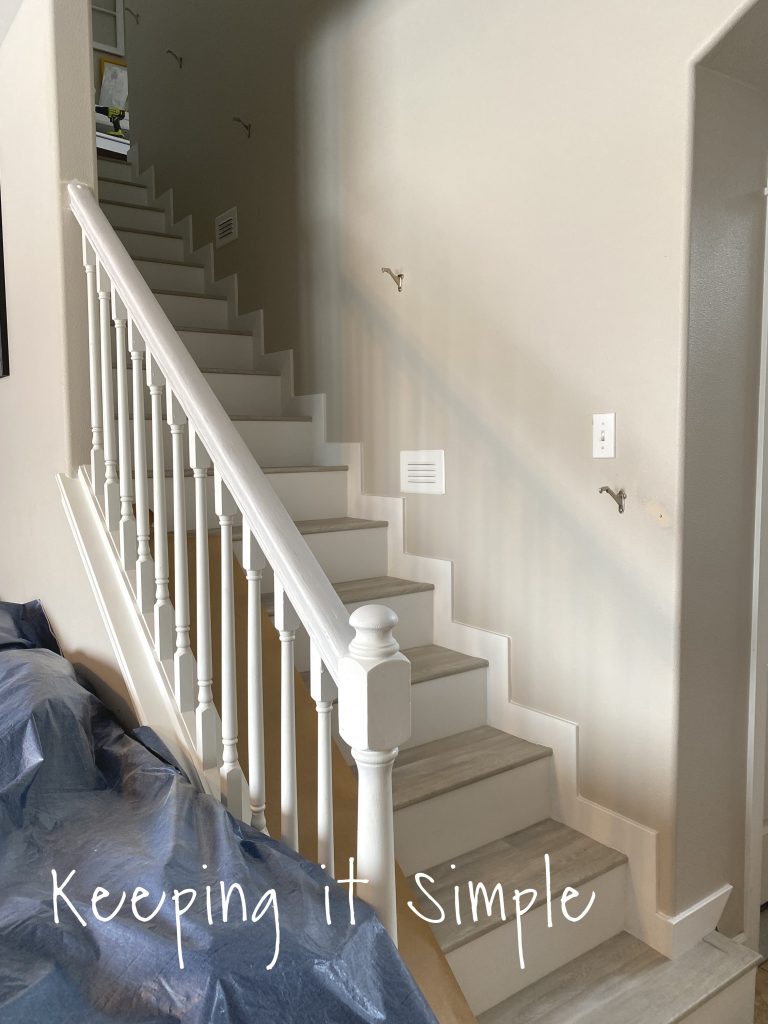
And that’s it! It took a couple weeks to complete but I absolutely love it!
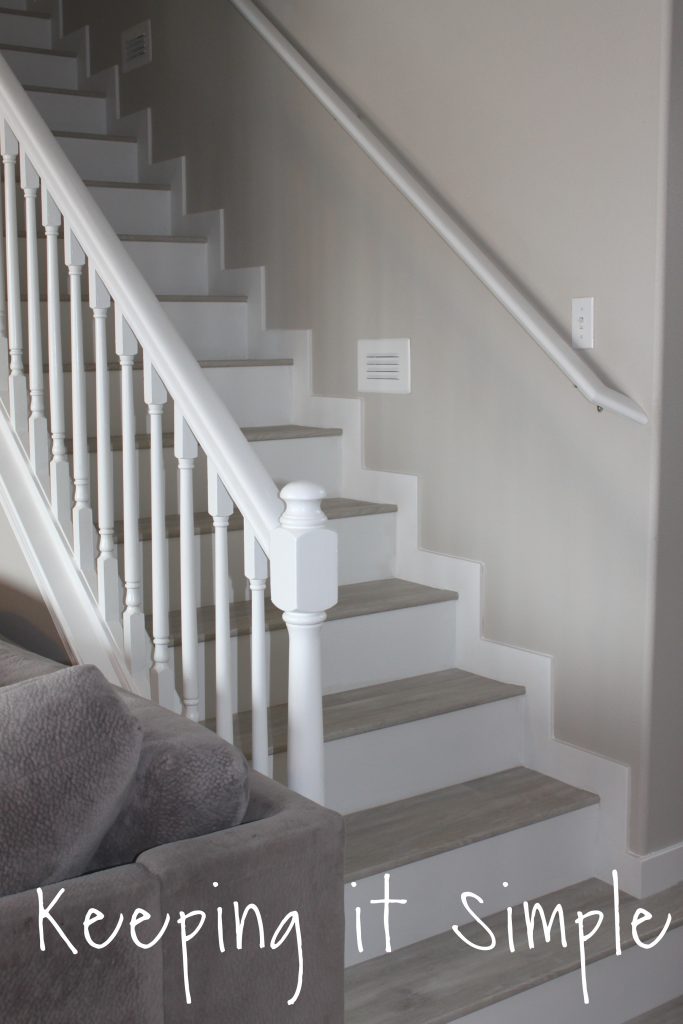

I love how the gray laminate looks with the white trim.
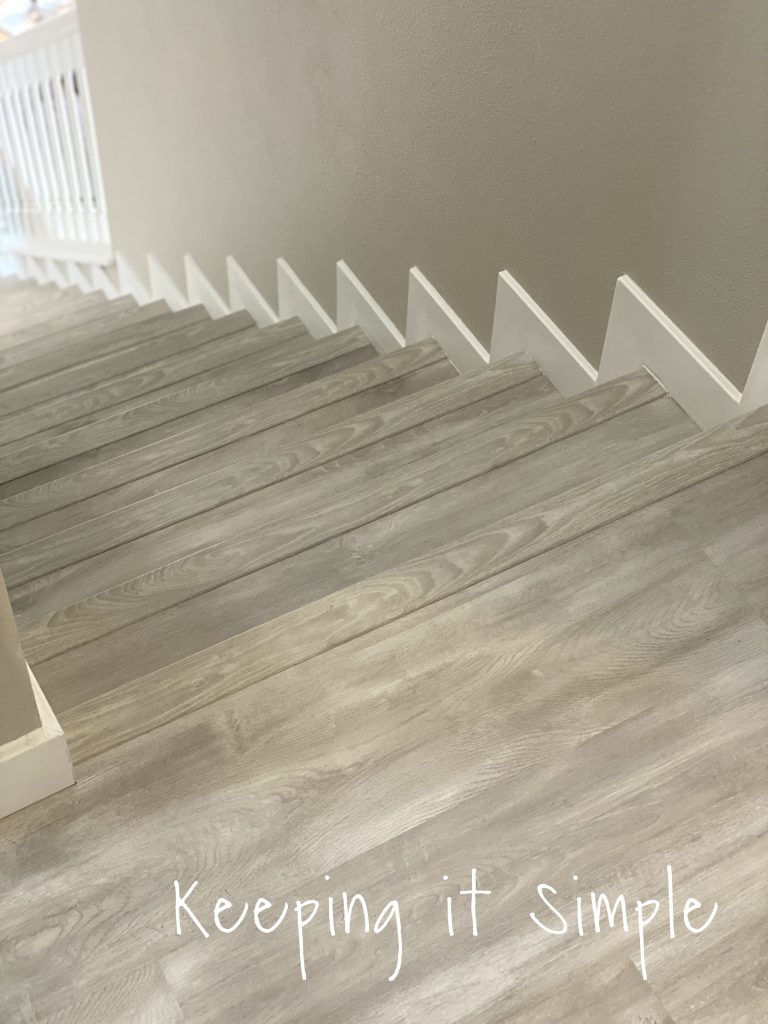
We continued the Soft Oak Glazed color through out our loft too. Here it is at the top of the stairs.
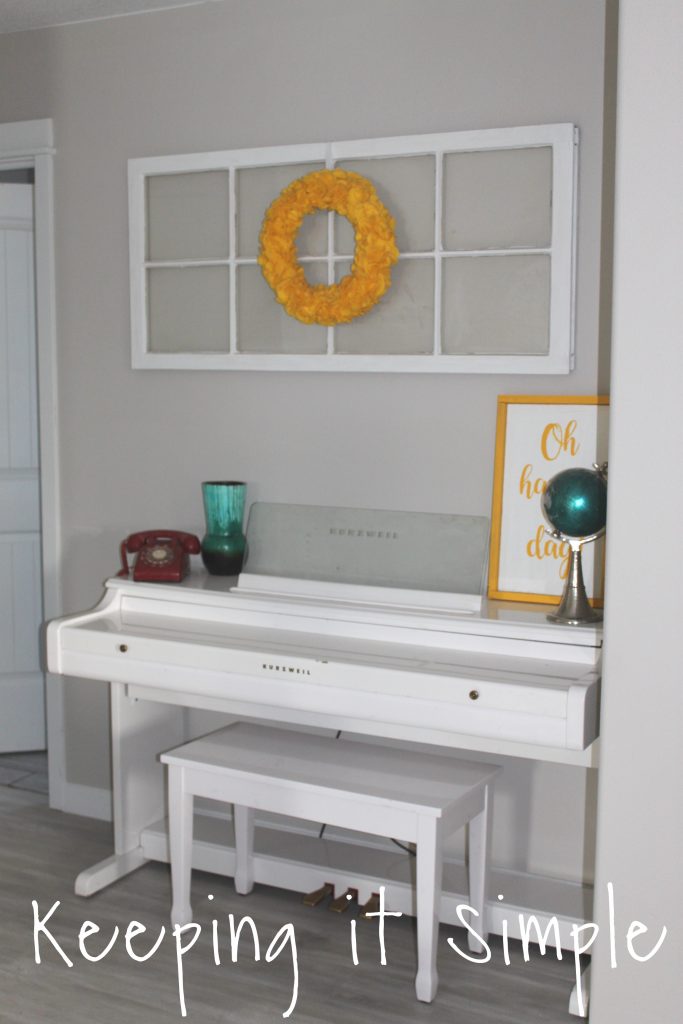
And here it is in our loft area, I love it so much!

We continued the floors downstairs, you can see all the details here.

Make sure you check out my other home improvement projects!


This post contains affiliate links
Leave a Reply
You must be logged in to post a comment.