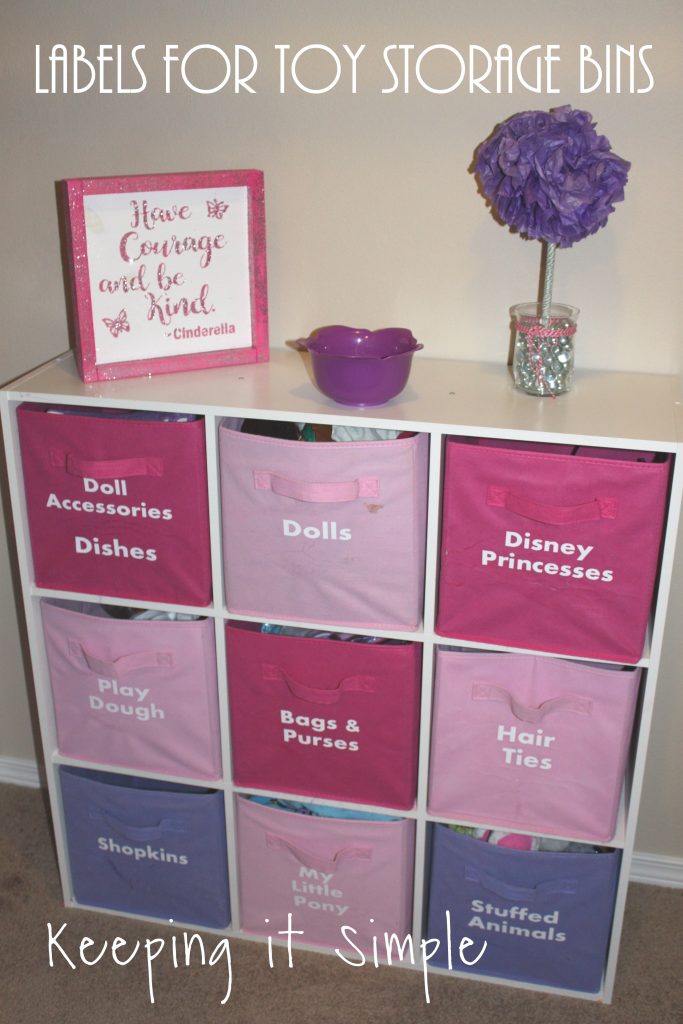
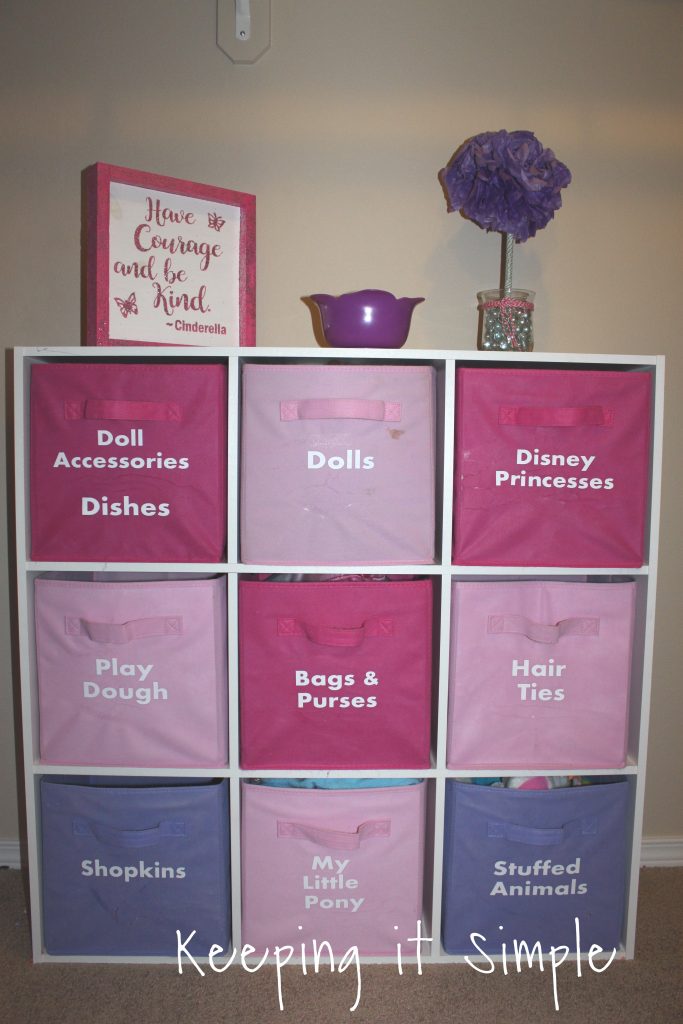
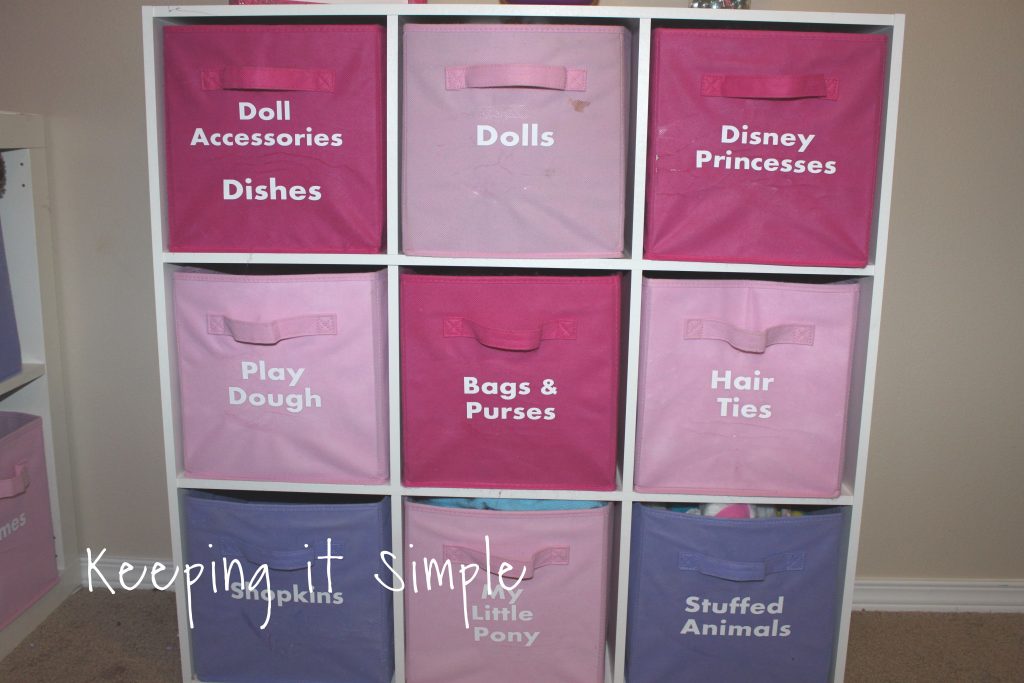
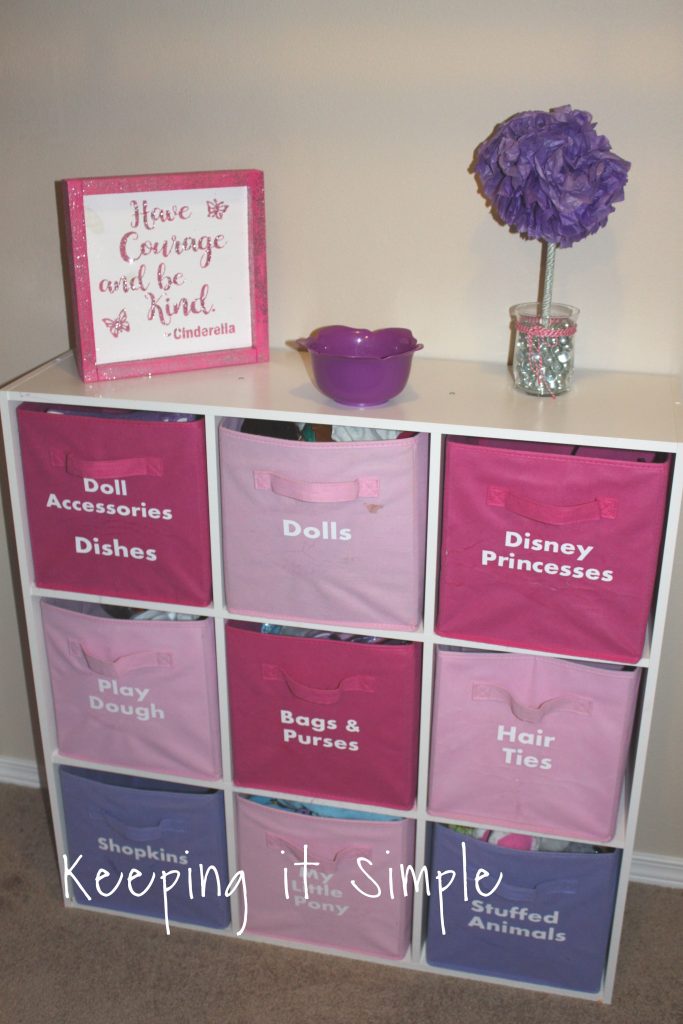
It’s January which means I am in major organizing mode! Every January I want to go through my house and throw away half of our stuff, especially the kids’ toys. But I usually come to my senses and calm down and come up with a way to organize toys that will help the kids clean. I have found that I have to label every single thing for my kids and it can’t just be vague words like cars or dolls, it has to be very detailed so they know exactly where things go. I think that everyone has one of these cube organizers in their house (I think we have like 5) and if you have one of these shelves, then most likely you have a fabric storage bin too. They are great pieces of furniture, expensive but very functional. I have a couple in my daughter’s closet and she keeps all of her toys in there, but the problem was that she was putting everything in random bins and then whenever she wanted to play, she would dump out several bins to find everything. So I decided that I needed to add labels to them so that she can organize her toys.
Here is a video to show you the process of making them.
This is how I made them:
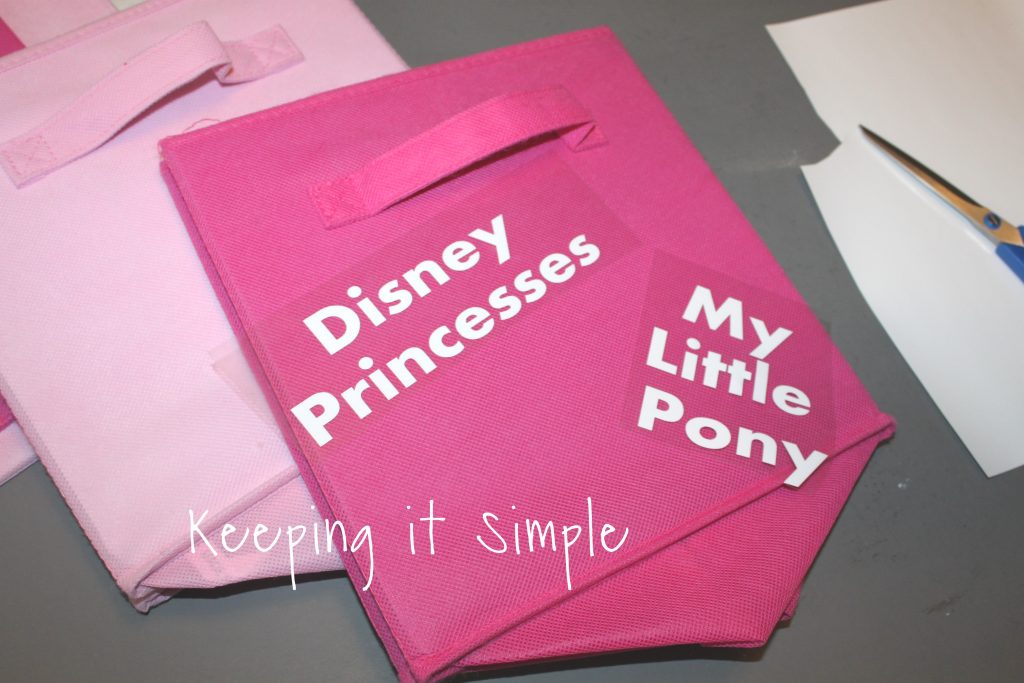
I cut out several words in white smooth heat transfer vinyl with my Silhouette CAMEO. Since these are words, you have to mirror the image horizontally before you cut. Then when you are putting the heat transfer vinyl onto the mat, you have to remember to put the shiny side down on the mat.
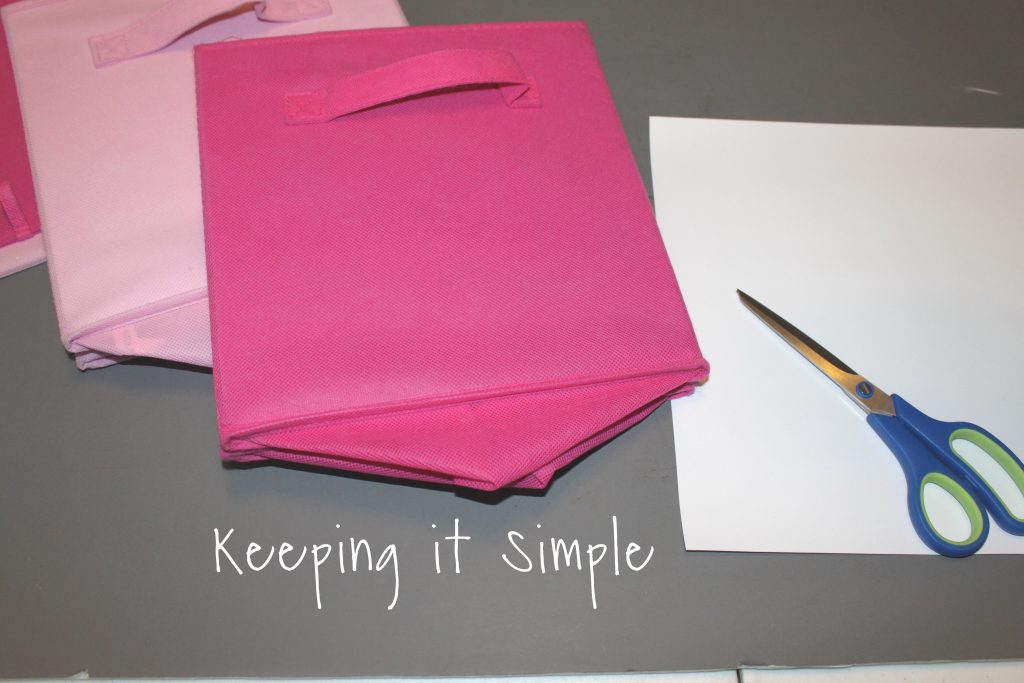
I cut out the different labels and weeded the excess vinyl.
***You have to use multi use paper to iron these on or it will ruin the storage bin, trust me I made that mistake.***
I then ironed the words onto the fabric. You don’t want to have the iron in one spot for too long or it will heat the fabric of the bin and it will get messed up a little bit.
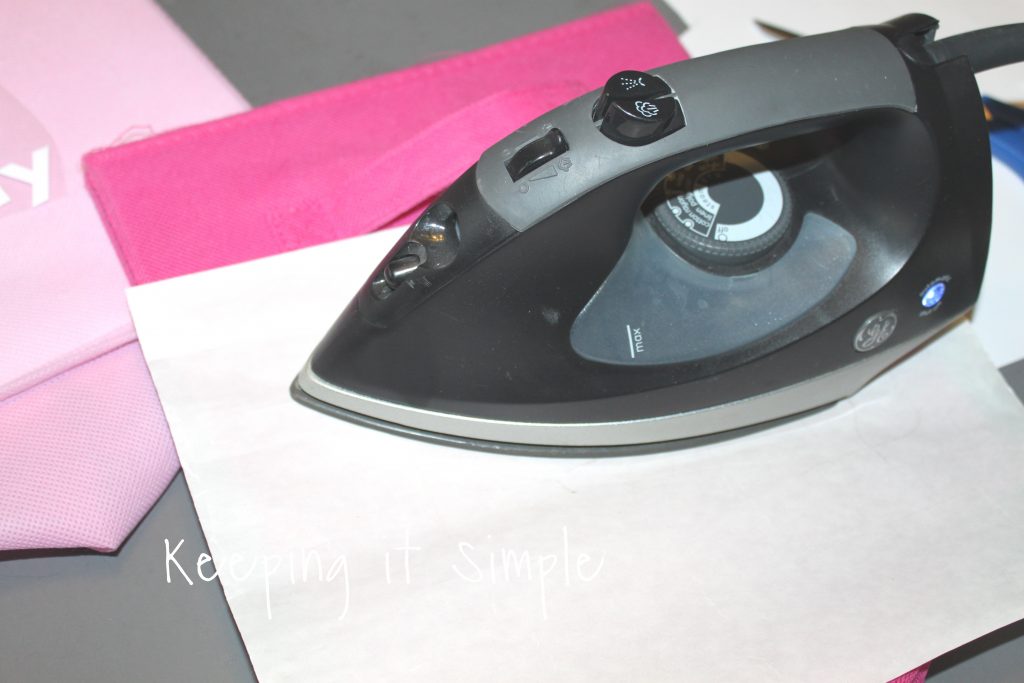
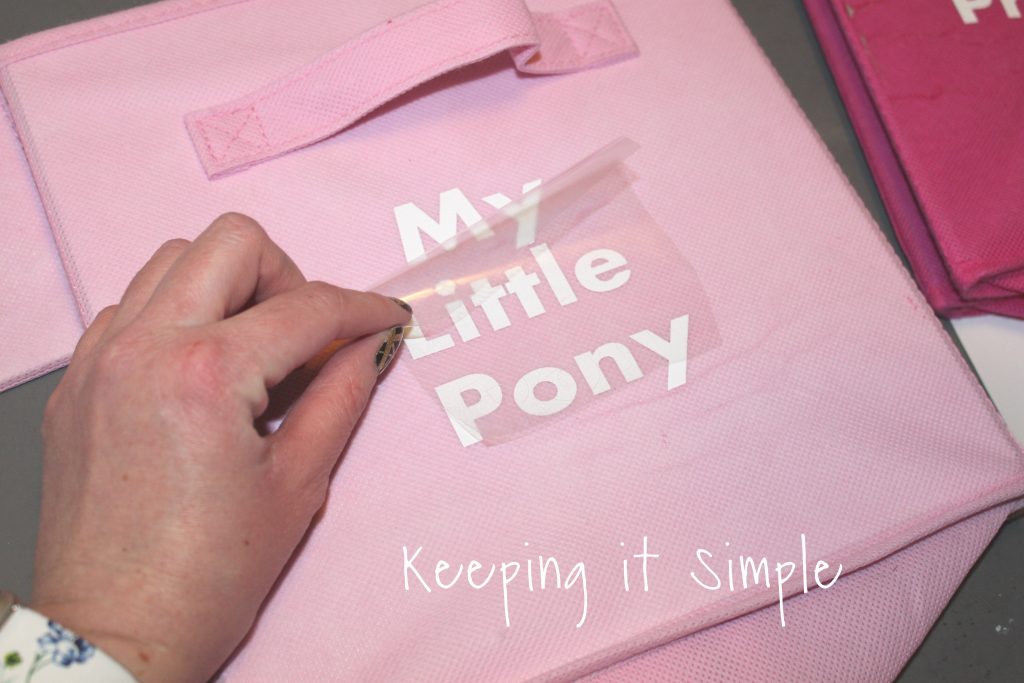
While the vinyl was still hot, I peeled off the plastic. Once I peeled it off, I put the multi use paper onto it again and then ironed it a little longer to make sure that it was all on.
And that’s it!! Super easy and cute!! I made up lots of different labels for all of her bins. I seriously love this shelf, it’s a great way to organize toys and still look good!
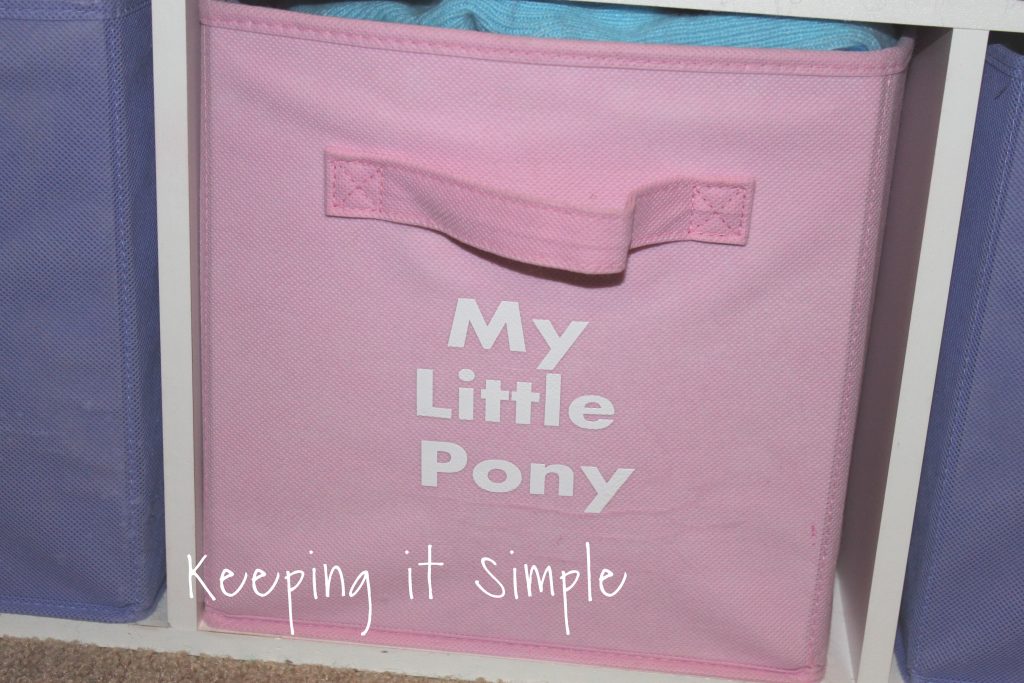
Here is a close up of the My Little Pony one.
It’s fun to decorate on the top of the shelf too :). Girl stuff is just so much fun!
Need more ideas on how to organize your house? Check other these ideas!
This post contains affiliate links:
Leave a Reply
You must be logged in to post a comment.