So I love pillowcase dresses, they are so cute!!! But with my daughter being so young and it being winter, I decided to make a pillow case shirt instead. I’m so glad that I did, I’m going to be making more of these!! I used a tutorial from Nap Time Crafts and just altered it a little bit.
First off, you need to determine how much fabric to cut. I went off the charts from Naptime Crafts and then altered it for a 3 month old.
Length:
You can measure your child, from the shoulder to where you want the shirt to land. My baby was 9″. Then you will add 3 inches to allow for seams.
Width:
- 6-18 months – 15″ wide
- 2T-4T – 16-20″ wide
- 5-6 – 21-24″ wide
The 15″ wide was a little too big for my baby, so mine was 13″ wide
This is how I made it:
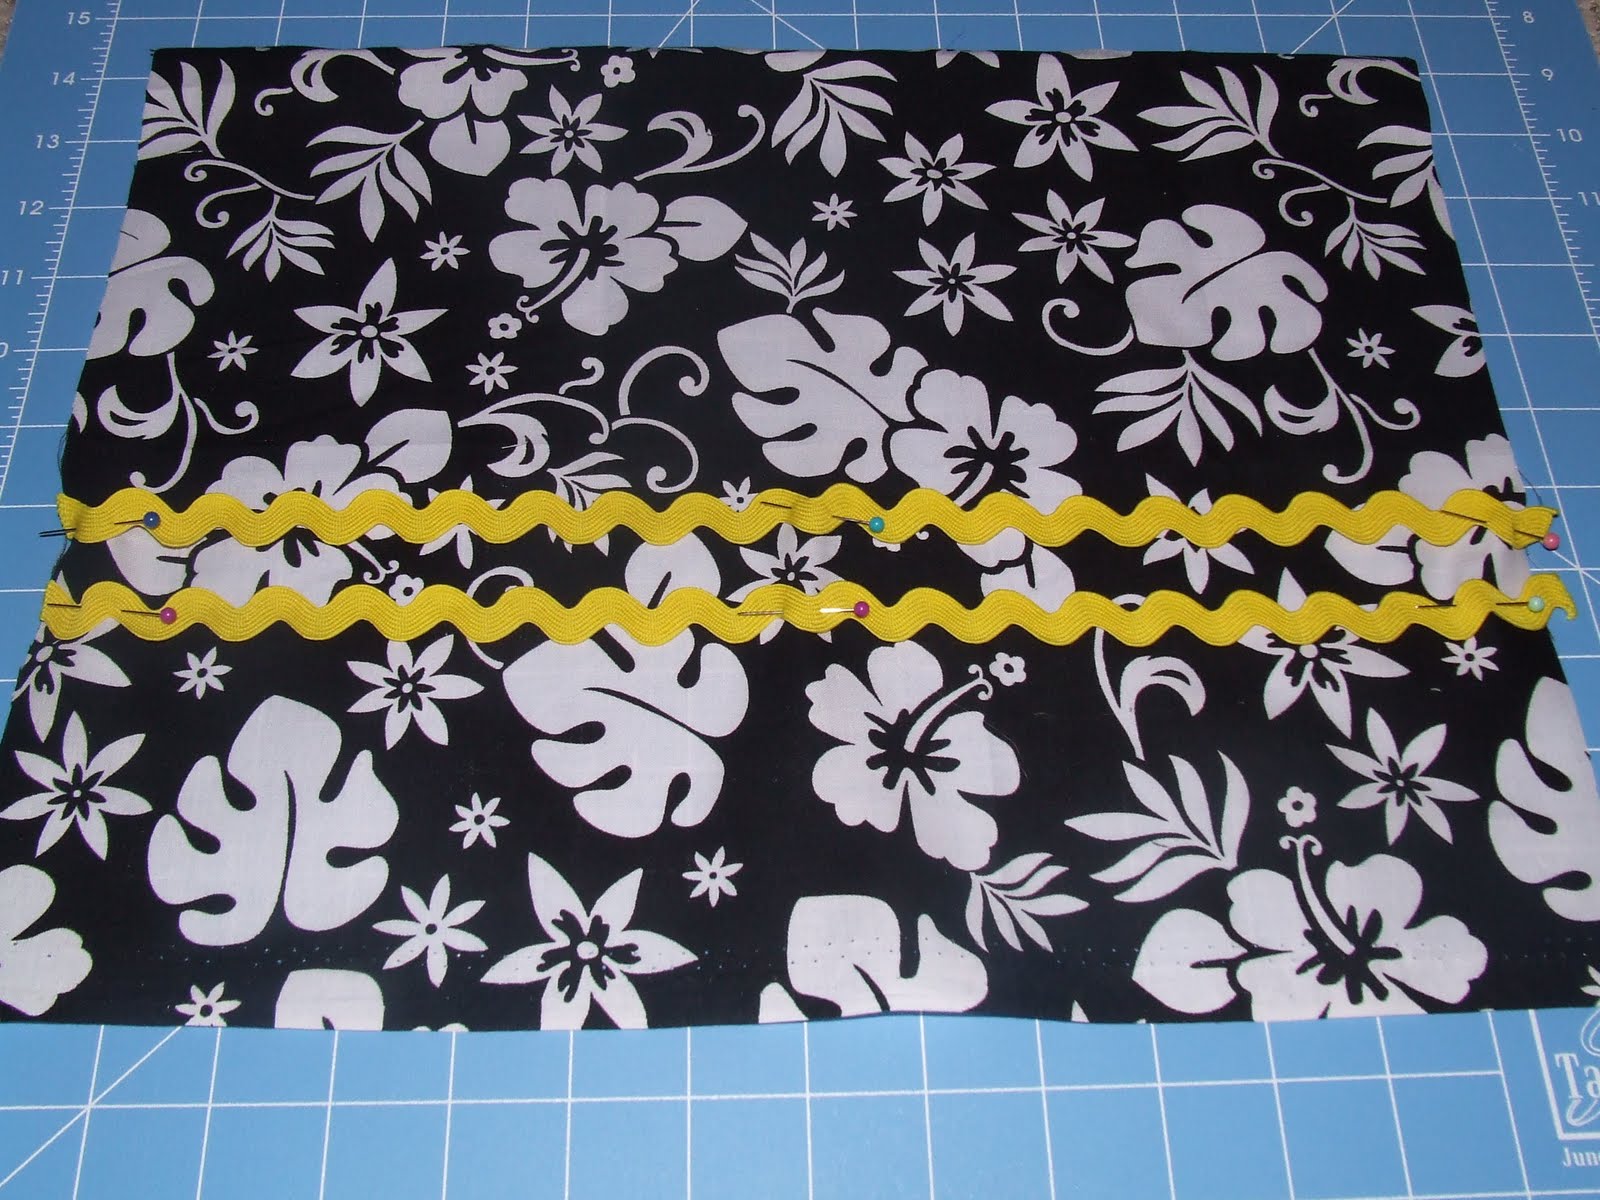
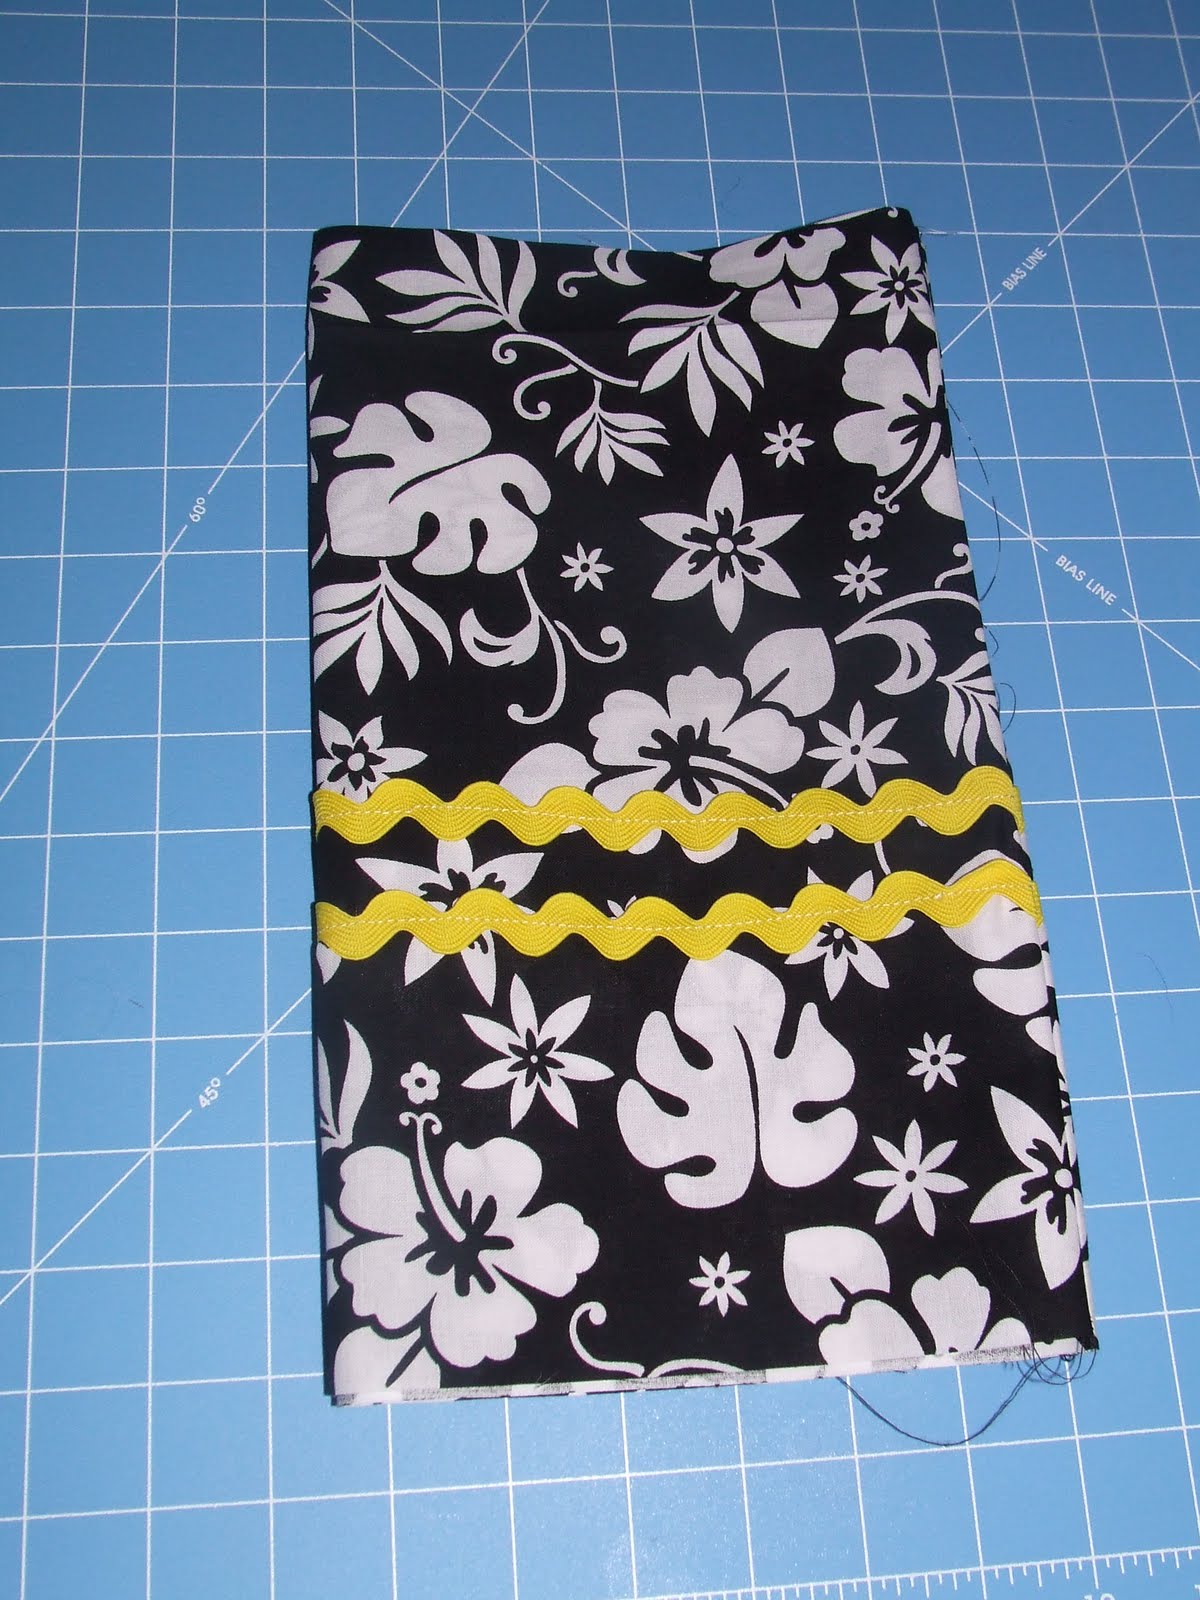
1) I cut two pieces of fabric, each were 13″ wide and 12″ long.

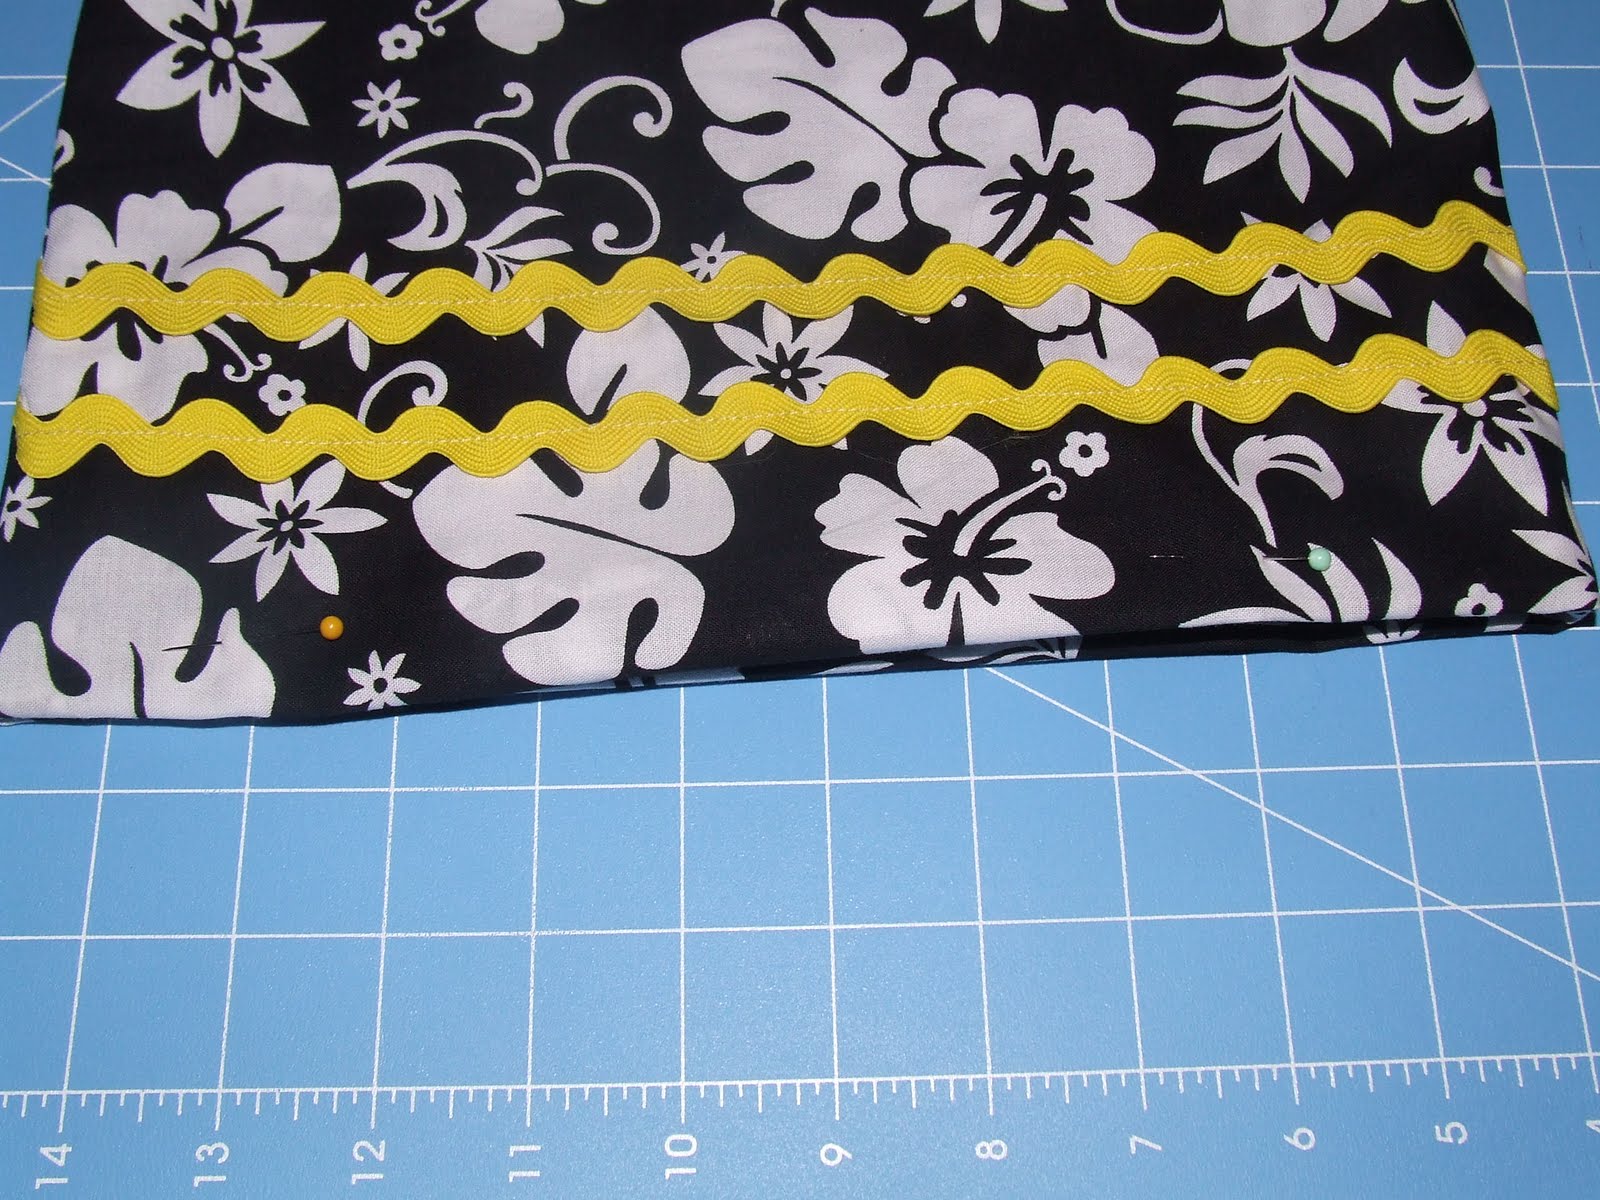
2) I then pinned on the ric-rac and sewed it onto the fabric before I put the two pieces together. I figured it would be easier to sew it onto in now rather than later.
3) I then put the fronts together and sewed a 5/8″ seam.
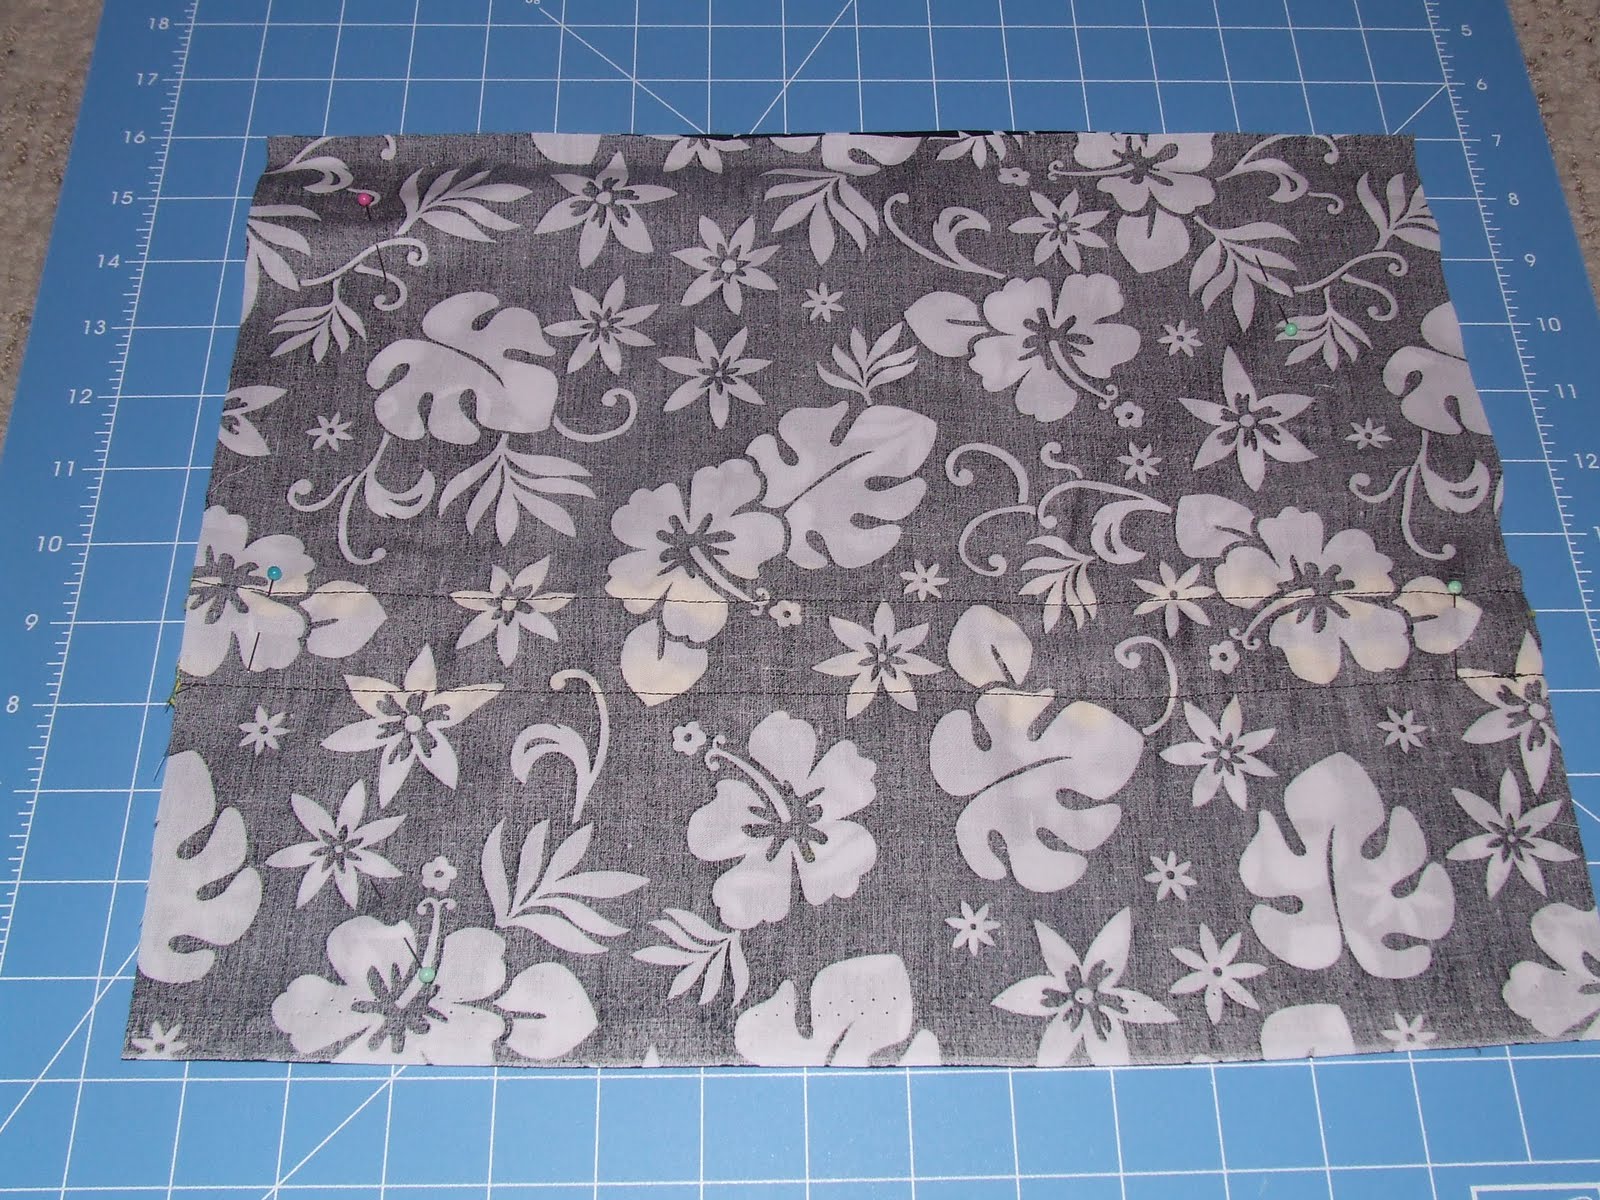
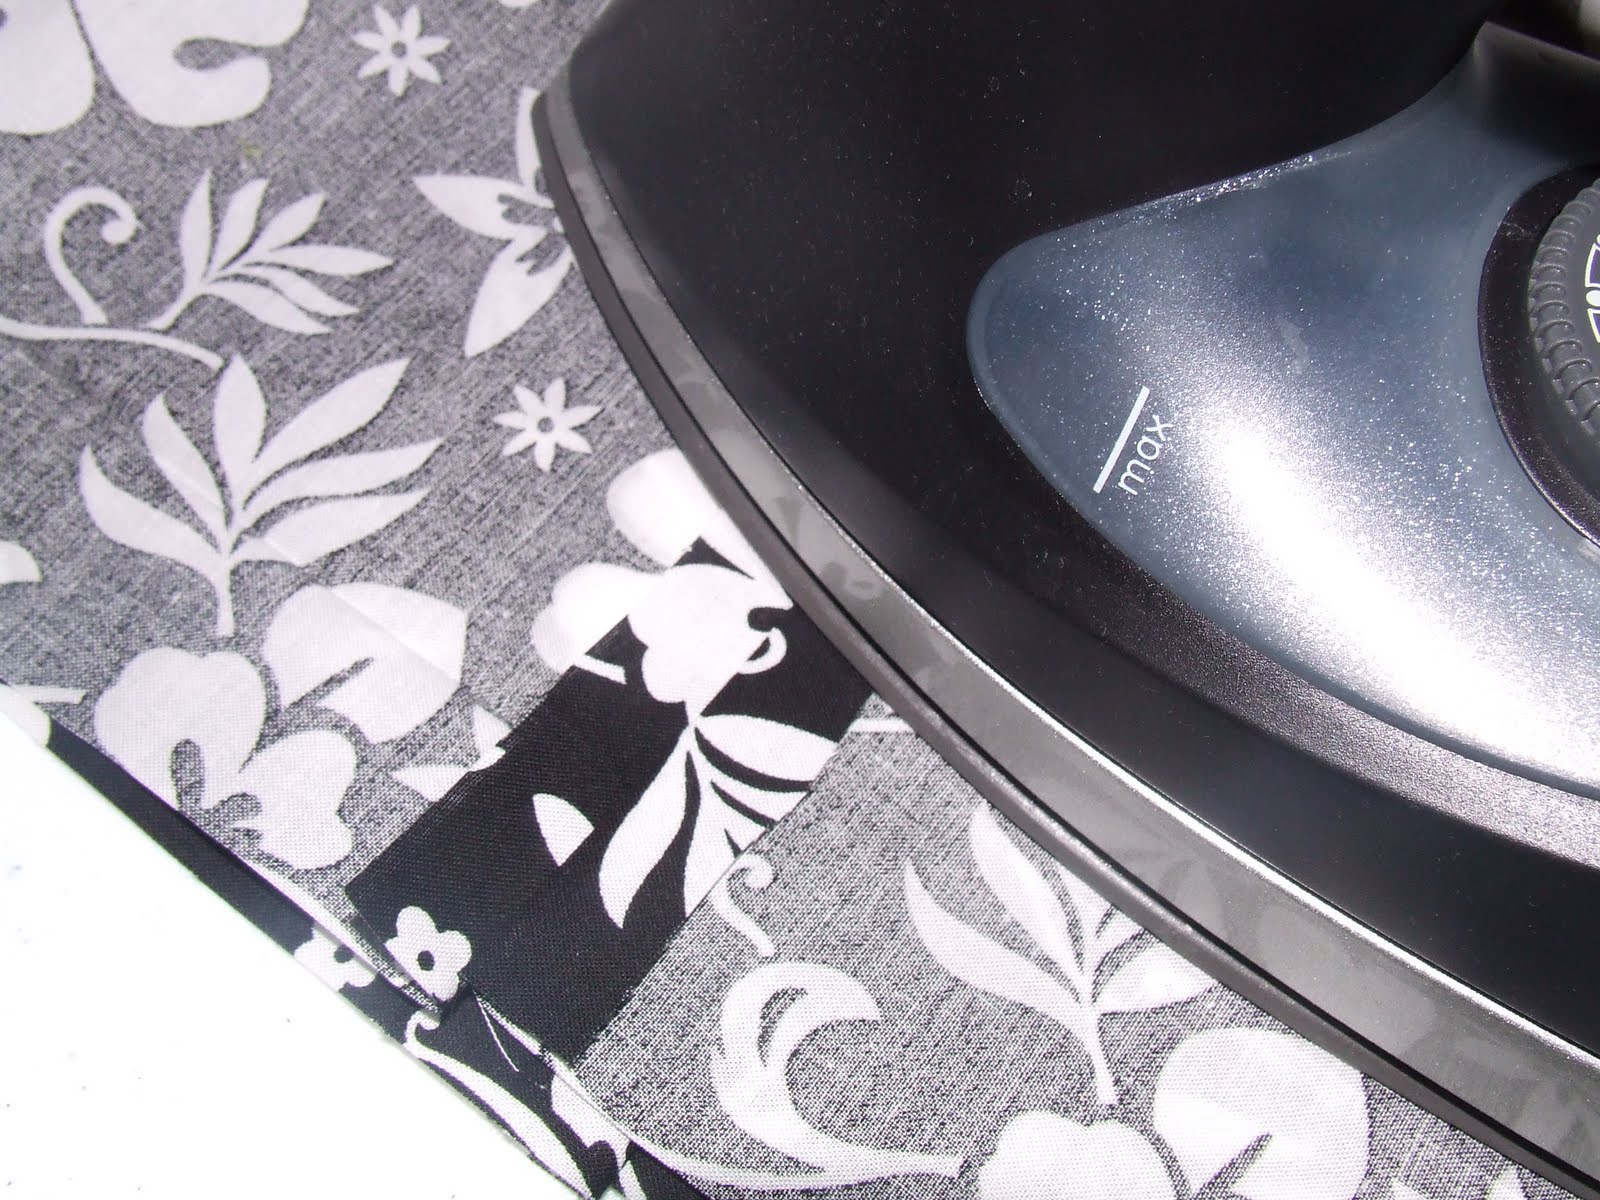
4) I then ironed the seam down
5) Then I folded the fabric in half and cut out a J shape for the arm hole. I cut 3″ from the top and 1 1/2″ from the side.
- 6 month – 2T – cut down 3″ from the top and in 1.5″ from the side
- 3T-4T – cut down 4″ from the top and in 2″ from the side
- 4 and 5 – cut down 5 or 6″ from the top and in 2″ from the side
- 6 – cut down 7 or 8″ from the top and in 2″ from the side
6) I folded the arm hole over and ironed it. I did that again and then sewed it.

7) Next I pinned and sewed 1 inch. Make sure when you are sewing it to leave an opening for the ribbon.
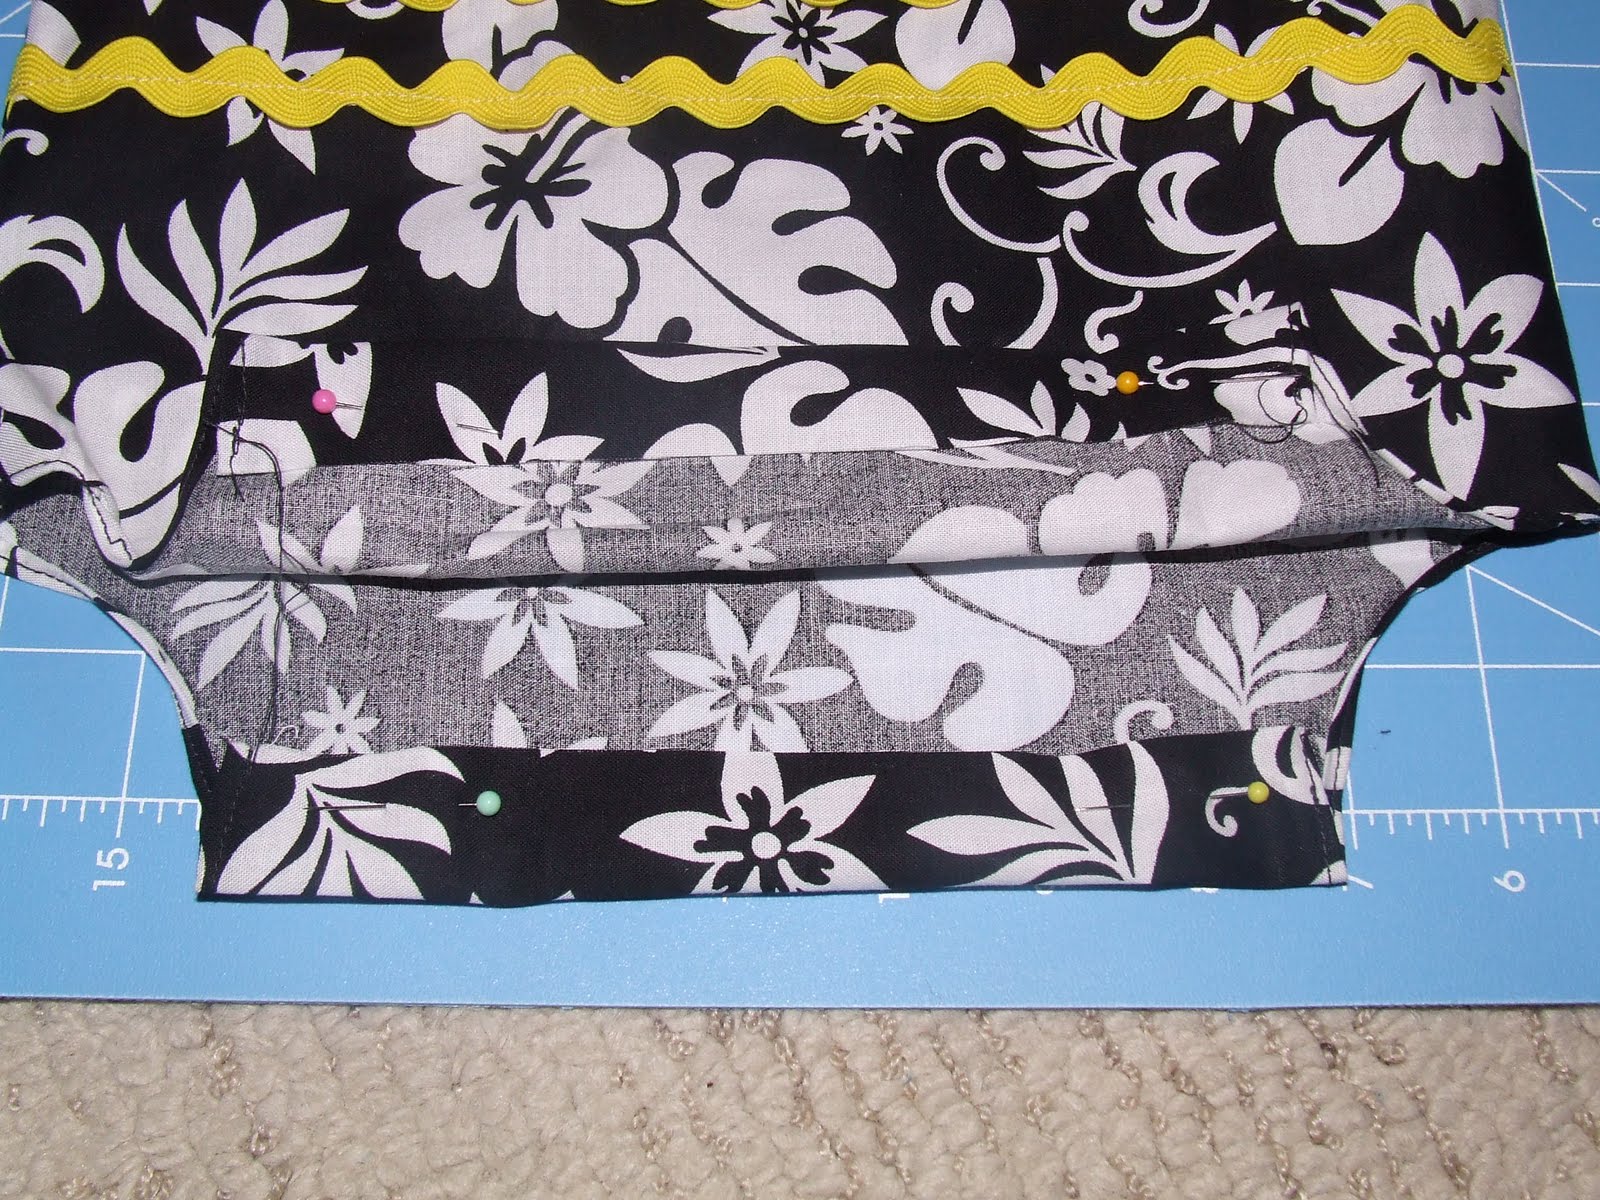
8) Then I folded the bottom about 1 inch and folded it again another inch and hemmed it.
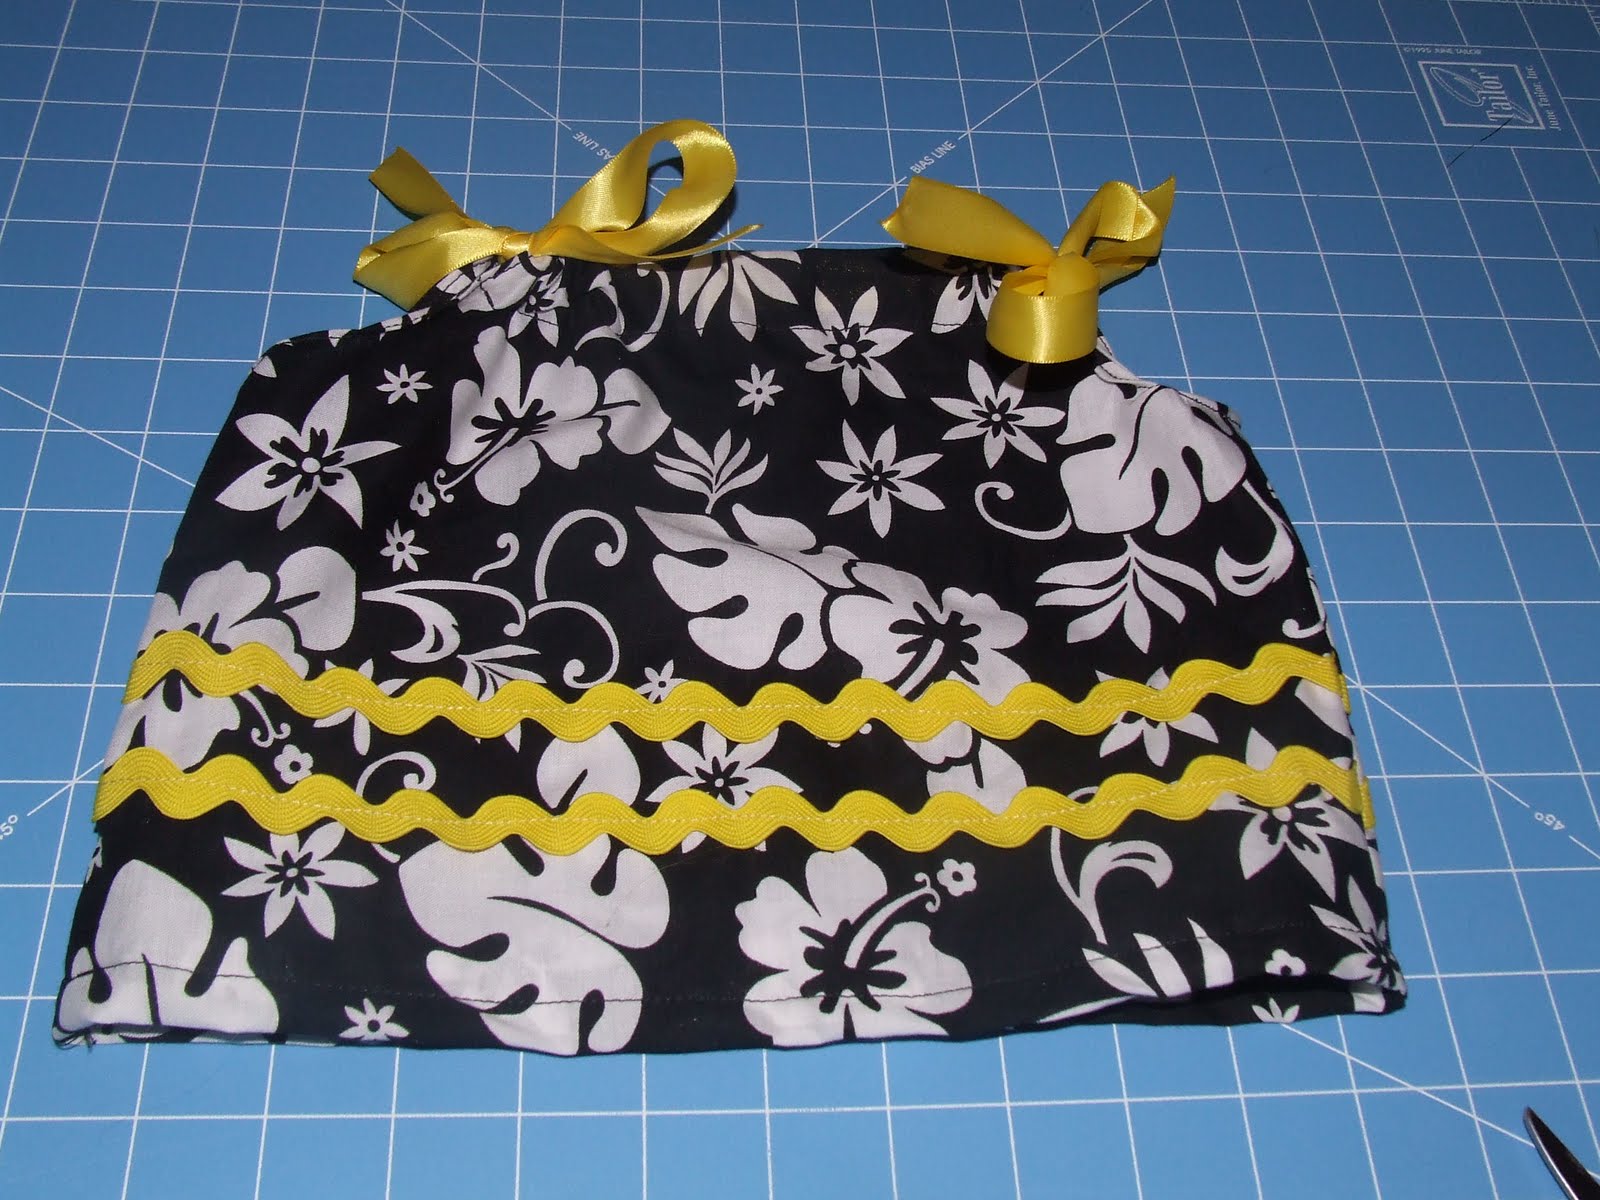
9) I used 24″ inches of ribbon, for a larger size you will need about a yard. I put the ribbon through the hole.

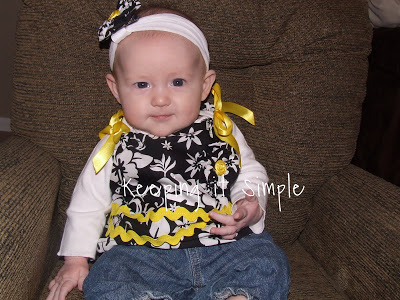
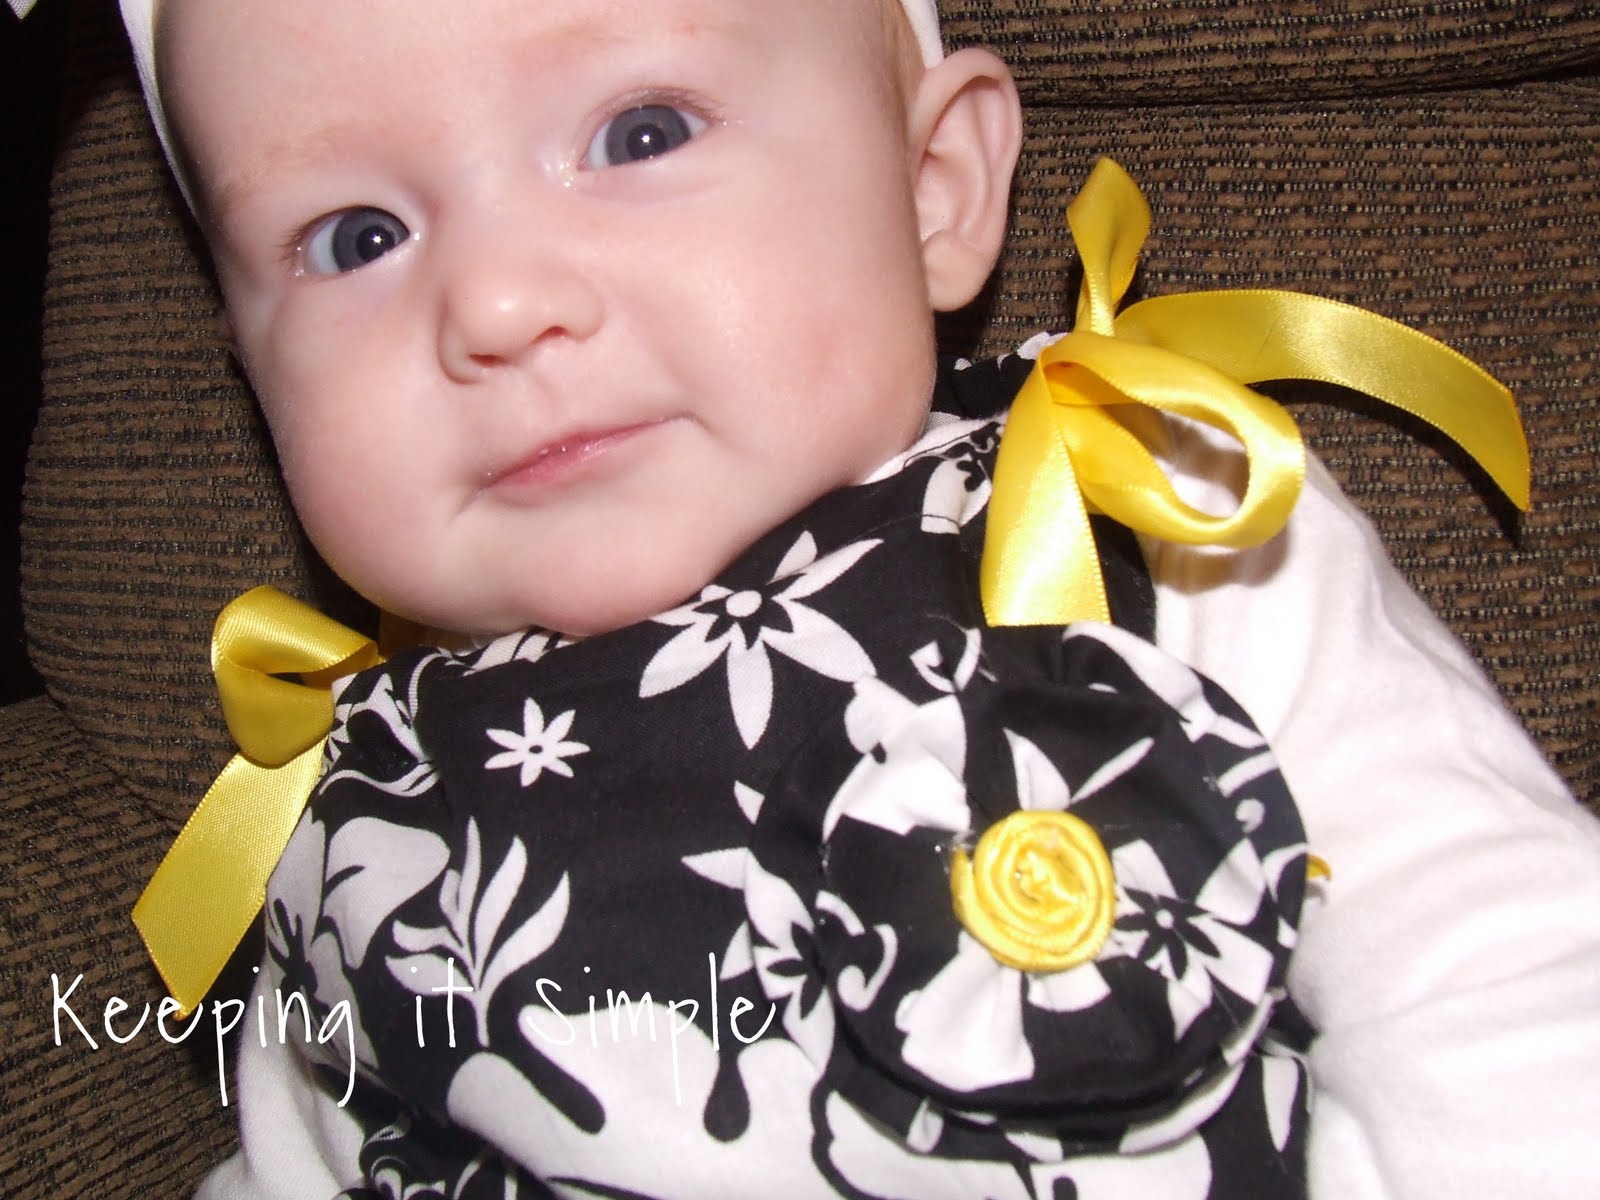
And just like that, you have a super cute shirt!
Here’s my cute girl in it!

When I was making her a clip for her hair, I decided that it would be cute to put one on the shirt too.
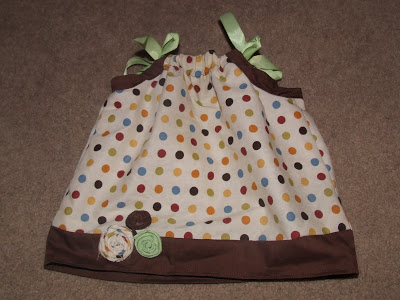
Here’s another one that I made with bias tape around the arm holes and some brown fabric at the bottom instead of ric-rac.

Check out these sites!!


How cute is this! Love it!!!
SOoo, cute, I love the yellow ric-rac! Thanks for sharing.
ladybirdln.blogspot.com
Wow, those are very neat. I have older girls and was wondering if they might like something like that, hmmm…cute baby BTW. Your blog is super; love all the ideas. Be back soon
tina
mommy scraps alot
Love that!! I'm definitely going to try making a few of these for my little gal…with your tute even I should be able to do this! 🙂 (BTW, I'm visiting from Get Your Craft On.)
Awww…sweet baby girl and super cute shirts. Pillowcases never looked so darn cute! Please consider linking your super cute Etsy shop to The Homespun Slate @ The Tattered Tag, I would love to feature you one week. 🙂
http://thetatteredtag.blogspot.com
Very cute. I have been wanting to make those little fabric flowers for ages now. I have to get out my sewing machine.
That is so cute on your baby. I wish my daughter was still little so I could make cute clothes for her. thanks for sharing!
That is so stinkin' adorable! Fabulous idea!
Thanks for linking up!
both are so cute! I love the polka dot one more!
those are soooo precious!! Love them!
HI
I am a new follower from the Thursday blog hop.
I love the pillowcase shirt. What a great idea!
I blog at http://www.tammileetips.com
Tammilee
Very cute…can you post how you made her bow too 🙂 I am trying this whole thing today 🙂 Thanks so much!!
Adorable! The shirt, too! 😉