
Disclosure: I was given product in exchange for this post. All opinions, ideas and content are 100% my own. This post contains affiliate links.
Today I am very excited to share with you a project that I have been wanting to do for a while now. I know that barn doors are really popular right now, for good reason. They are awesome and very inexpensive and fairly easy to make! Plus they look awesome! We had a large opening in our house that we knew we wanted to turn into a room but to frame it and buy french doors would have been way too expensive. So we came up with this solution and it turned out great. Plus it only cost about $250 to make, much cheaper than it would have been had we framed it.
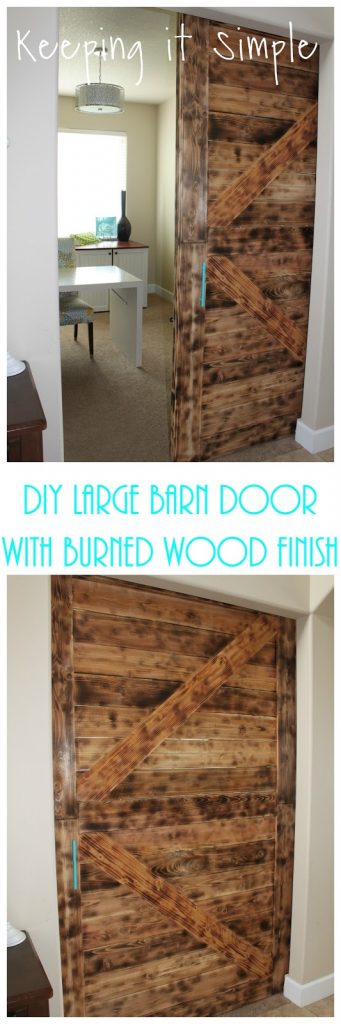

Here is the room before. It is supposed to be a formal dining room but we never used that as a dining room (a dining room with carpet and kids doesn’t make sense!). So we had it as our formal living room, but honestly it was a waste of space because we really didn’t need three rooms that are for the family. So we decided to build the door, to make the space into my craft room and then use the space that was my craft room as a bedroom. It has been so nice because now we are using this space wisely and it works better for our family.
2")
")
This is how we made the door:
We went to Home Depot and picked up some wood. We used fence wood because it was cheaper and lighter than the other wood. Since the door is very large (almost 5’x8’) we needed something lighter. We also got some square dowels to make a template for the holes we drilled. We also got some 3/8” circle dowels to put into the wood to connect them together. We had 35 pieces of wood altogether- 17 was the inner pieces. 12 for the outer border, 2 for the center piece and then 4 for the diagonal pieces.
")
We cut 17 pieces of the wood 57” wide.
")
Then using the square dowel, we drilled some holes into the dowel to make a template. Then we used the dowel to mark where to drill the holes on each piece of wood. Each piece had 4 holes into, to insert the dowels into. We put some washi tape onto the drill bit to show how far down we needed to drill.
")
Once the holes were drilled, we inserted 2” dowels into the holes and then put it into the holes that were in the other side of the wood. Each piece of wood had holes on both sides of the wood. That’s how we connected all 17 pieces for more structure and stability.
")
Once all the wood was put together with dowels, we then put on the border. We went all around the wood and then one in the center. We also did the same for the back of the wood. We used a nail gun to attach the border.
")
For more support, we put a long strip of pine onto the sides. We attached that with a nail gun.
")
For more support we put on a diagonal piece of wood. We cut the wood the length of the diagonal and then traced the angel onto the wood and then cut it.
")
Then we nailed that onto the door.
")
Here is what the door looks like all done! The back side has the same design too.
")
We then sanded the wood to get it smooth and ready for burning.
")
I love the uniqueness of burning the wood gives, so that is what I did with the door. As you can see the flame really brings out the grain of the wood. Here is a quick video of me using the BernzOMatic torch to get the burned wood finish.
What is nice about the TS3000 BernzOMatic torch is that you can adjust the flame so you can go really dark or you can have a light shade. I burned all the border first and make it darker, to make it stand out.
")
Then I burned the middle pieces. I did different shades in the middle. Some of them were really dark and some were light. I love the look of the burned wood. I love that it brings out the natural look of the wood.
")
Here is the barn door all complete! Ready to be hung.
")
Since the barn door is so large, we needed a larger track and bigger hardware. This was a little tricky because the majority of barn door kits are only 6ft-6.6ft wide. And if you want one that is 8ft you’re going to pay about $300-$400 for them. Since the door is so big too, we couldn’t just get a 8ft bar of metal, we needing something that would hold it. So we found a track, wheels and brackets that went together but that were sold separately. We got a track that was 8 feet long (click on the link to see where we got it) and then used three of these wheel tracks for it (two probably would have worked but we wanted to be safe). We put all three of the wheels onto the door by drilling holes into the wood and then bolting them on.
")
To put the track on, we used a 2x8x8ft piece of wood (that’s I burned to match) and then put that onto the wall.
")
We put the wheels onto the track and then put the door up. It wasn’t the easiest task since the room is so small but once we got it up it went up well. We put the door onto boards that were 5/8” thick (that’s how far we wanted it off the ground) and then screwed the track onto the wood with the brackets. That is what is holding up the track.
")
And that’s it! I love how it looks and I love having a room again.
")
")
The door doesn’t open all the way because of the size of the room and on the other side we have an arch that is too low, so it was the only option we could do. But if you had a space that fit a longer track, you could definitely have it open up all the way.
")
I added a turquoise handle for a pop of color. I love how it looks!
")
It is so nice to have another room in our house and not have a wasted space. And I love how the wood looks burned. I love the variety in the woods and in the colors. You couldn’t get that with a stain or paint color.
")
Check out these DIY ideas:
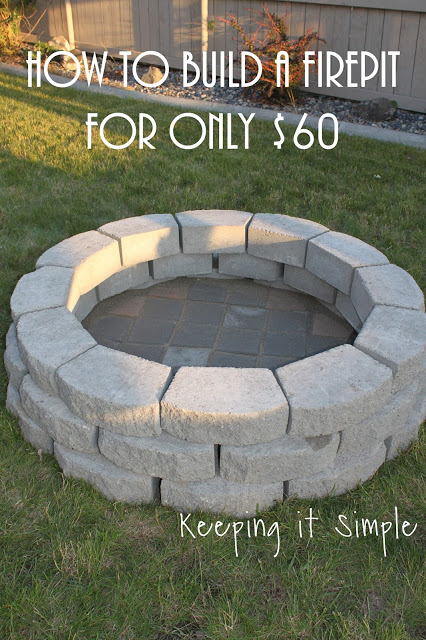
DIY Fire Pit
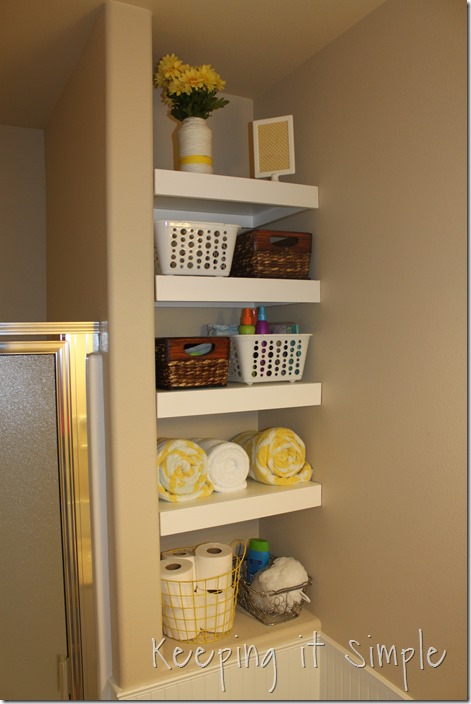
Storage Shelves
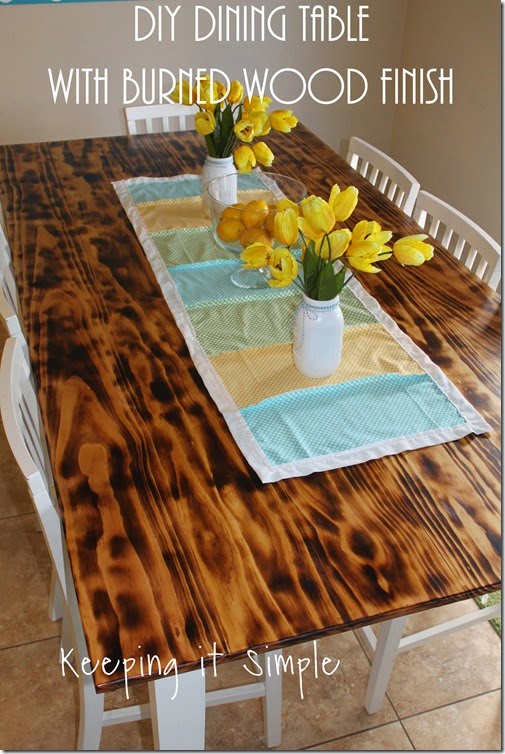
DIY Dining Table
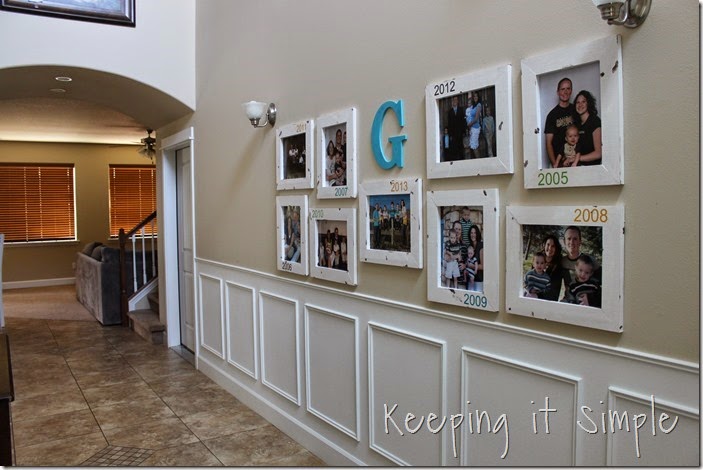
Family Photos Gallery
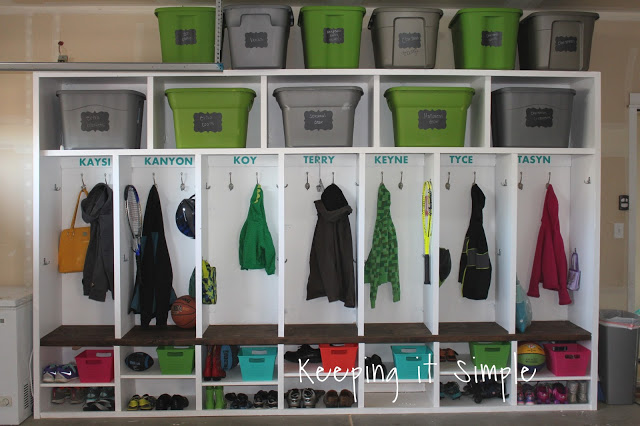
Garage Mud Room Lockers
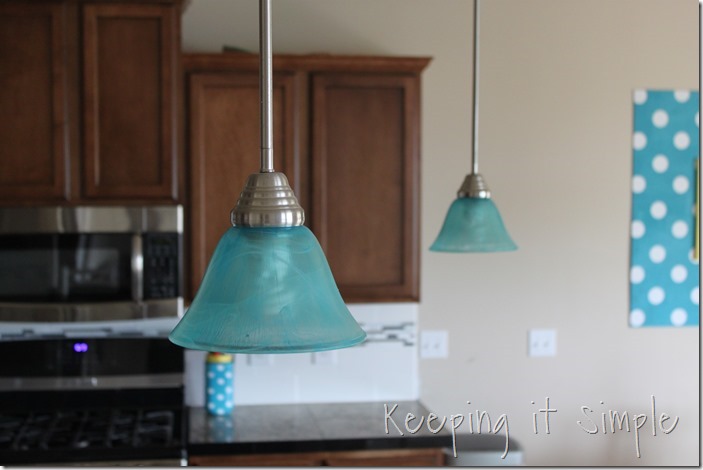
DIY Turquoise Pendant Lights
Leave a Reply
You must be logged in to post a comment.