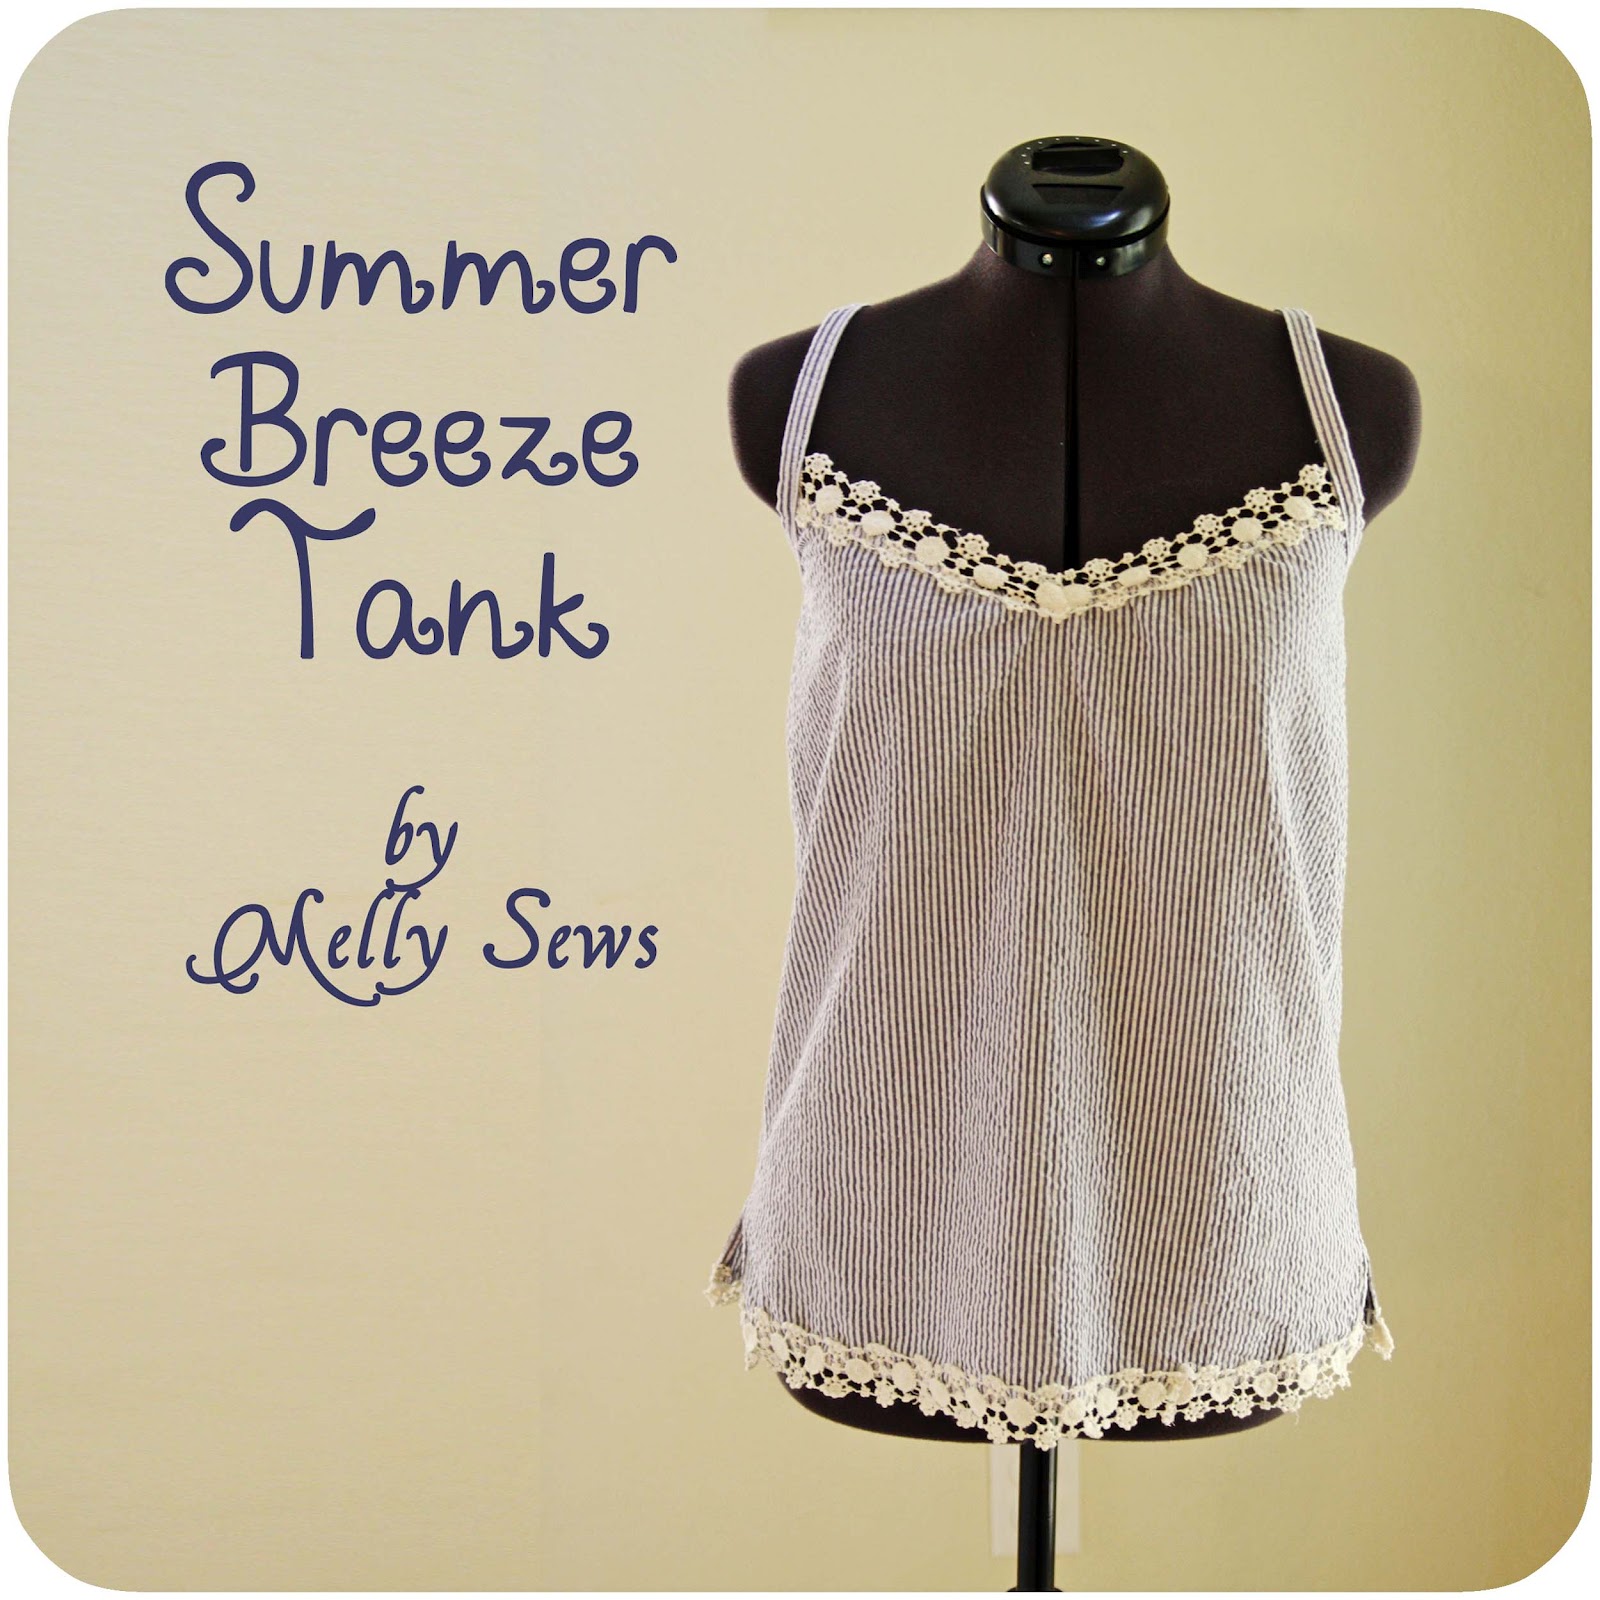
I went back and forth about sharing the pattern for this, and here’s why: When you’re nice enough to share a free pattern, you’d be surprised (I was!) at the e-mails/comments you get asking you to re-size it and/or angry e-mails about why you didn’t make multiple sizes to begin with. I know, the majority of you lovely blog readers are as shocked as I was. I’m a small, short, flat chested person, and I know that’s not the most common body type, so I wondered if I would get more of those than I do with kids clothes.
So here’s the deal – I am linking my size 32″ bust/ 36″ hips pattern for FREE. If your bust/hips are bigger, you’ll have to resize. I suggest adding to both the center front/back and side seams. Pattern drafting and digitizing takes a a long time, and since this is not a pattern I made for sale, just a tank I made for myself, this is the only size the pattern is in. Can we play nice with that in mind? Thanks.
OK, you’ll need the pattern for the front, which you can download HERE. This is a PDF file, you’ll print it across 3 pages of paper and then tape them together. When you print, set your printer to borderless, and don’t scale anything. If your printer won’t print borderless, set it to the smallest margins you can and print anyway without scaling – you should be able to connect pattern lines across the page breaks. Butt the edges of the pages together – don’t overlap – and tape. The pages line up landscaped, one on top of the other in a 3 page column.
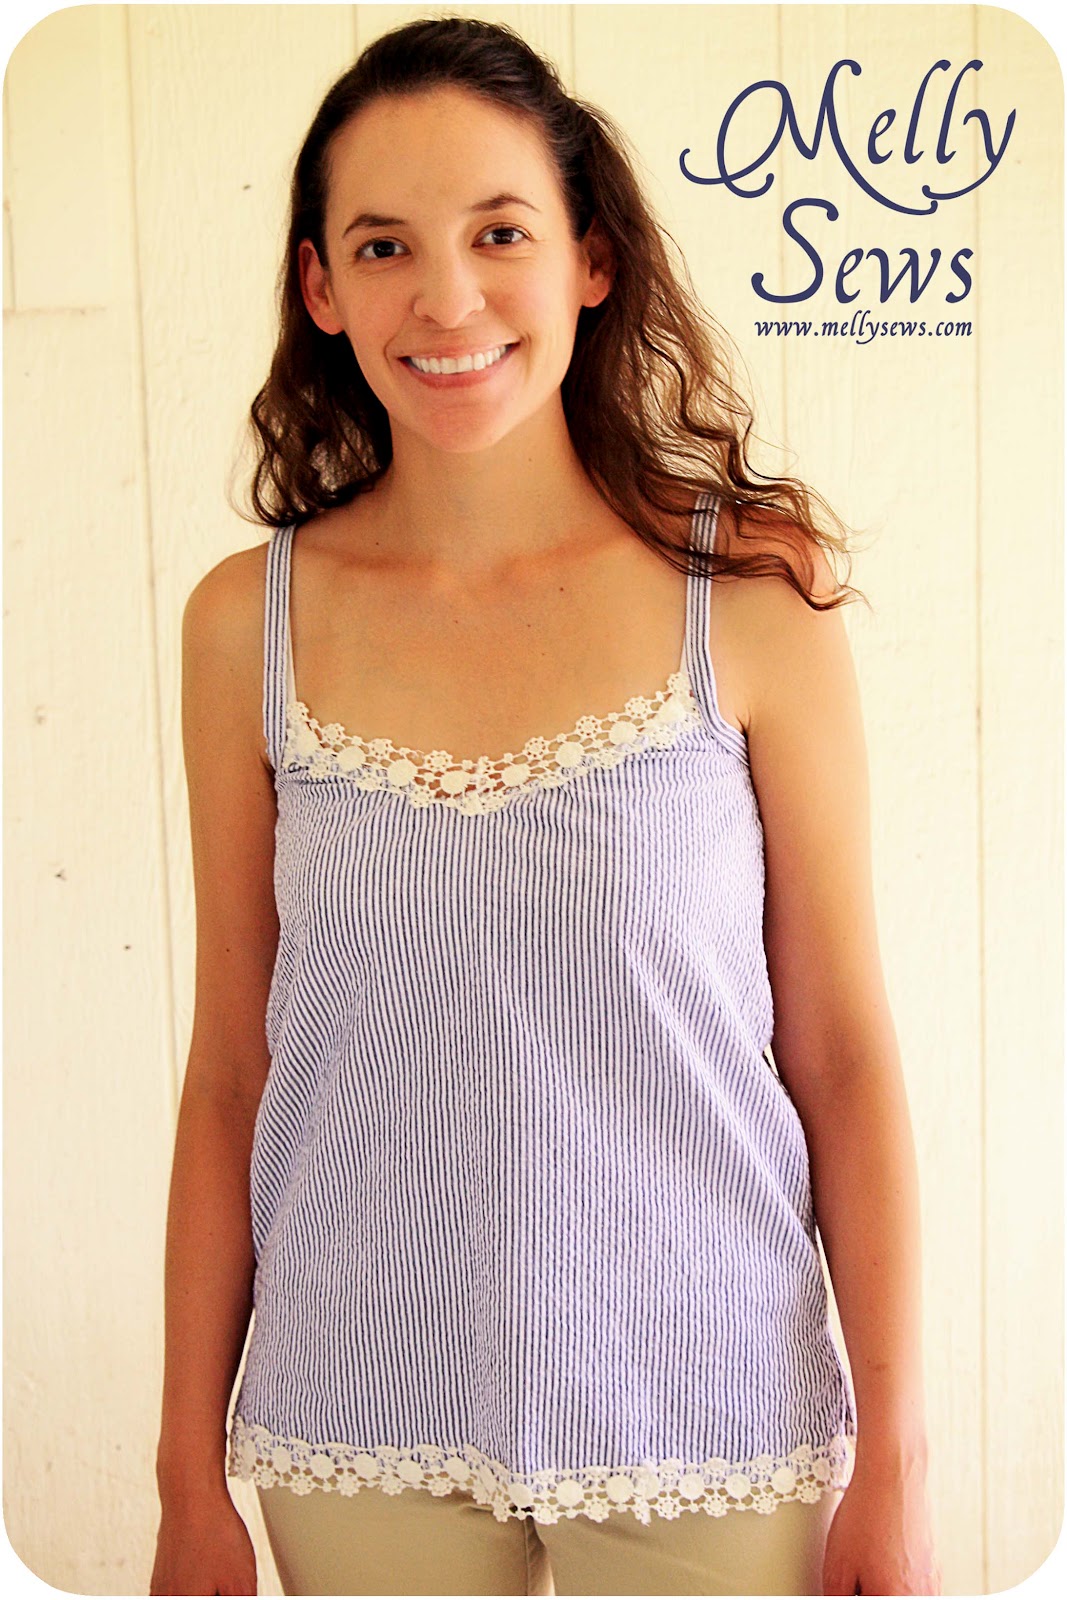
A note about fabric – this will look best in a very lightweight and drapey fabric – cotton gauze, cotton lawn or voile, a very thin jersey, etc. The seersucker was almost too thick for it. If you use quilting weight, this will probably look like a square sack on you. Consider yourself warned 😉
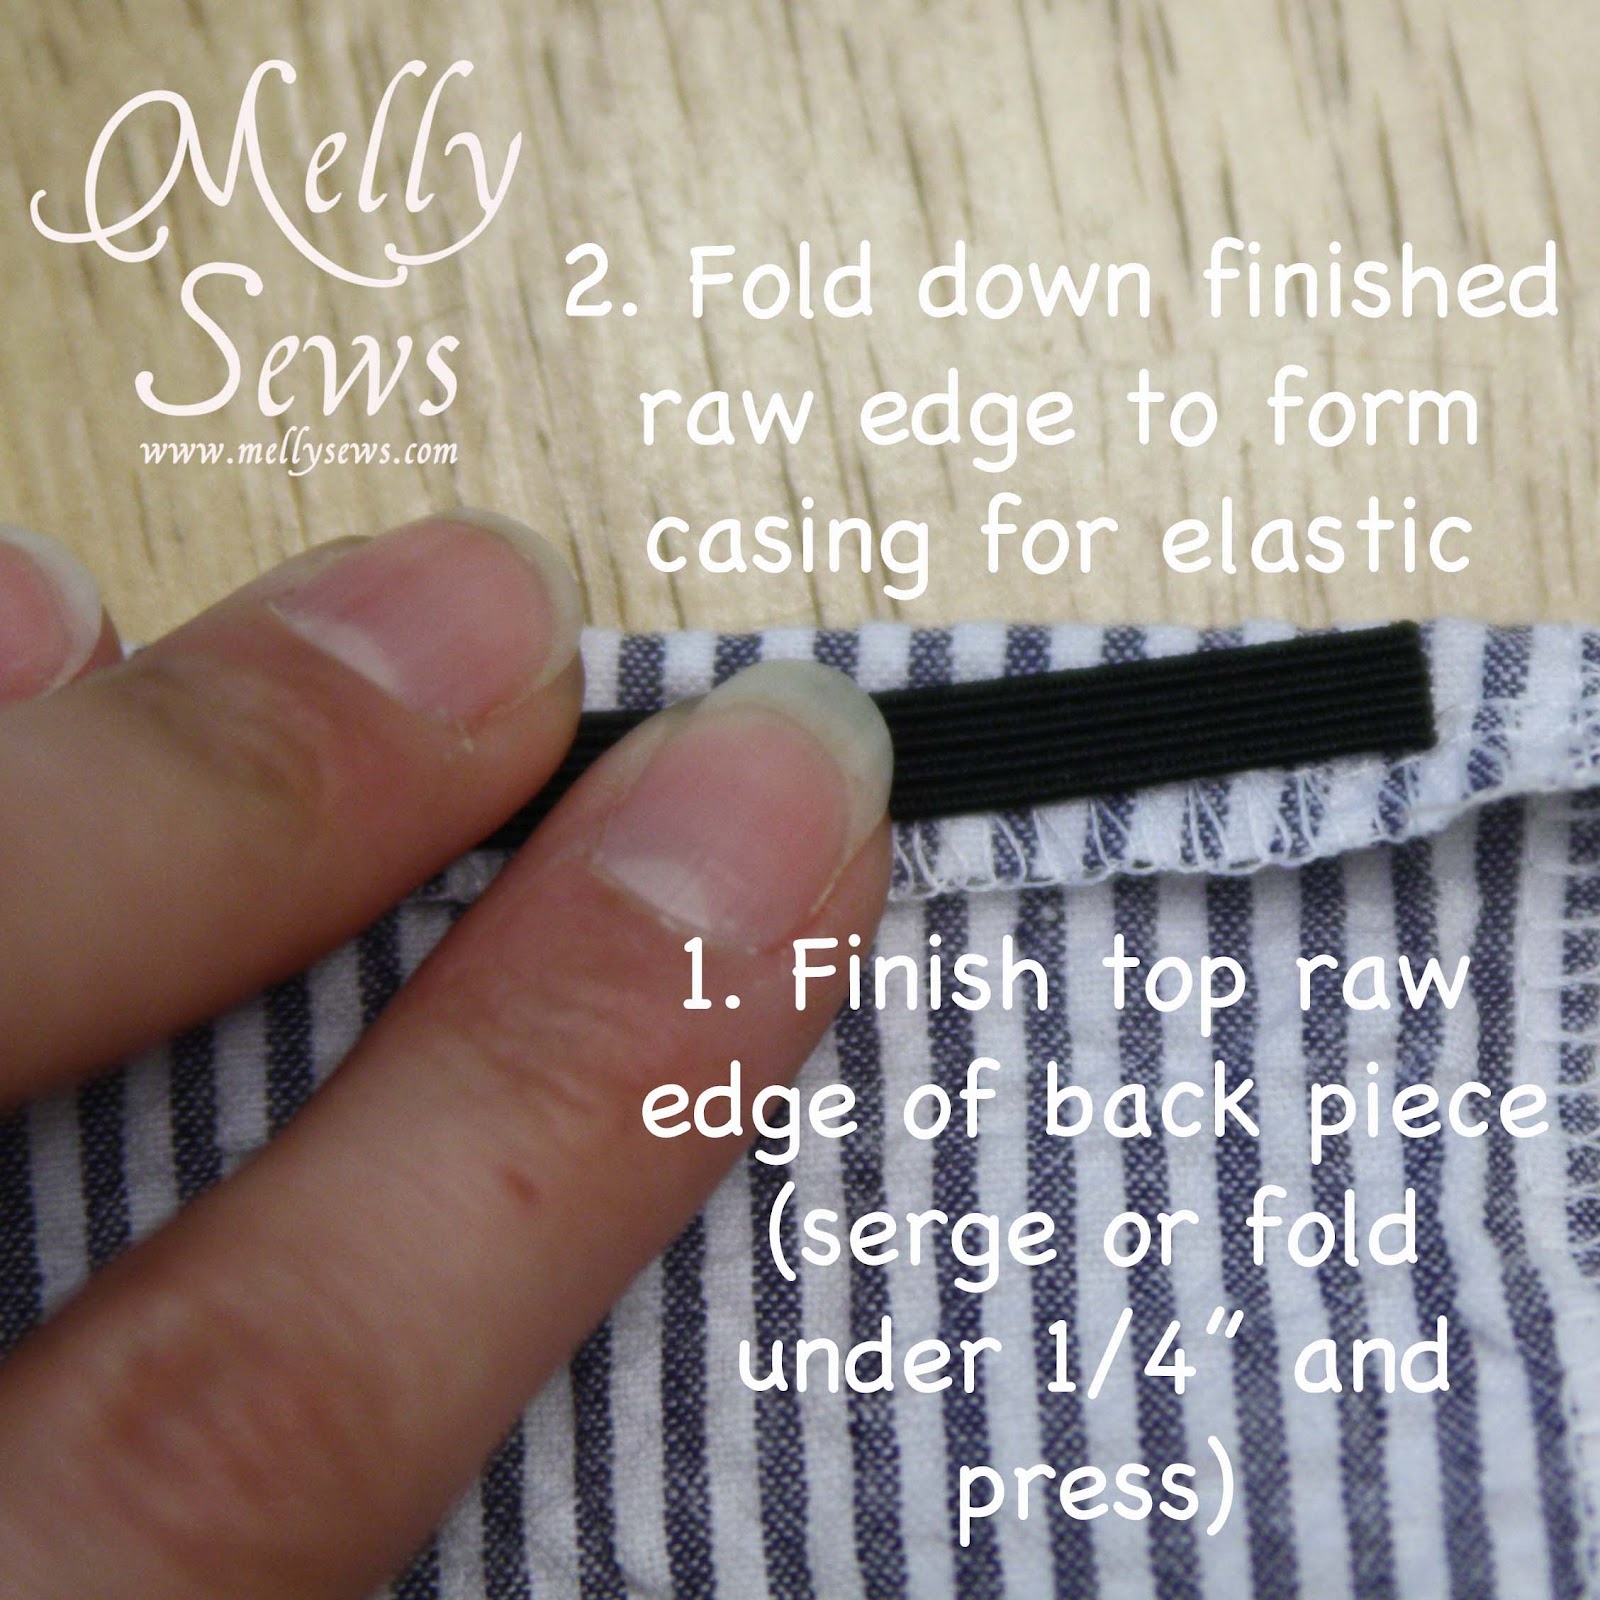
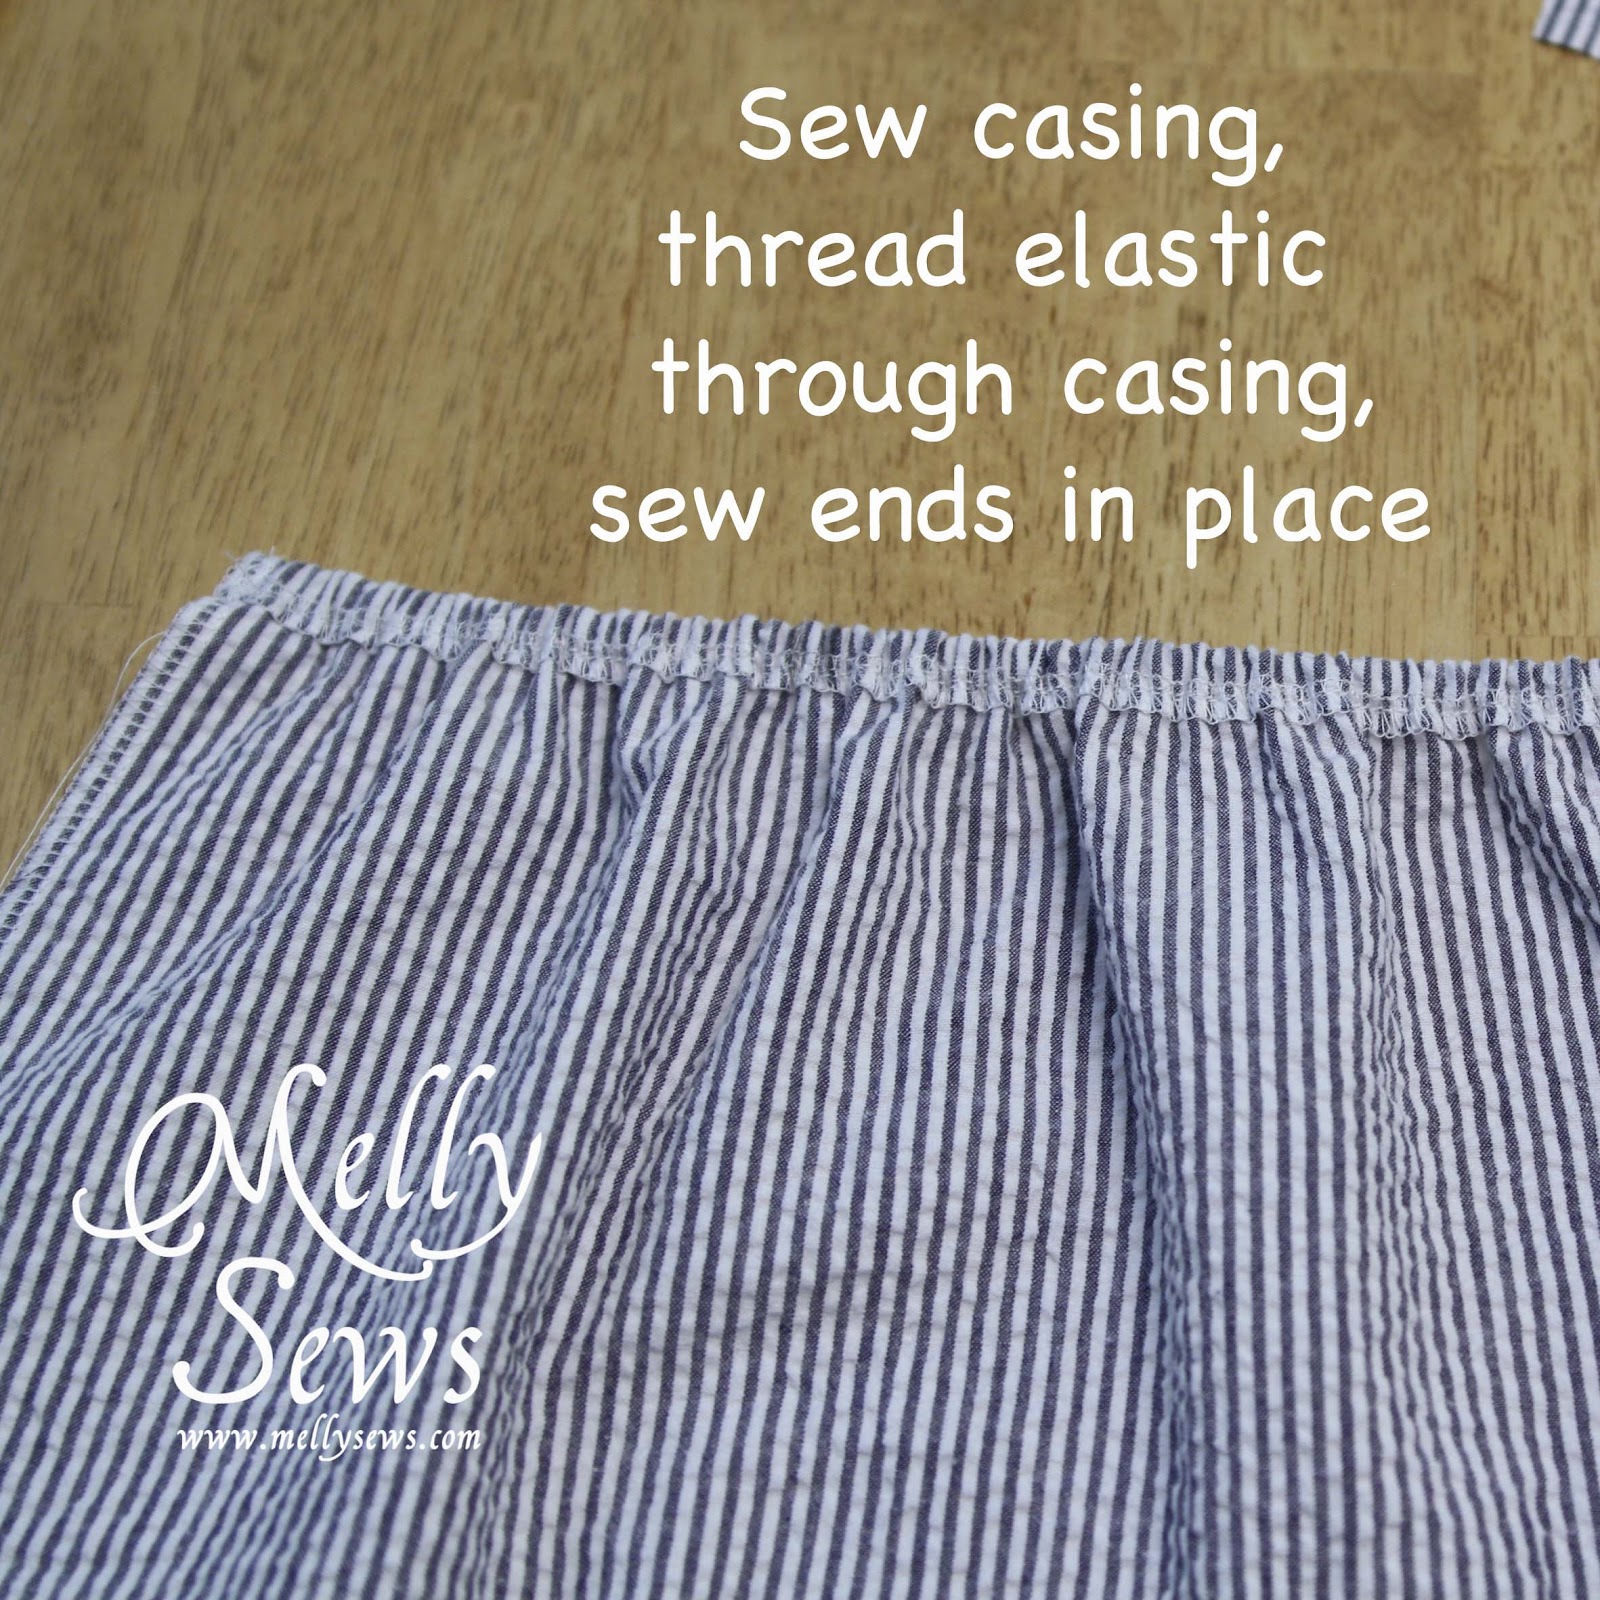
You will also need 14 inches of elastic (not pictured below), and a 10″x17″ rectangle to use as your tank back pattern. Cut the tank back with one long edge on the fold of the fabric.










I love it!
This is beautiful, thank you so much for the tutorial! I hope to make one for myself soon (unfortunately I have to get my sewing machine repaired first 🙁 )
Lovely pattern! Doesn't look like it will be too tough to resize – people just need to look at it as more of a "recipe", and go from there! Thanks so much for sharing 🙂
I am going to make this! Going to the fabric store for supplies tmw. I fit her description so the pattern should just about fit me and I have been itching to make something. Can't wait. You may be roping me into this crafty stuff…