I saw this post and I knew that I wanted to make one!

This is how I made it:
1) I got these super cute presents from Crafty Wood Cutouts. I painted them and then traced the present onto scrapbook paper and cut it out.

2) Using mod podge, I put the paper onto the present. I did that to all three presents.
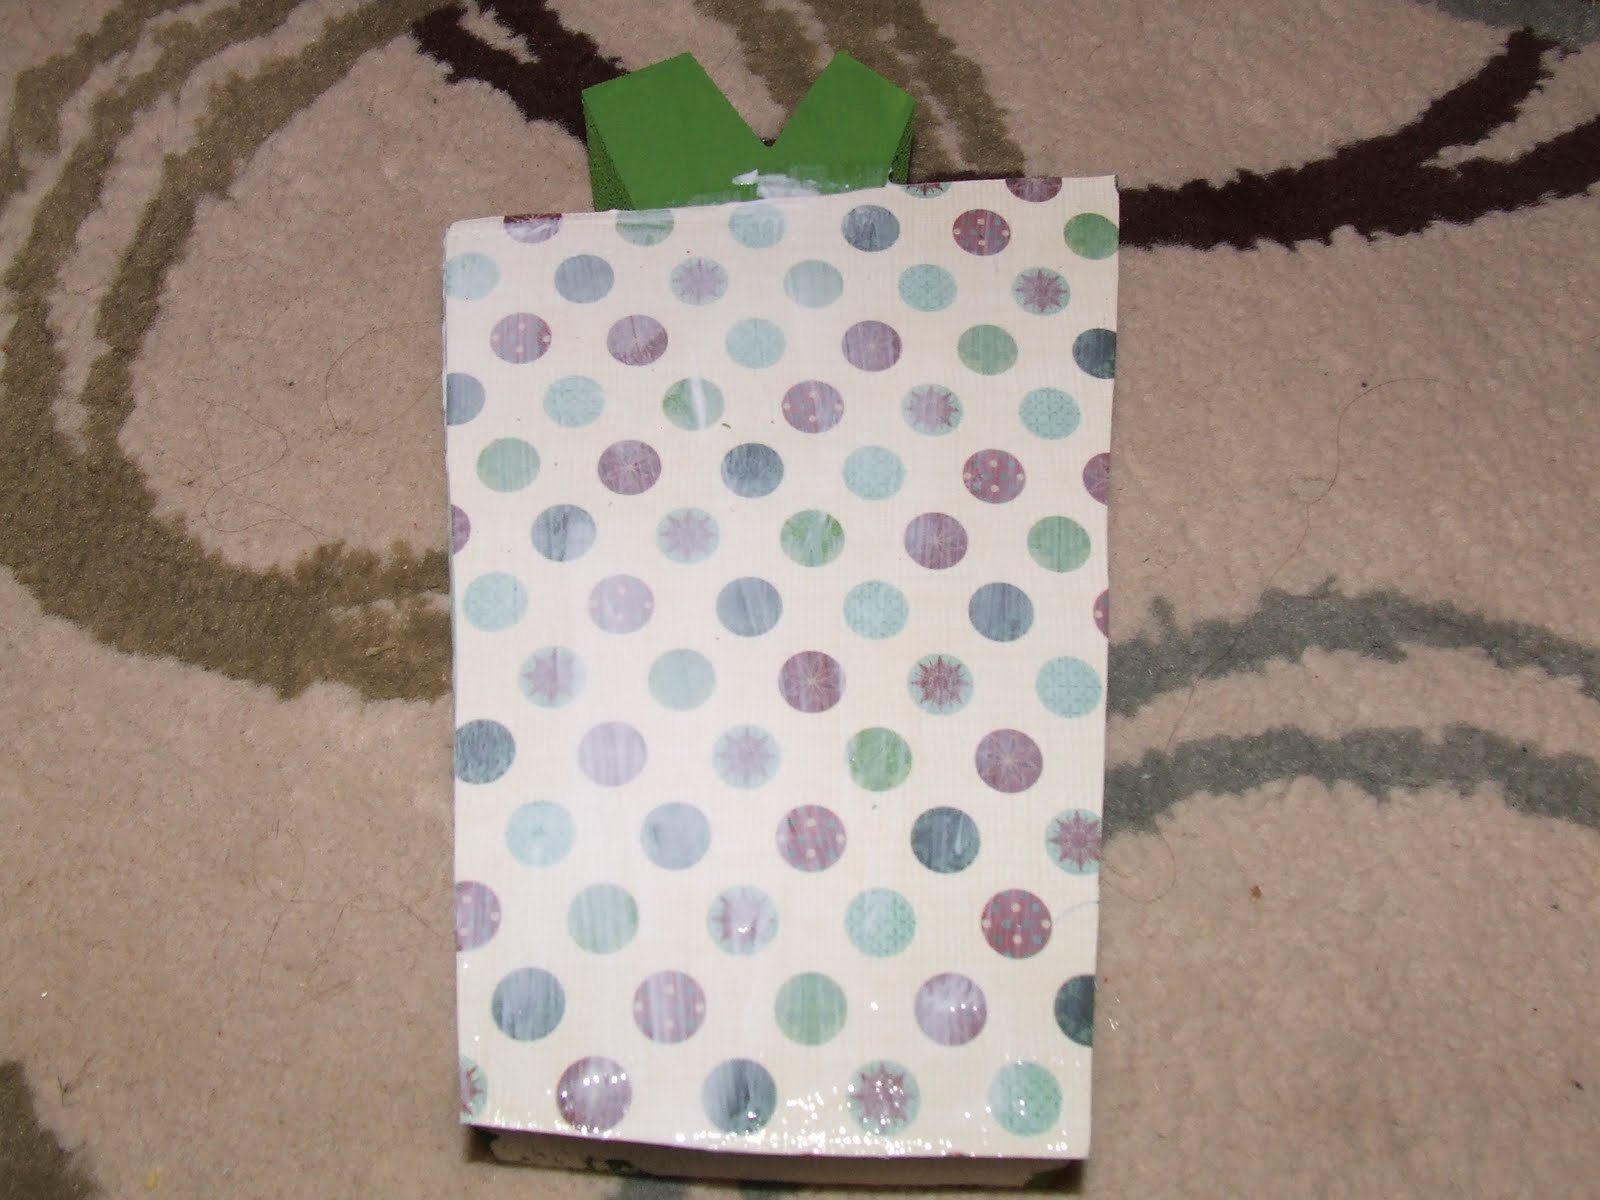
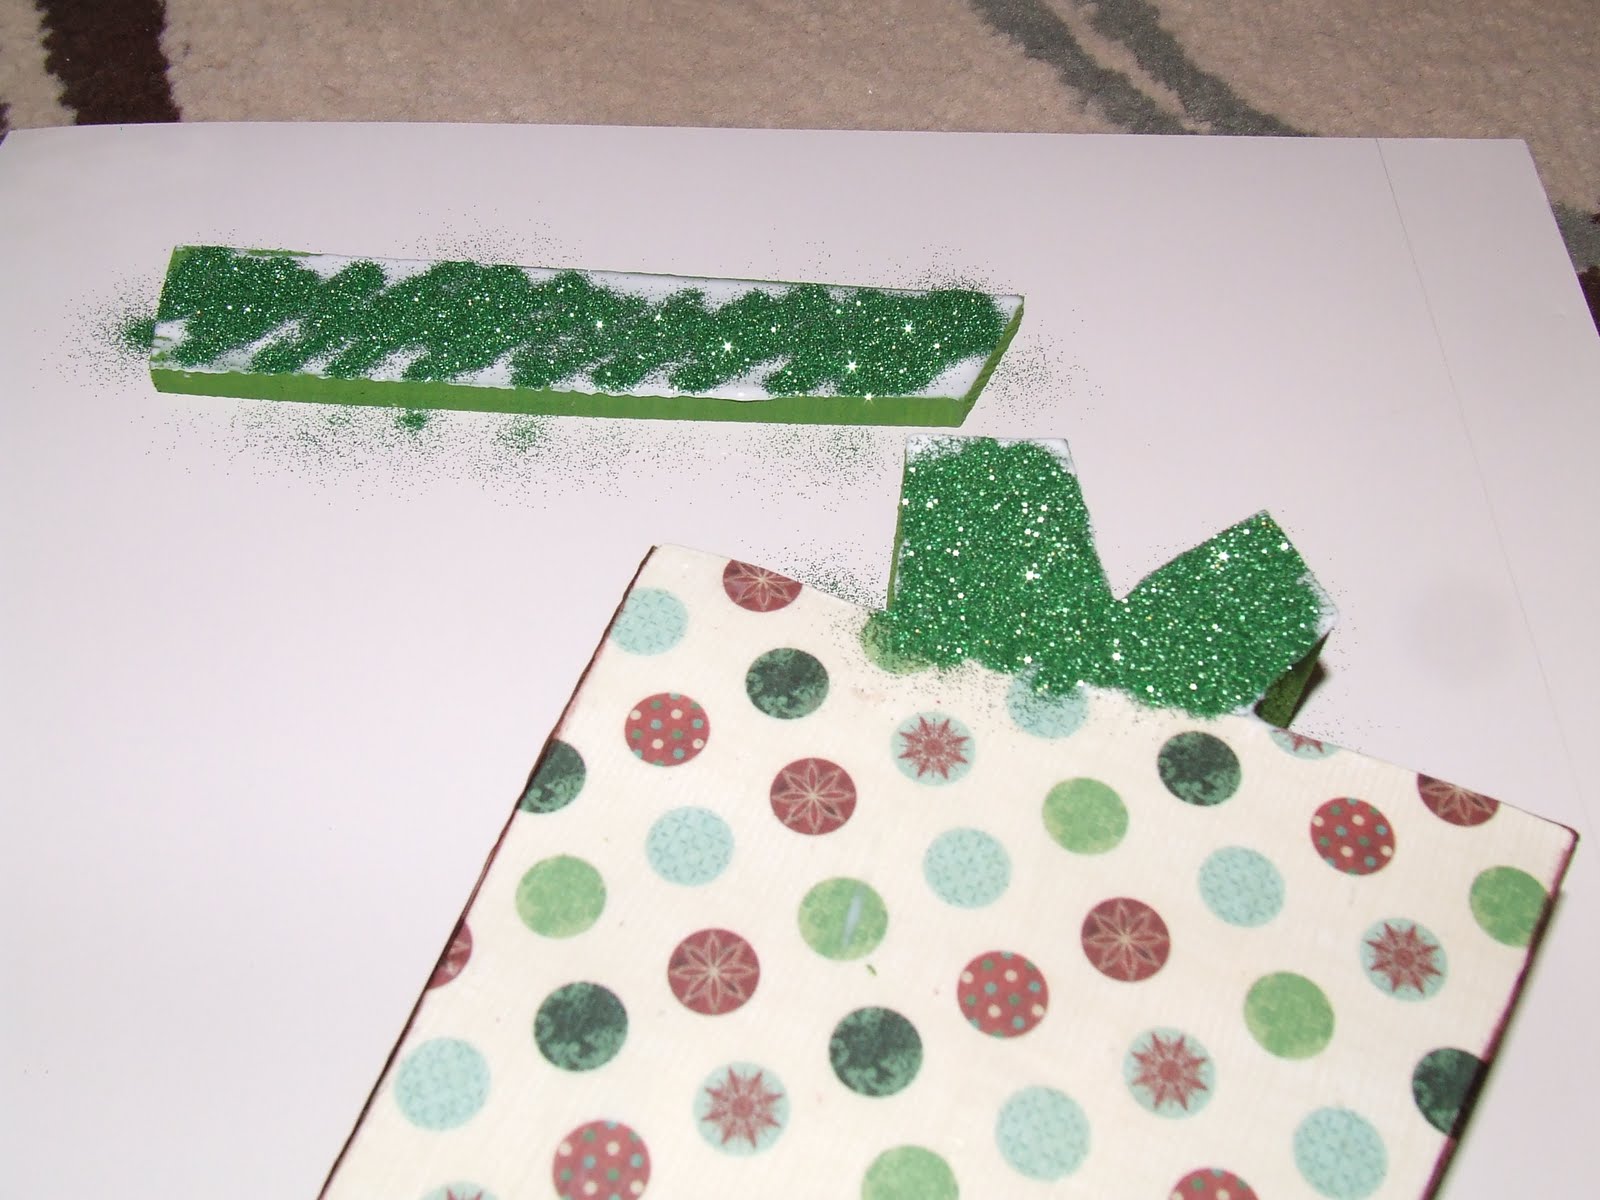
3) I then put mod podge onto the bow and lid pieces and then put glitter on it, I love how it sparkles! I then glued ribbon and lid piece onto the present.
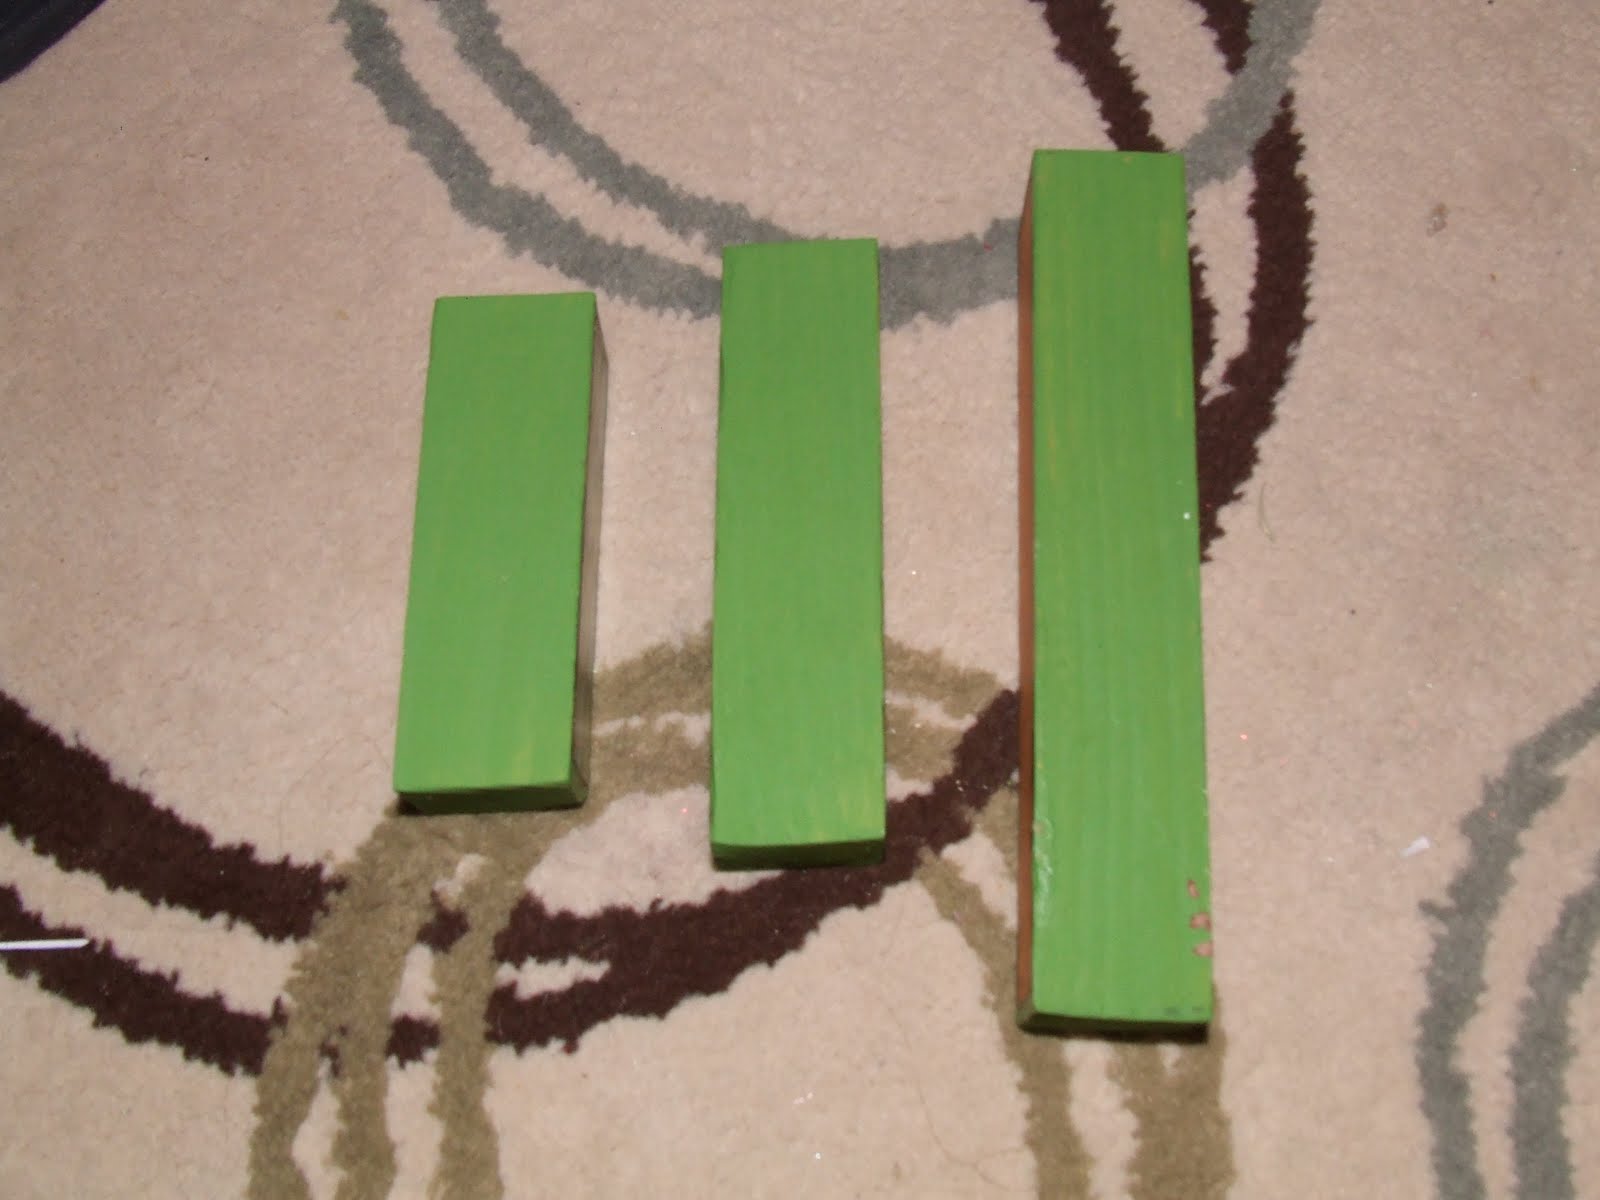
4) For the stacker, I cut 2×2 into three pieces, 8″, 6″ 4″ and painted them green.
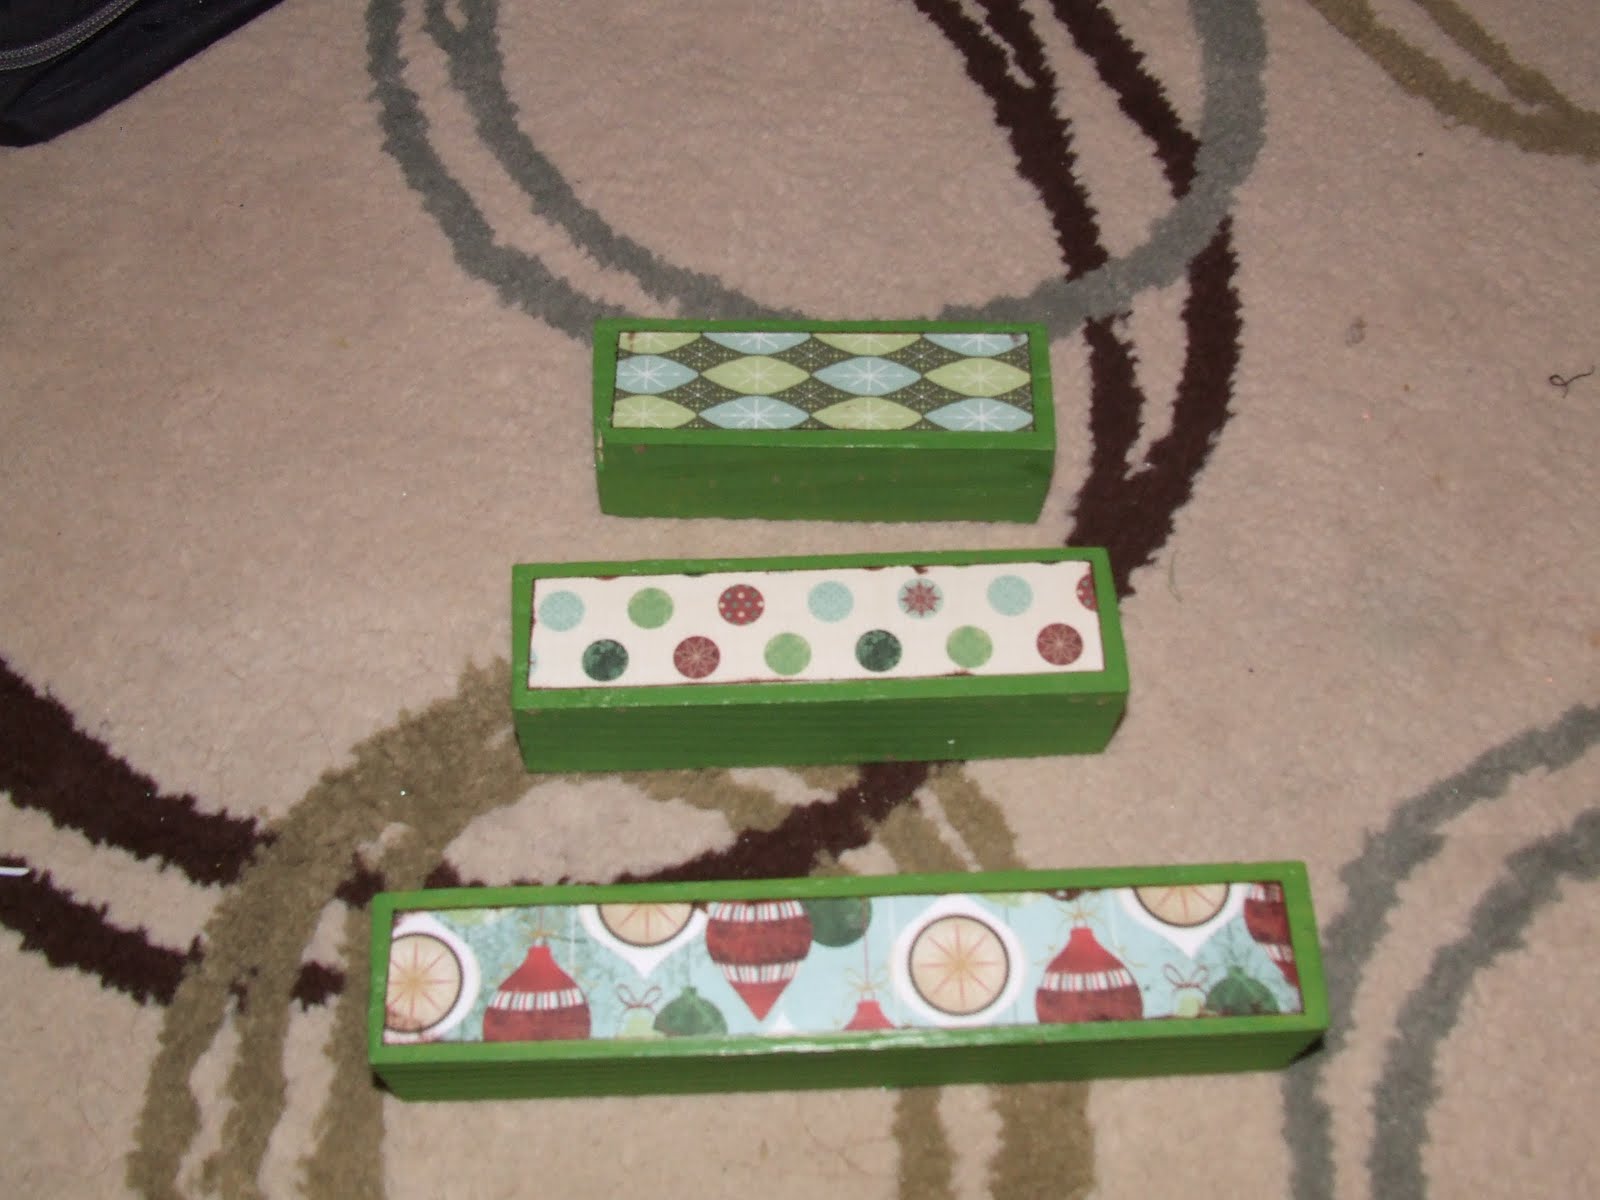
5) I then put scrapbook paper onto them using mod podge.
6) For the words, I cut out some brown vinyl from Expressions Vinyl with my Silhouette.
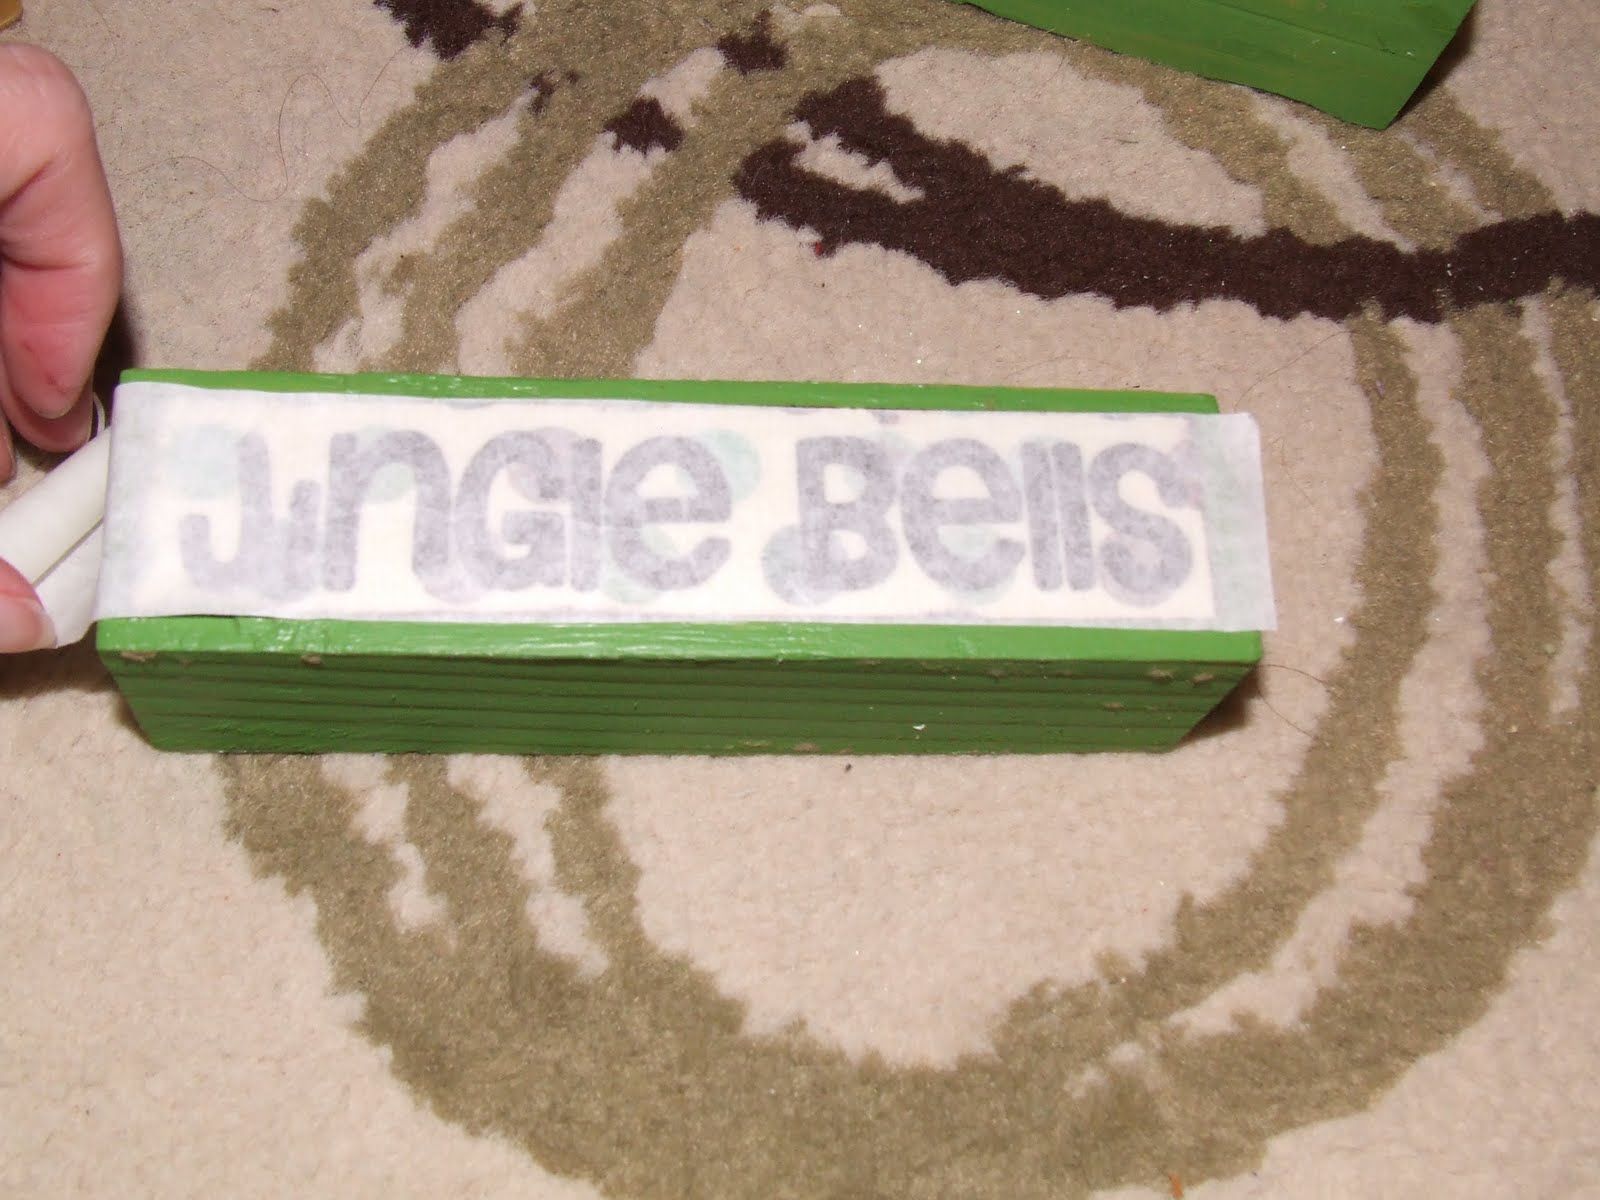
7) I then glued the three pieces together. And then wrapped some ribbon around it.
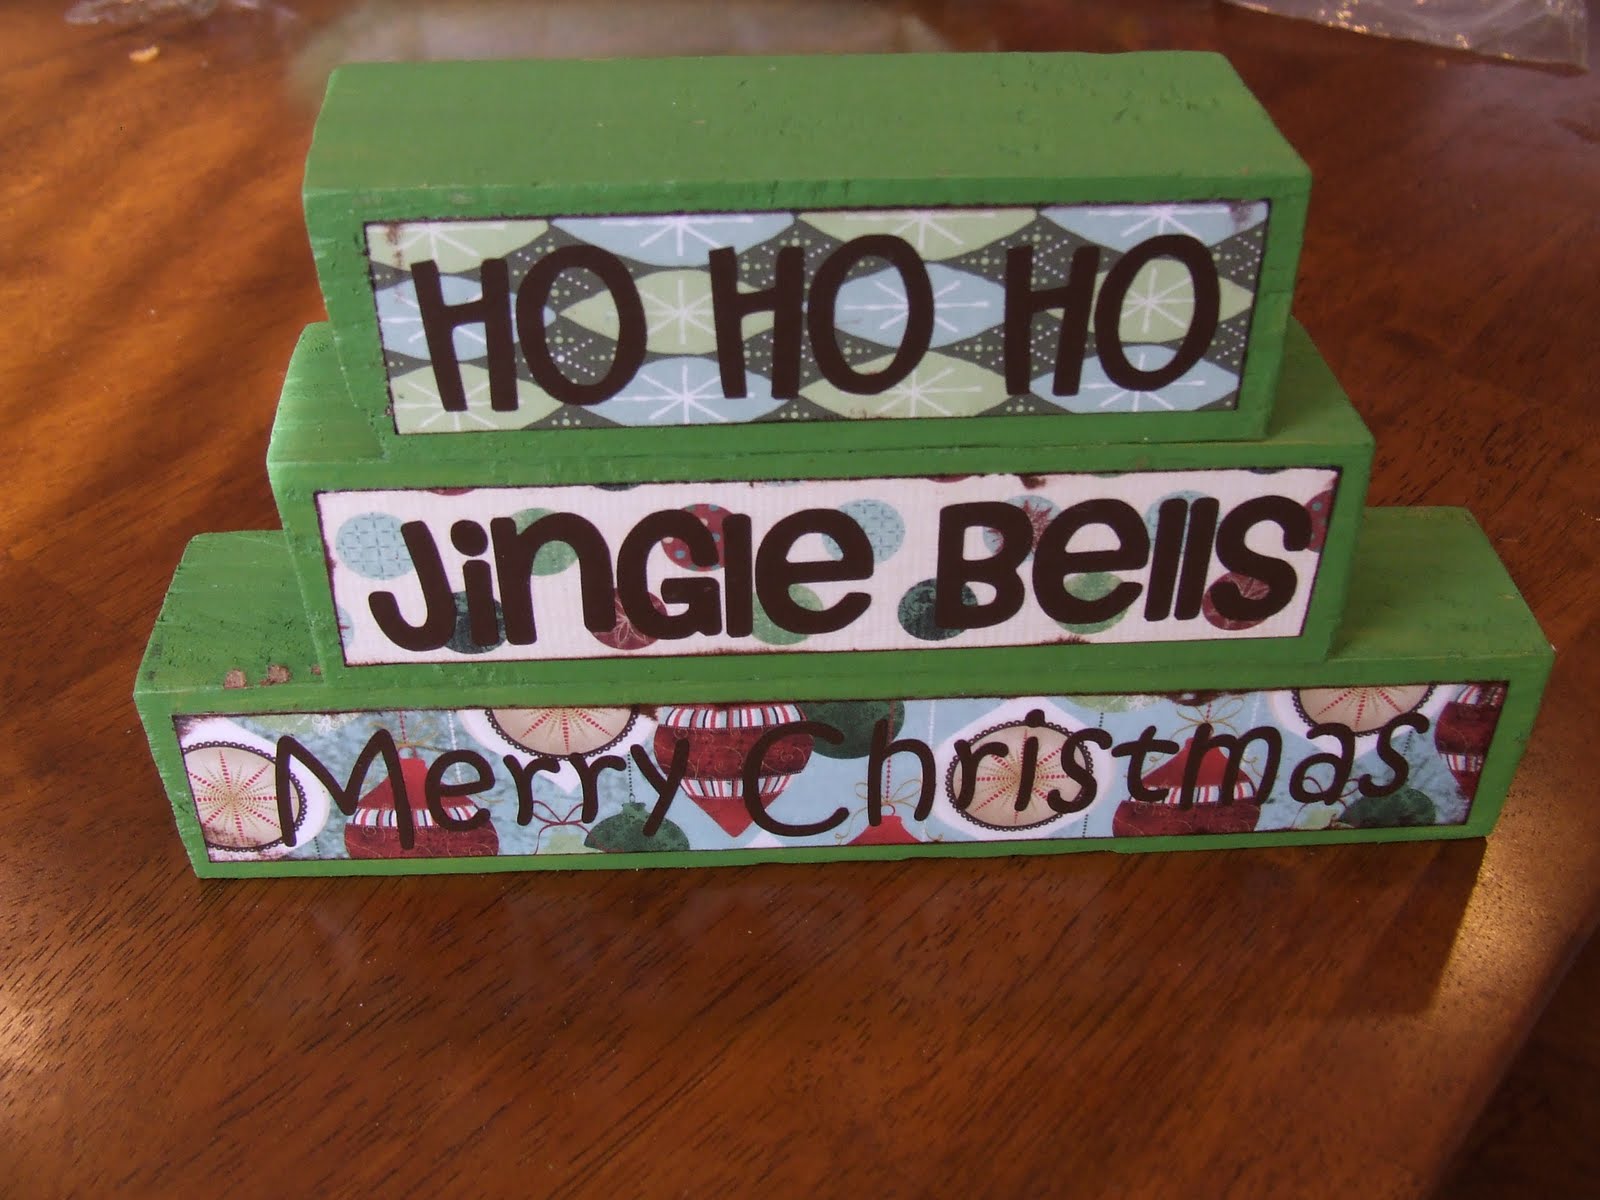
And here is my cute display for Christmas!!!

I struggle with spending a lot of money on a decoration and only being able to use it once a year. So I used the other side and decorated it for birthdays, now I can use it 7 times a year!! So much better, plus I have something to pull out on birthdays to make someone’s day even more special! The presents only came with one lid piece, so I made some out of a yard stick and a paint stick.
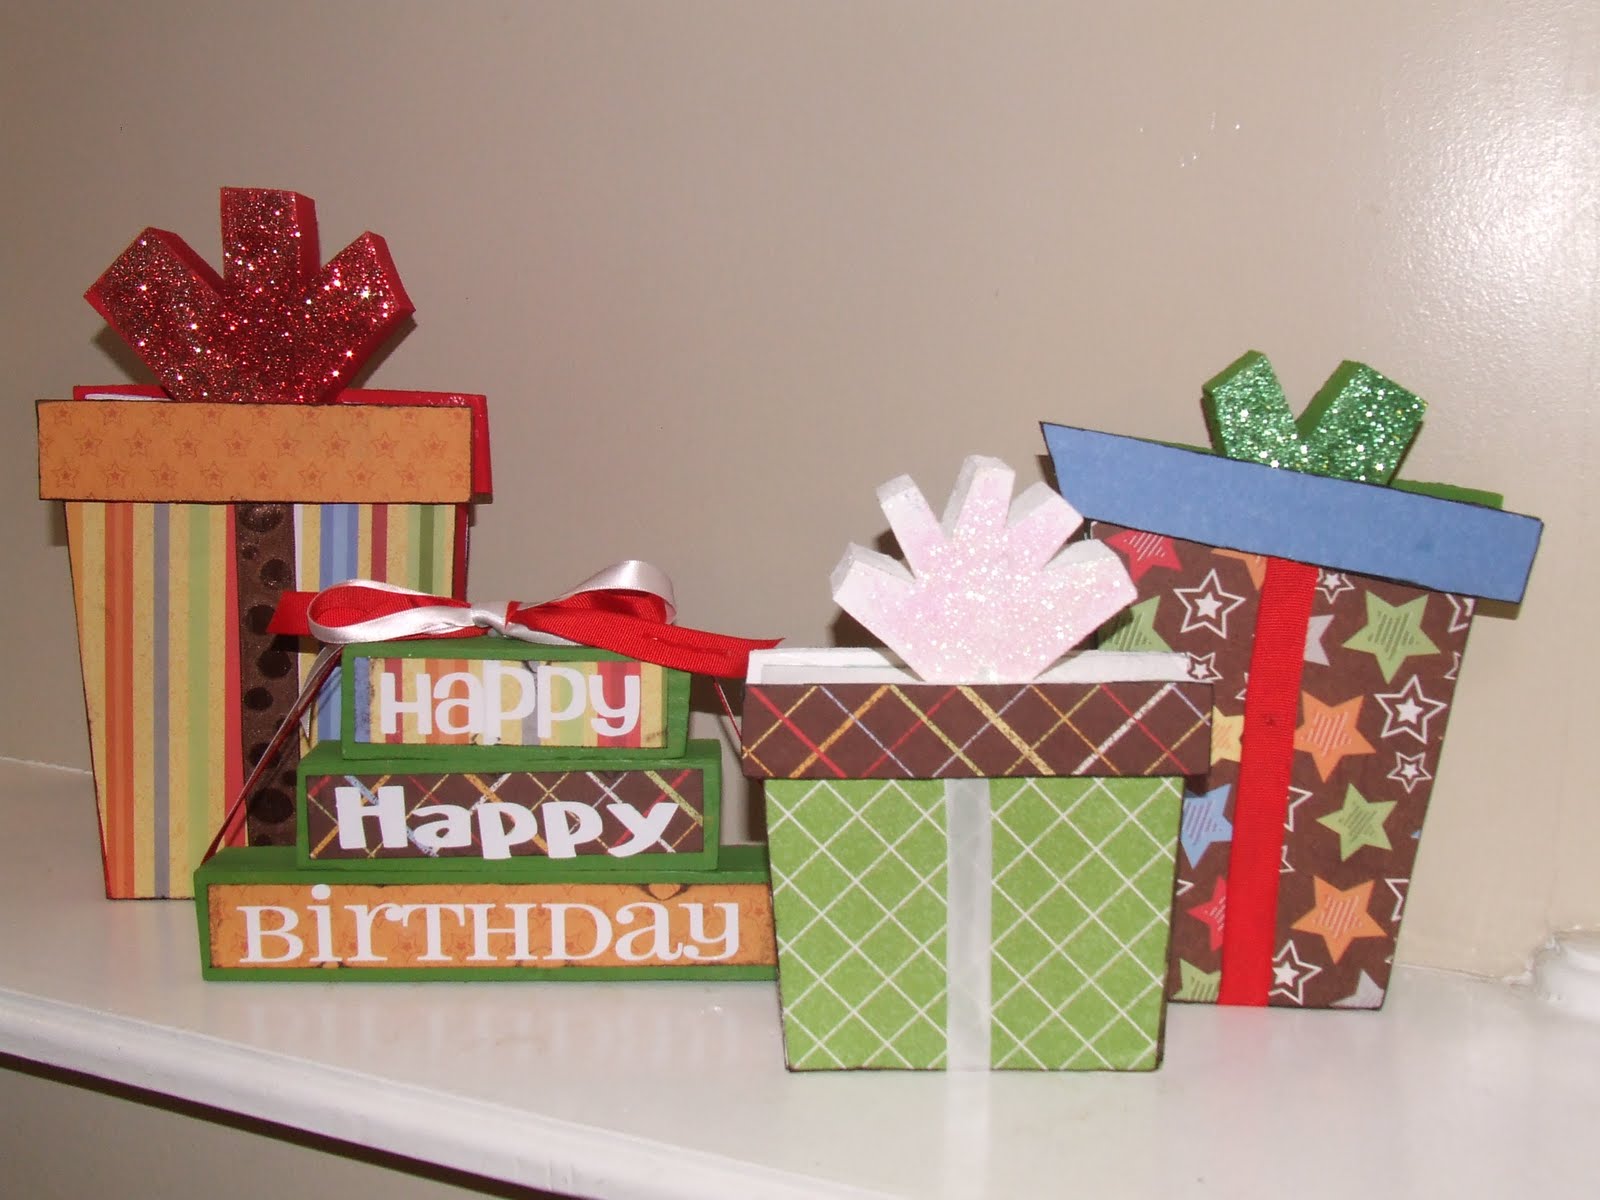
I used white vinyl from Expressions Vinyl for the birthday saying.
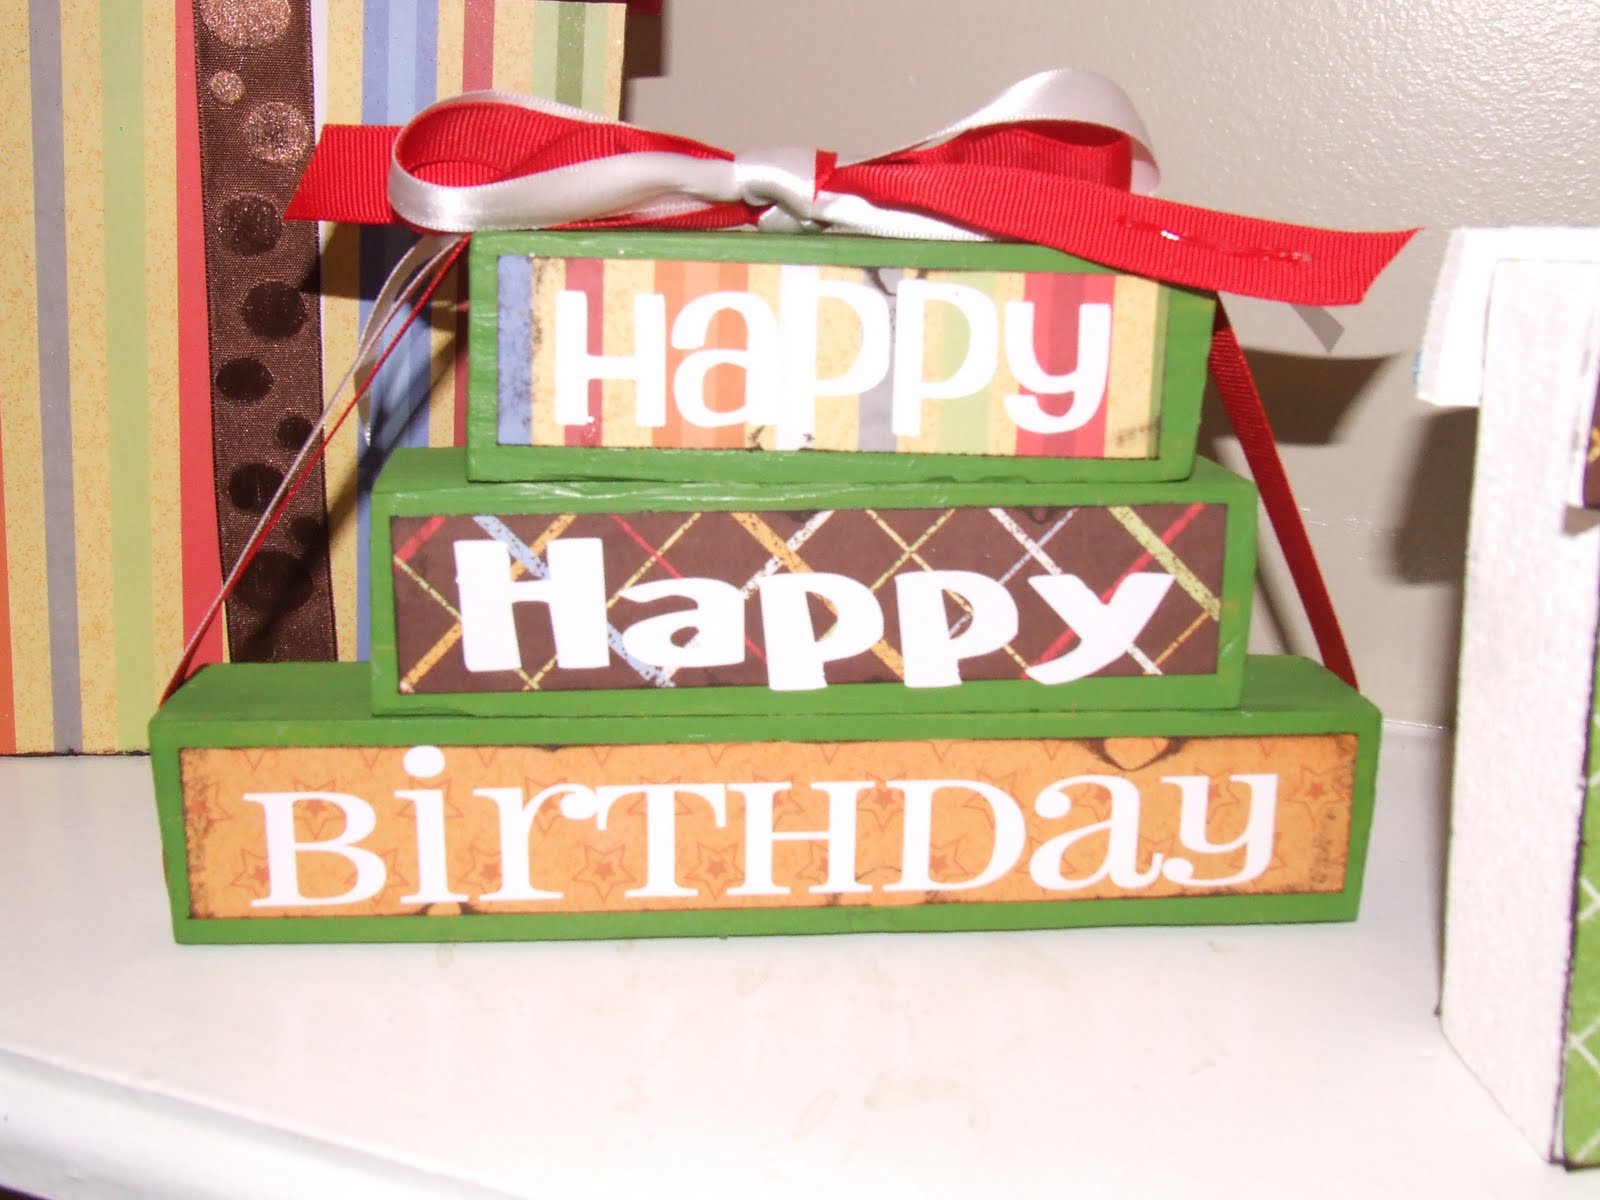
These are very cute! I need some gifts under all my trees!
These are so cute! Such a great idea of Christmas or birthdays! Thanks for the tutorial.
So cute! What a great idea for decorations!
Very cute and easy. Nice job. Love the colors!
Great idea for birthday!! Thanks for sharing at my "18 Days til Christmas" linky party…
http://www.mydailyphotojourney.blogspot.com/
http://www.facebook.com/MyCrazyBeautifulLife.13
http://www.pinterest.com/denyse13/
Love that you did both Christmas and birthday versions! These are too cute! Thanks for sharing on Fancy This Fridays this week!!! By the way… SOMEONE has a FEATURE!!! 😉 http://www.trulylovelyblog.com/2011/12/fancy-this-features-54.html