Beginner’s Guide to the xTool C1 Color Cutter: How to Set it Up and Use it
This post is a sponsored post. I was given the xTool C1 Color Cutter to review. All opinions, ideas and content are 100% my own.
If you love crafting, creating custom designs, or trying out new machines, you’re going to love the xTool C1 Color Cutter! I was so excited to get my hands on this machine and see what it could do. From colorful stickers to custom projects, the possibilities are endless! I can’t wait to start diving deeper into it and creating lots of fun crafts with it.
One of the things I love about xTool is how they continue to come out with machines that make creating easier and more fun. The C1 is no exception! This machine is for the average crafter, if you love to create, then this machine is for you!
In this post, I’m going to walk you through how to set up your xTool C1, get familiar with the machine, and create your first project. I’ll share what’s included in the box, how to get everything connected, and some helpful tips I’ve learned along the way.
Whether you’re completely new to cutting machines or already have experience with other crafting tools, I’ll help you get started with your xTool C1.
Let’s unbox this machine and start creating!
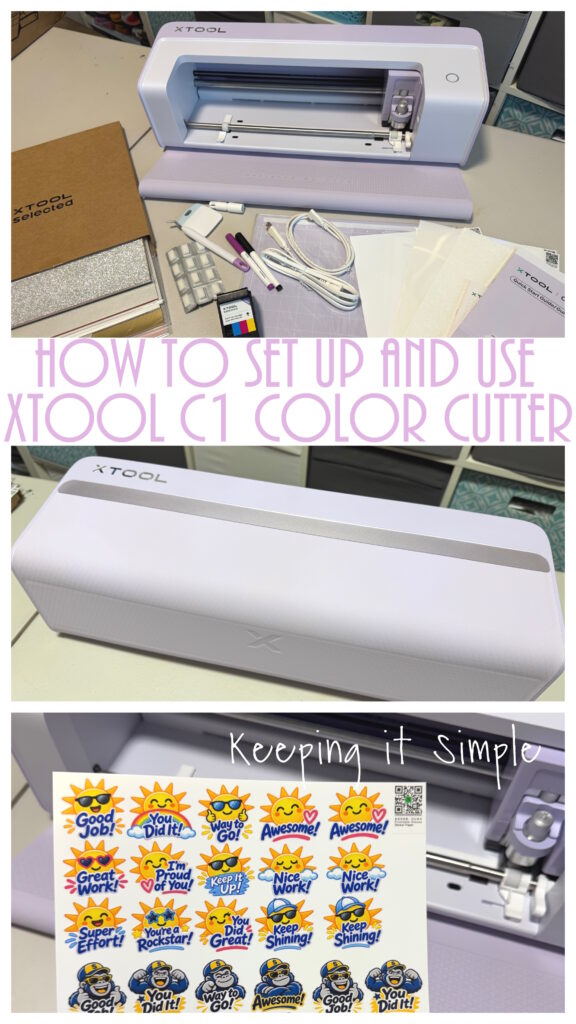
Here is a detailed video of me unboxing the xTool C1 color cutter, setting it up and creating some super fun and colorful stickers.
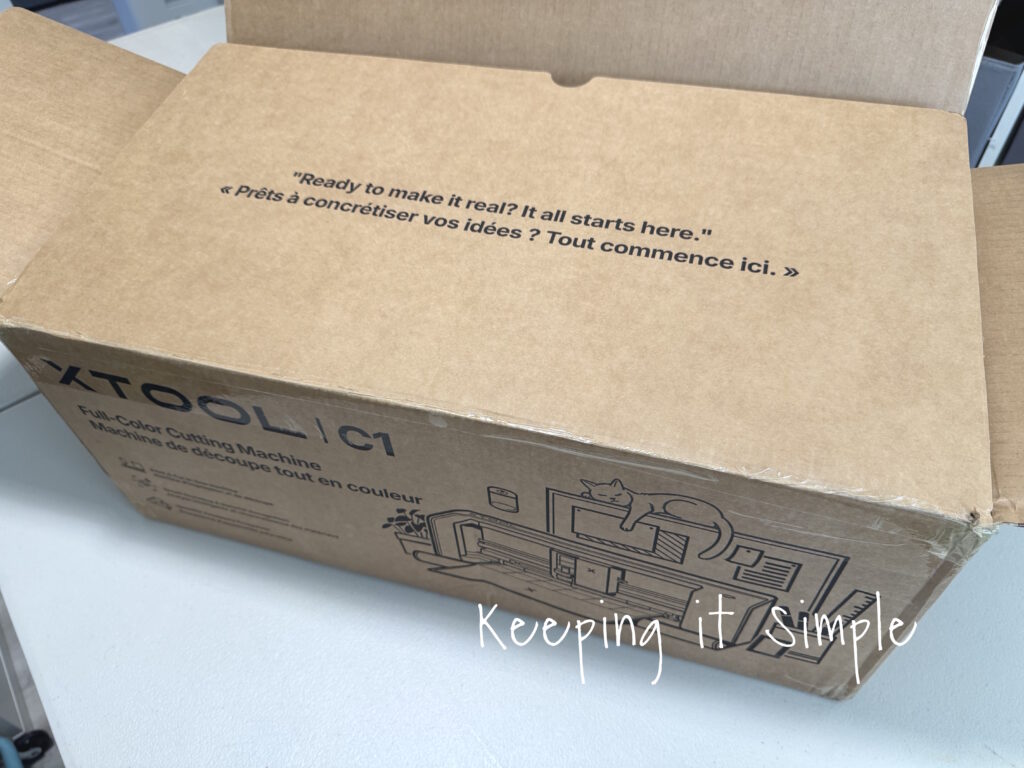
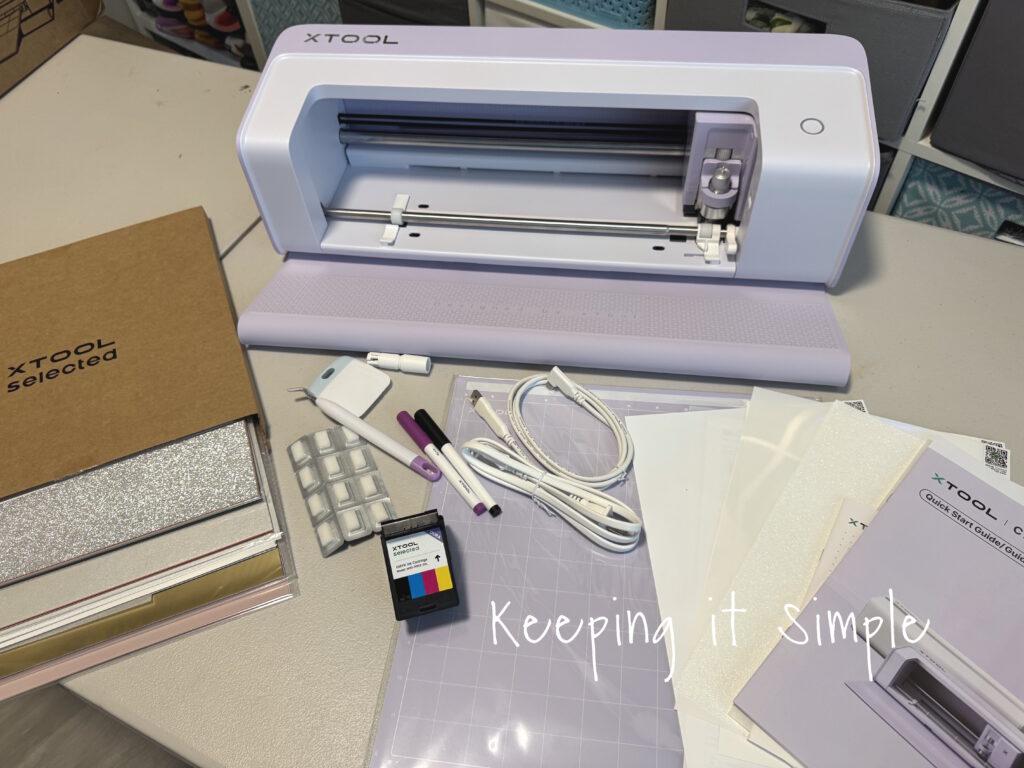
There are a couple bundles that you can get, basic or deluxe. The basic doesn’t come with the extra box of supplies. This is what comes in the deluxe bundle:
xTool C1 color cutter
Mat
Power Cord
USB Cord
CYMK Ink Cartridge
12 Moisturizing Tablets
2 xTool Pens
Scraper and Weeding Tool
Set Up Guide
Printable Glossy Sticker Paper
Printable Heat Transfer for Dark Fabric
Printable Holographic Transparent Sticker Paper
Printable Sparkle Sticker Paper
12×12 Cardstock Packet
12×12 Pearlescent Cardstock Packet
Printable Confetti Holographic Sticker Paper
Printable Holographic Sticker Paper
12×12 Adhesive Vinyl Packet
12×12 Heat Transfer Vinyl Packet
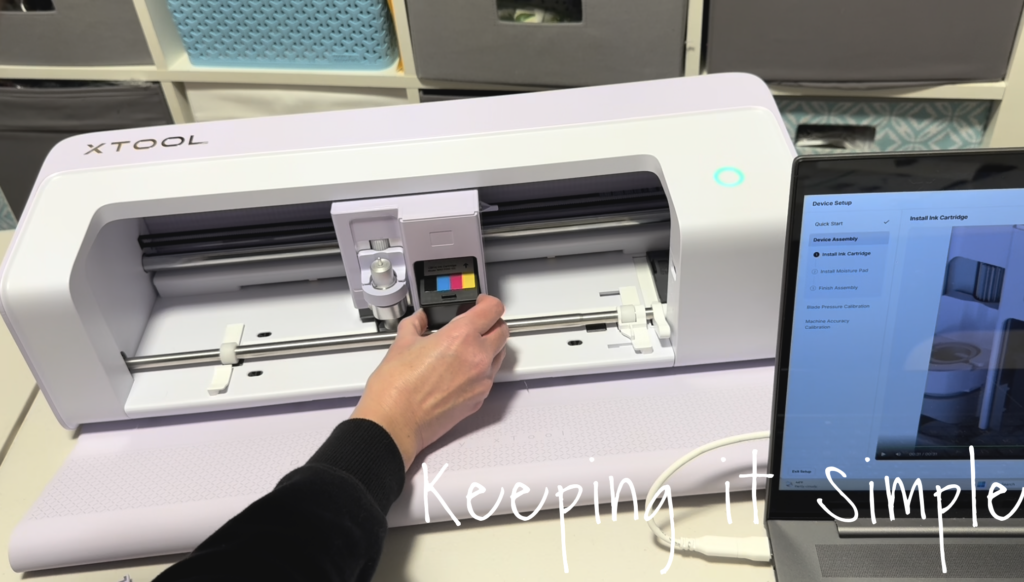
Once I unboxed the C1, I plugged the machine in and plugged it into my computer. It immediately had me upload the new software and firmware for the machine. Once that was done, it took me through a set up process. Each step had a very detailed video to watched, it was super easy to set up. It did take about 30 minutes to set it up, so make sure you give yourself enough time to do it. The first thing I did was install the ink cartridge. You NEVER move the printer head by your hand, the software will do it for you. I followed the instructions and installed the ink cartridge, it is very similar to a normal printer. You put it in and then push it up, you will hear a click when it is installed correctly. If you don’t install it correctly, the software will tell you that it isn’t installed correctly.
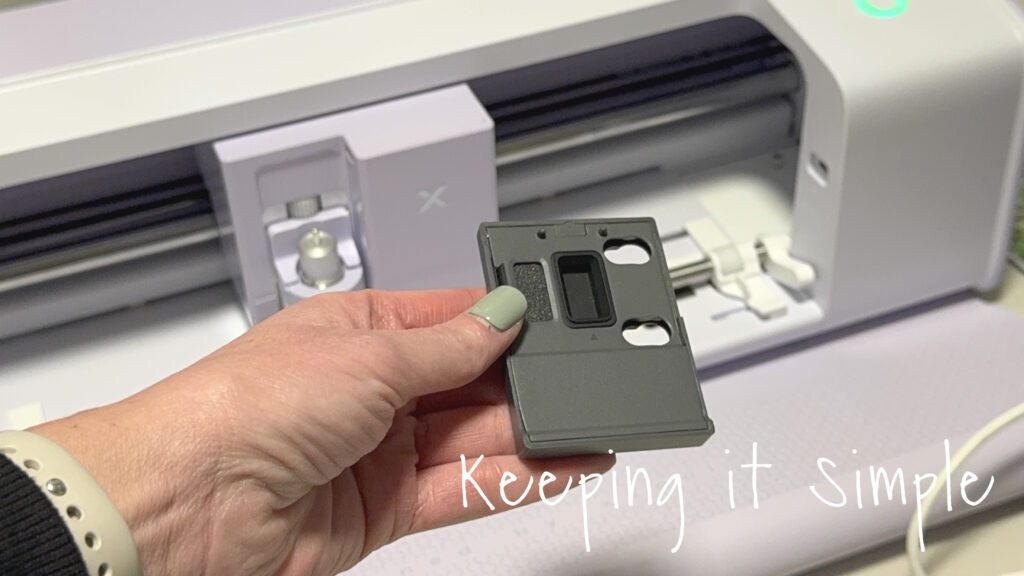
Next is the moisturizing pad. This is what keeps the ink from drying up. This is something that you need to replace every two weeks. Luckily it is super easy to replace. You move the metal pad to the left and then pull it out, pulling straight up. Then you add the moisturizing pad to the middle section. To put the metal pad back onto the print head, you place it to the right of the printhead on the machine. Then you push the metal pad under the print head, it is magnetic and it will connect magnetically. Once the ink cartridge is installed, it is recommended to leave the machine powered on and plugged in, to keep the ink from drying out.
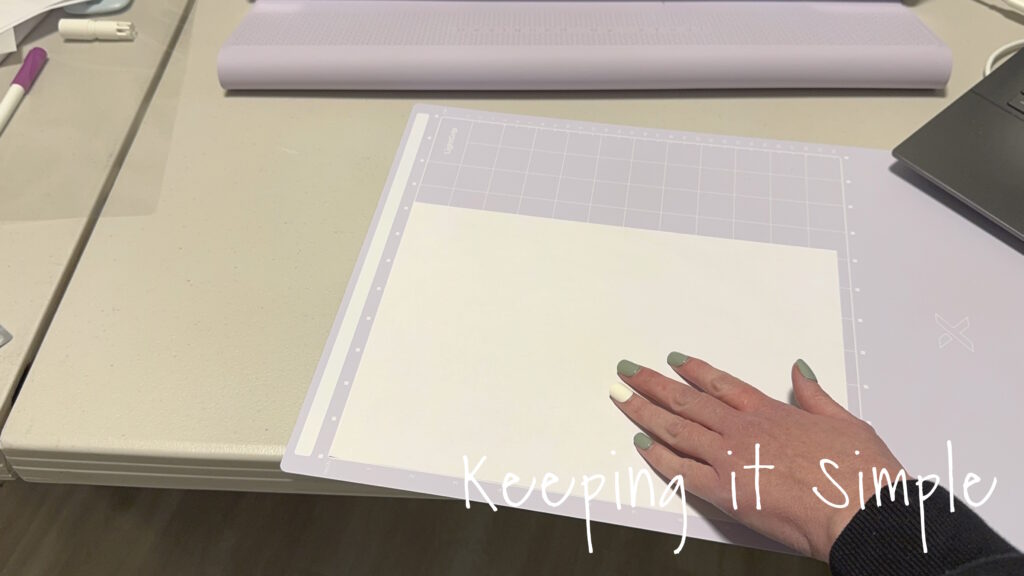
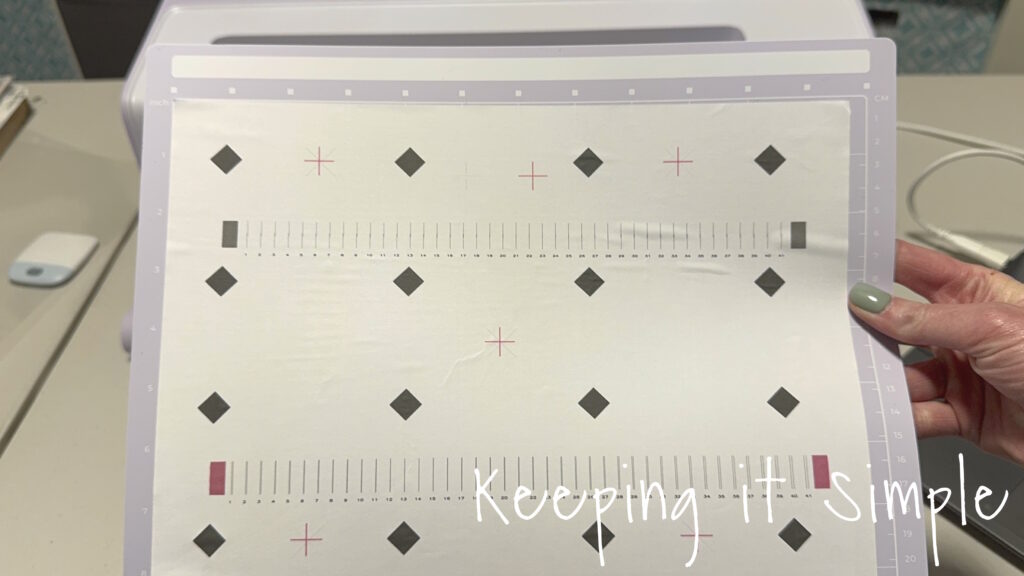
Once the ink cartridge is installed, it’s time to calibrate the machine. This takes about 5-10 minutes to do. You use the paper that is included in the pack, first placing it vertically onto the mat. Then you will put it into the machine and it will do a series of cuts and print numbers.
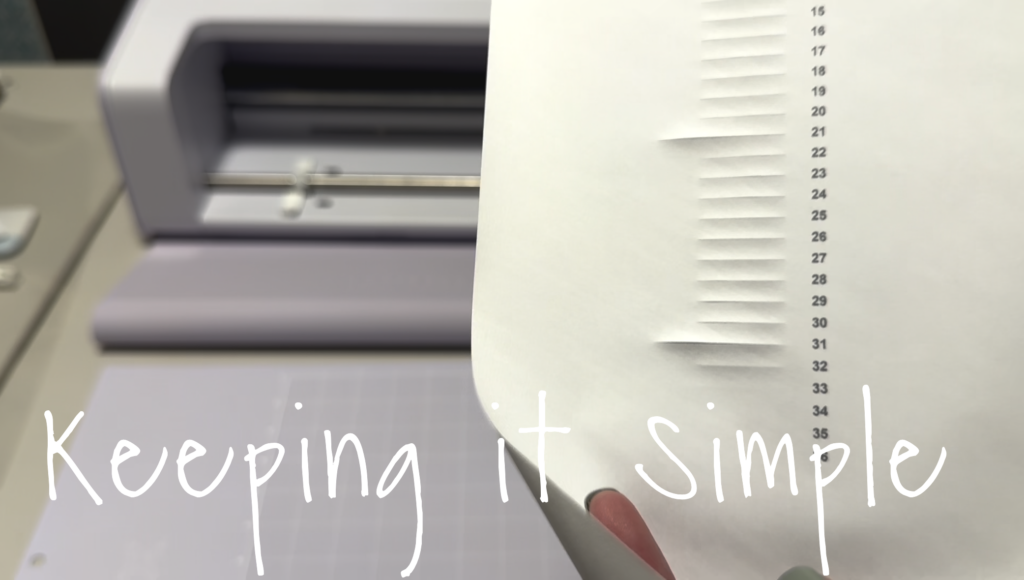
Once it is done, you look at the cuts and put in the number where the cut does not go through the paper. So I put in 32 into the software.
Next for calibration, you will put the paper horizontal and it will do a series of prints and cuts.
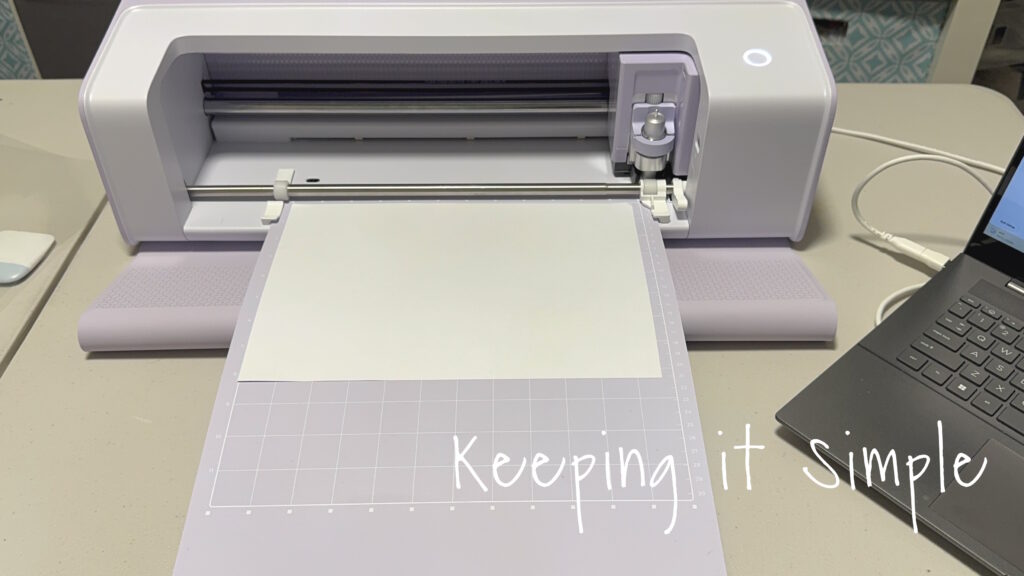
Once it is done, you can take it out and take off the paper. Once the calibration is done, it is ready to start using!
Now it time for the fun part, time to play with the color cutter!! I wanted to make some fun stickers, so I used the printable glossy sticker paper. The first thing I did was put the paper onto the mat and then loaded it into the machine. One of the coolest things about this machine is that it loads automatically. You just place the mat into the slots and it will load itself.
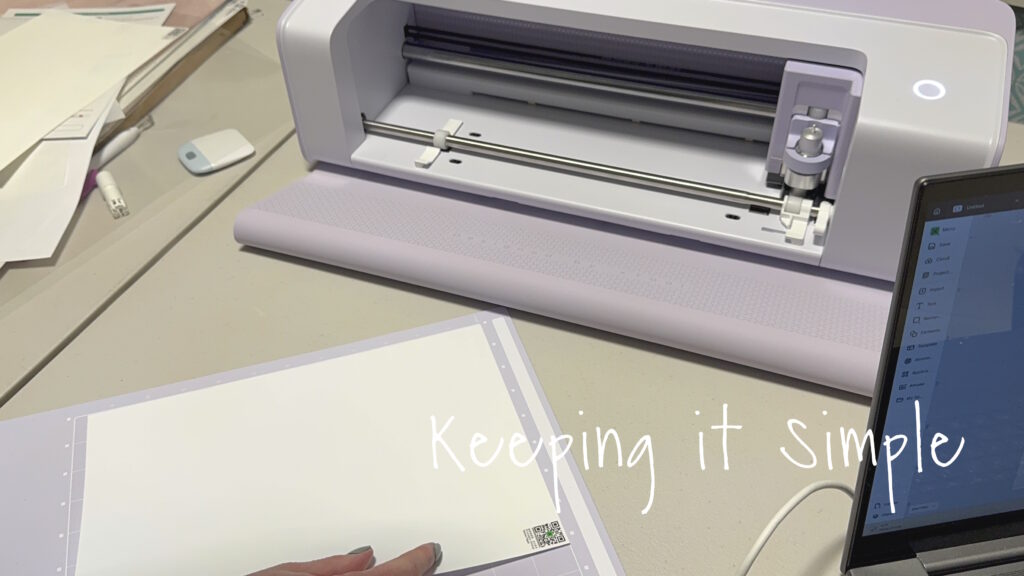
Once the mat and paper go through the machine, the scanner scans a picture of it and displays it onto the screen, it’s AMAZING! It also reads the QR code, so it will set the settings automatically, it’s truly amazing.
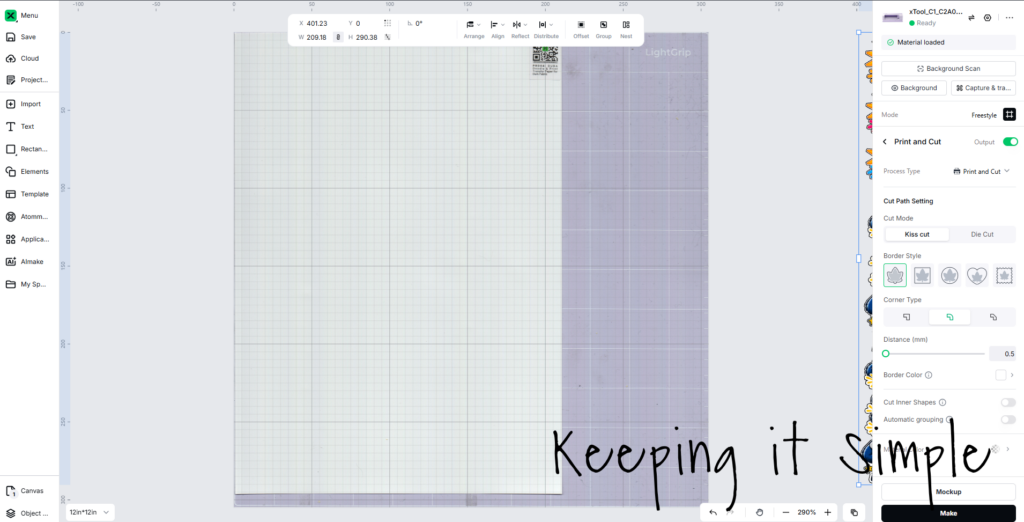
I imported the sticker design and then resized them into the area where the paper is. Then I clicked the process button and choose the print and cut option. When you do that, the software automatically puts an outline around the image that will be cut. You can change the size of the outline that you want to do. I wanted the stickers to not have much of a white border, so I put the distance to .5. You can also have it do a kiss cut or a die cut, the kiss cut only cut the top layer and the die cut cut through both layers. I chose kiss cut.
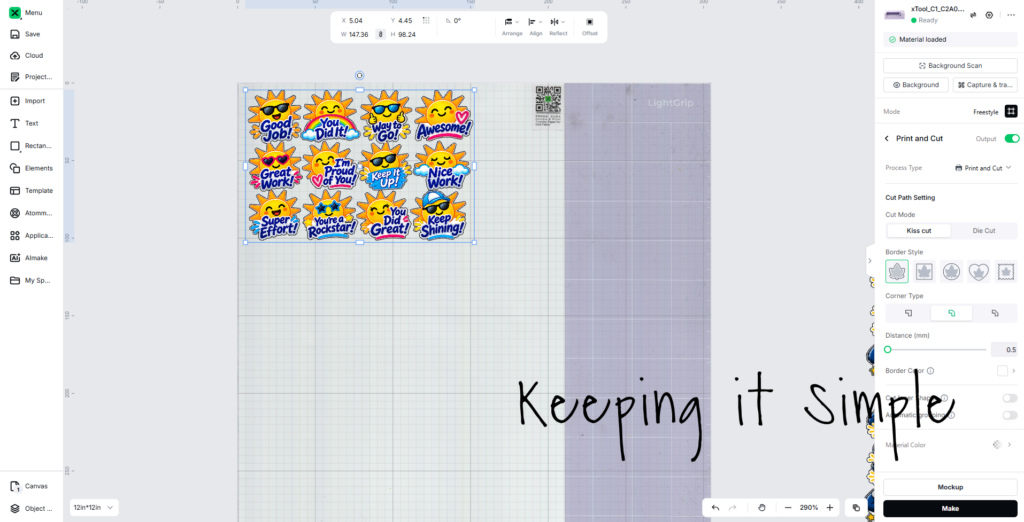
I then added some other designs, I did it the same way as the other ones. I was able to get 51 stickers onto one page! That’s pretty impressive. Once I had everything situated, I then pushed the make button.
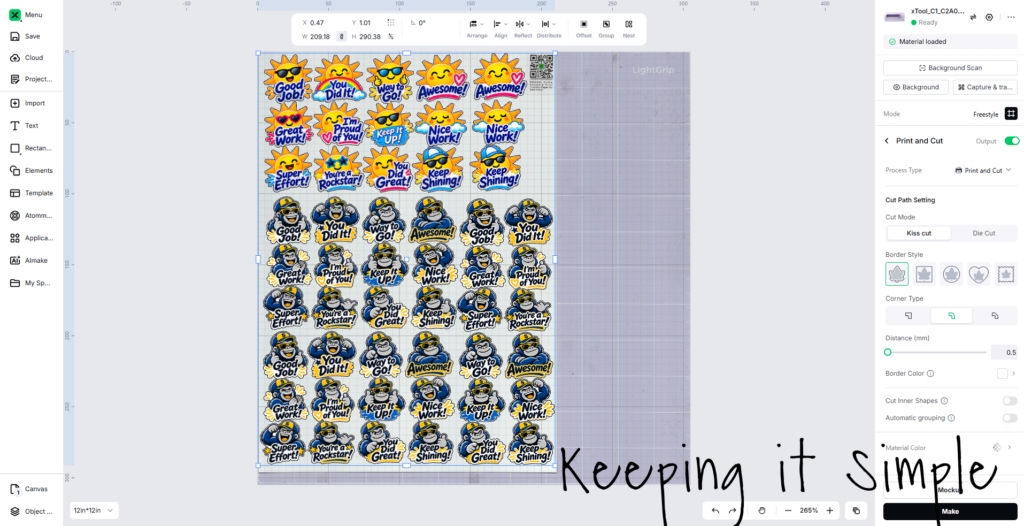
The xTool C1 did it’s thing and I was blown away! It first printed the images. I knew immediately that they were going to look awesome! It took about 5 minutes to print them out.
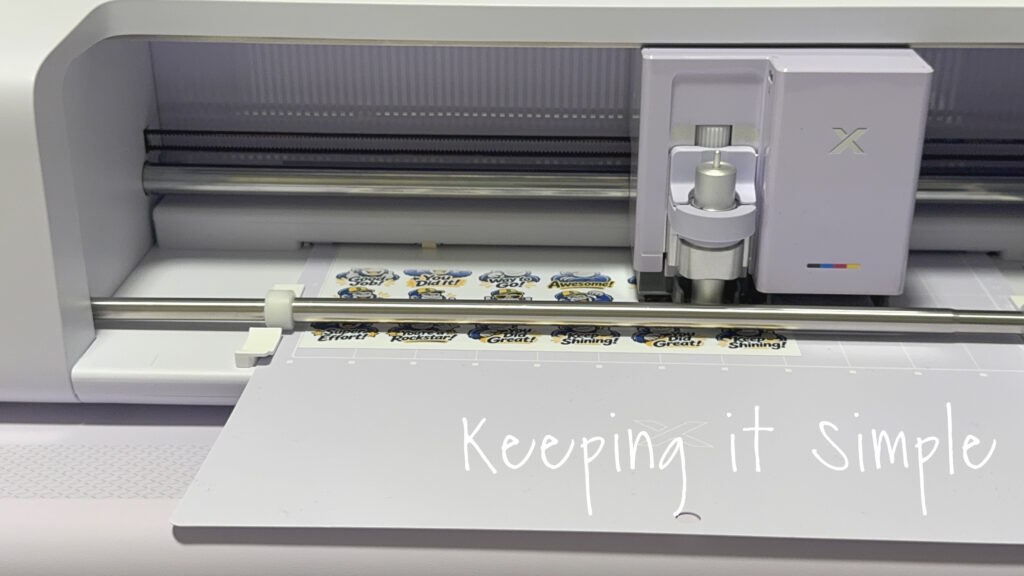
Once they were all printed, then the machine switched gears and started to cut them out! It cut them out so well, it’s was so nice that I didn’t have to line it up or anything, it just did it’s thing! It took about 5 minutes to cut them out.
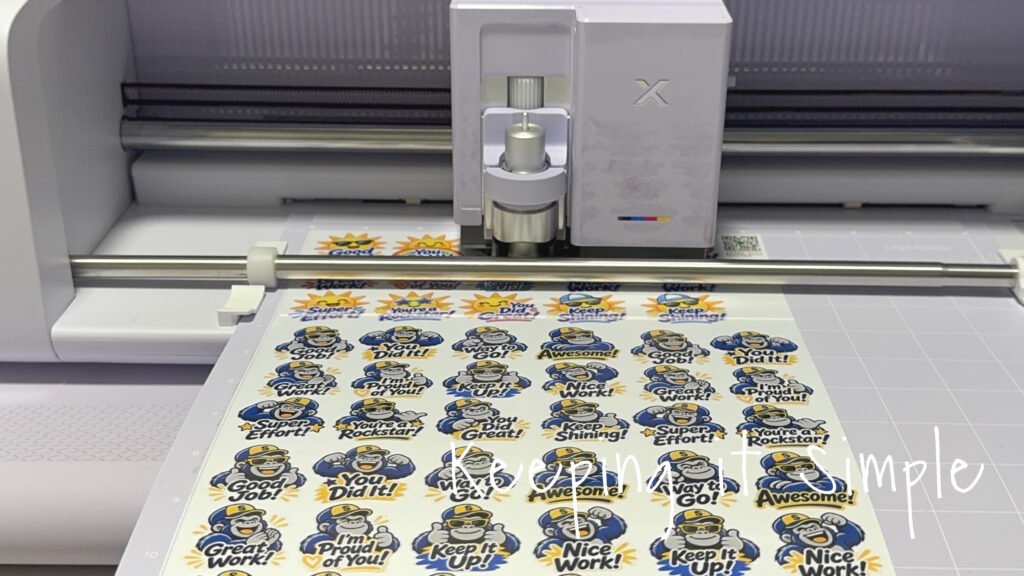
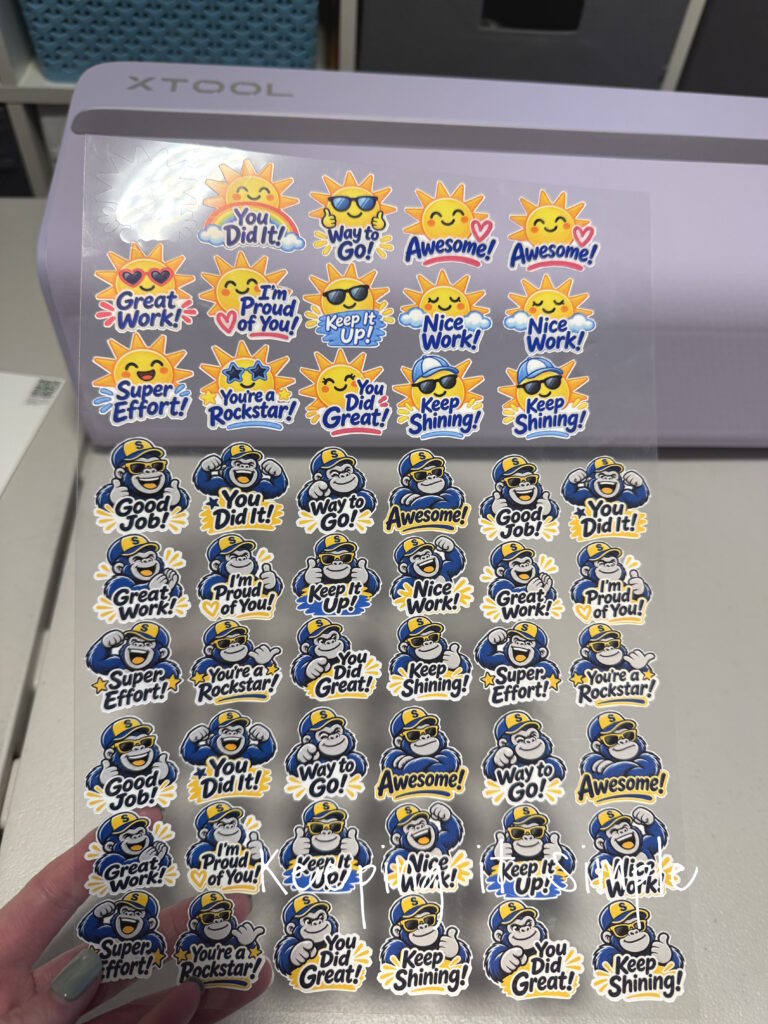
Look at how good they look! And look at that precision, I’m so impressed!
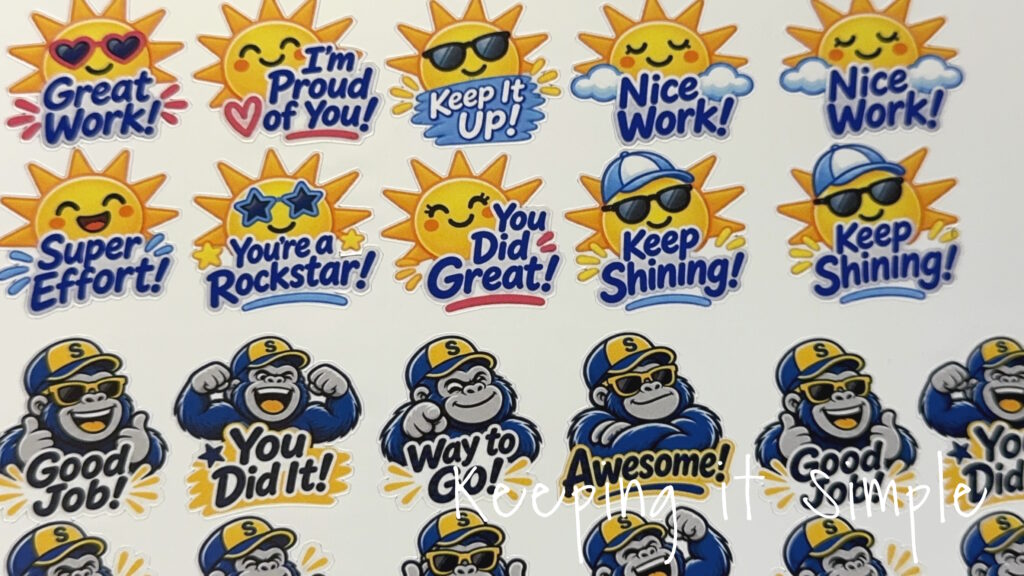
I choose the kiss cut because it is a lot easier getting them off the mat, the sheet just peeled right off :).
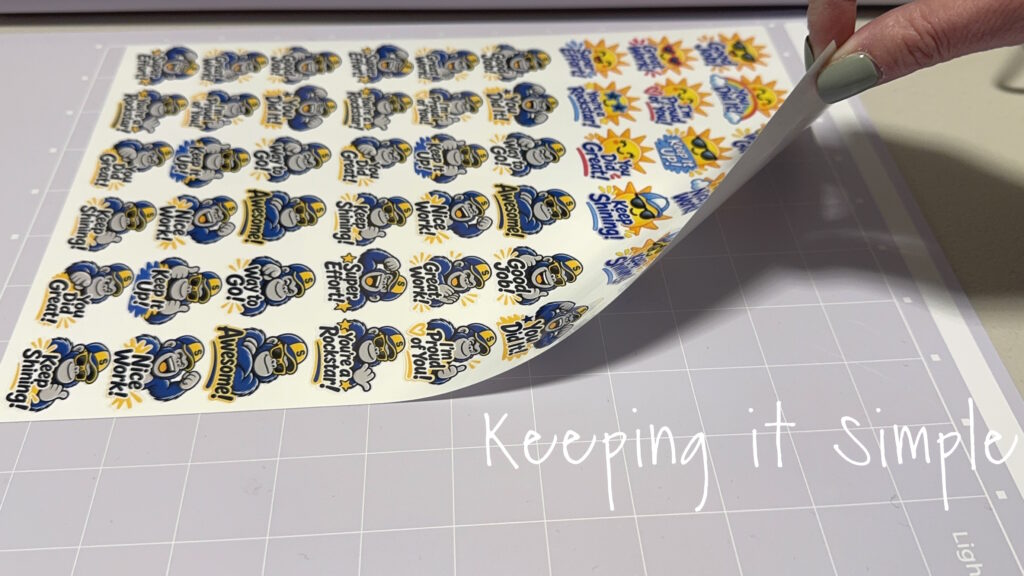
Look at how good they look! All you have to do is just peel them off and they are ready to go. The ink is waterproof too! You just have to let it cure for 24 hours before you put water on them.
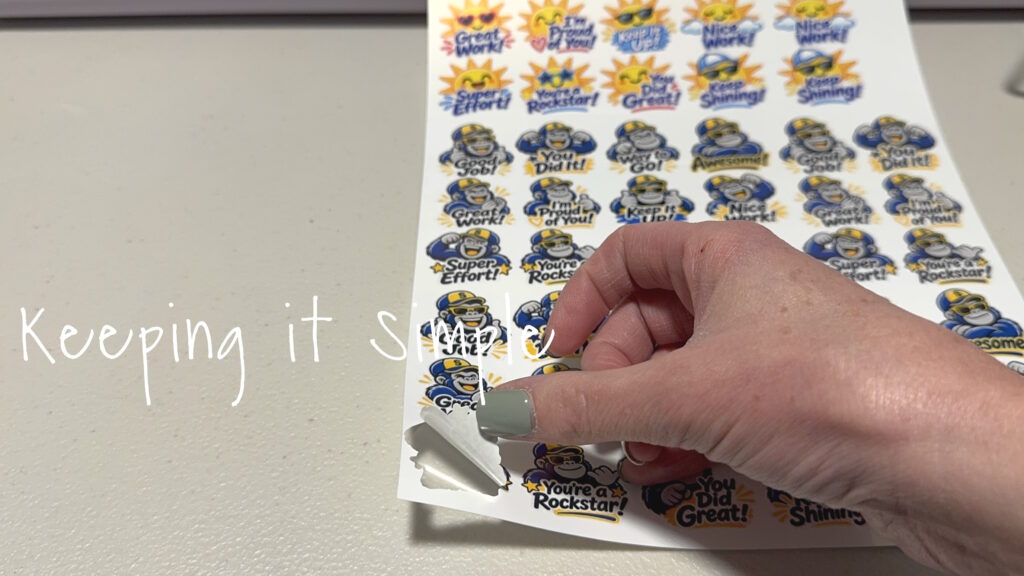
And that’s it! I cannot wait to play with this amazing machine more! I know that I am going to have a lot of fun with it!
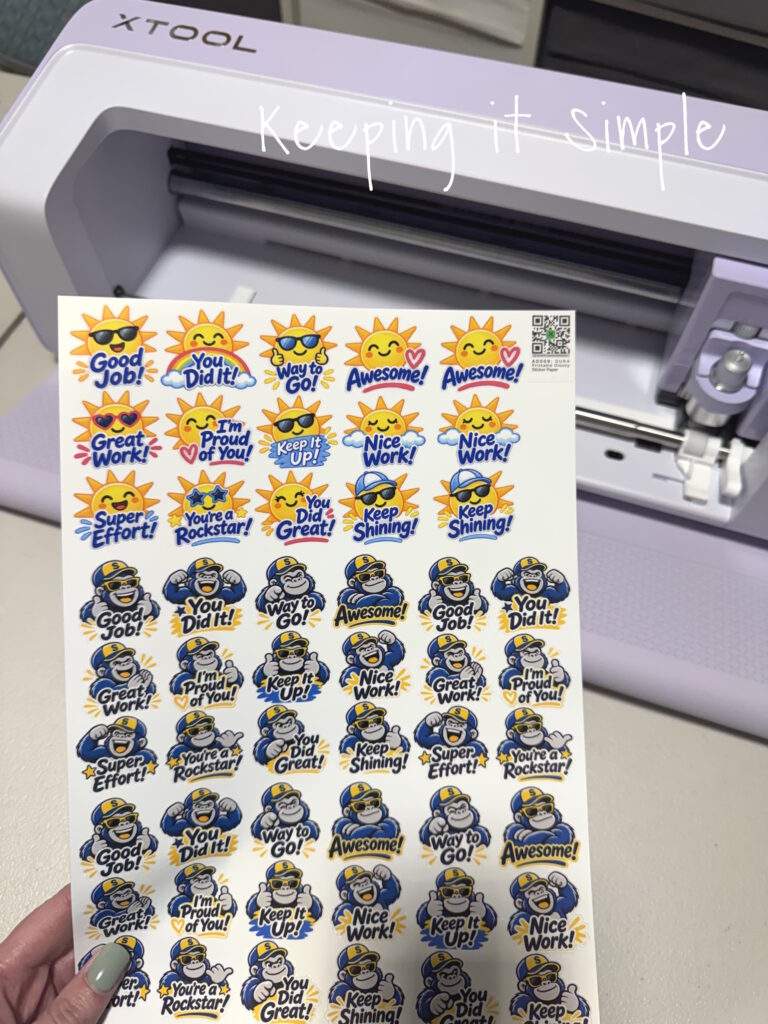
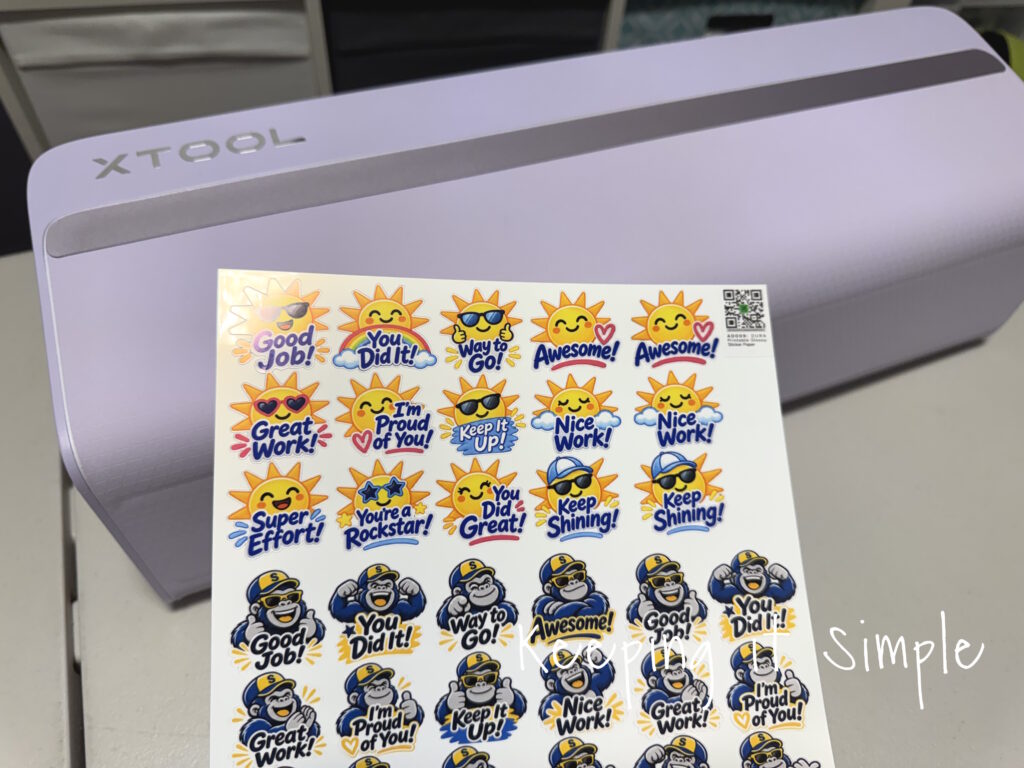
You can easily remove the sticker paper, leaving the stickers on the backing paper, it peels off nicely!
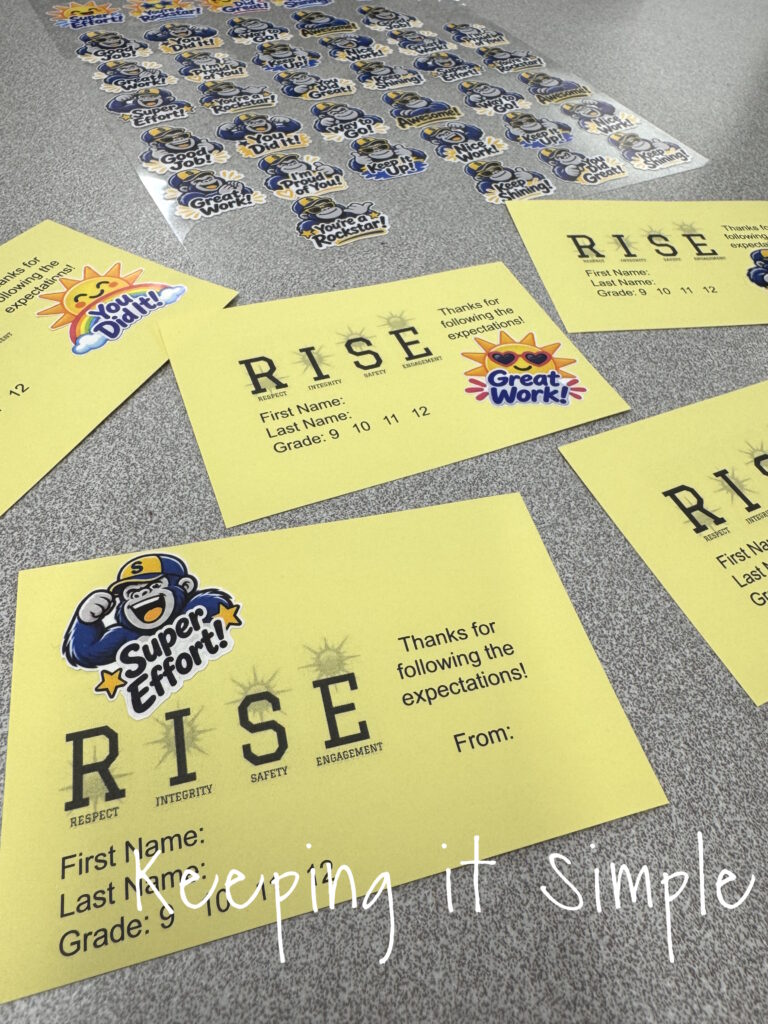
At the high school I work at, the students get rise tickets for good behavior. I thought that the cute stickers were a perfect additional to the rise tickets :).
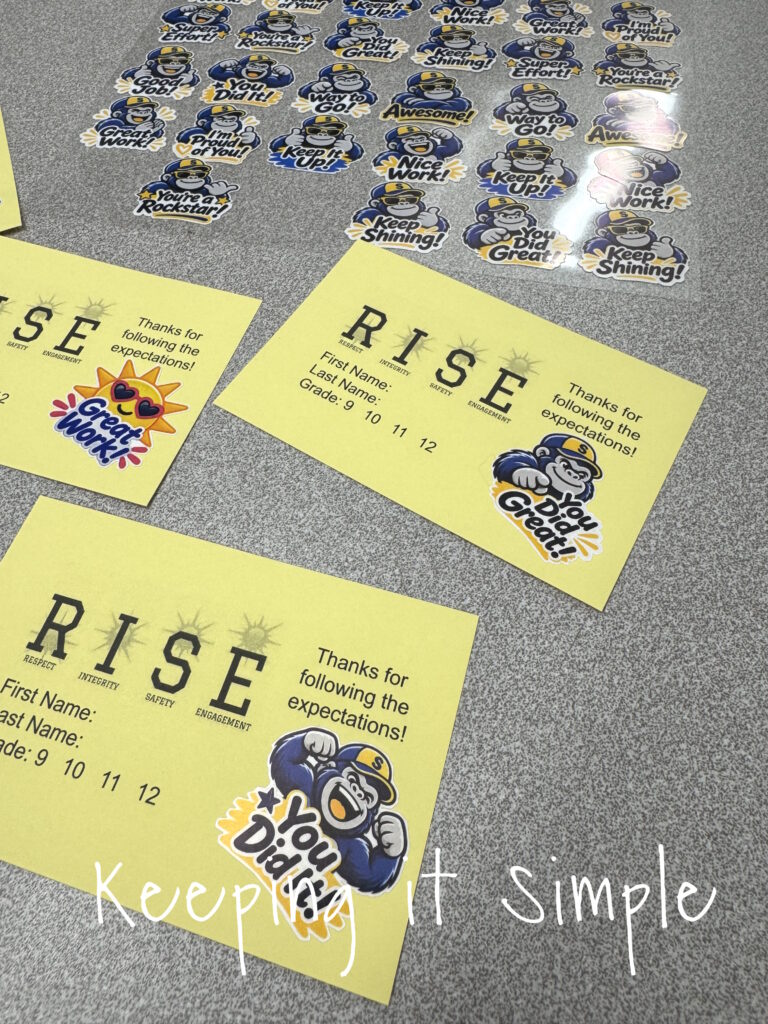
Such an easy and simple craft to make that adds so much personality and color to the tickets. I love doing things that will make the students smile :).
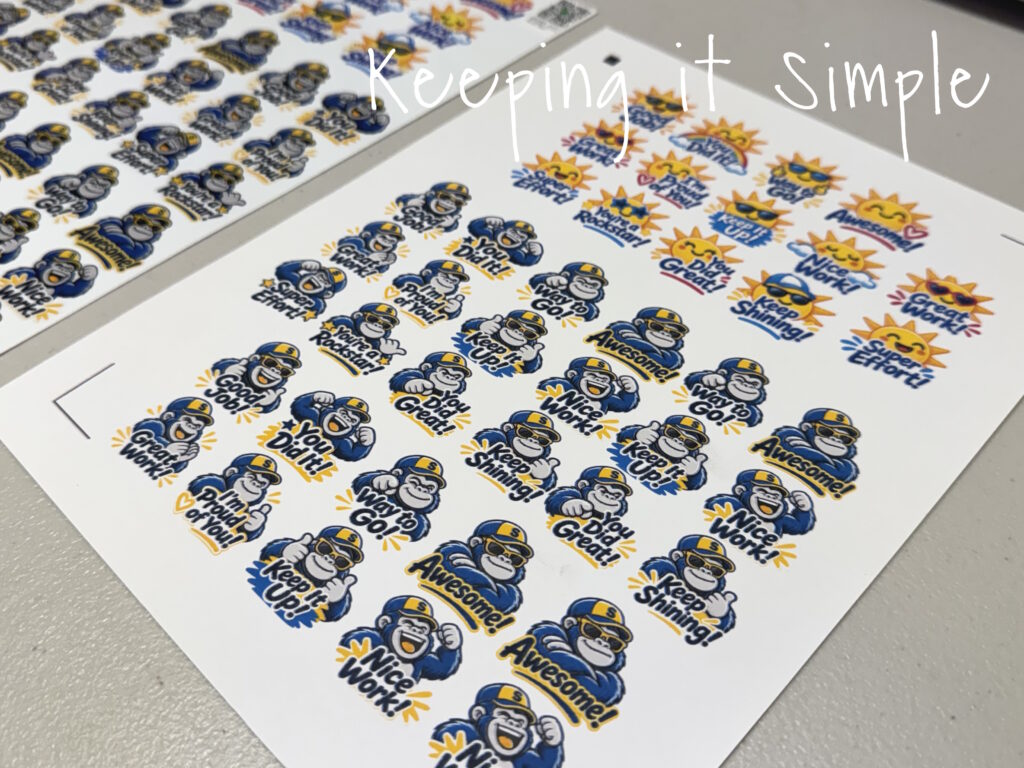
The print and cut feature is not a new thing, BUT having one machine do it, is!! Other cutting machine have this feature but the difference is you have to print the paper and then cut it. And when do you that, you have to print out registration marks. Look the difference between two sticker papers. Those registration marks TAKE UP SO MUCH ROOM! I couldn’t get nearly as many stickers onto the page.
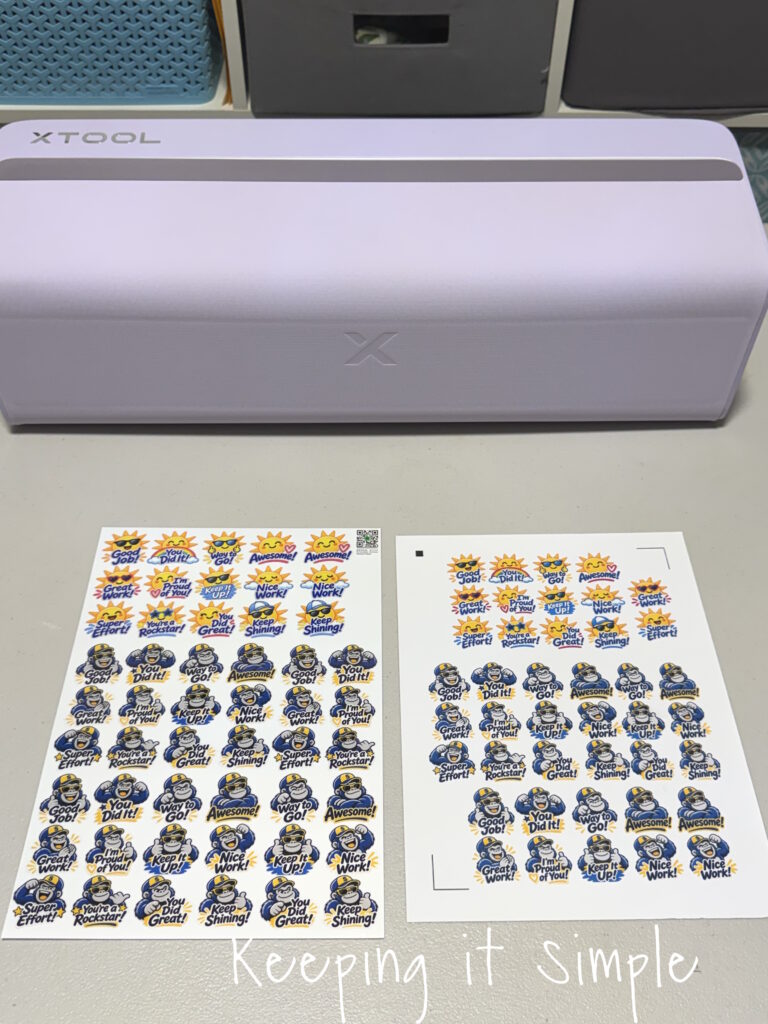
Not only is the other sticker paper smaller and has less images on it, the quality of the print is not even close to the one that I made with the xTool C1, not every close!
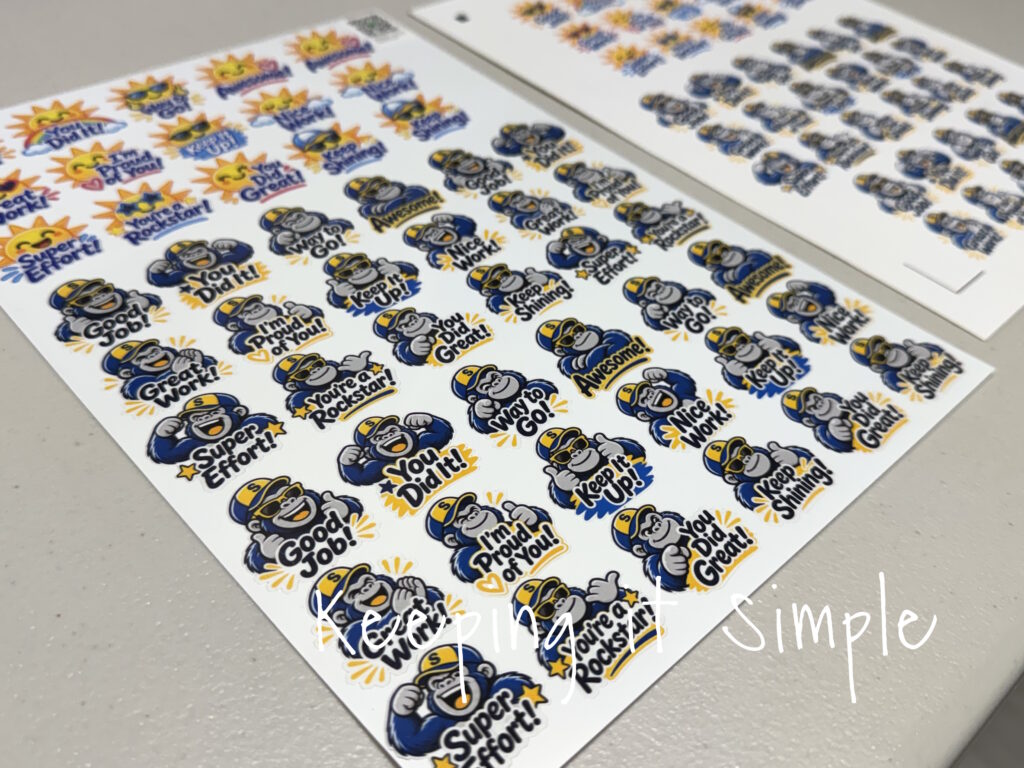
Look at the difference, the colors are not as vibrant and the stickers themselves are smaller! They don’t even compare in my opinion, the ones made with the xTool color cutter are much better!
One of my favorite things about getting a new crafting machine is discovering all the different projects I can make with it. The xTool C1 opens up so many fun possibilities, from colorful stickers and labels to personalized creations.
Like any new machine, there may be a little learning curve, but don’t let that stop you! Start with a simple project, get comfortable with the settings, and experiment with different materials and designs. Before you know it, you’ll be creating all kinds of fun things!
I’m excited to keep experimenting with the xTool C1 and sharing more projects, tips, and tricks along the way.
Now it’s your turn! Have you tried the xTool C1 yet? What are you most excited to make? I’d love to hear about your projects or answer any questions you might have. Leave a comment below!
Happy crafting!
Make sure to check out all the other projects that I have made with the amazing xTool C1 color cutter!
This post contains affiliate links.
Leave a Reply
You must be logged in to post a comment.