Thank you all for the sweet comments yesterday, it was a long day and it really made it much better!!
So I am loving garage sales this year!!! I have found a several good things. Well I found this star for $3 (it’s huge, like 2 1/2 feet across) at one the other weekend. So I thought that I would spruce it up a bit with some scrapbook paper.
Before:

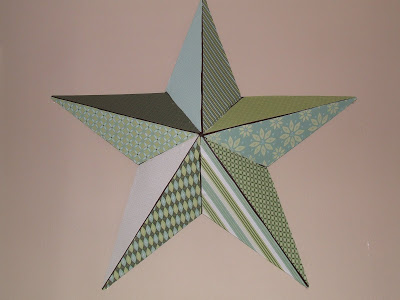
After:
This is how I made it:
1) First I spray painted it brown. I wanted some of the star to show though, so I wanted it to be brown and not red.

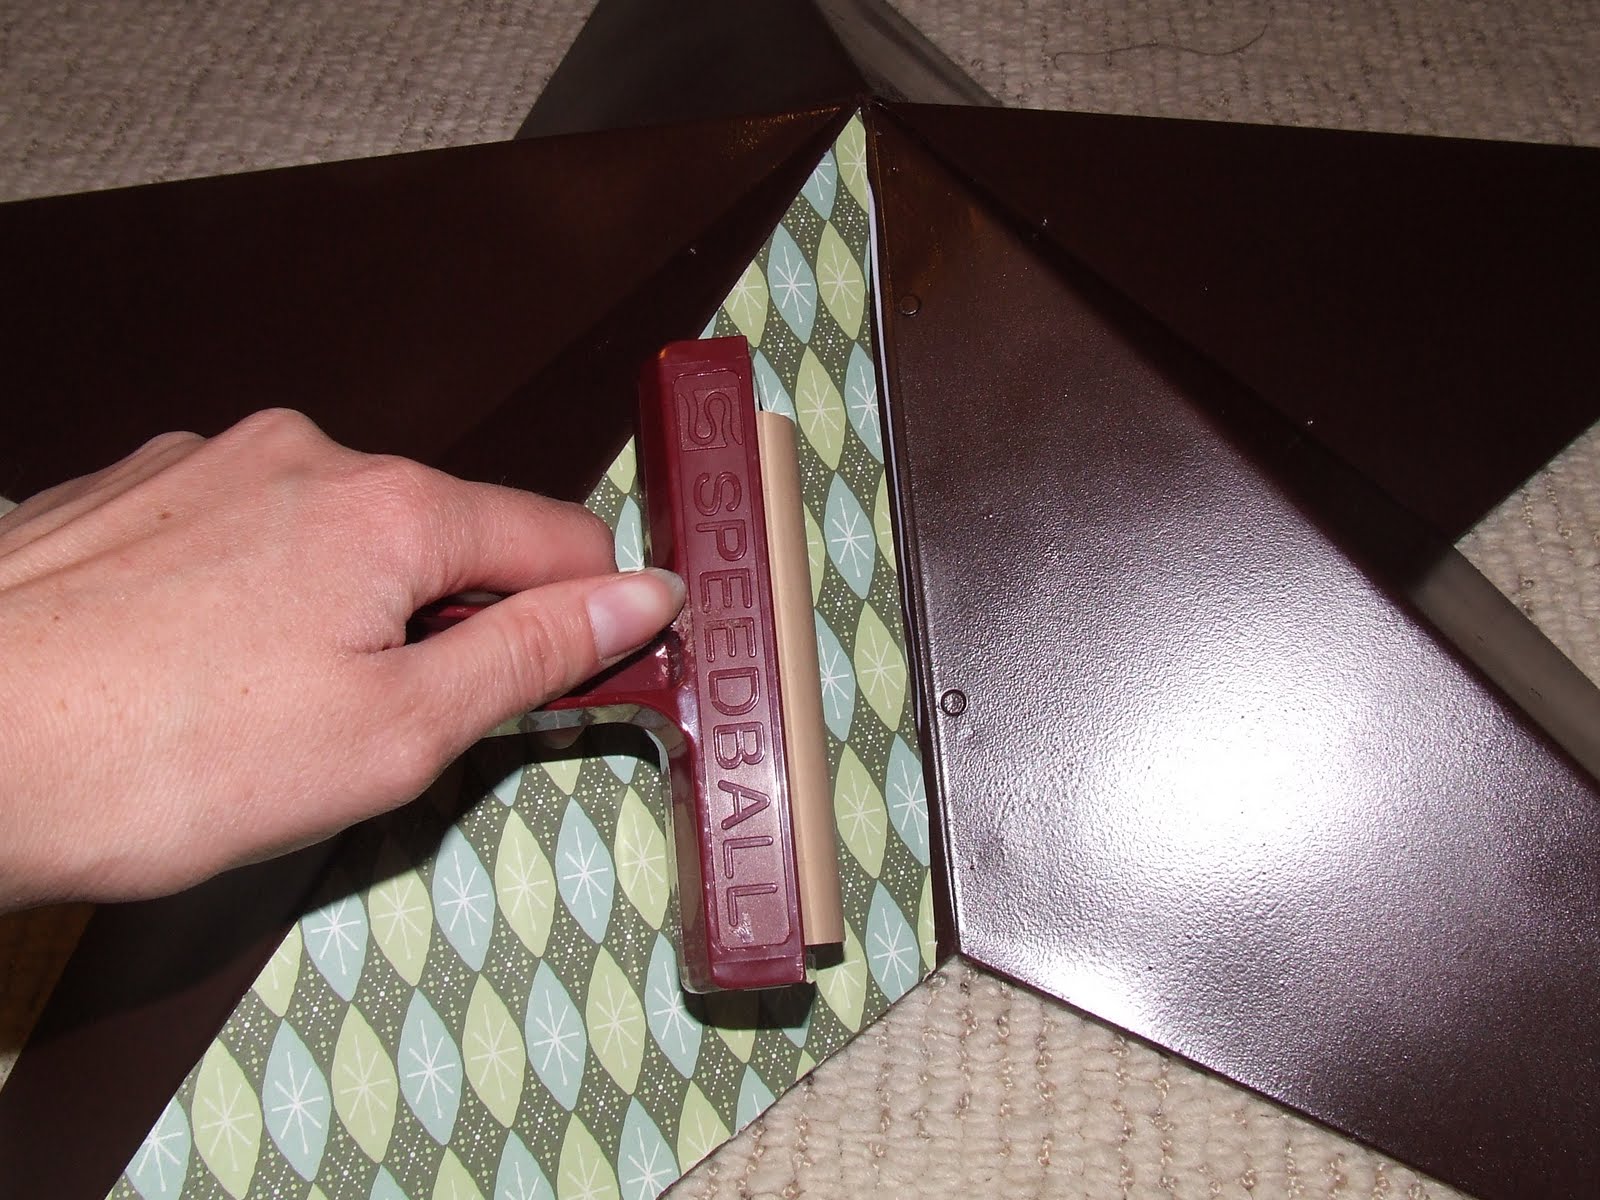
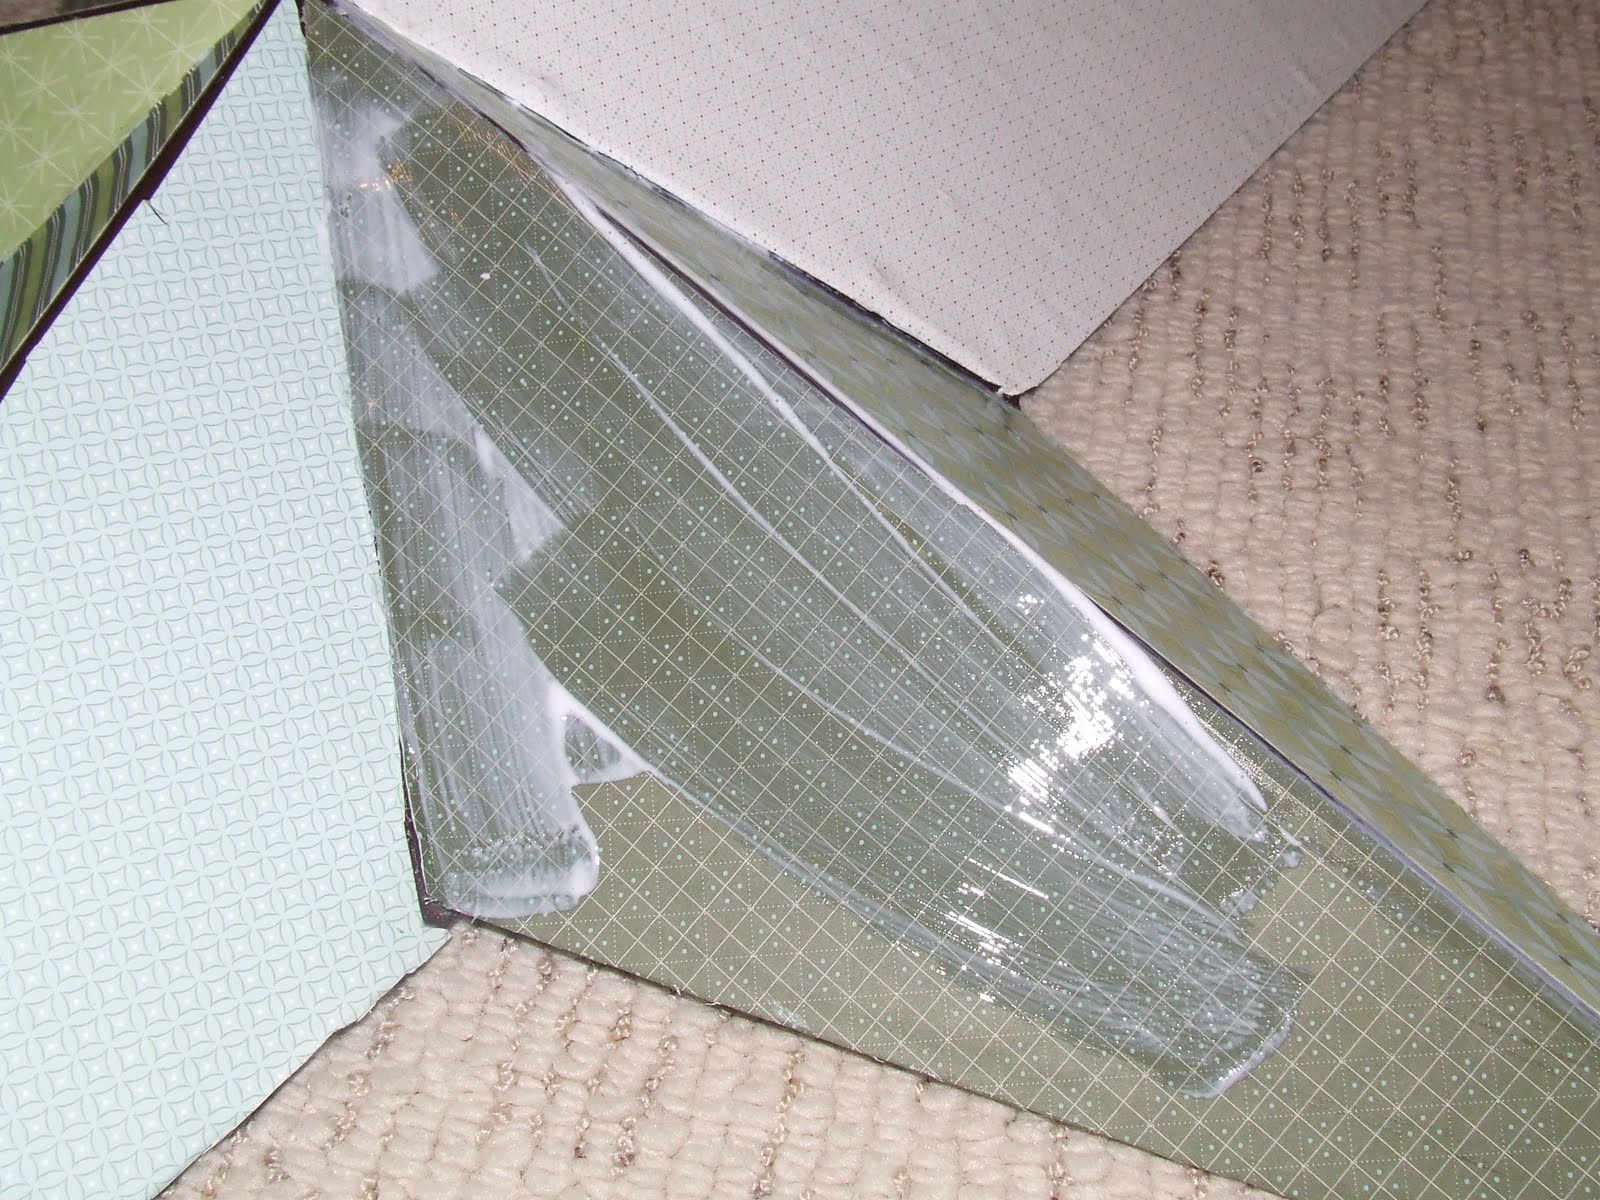
2) Then I glued paper onto the star. I used a package of scrapbook paper that had several different designs but had all matching colors. I then used a brayer to make sure there weren’t any bubbles.
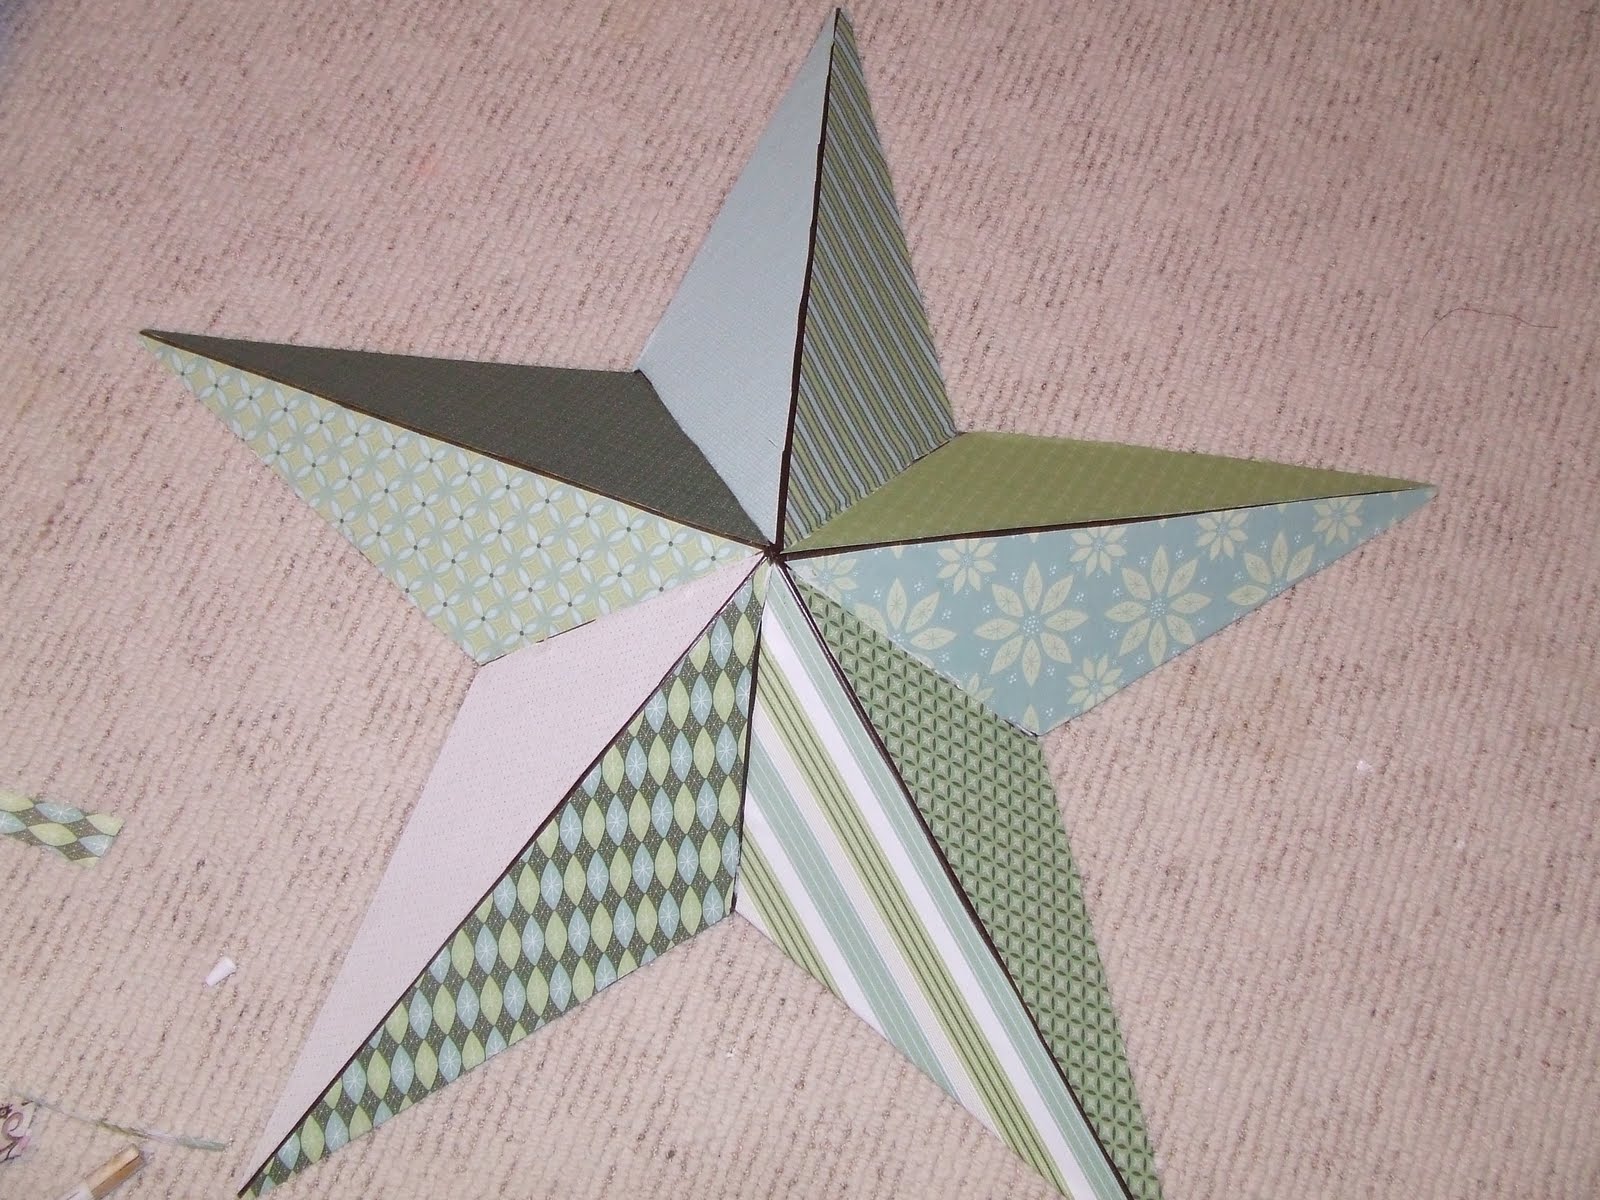
3) I continued to glue all the of the paper around the star
This is what it look like with all the paper. I purposely left a gap in between the papers, so there was a contrast between the brown and the paper and so the papers wouldn’t all blend together.
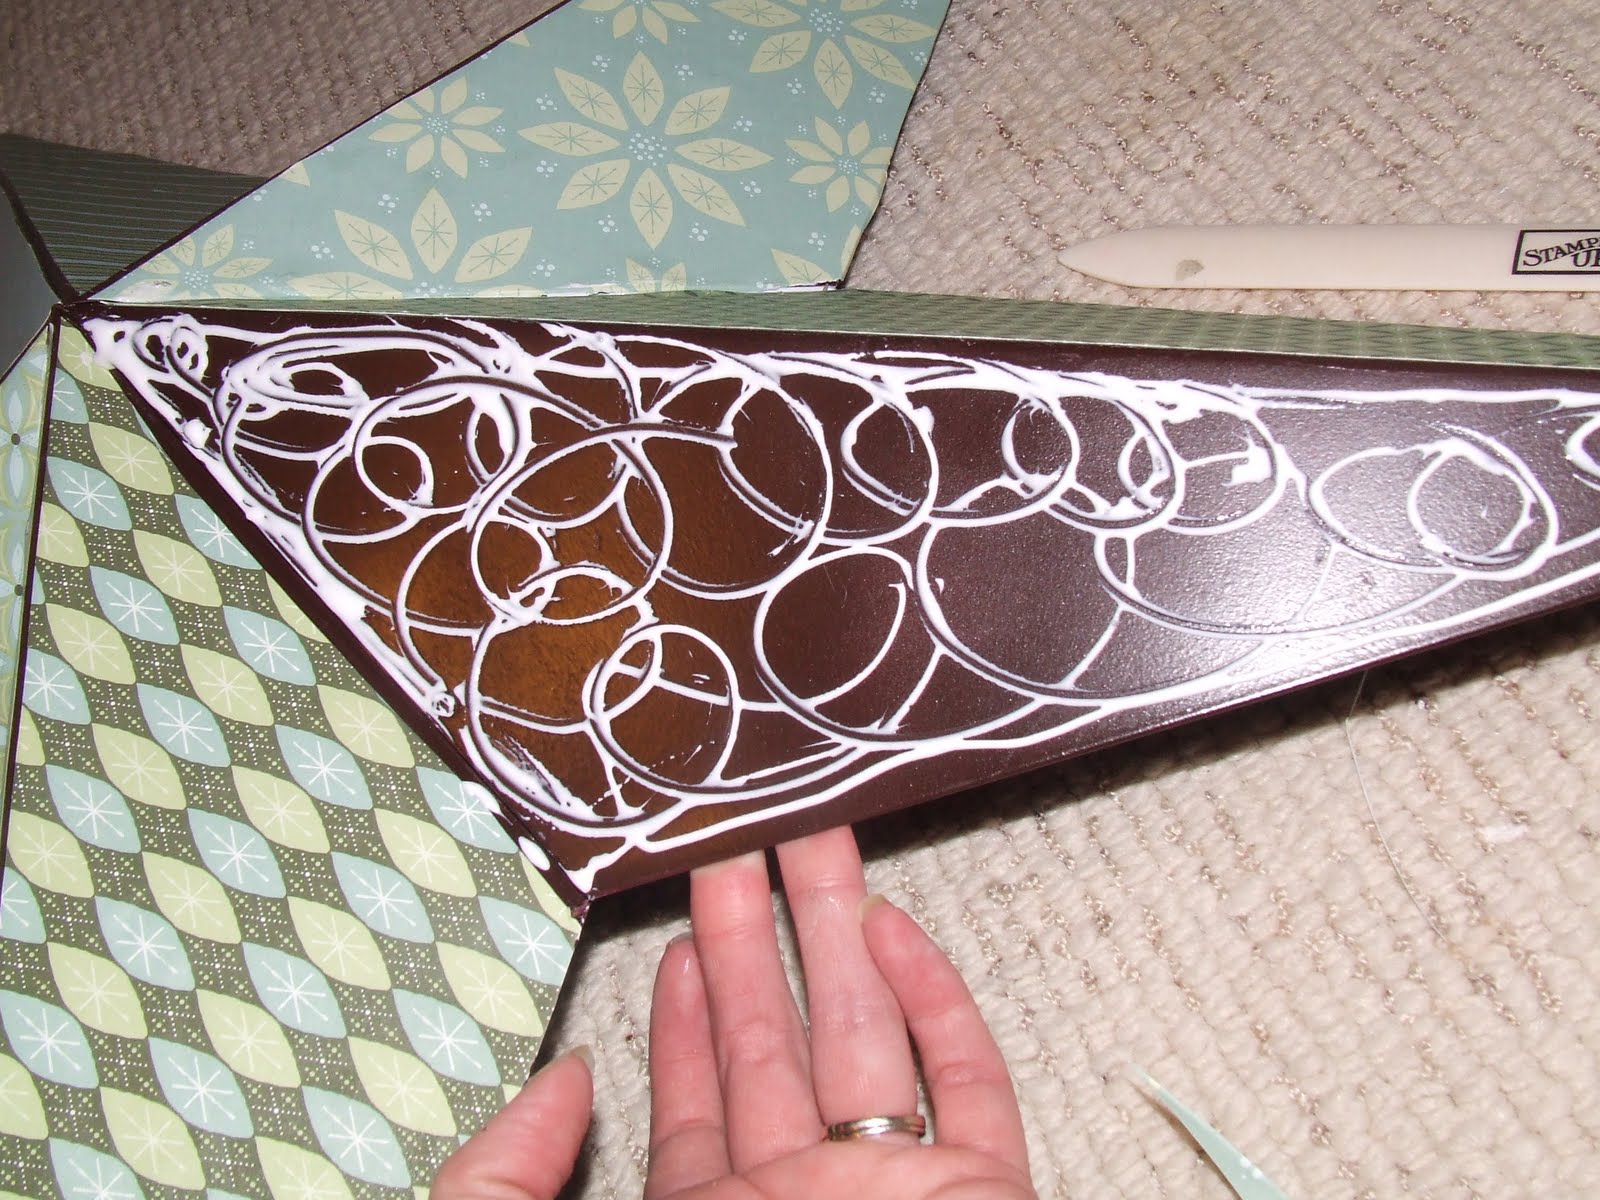
4) I then put mod podge all over the paper, making sure to really seal down the edges
 And now it’s hanging up in my master bedroom! I love the colors of it and look of it on my wall! Yay for cheap decorations that make me happy! 🙂


so pretty. i love the colors!
That is so cute!! I have some stars like that I put away since they don't really go with my decor anymore and now you have given me a fabulous idea of what to do with them! Thanks so much for sharing and for super ideas!
This is so pretty! What a great idea to use the brayer – Thanks for the tip.
that is gorgeous! i never would have thought to do that- looks fantastic, and the colors you chose are beautiful!
That looks great!
Love it!
Btw, thanks for hosting such an awesome link party every monday and for taking the time to leave comments on our projects. You are too sweet!
Love Love IT!!
Looks great, nice work on making it special just for you.
What a great idea, I love it!
I love this! It looks so great! I have wanted to do it for a long time – and your tutorial is just the motivation I need – and if you have seen my poor blog lately – you know I need a lot of motivation!! hahaha!
That turned out great. Love the colors.
That turned out very, very sharp…
Love Love love it!
I have this same star hanging in my living room above my couch, its still in its original color- black, and I think this is PERFECT!! Thanks for a super awesome idea!!
oh, i really like that! hope you'll link up a few projects to my saturday soiree sometime 🙂
great project! got to love cheap and easy :oP
you have a lovely blog!
Great project idea. This is the type of project that could be linked to my Tips & Tricks Tuesday linky party.
I would like to invite you to visit the cottage, and join in on all three linky parties:
ASK THE YANKEE – MONDAYS
TIPS & TRICKS TUESDAY
TIME TRAVEL THURSDAY
You can get the details here:
http://thebrambleberrycottage.blogspot.com/2010/06/brambleberry-cottage-linky-party.html
Hope to see ya there!
Liz @ the Brambleberry Cottage
http://thebrambleberrycottage.blogspot.com/
I think everyone has one or two tin stars hanging around…great makeover …love the papers. Thanks for stopping by my blog and saying hi.
I love the paper choice! Looks great –
OMGosh, I love that barn star. Thanks for the tutorial.
Thanks for visiting me over at Pittypat Paperie.
I love it and I need to buy me a brayer, I'm going to start looking for one right now thanks for the hint!.
This turned out darling! Have you ever made them with pictures? I made one a few years back with old pictures of my dad's family! It was so much fun! Thanks for linking up to Hoo's got talent!
I want to make one! Your instructions are so good, and your pictures are so clear. I've seem similar things before, but I always think "Yeah. I'd mess that up." But after seeing this, I'm thinking about giving it a try!
Thank you for participating the Creative Therapy session at Life in the Pitts!
(clapping) I love this idea… it solves a major problem for me and that is what to do with a totally fun metal star that does not match anything I have!!!
Cant wait to try.
Have a great weekend.
NIFTY!! Thanks for linking up to Mad Skills Monday!
I love it!
{Rebekah}
Thanks for sharing your talents on Modern Craftswoman Monday! Rory
This looks fantastic! I love the papers you used – gorgeous transformation. Thanks so much for joining the Sunday Showcase Party! I greatly appreciate it. Hope you are having a wonderful week! ~ Stephanie Lynn
cute star – love those colors. I love how you left some of the brown showing through too! Thanks for linking up to Scrappy Saturdays!
I love the green on this. Great color. Thanks so much for linking up on Monday. Love this project.
love this idea! I am bookmarking it for when the kids go back to school and I have a little more free time. Christmas Tree Shop has those stars very cheap and I've been trying to think of a way to use one. CAn't wait to give this a try.
very cute!