I have only had my CAMEO for a one week for I am LOVING it!!! I love that extra 3 inches! I had no clue that it would make such a big difference, but it does!
One new feature of the CAMEO is that you can use a SD card with it, so you don’t always have to have it hooked up to the computer. Let me tell you how excited I am about this! I’m excited that it’s a little more portable now. I can just save my designs on the SD card and then go create somewhere else :).
I have been wanting to put some vinyl in my craft for awhile now, so I made this.

This is how I made it:
1) I got this image for the home decor CD from Silhouette. It’s all one big image, so I just had to resize it. Then I went to file and clicked the “save on SD”. You have to make sure the image it clicked before you save it.
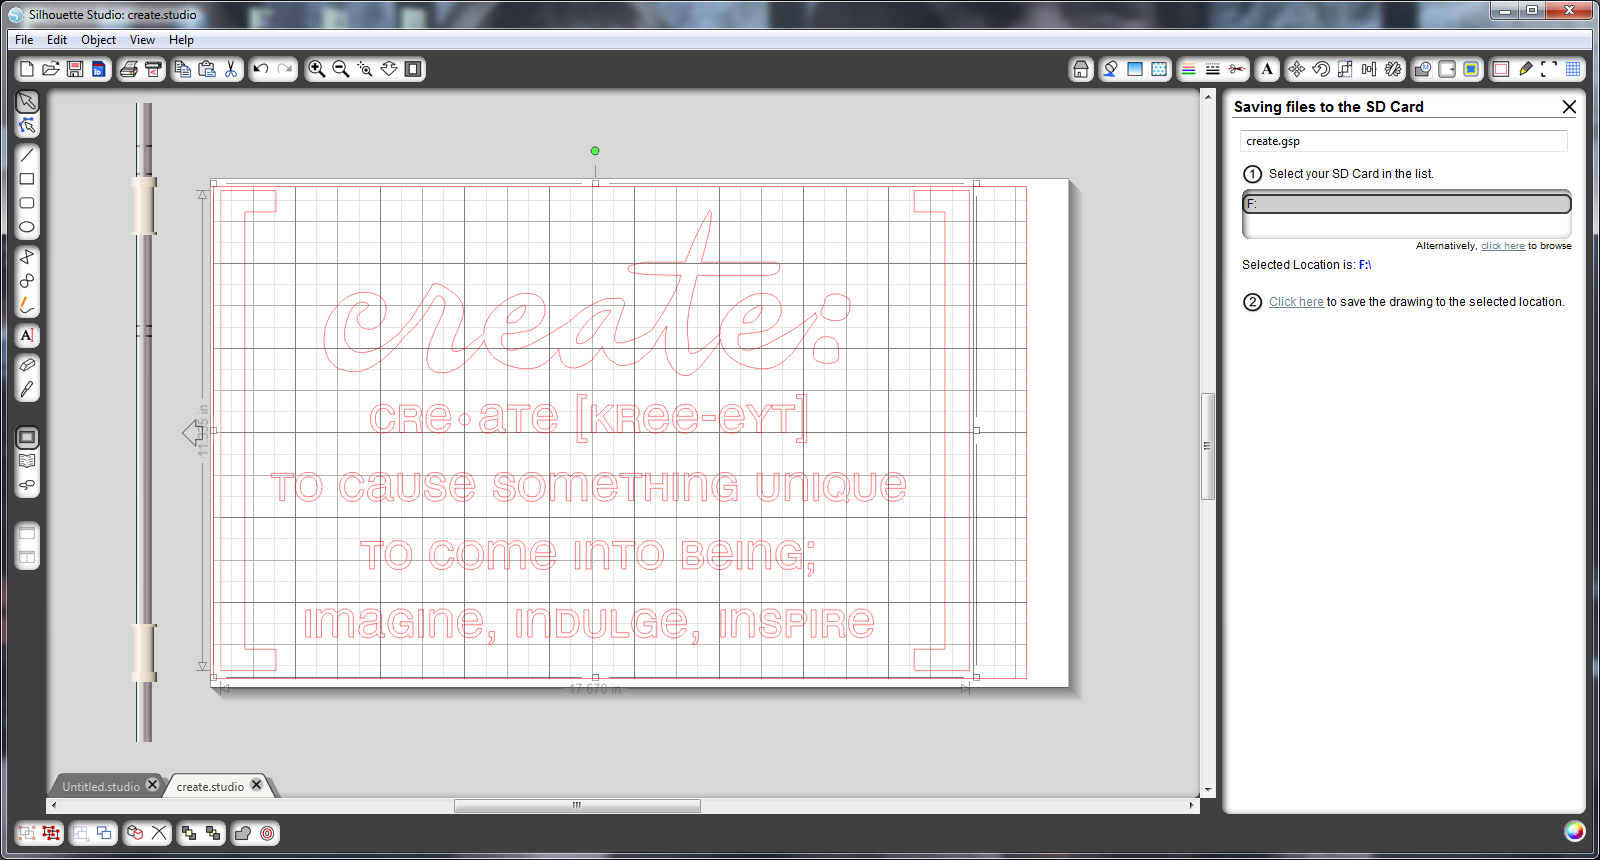
2) I wanted the create to be in a different color, so on another file, I saved it onto my SD card.
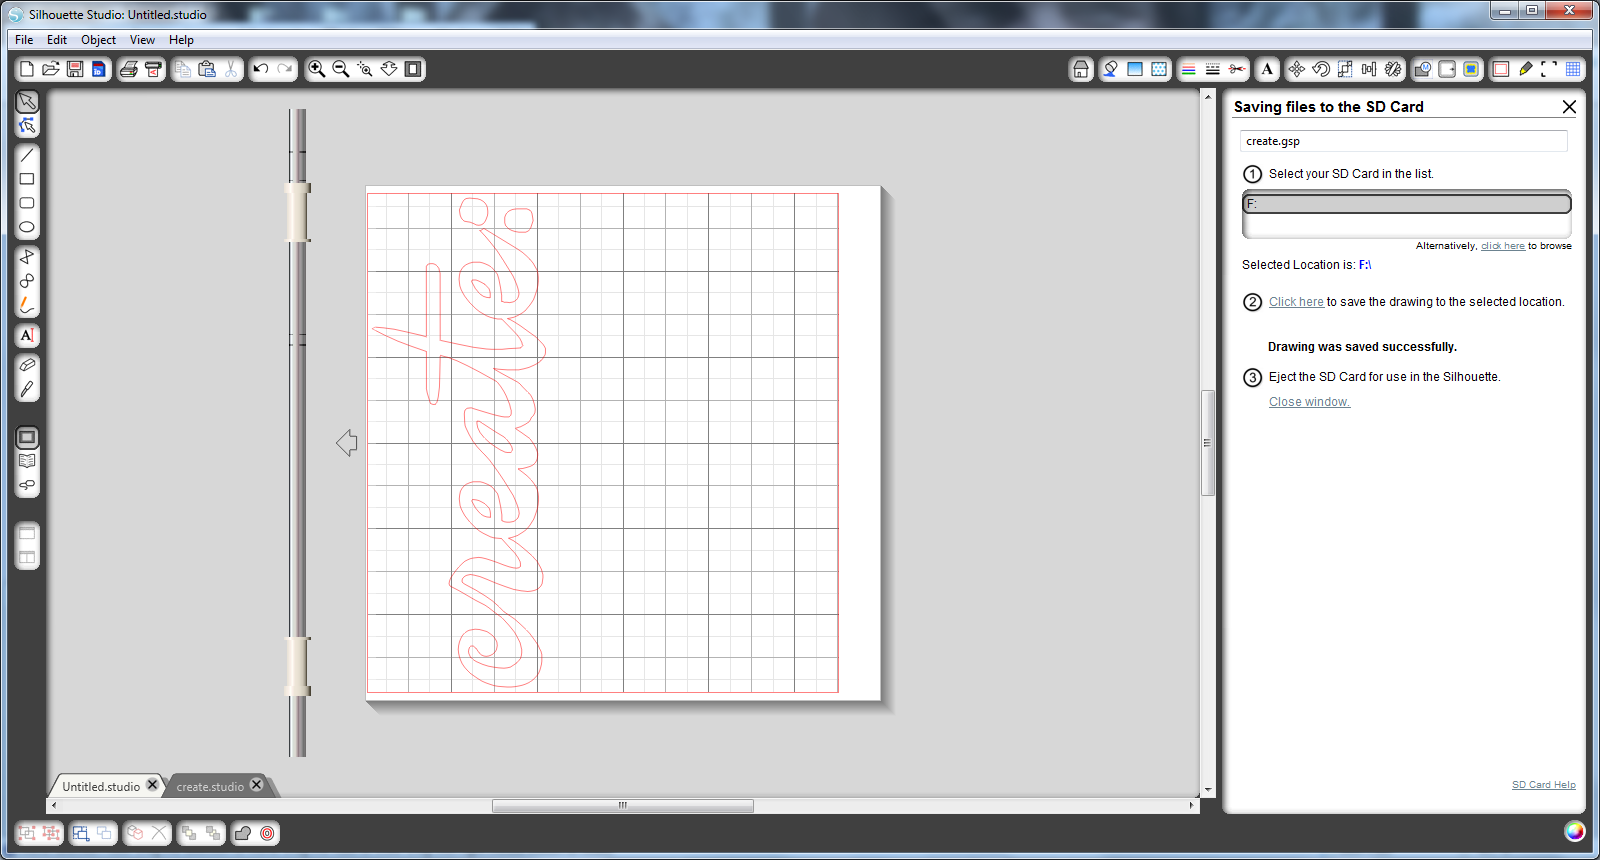
3) I put the SD card into my CAMEO.

4) Since I’m just using vinyl and not a mat, I had to adjust the rollers. I put the blue lever on the right down and then moved the roller to the first notch on the left.

5) Next I pushed the load media button and put the vinyl into the machine.
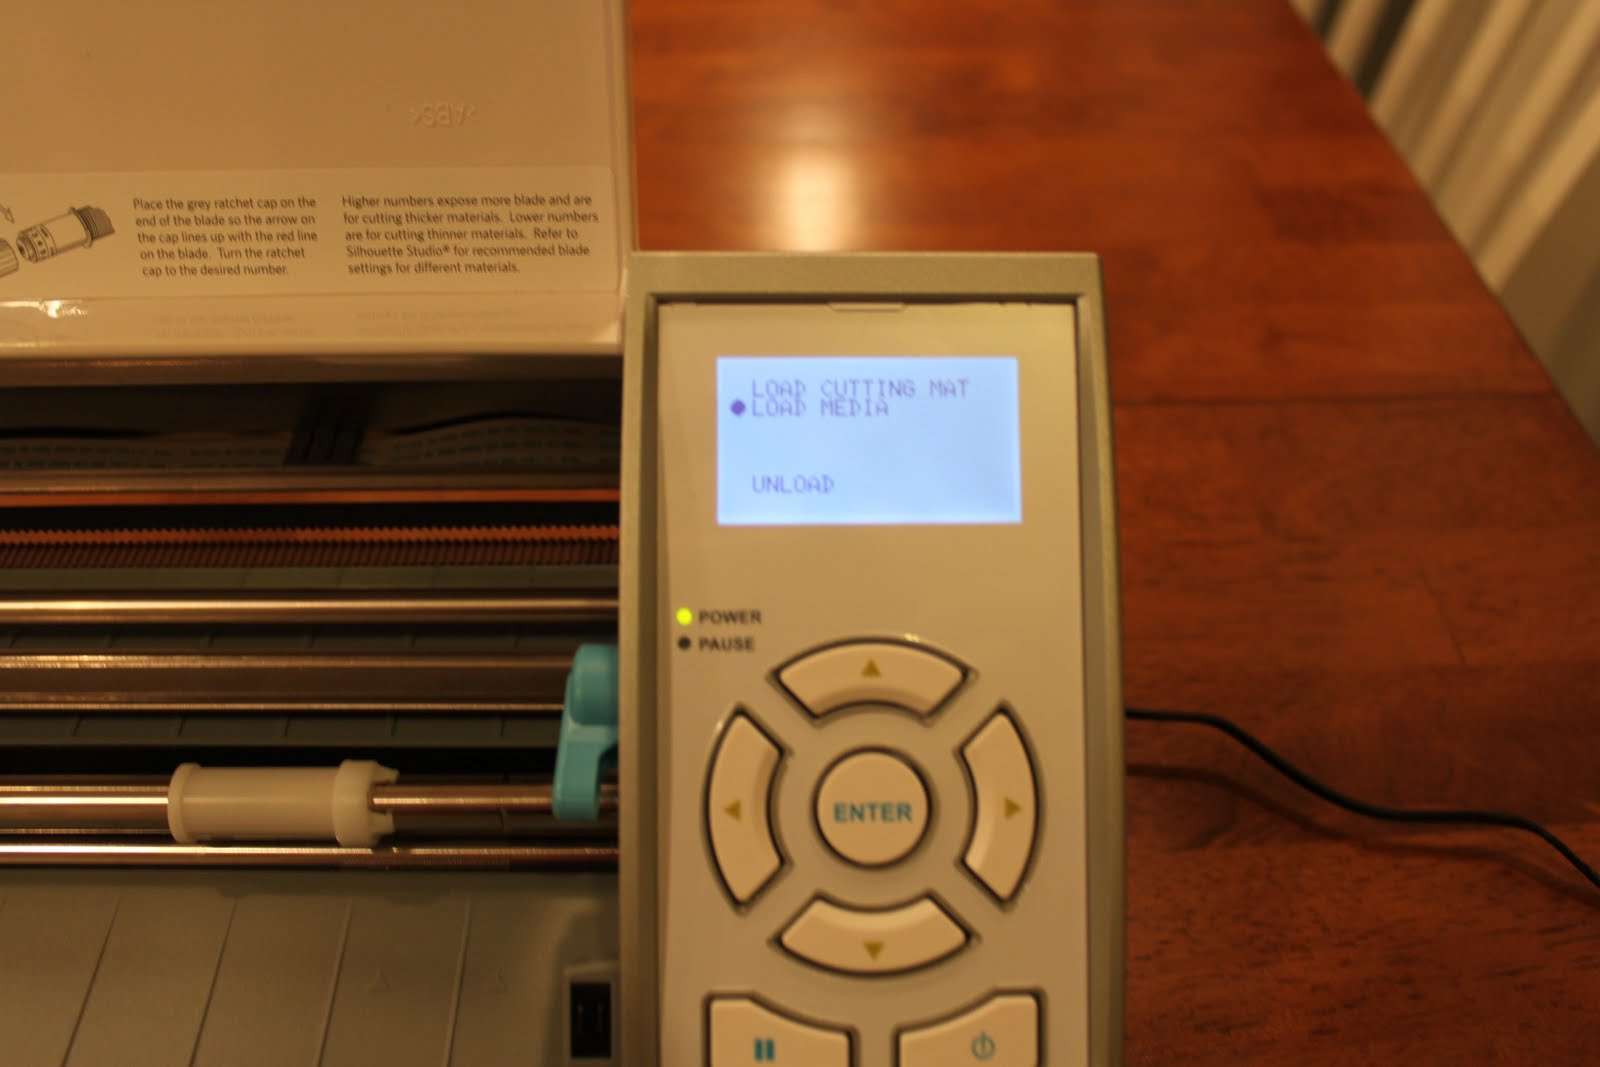
6) Next I pushed the pause button to use the SD card. I found my file and then went to settings. I set the settings to vinyl. I moved the thickness to 12 instead of 10, my first time it didn’t cut it all the way through. Then I hit the cut button.

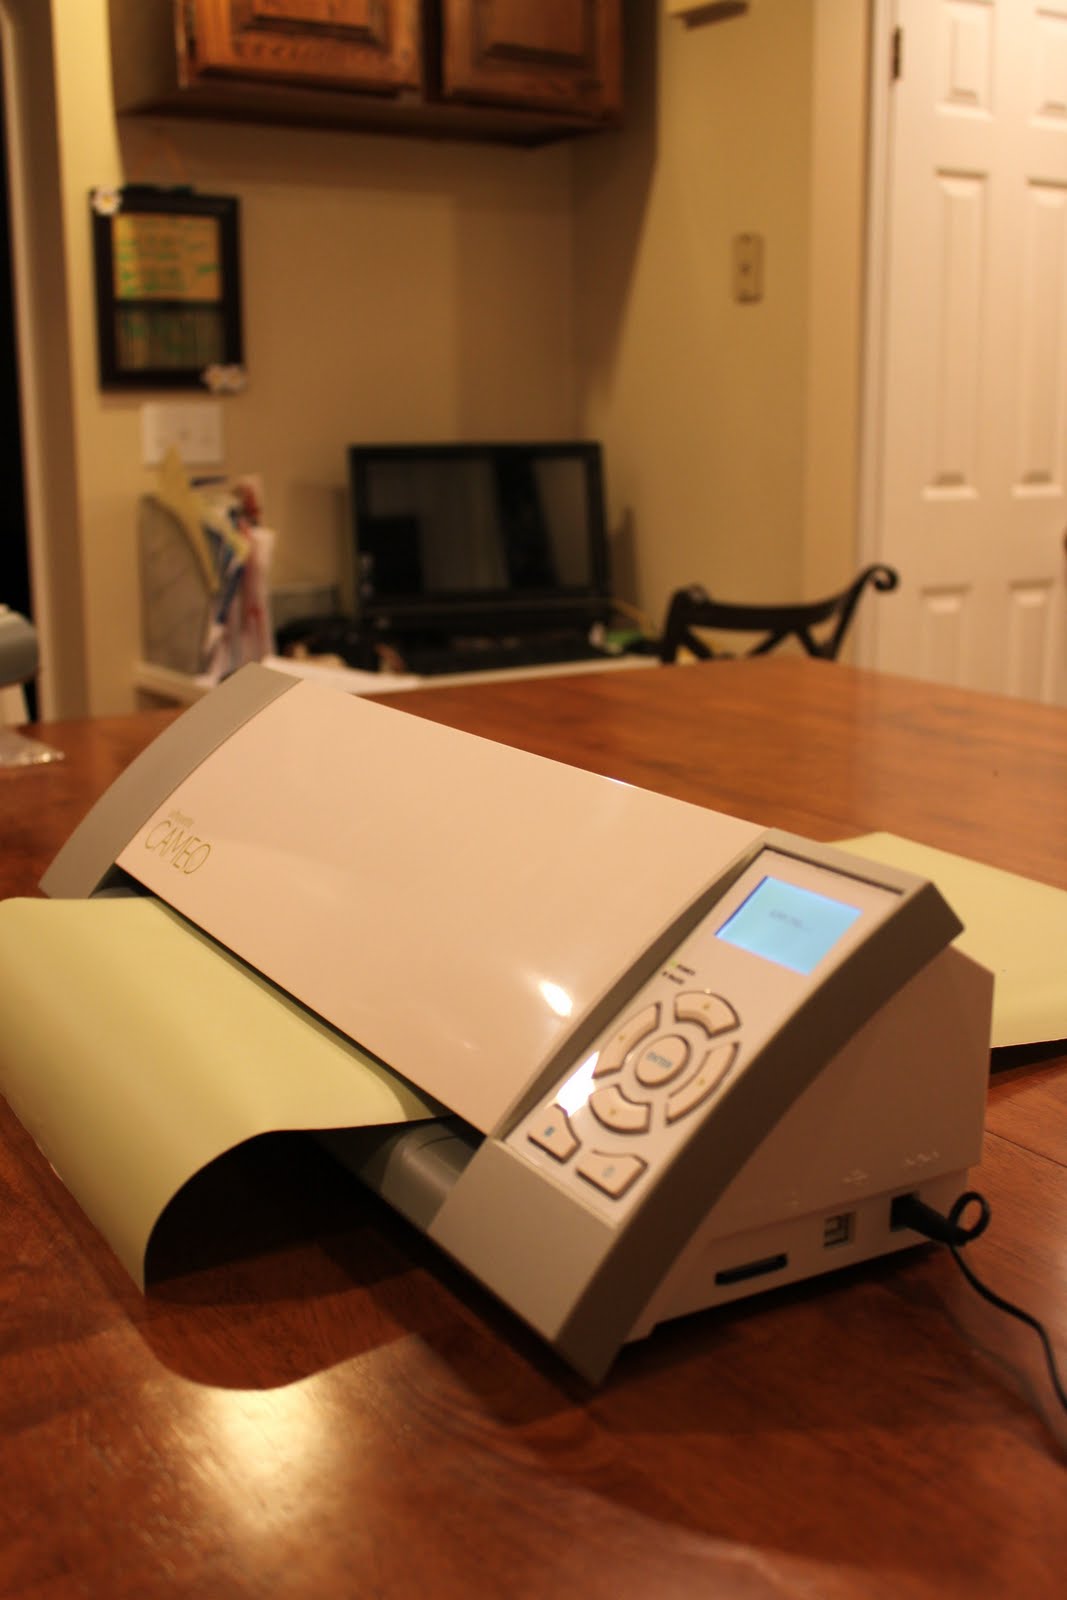
I let the machine do it’s magic! Look at how far I am from my computer! I love it because I don’t have a big enough desk to put the CAMEO on it, so this is great. Most likely this is what I will do, and so I don’t have little fingers touching it either….
7) I peeled off the excess vinyl and then used the transfer tape.
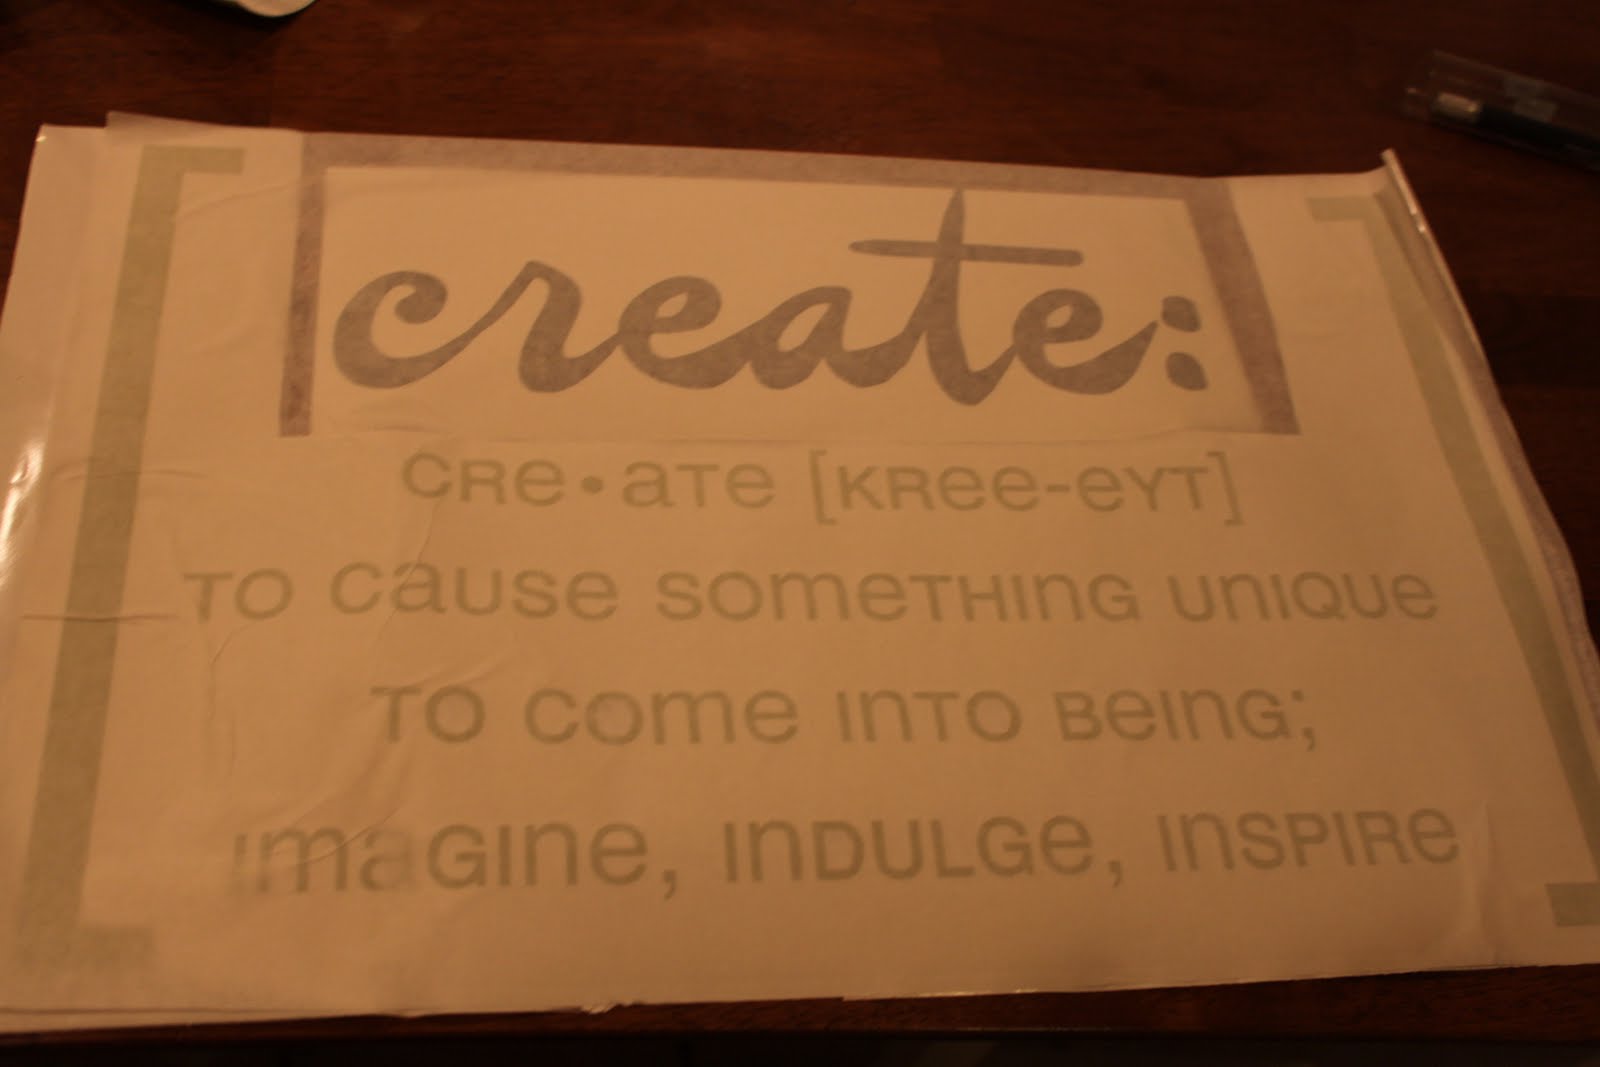
8) I applied the vinyl to the wall with a vinyl applicator. I just barely got one, I wish I would have gotten one earlier, it’s awesome!!!!!
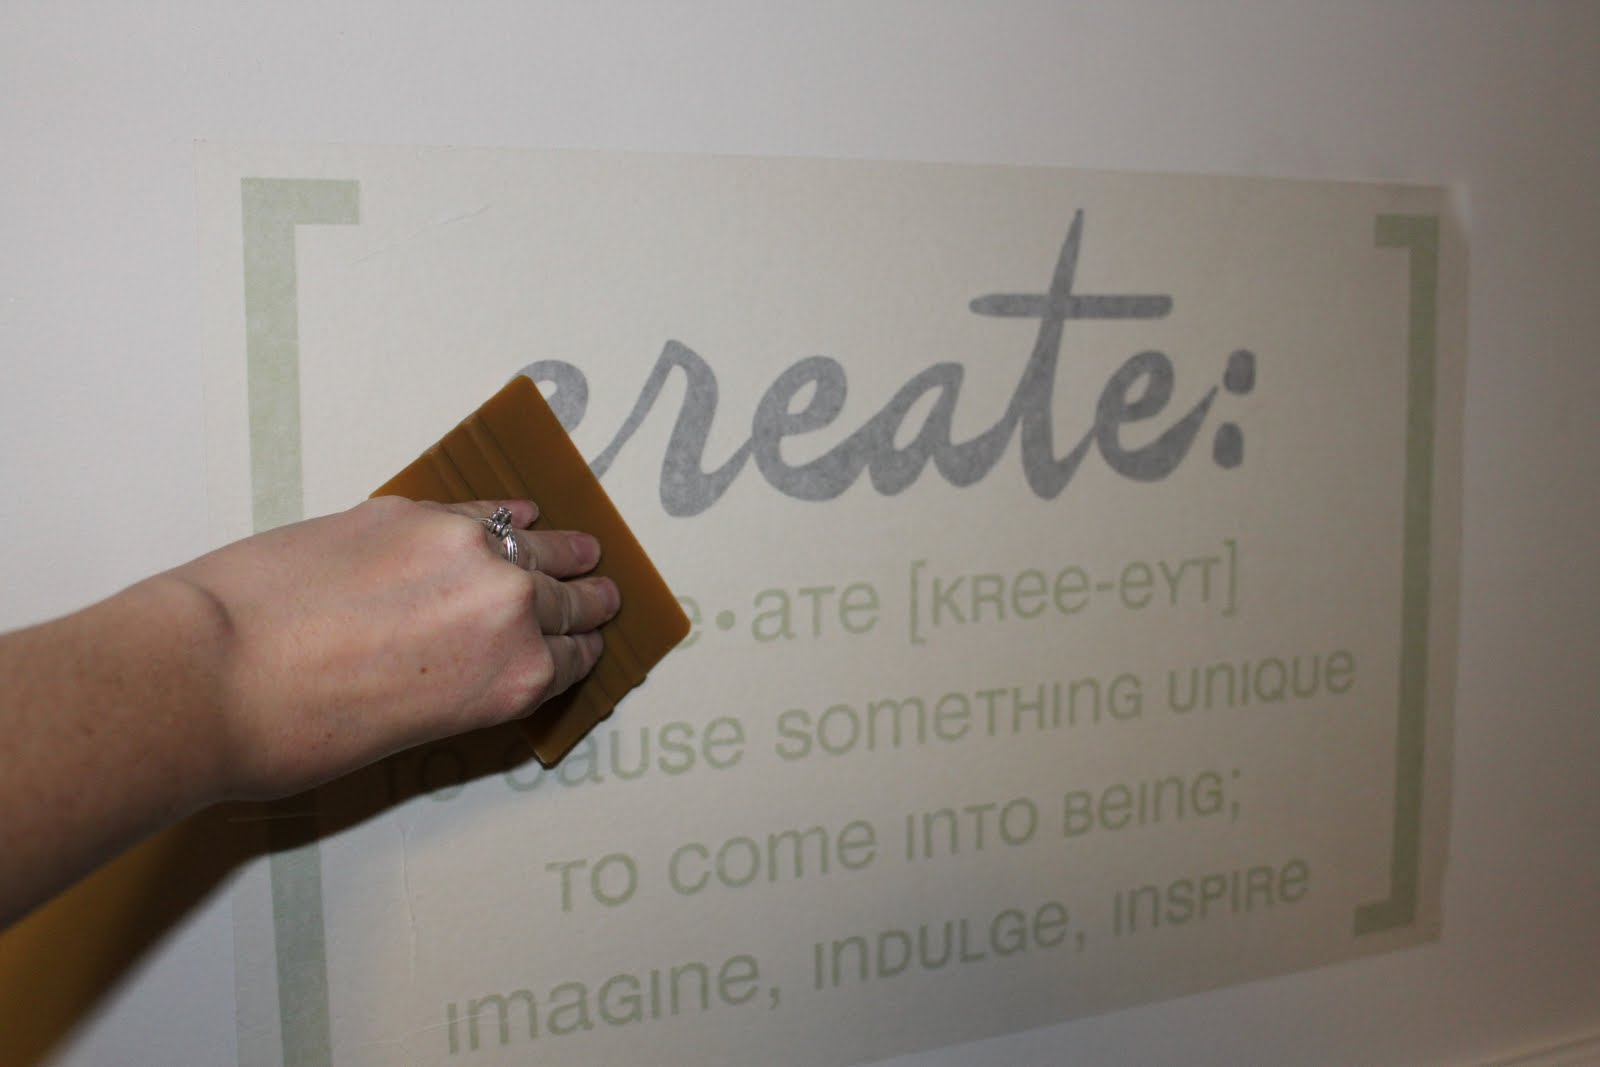
And so I have some color and decoration in my craft room!

Want one for yourself? There is going to be a ridiculous discount coming this Black Friday at the Silhouette website! More details to come next week!

Hello!
What pleased me is that I found on your blog! I just bought a camo but do not understand what kind of SD card to have for Cameon. What SD card did you buy?
Have a nice day!
I just bought a 4 GB SD card, just like one you would buy for a camera.
The Silhouette SD also takes a card! Not an SDHC though as I found out the hard way. 🙁
Thank you for tutorial and pictures. Your blog post was linked on the Facebook group "Silhouette Cameo Paper Crafts."
Oops- I had no idea there was even a slot for the SD card- {users manual} think I will be reading up on this – thanks!