By now I’m sure that all of you have heard about the new machine Silhouette came out with this past October. They discontinue the Silhouette SD and came out with a bigger and better CAMEO!

The new CAMEO is 12″ long and can cut material up to 10 feet long!
I love my new CAMEO. I love the sleek new design. It runs by the same Silhouette Studio ( just updated), so I didn’t have to relearn it, which was great! Plus, all of my images that I have downloaded with my SD were still there (I was a little nervous about losing them). I’ve only had my machine for about 6 days and I’ve already used it for 6 projects and it has done so well with all of them.
There is so much you can do with this machine!! For the next few days, I’m going to give tutorials on how to use it. It’s amazing the things that this machine can do! There are so many ideas on the Silhouette facebook page , their Pinterest page and their blog. You should check them out, you won’t be disappointed!
When I first heard about the new Silhouette CAMEO back in July, I knew that I wanted it! I wanted to be able to use it for my scrapbooks, make awesome designs for the 12×12 paper. Now that I have the CAMEO, I did just that. I saw this on the Silhouette blog and I knew that I had to try it out! It was so easy too!
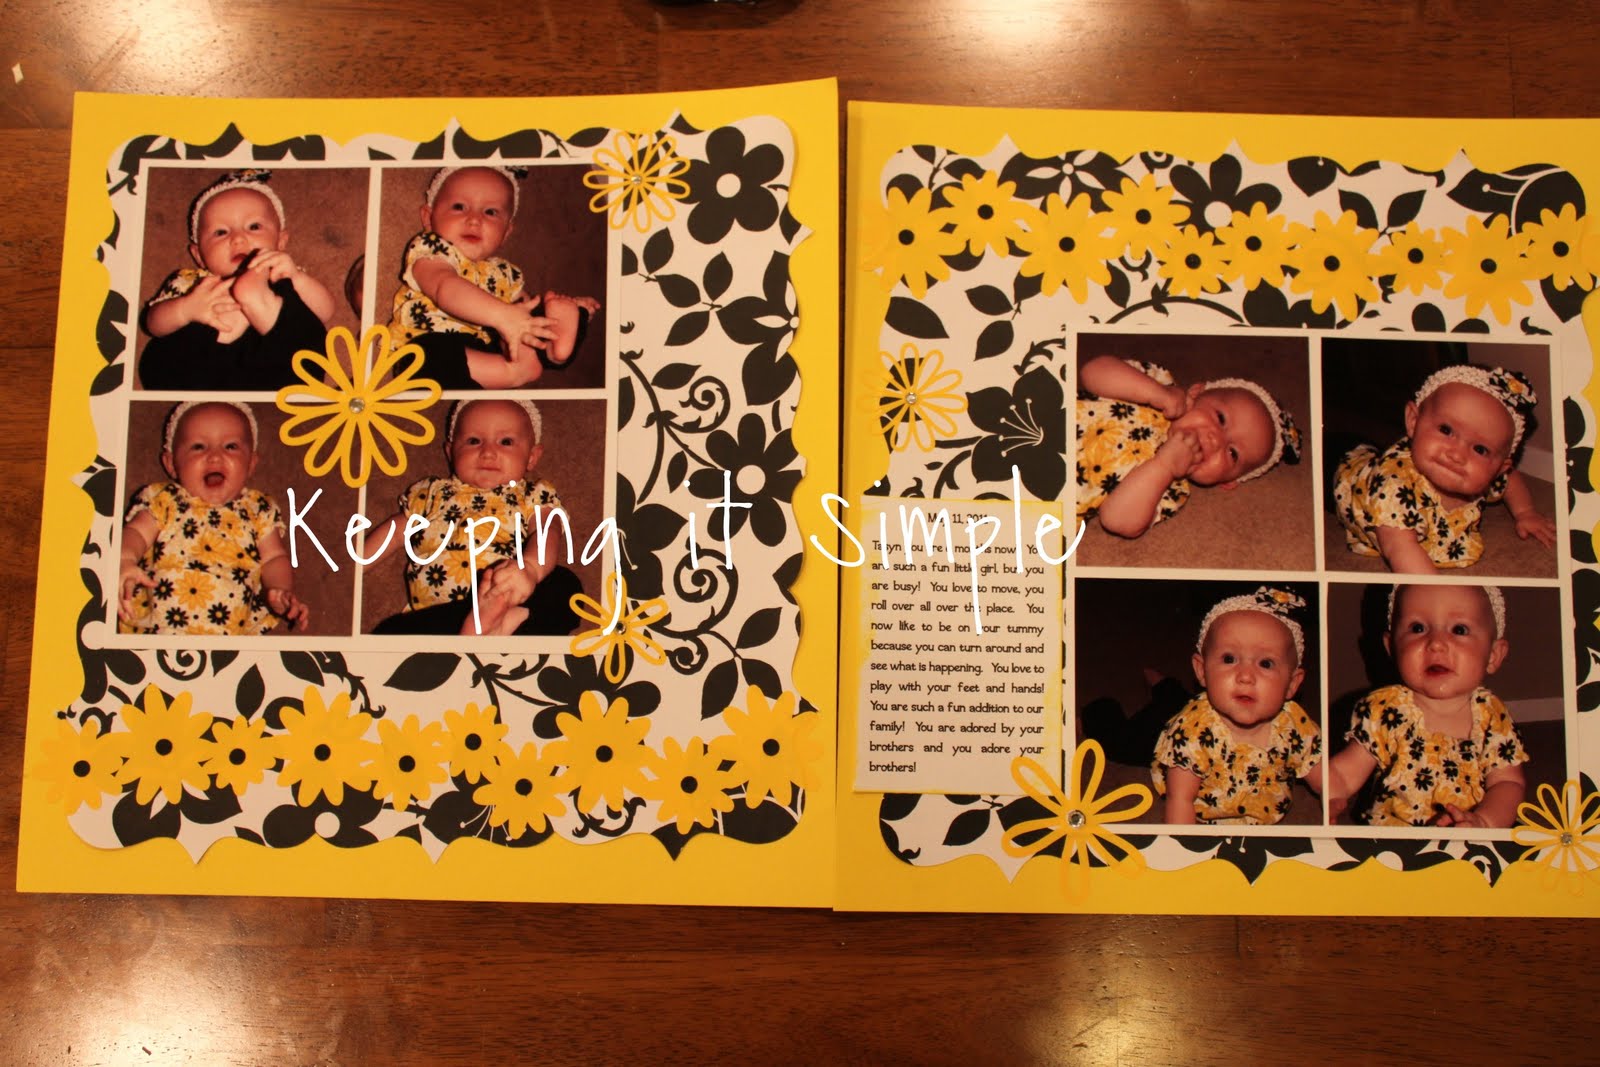
This is how I made my layout:
1) I bought the frame from the online store. I didn’t want the inner bracket, so I used (CTRL+U) and deleted it.
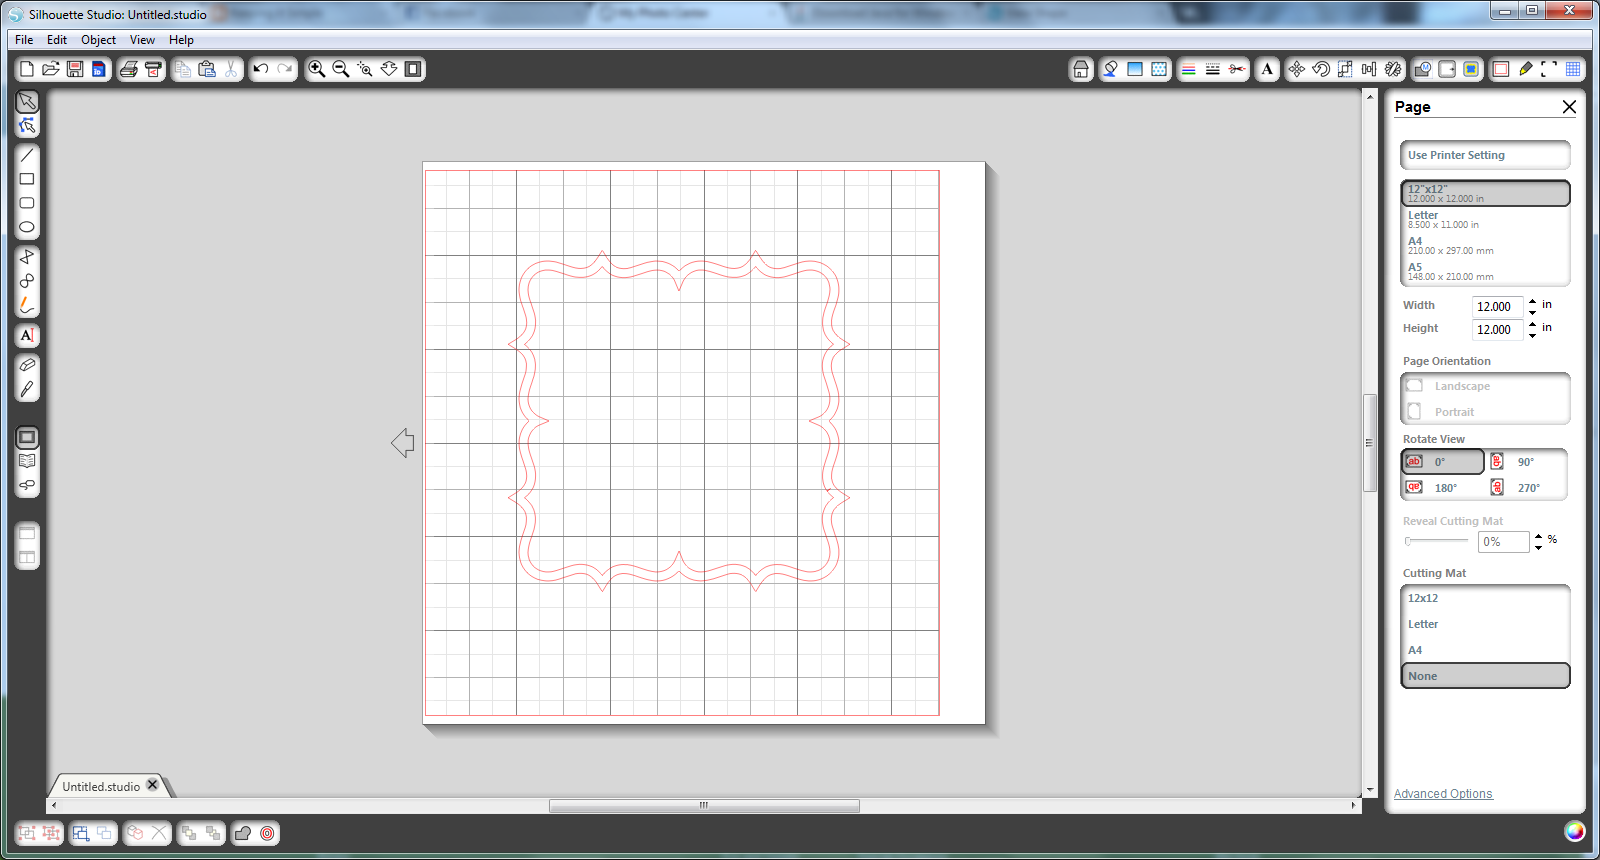
2) I resized it to about 4 inches.

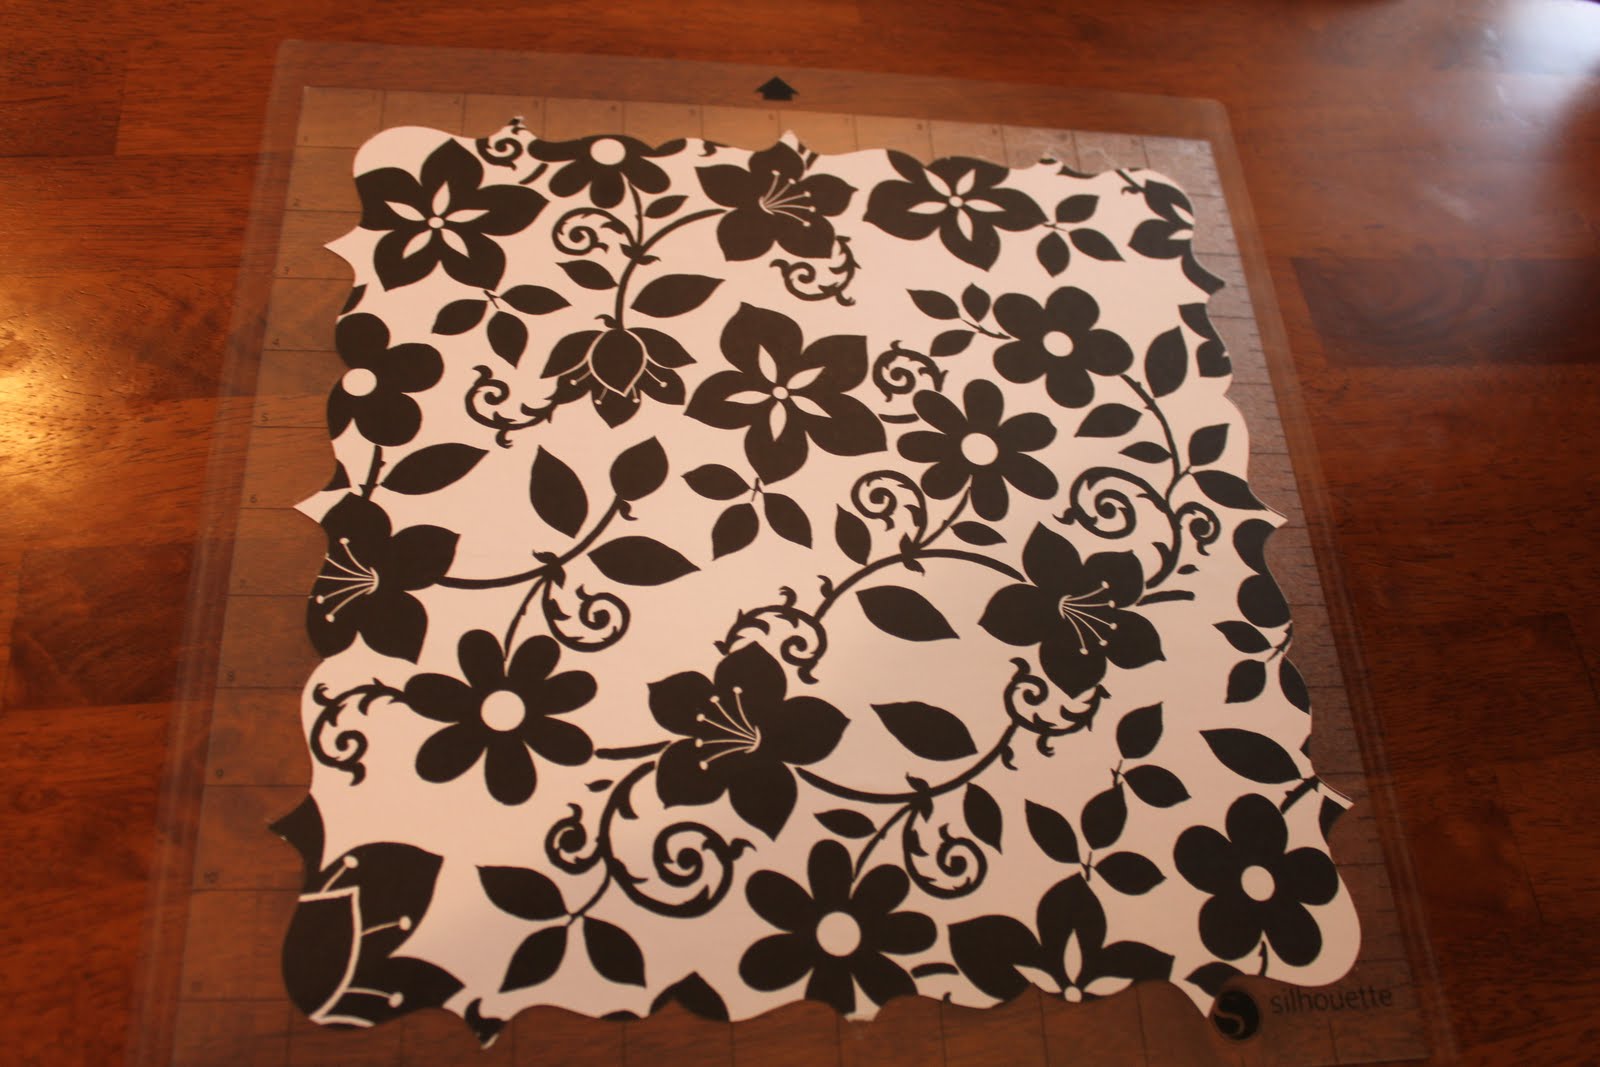
3) Then I copied it three times, to make 4 of the design. I lined up the little bumps on the outside. I then grouped all of them together (CTRL+G) and right clicked. I then clicked on the weld button.

It automatically connects the edges and deleted the middle of it, how awesome is that?! I had no clue you could do that!

Now to cut it out.
4) I placed my paper on my mat.
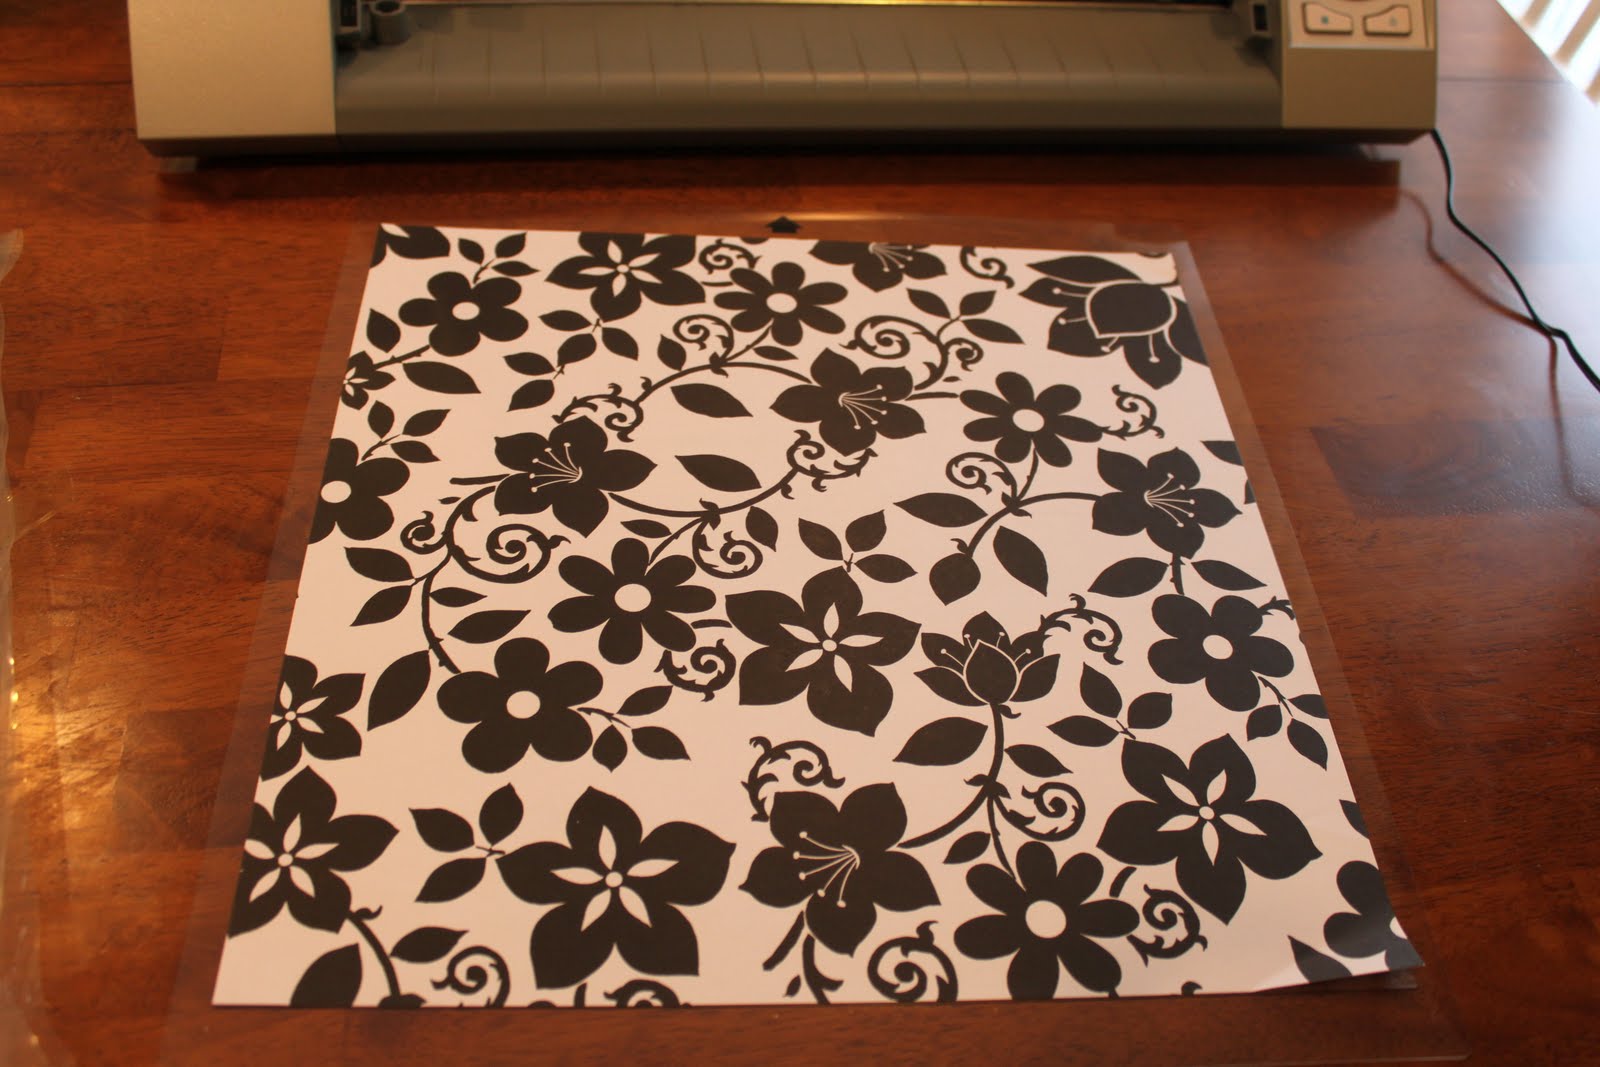
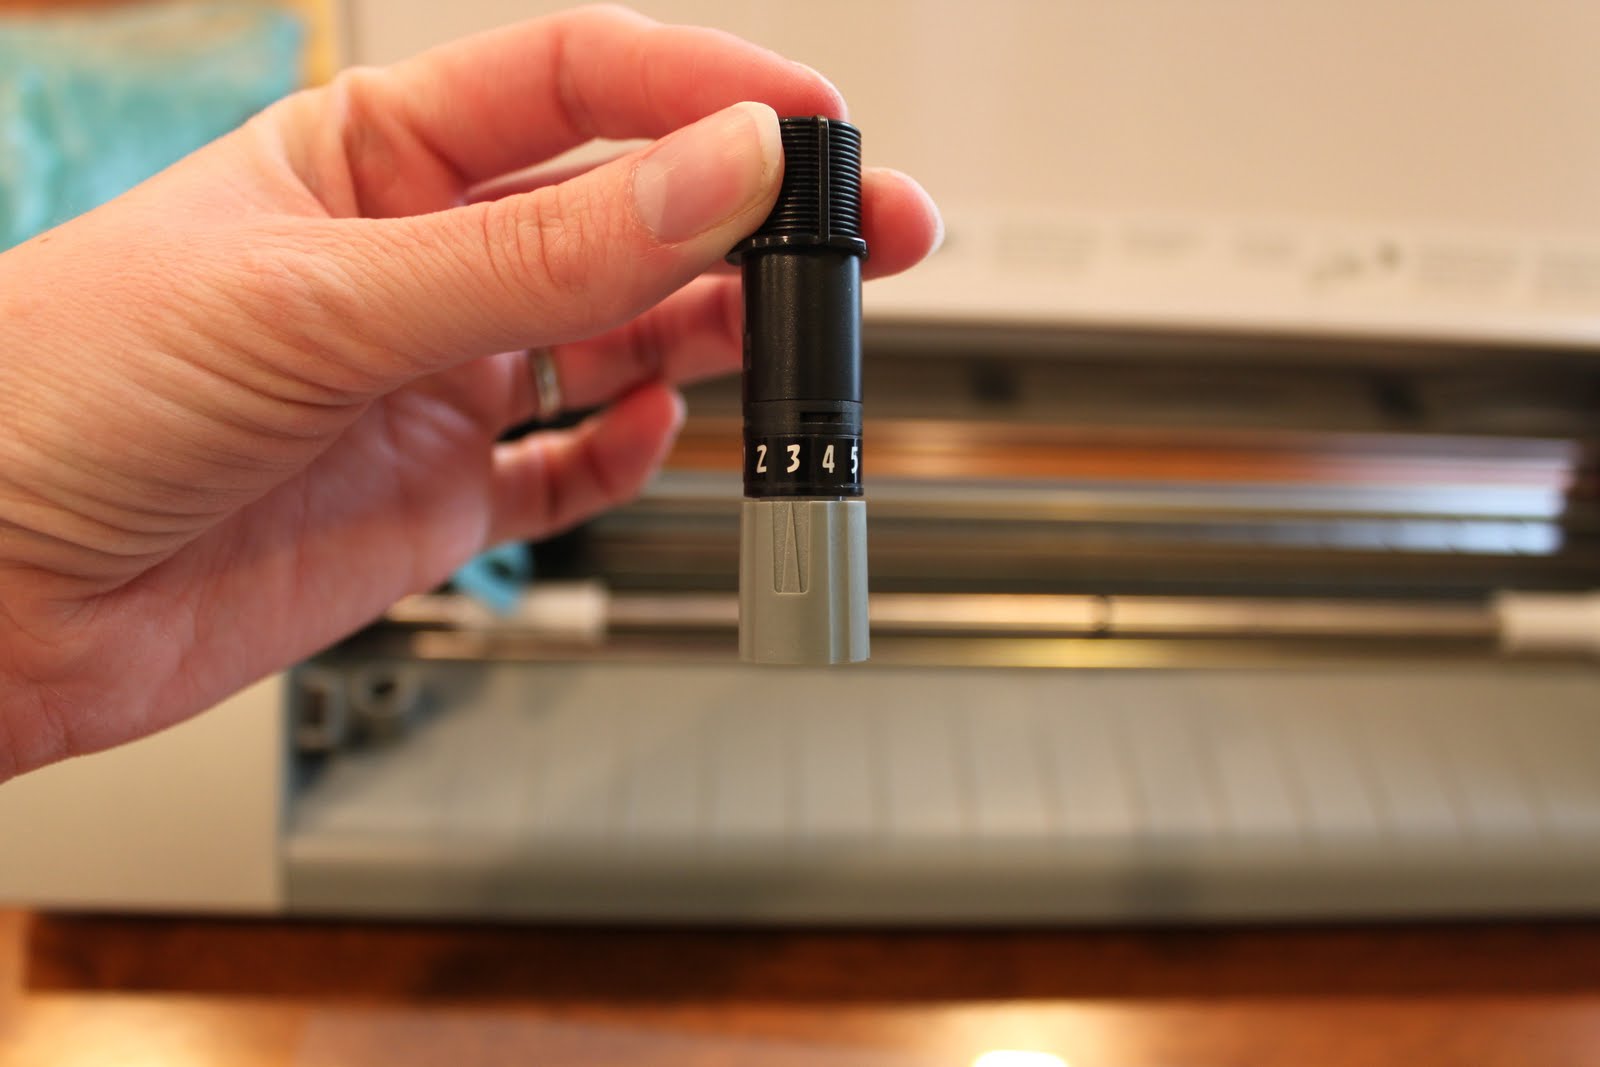
5) I changed the blade to the 3 setting using the gray cap. I cut the paper at a 5 speed and 30 thickness.
6) I loaded the mat and cut the image.
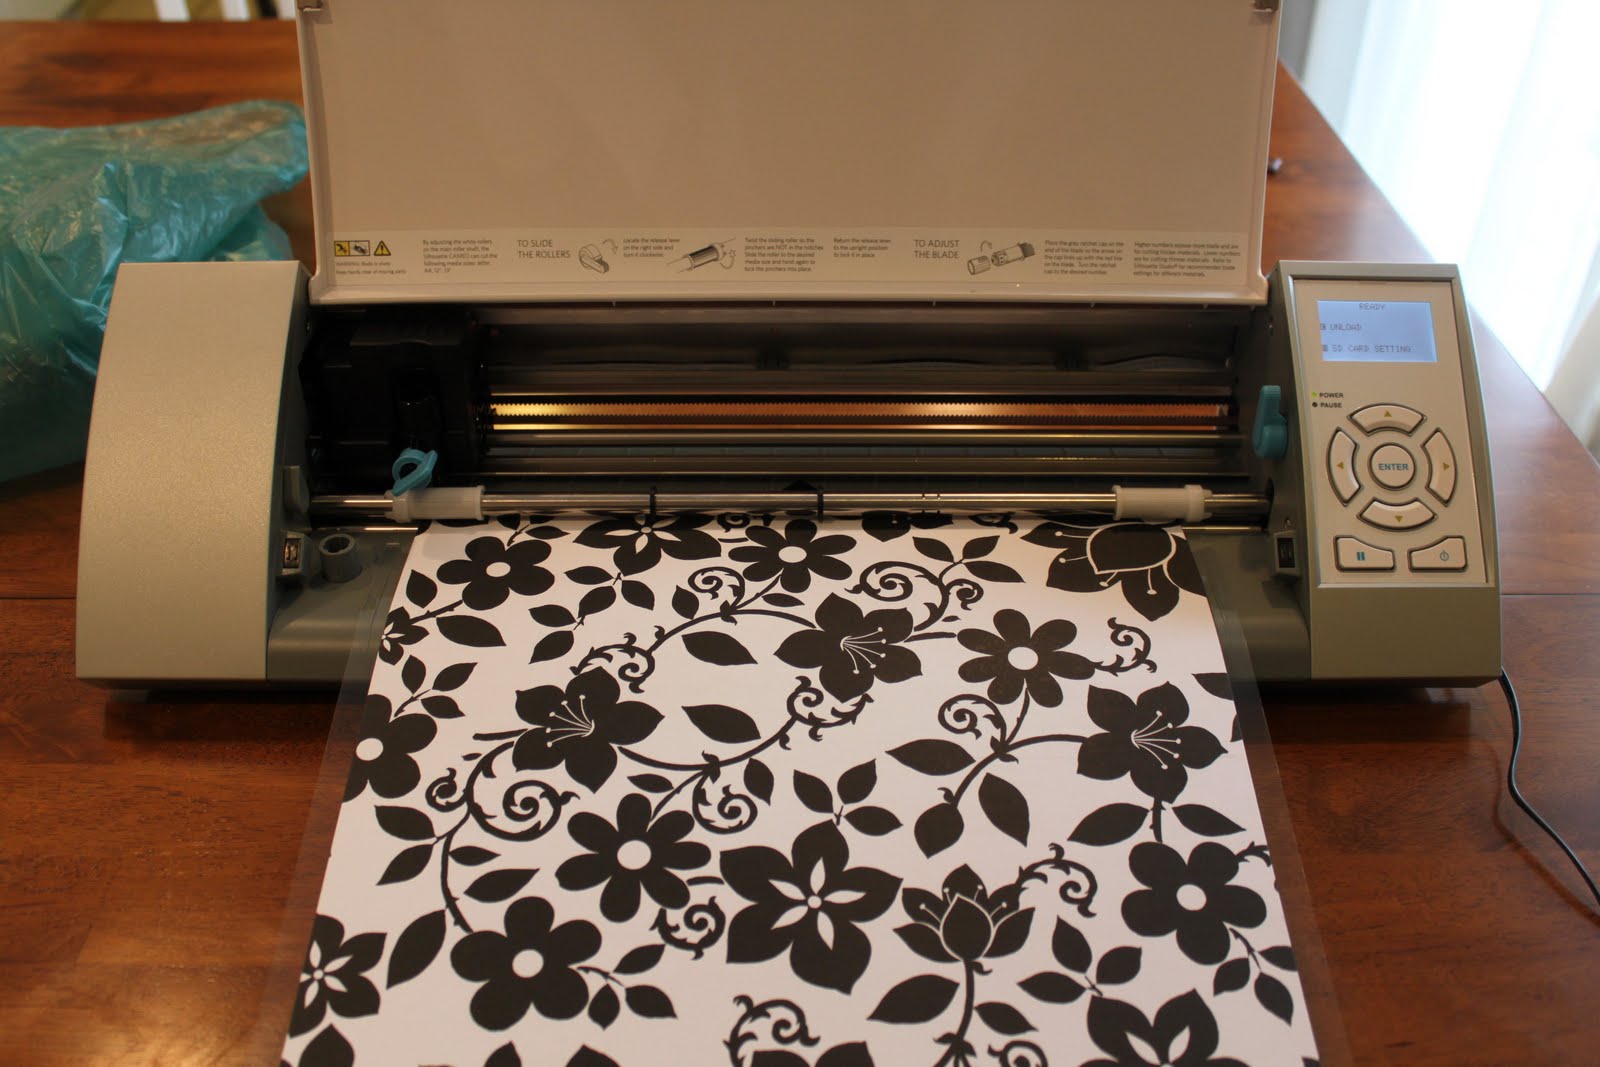
Here is it all cut out, I love it!
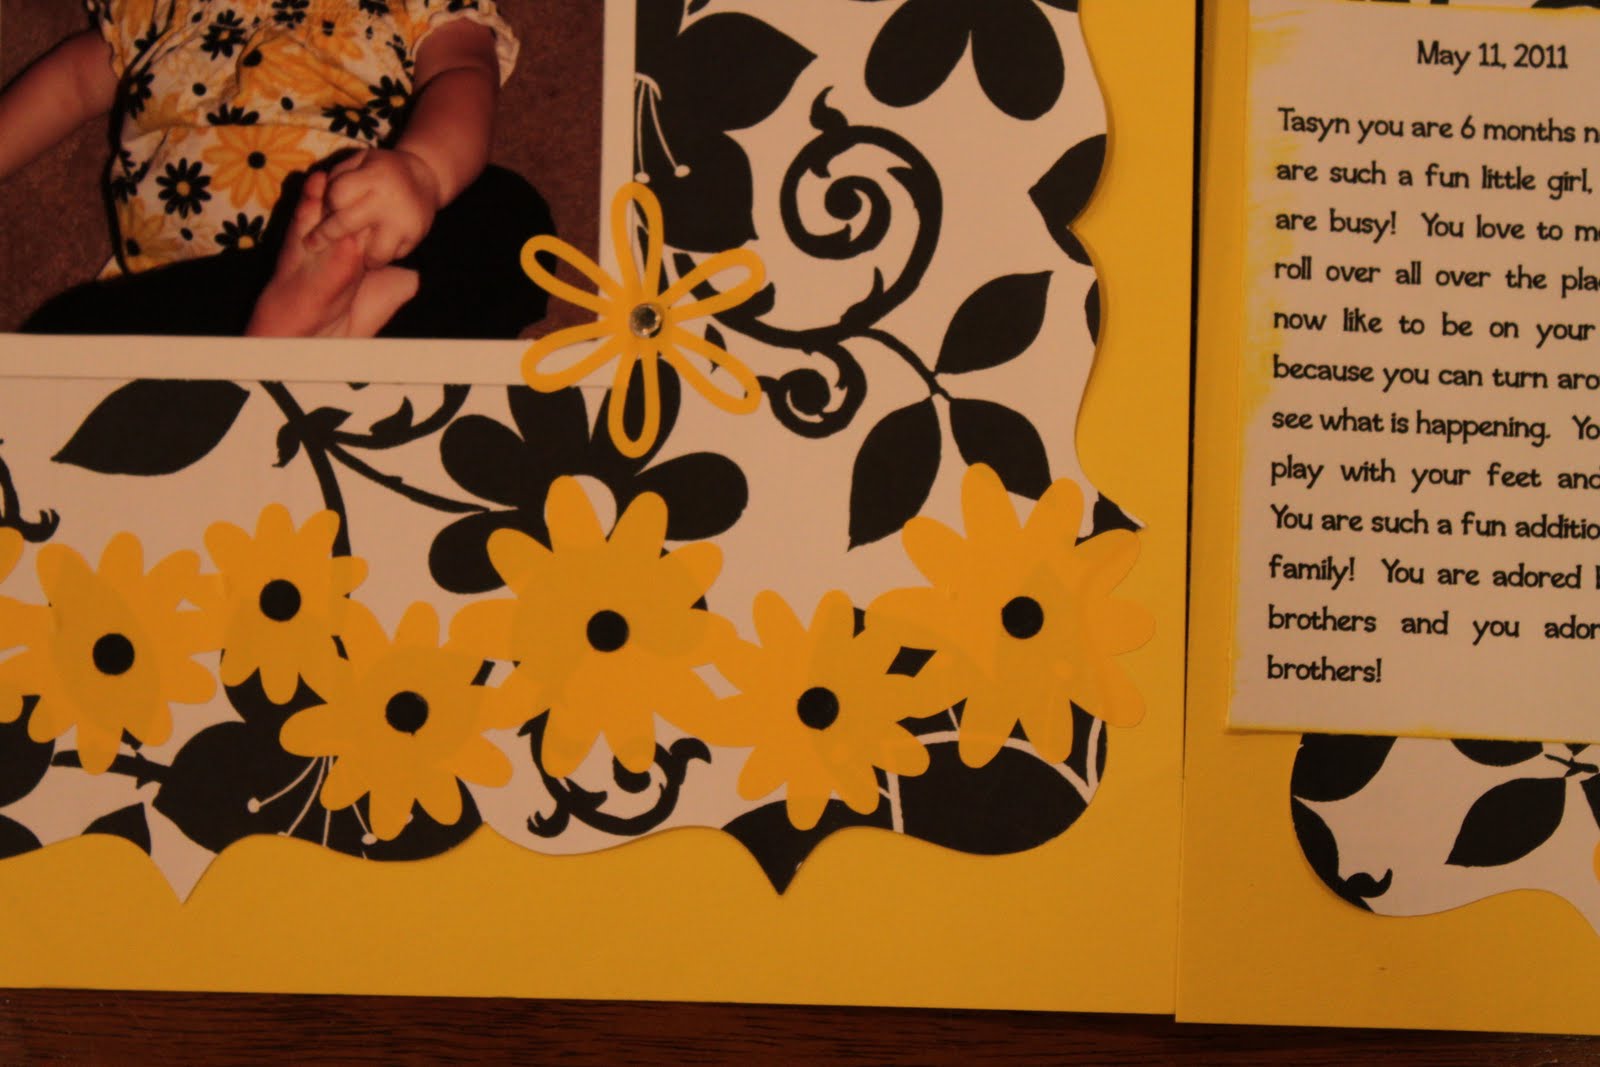
I then made my scrapbook page. I used yellow vinyl for the daisy border and flowers.

I’m going to love using my CAMEO for all of my scrapbook pages!!!!!
Is the new CAMEO on your Christmas list? There is going to be an awesome deal this Black Friday that you won’t want to miss! More details to come next week!

Check out these sites!





aaaahhh! I want one!
So so pretty! Thanks for a little tutorial too since I still haven't been able to play around much with my Cameo! Looking at this makes me excited to do some scrapbooking!!!
Thanks for linking up to Scrappy Saturdays! Finally getting around to featuring this!