This post contains affiliate links.
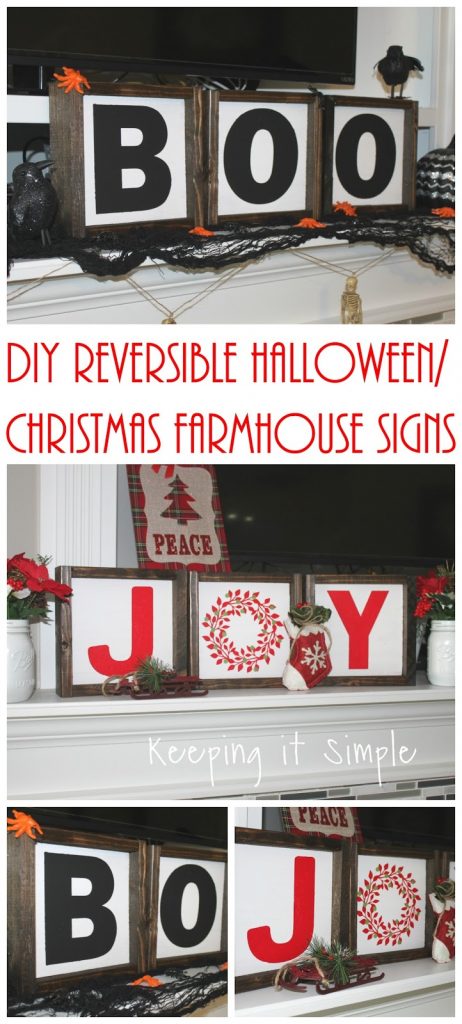
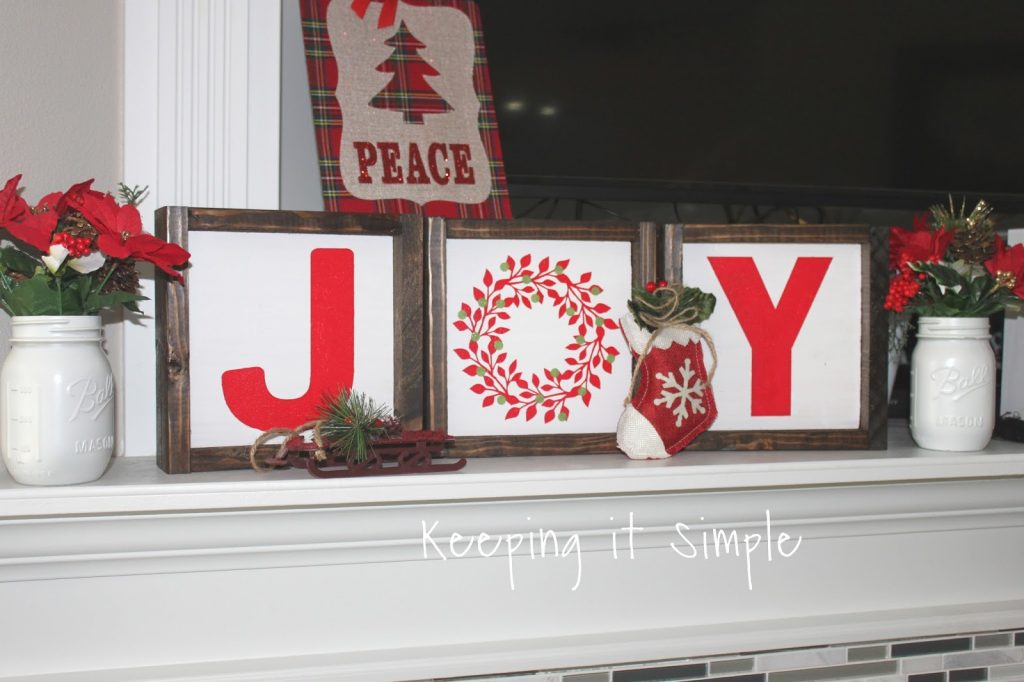
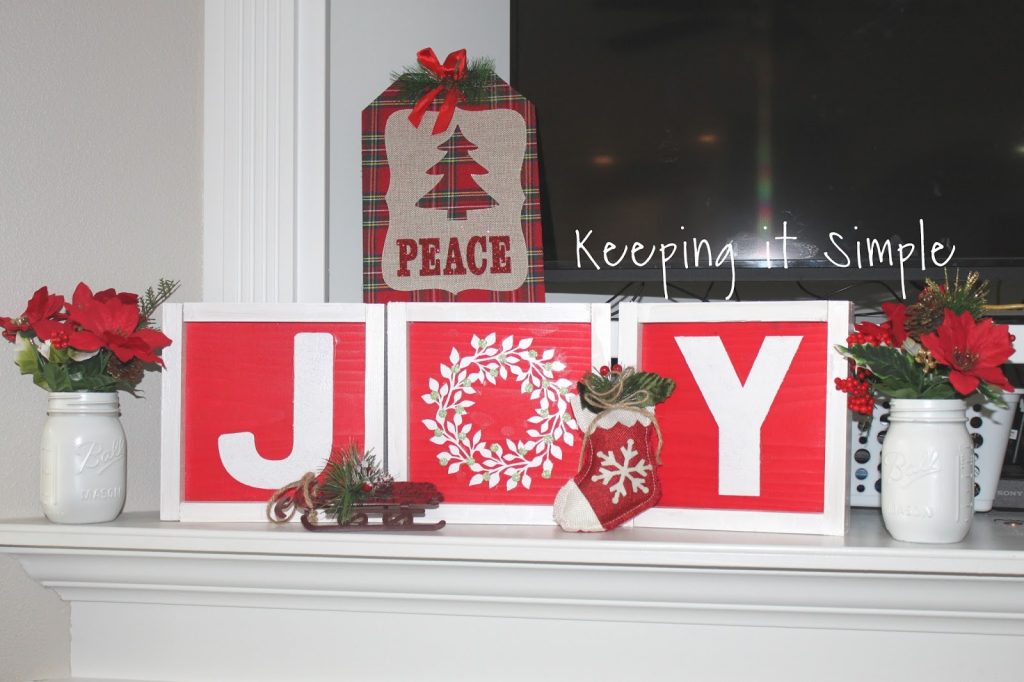
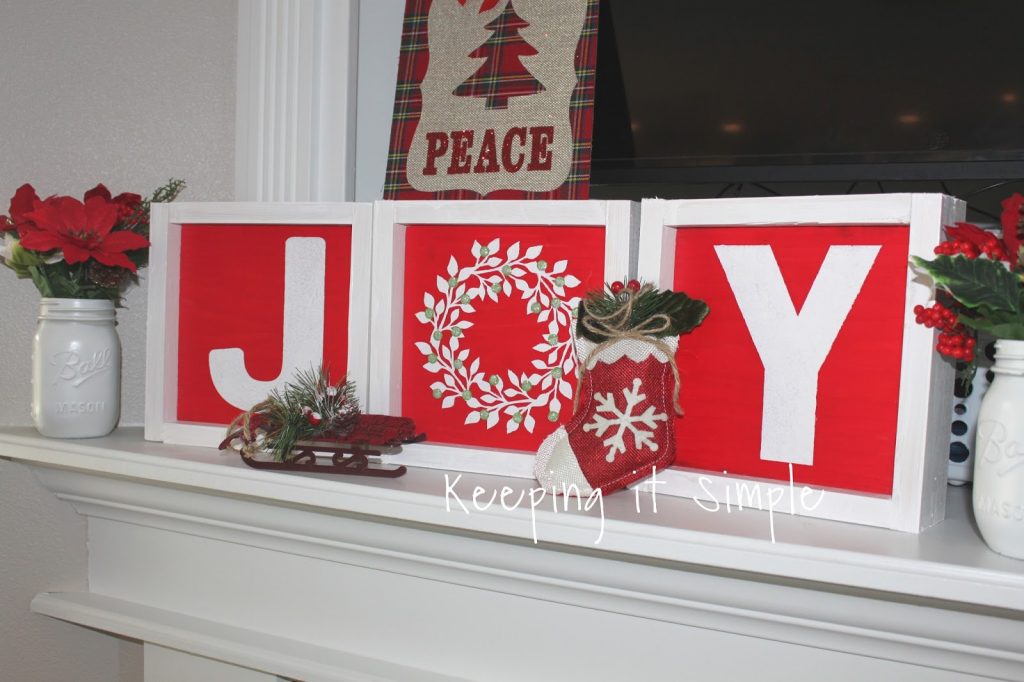
We all know that I love making signs for my house, especially around the holidays. I love being able to make things look and say exactly how I would like them too :). Well I was at a cute shop one day and say a sign that said EAT with three signs and I liked the idea of having a letter per sign. I didn’t want to make an EAT sign, but I immediately thought that maybe I could make a Christmas sign. Then my mind started going and I thought to myself, why not make a sign that works for Halloween and Christmas. One side could say JOY and the other side could say BOO. They were fun to make and I love how they turned out. Plus I love when I can use something longer than just a few weeks!
This is how I made them.
I used a 1×8 for the signs and then a 1×3 for the frames. I usually use a 1×2 for frames but I wanted to have both side have a nice frame so I used the 1×3 instead. I cut the board to be roughly 7.5×7.5 inches and then the frames were roughly 7.5 inches and then 9 inches (two of each). I say roughly because I don’t measure them, I measure the frames onto the board.
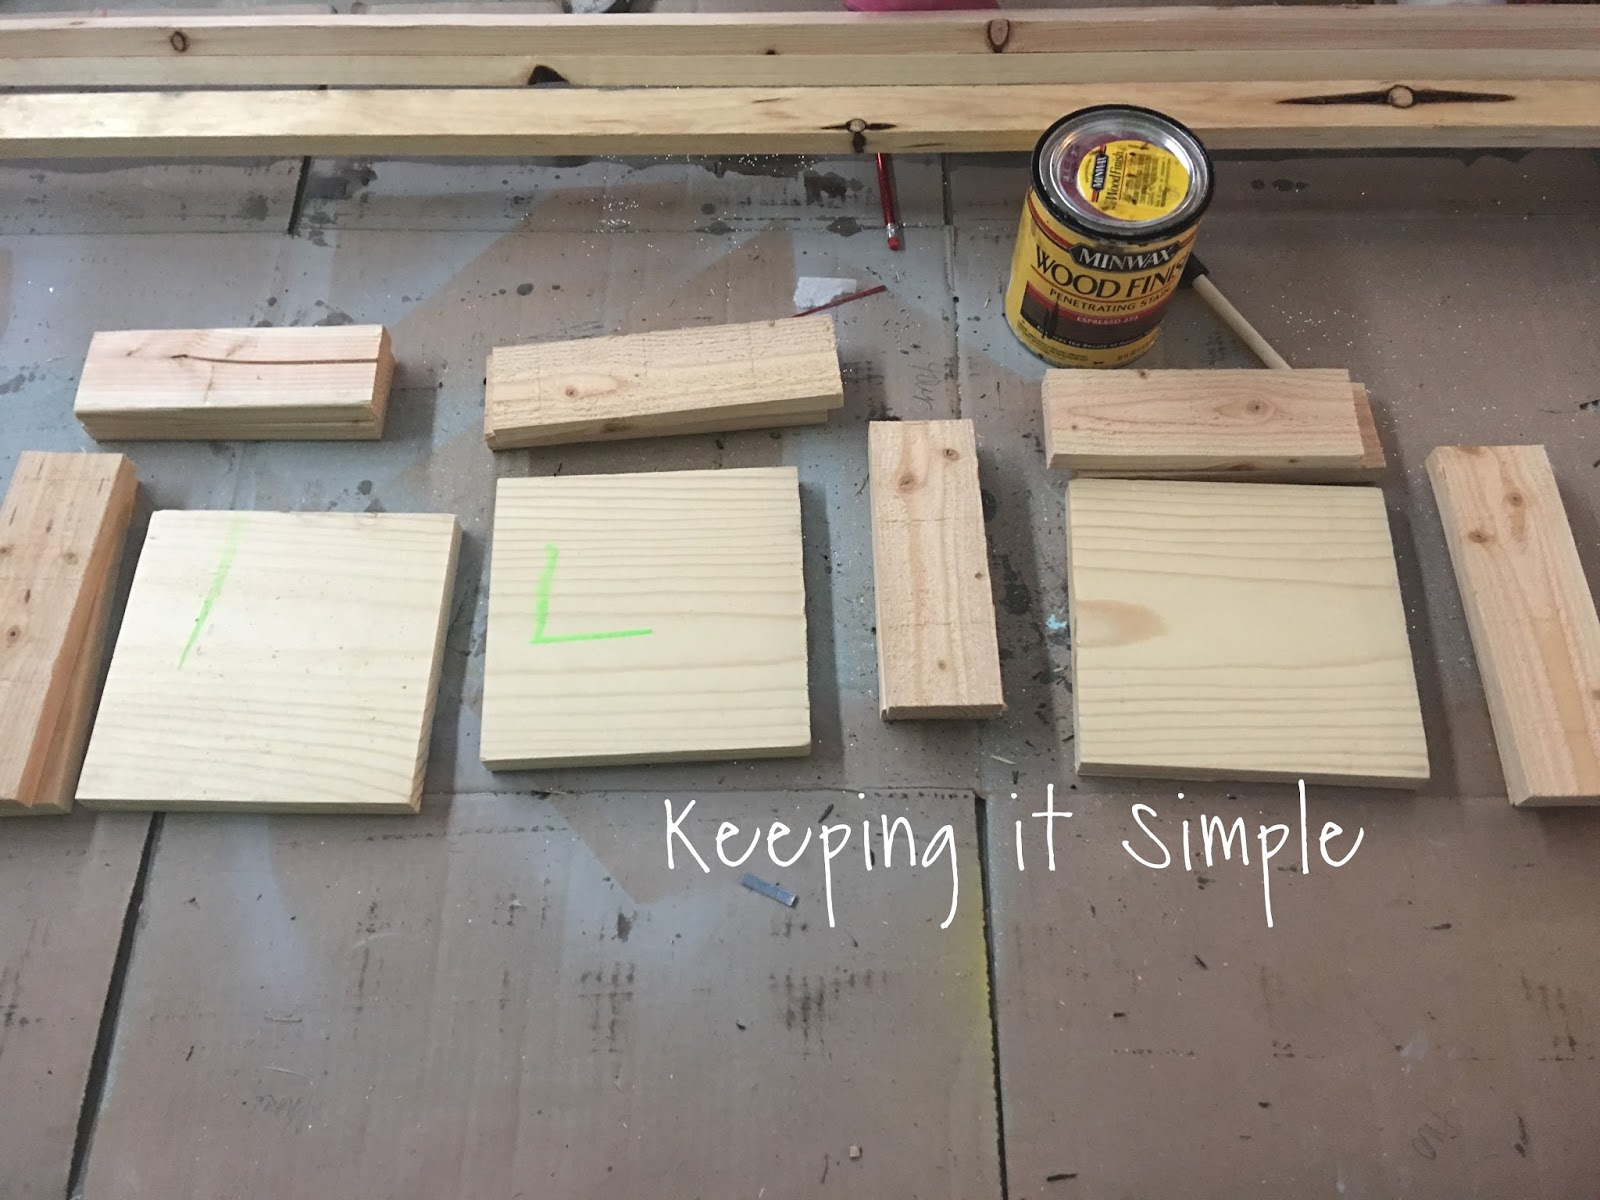
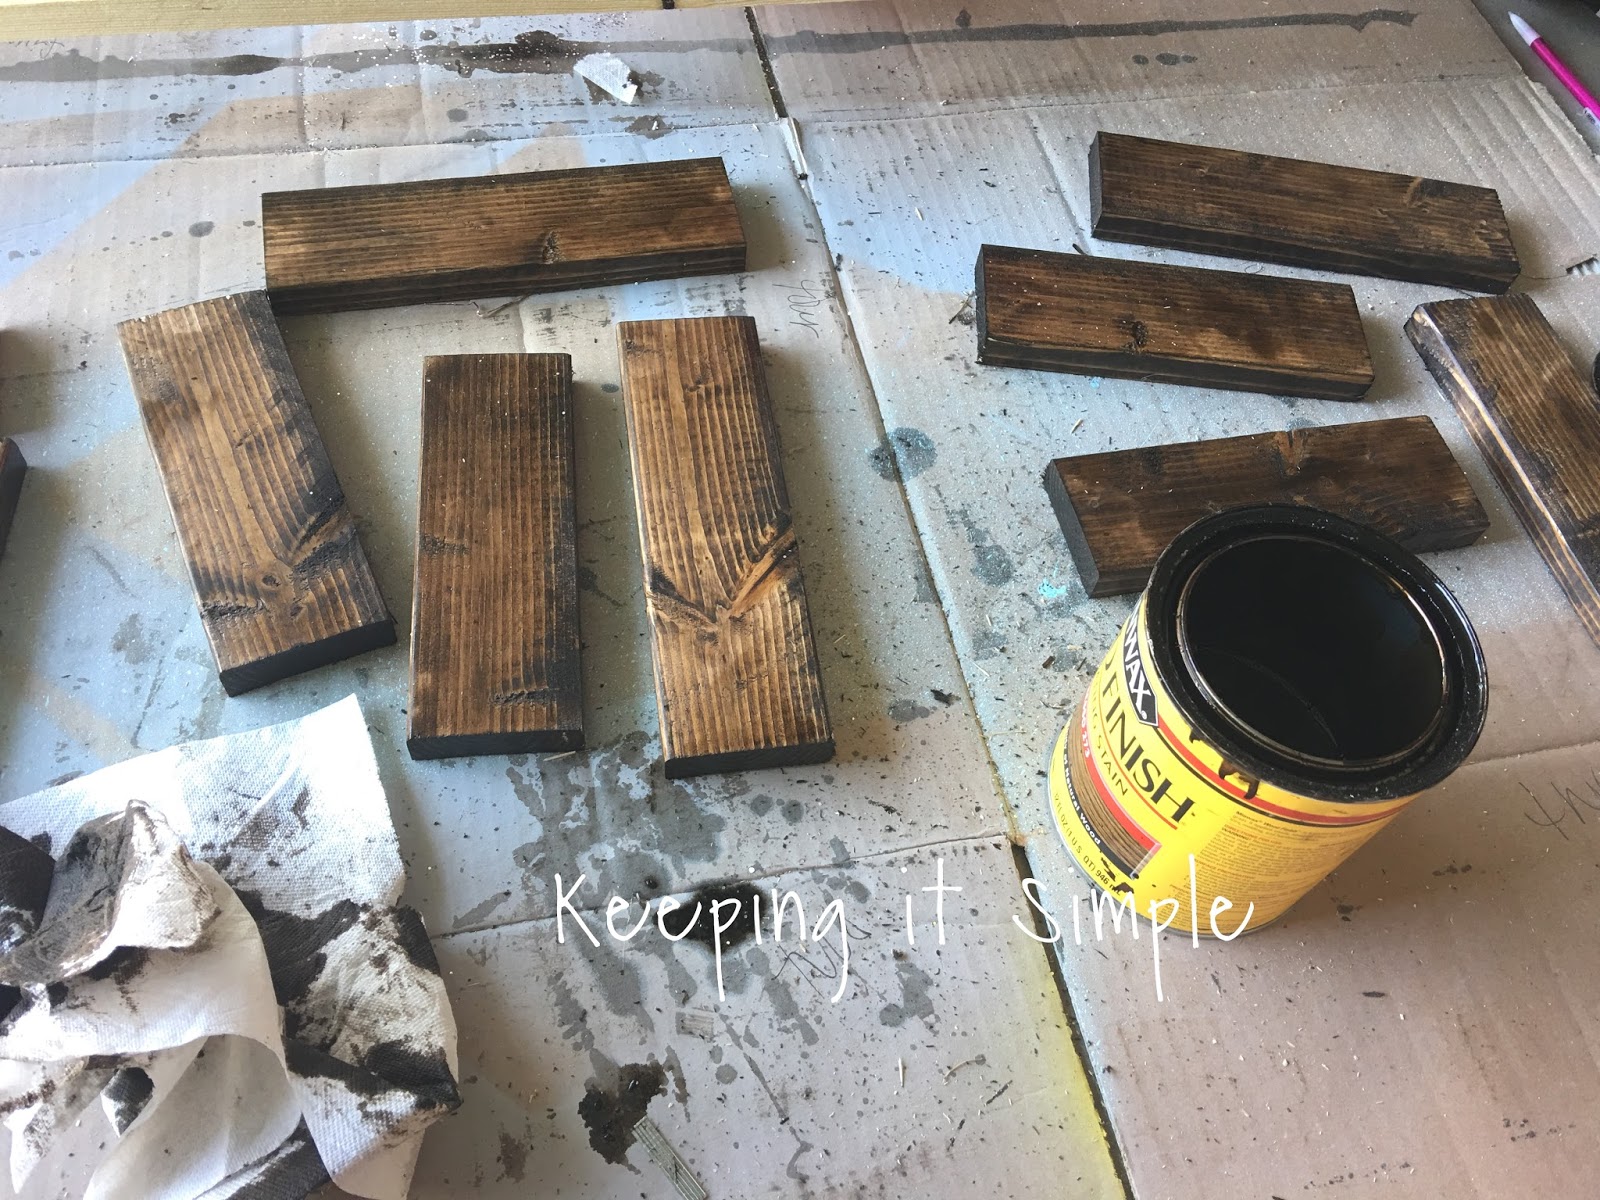
I then stained the frames an espresso color.
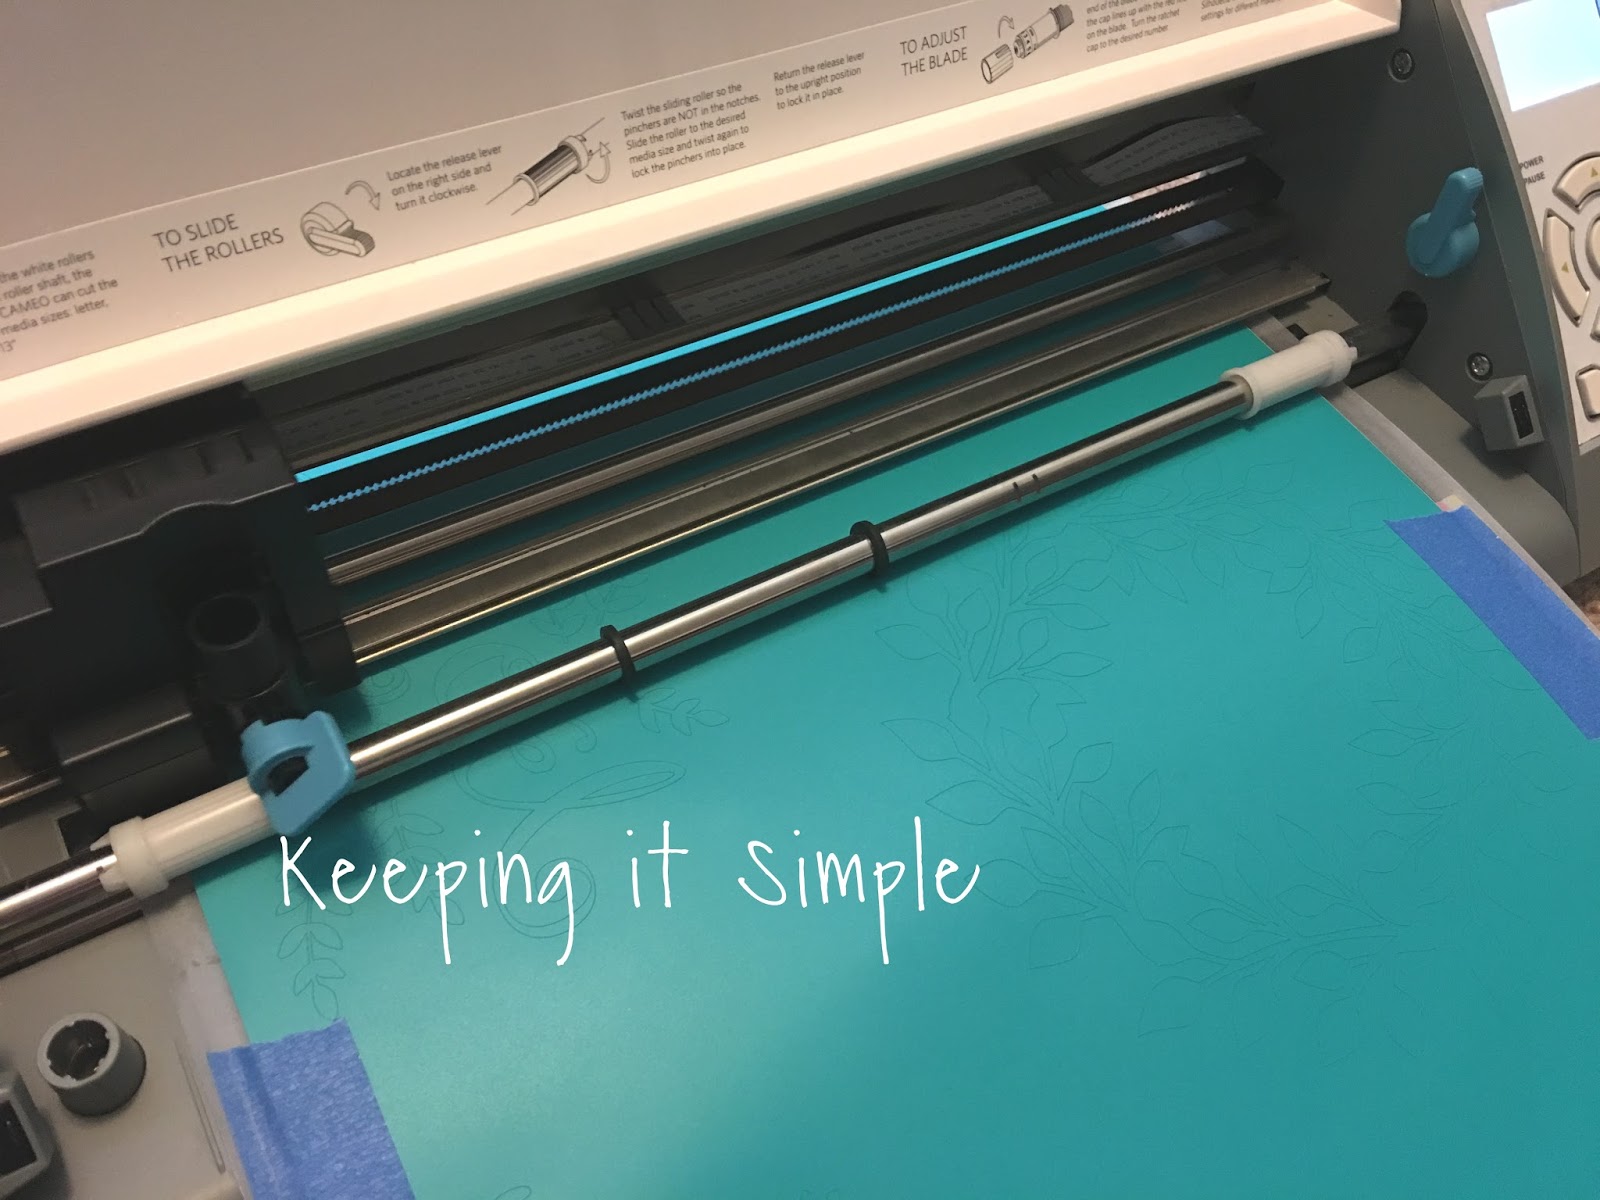
I used my Silhouette CAMEO and cut out some vinyl to use as a stencil for letters. Here are the files for the vinyl. For the Silhouette file they are the size for the frames I did, for the SVG file they are smaller (for a 6×6 frame) so you will have to resize them.
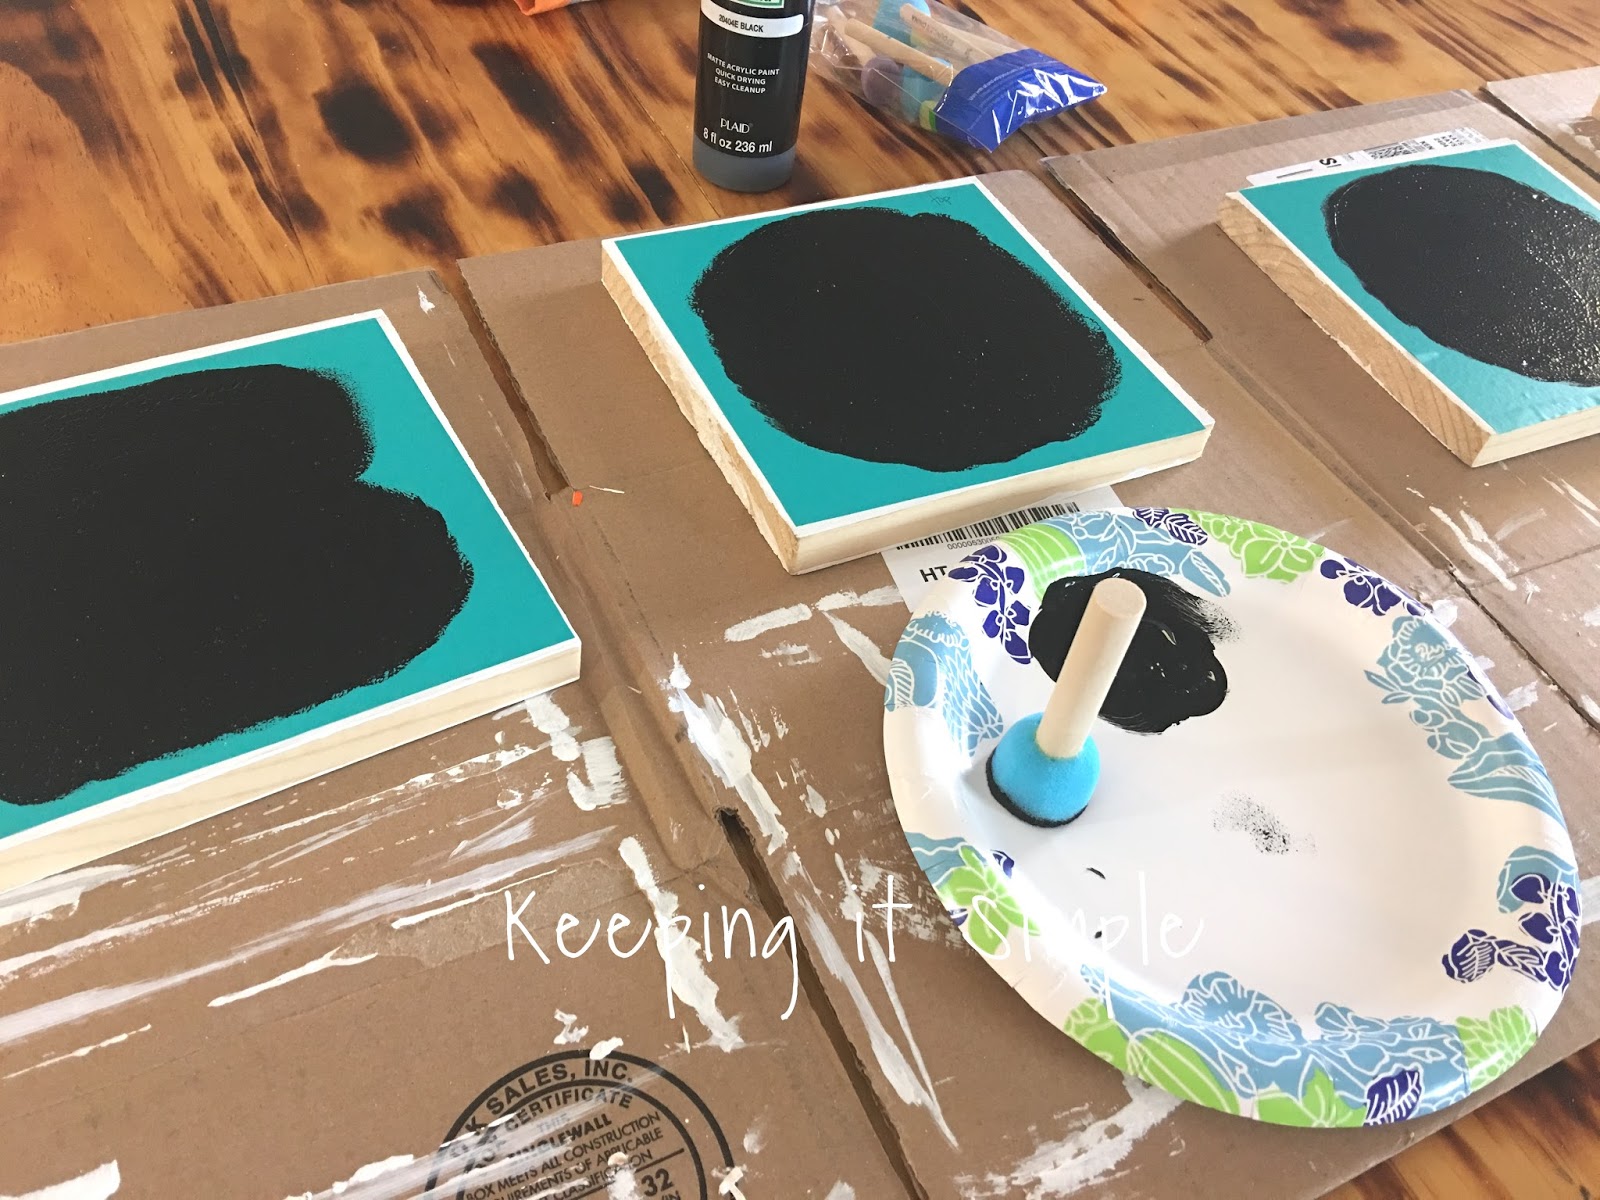
Here is the vinyl cut out. I also painted the boards (both sides) white.

I put the vinyl onto the boards and then painted the vinyl with a foam brush.
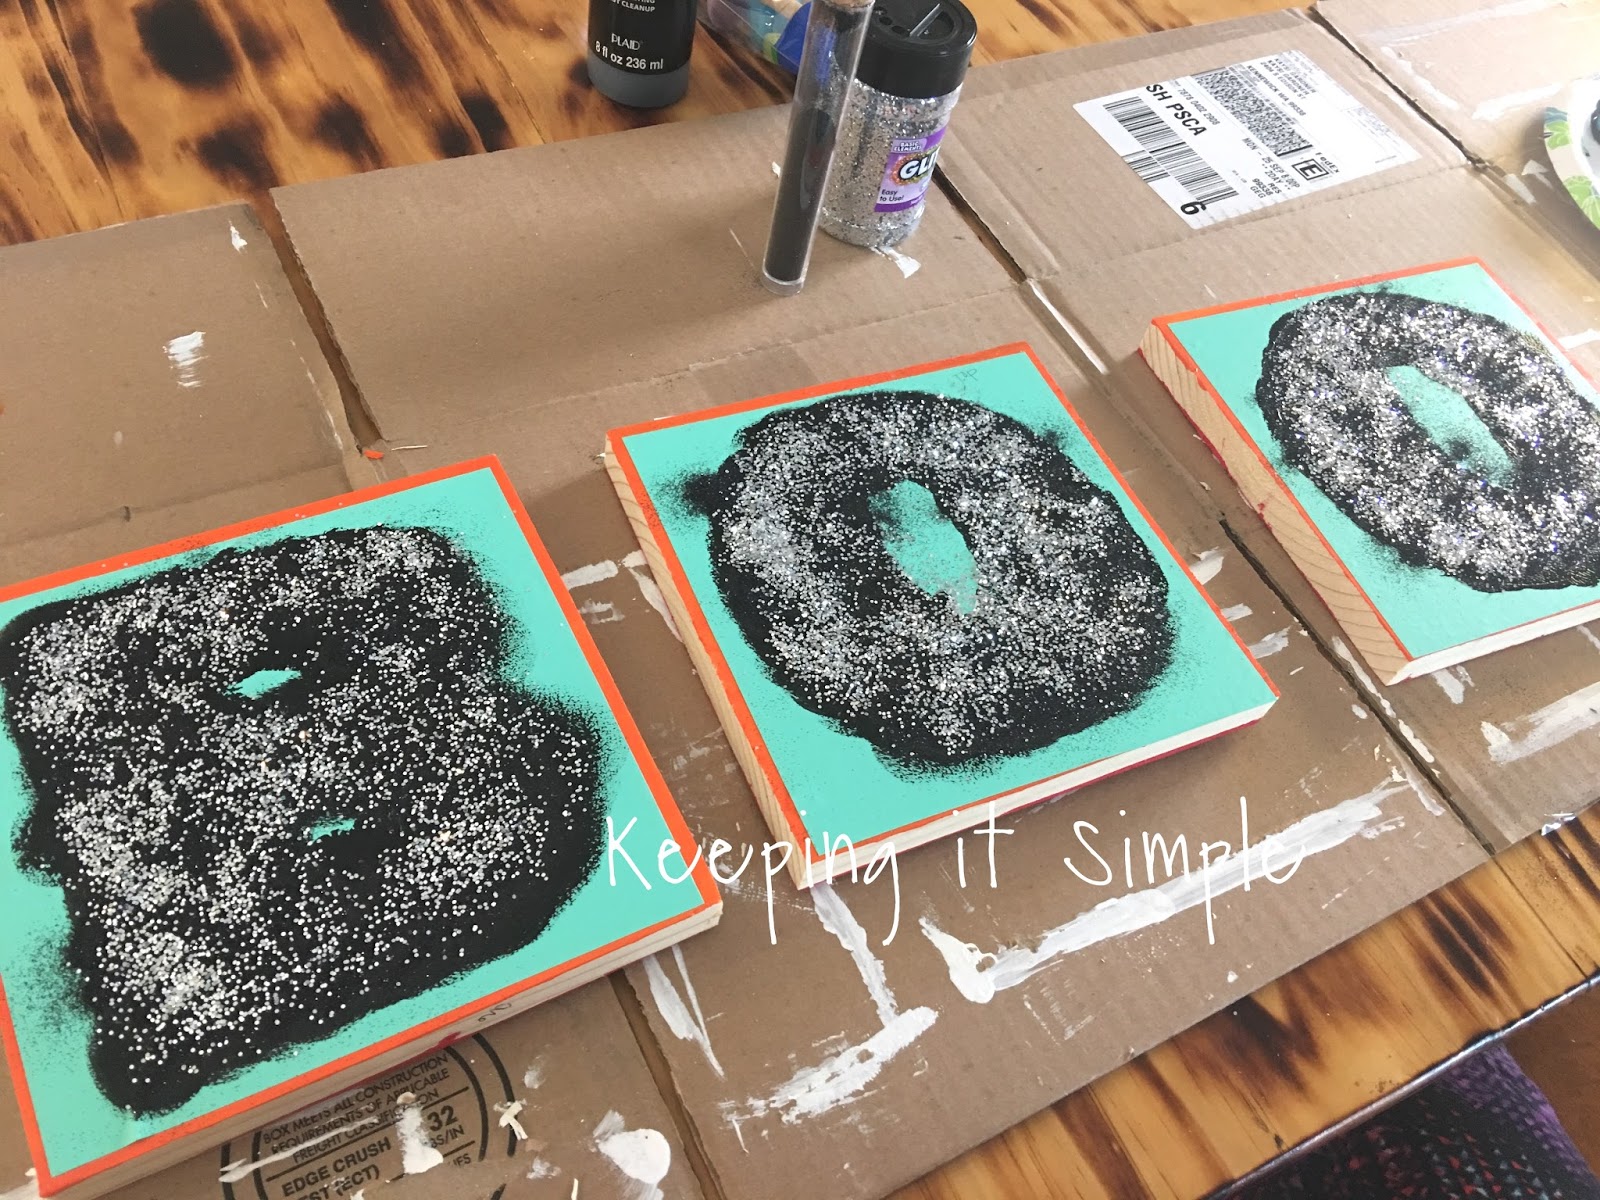
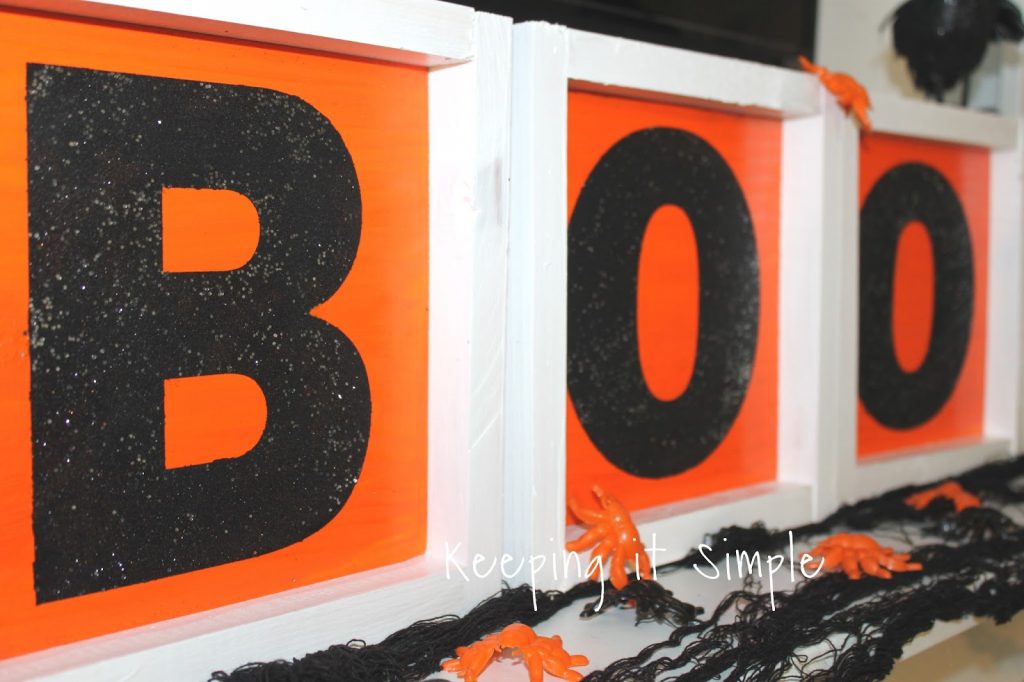
Side note, I did another set with a different look (white frames) and for the Halloween ones I used some black and silver glitter for the BOO. And as you can see here, the boards are orange (red for the Christmas ones).
Once the BOO side was completely dry, I flipped it over and did the JOY.
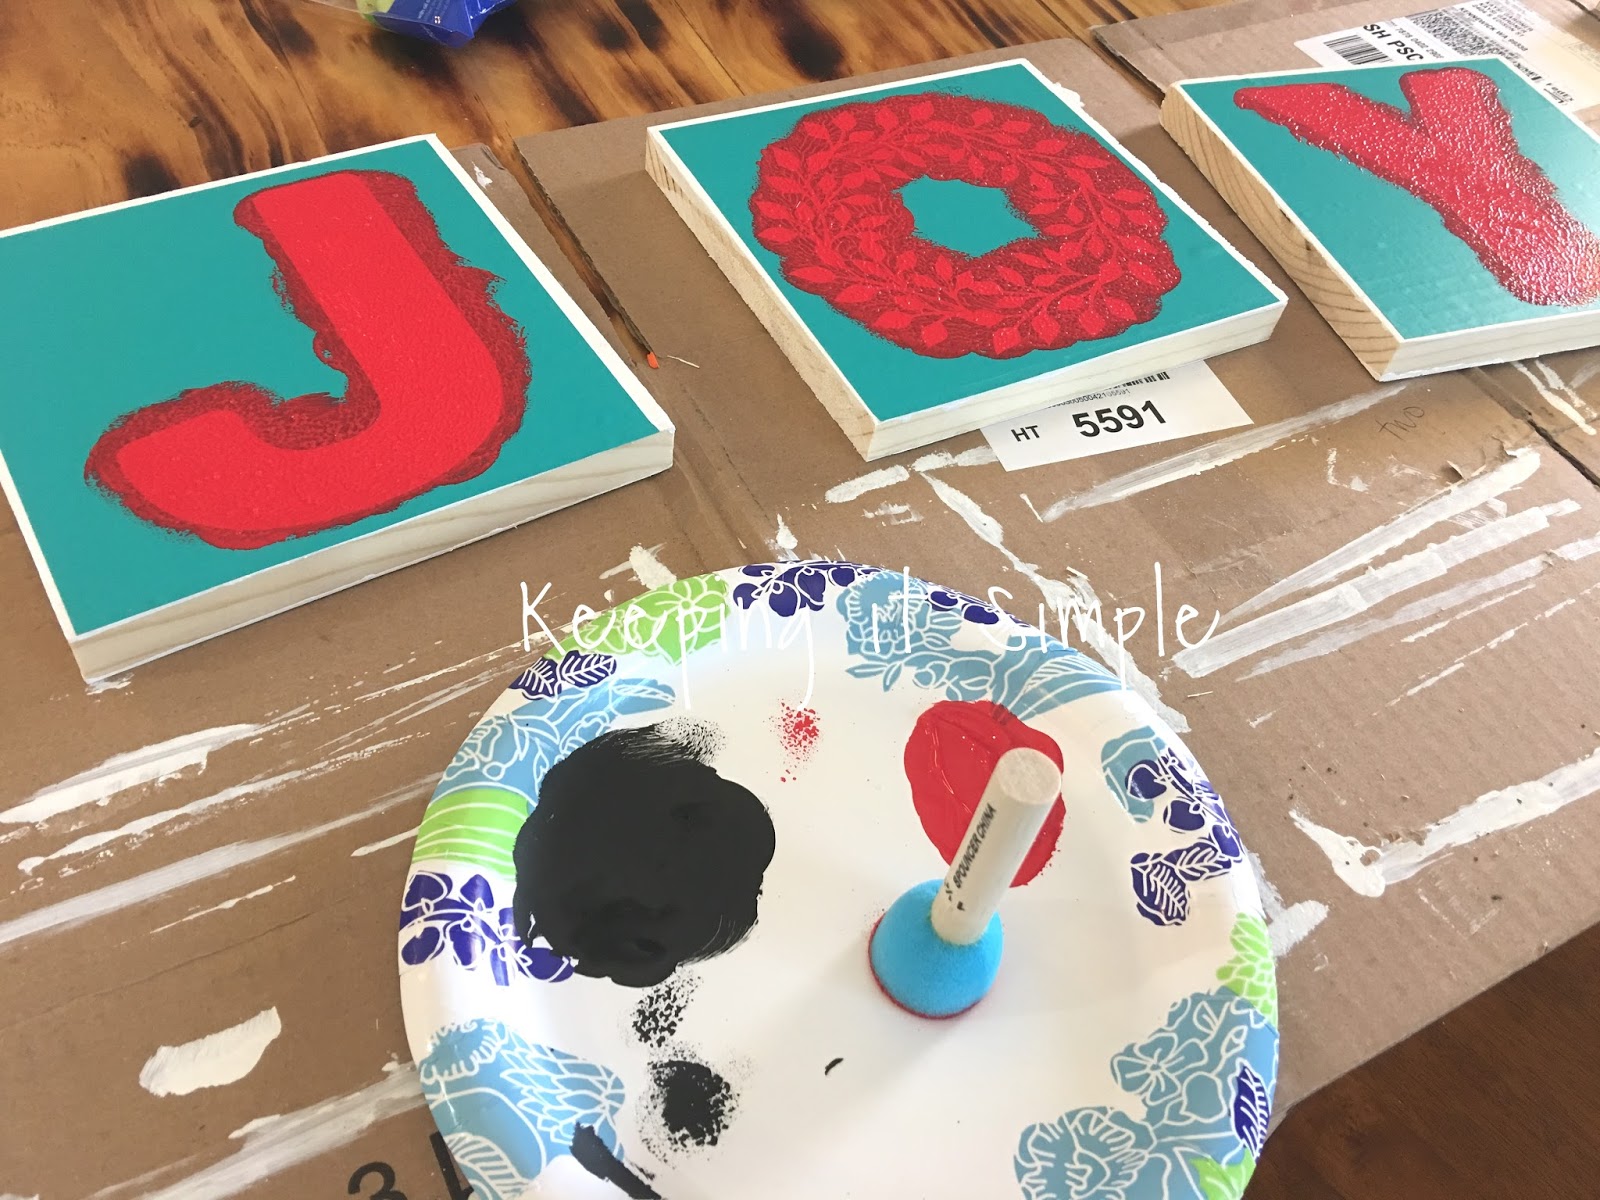
Here it is with the vinyl taken off, I did some touch ups after taking off the vinyl.
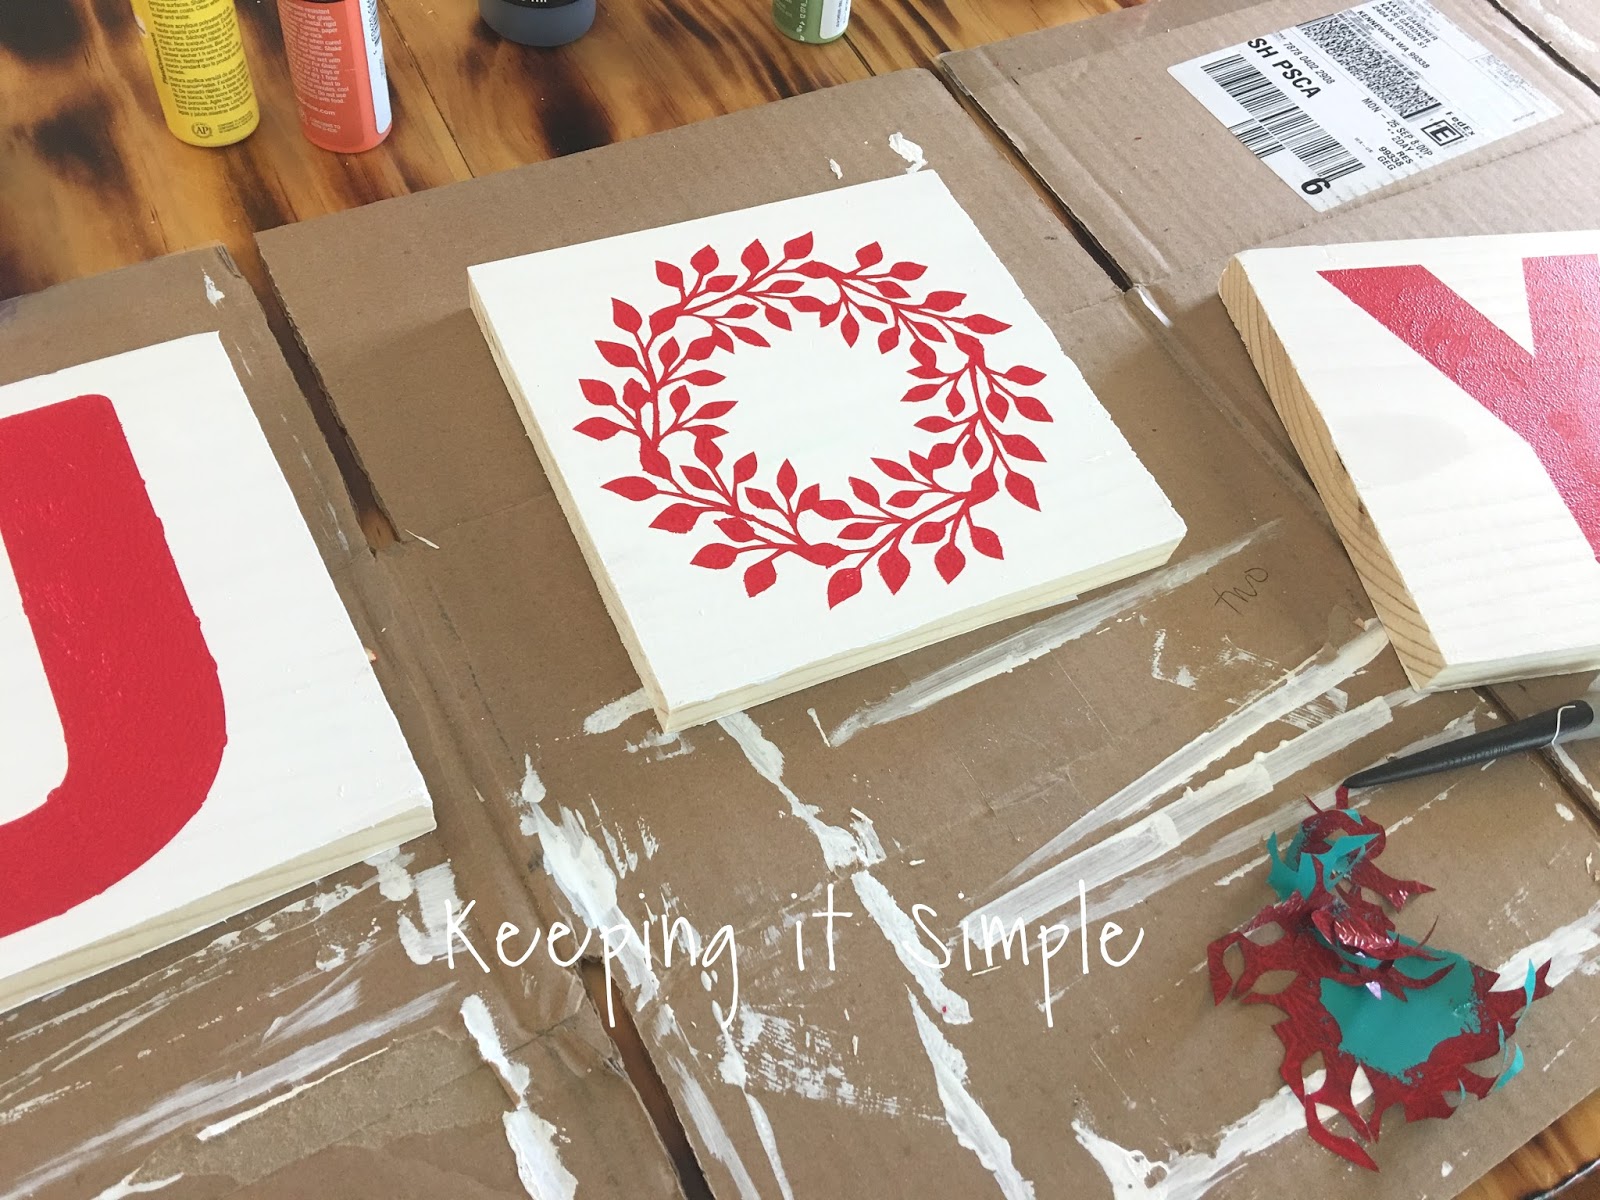
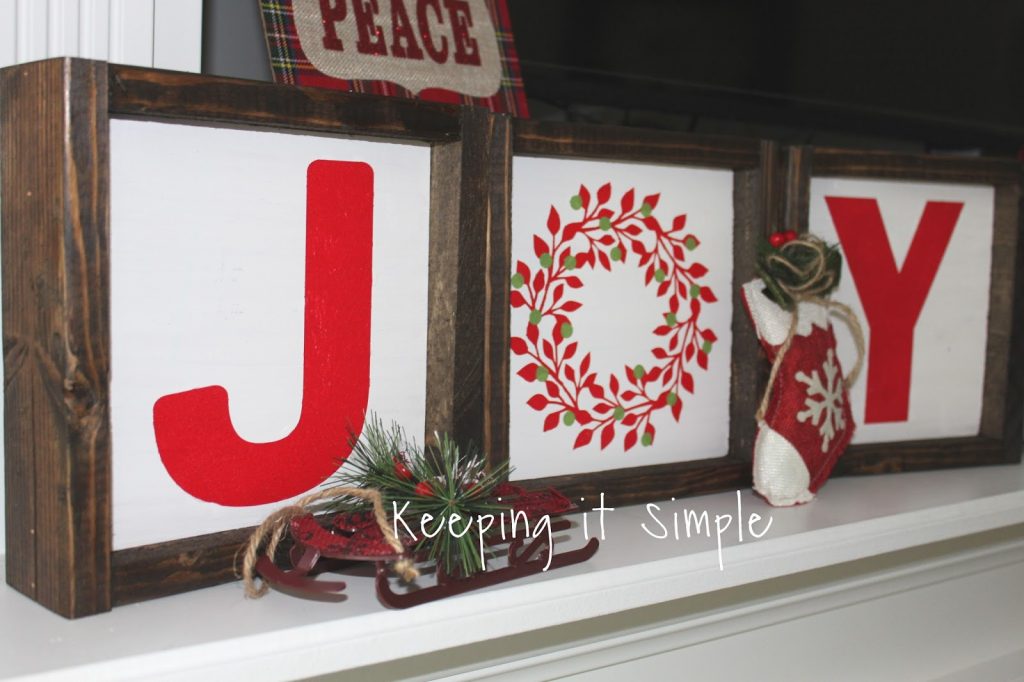
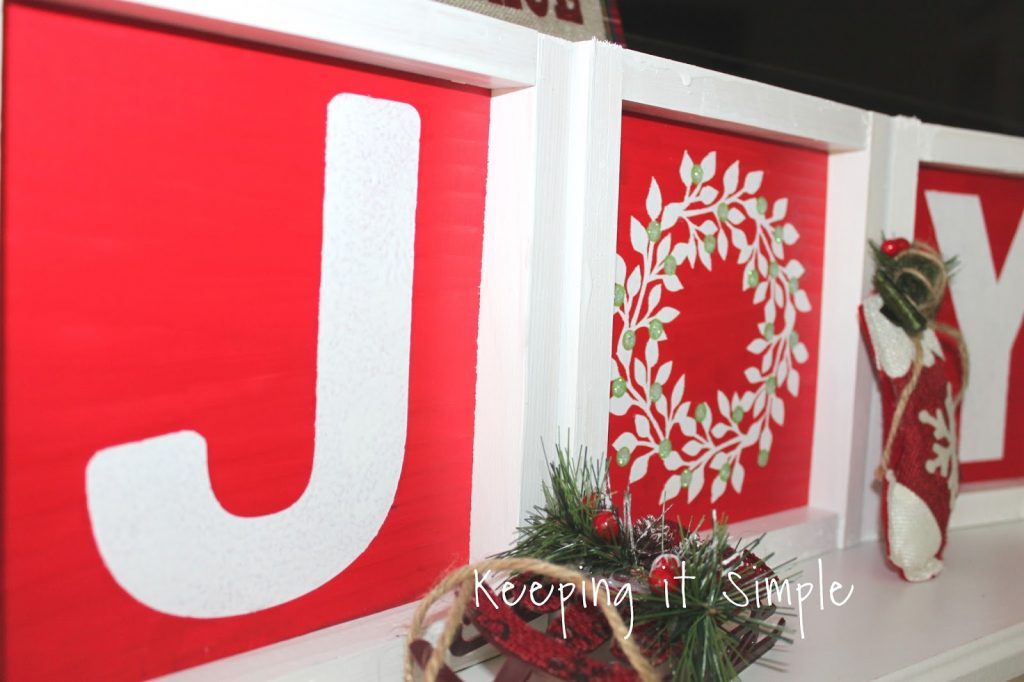
I then added some green berries onto the wreath.

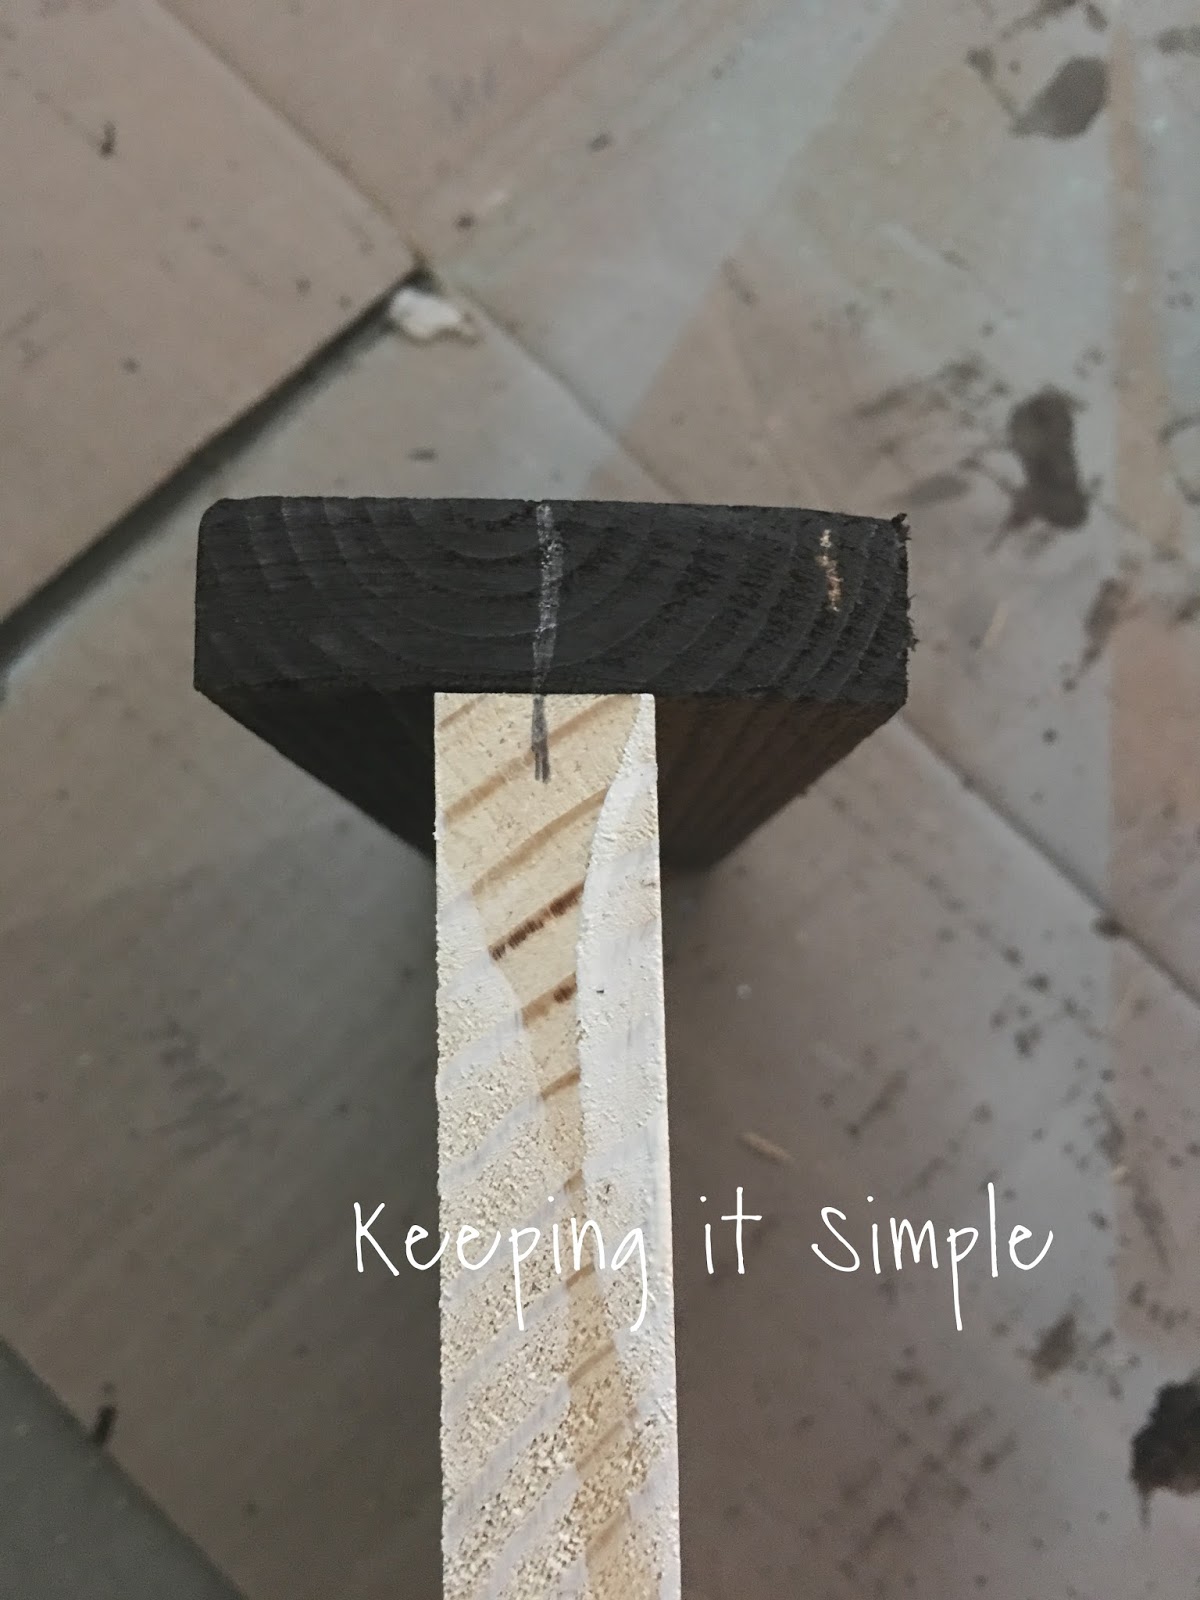
Now to put on the frame, since the frame goes on both sides, I had to measure the middle of the frame and the middle of the board. Then I nailed it in with a brad nailer I used 1 1/4″ nails.
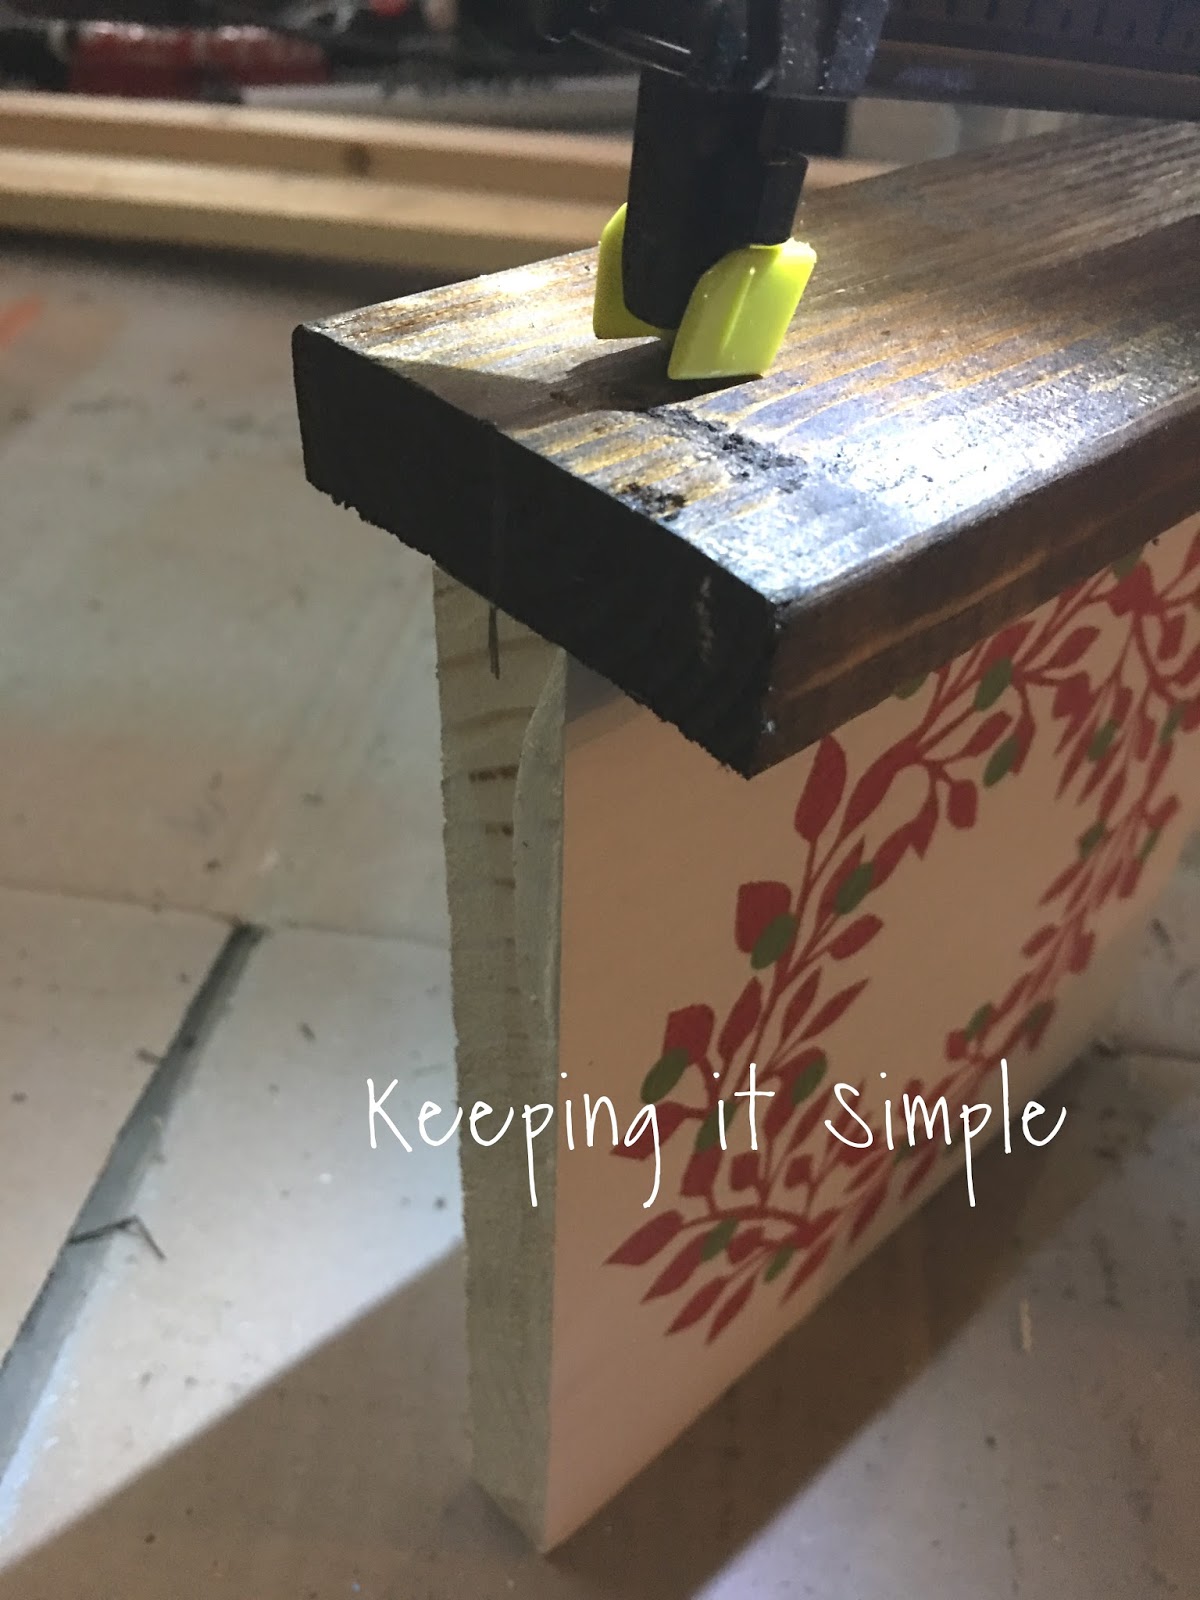
Here is the side view to see what I meant by lining up the middle. I then put the other three sides onto the frame, nailing it in the middle of the frame.
Here is a quick video to show the process of how I make these signs with vinyl.
And that it’s! These are super fun to make and it’s great that you can use them for two holidays!
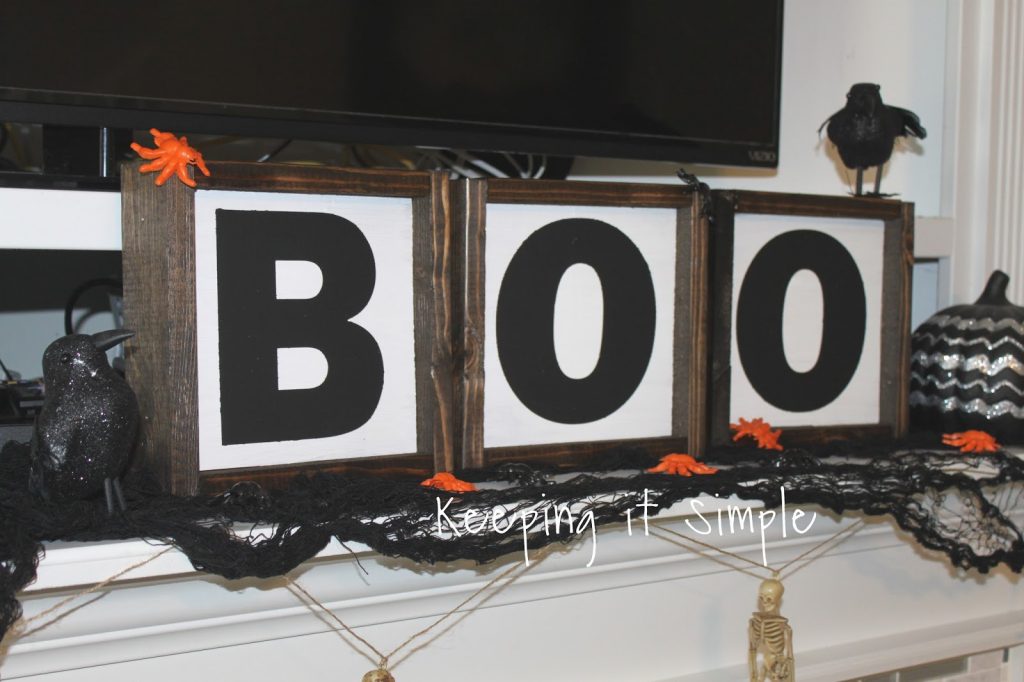
The Halloween ones are super spooky :).
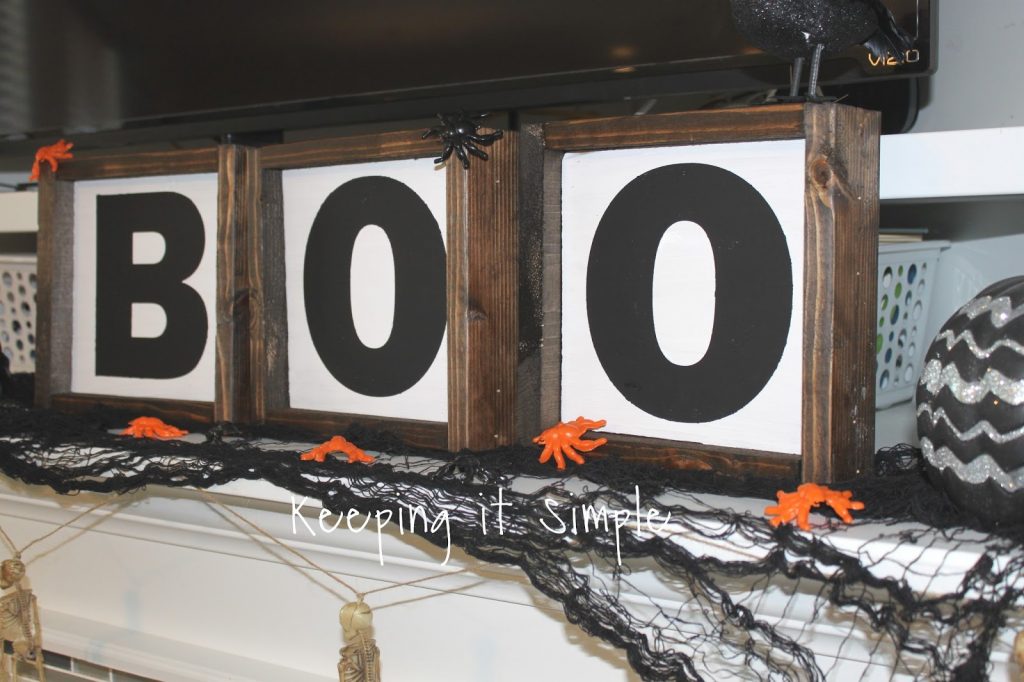
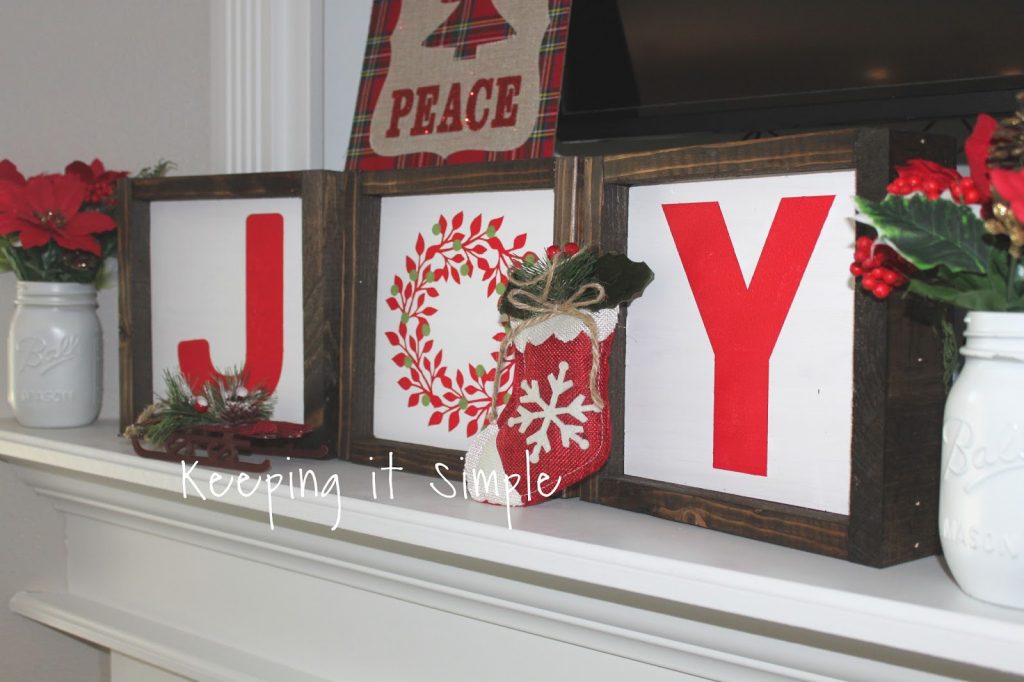
And here is the other side with JOY. I love how thick the frames are and how they look all put together.
Here is the other set that I made using white frames and the orange background for the BOO.
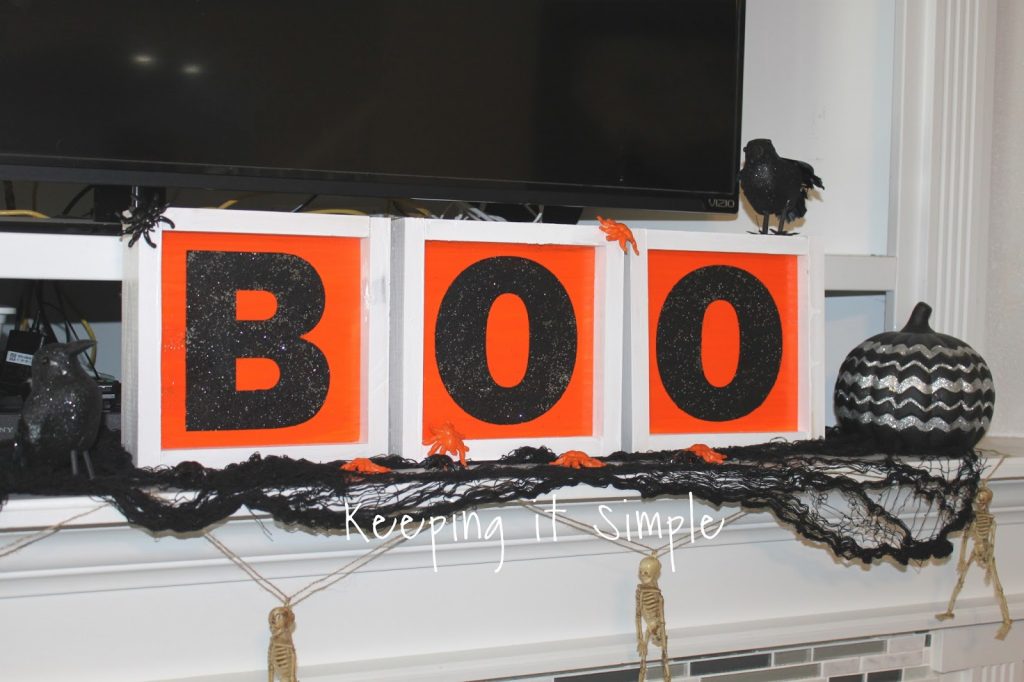
Here is a close up of black and silver glitter.
And here is the other side. I love the red with white letters.
It might be hard to tell but the green berries on the wreath are glittery too, because you can’t have too much glitter.
These reversible signs are a great idea! Less holiday storage–sign me up. Thanks for a great idea.