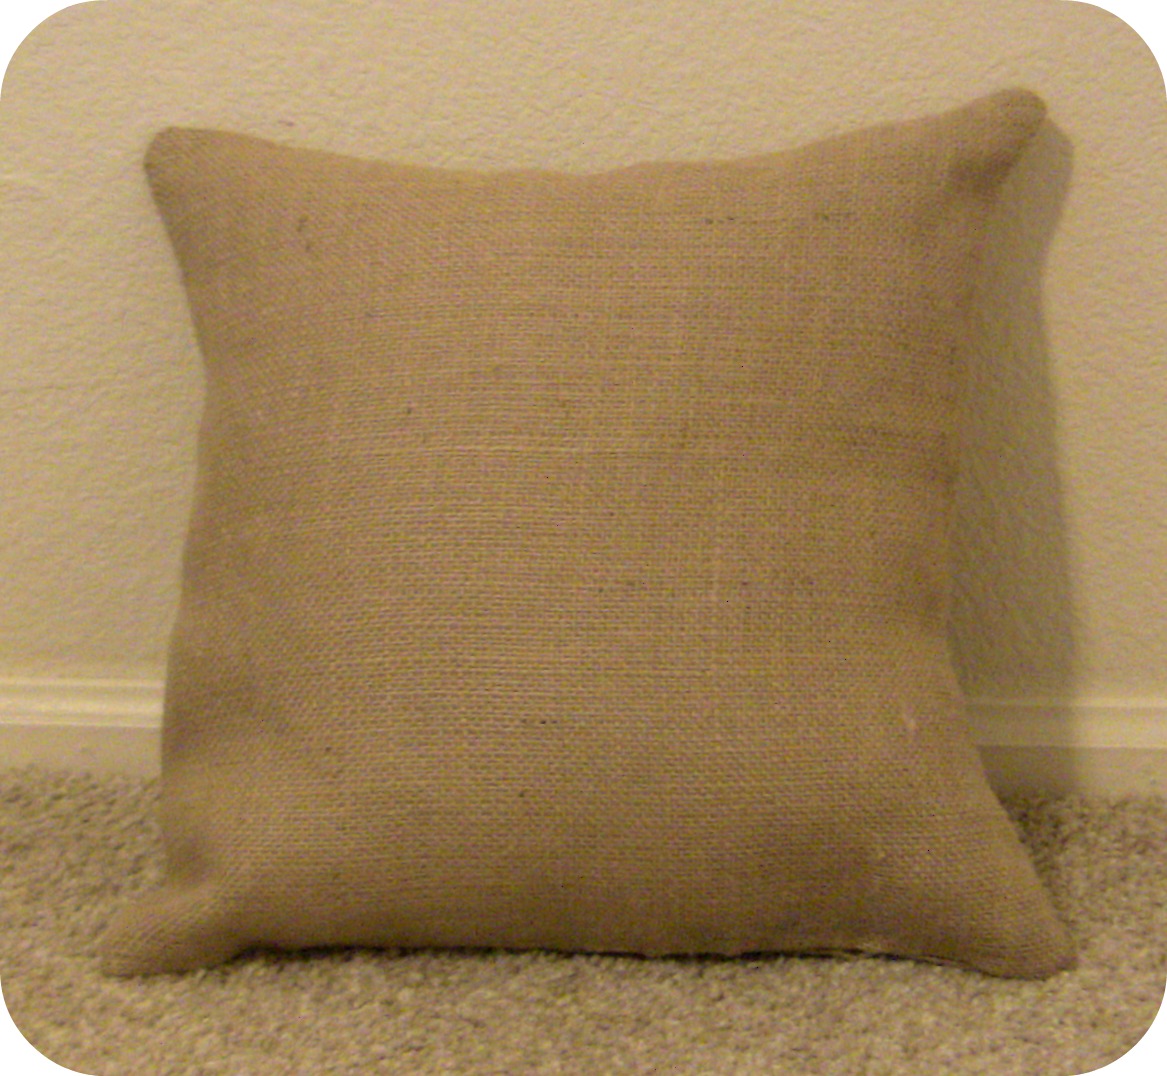
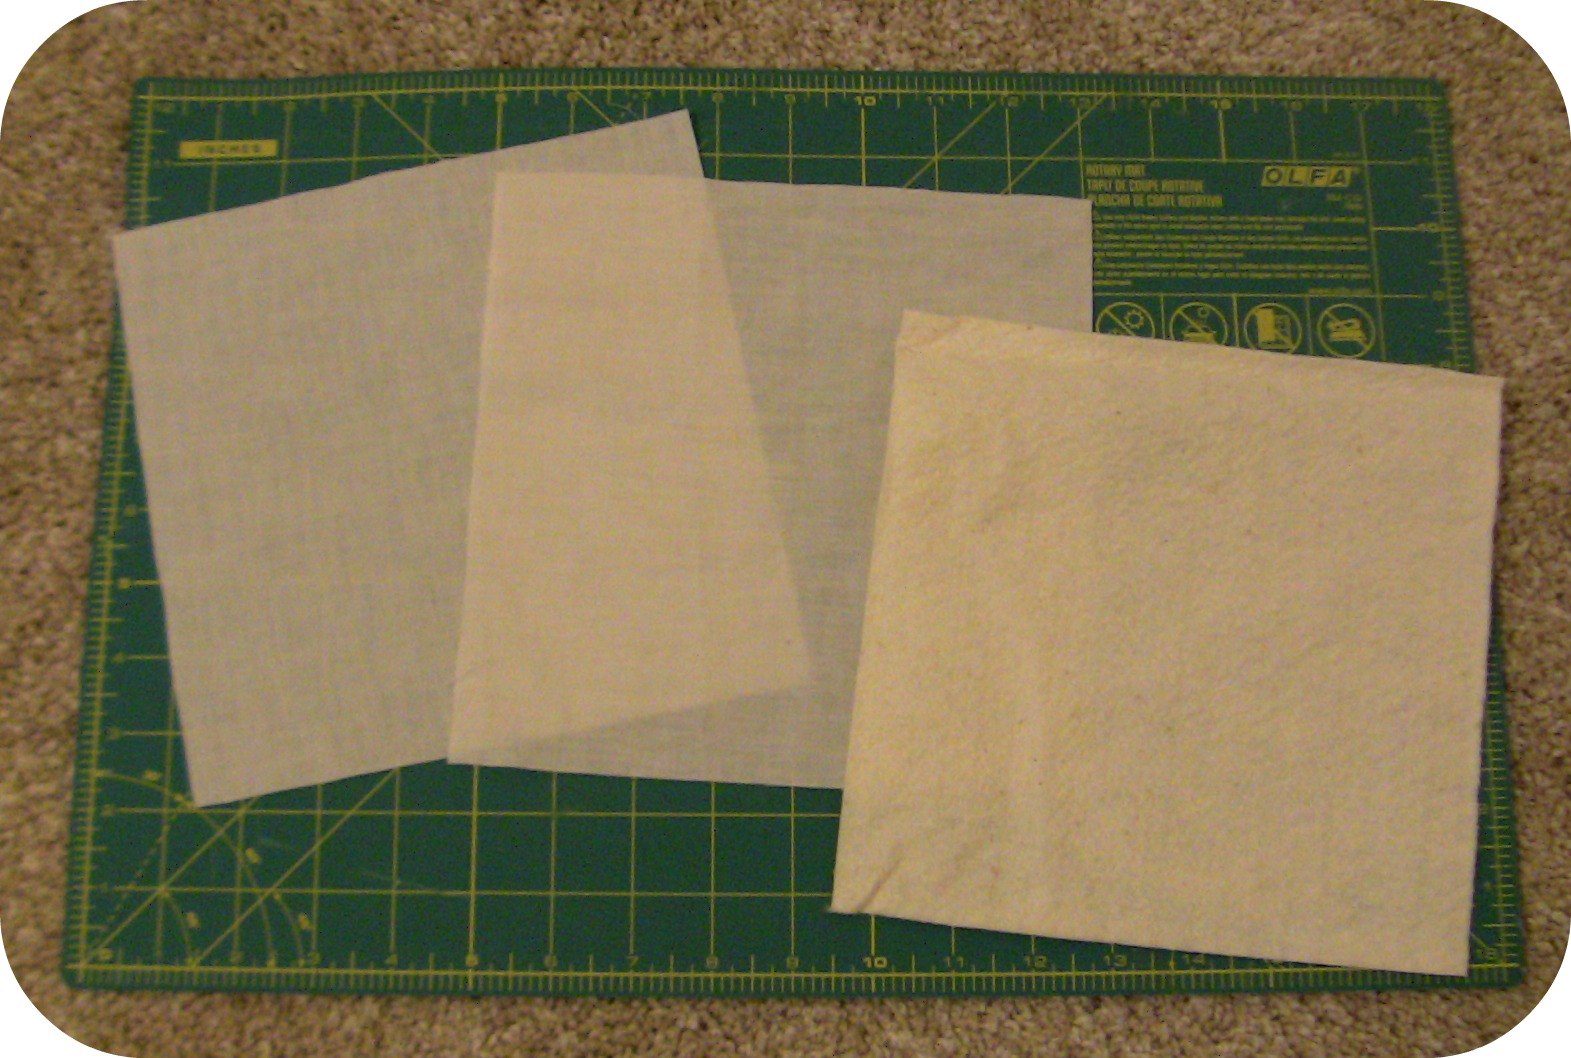
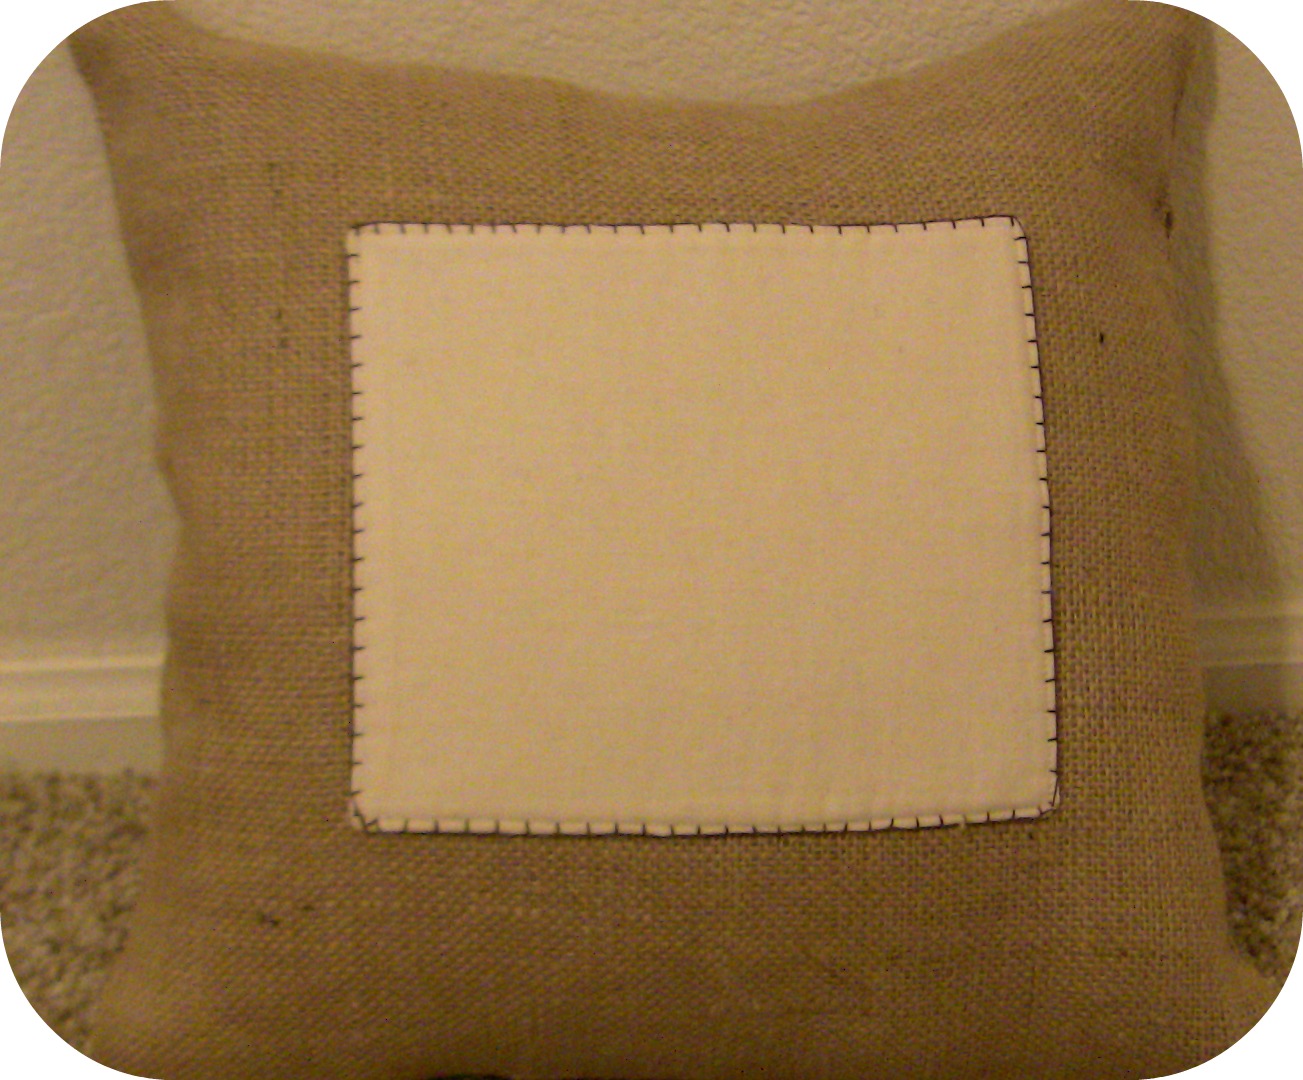
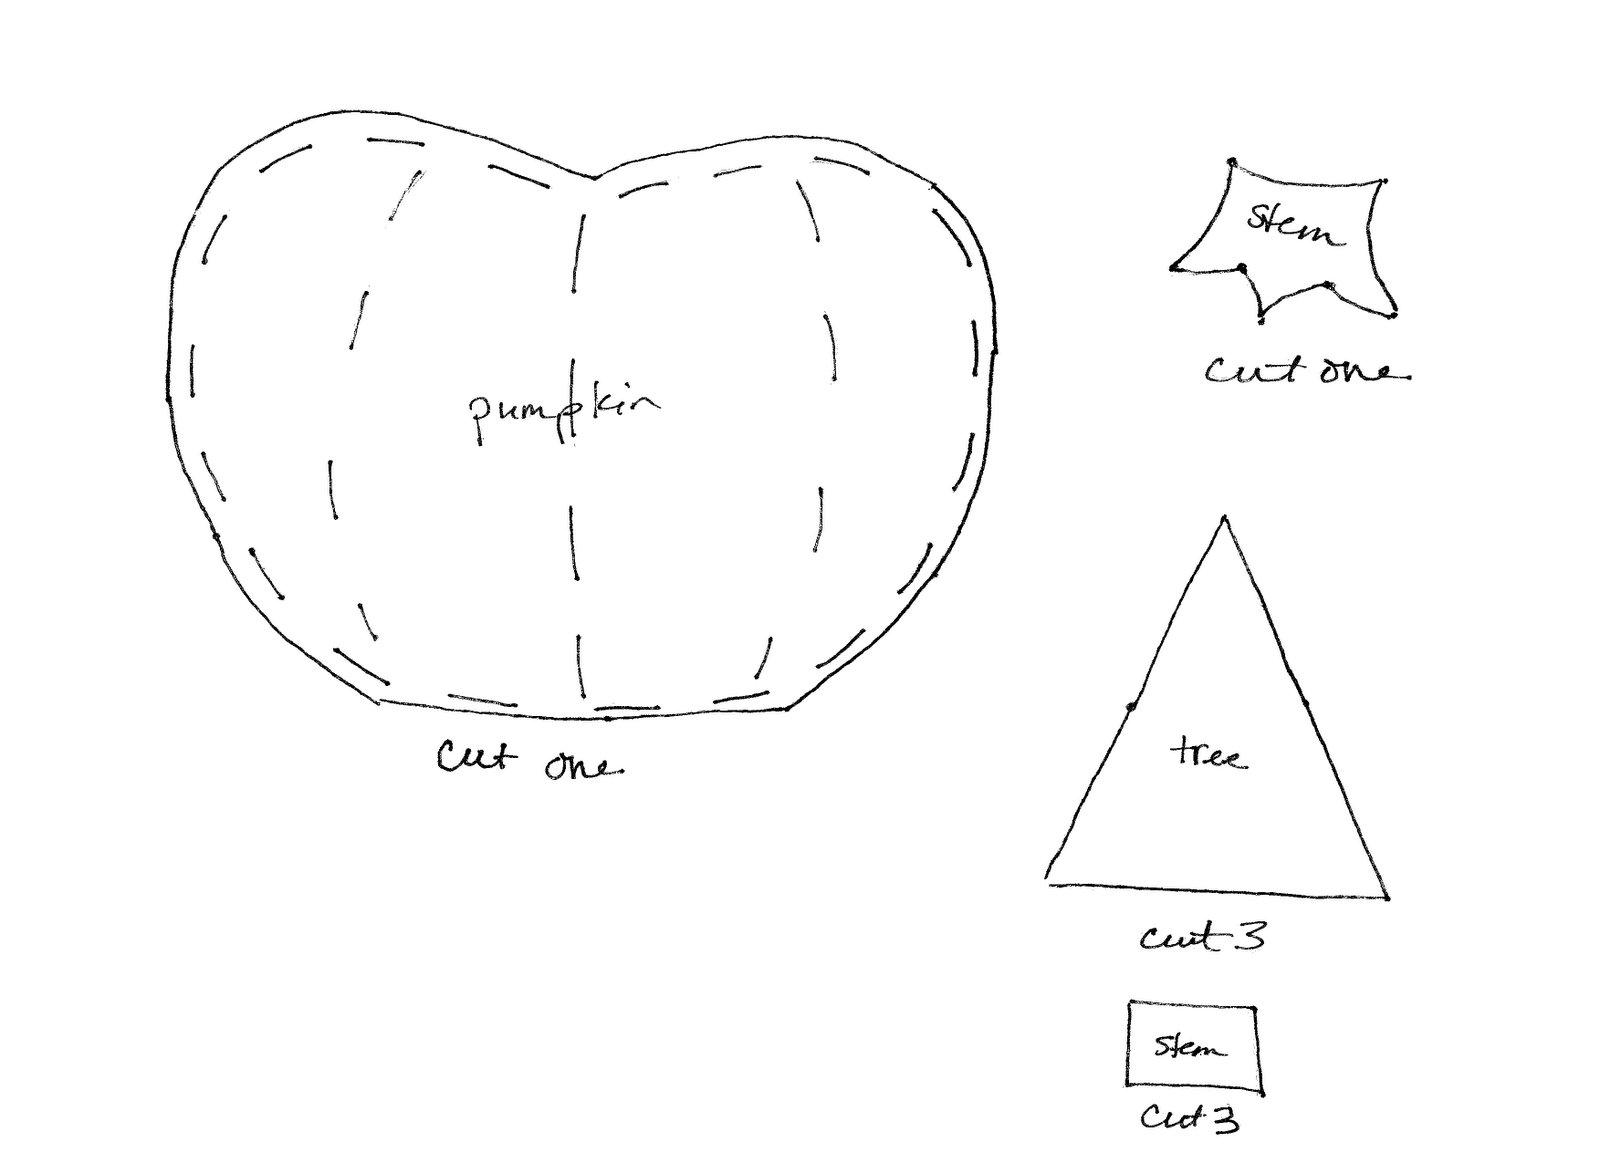
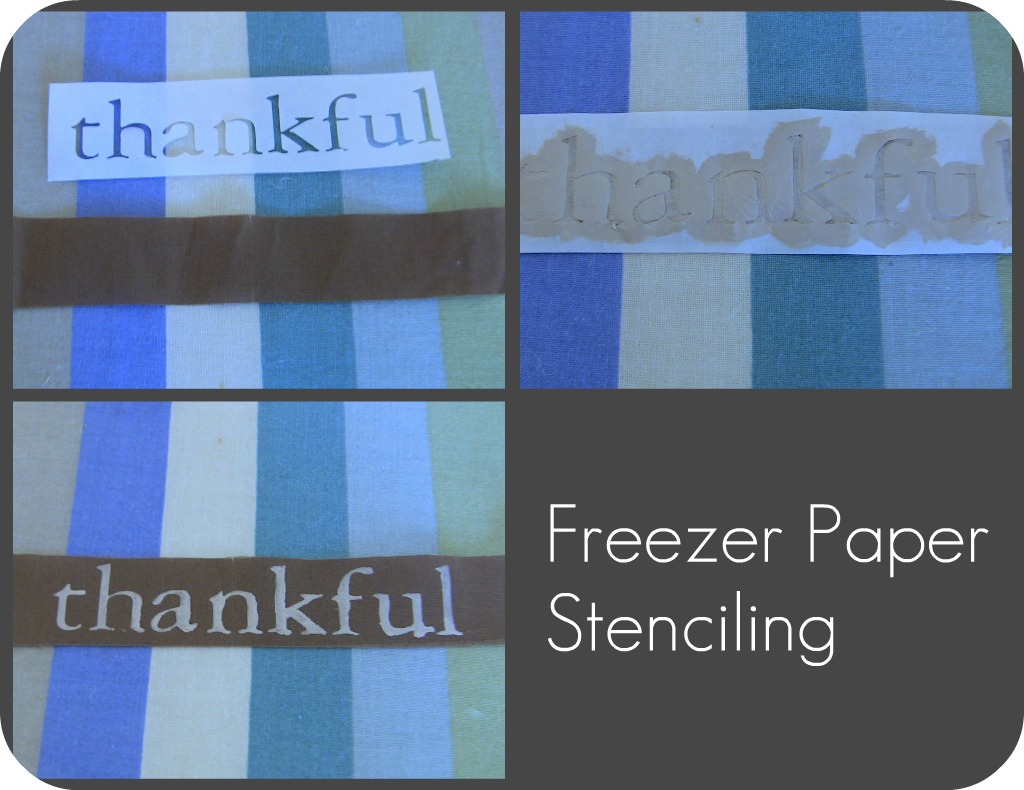
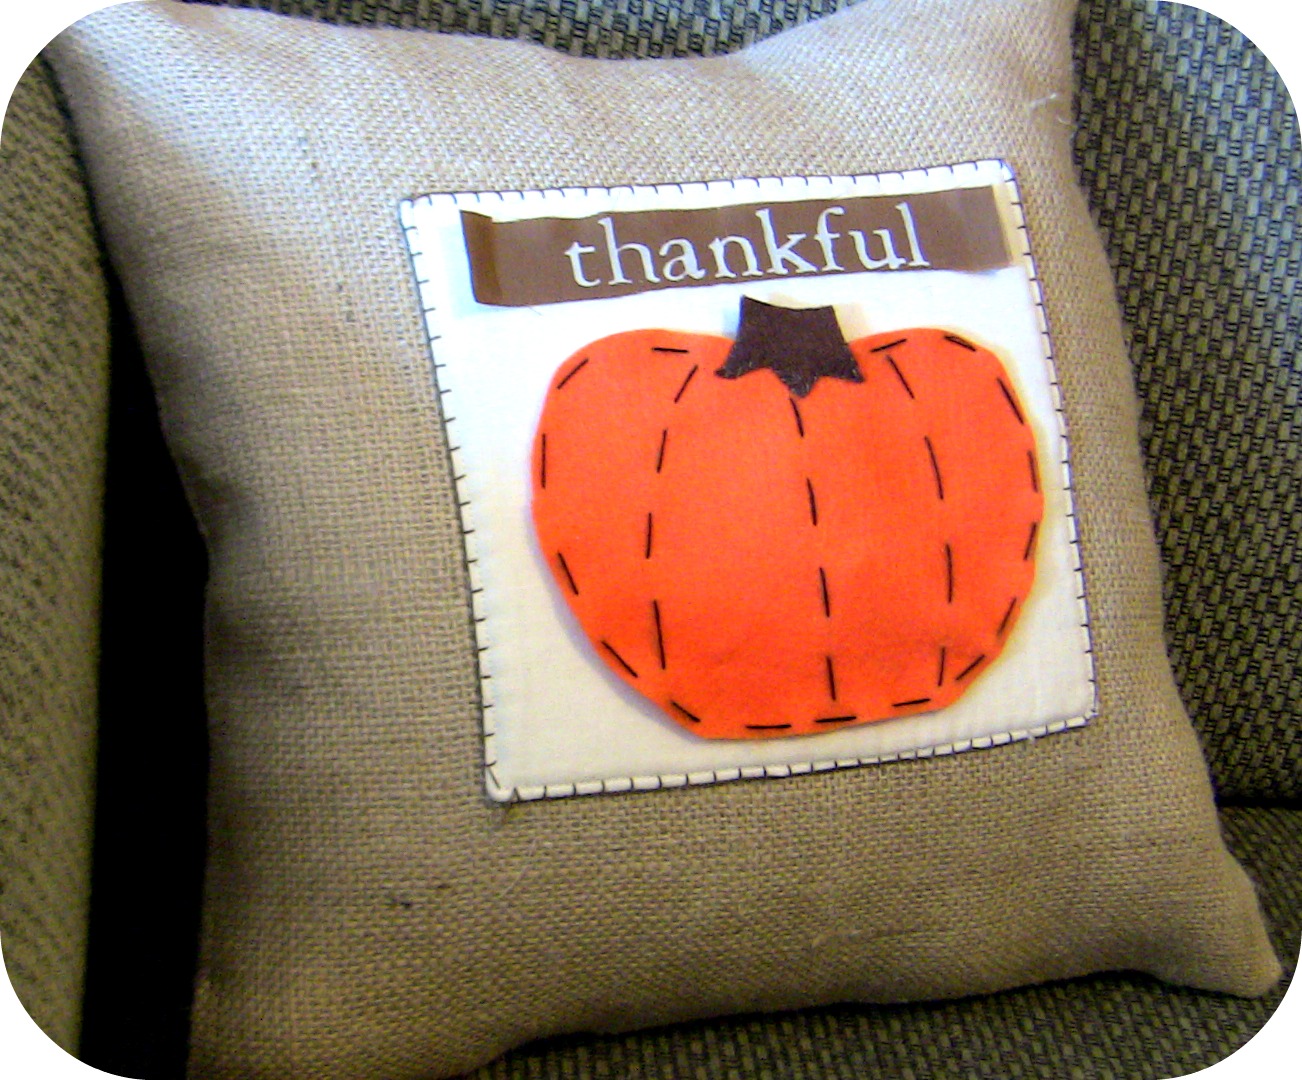
Supplies needed:1 pillow form, batting, or old pillowNeutral fabric to fit your pillow form (if sewing your own cover)- amount will vary2 rectangles of light colored fabric for background- amount will vary but a fat quarter should be plenty1 rectangle batting (Warm n Natural, etc)Basic sewing suppliesSewing MachinePatterns, fabric/felt, embellishments for seasonal accents, as desiredVelcroOptional: Paint/Freezer Paper/Xacto knife or craft cutterOkay, let’s get going:1. To make this work, you need a neutral pillow, or one with fabric that will go with all the seasons/holidays you want to decorate for. I sewed a burlap pillow cover for an old pillow I had in my closet, but this would be a great way to use a pillow with a small stain or unsightly design. If you need help sewing your own pillow cover, here are a few tutorials that will walk you through it: Envelope style- http://raegunwear.blogspot.com/2011/06/tutorial-quick-envelope-pillow-case.html Zippered- http://www.theshabbychiccottage.net/2011/02/zippered-pillow-cover-tutorial.html
Guest Post: Occasionally Crafty
Hi everyone, I’m Valerie from Occasionally Crafty! I am super excited to be here on Keeping it Simple today- Kaysi’s blog is one of the first craft blogs I ever started reading. So many of her projects have inspired me over the past few years, so I am honored to be her guest today.
At Occasionally Crafty, I like to make simple home decor, cute clothes for my kiddos, and fun seasonal crafts.
Today, I have something I think (hope) you’re going to love! I love to decorate for different holidays and seasons. I used to just do Christmas, but with all the inspiration in blog-land, I decided I HAD to get some decorations for all the other fun times of the year! I’ve been doing it for the past year and a half now. I especially love Pillows. There are so many cute pillows out there, and I want to make all of them! The only problem is, all those decorations take up a lot of space- right? So I got to thinking- what if you could just use ONE pillow to decorate for all the holidays and seasons? My mind got spinning, and I got creating. Here is what I came up with: A Pillow for All Seasons.
That’s right- these are all pictures of the same pillow. You make (or reuse) one pillow, and only have to store the decorations! Want one of your own? Here’s how to make one:
2. Next we will sew the background for our seasonal accents. Cut two squares or rectangles to fit in the center of your pillowcase front, adding a half inch all around for a seam allowance. Mine were 8 in x 7 in. Also, cut one rectangle with the same dimensions from your batting.
3. Line up your fabric rectangles right sides together, then place the batting at the bottom. Sew around all four edges, leaving a few inches open to turn right side out. Before turning, clip corners.
Turn right side out. Your batting should now be in the middle. Poke out corners with a crochet hook or something similar, then press. Topstitch around your square, making sure to close the opening you left.
4. Attach your completed background to your pillow. Since we’re “keeping it simple” here, fabric glue or hot glue will work just fine. Make sure you use plenty and give it time to dry. I chose to attach mine using a blanket stitch (shown here) just to give it a little extra decoration, but it’s totally up to you!
5. Now you’re ready to make and attach embellishments. I am giving directions to make one large embellishment and a word strip. Adjust for your own personal style.
– Decide where your embellishments will go. Attach velcro to your background square. I put one piece, rough side up, on each side of the top for wordstrips, then one large one in the lower center of my square for an embellishment. Unless your pillow is going to be thrown around your house, this should suffice to keep any embellishments in place. The soft side will go on your embellishments.
6. Now, let your imagination run wild! You can make birds or flowers for spring, stars for patriotic days, pumpkins, Christmas trees, hearts for Valentine’s day, a shamrock for St. Patty’s- you get the picture! You can use felt or fabric, ribbon or found materials- whatever you can imagine, you can create. To get you started, I’m including a pattern for a pumpkin and a Christmas tree. I used craft felt and embroidery thread for my pumpkin, and I used scrap fabric (with a little fray-check on the edges) for the Christmas trees. They’re held together with good old fabric glue. To use, click on the image below to get to the full-size image. Then right click and save to your computer.
7. Finish up by creating seasonal word strips, if you so desire. I cut one inch wide strips to fit my square (mine were about 6 1/2 inches) out of some scrap fabric, then used freezer paper stenciling to create my words. If you need a little help with that, there’s a tutorial here that will guide you along.
Now, all you have to store is your decorations. My clutter-prone self is happy.
I’ve got this set ready for my fall decorating. I can’t wait!
Well, there you have it. I hope my directions were clear enough- please feel free to shoot off an email to me if you have any questions- occasionallycrafty (at) yahoo (dot) com. And, of course, I’d love to see you over at my blog or on my Facebook page anytime! Thanks for reading- now go get creating!
That is AWESOME!! I need to make one of these, thanks so much Valerie for the great idea and tutorial!!
Paul and Celeste
Oh, I love this! Living in an apartment, this is something I could actually DO and keep around our tiny space. Thanks for the inspiration!
Heather
Wonderful idea! I am always looking to do more with less!! http://bellesbazaar-heather.blogspot.com/
Ami Paulsen
This is awesome! I'm so excited to make one!
Tina
Thanks for including this guest post! It is genius!
laura@imnotatrophywife.com
Love this! New follower now.laura
Andrea
Awesome!
It is on my to do list now!!!