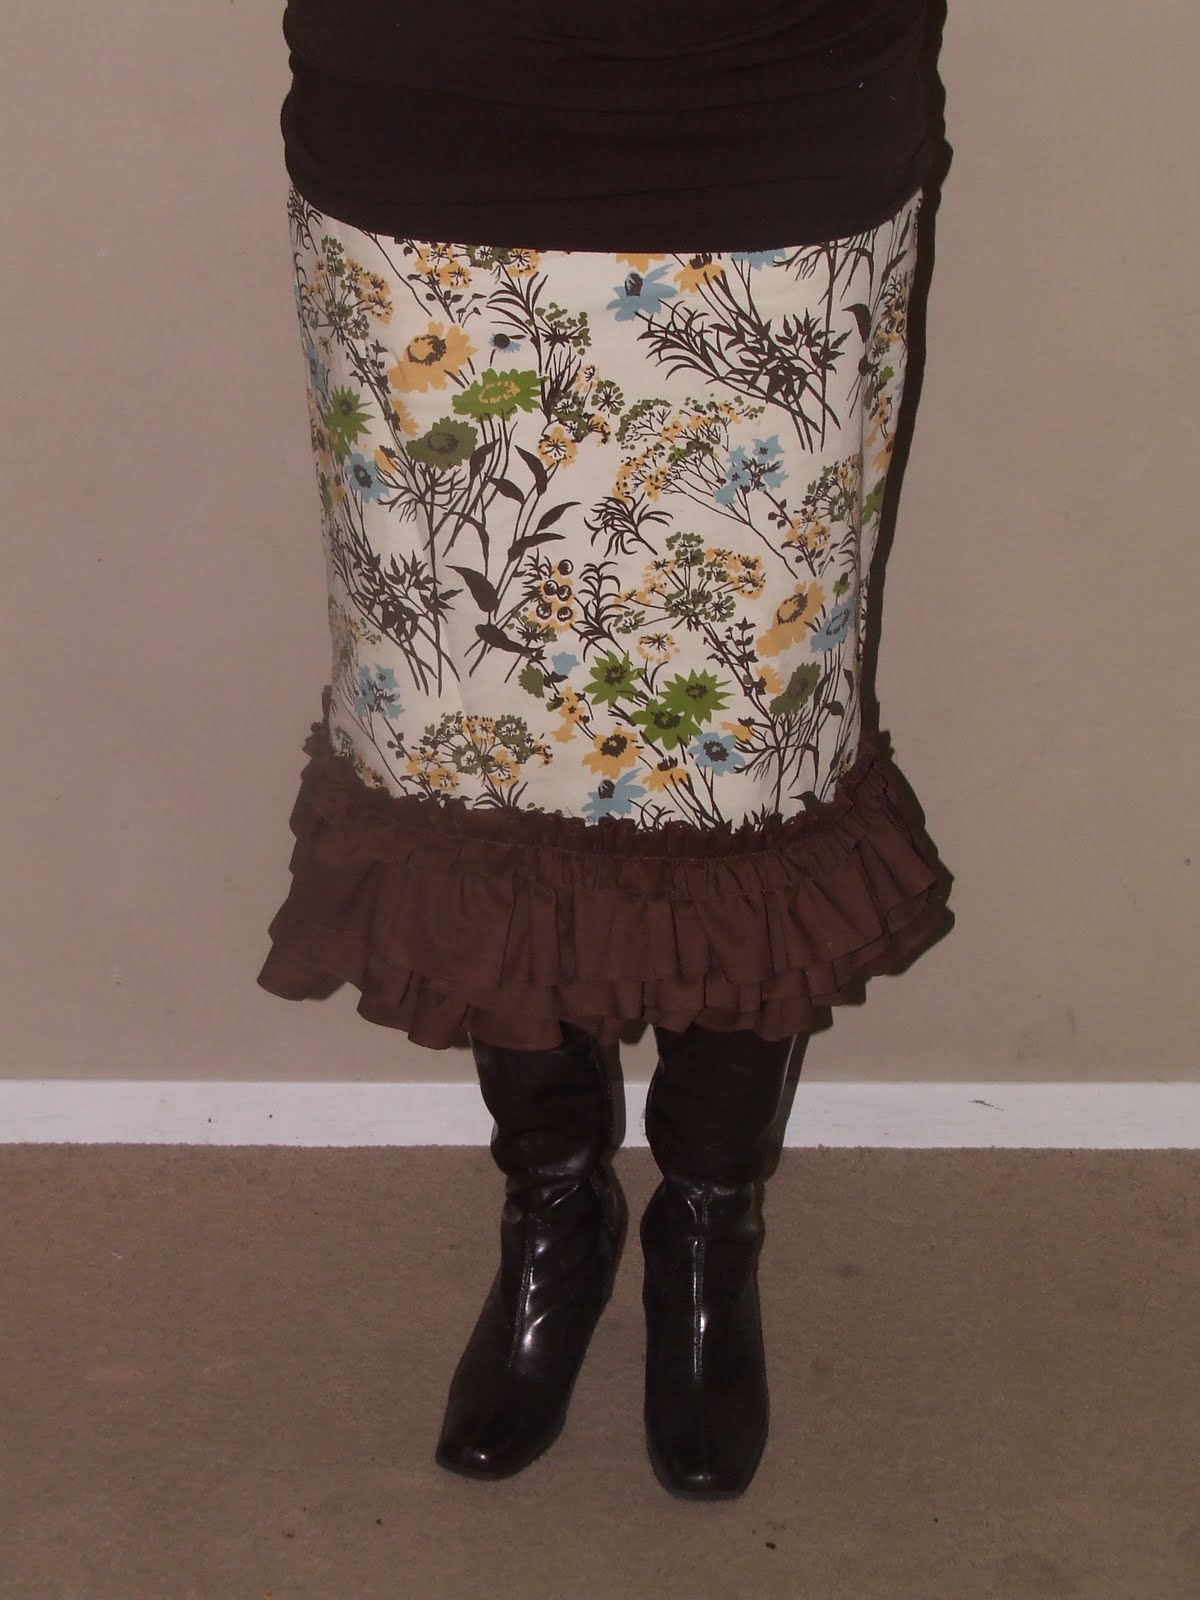
When I saw this skirt, I just fell in love with it. I knew that I wanted to make one like it. So that’s what I did :).

One day I was shopping at Target and found this round tablecloth for $3.75. It actually matches our kitchen perfectly and fits our table, but when I put it on the table, I realized that we are not tablecloth kinds of people. Just a little too fancy and formal for my liking :). So I used it for the skirt.
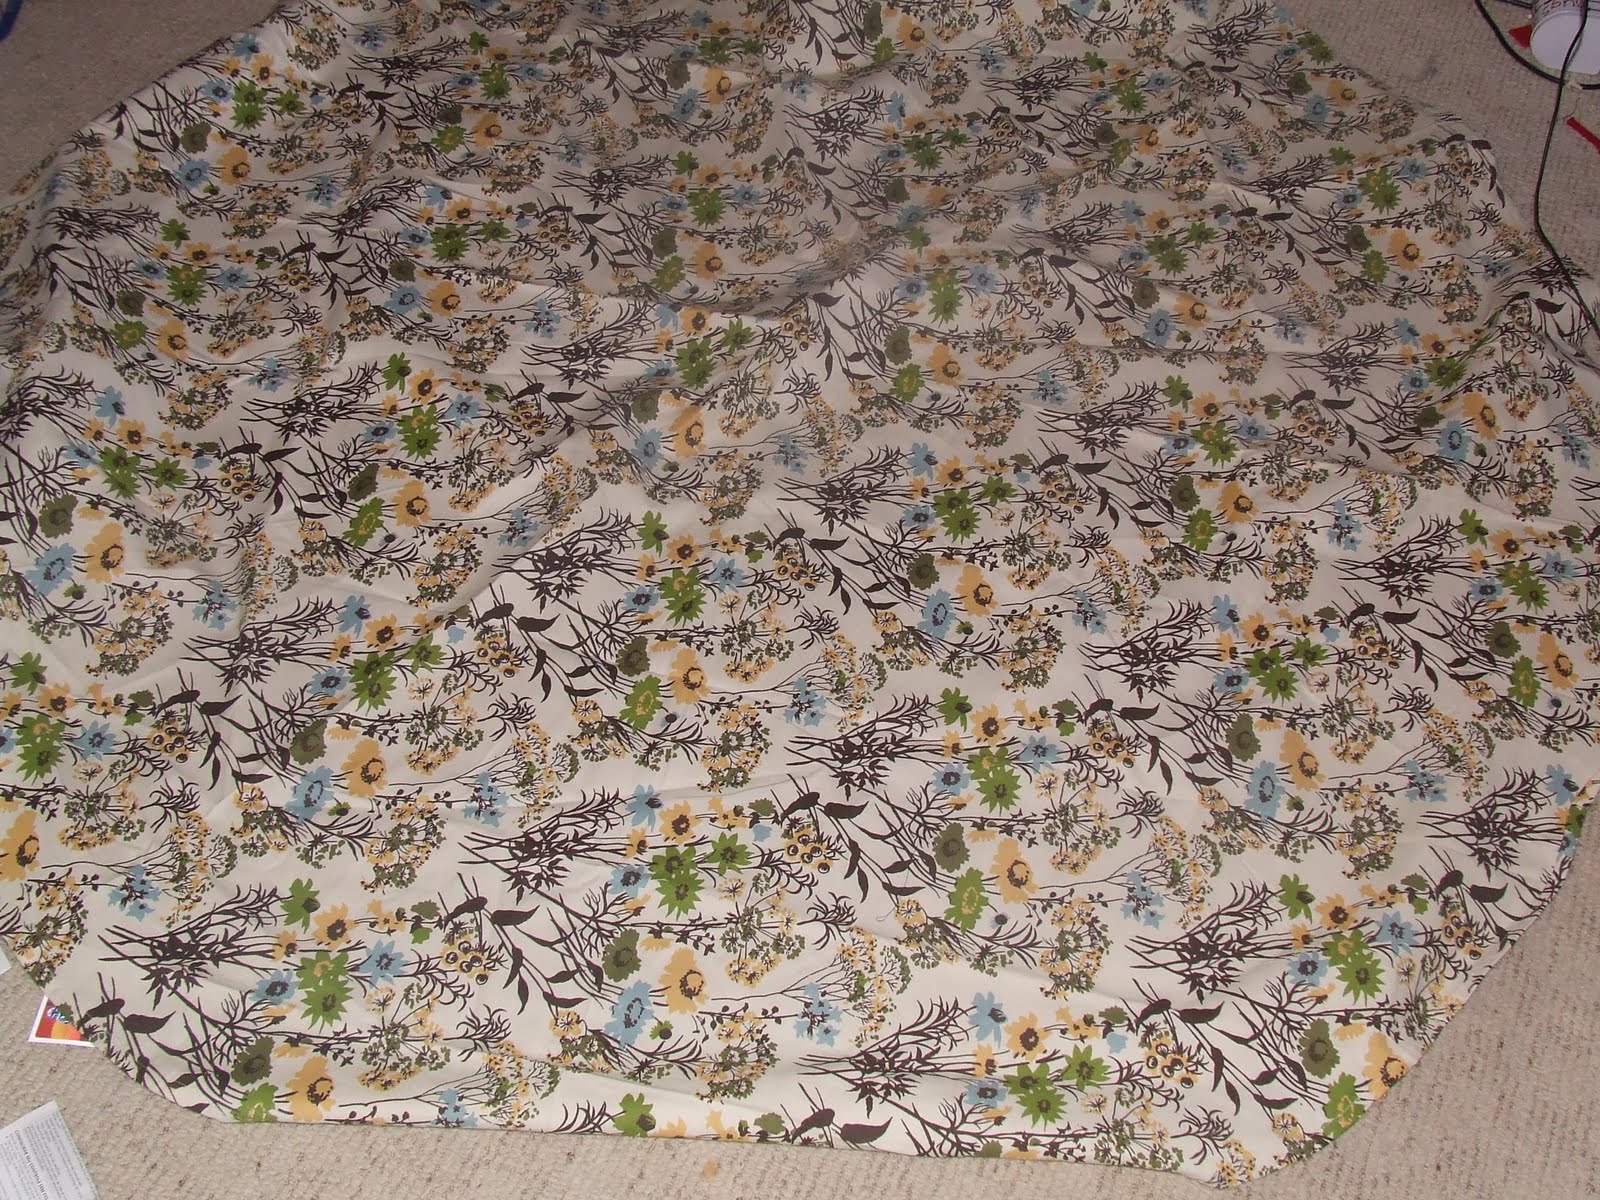
This is how I made it:
1) I cut two pieces of fabric. I wanted the skirt to be straight, so I just made a rectangle 20″ wide and 26″ long.

2)Then I cut the strips for the ruffles. I cut 6 strips 4″x44″ and two strips 2″x44″
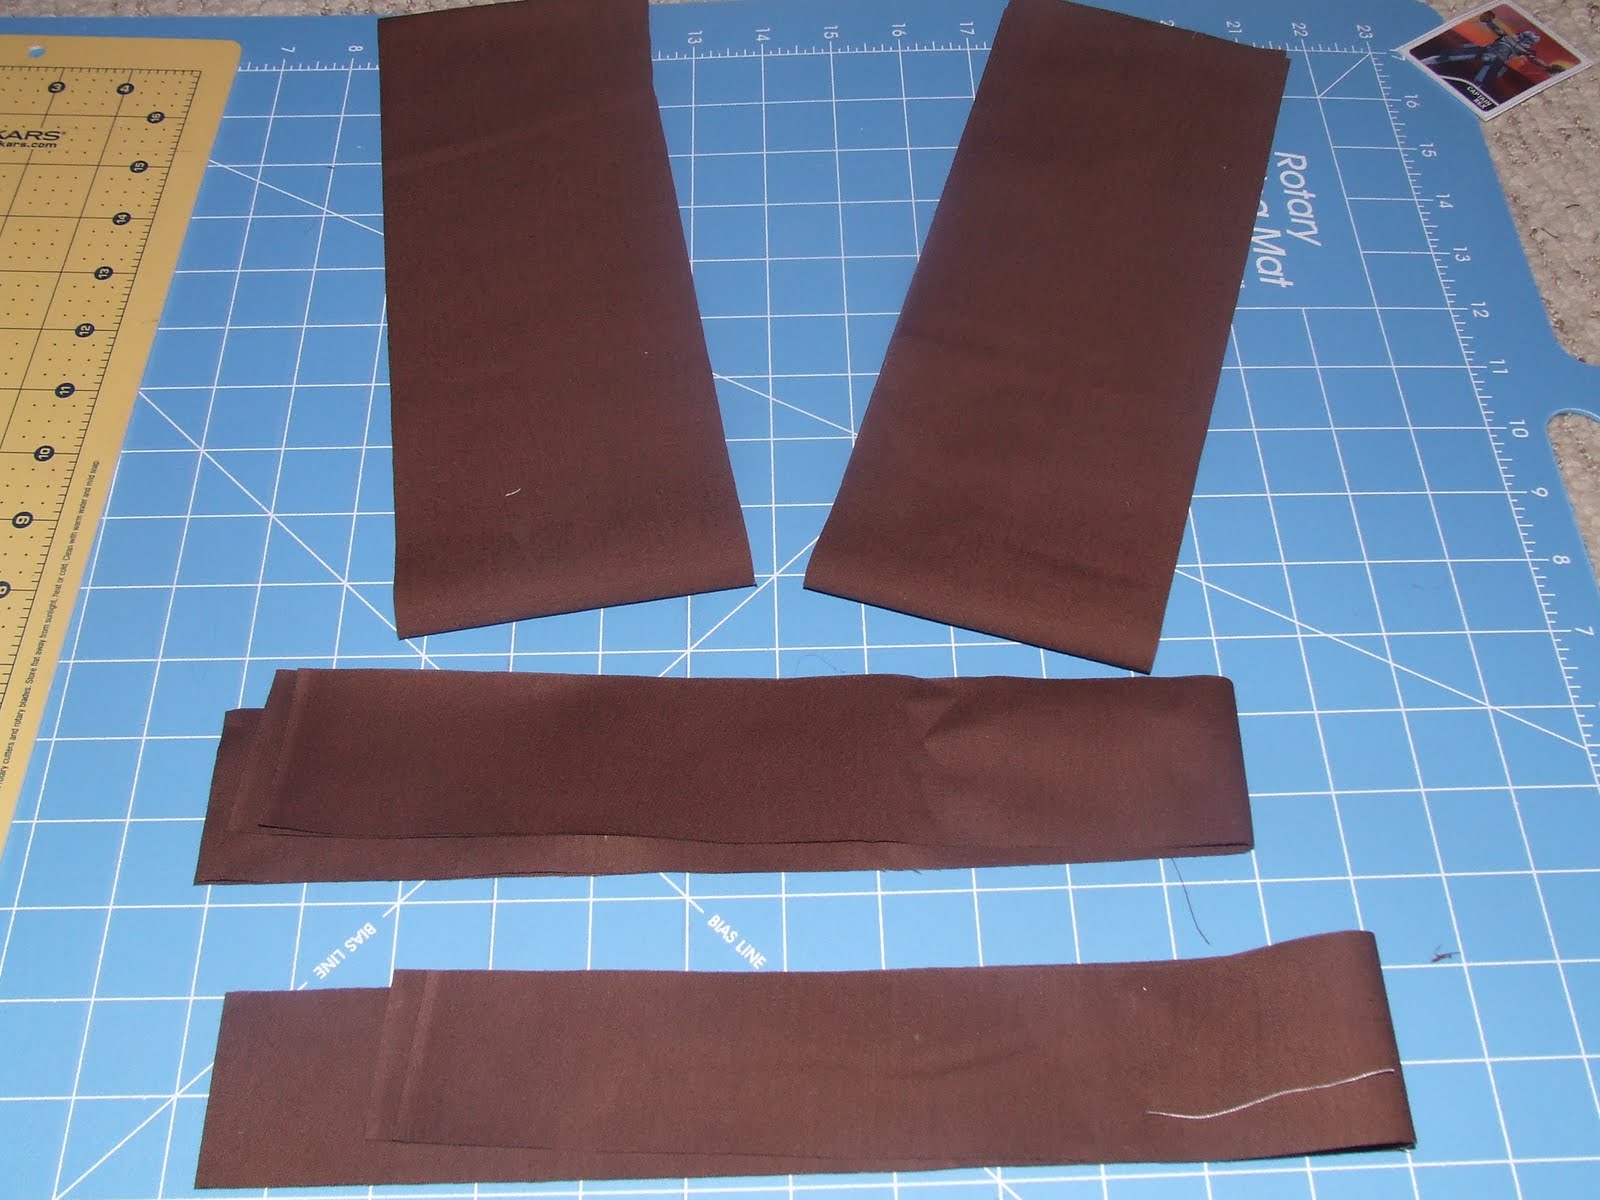
3) I hemmed the bottom of all 6 of the strips
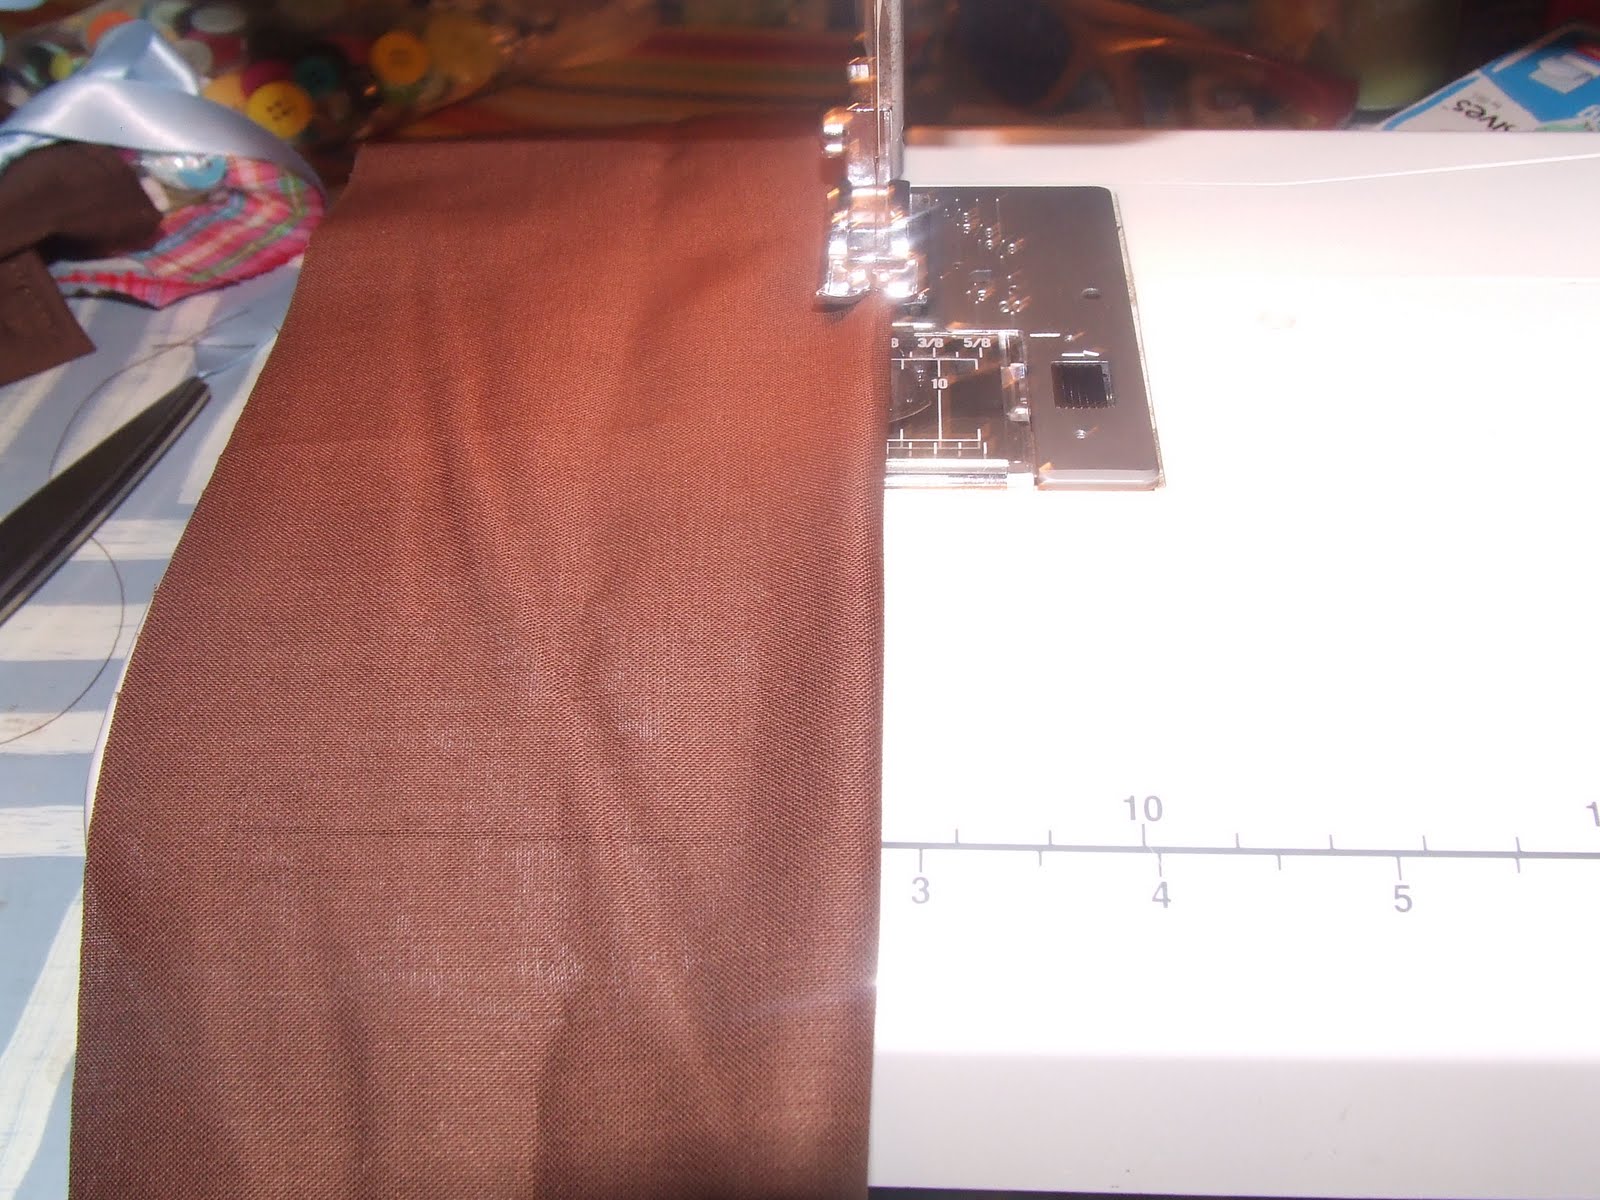
4) Then I sewed a straight stitch on the other end for the ruffle. I used my longest length for the stitch

5) I pulled the thread through the strip and made the ruffle. I then pinned and sewed the ruffle onto the bottom of the fabric.
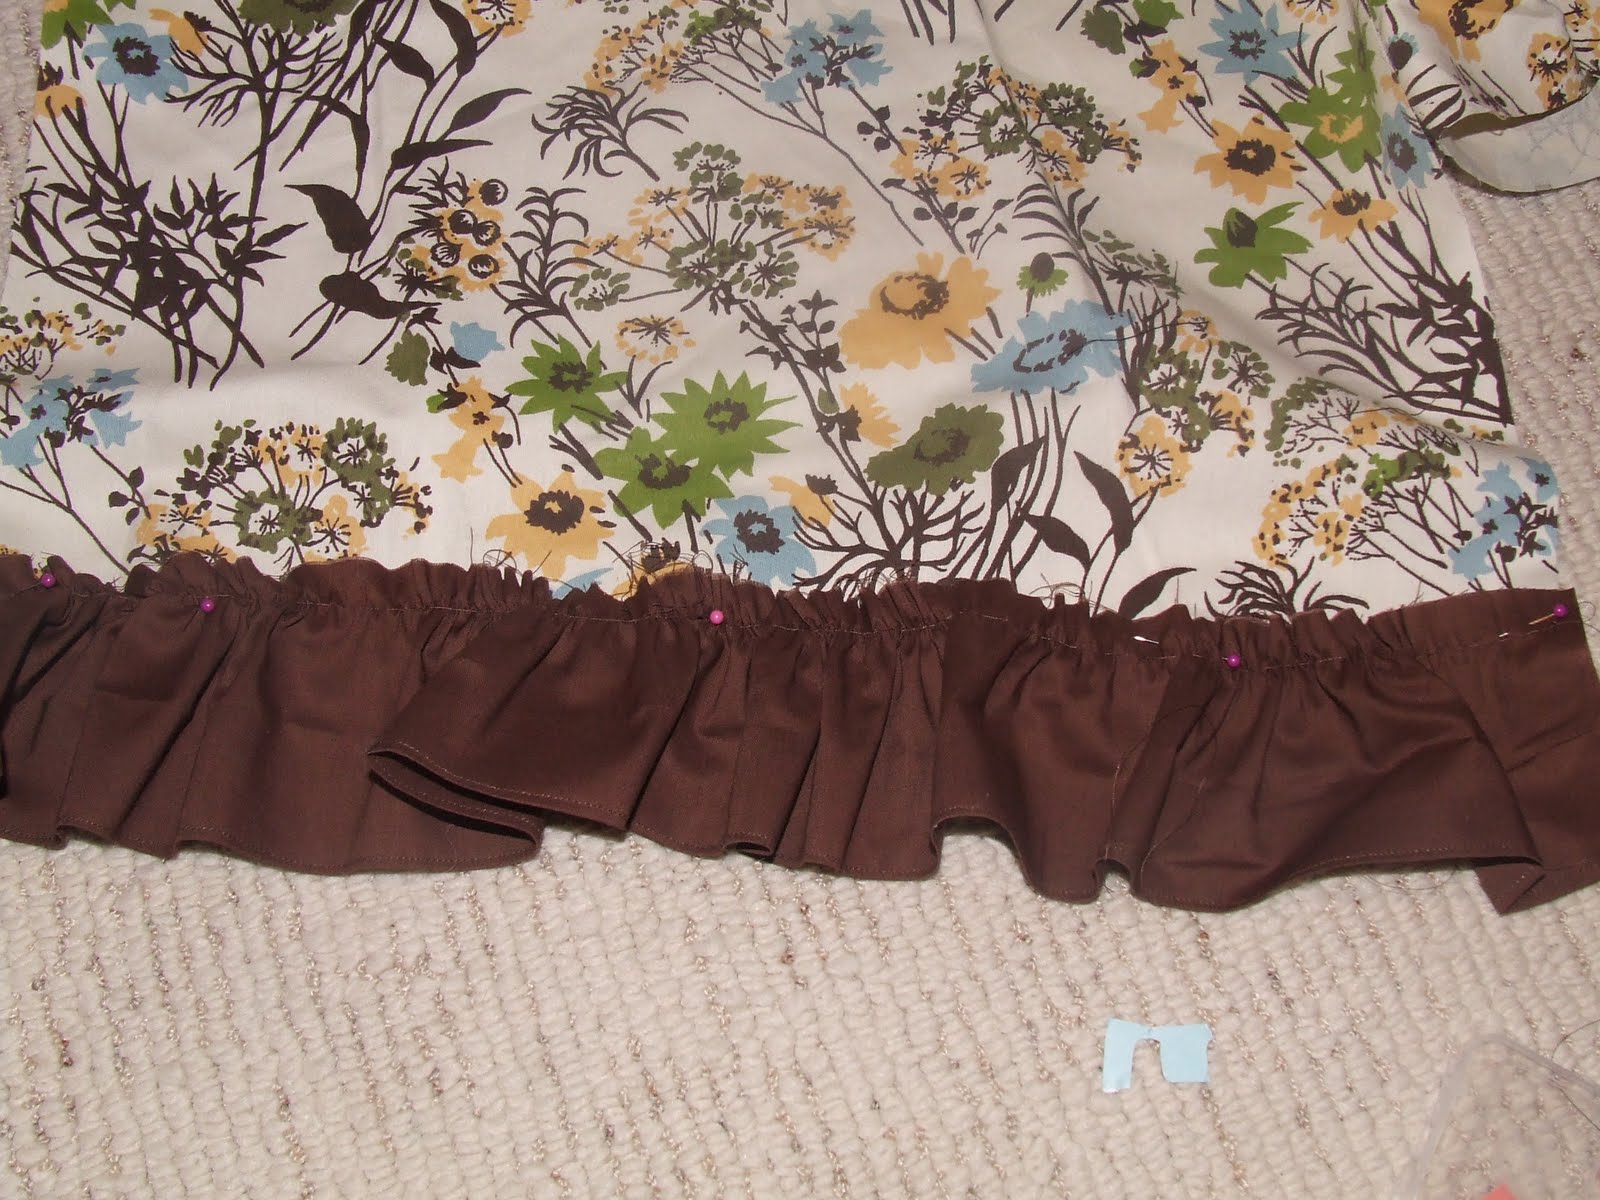
6) I did the same thing for the remaining strips. Then I pinned the next layer about an inch above the bottom layer. I did this for all three layers.
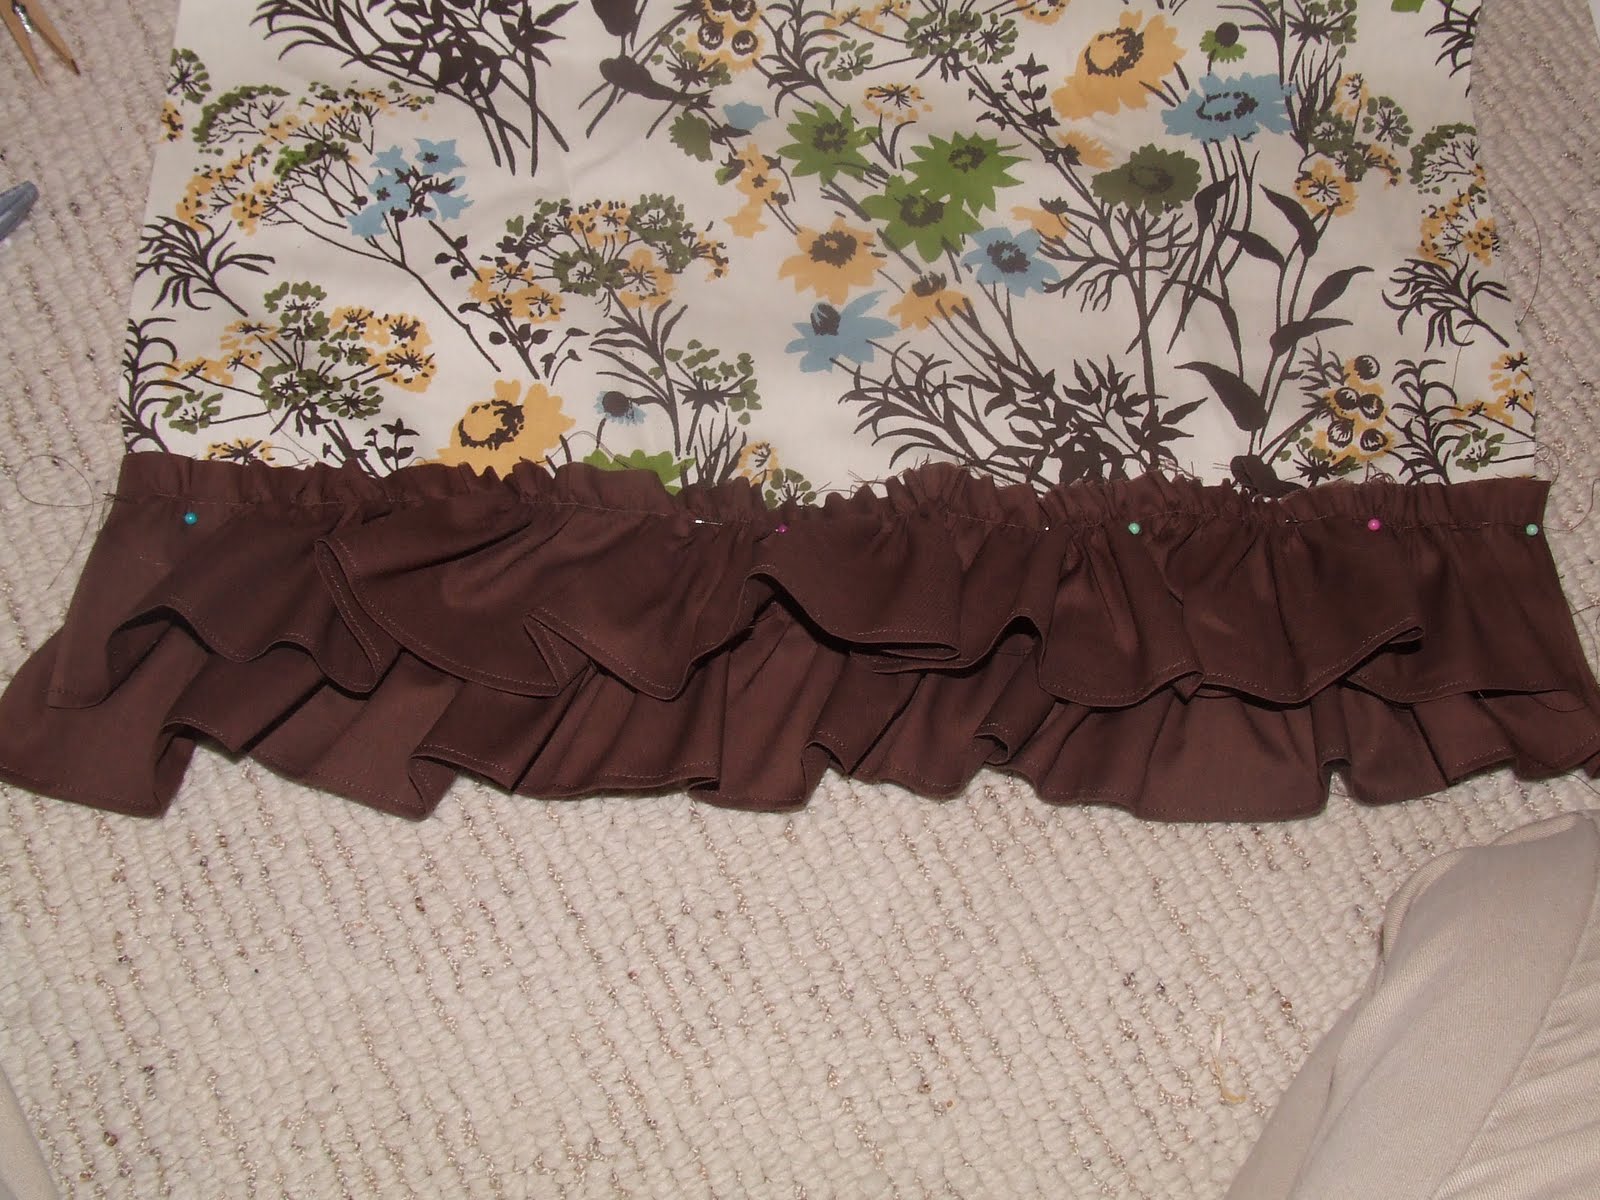
7) For the smaller strips, I used a zig zag stitch and sewed both edges of it. Then I used a straight stitch and long length and sewed in the middle of the strip for the ruffle.

8) I pinned the small ruffle onto the layered ruffles and sewed it on.

9) Once I was done with both pieces of fabric, I pinned together the fronts and sewed the sides together.
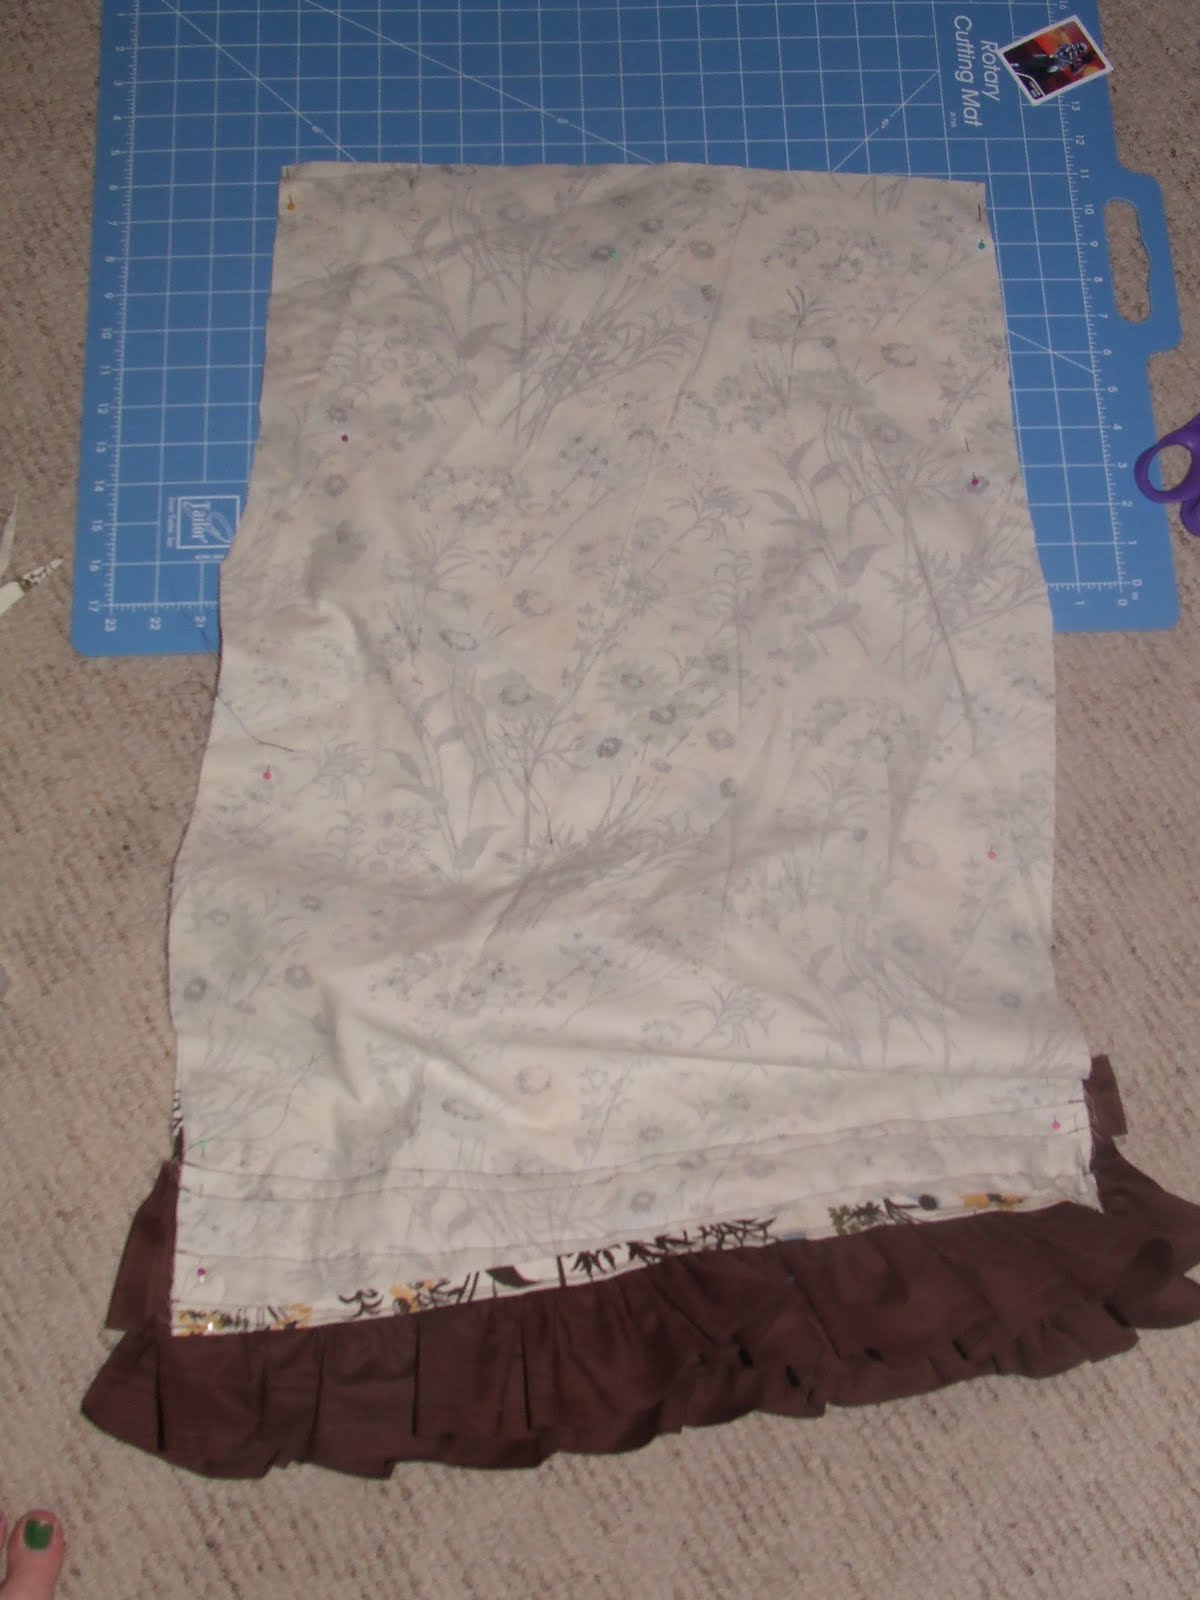
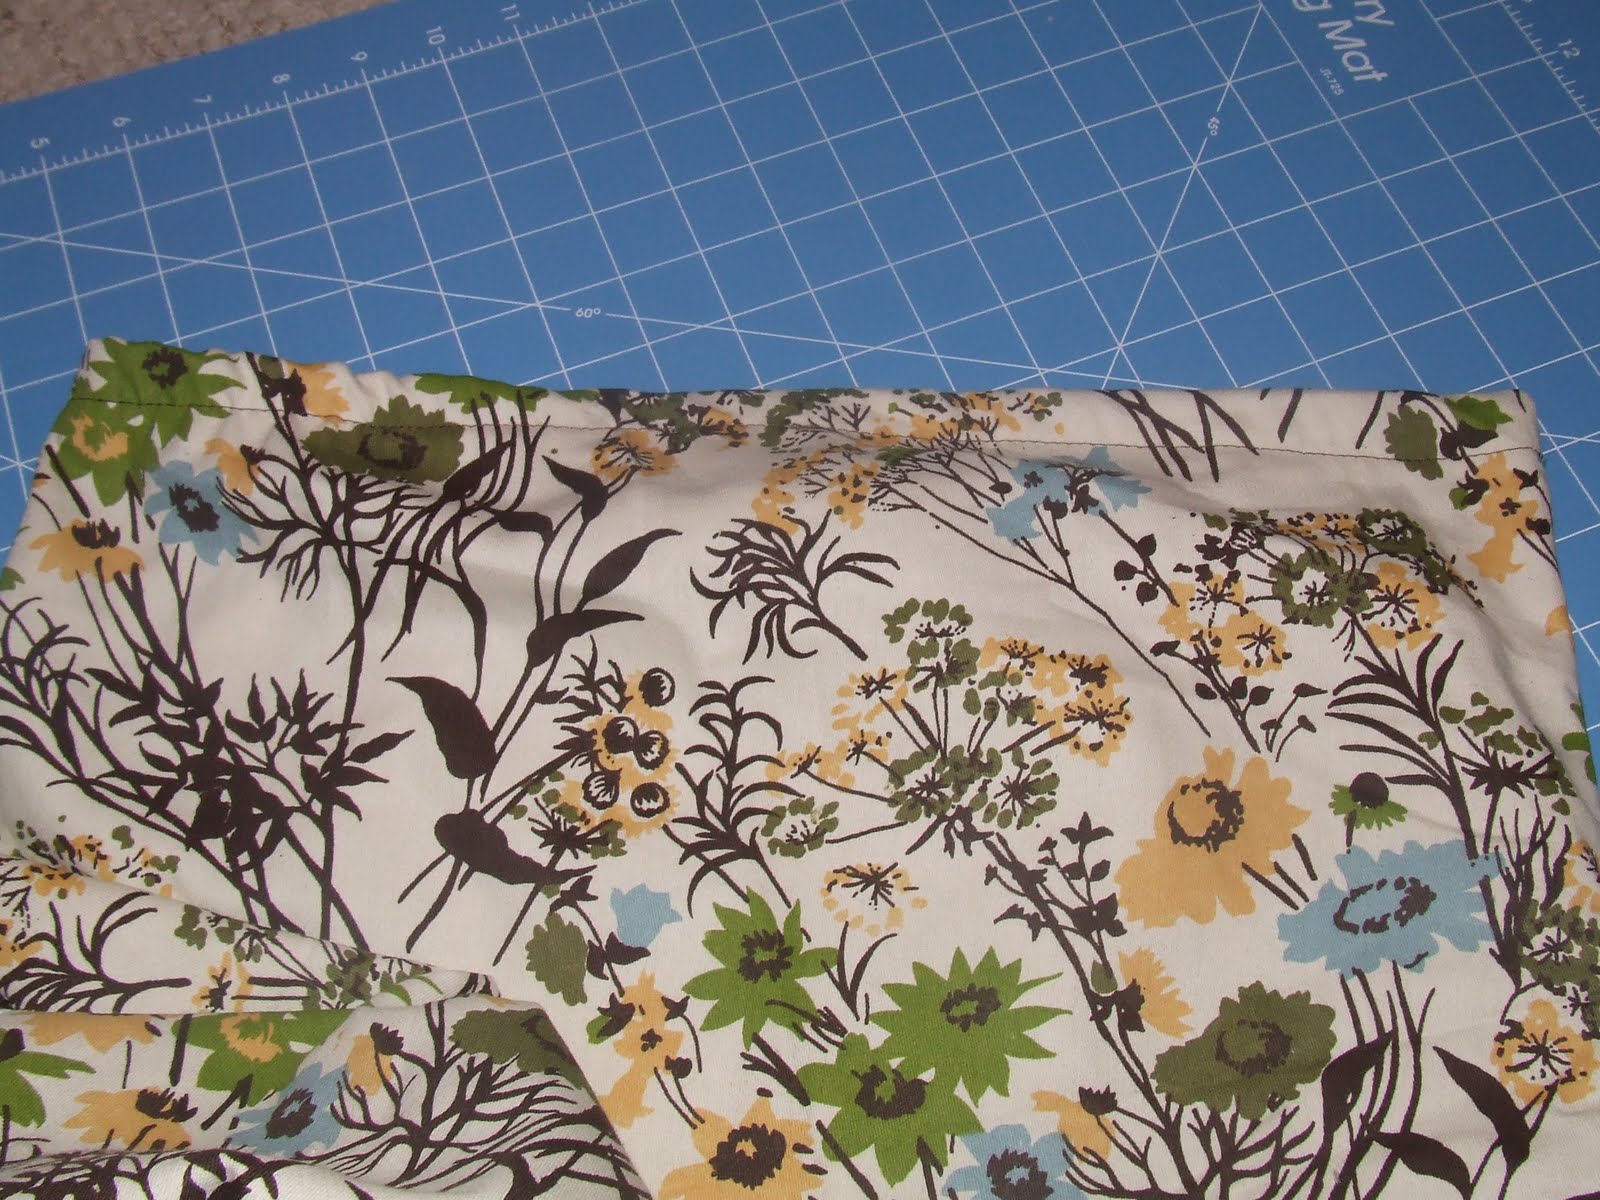
10) I used elastic for the top. I would have done a zipper but I didn’t have one on hand at the time. I pinned the elastic onto the inside of the fabric.
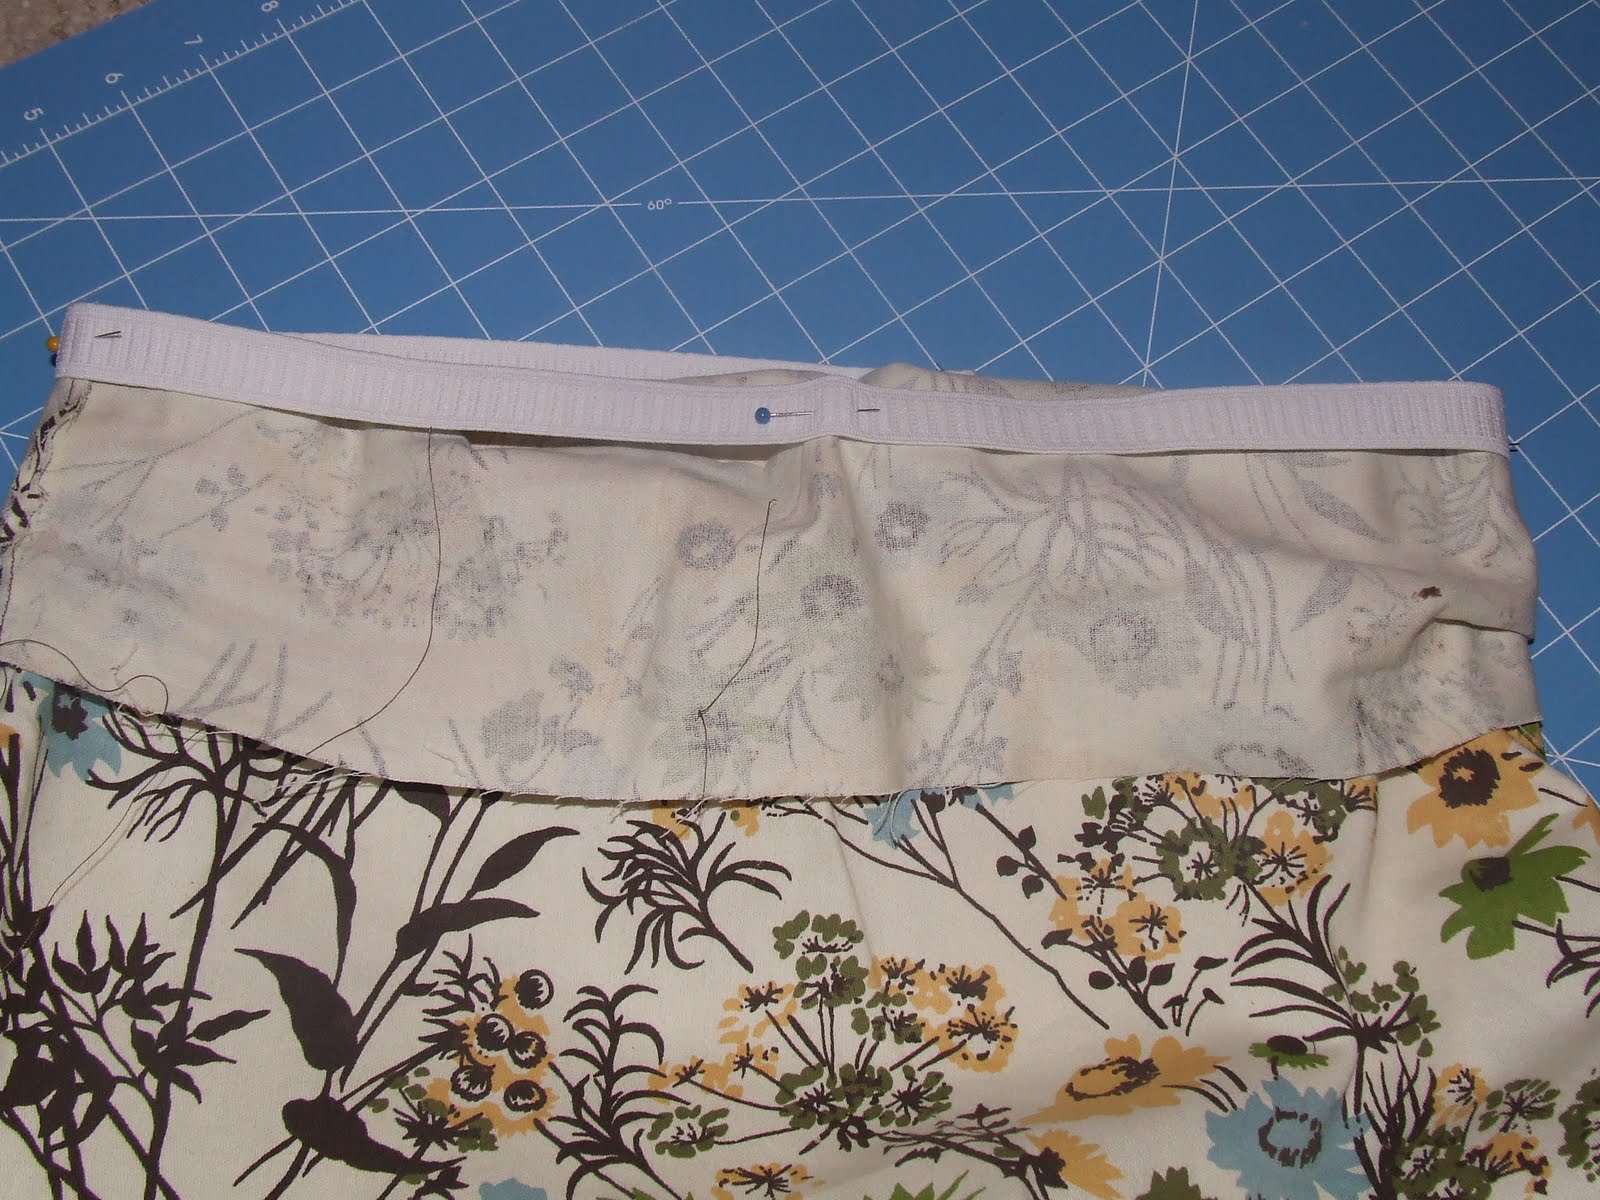
11) Then I folded the fabric over the elastic and pinned it.
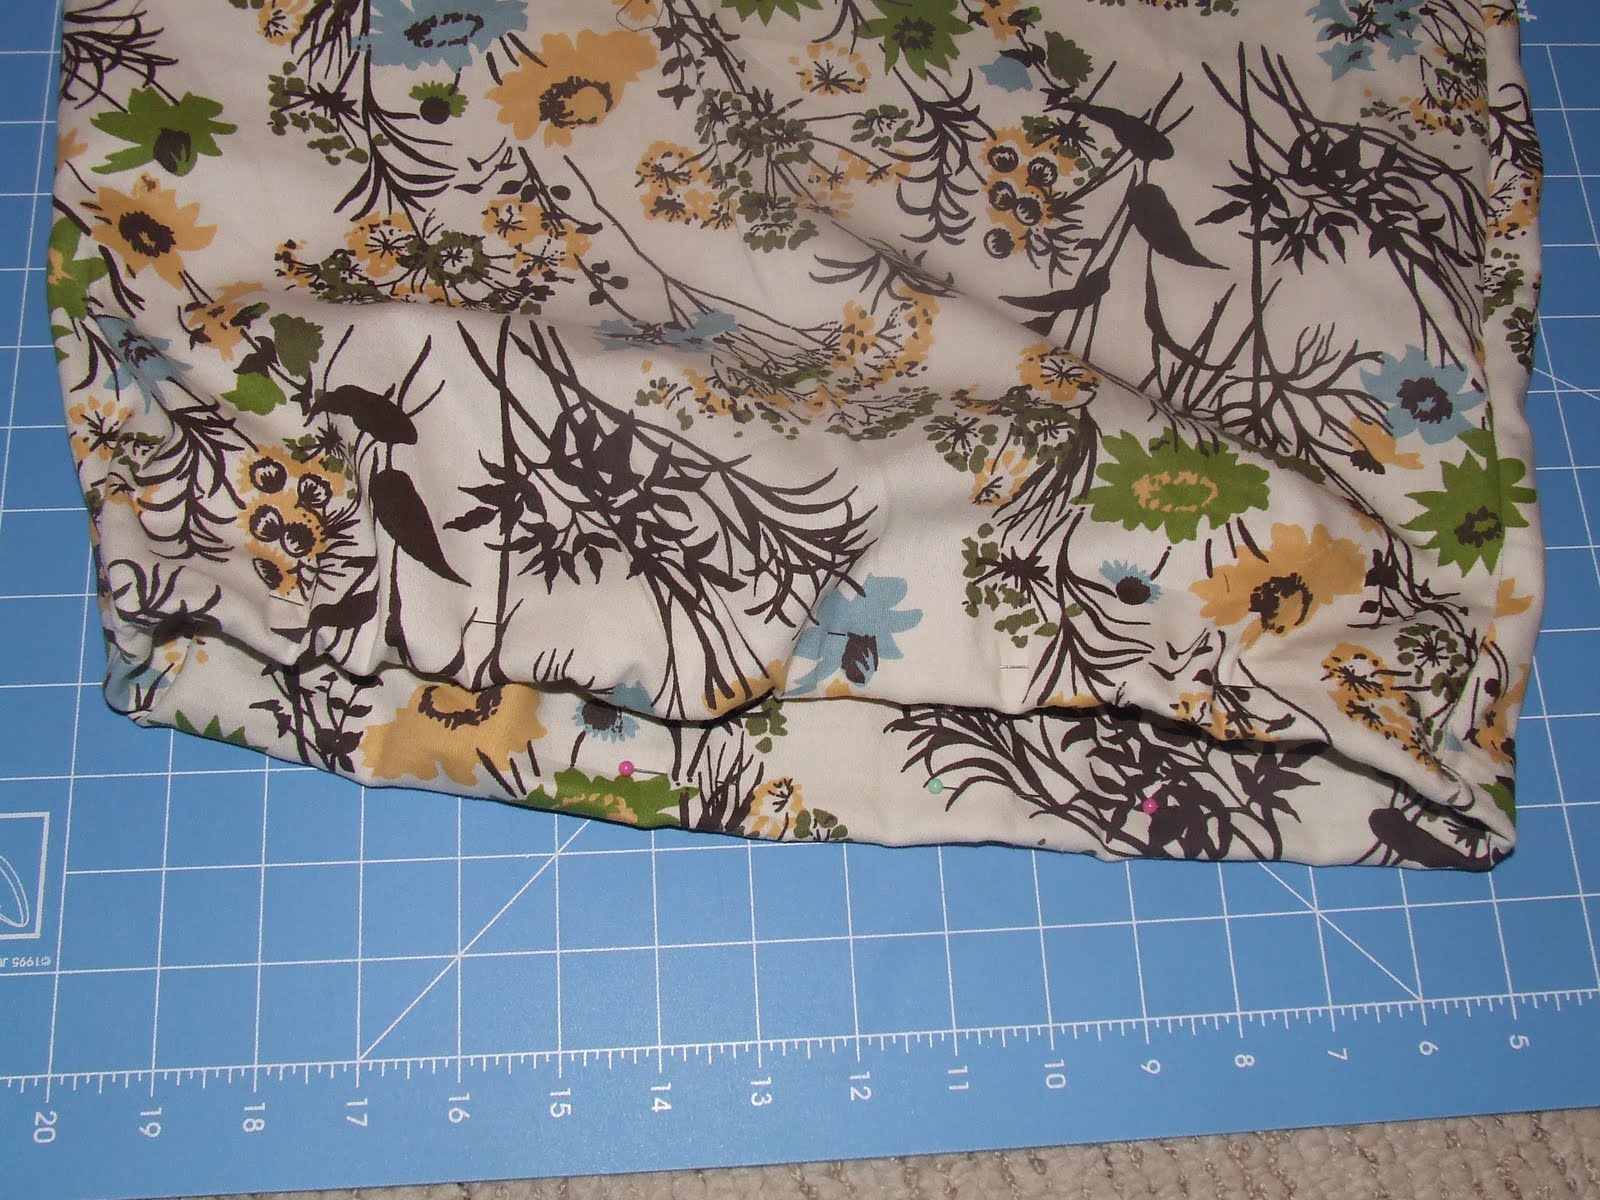
12) I then sewed the elastic to the skirt.
That’s it!



Just adorable & so many possibilities. Thanks for sharing.
CAS
LOVE it!! I'm going to make one of these today! 🙂
I'm impressed! And I own that table cloth in the rectangle shape… how funny!
How adorable! 🙂 I love the print!
I LOVE it. I cant wait to make one for myself! 🙂
Too cute, great idea! Looks very "now"!
xoxo,
Ellen
This skirt is darling! You did a great job!
You are just beautiful.. and Your tutorial is awesome easy to follow.. Love the skirt, So creative!!
That is SUPER cute and it looks great on you!
that looks SOOOO good!! very inspiring – nice job!
nice job it turned out so cute!
This is so cool! I just made curtains from a tablecloth. Who new these could be so versatile?! Heck, you're starting to make this non-sewer want to pull out her mom's old sewing machine. Thanks for the inspiration.
I have that exact table cloth on my kitchen table right now. I'm taking a picture and sending it to you. I love it on the table and on you. Creative and clever.
Such a great idea! I would love to feature this on Reduce, Reuse, Upcycle. Feel free to stop by and grab a featured button. Thanks!
http://reuseandupcycle.blogspot.com
I love it that you upcycled! Great job!
Hi Kaysi!
I followed links here from the Sumo Sweet Stuff linky party. I love your skirts! They are just adorable!
Thanks for sharing,
amber
I am thinking you could keep the circle shape and cut a waist out of the middle. Or you could cut that circle, say, into, 3 or 4 sections so it would look like a paneled skirt if you added some darts toward the waist? This is such a great idea! Thank you!
How fun! I have a vintage tablecloth in the basement that I am planning to turn into a skirt, but I Haven't gotten to it yet… Your post is very inspiring!
hugs x
Crystelle
http://www.crystelleboutique.com