I bought this map awhile ago and I just LOVED the colors of it and knew that I wanted to do something with it. My young family has had to move quite a bit in the past few years. So I wanted to do something fun to show the places that we have lived together as a family. So this is what I came up with.

This is how I made it:
For the frame of the map, I used some wood and cut the sides at 45 degree angles.

The map was 18×24, so I cut the inside of the wood to be 17” on the sides and 23” on the top and bottom. That way the frame would cover a little bit of the map. I used them great tutorial for some guidance.
The map was 18×24, so I cut the inside of the wood to be 17” on the sides and 23” on the top and bottom. That way the frame would cover a little bit of the map. I used them great tutorial for some guidance.

Here it is all together on the map.

I put the sides together and glued them with wood glue. Then I used staples (lots of them!) to secure it. Since I don’t live by a hardware store I used what I had, but I would definitely buy some L brackets to make it more secure.****Update I used a staple gun with this but I would definitely use a nail gun instead of a staple gun to put it together****

I flipped the frame over and there was a little gap, so I used some wood filler. Once it dried I sanded it down.

I painted the whole thing white and then distressed with with brown paint and sand paper.

I taped the map to the back of it and then put it onto the wall. I added some vinyl stars to show where we have lived.

For the names of the cities, I just cut some wood that was 6” wide and then 2 feet wide. I sanded them and painted them some fun colors.

I cut and added some white vinyl to the wood. I thought it would be fun to add the longitude and latitude of the cities.

And here is the close up.

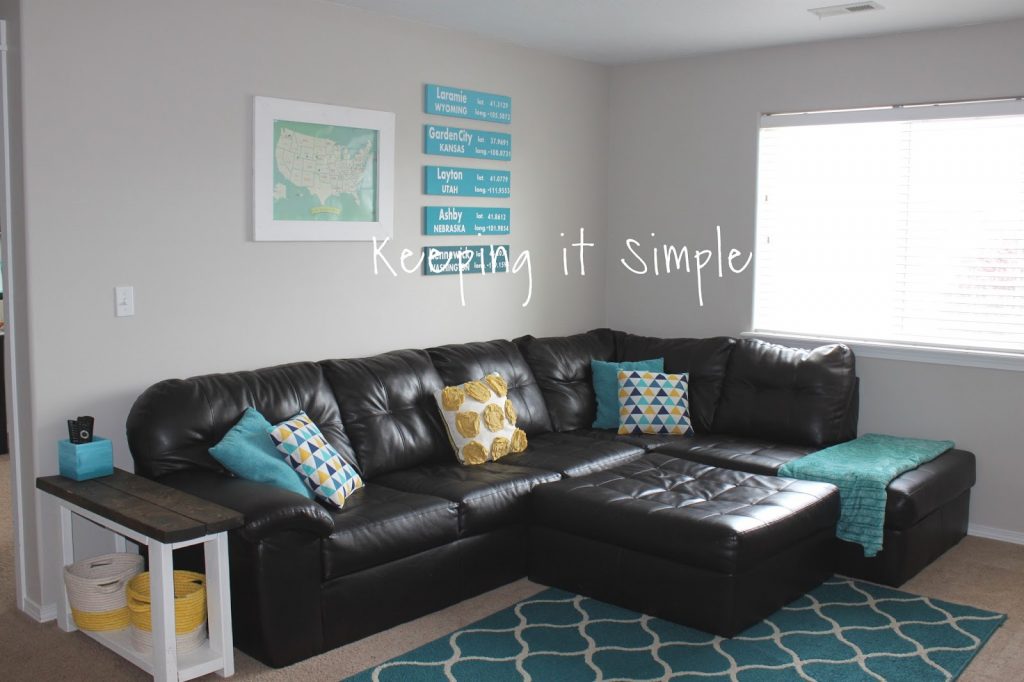
And here is how I looks on my wall. It’s big and loud and I love it. 

I updated this and added another board, this is what it looks like now :). See it here.

Very cute Kaysi!! I love this idea!! Do you by any chance have a picture of each house/apartment you've lived in? That might make a really cool addition to the collage! If we hadn't lived in NKY all our time together (and only in 2 places!) I would totally do something like this!!
What a great idea! I follow you via GFC. I host a weekly party that starts at 6:00pm every Tuesday called Fluster’s Creative Muster Party. I would love for you to stop by and share your talent and creativity.
Hugs and Smiles,
Robin @ Fluster Buster
Follow My Blog with GFC
Would love this, but only two places. Can you you believe Casper, Wyoming is one of them!! How funny.
What a fun idea!! You make it look so easy to do.
This is a wonderful post! Love it! I'd like to do something similar for births of all of us!
~Emily
http://tossedsaladlife.com
I swear I have seen you post this before… but I have a map with pins in it of all the places I have been 🙂
I love the color scheme on this project, what a fun and interesting wall hanging. I might have to save this one till we have lived a few more places
Love this idea! I pinned it for my "To Make" list. I lived in Garden City when I was in high school. That's crazy (I don't miss the smell!) =)
-Kate i heart eating
Awesome! I love that you made your own frame. So cool. My hero! Great idea!
Love this! 🙂 I'm featuring YOU today over on my blog. Thanks for linking up to {wow me} wednesday. 🙂
Ginger
http://www.gingersnapcrafts.com/2013/02/10-ideas-tutorials-for-boys-featured.html
I absolutely love this! I am a huge fan of maps for wall art and I love how you took an inexpensive print and made it into a nice piece of art!