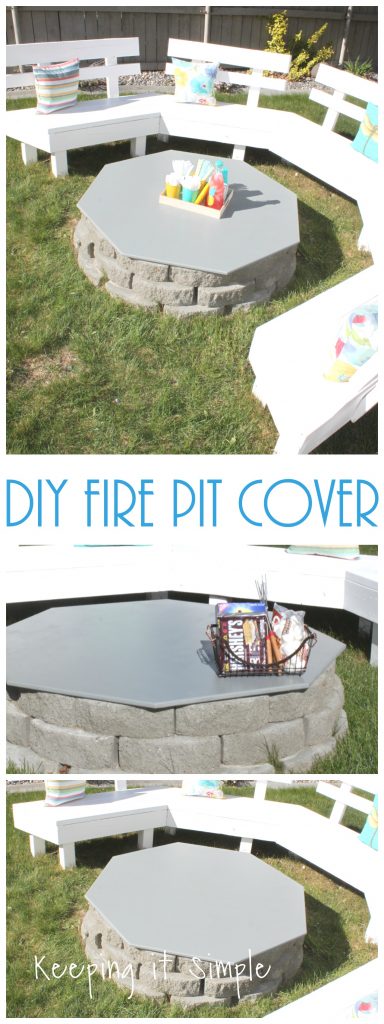
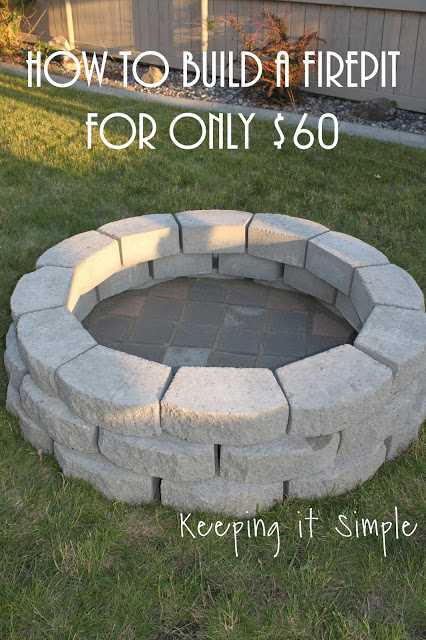
Two years ago we built an awesome fire pit and we LOVE it! We have spent many nights out there enjoying time together as a family. Then last year we built a sweet bench to go around it and it made the fire pit even better! Well this year as I was thinking about backyard ideas, I was trying to figure out a good way to have a table out there so we can eat outside and enjoy the backyard. I didn’t want to buy a new table and chairs (we really don’t have space for it), so I decided that it would be fun to make a fire pit cover so we could use it as a table. We already had this awesome bench that we can sit at, we just didn’t have somewhere to put our food on. This DIY fire pit cover was super easy to make and I love how it turned it, it’s so great that we can use our fire pit, even when we aren’t enjoying a fire.
This is how we made it:
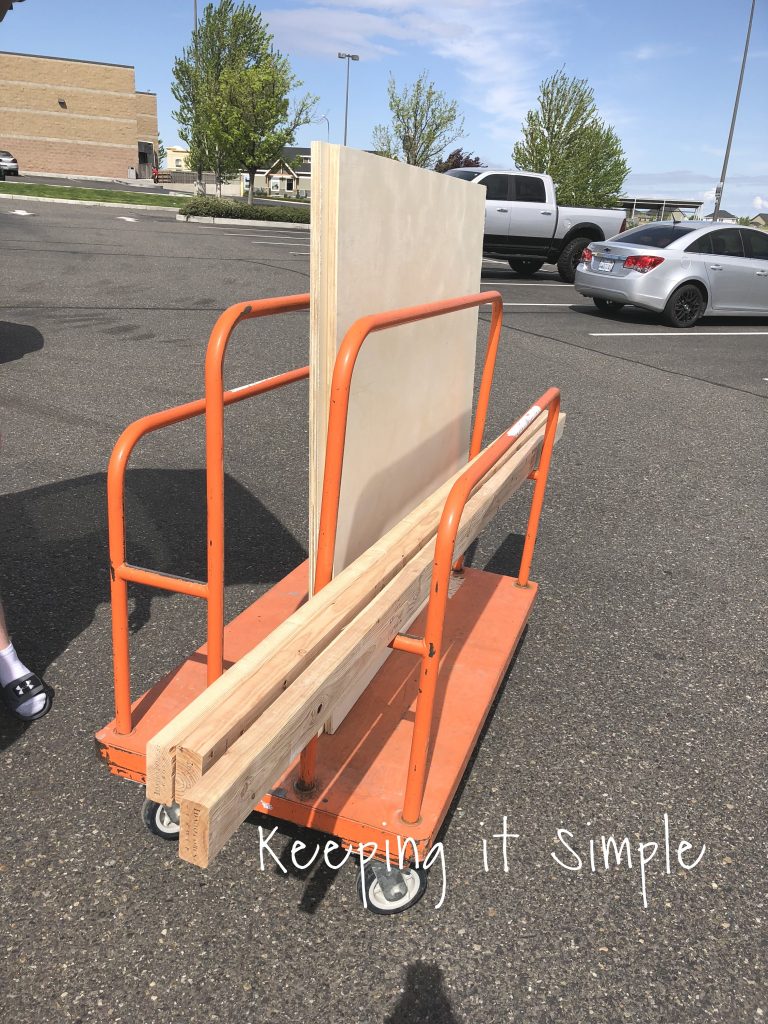
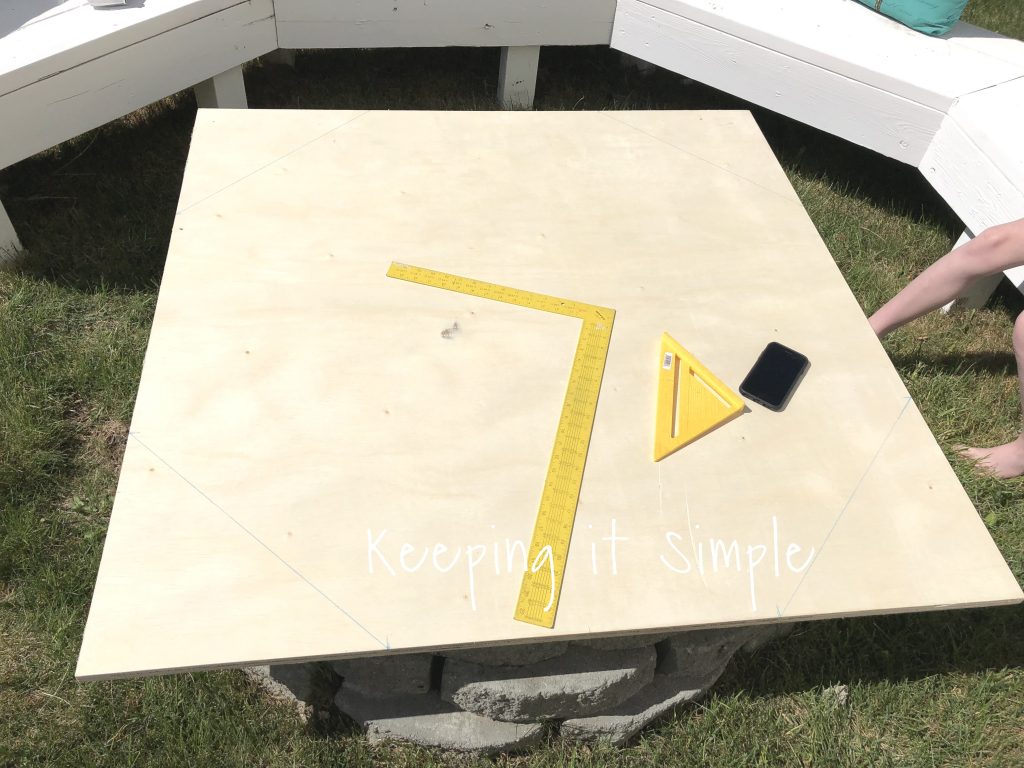
We headed to Home Depot to pick up some plywood. We wanted to have a smooth surface for the fire pit table, so we went with plywood but if you like the idea of having planks, you could easily get a several boards and then glue and use pocket screws to put it together. The benefit of that is that you can make the table bigger, with plywood the widest you can go is 48″.

We ended up getting a smooth 3/4″ thick birch plywood. One thing I have learned that is a game changer is having Home Depot cut the wood at the store, it’s so much easier to put it into the car when it’s cut!! I had them cut it in half, so the pieces were 48″ by 48″. I also got 3 2x4s to build the underneath the table.
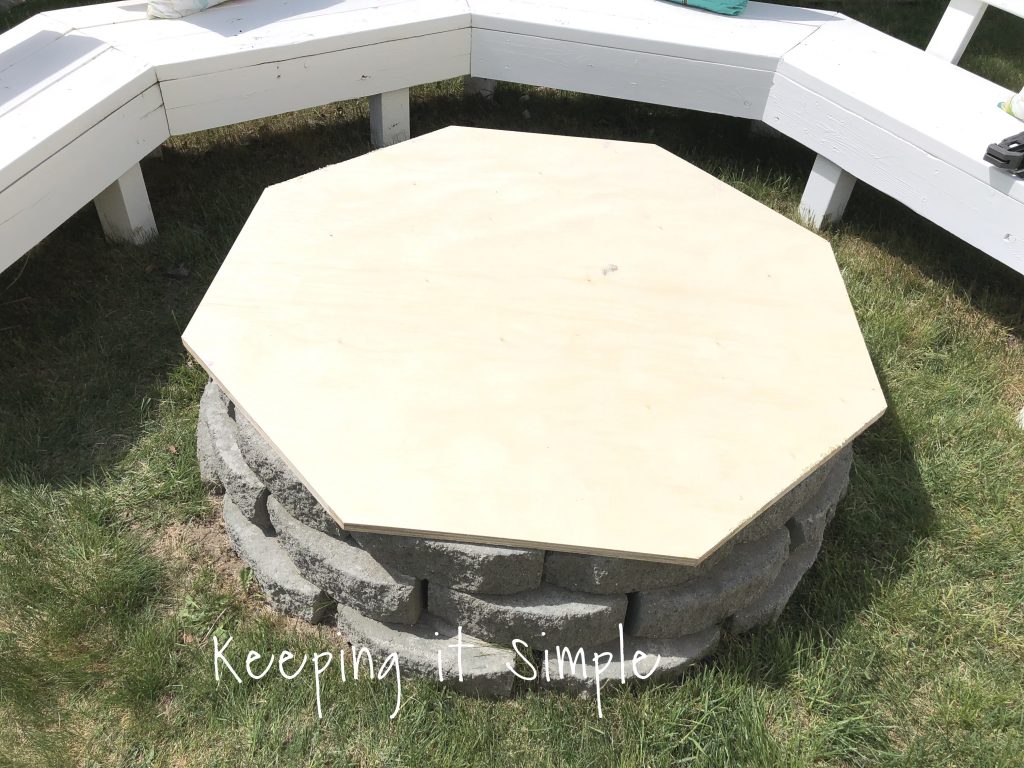
Our fire pit is pretty big, so we had to use the whole 48″, so we placed it onto the fire pit and started working on cutting it.
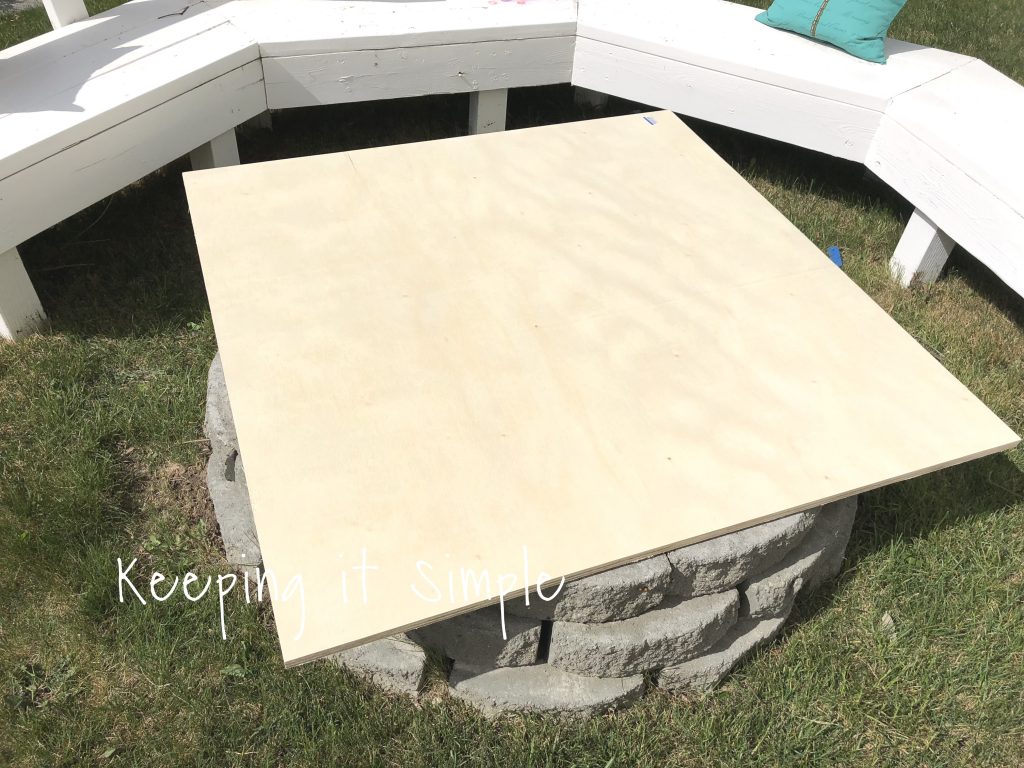
When we built the bench, we worked in an octagon shape (the bench has 5 sides but we used the angles of 8 sides). So naturally an octagon shape was the best solution for the table, so it would look good with the bench. We had to cut off the corners, so we measure each side and marked 14 inches in.
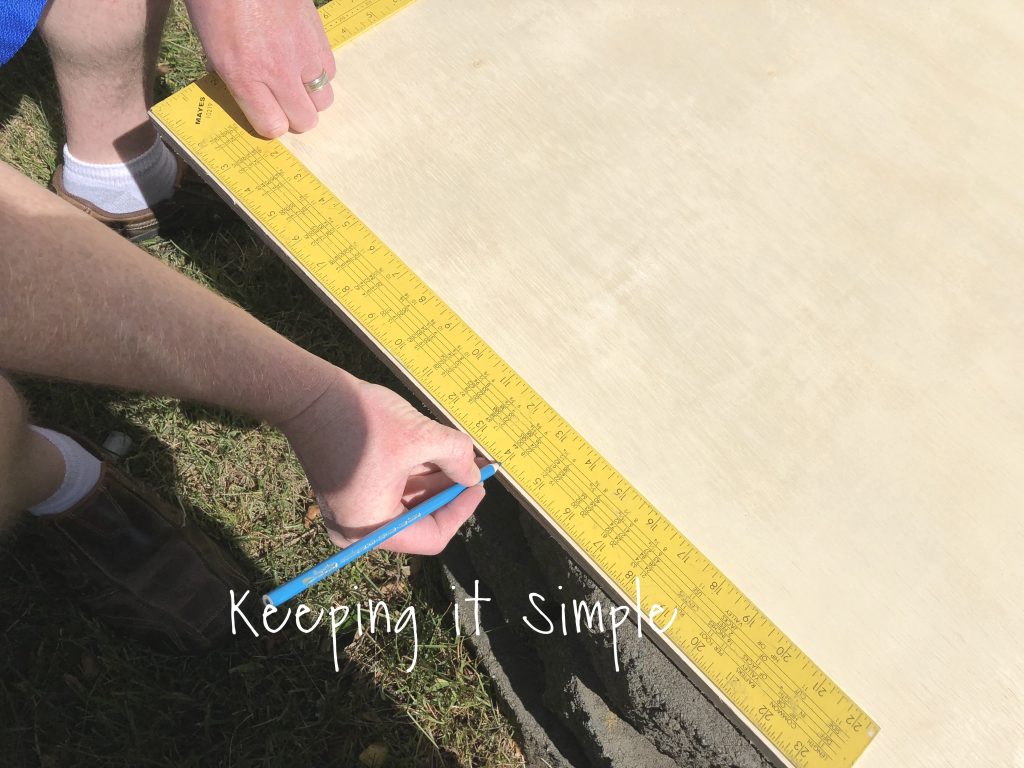
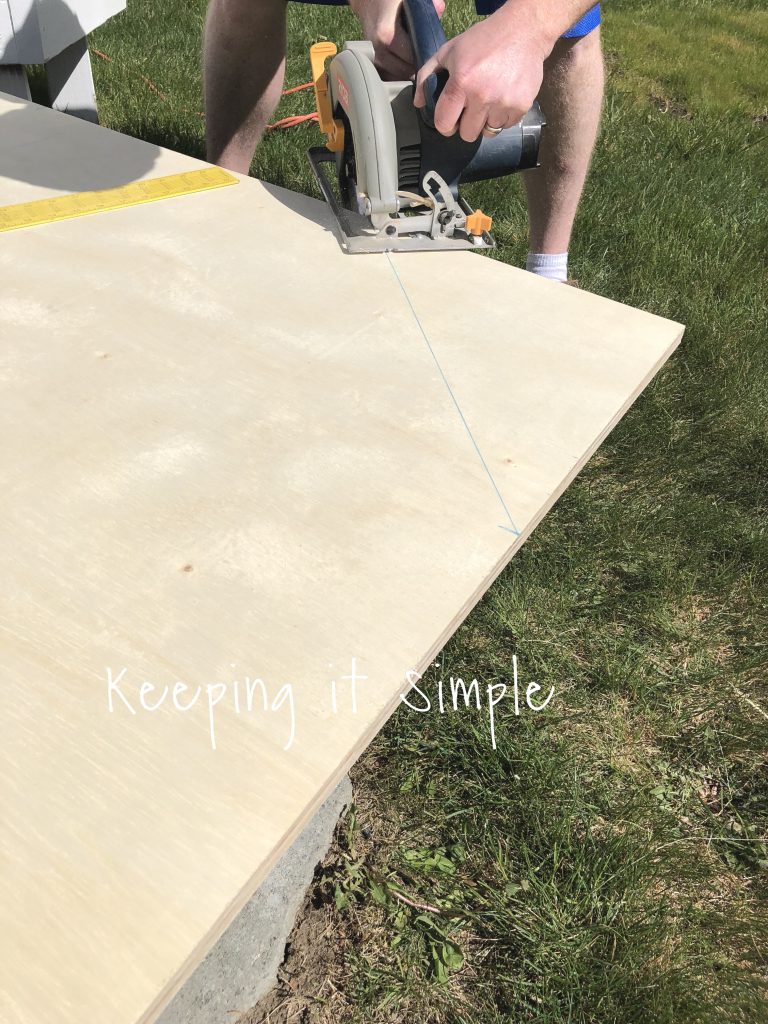
Then we drew a line to mark where we needed to cut.
Using a circular saw, we cut the corners off.
Now we have the basic shape that we wanted for the fire pit cover.

We wanted everything to be 48″ wide, so I checked all the sides, love when it works out!

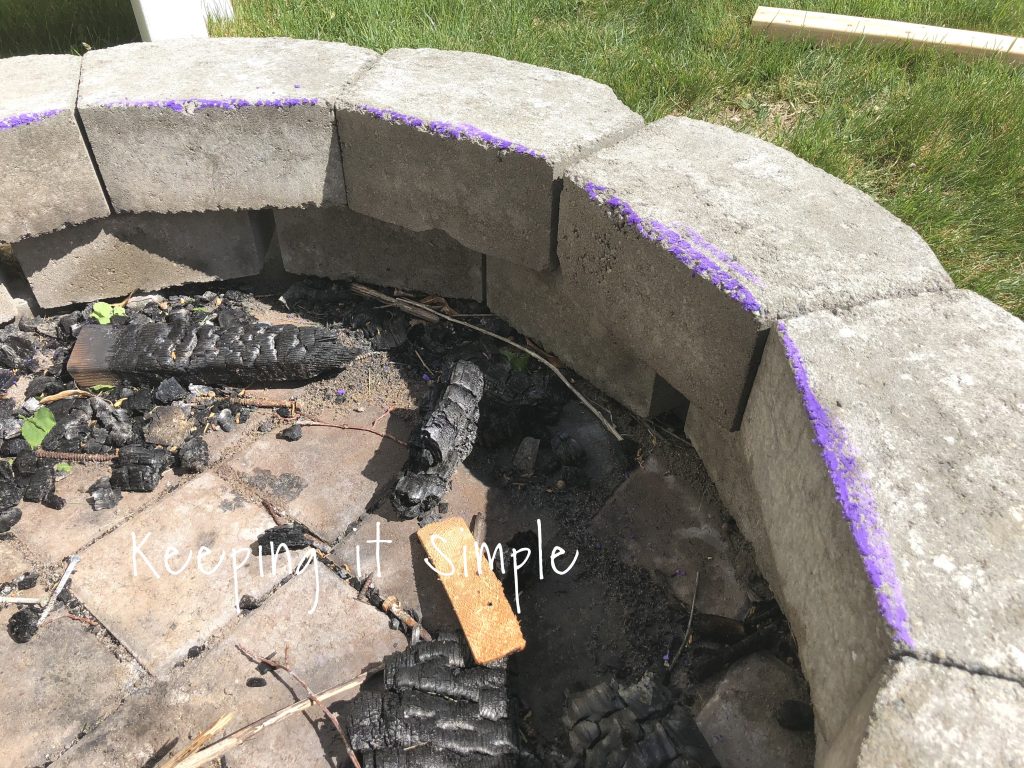
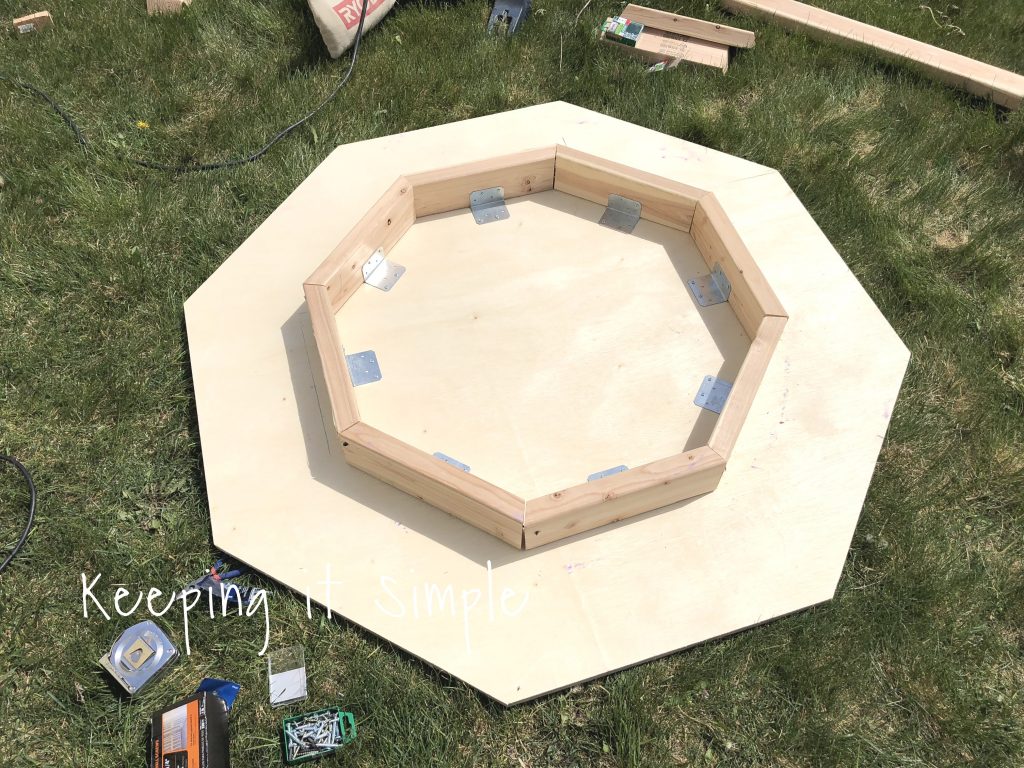
Now for underneath the fire pit cover. We wanted to make it so that the table will stay in place and won’t fall off, so we marked the fire pit pavers with chalk and then placed the plywood onto it. The chalk marked where the fire pit would hit on the plywood, so we knew that the 2×4 had to be inside the chalk line.
We added the 2x4s in an octagon shape underneath to prevent it from moving, so to make that we cut the wood to be 13 inches (the long side) at a 22.5 degree angle. We cut 8 pieces.
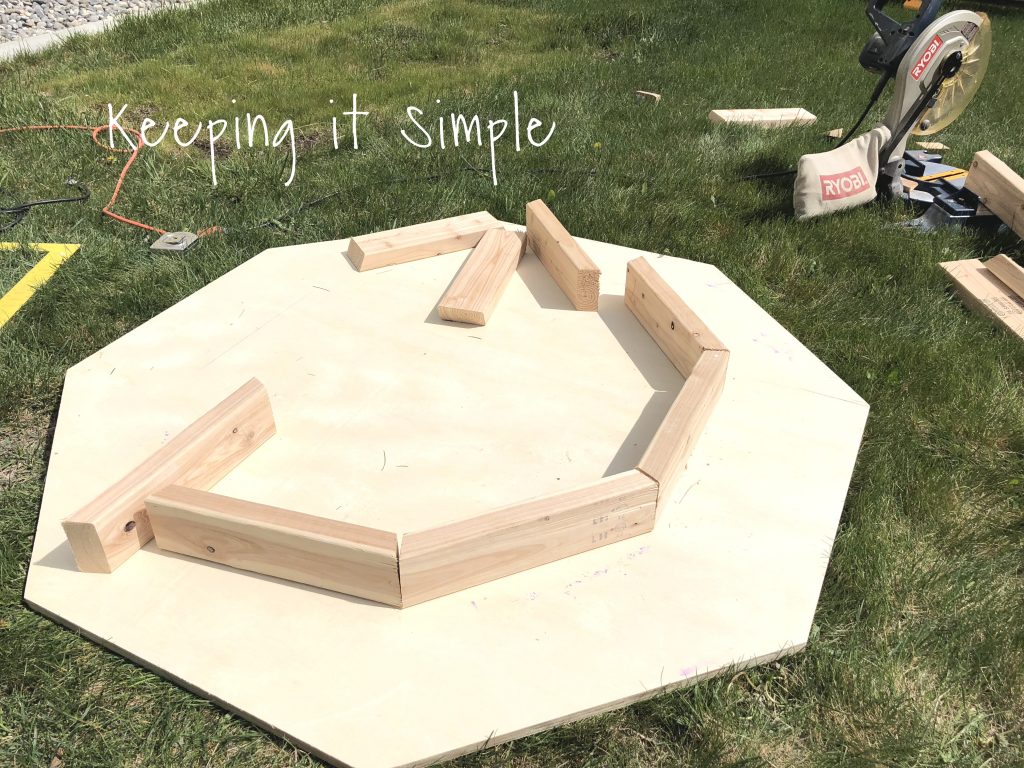
We put some L brackets onto the wood and then arranged them around the bottom, making sure to be inside that chalk line. Then we screwed it into the table top. *Quick tip, arrange the wood and only put in a couple screws and then see if it fits inside the fire pit before you completely screw it all in.* Once we had to the right size, we screwed it all the way in and then screwed the pieces together at the angle.
We then put it onto the fire pit, it’s starting to look good!
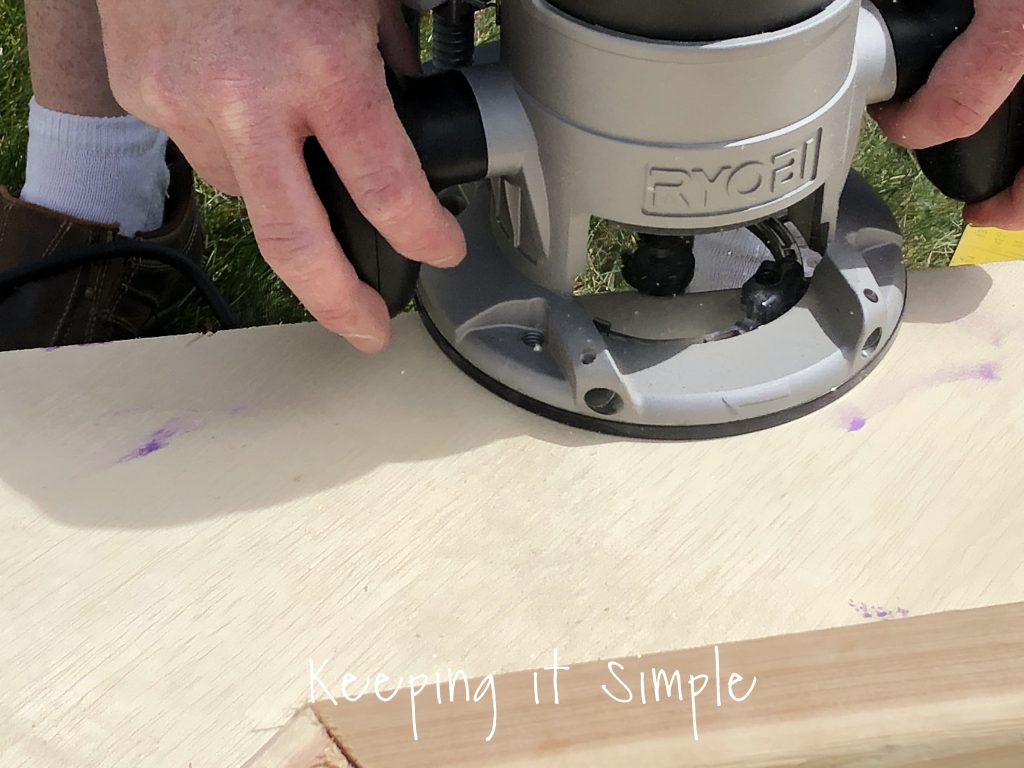
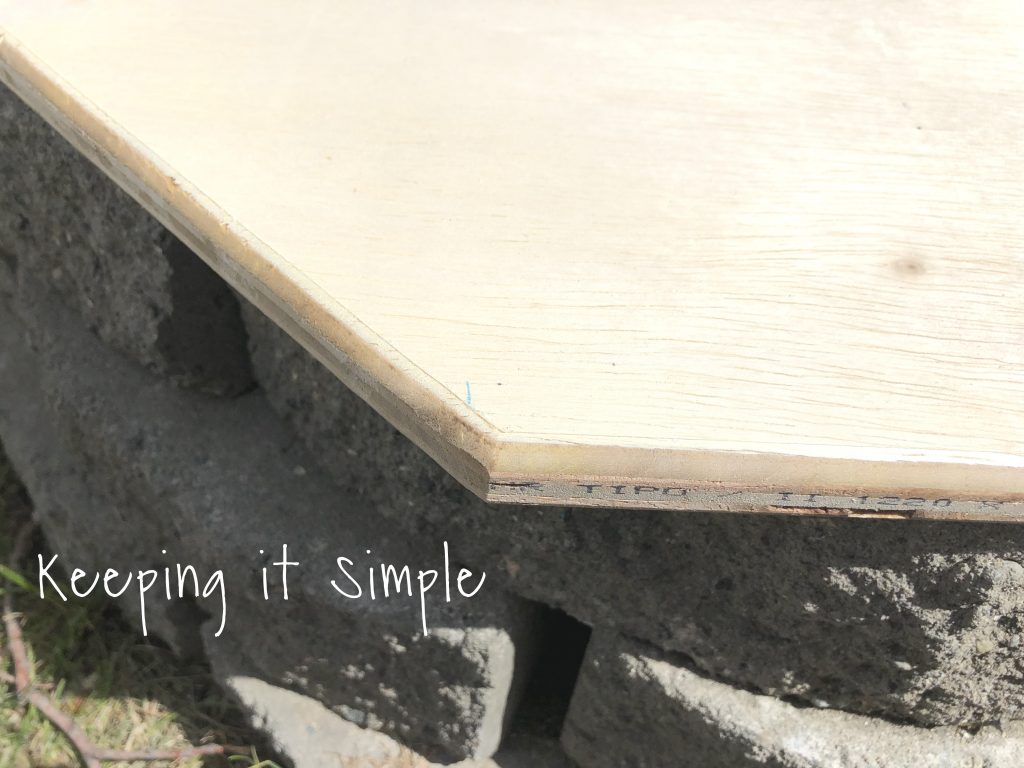
Next we wanted rounded edges, so we took a router around all the sides.
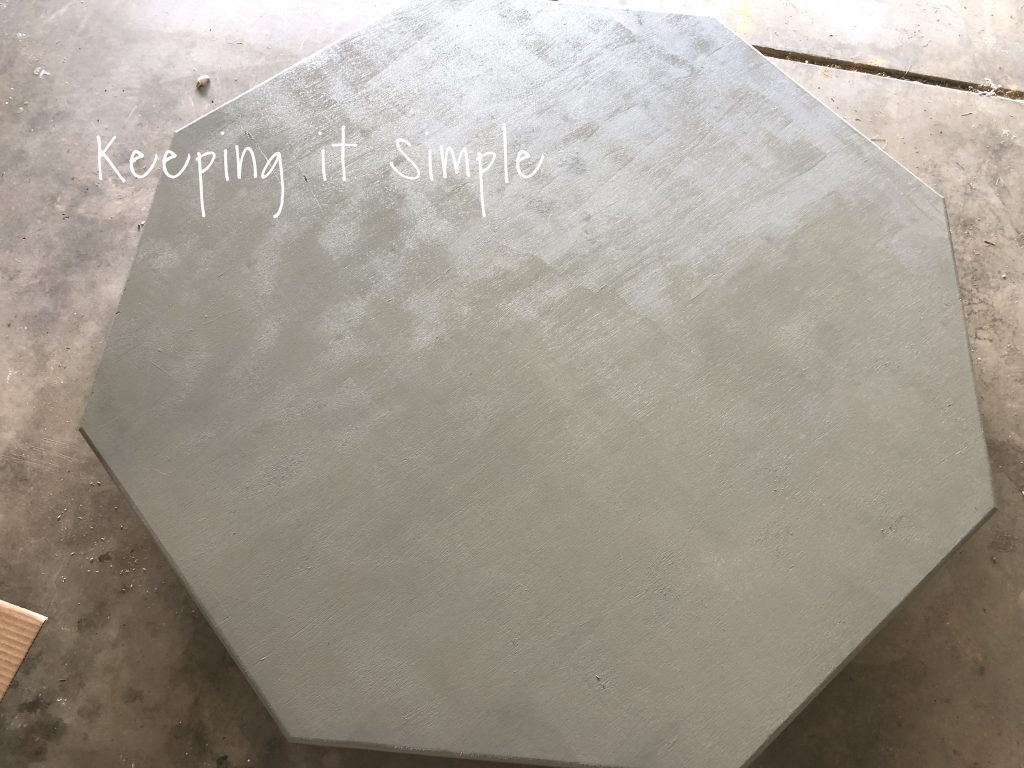
Here is what it looks like with the rounded edges, I love it!
We then painted it a nice medium gray. We used a semi gloss exterior paint for the fire pit cover.
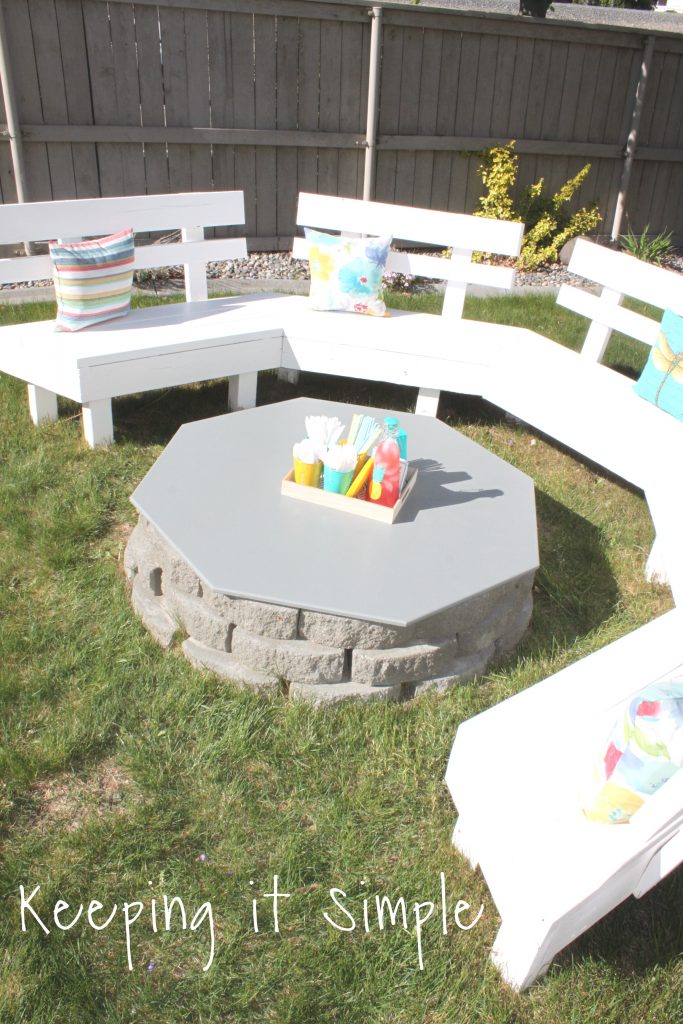
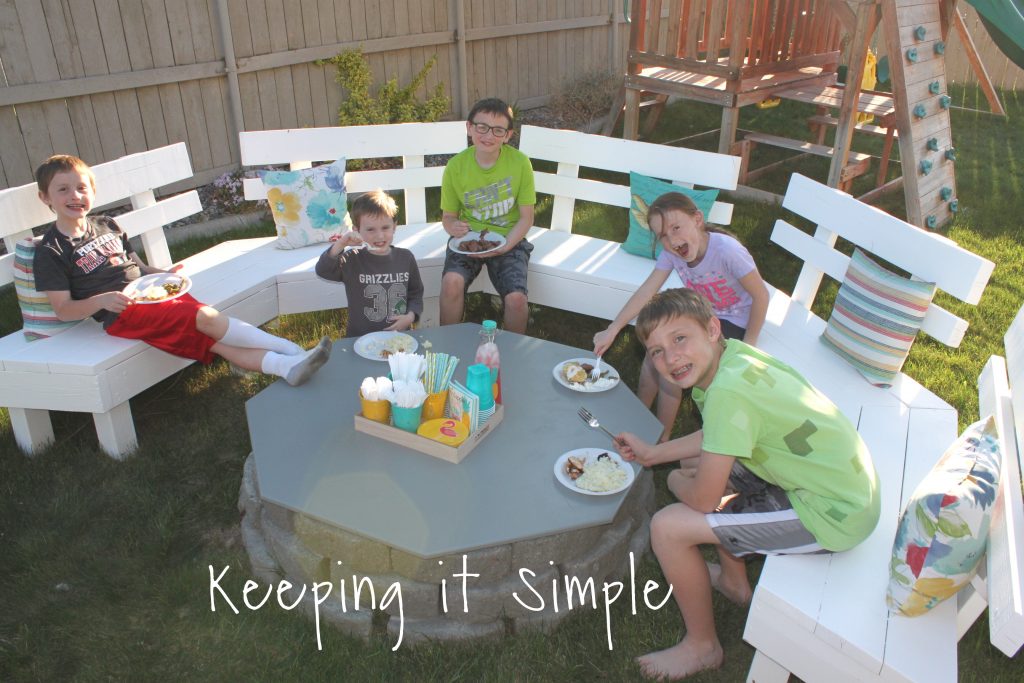
And that’s it!! I love how it turned out! I love that we can use this space for more than just fires, especially since the weather isn’t allows ideal for fires. Some times it is just too windy to build a fire or some times it is just too plain hot for it, so it will be nice to be able to sit back and enjoy our backyard!

Of course our favorite thing to do with the fire pit is roast s’mores, so we will continue to do that :).
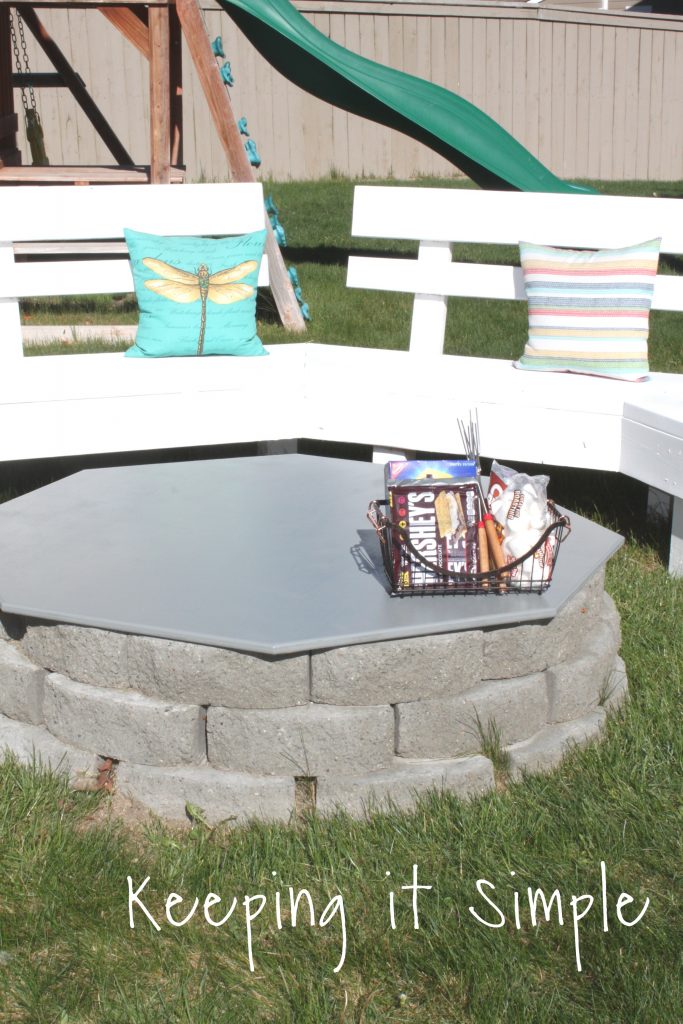
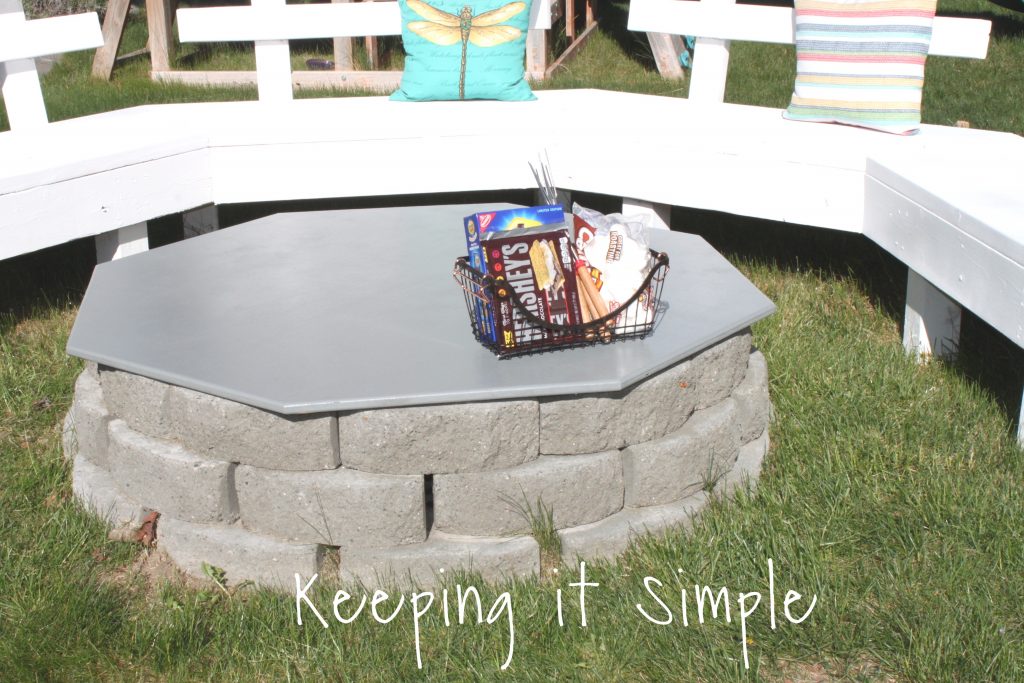
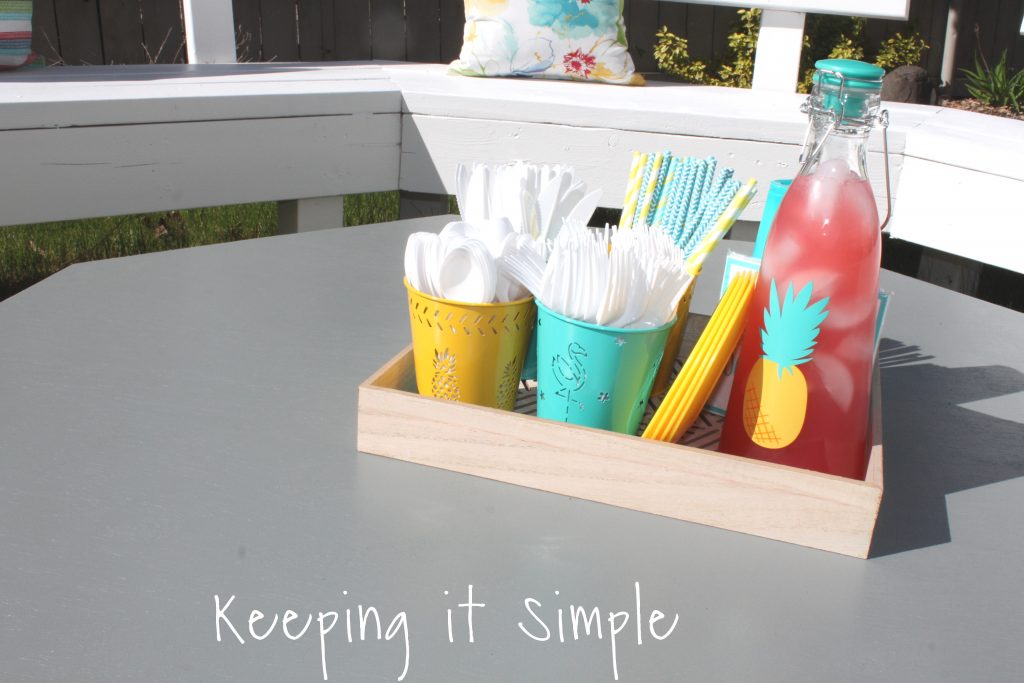
The fire pit cover is perfect for little things like drinks and desserts, or even a full meal outside!
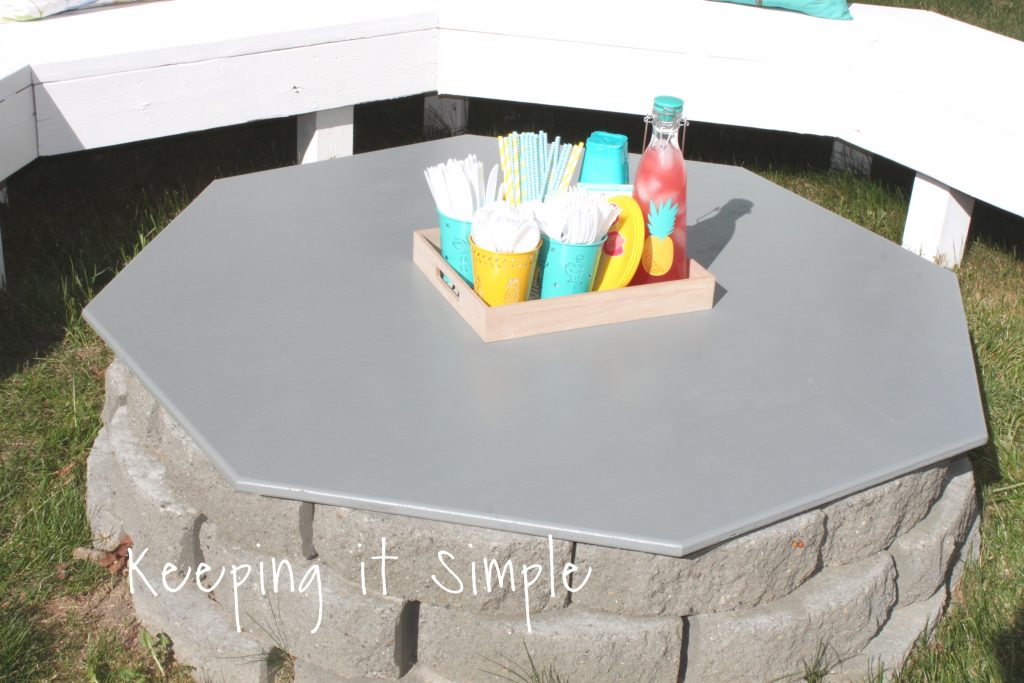
I got this super cute tray (all from the Target dollar spot) to hold all utensils and plates and cups.

Leave a Reply
You must be logged in to post a comment.