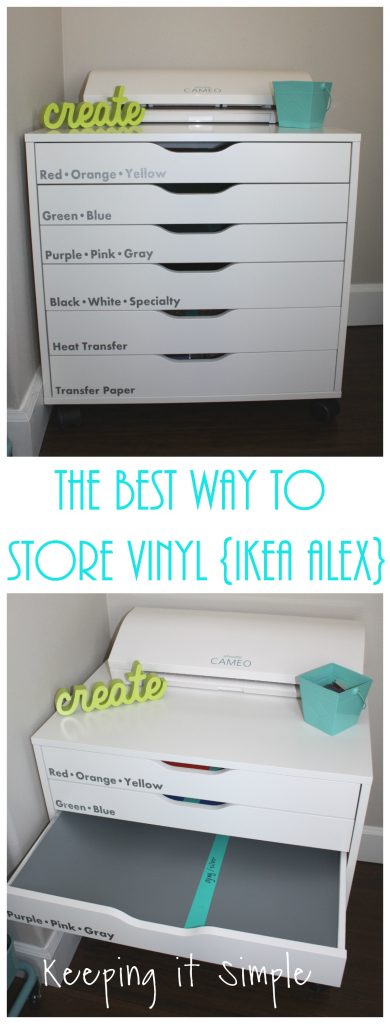
I am obsessed with vinyl, I use it ALL THE TIME!! Seriously, it is my go to craft. When I want to create something, it usually involves vinyl. I like it so much that I have a full page with all of my vinyl crafts. One of the most common questions I get about vinyl is what is the best way to store vinyl. Well the answer is FLAT! Unless you buy vinyl in a roll, the best way to store it is flat because if you roll it up then it doesn’t stick to the mat as well and it doesn’t cut as well. When you roll it up, you get creases in the vinyl and so sometimes the blade cannot cut all the way through (if you have used vinyl and it was rolled up, you know exactly what I am talking about!). I have been storing my vinyl flat for 6 years and I won’t store it any other way. For the past 6 years I have just stored it on a shelf but I am remodeling my craft room and we are doing some built in shelves but I don’t want my vinyl to just be on it, I wanted to have it hidden but still flat. So I bought this awesome storage unit and I LOVE it! It is PERFECT for storing 12×24 sheets of vinyl!
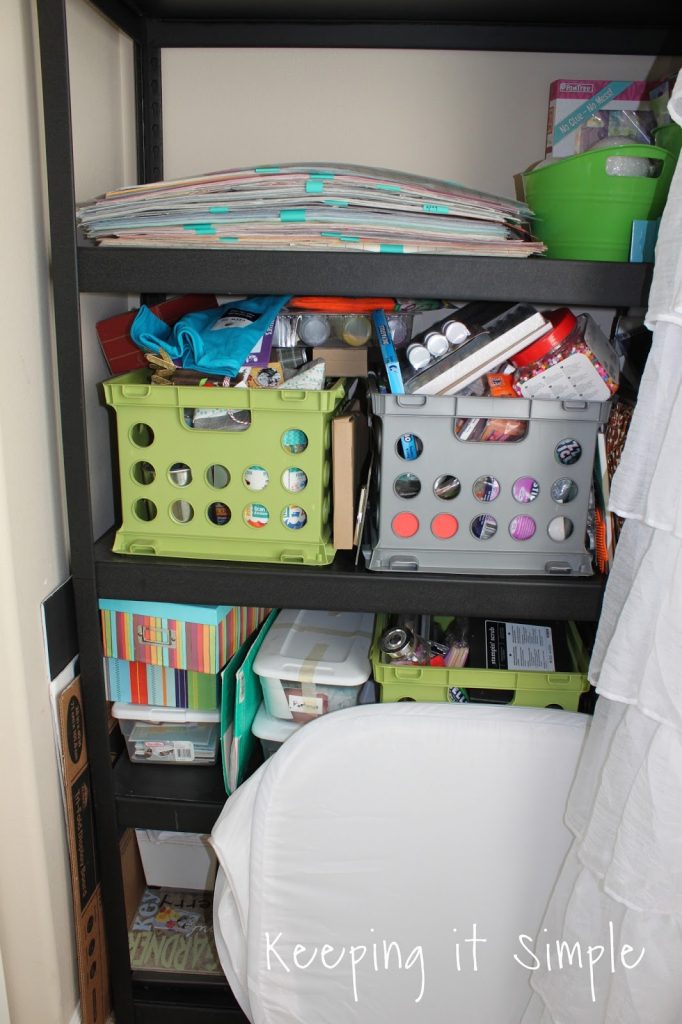
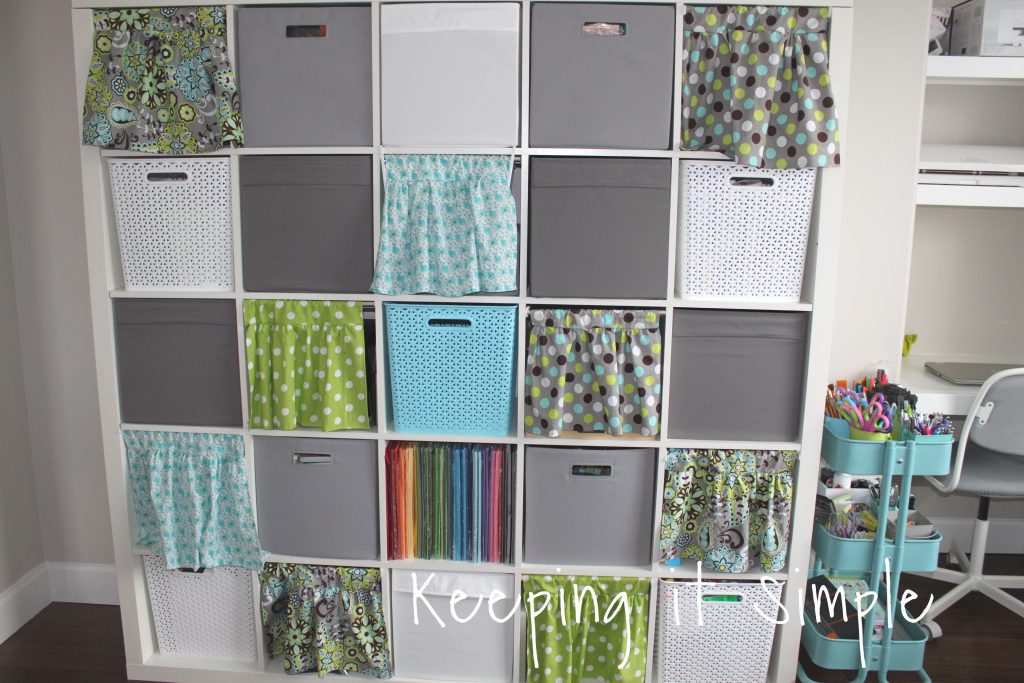
When I redid my craft room three years ago, we put a big black shelf into the nook that is in the room. It wasn’t the prettiest way to use the space but it worked. I stored lots of crafts on it, including my vinyl and then used a curtain to hide it.
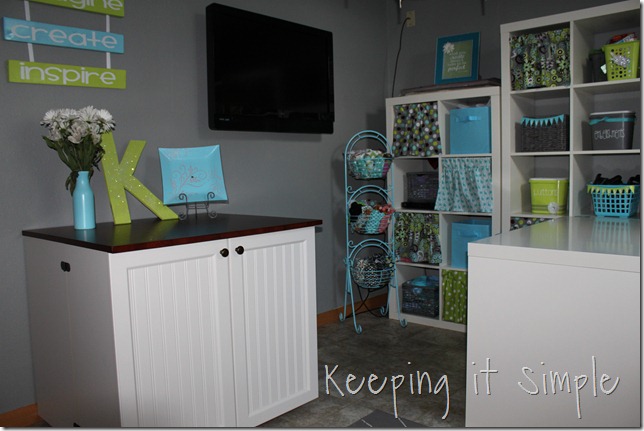
Then in my craft room in the house we lived in Nebraska, I put the vinyl onto top of my Expedit shelves I had in there (it’s hard to see, but the vinyl is under that frame in the corner). Once again it was fine, but not the prettiest.
To solve my problem with wanting to store my vinyl flat and wanting it be pretty, I got this awesome storage unit cart from the IKEA ALEX line. It’s perfect for vinyl, it fits nicely in there. I do have to mention that the inside of the drawer is 23.5 inches wide so the vinyl doesn’t lay completely flat, it curves up just a little bit but not enough to effect the vinyl.
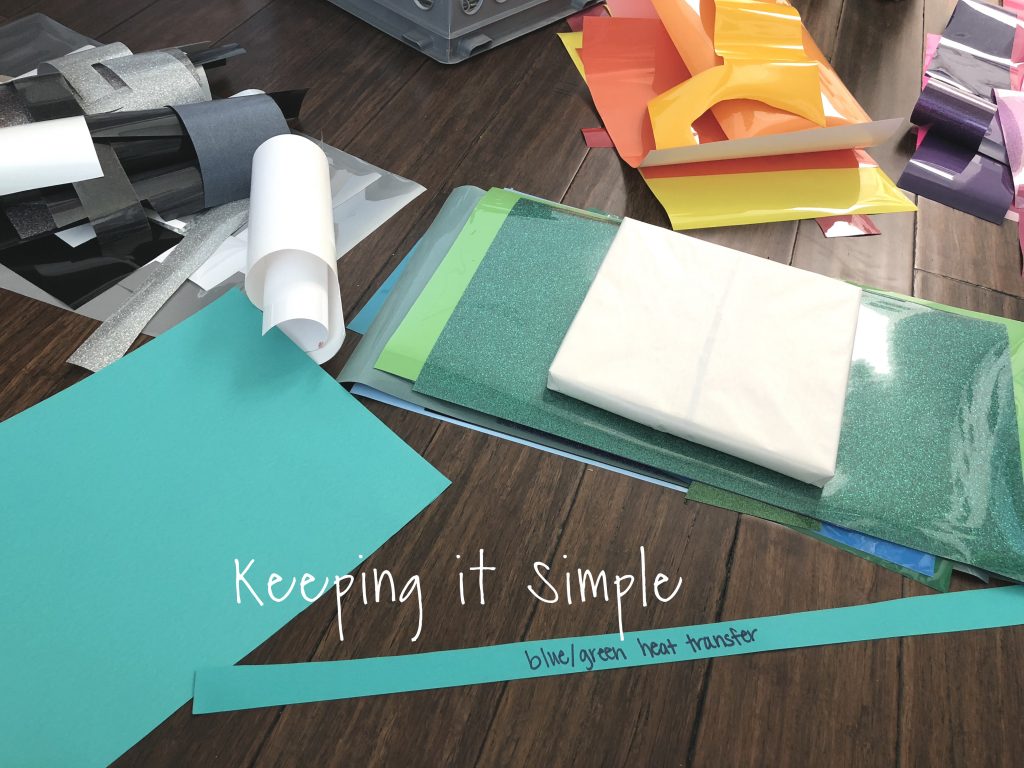
Two other questions I get from people is where do I get my vinyl and how do I organize it (besides just storing it). Well I get all of my vinyl from Expression Vinyl and I organize them by colors. I had all of my adhesive vinyl organized already, so I thought I would show you how I did it, with my heat transfer vinyl (I had it stored in rolls in a box and I wanted it to be flat too).
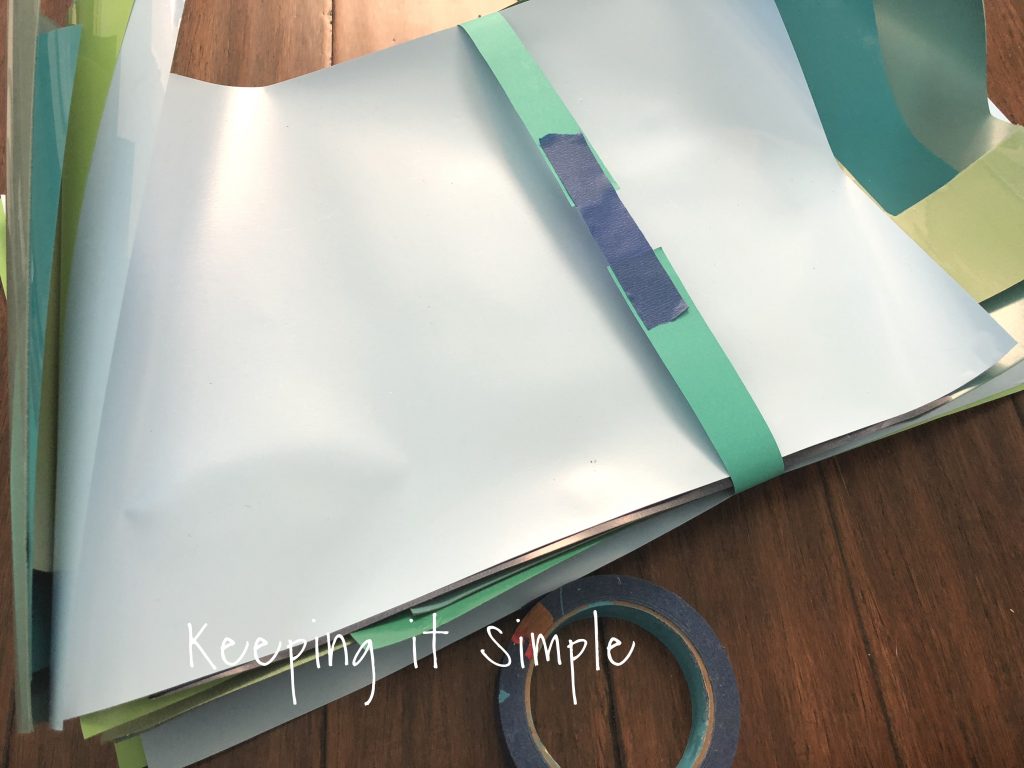
The first thing I did was separated the vinyl into colors. The amount of colors you have and how much vinyl you have will determine how you separate it. For my heat transfer vinyl I put all of my blues and greens together, all of the red, orange and yellow together, all of the pink and purple together and then all the neutral colors. I don’t have as much HTV as I do vinyl. For my adhesive vinyl, I separated each color individually, but I did the same process. Once I had it all separated, I put them onto the ground (I put a piece of wood on it so help flatten it). Then I cut a strip of 24″ paper (you could use something else too) to wrap around the vinyl so it all stayed together.
I then flipped over the vinyl and put some tape on the paper to hold it together (there is two pieces of tape on it so that it wouldn’t stick to the vinyl). The main purpose of this paper is just to keep it all grouped together, so when you are searching for something, you can just bring out one of these “packs” to look at. Also it is recommended to have a full sheet on the bottom and the top, so it helps keep all of those little pieces in the middle.
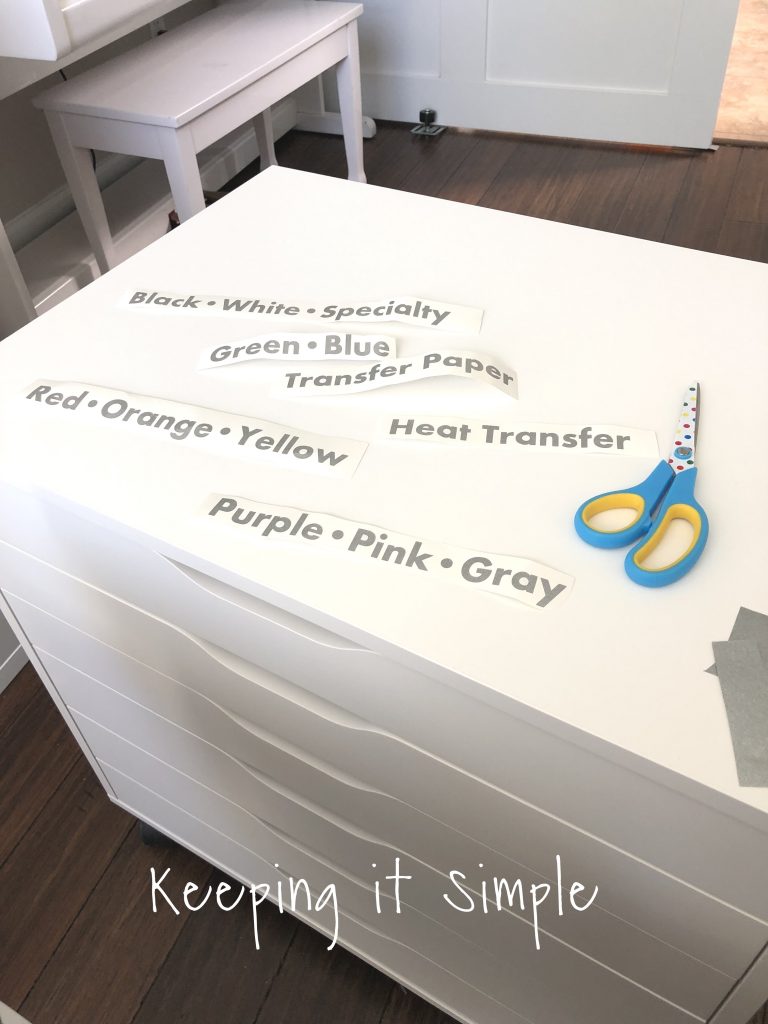
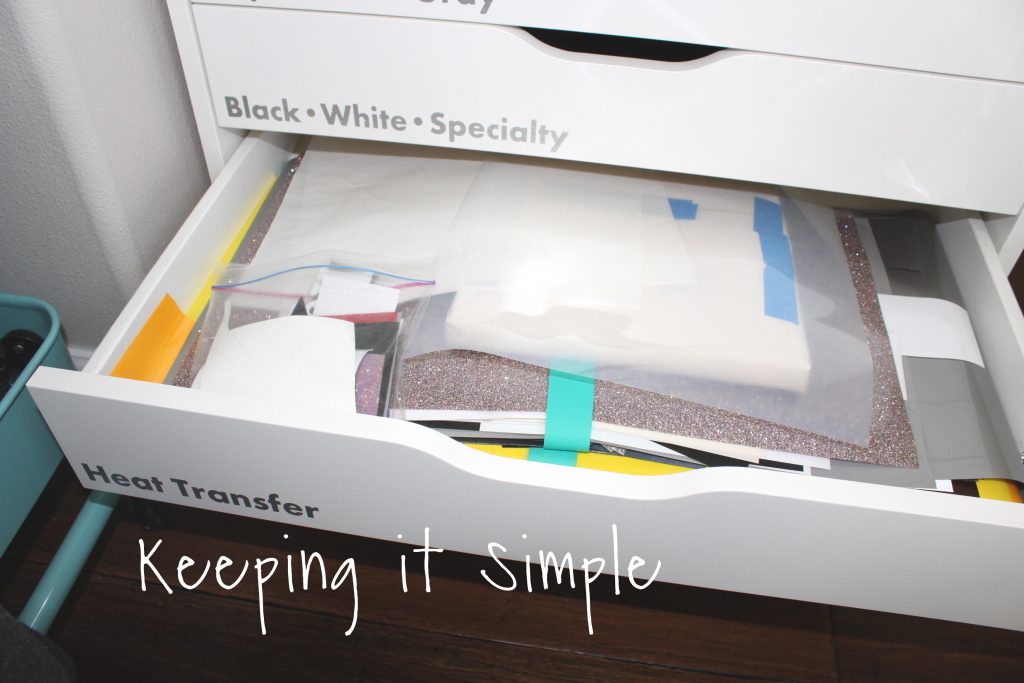
Once I had all the vinyl organized and put into the drawers, I had to label it with vinyl (it would have been silly not to!). I cut out the words in a glitter gray vinyl using my Silhouette CAMEO.
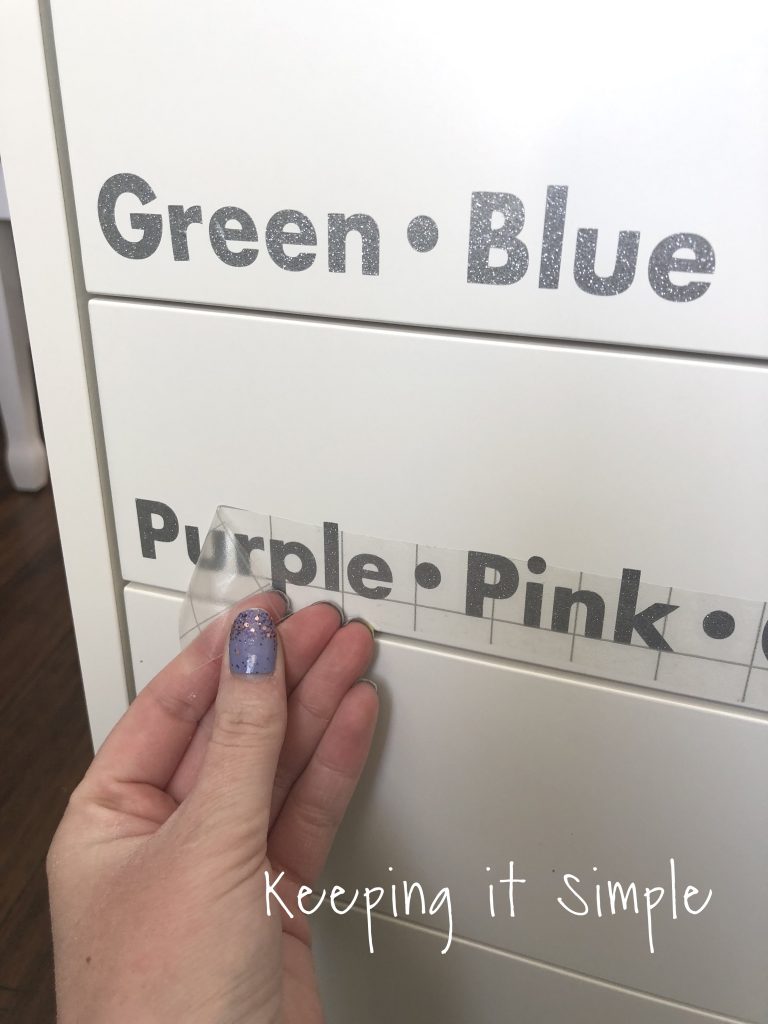
Using clear transfer paper, I put the vinyl onto the drawers. Doesn’t the glitter look amazing?? I love it so much!
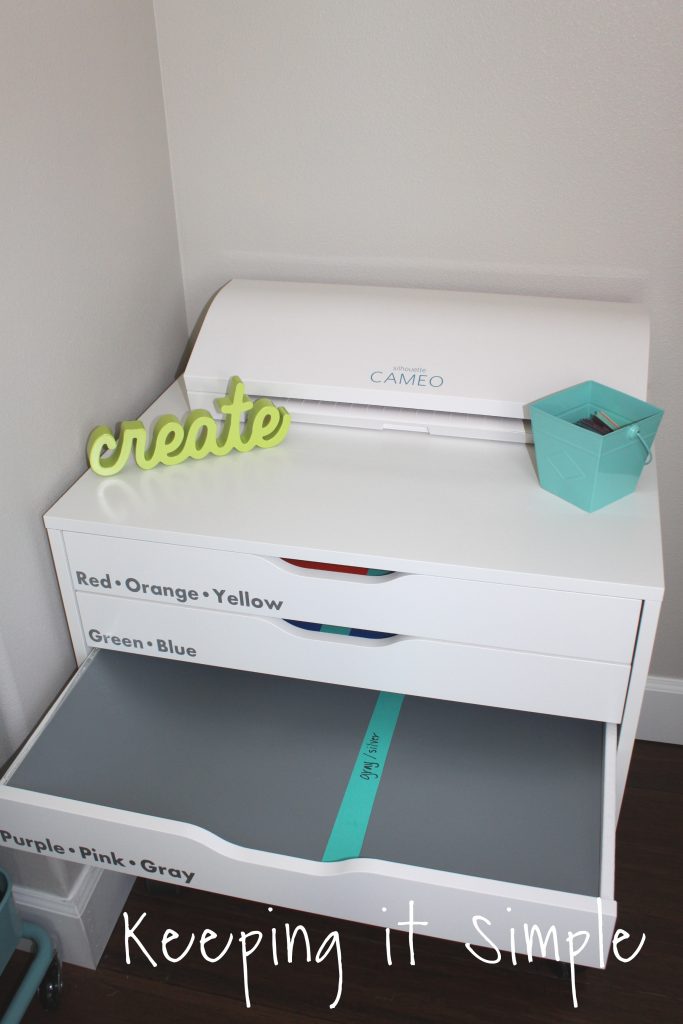
And that’s it!! All of my vinyl fits inside this storage unit and I have LOT of vinyl!

I love that it has wheels too so I can move it around. The top is perfect to store my machine on and then my vinyl samples on it.

Here is what the vinyl looks like inside the drawers, like I said before it doesn’t lay completely flat, it curls up a little bit on the edges but it still works great!
I was impressed by how much vinyl I could put into one drawer. I definitively have a TON of green and blue (if you ever look around my house, you can tell that I love these two colors!).

Since I don’t have as much heat transfer vinyl, I was able to put it all into one of the bottom drawers. I also could store the little pieces, multi use paper and my ironing block (it’s a block of wood that has multi use paper on it to help with ironing on the HTV).
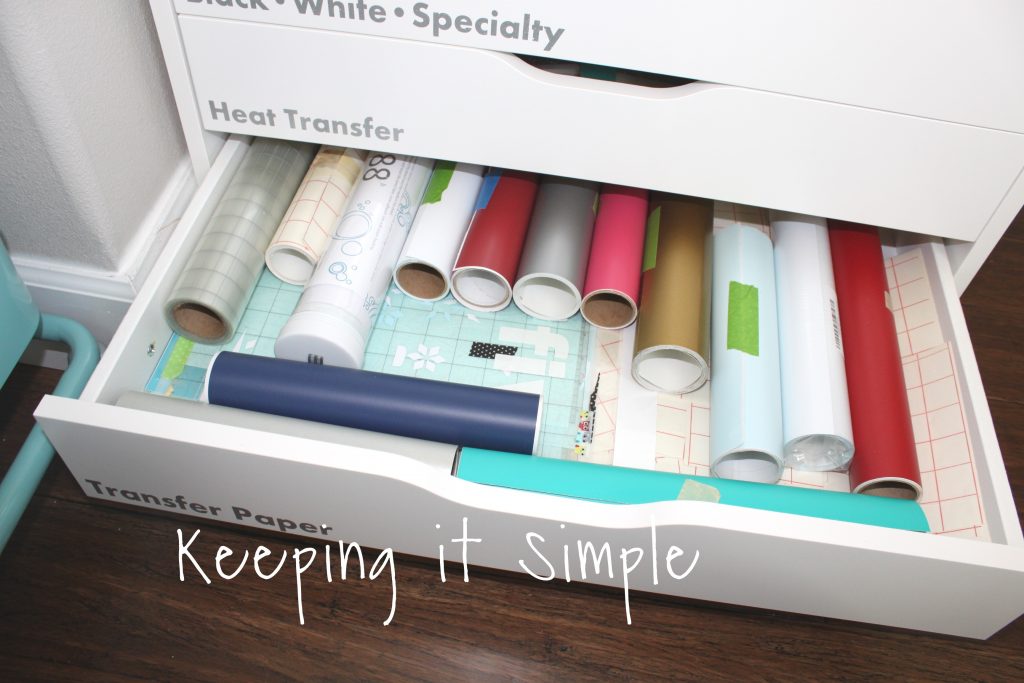
I still have a lot of rolls of vinyl too, so I put them in the bottom drawer with my transfer paper and my cutting mats (the 12×24 mats don’t fit though). As you can see, you can get a lot rolls in there too!
So if you have the room for one of these storage units, then it is a MUST to have! Even if you don’t have as much vinyl as me, you can store 12×12 paper in it too. This is by far the best way to store vinyl! It’s a perfect addition to any office or craft room space!
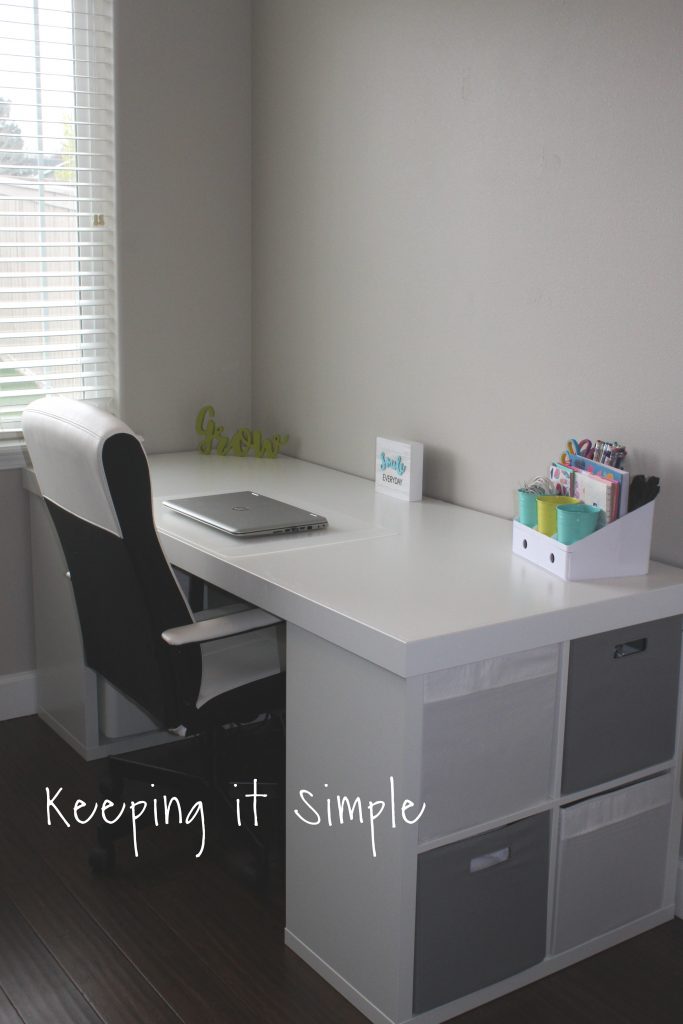
Update- I have loved this storage unit so much that I made a table to go over it. It’s a vinyl work station and perfect for all of my vinyl needs :).
You can get all the details about it here.

Check out the rest of my craft room!
This post contains affiliate links
Leave a Reply
You must be logged in to post a comment.