I’m going to try to decorate more for the holidays, well the holidays that I really like :). I’m going to attempt to make at least one pillow. I wanted to make it really easy to change the pillow out, so I made a pillow case to go over one of my old throw pillows.

This is how I made it:
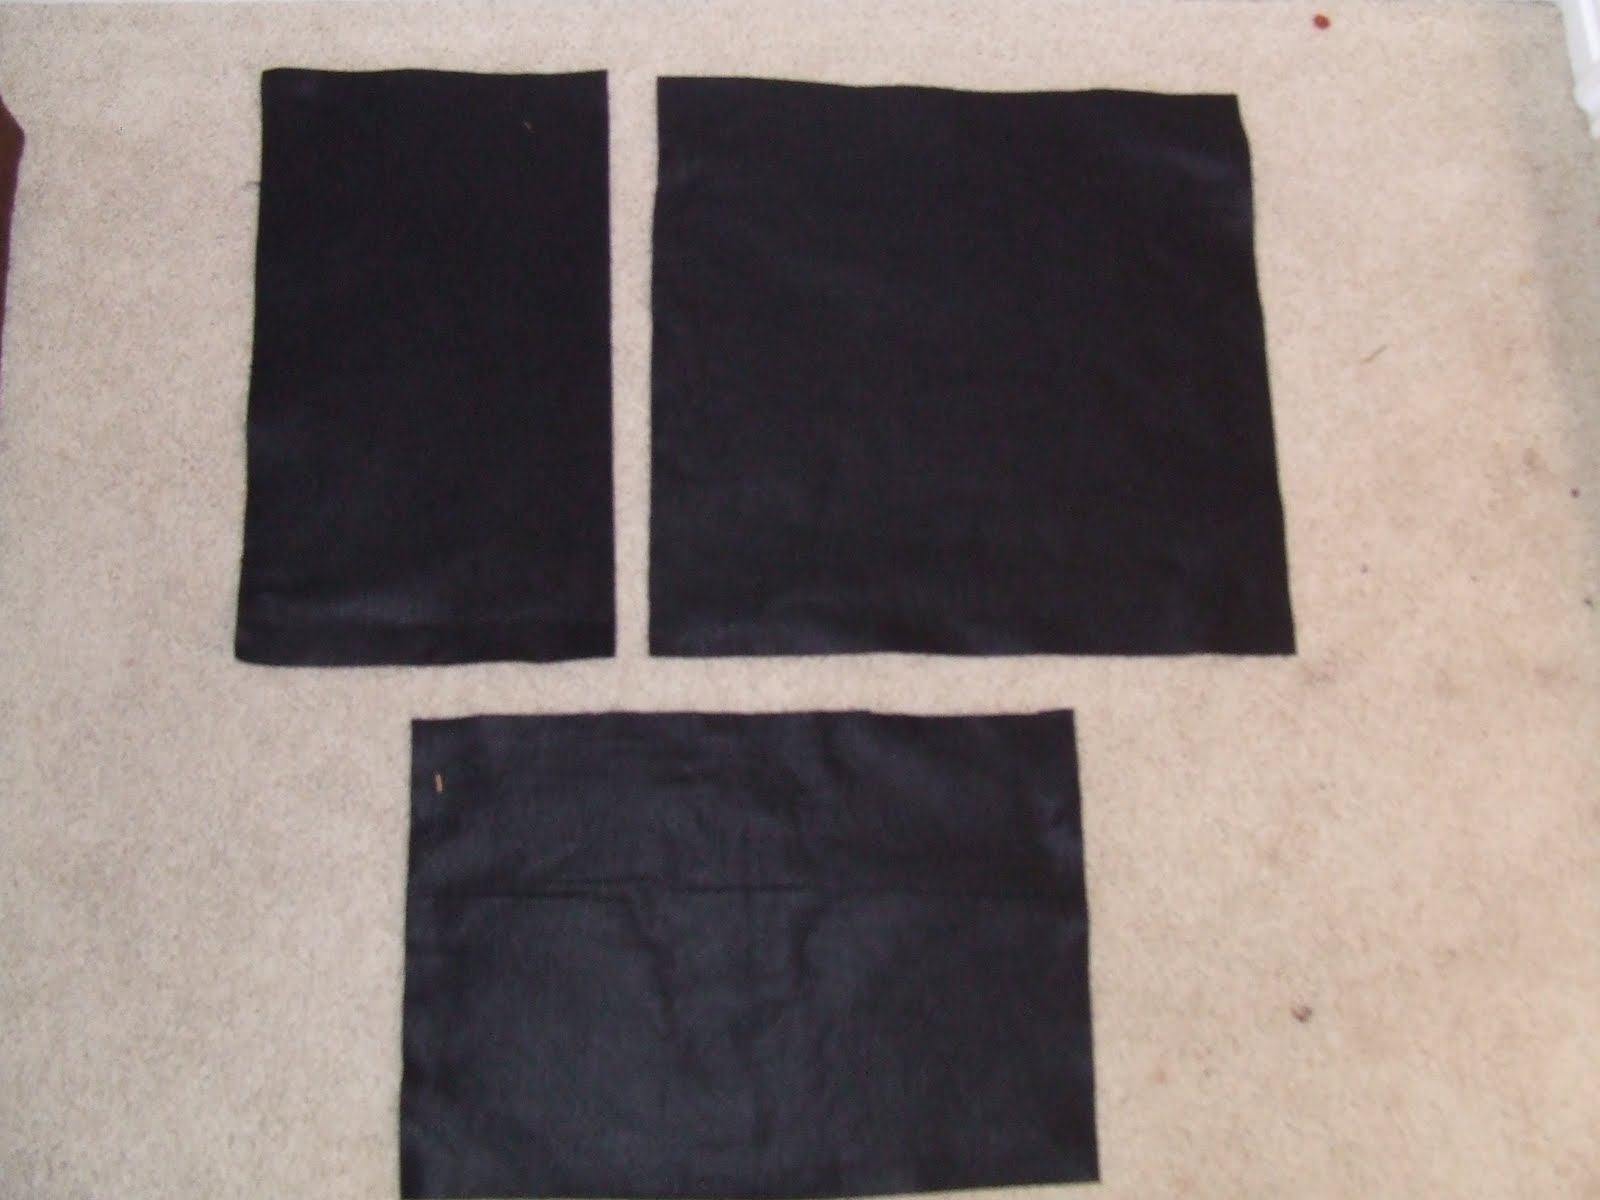
1) The pillow that I am covering is 17″x17″. So I cut three pieces. The front one is 18 1/2″x 18 1/2″. The back two are going to overlap, so one is 18 1/2″x12″ and the other one is 18 1/2″x 10″
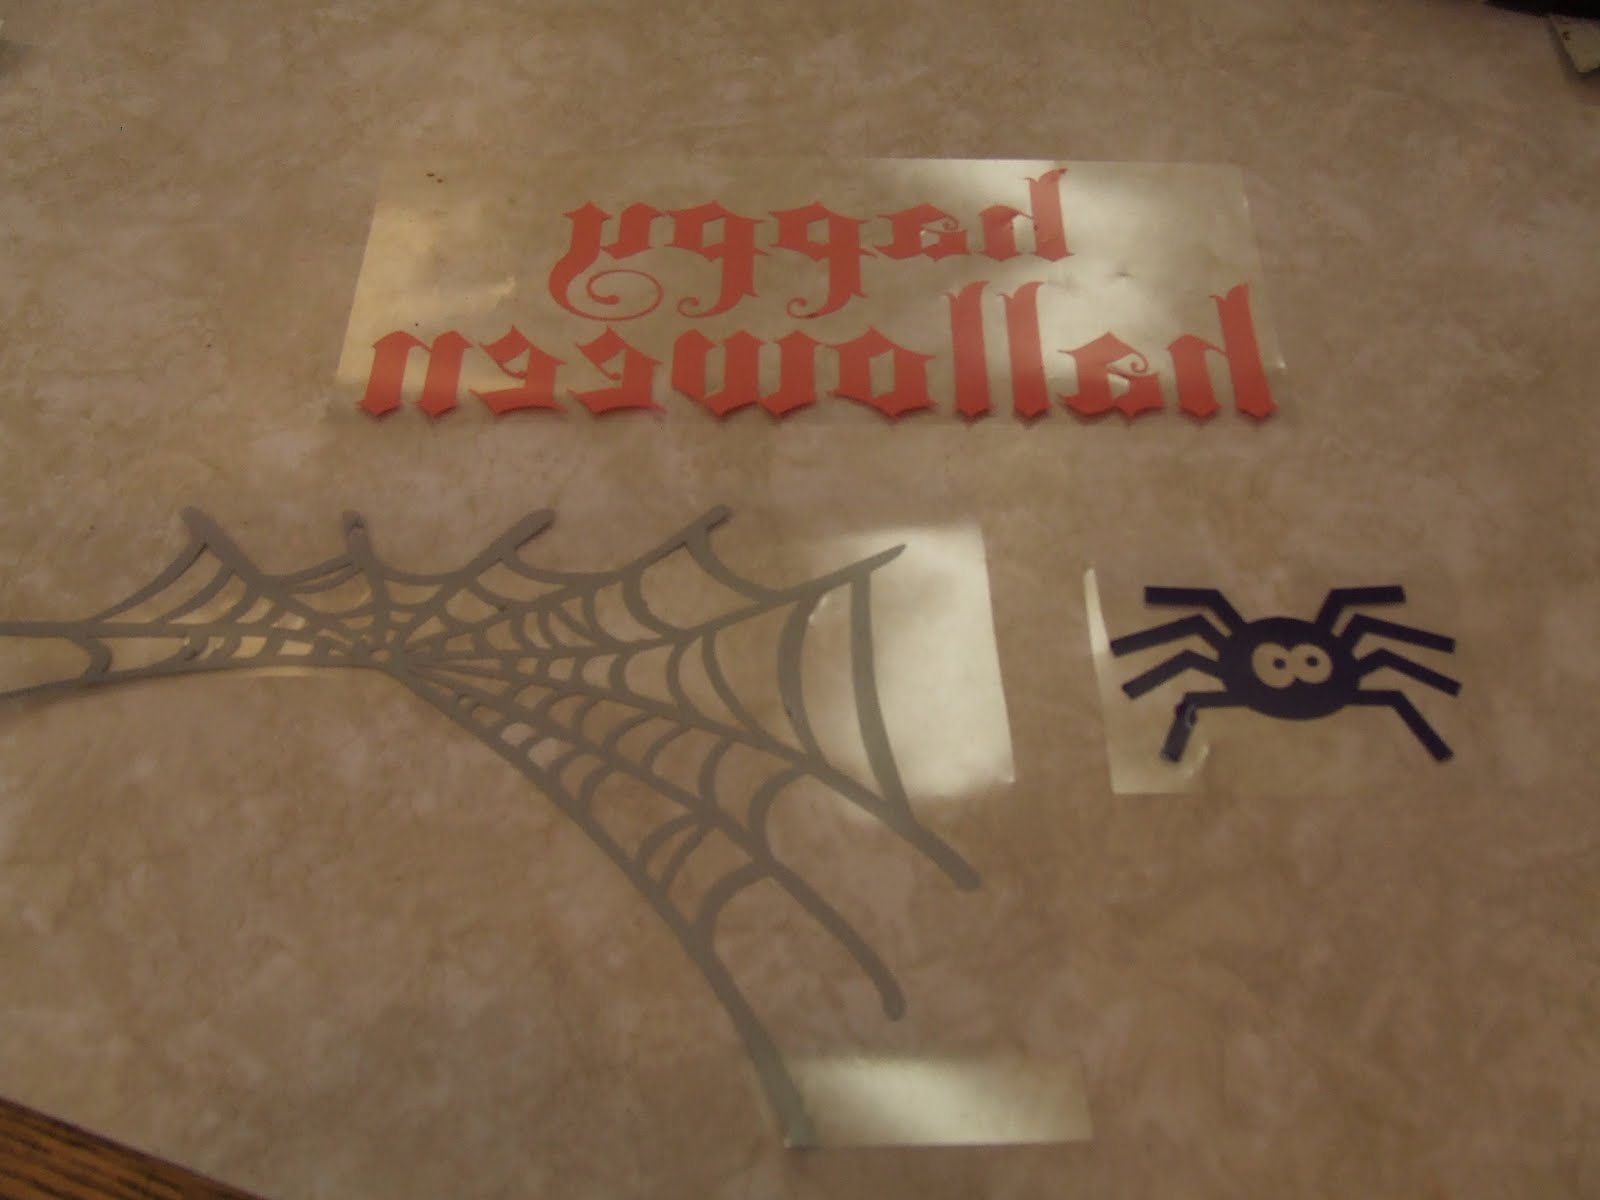
2) Next I cut out some heat transfer vinyl with my Silhouette. I used colors: purple, orange and silver from Expressions Vinyl
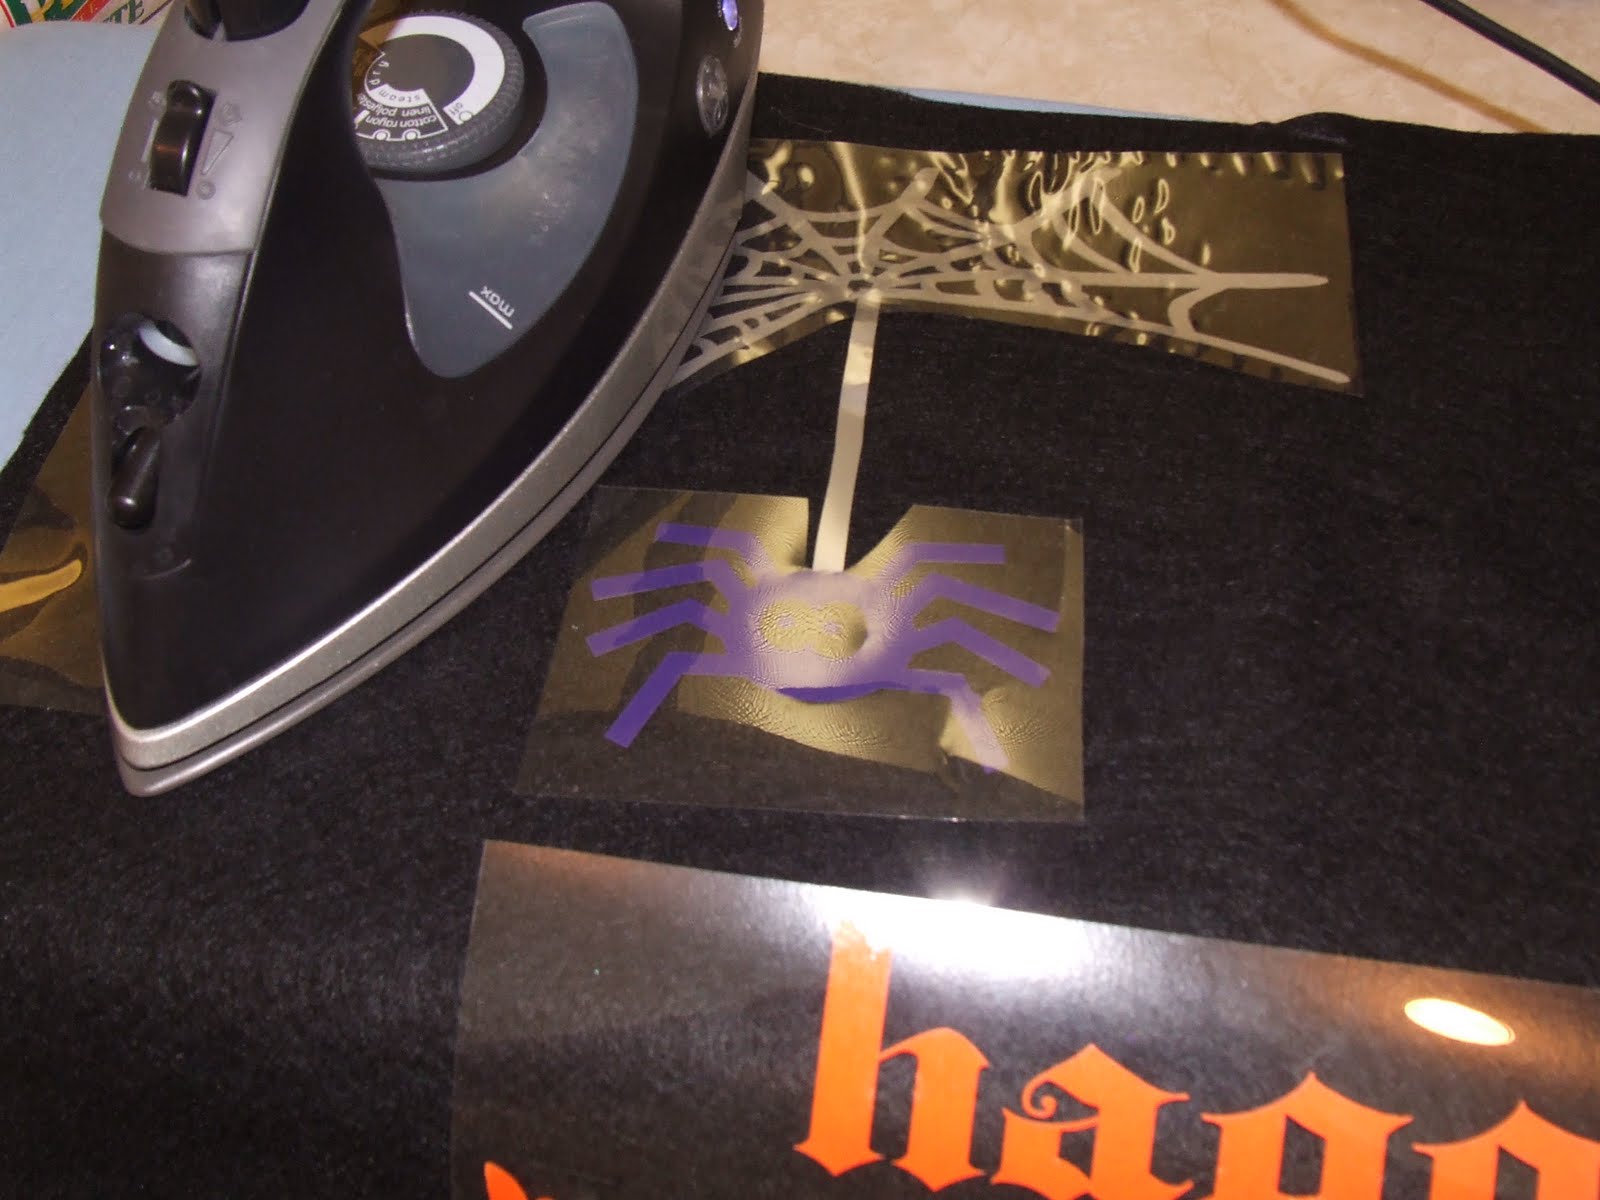
3) I ironed them onto the front piece of fabric.
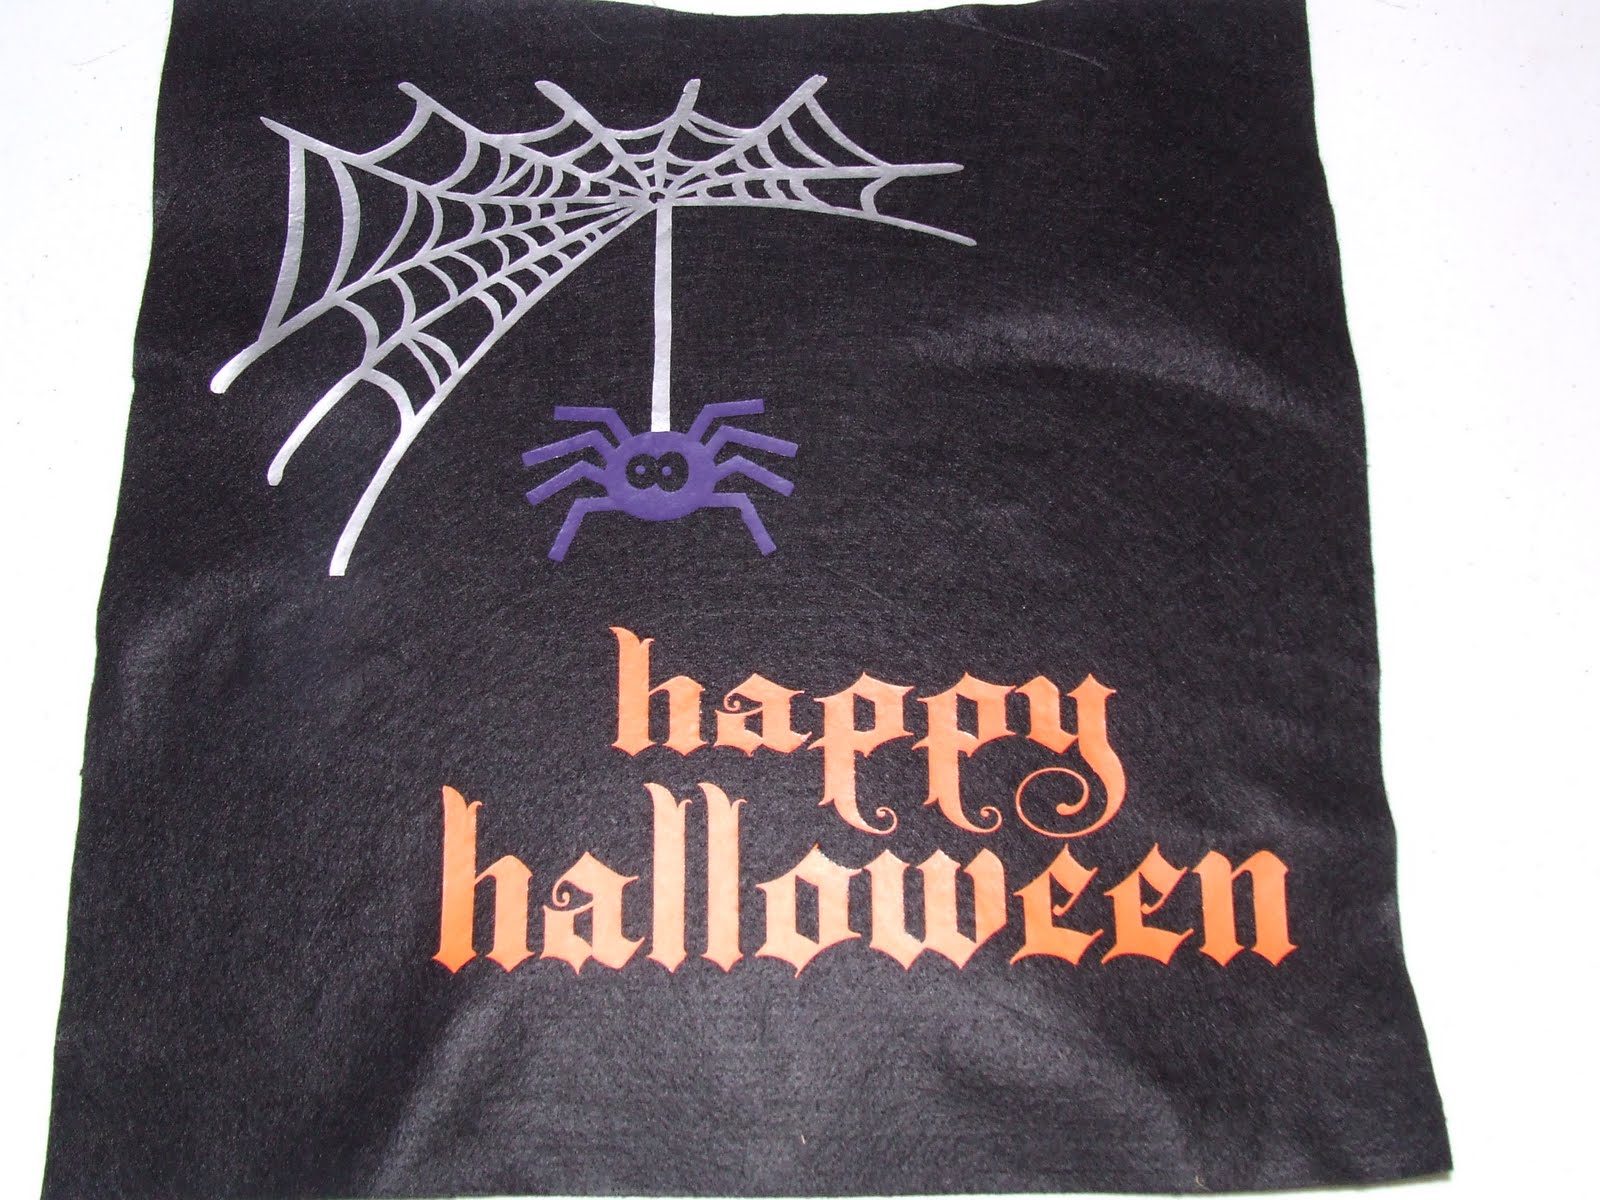
Here is the design all ironed on
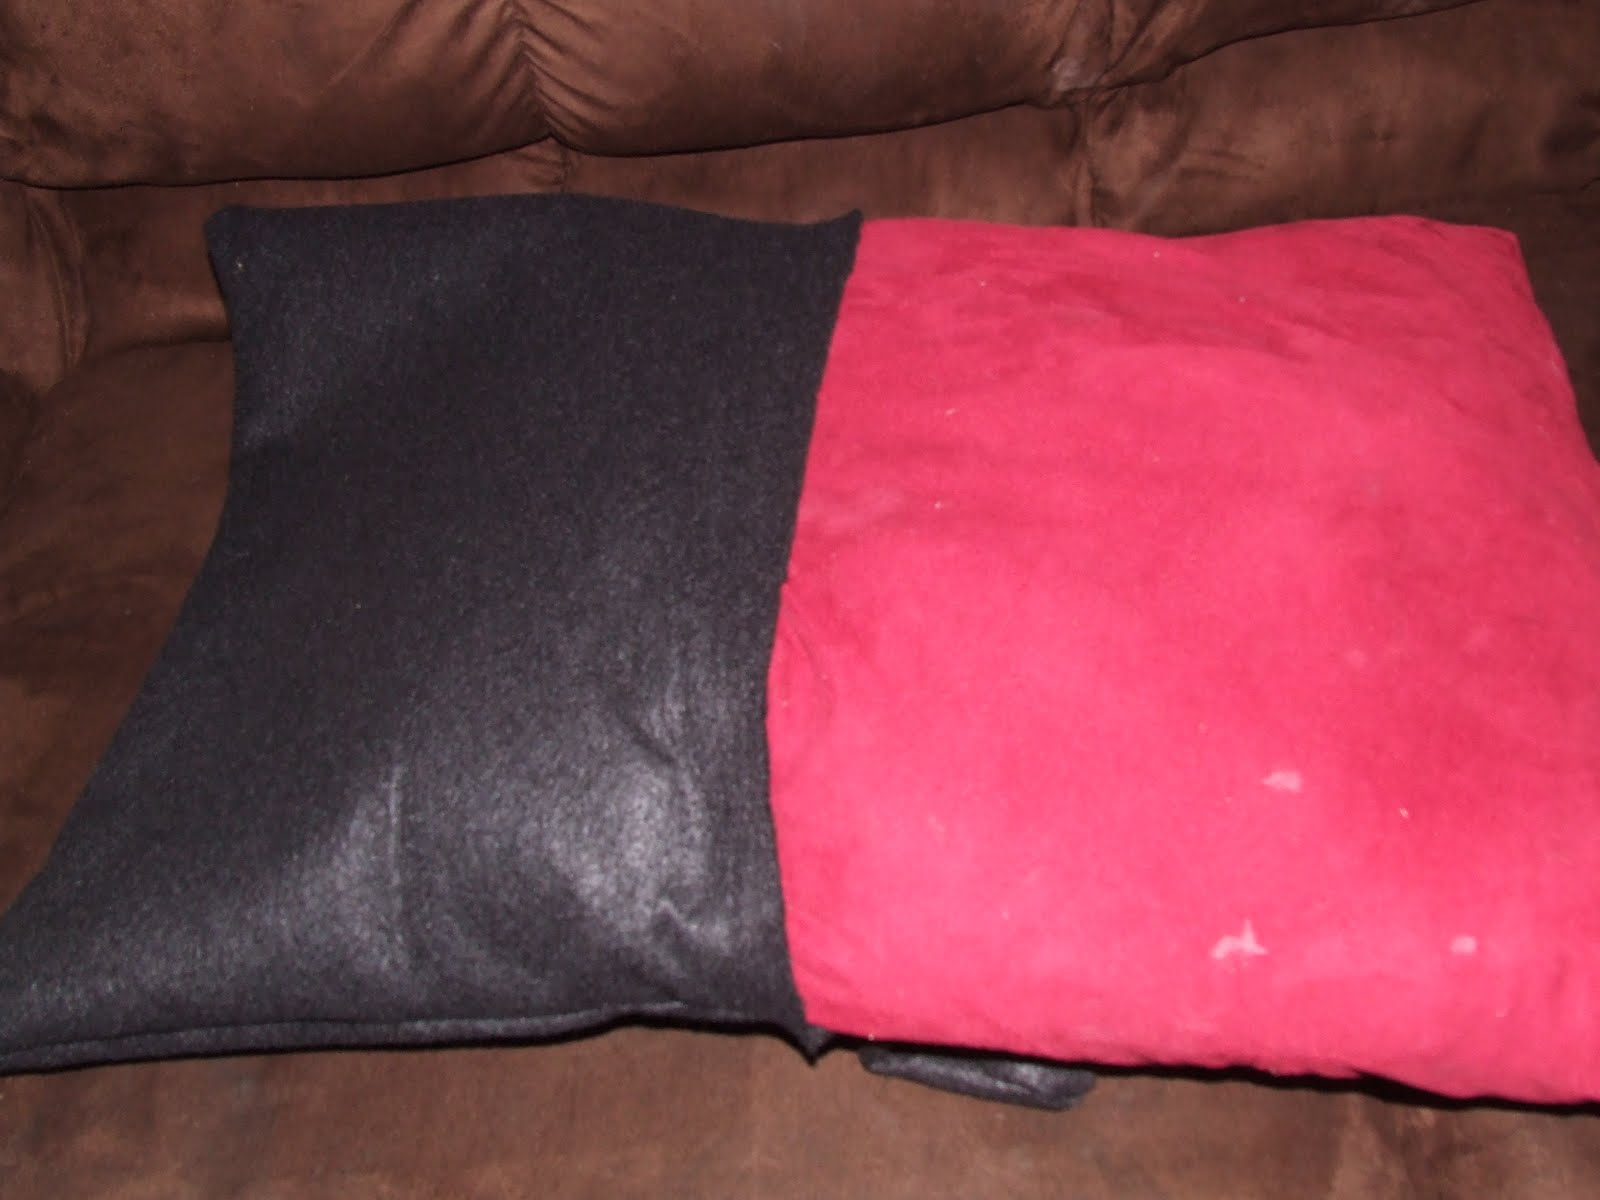
4) Next I took one of the backs pieces and then laid it onto the top piece, with the fronts together. Then I laid down the last piece. The two pieces overlap by about 6 inches.

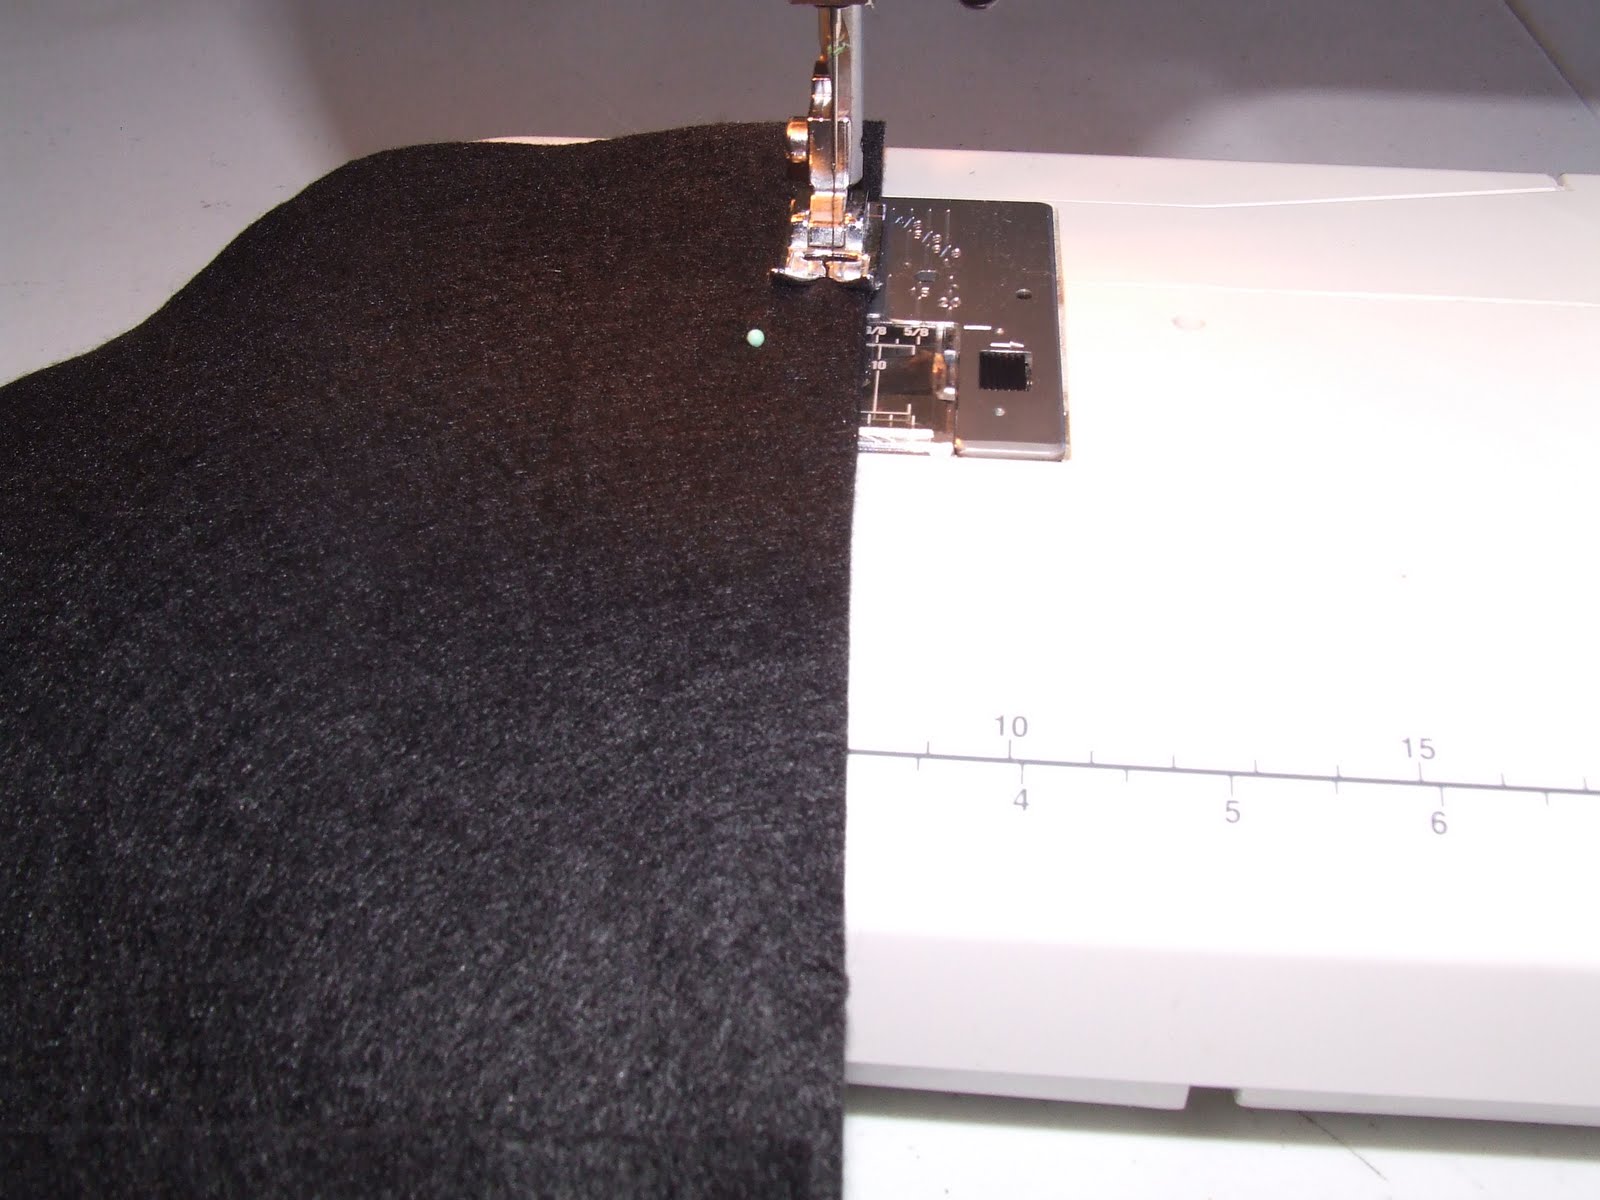
5) I pinned it all together and then I sewed all four sides together.
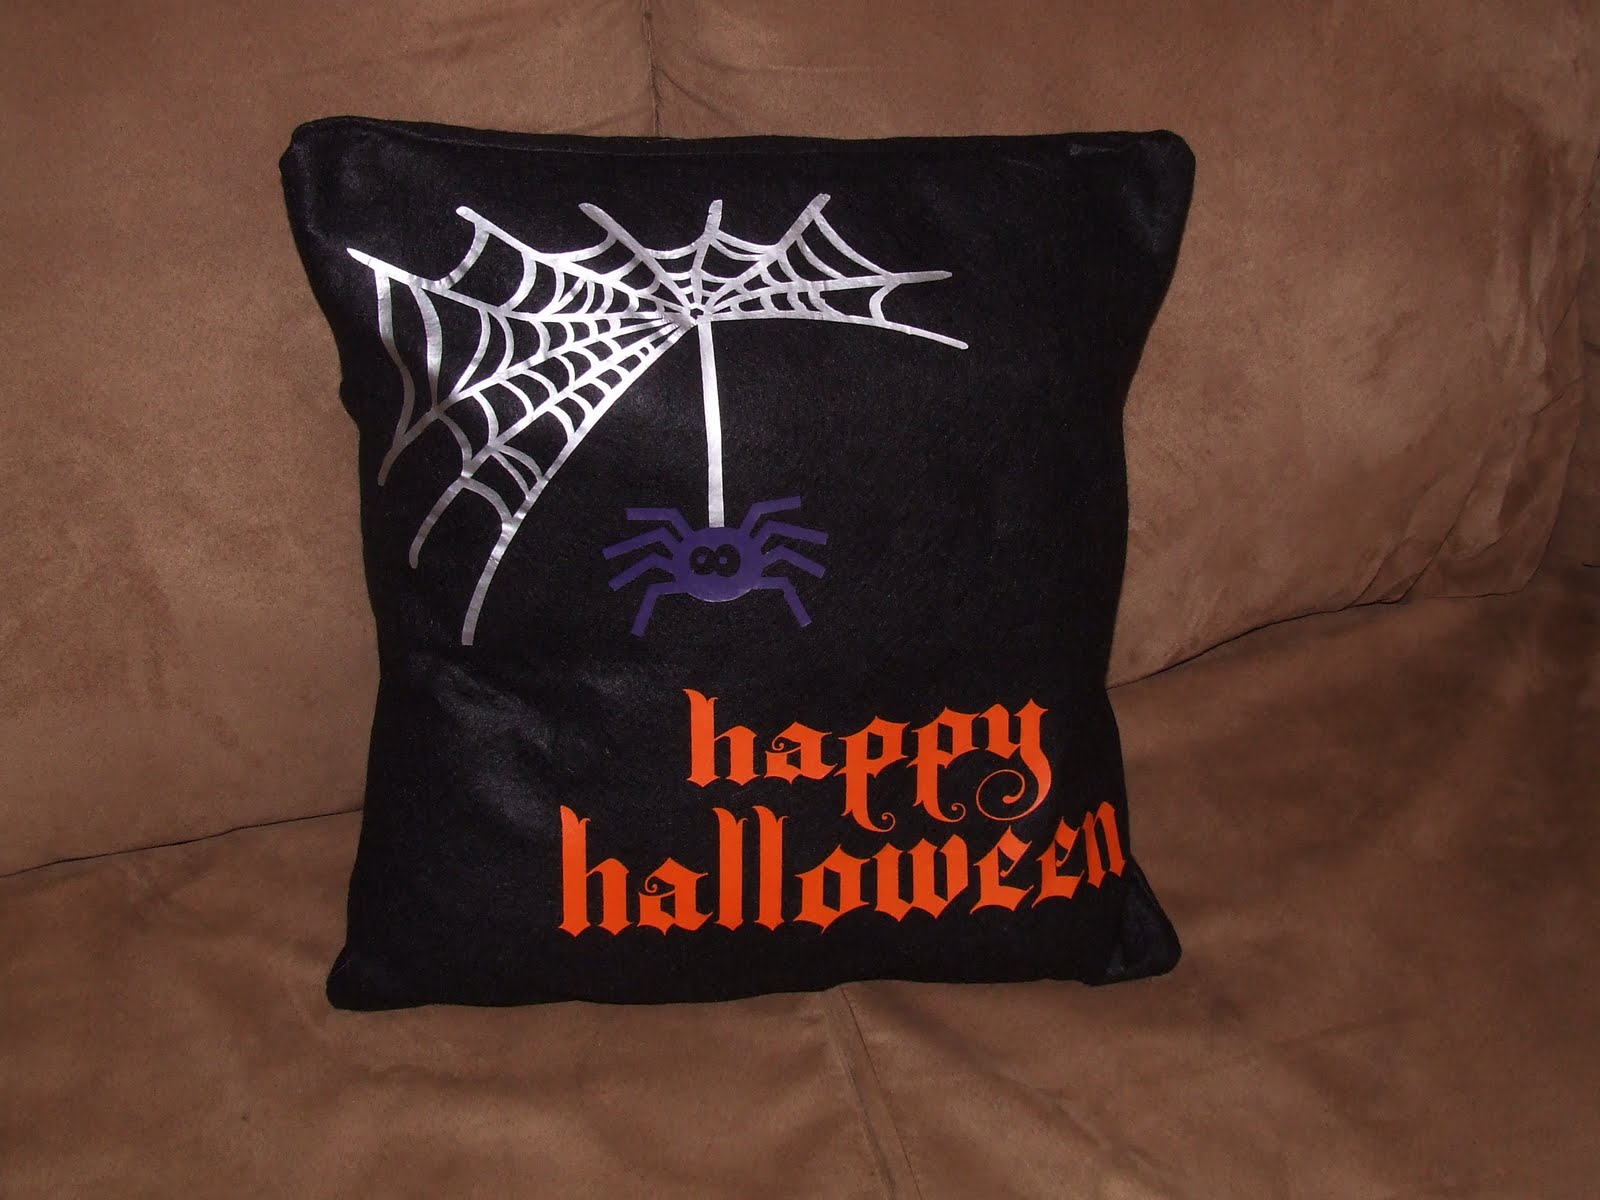
6) I then stuff the pillow into the opening of the case.
And just like that I have a pillow for Halloween and I easily change it for the next holiday.

Really great idea. I love the thought of having a pillow case for lots of holidays… how simple to just change out and they don't take much to store for next year. Thanks for the inspiration!
This looks so easy…even for a newbie sewer like me! Very cute.
oh, so great tutorial!
Light Trigger: OUR ENTRY
Cute pillows! I used that same kooky Silhouette spider on some of my Trick or Treat bags this week. Just love it!
Your pillow is 100% precious! Thanks for partying at the Tuesday To Do Party!
Smiles!
Jami
http://www.blackberryvine.blogspot.com
Very cute! I think it's smart to make pillowcases…they'll make a big impact during the holidays, but will take very little space to store on all those other days!
Fun!!
Such a cute pillow!
Marie
mylilpinkpocket.blogspot.com
That is really fun! I love heat tranfer vinyl, I need to do more with it. 🙂
And that surely counts! Very creative. Great for the halloween. What you've done was surely a great one to ponder, the whole thing looks easy and ideal, feels like I wanna make a lot of it for the up coming holidays.
Carpet Brisbane