• Skip to primary navigation
  • Skip to main content

Keeping it Simple

creating simple crafts, DIY, recipes and more

  • About Me
  • Advertise
  • Buttons
  • Contact Me
  • Keeping it Simple Designs
  • Privacy Policy
  • Tutorials
  • Home Decor & DIY
  • Recipes
  • Holiday Crafts
  • Gaming & Geek Crafts
  • Printables
  • Kids Crafts
  • Sewing
  • Vinyl Crafts

Reversible Pumpkin Patch and Christmas Tree Sign

September 25, 2017 by Kaysi 8 Comments

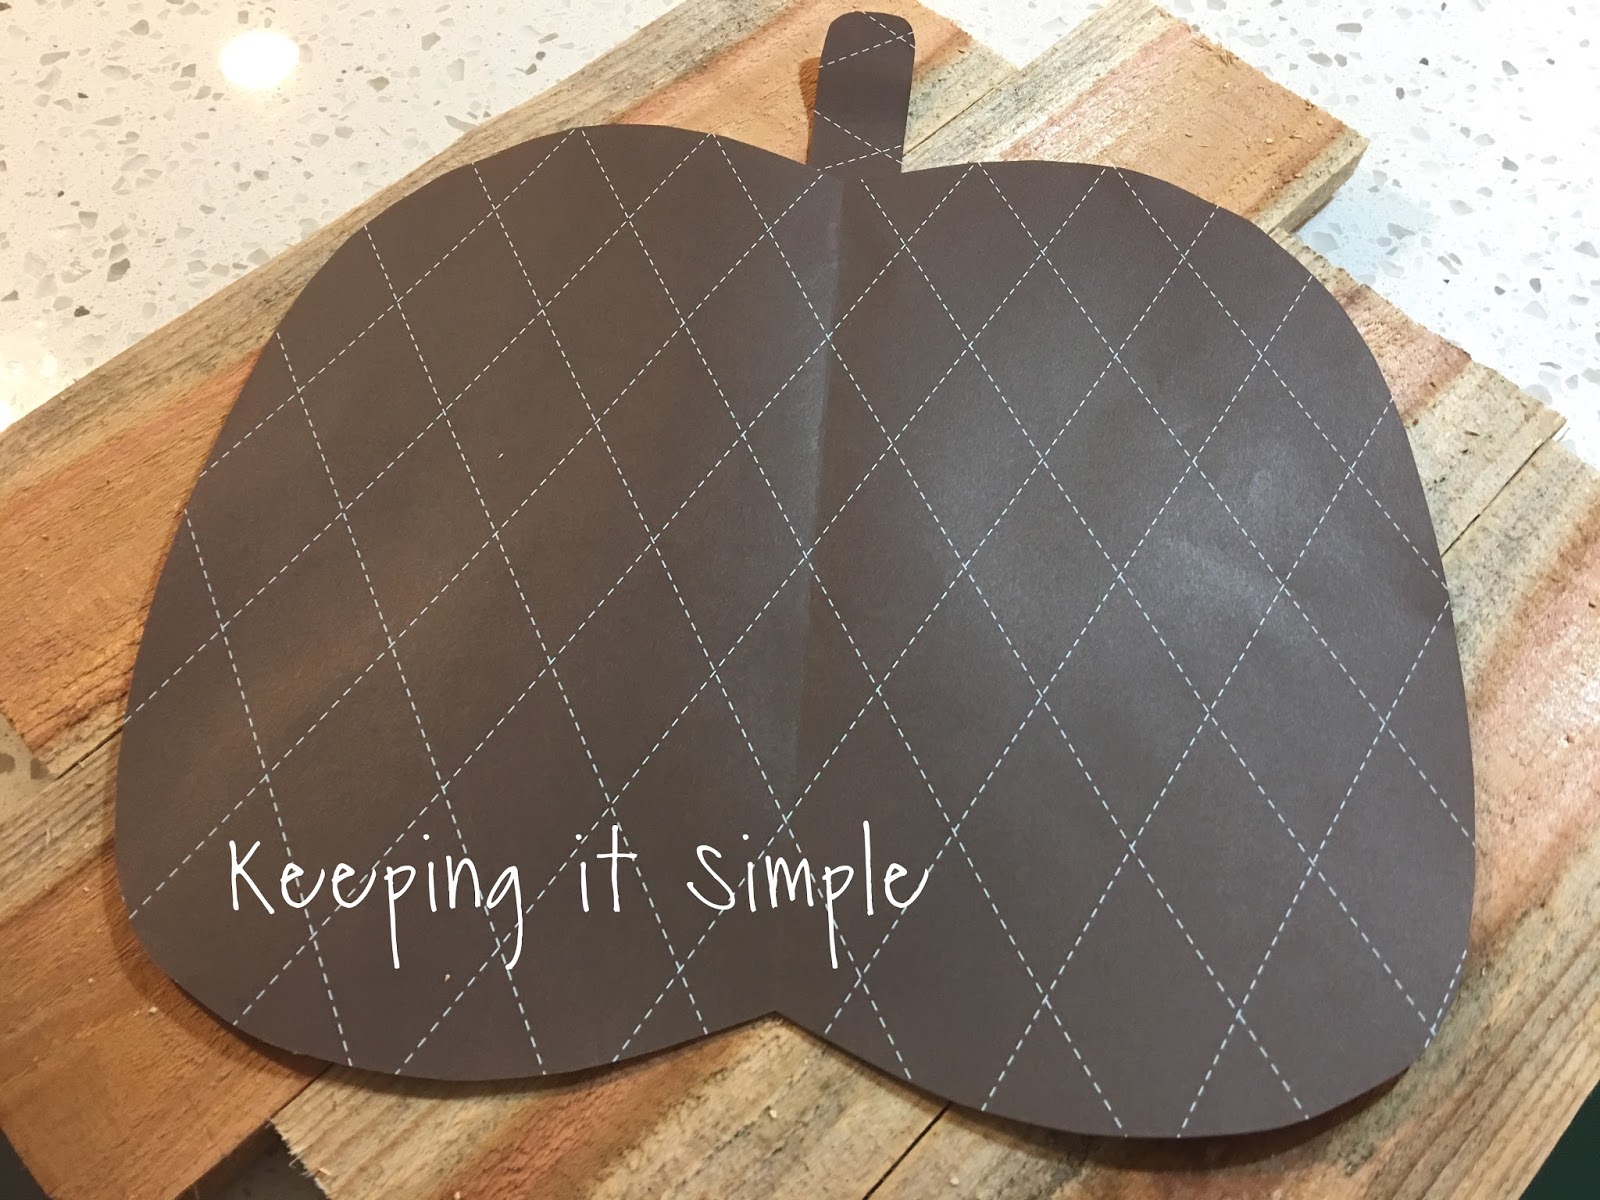
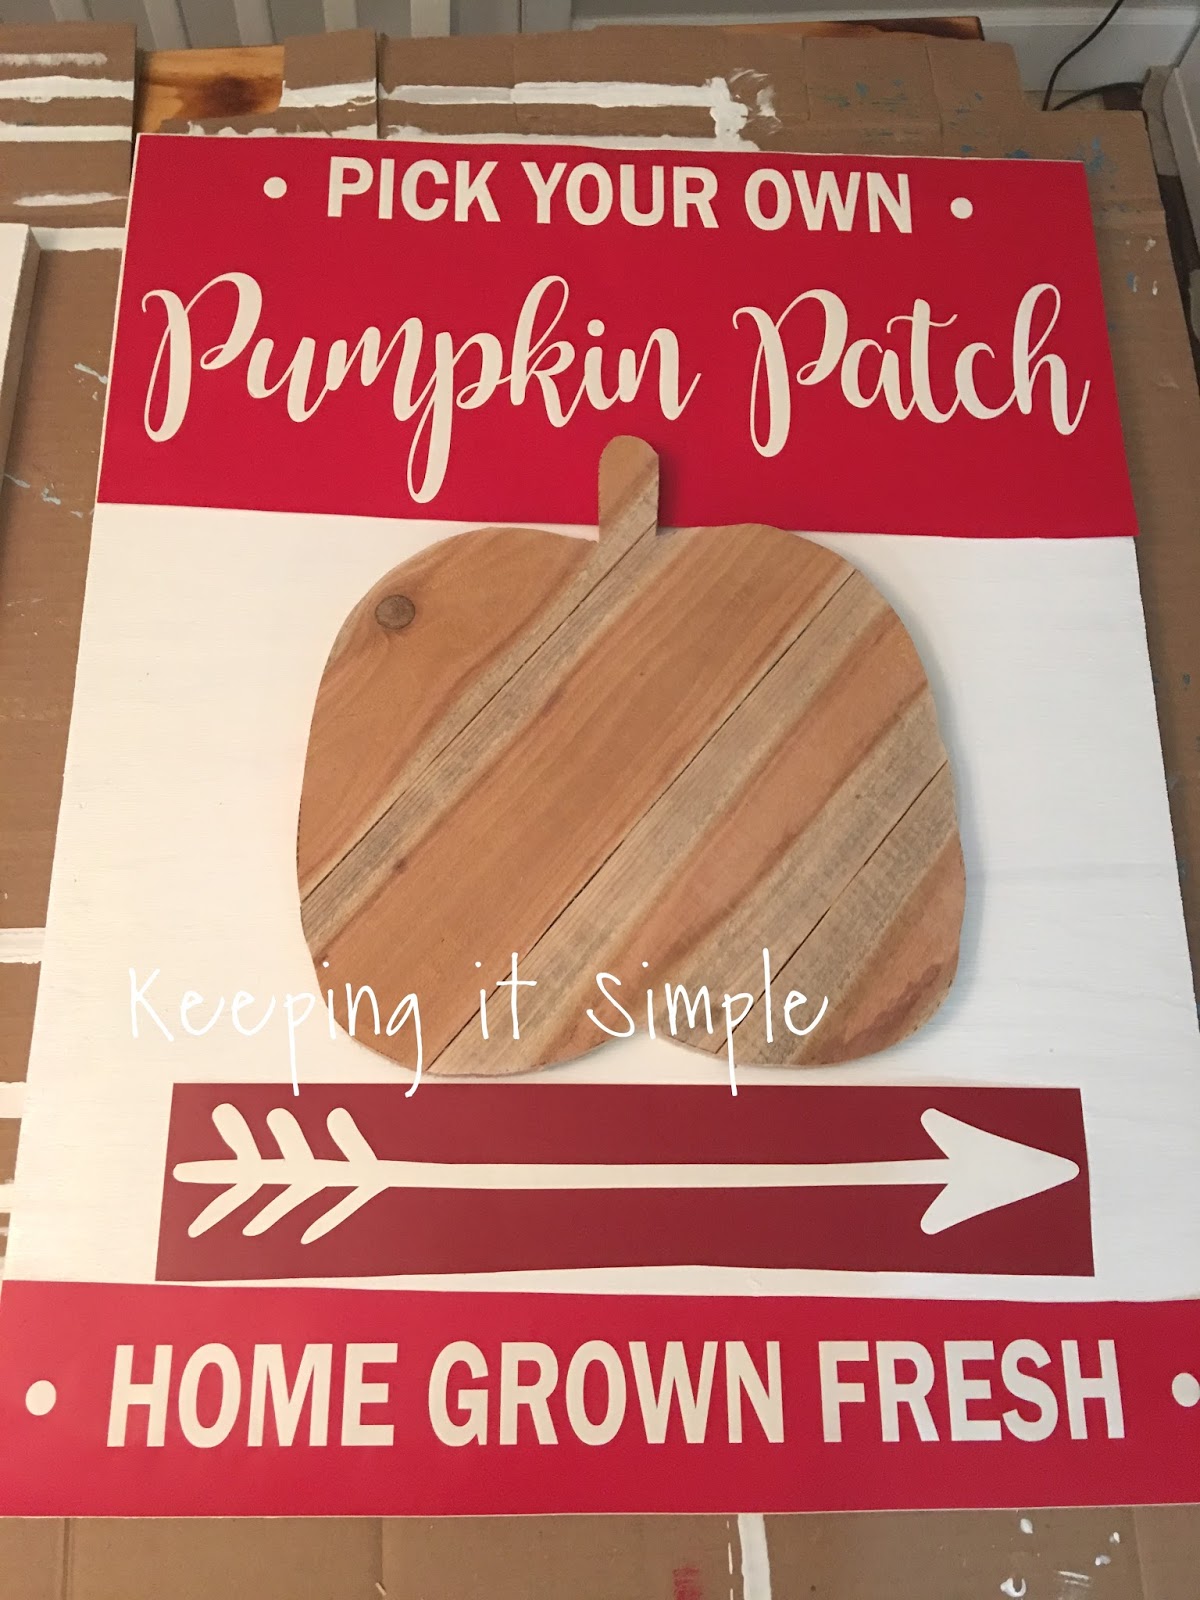
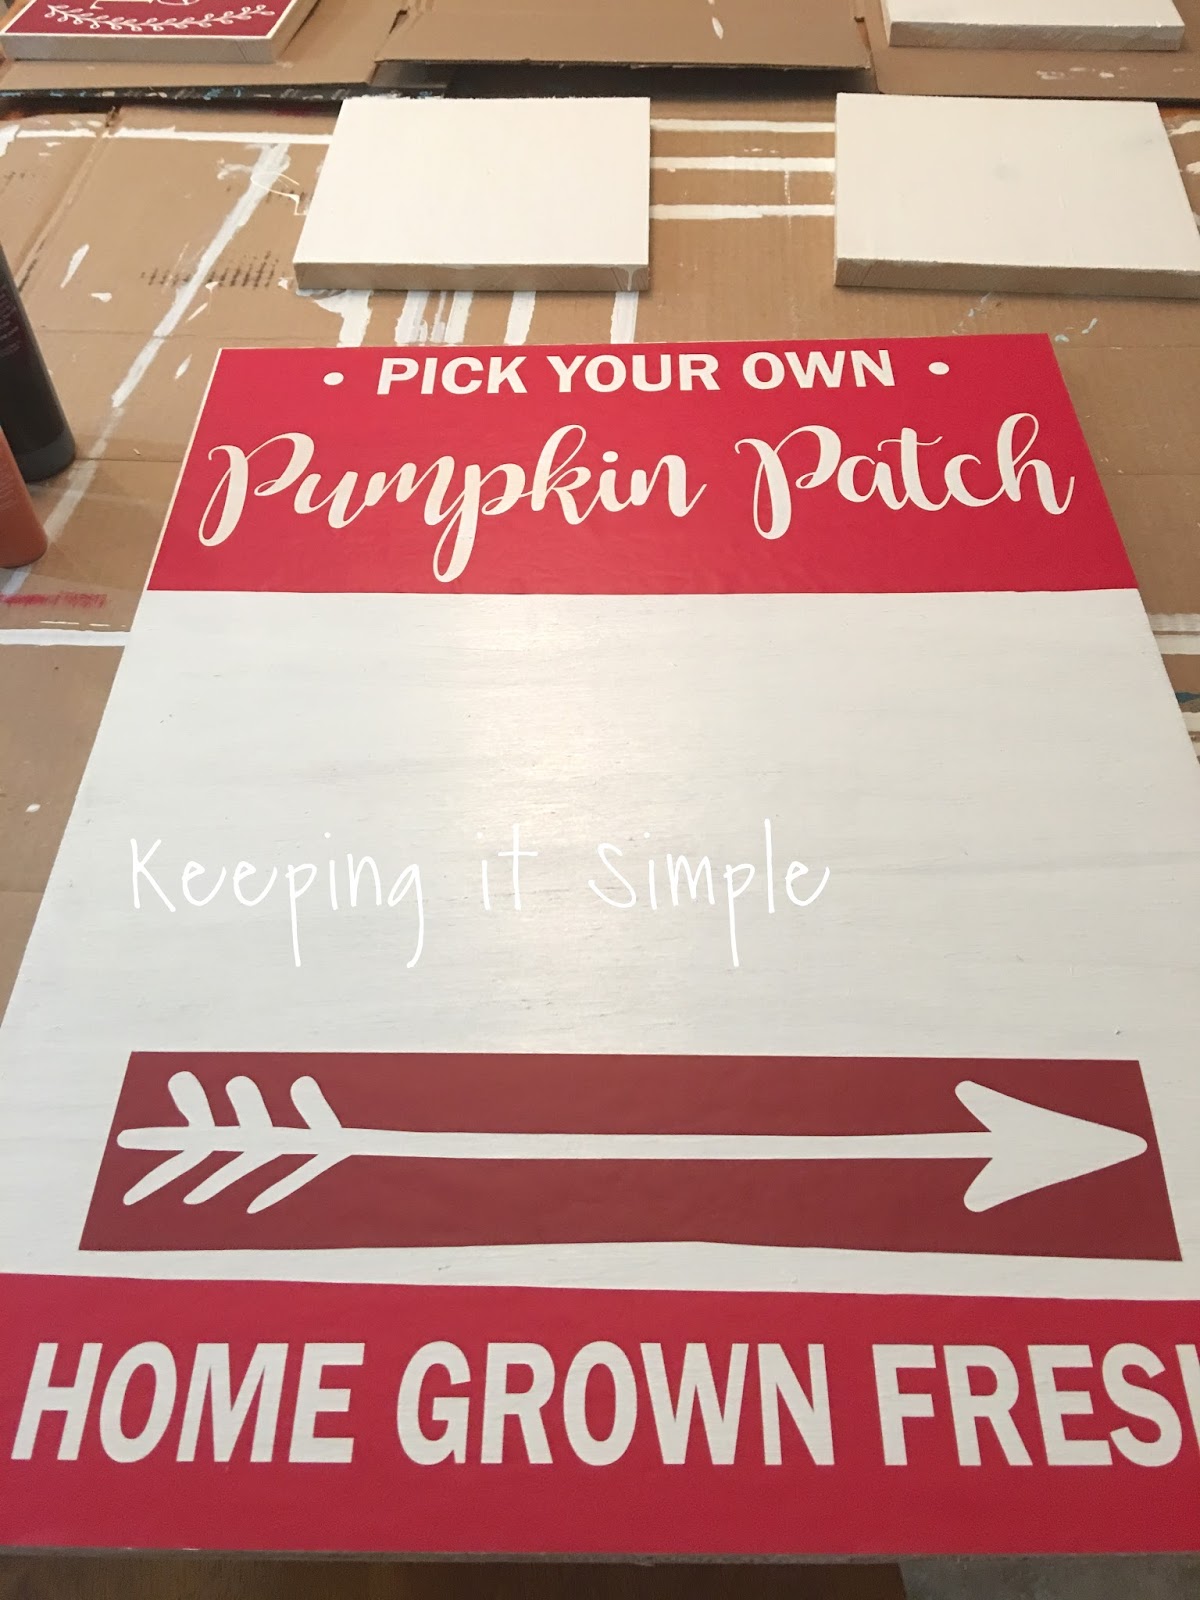
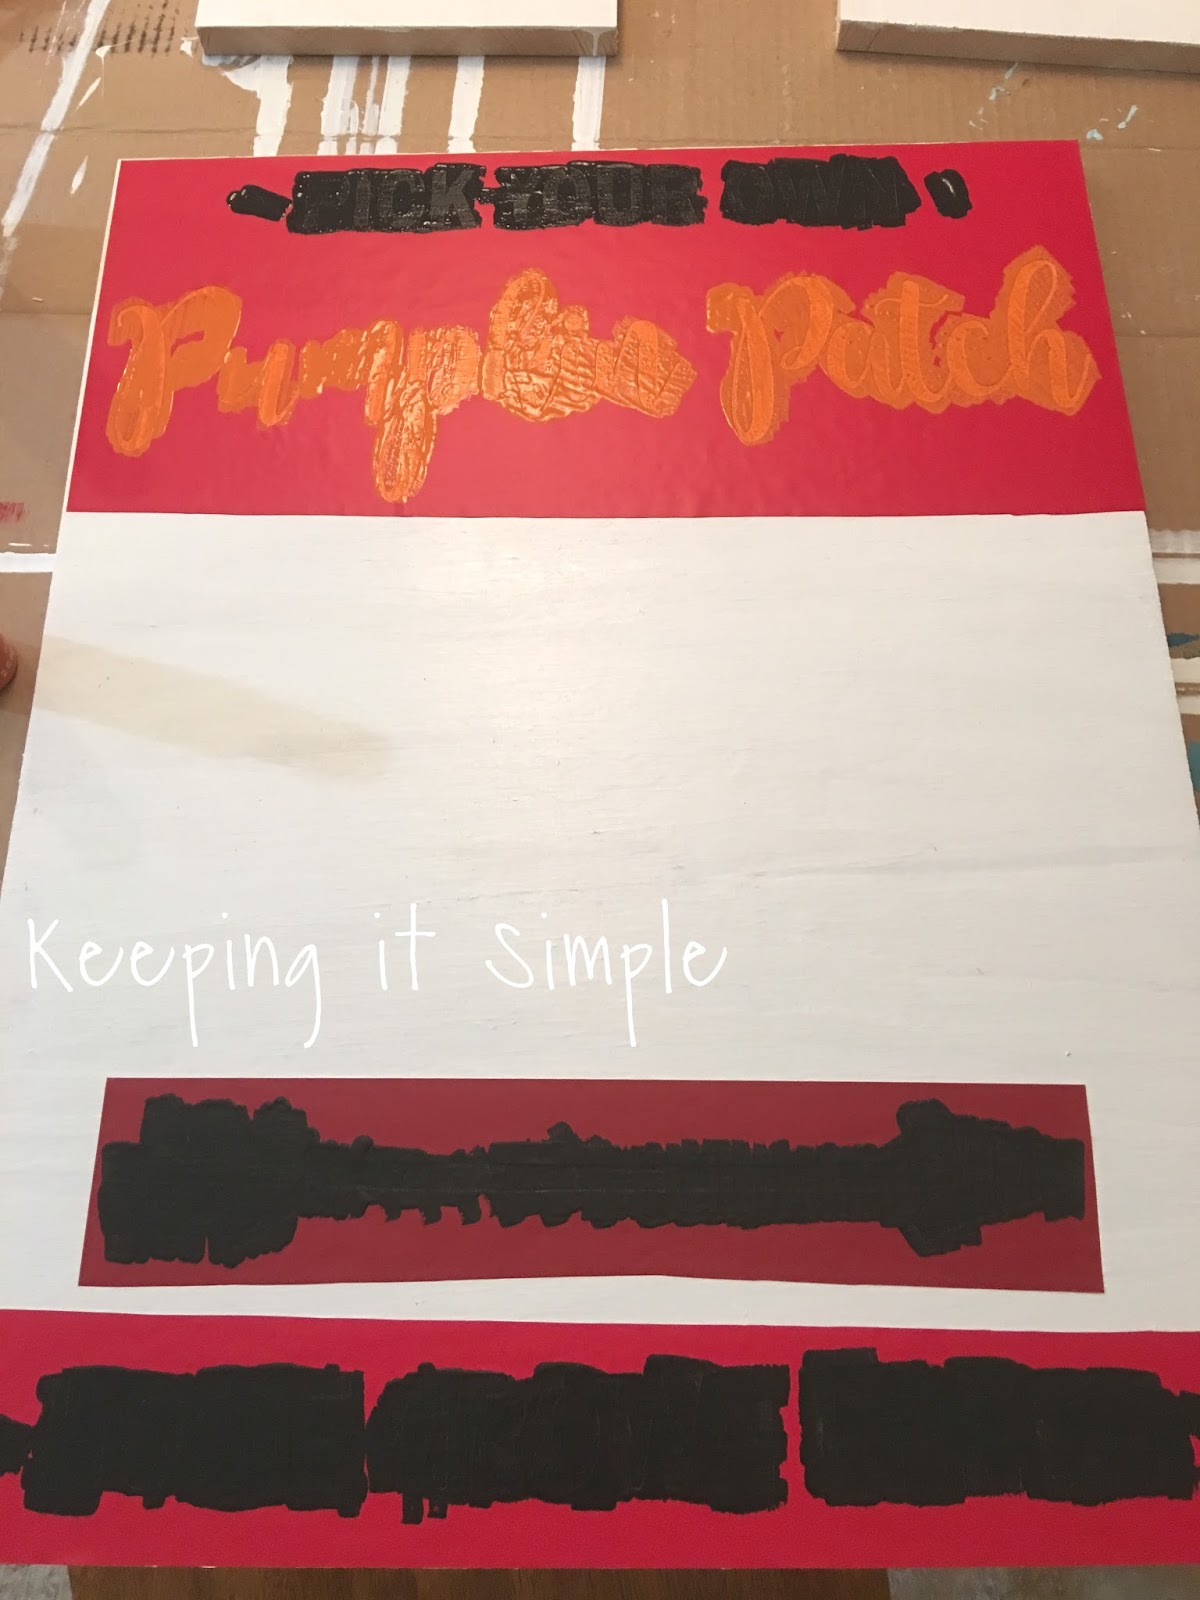
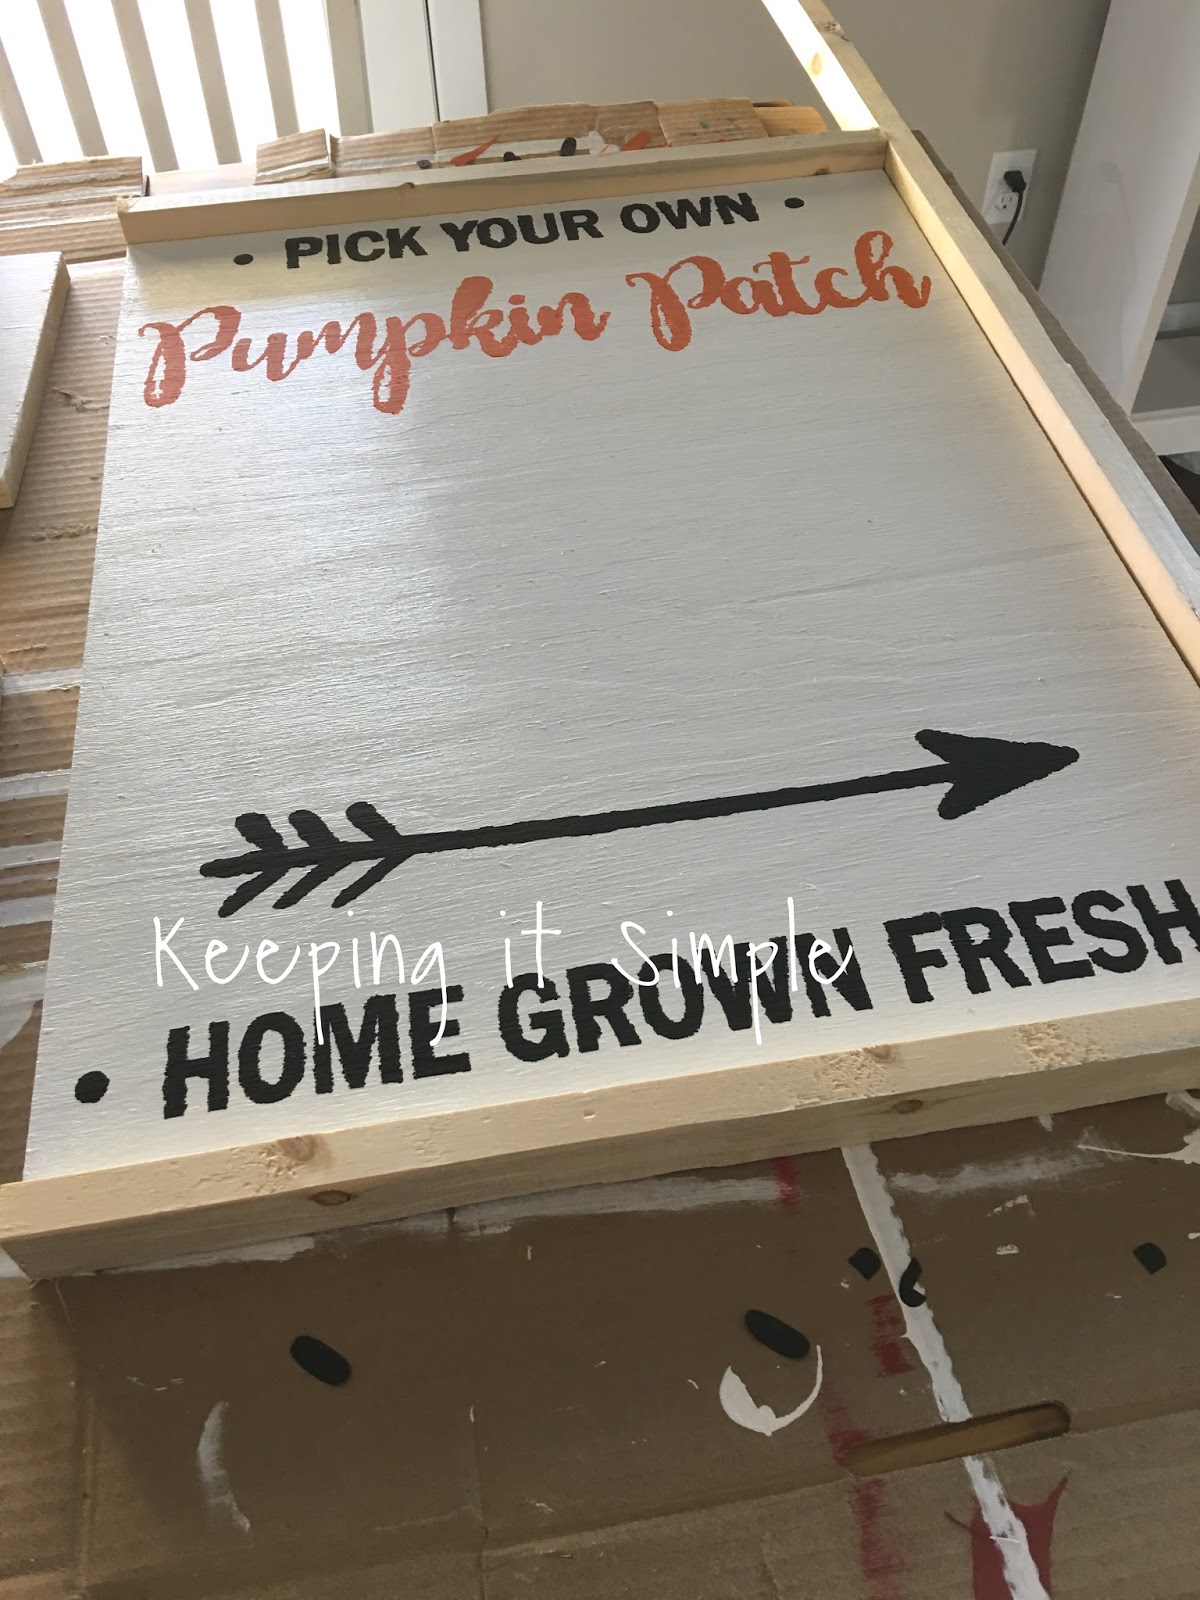
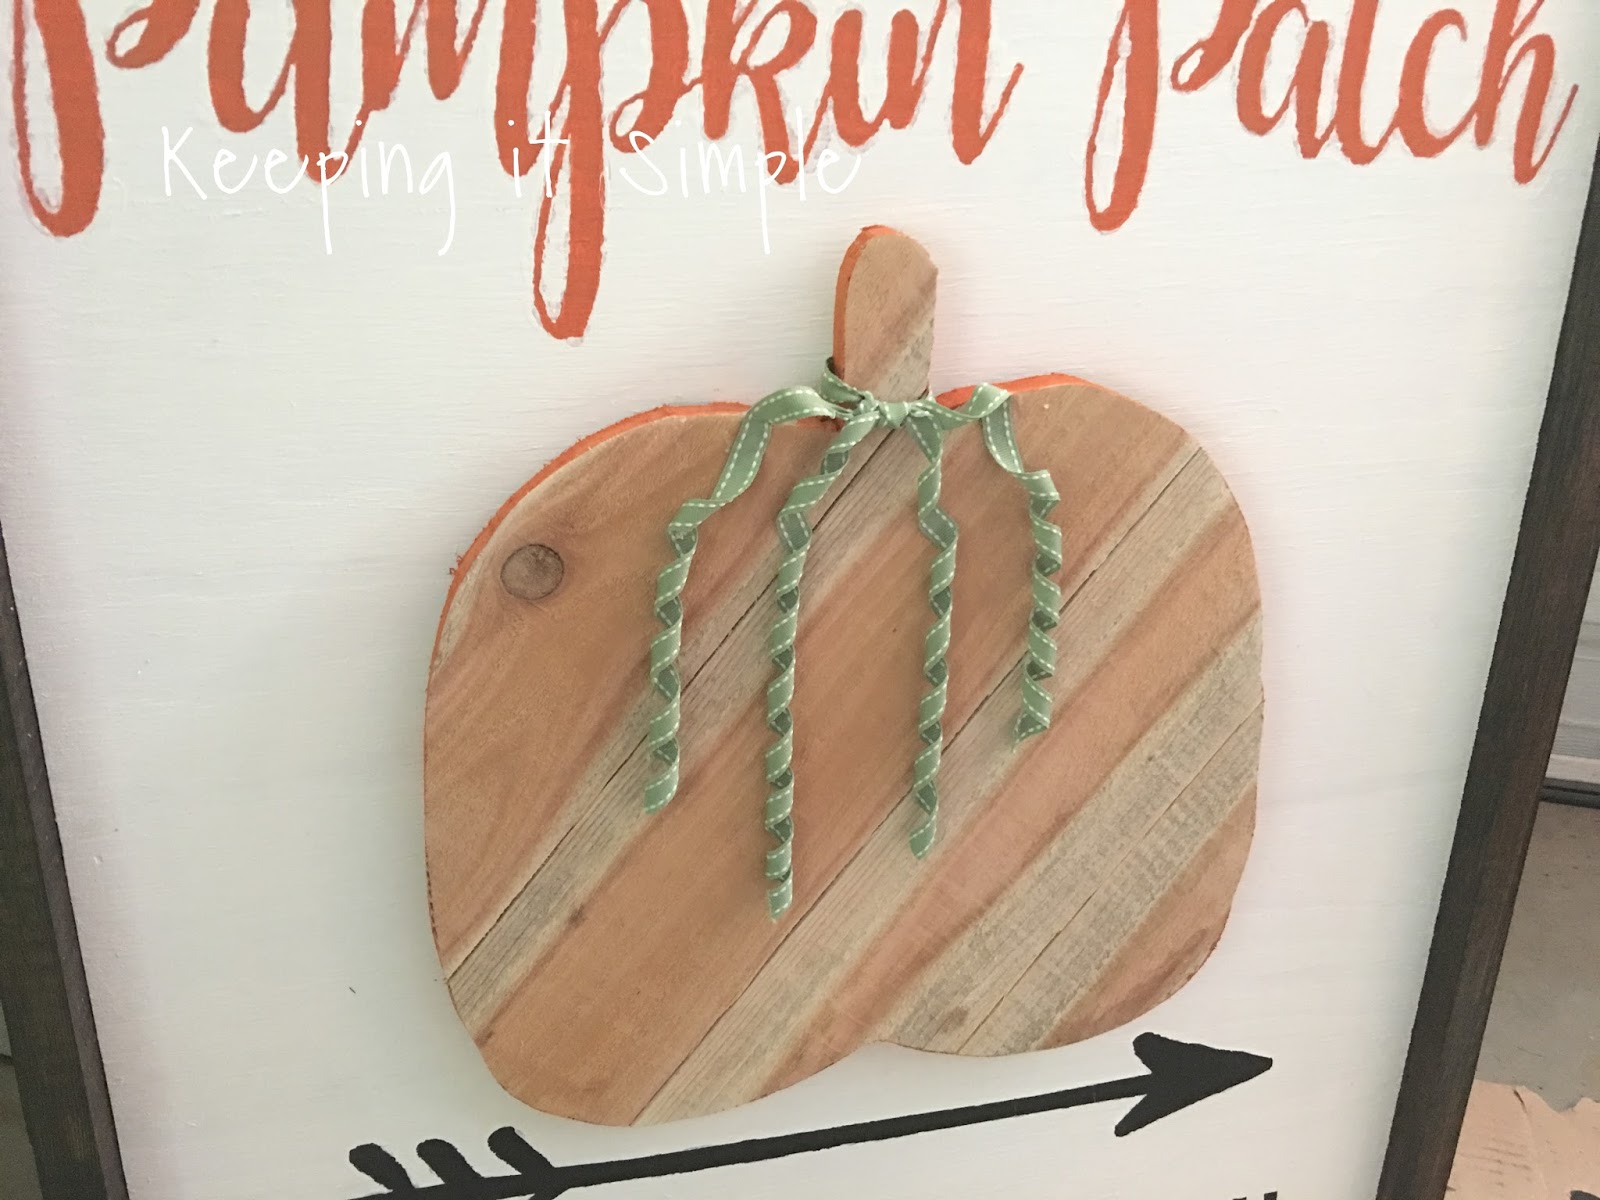
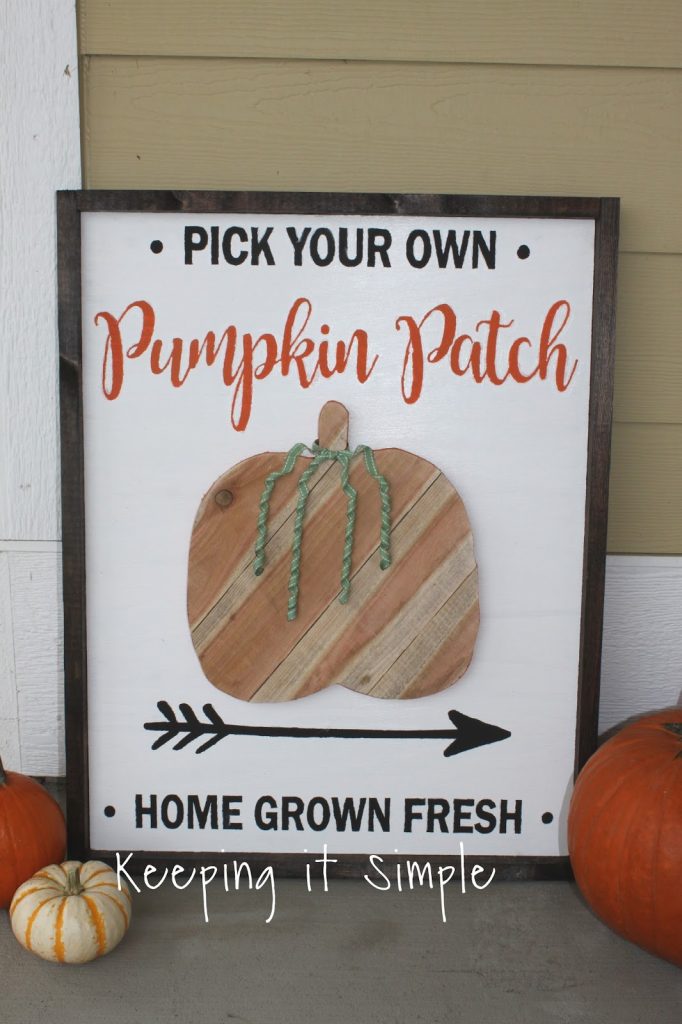
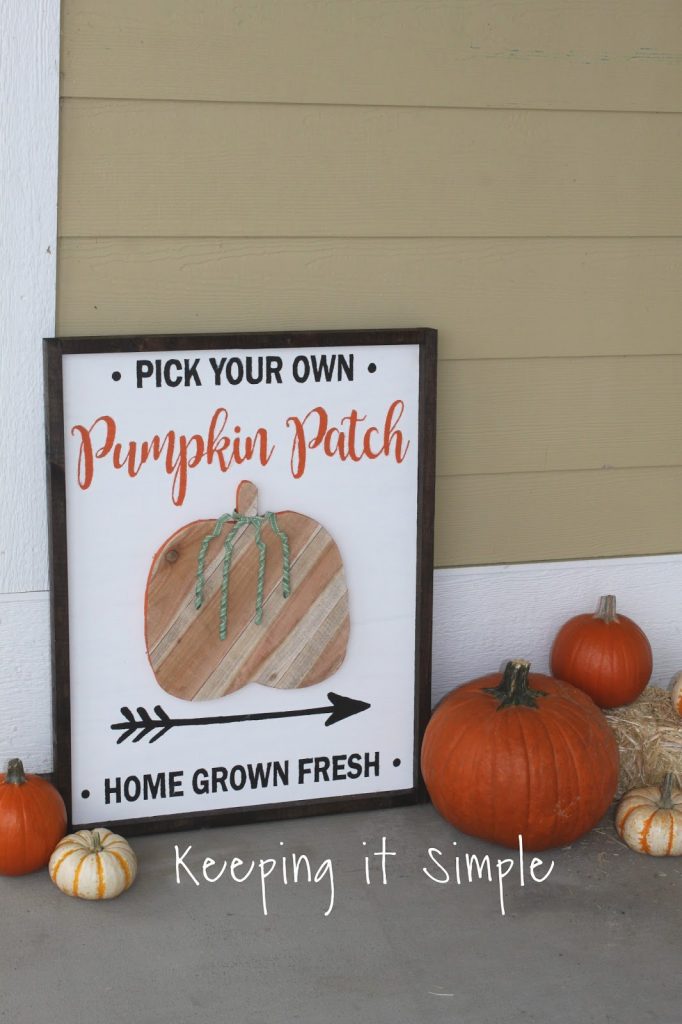
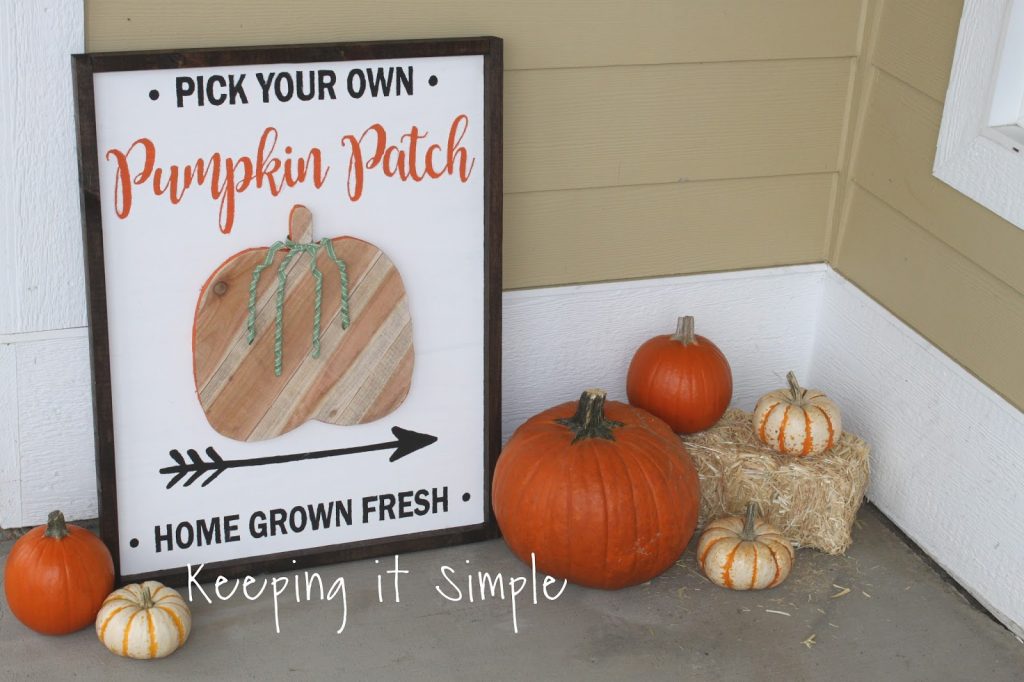
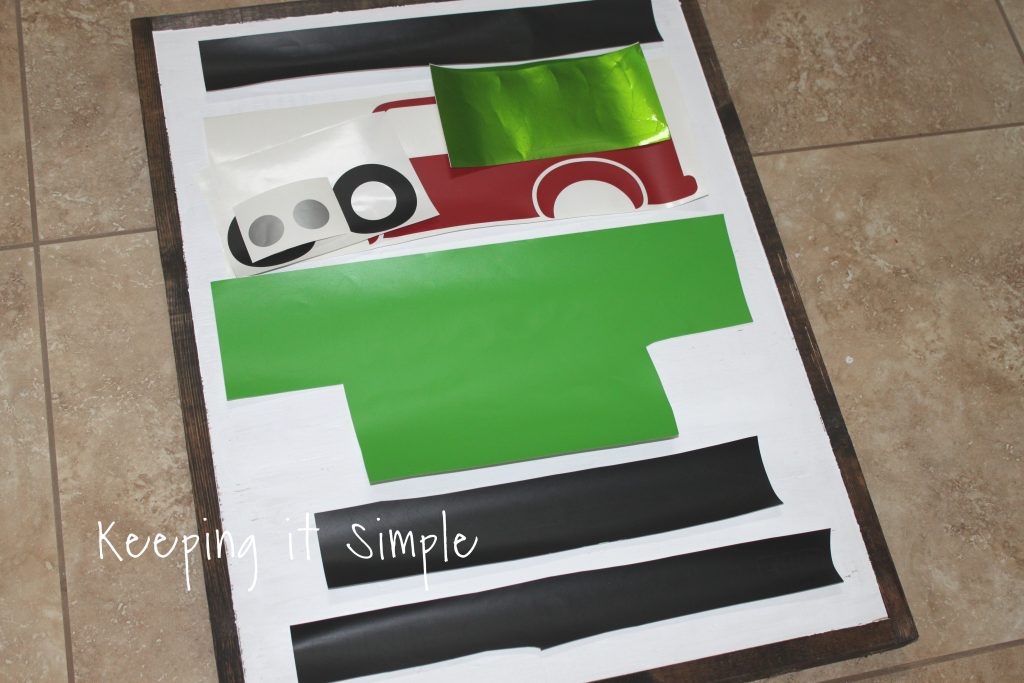
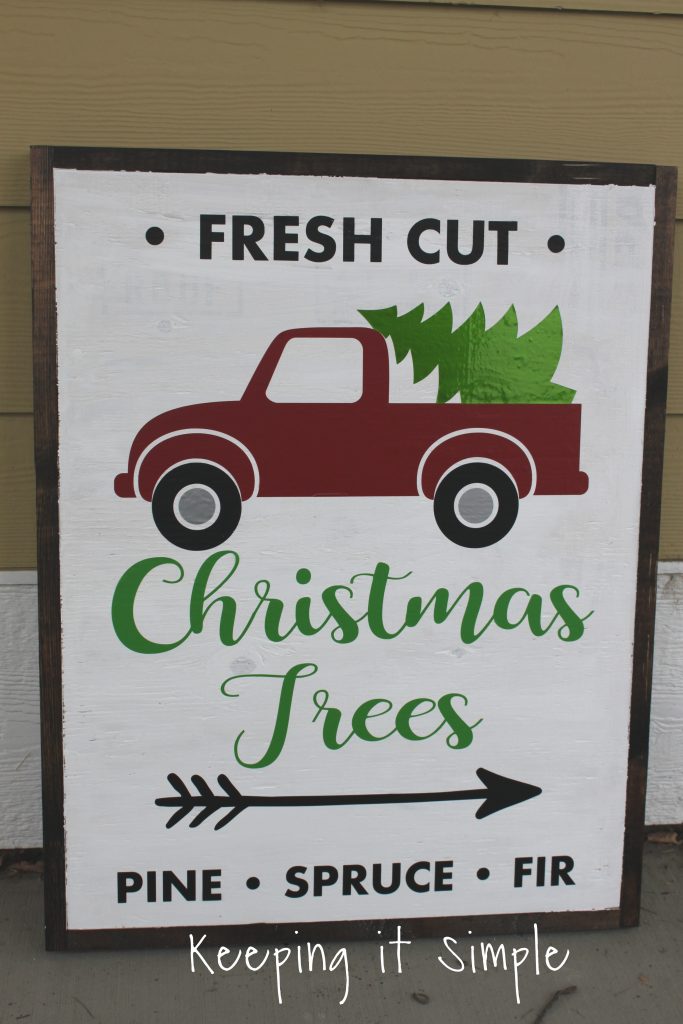
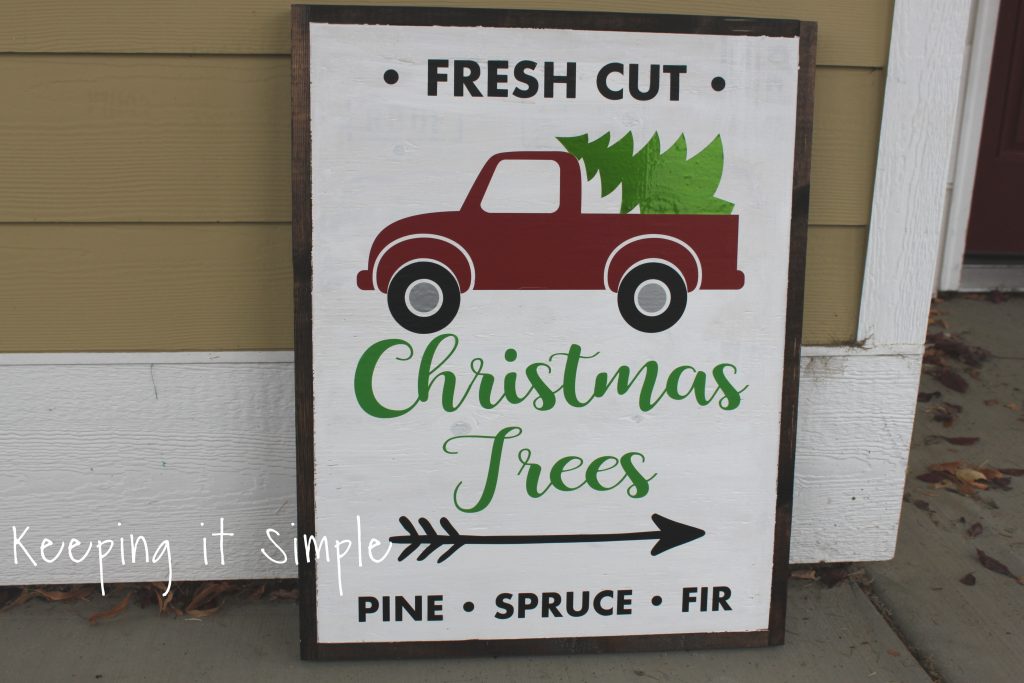
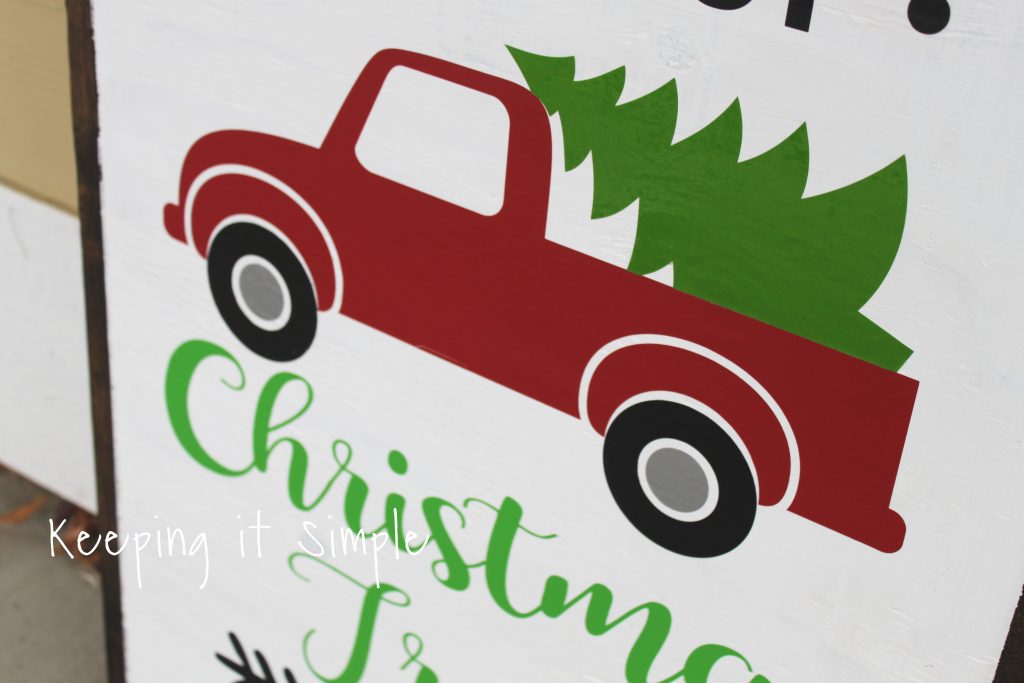
Lately I have discovered that I love doing projects (who I am kidding, this isn’t a recent discovery, I’ve always loved doing projects, that’s why I blog :D), especially ones that involve wood and building something.  I have discovered power tools and I love them!!  I have done so much on my house lately that I have to control myself and force myself not do stuff on it LOL.  Well since I still want projects I have been on a huge making sign kick and since fall is here, I decided it was time to make a fun fall sign.  I had fun designing this pumpkin patch sign and I especially love how it turned out!   *Update* Since I loved this sign so much and I didn’t do anything to the back of it, I decided to make it reversible and made a Christmas tree sign on the back. 

 
This is how I made it:
I took a piece of plywood and cut it to 20 inches wide and 26 inches high (I had this plywood left over from our laundry room makeover).  I then painted it white.
While the paint was drying, I cut out some wood for the pumpkin.  I bought a piece of fence wood and cut it into four pieces around 12″ (except one longer one but you really don’t need to do that).  Then I cut some pieces of underlayment to put on the back of them.
Using a brad nailer and 5/8″ brad nails, I nailed the underlayment piece onto the slats of wood to hold them together.
This is what it looks like on the other side.  I loved this wood because of the orange-ish color that was in the middle of it.  I thought it would be perfect for a pumpkin!
Using a 12×12 piece of paper, I cut out a shape of the pumpkin and then traced it onto the slats.
Using a band saw, I cut out the pumpkin.
Once the pumpkin was cut out, it was time to design the rest of the design.  I cut out the words out of vinyl with my Silhouette CAMEO and then took out the words to make a stencil.  Here are the cut files for the vinyl.  The Silhouette file is the right size but the SVG file must be resized (if you want to do a sign this big).
Pumpkin Patch File, SVG
I then put on the vinyl onto the board (using transfer paper).
Now for the paint, I used regular acrylic paint and foam brushes to paint the words.   I used a dabbing motion to paint.
Once the paint was dry, I took off the vinyl and then did some touch ups.  Now for the frame.  Using a 1×2 I cut two pieces 22″ long.  Then I put those pieces on the top and bottom of the board and measured how long the side pieces would be (roughly 23.5 inches).
Once I was done with the touch ups, I nailed the pumpkin on to the board (going from the back of the board).  I used 1 1/4 inch brad nails to nail it into place.
After staining the frame an nice espresso stain color  I nailed the frame into the board using 1 1/4″ brad nails.
Here is what it looks with the frame on, I am loving it!
I felt like the pumpkin needed something, like leaves or a vine.  So I went through my craft supplies and found some nice green ribbon.  I wanted it to look more like a vine, so I curled it.  I wrapped it around a 1/2″ dowel and then put it into the oven for 20 minutes at 375 degrees (it’s crazy the things you can do!).
I put the ribbon onto the pumpkin using hot glue (I think it looks a lot better with the ribbon).
And that’s it!
I added a few pumpkins and gourds to it and I love it!  I’m sure we will add more pumpkins as the month goes on, I love pumpkins!
It’s so excited to have fun fall things out on my porch now, I love fall!
Here is a video to show how I make similar signs using the vinyl as a stencil.
**Update**
I wanted to do the back of the sign too.  Instead of using paint, I used vinyl.  I painted the wood white but left the frame the same way, if I were to do it over again, I would make the frame out of a wider wood, maybe 1×3.
Here is a video of the process of making the Christmas tree sign.
I cut out the vinyl with my CAMEO like I did with the other side but instead of using it as the a stencil, I actually used the vinyl.  So I used different colors.  I used the indoor vinyl in black, white, dark red, silver and yellow green.  The tree is heavy metal vinyl and is called green apple.   I designed the sign in Silhouette studio.  You can get the cut file for this side here:
Christmas Tree File, SVG 
Here is what it looks like with the vinyl, I love it!
Here is a close up of the truck, it’s my favorite!
Like this post?  You might like these DIY ideas too!
Fall/Halloween Signs
Reversible Fall/Christmas Signs
4×4 Pumpkins
4x4 pumpkin (8)
2×2 Turkey and Pumpkins
place setting turkey (6)
DIY Fire Pit
Storage Shelves
DIY Dining Table
DIY-Dining-Table-With-Burned-Wood-Finish #BernzOmatic

This post contains affiliate links.

This post contains affiliate links.


Filed Under: autumn, Christmas, DIY, home decor, paint, sign, silhouette, tutorial, Uncategorized, vinyl, wood

Previous Post: « Fall Home Decor Ideas {MMM #400 Block Party}
Next Post: Pumpkin Decorating Ideas {MMM #401 Block Party} »

Reader Interactions

Leave a Reply Cancel reply

You must be logged in to post a comment.

This site uses Akismet to reduce spam. Learn how your comment data is processed.

Copyright © 2026 · Foodie Pro & The Genesis Framework