This past week I made a cute little table for my the side of my sectional. After I made the table I decided that I wanted some kind of rope baskets for the little shelf on it. Just for decoration but then to store things like knick knacks and small blankets, things like that. After searching several different stores and the internet I decided that to get the look I am looking for I would have to make them. So I did just that I LOVE how these rope baskets turned out!
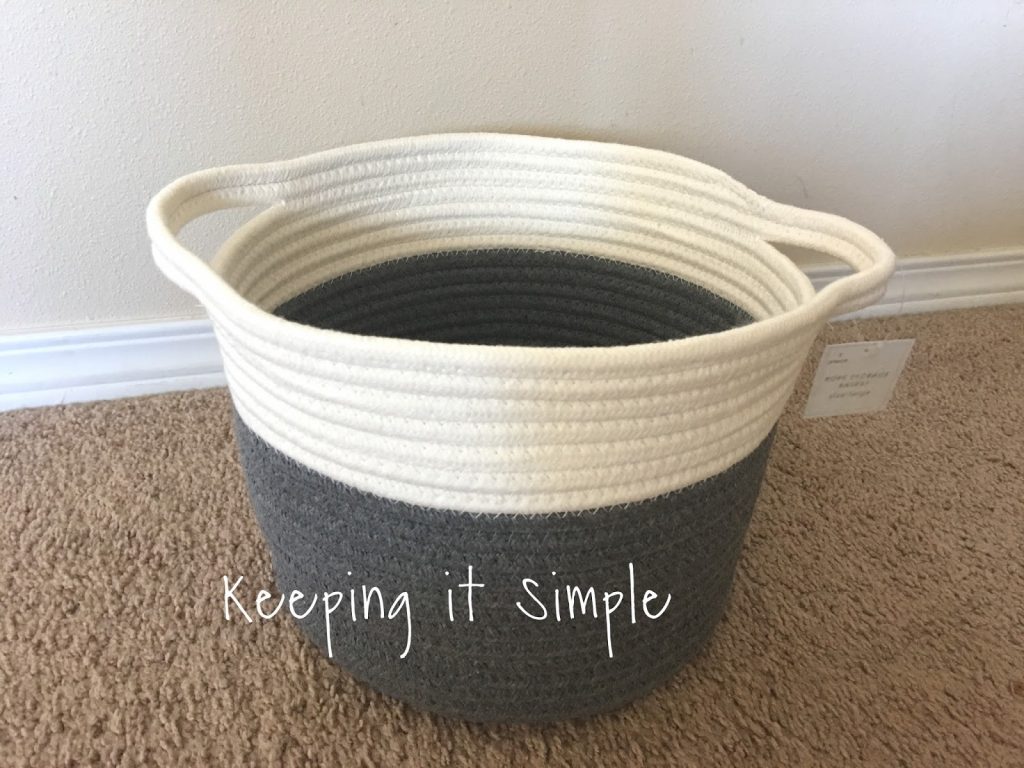
A couple of weeks ago I found this adorable rope basket at the dollar spot in Target. I picked it up immediately and used it downstairs. I loved the look of this basket on my little table but the problem was that I needed two of them. I check all the Target stores in the area and no luck and they don’t sell dollar spot stuff online :(. But then I remember that my friend Heidi from Happiness is Homemade made some rope baskets and I loved the idea of it, so I tried it out myself :).
This is how I made the baskets.
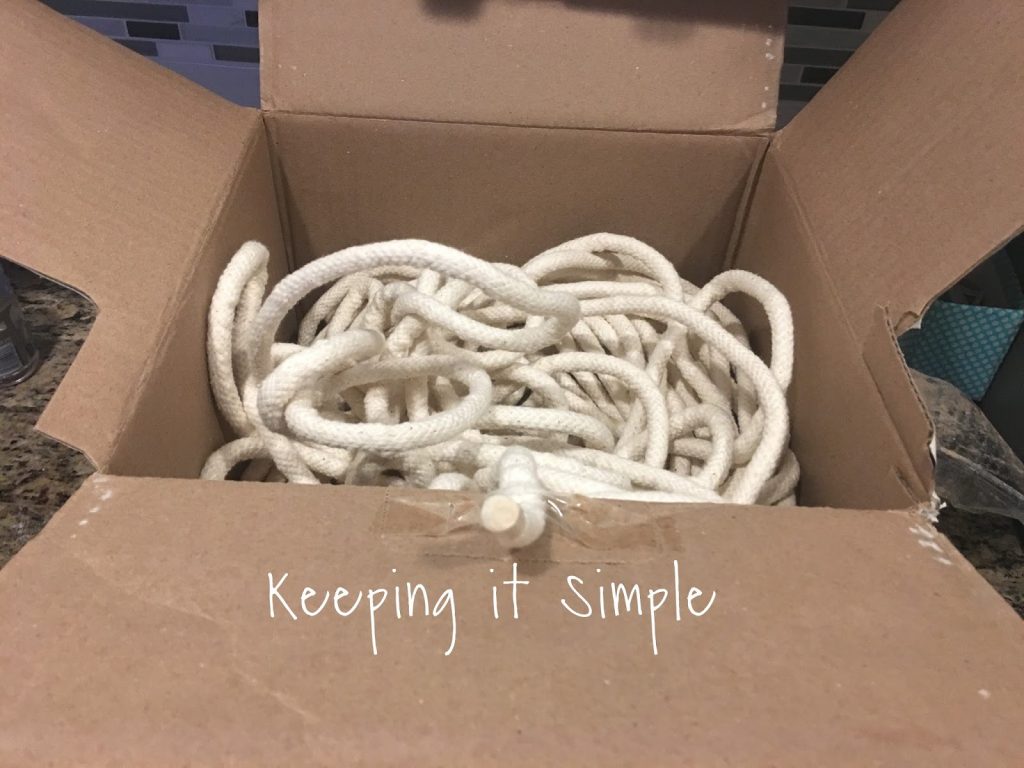
I used a 3/8″ cotton piping for the rope. I ended up getting 100 yards of it. Each basket took about 25-30 yards of the piping to make the basket.
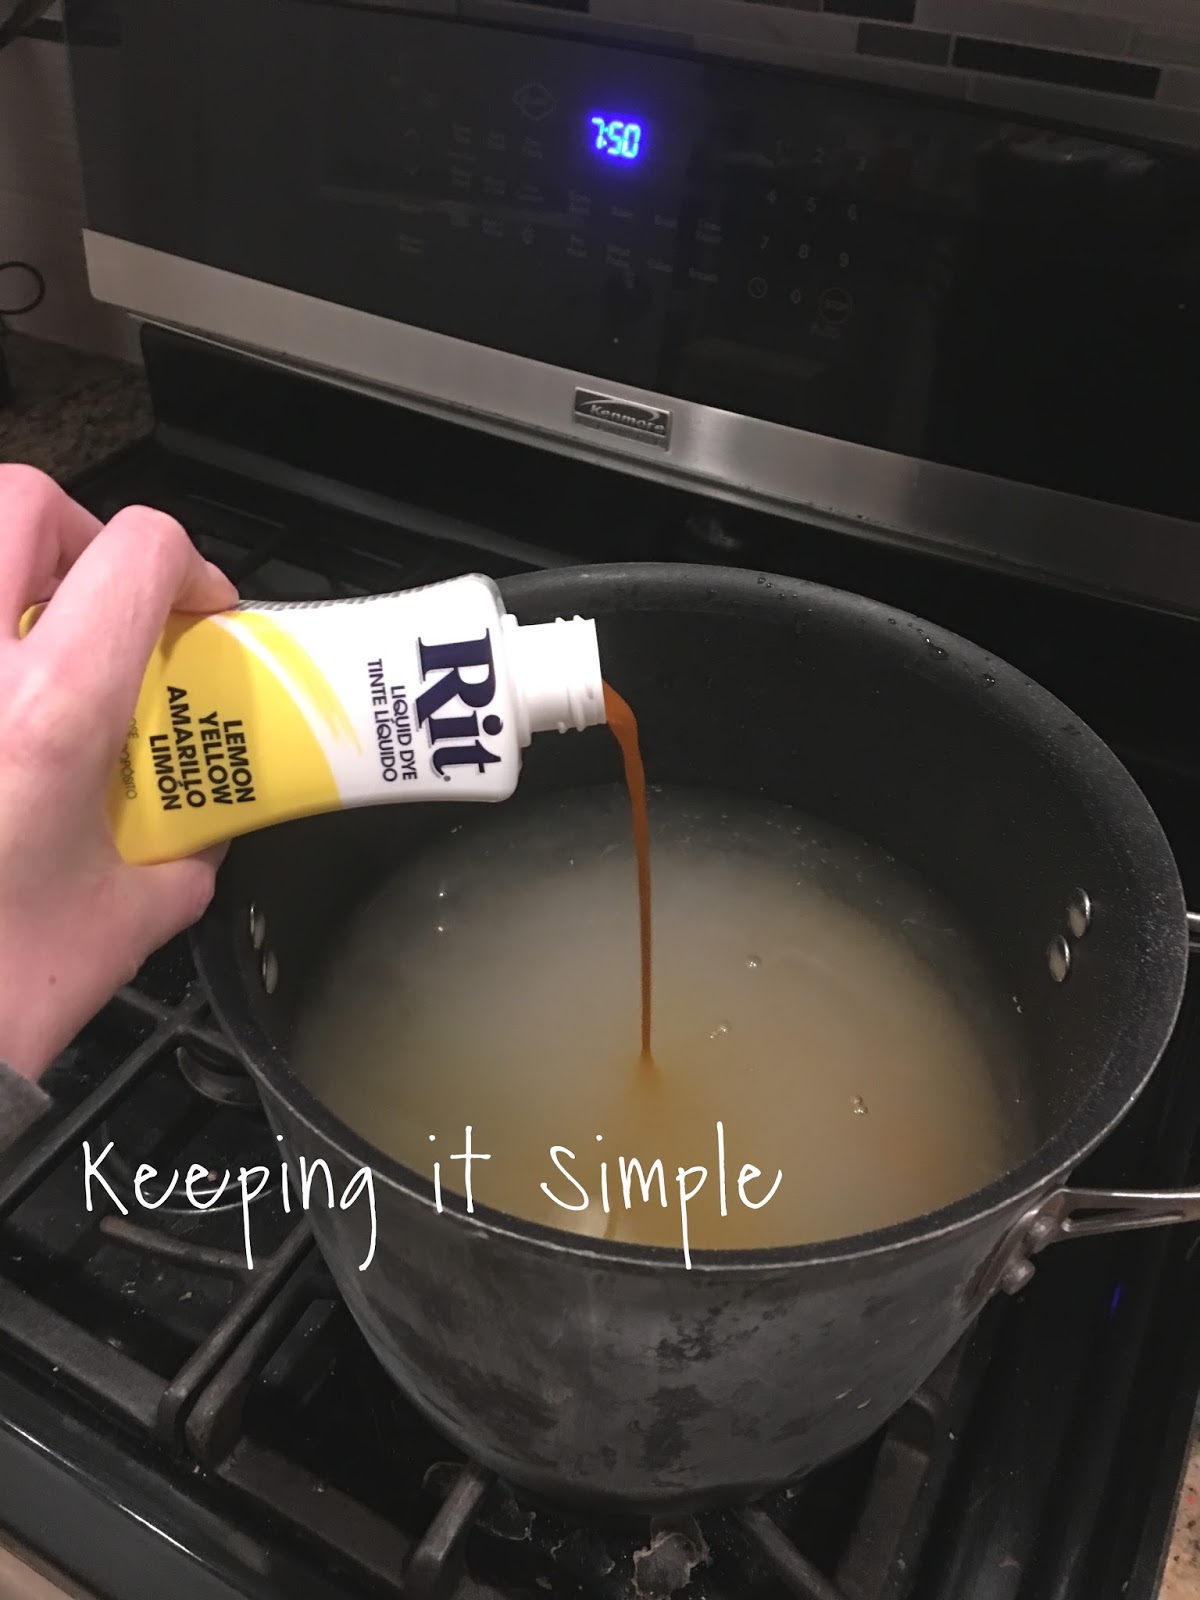
Using some Rit Dye I dyed the piping. I dyed about 30 yards of the rope.
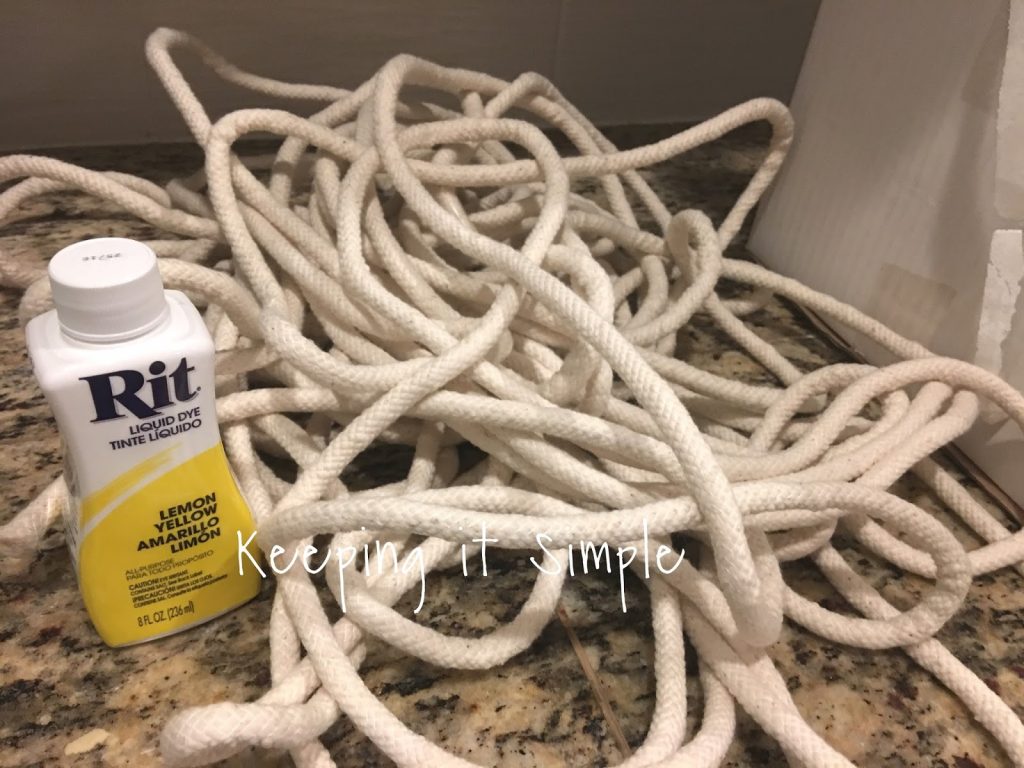
I added about half of the bottle of the dye and 1 cup of salt to water, stirred it and then warmed it on the stove.
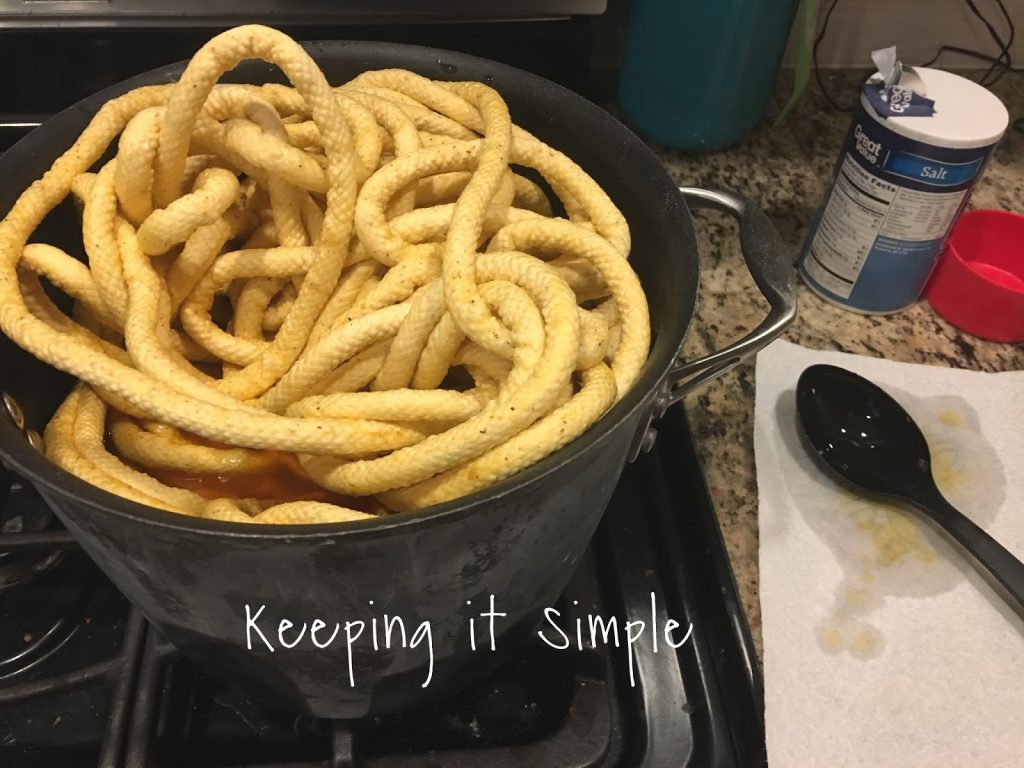
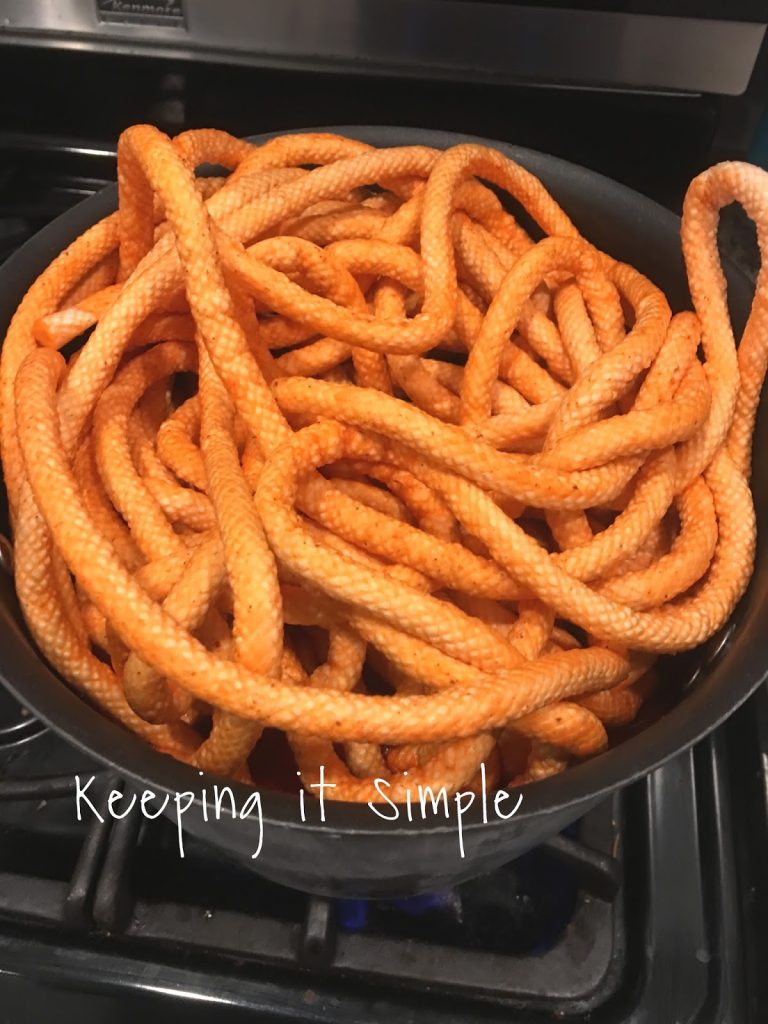
I then put the rope into the water and heated it for 30 minutes. The rope would float in the water so I put a smaller lid and some cans on the lid to hold the rope under the water.
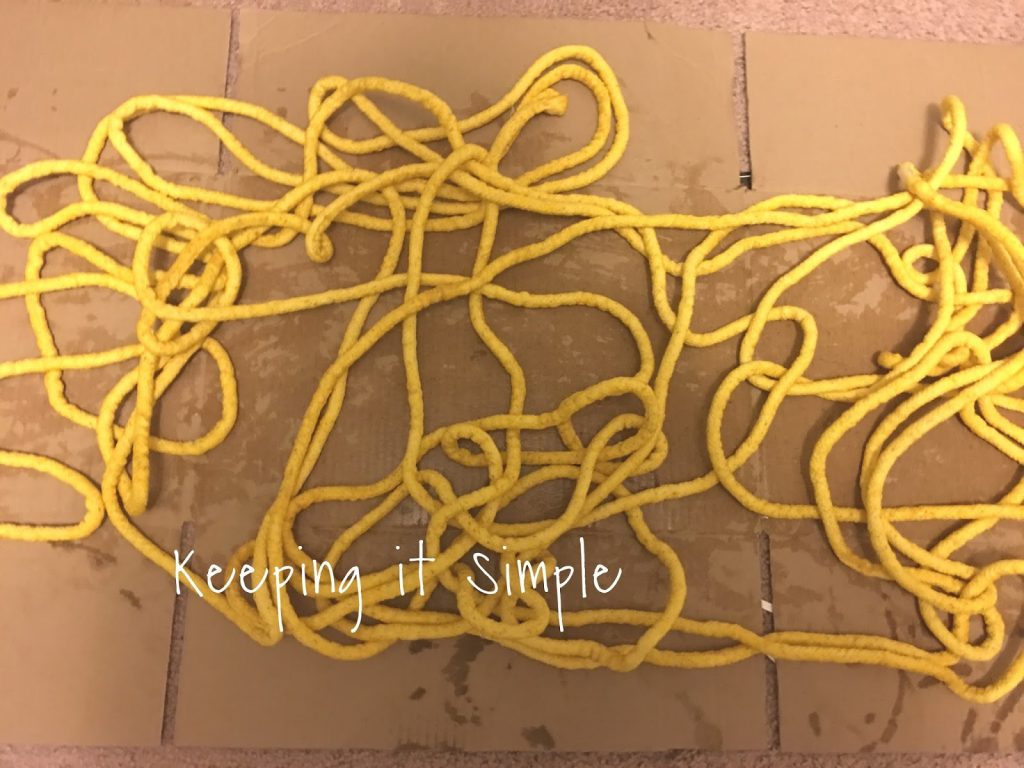
I rinsed the rope with warm water and then spread it out to dry. I let the rope dry for 24 hours before making the basket.
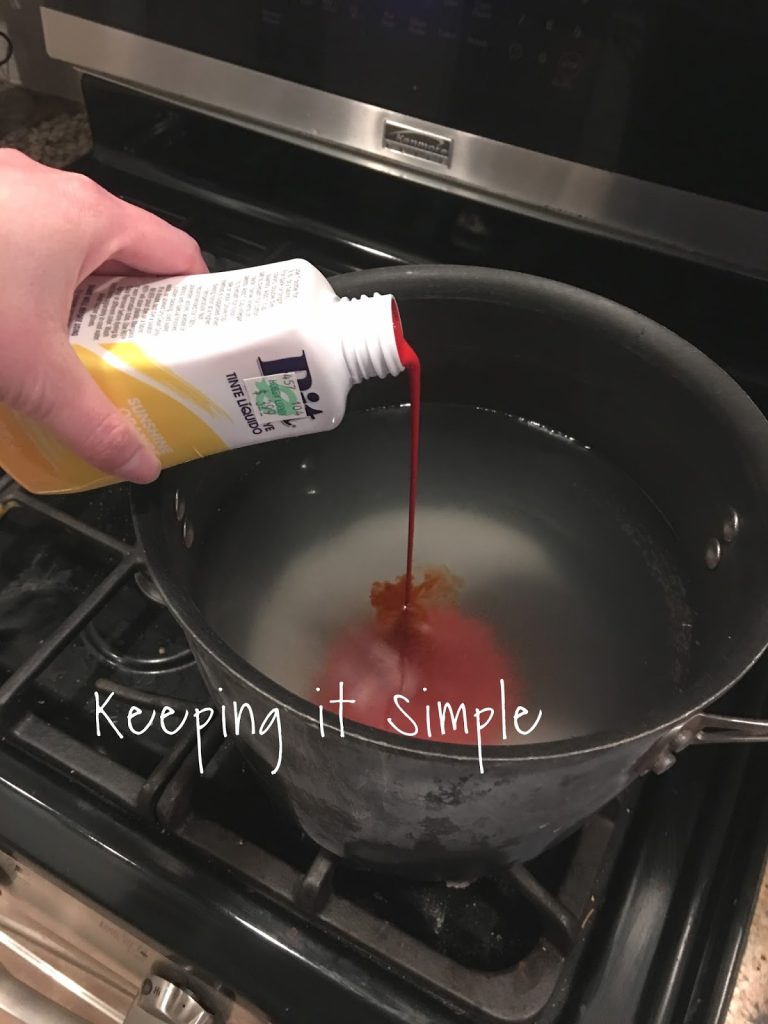
Funny story- even if the bottle of dye looks yellow it might not be. And if it’s called Sunshine Orange, there is a good chance that it is orange and NOT yellow! I forget to read the name of the dye before using it…. so yeah I did not use the rope that I dyed orange, ha! Just wanted to share that mistake that I made so you don’t :).
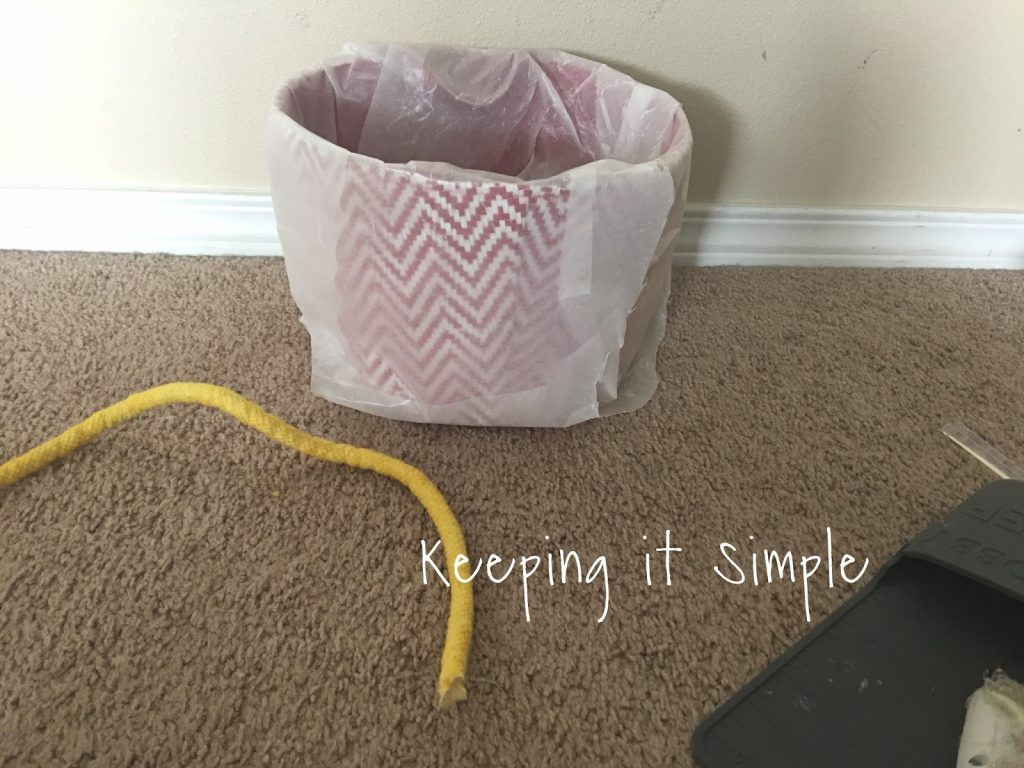
Okay now to make the baskets. Once the rope was dry I found a basket that I liked the size and shape of it.
**So my friend Heidi suggests using parchment paper to wrap around the basket if you’re trying to protect the basket (if you don’t care about the basket and can just toss it, you don’t need to cover it all). I didn’t have parchment paper and thought wax paper would be good enough. Do NOT us wax paper… it will stick to the glue and be super hard to get off at the end. So when I made the second basket I ended up using just some cheap fabric to cover the basket with and that worked MUCH BETTER! So in the tutorial you will see a lot of the pictures with the wax paper in it but I recommend the fabric method instead of the wax paper.**
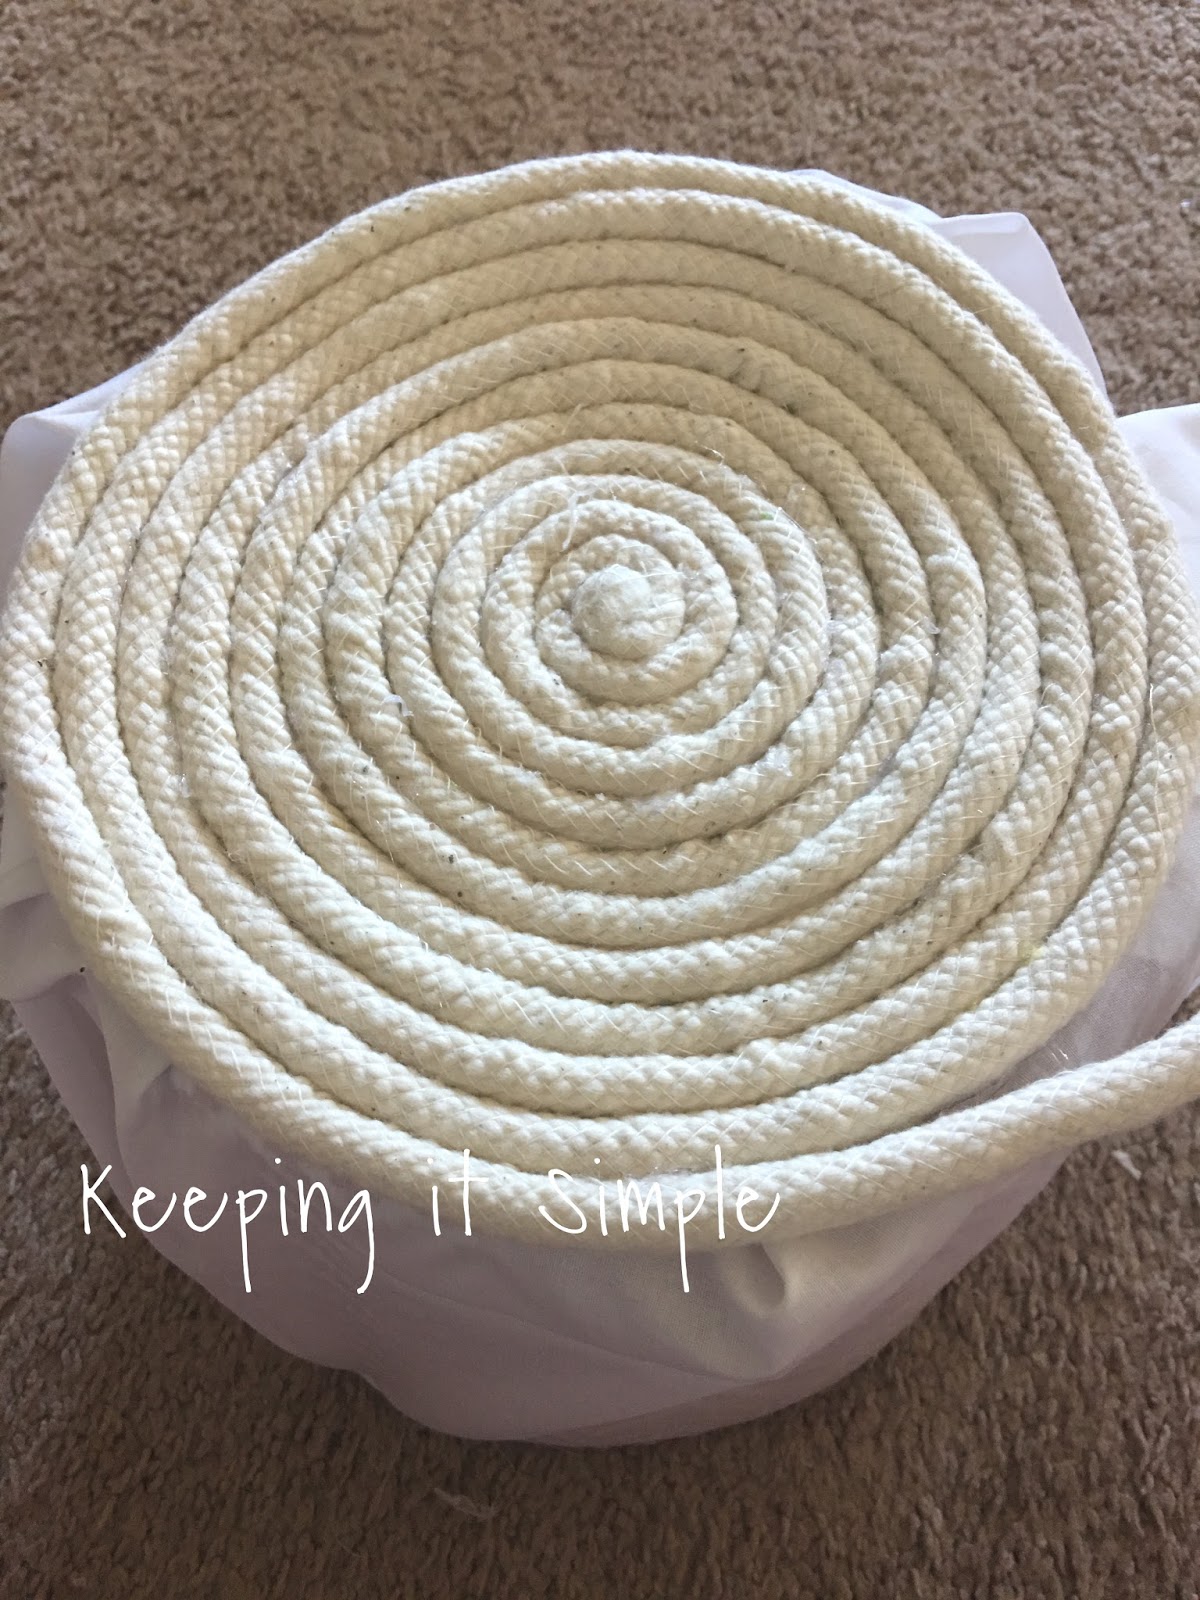
When you are using this rope the ends of it will unravel so you will either have to sew the ends or glue them together to stop the unraveling. I sewed the ends and then using the glue gun I started to glue the rope around itself.
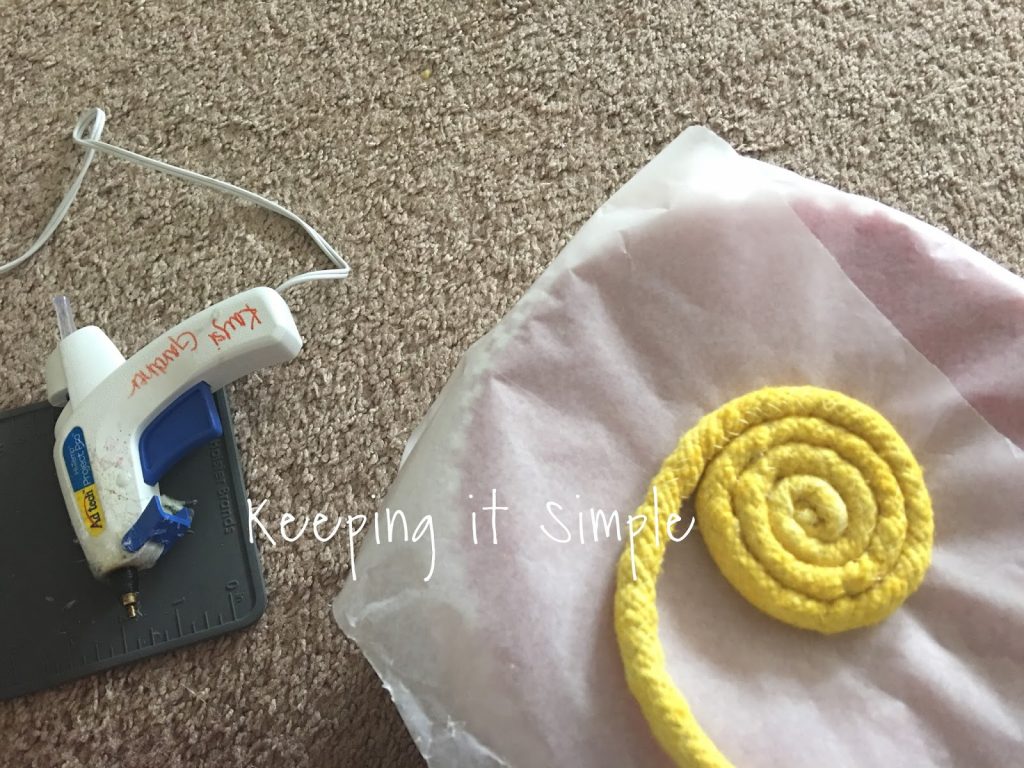
I continued to wrap the rope around itself and gluing VERY OFTEN until I had the bottom as wide as I was wanting. Then I started working my way up the basket.

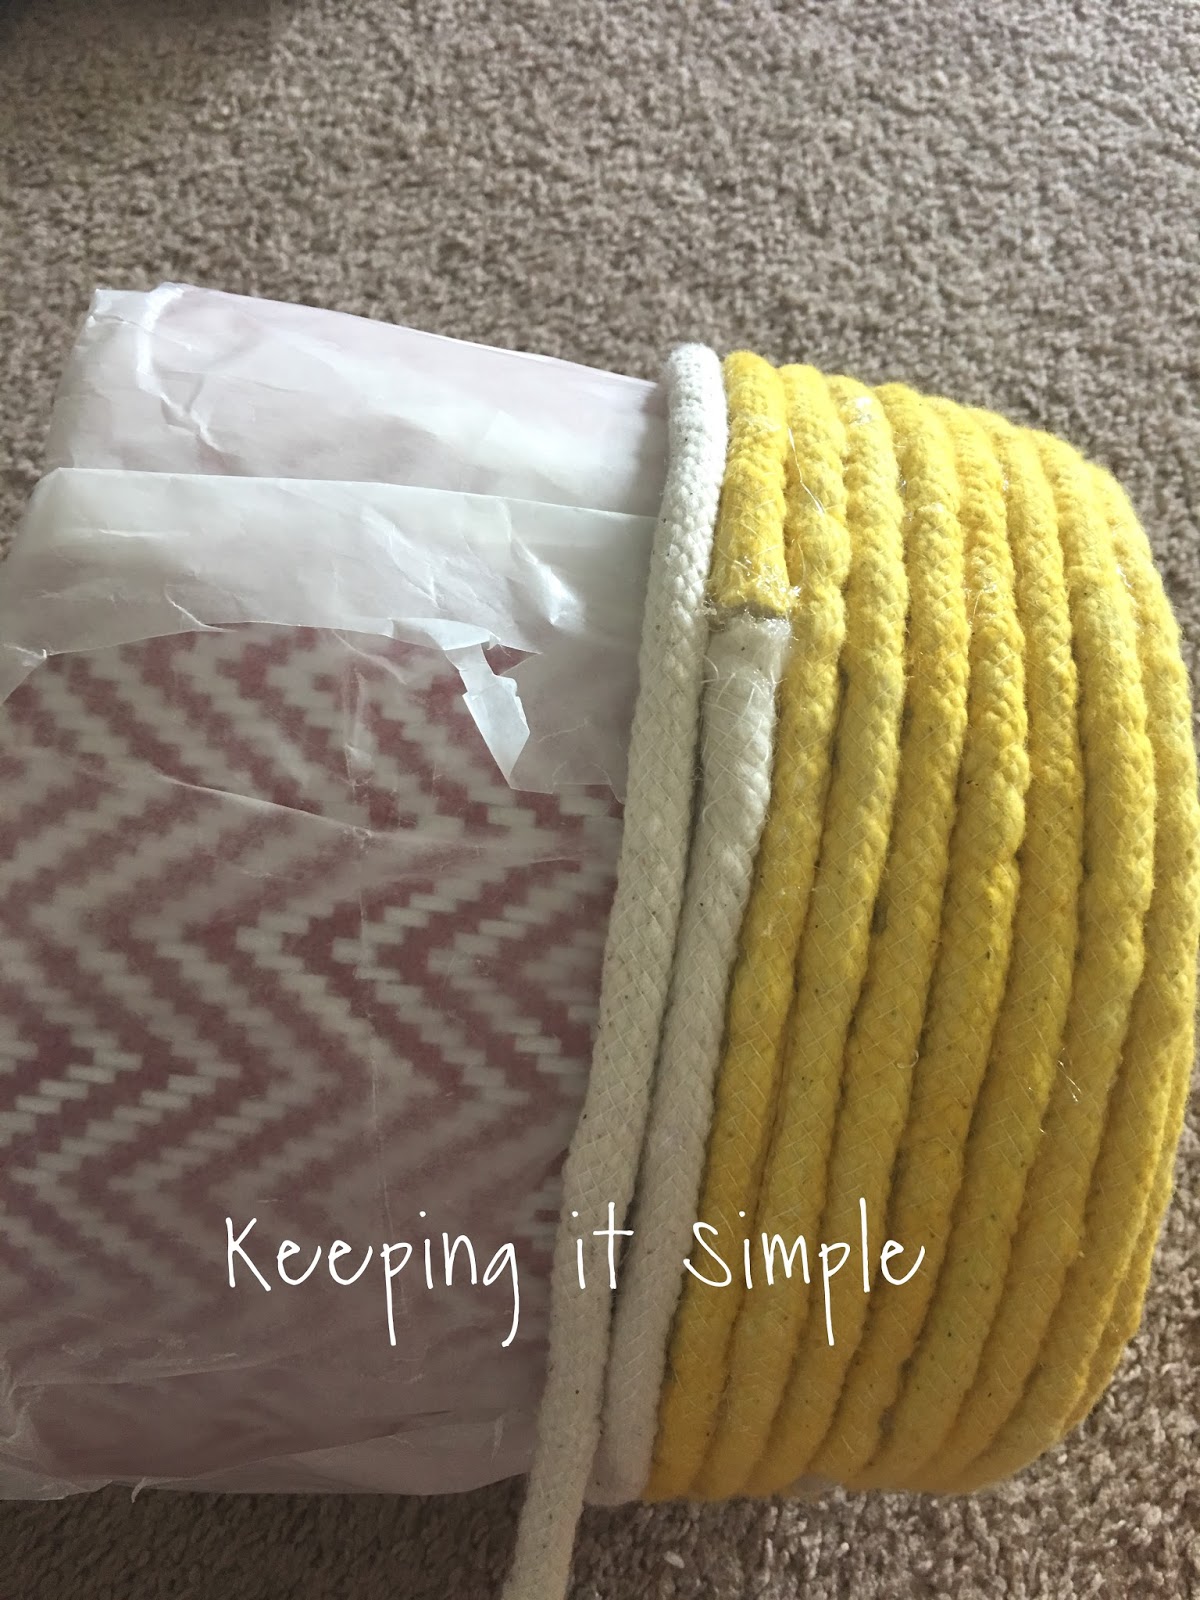
I didn’t want the basket to be completely yellow, so about 1/3 of the way up I switched to the natural color of the rope. I just glued the two ends together to make them not unravel.
I wanted the handles to be out of rope so I made a little bump in the rope for the handle. I just glued the sides of the bump down really good to make it hold.
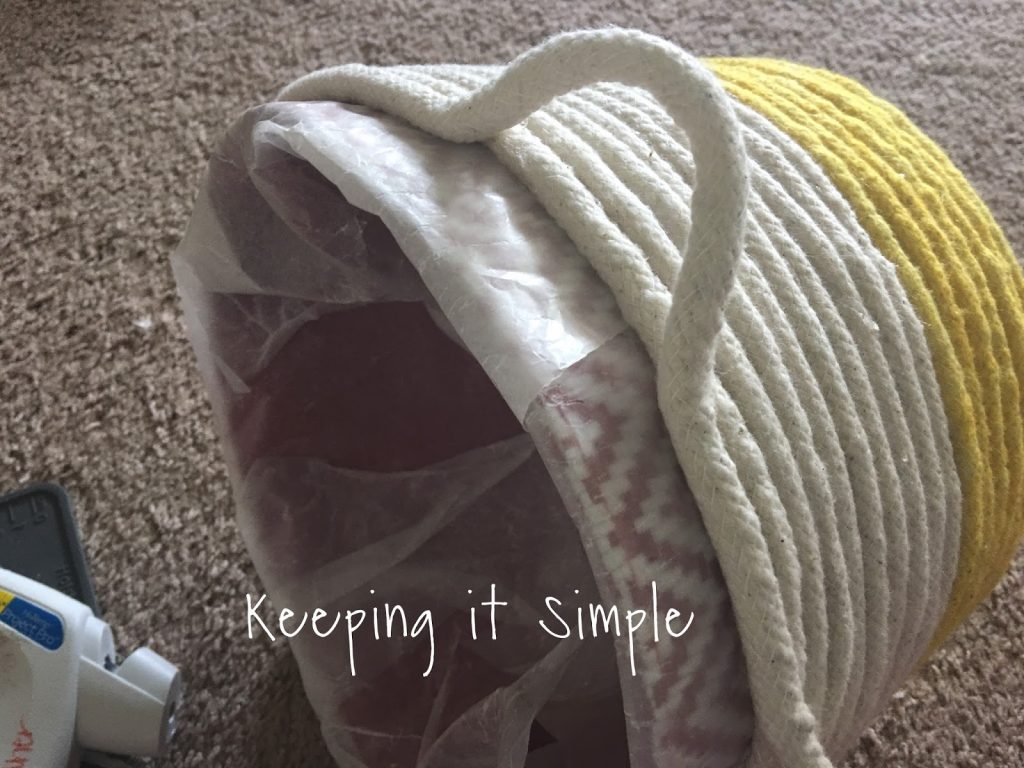
Once I got to the desired height I cut the rope and then sewed the end and glued it down.
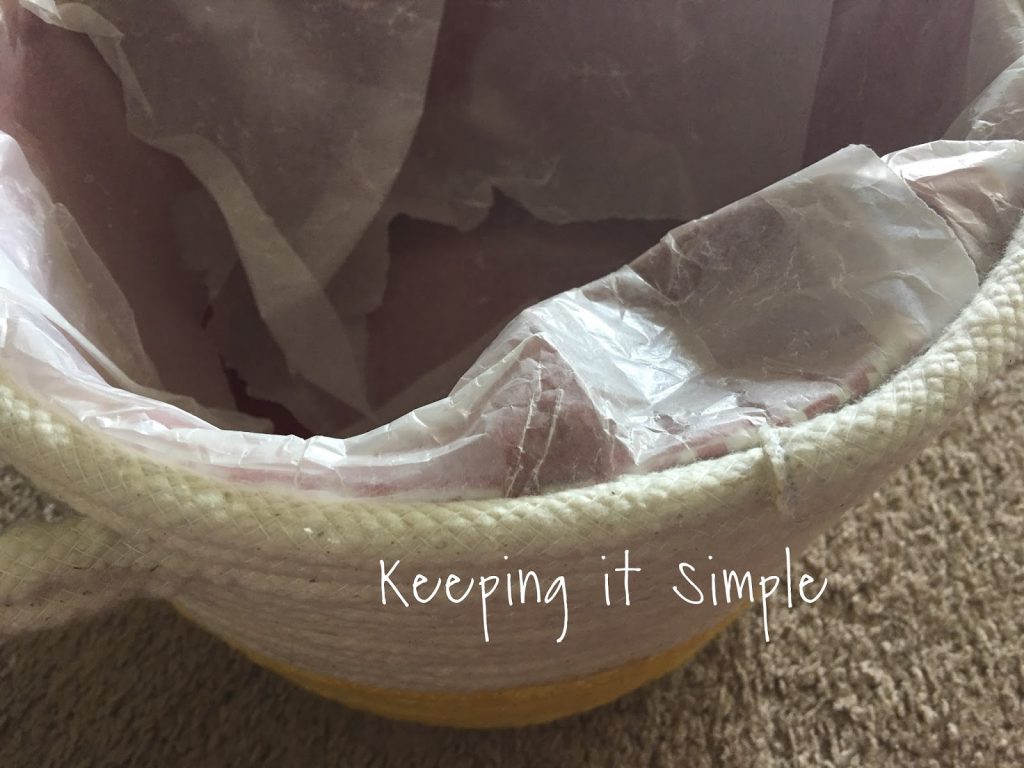
I then removed the basket and the wax paper (and all of the little pieces it left behind). But doesn’t it look so cool inside? I love it!

So for the next one I wrapped the basket with white fabric (I just glued it onto the basket in a couple spots). I definitely this way to the wax paper!
Instead of doing yellow on the bottom of this one I started with the natural color of the rope.
And once I was done I took out the basket, leaving the white fabric inside.
So using my hair dryer I just heated up the glue a little bit and then removed the white fabric.
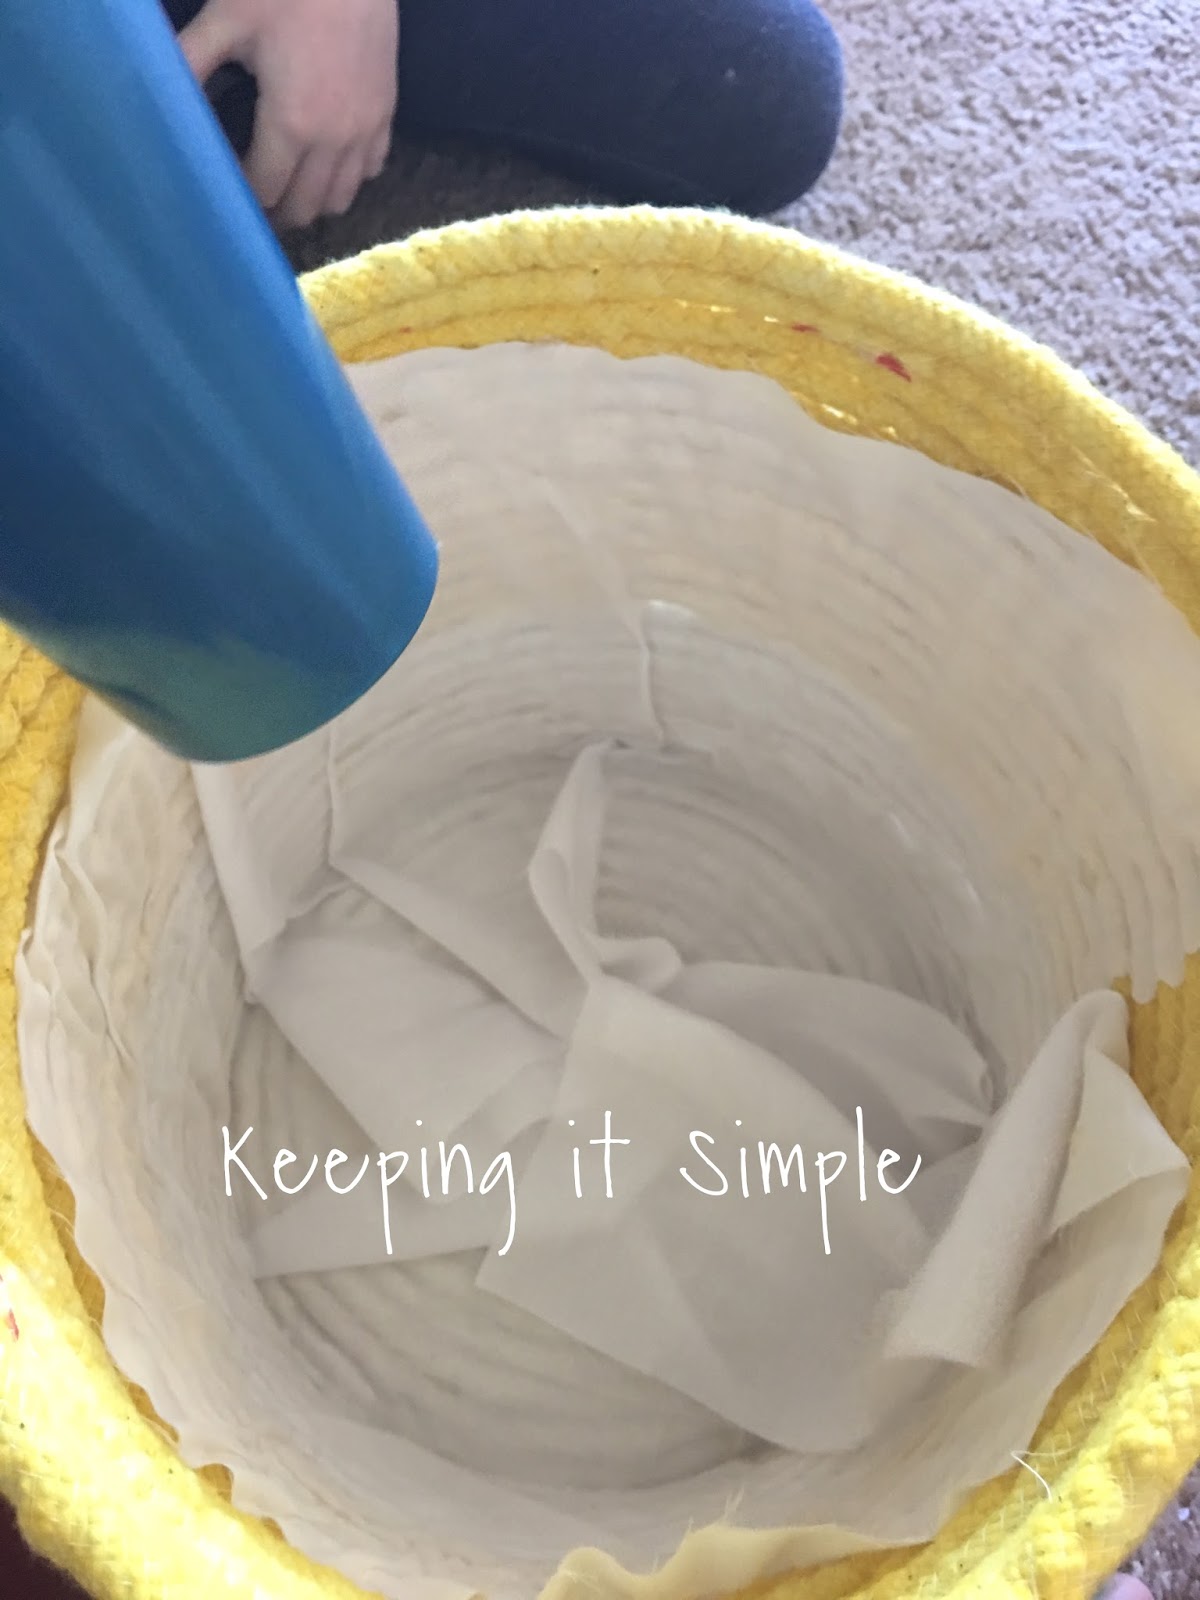
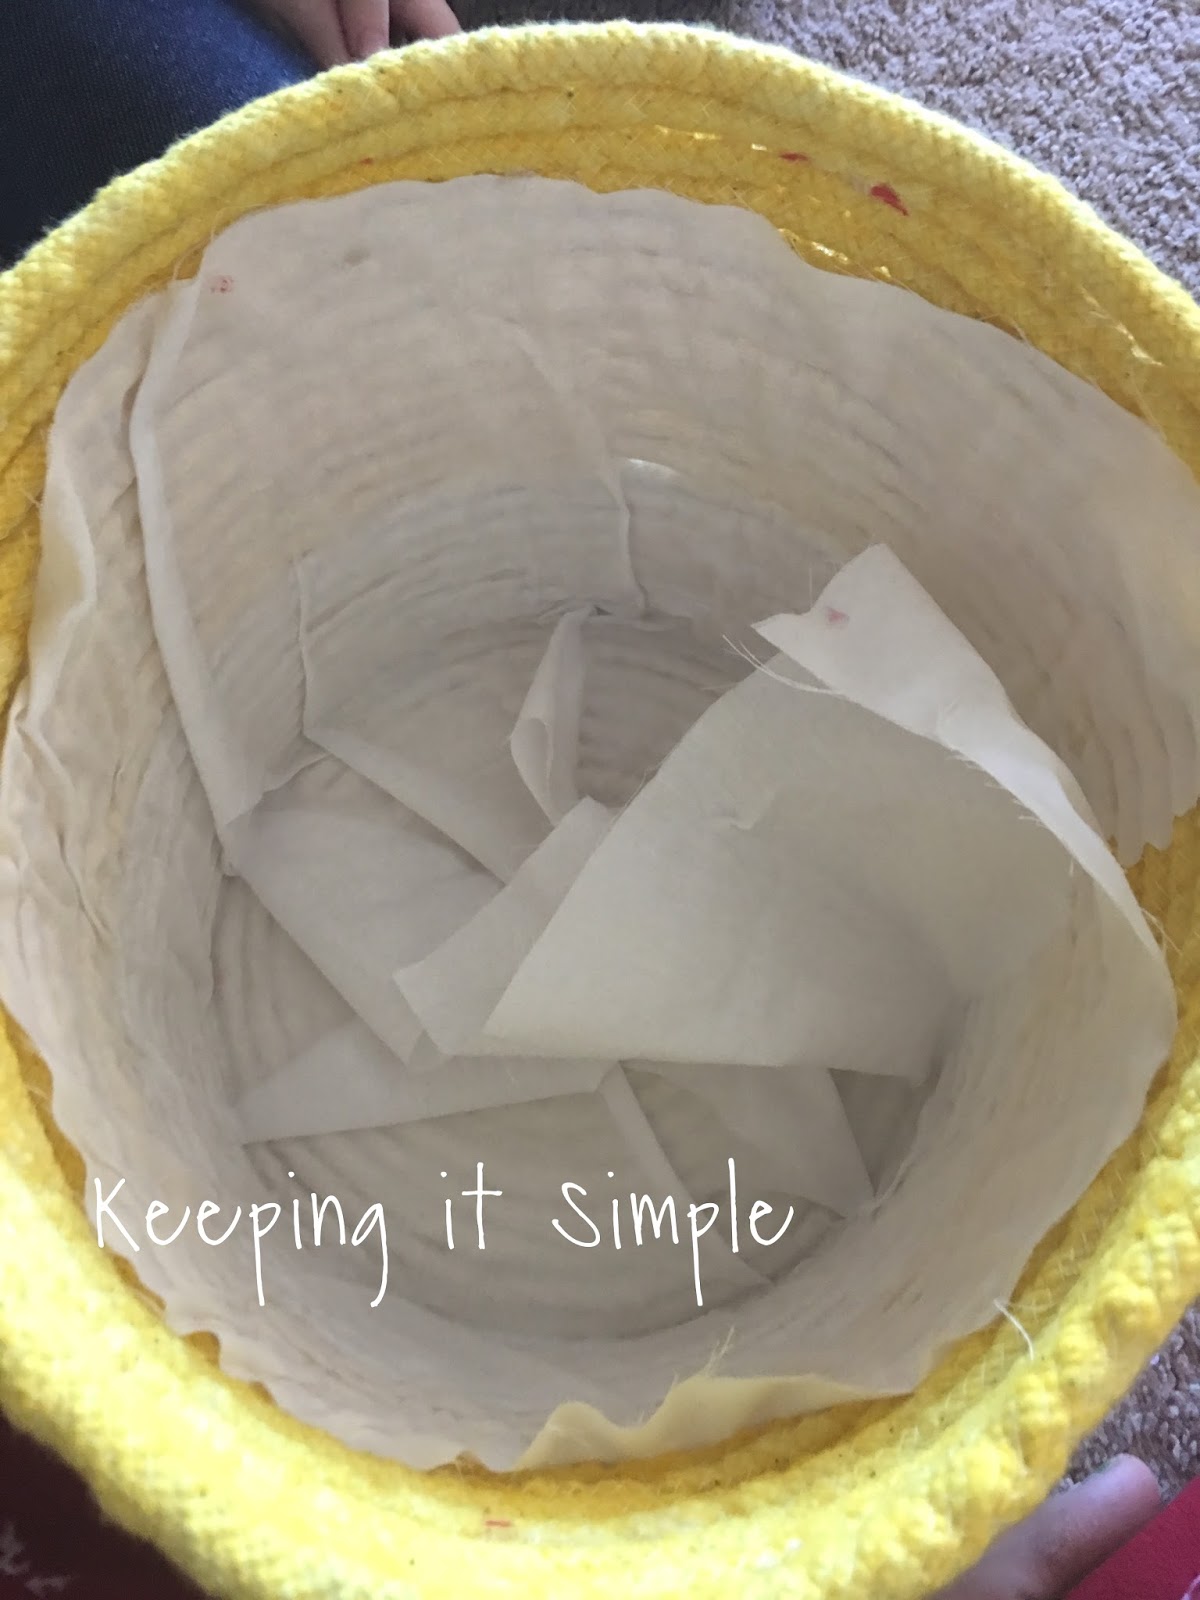
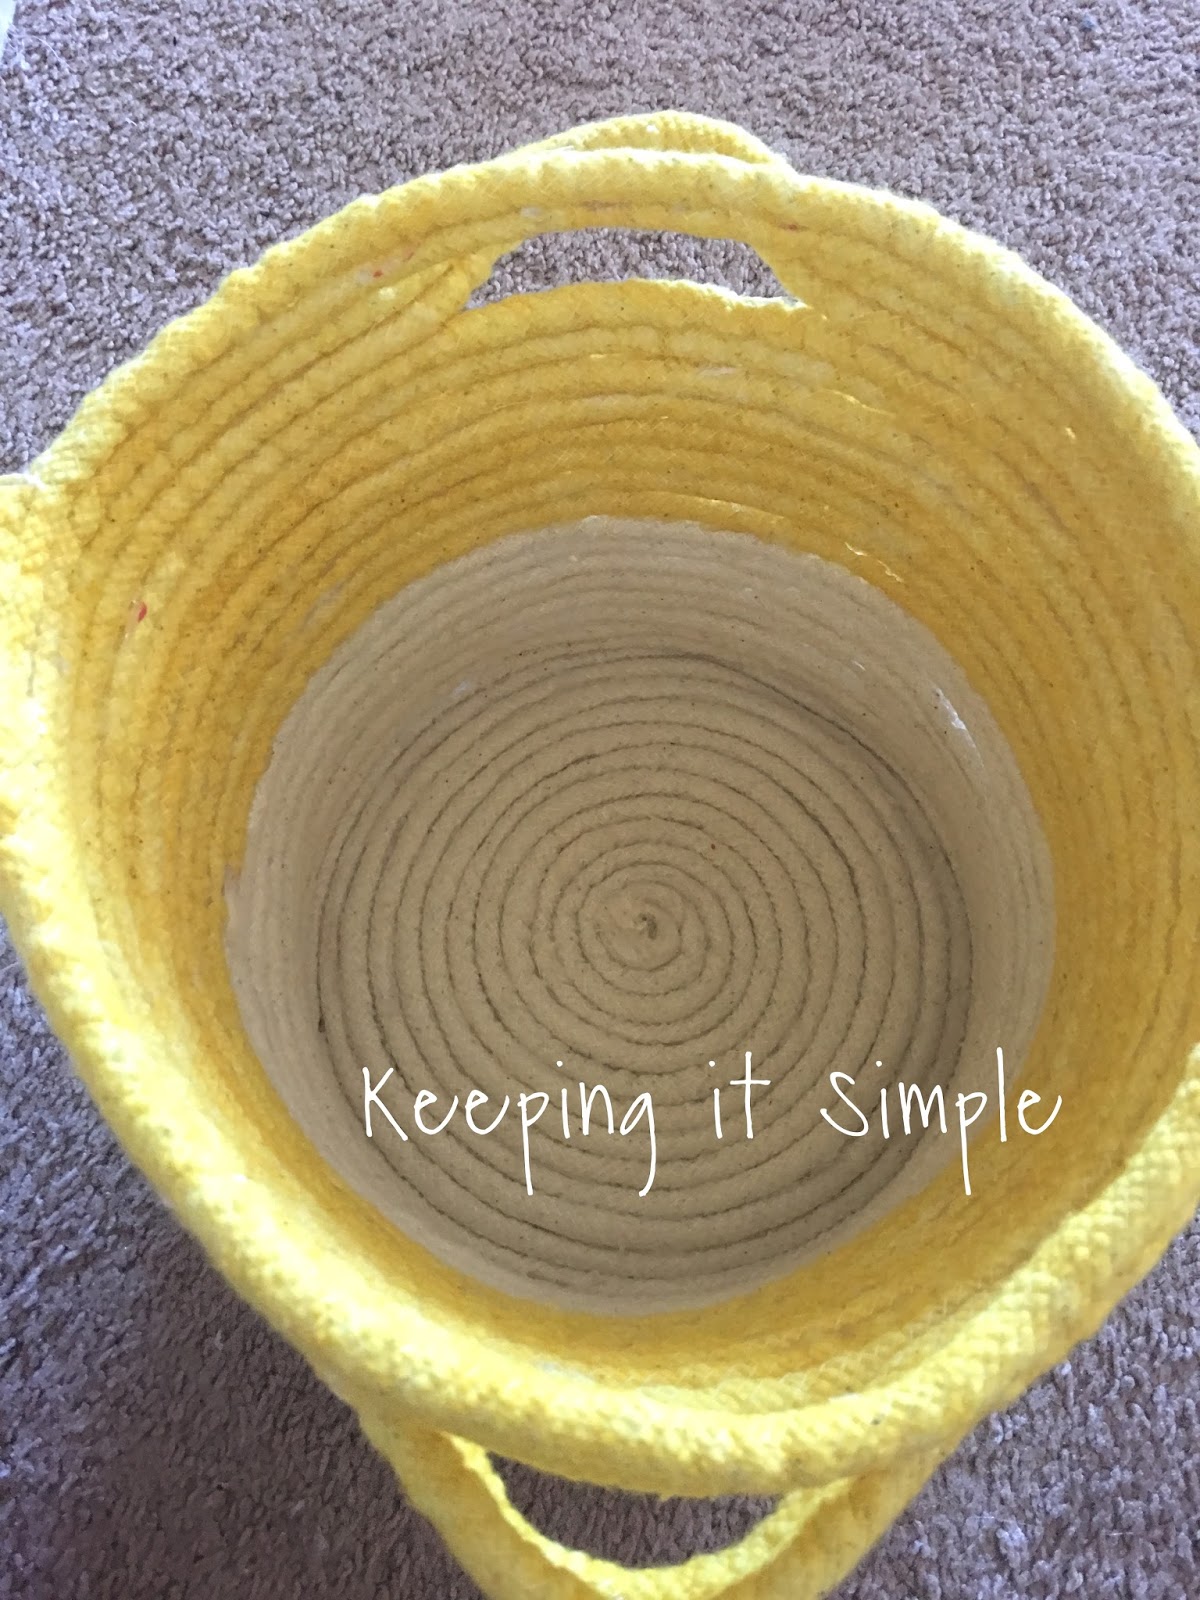
And here is the inside of the other one, I love it!
**After you take out the basket and remove the fabric you will have to go back and glue together the rope in some places because chances are you missed a few spots.**
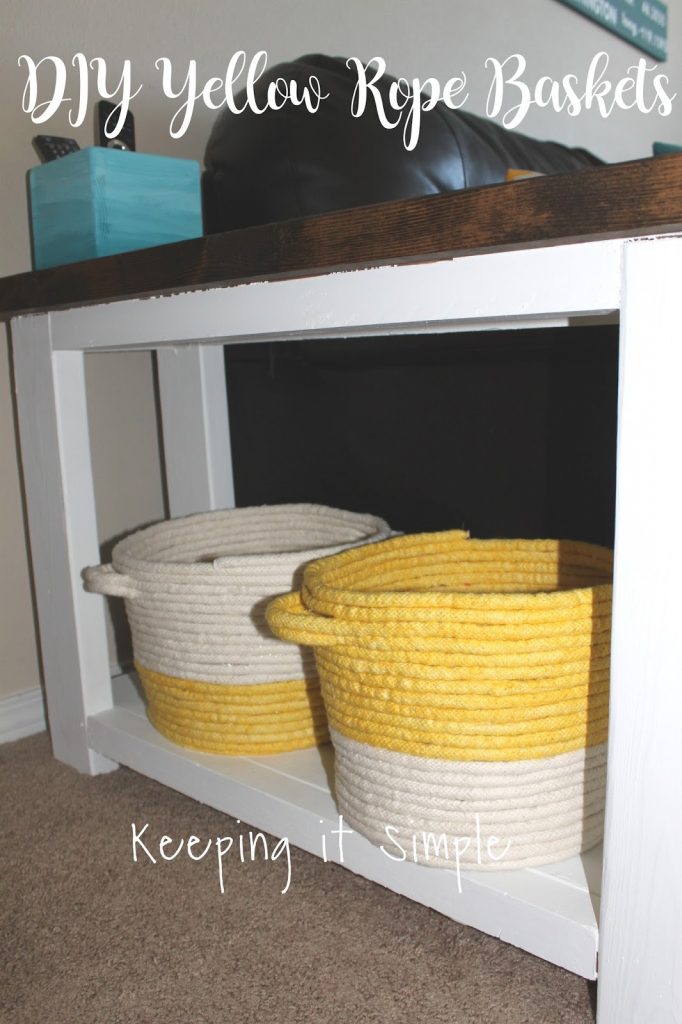
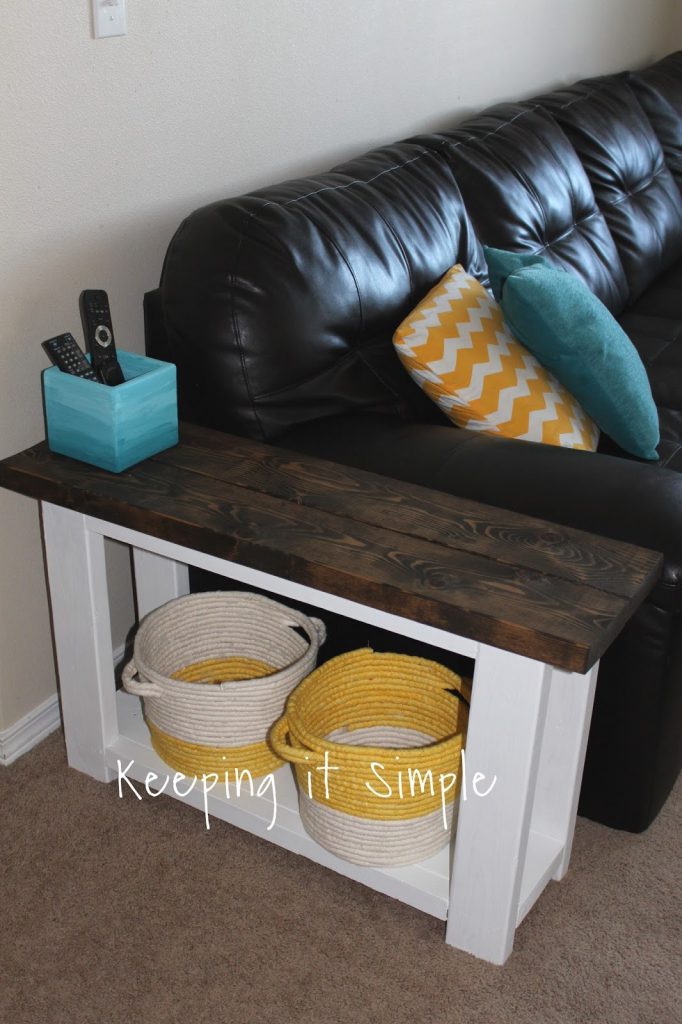
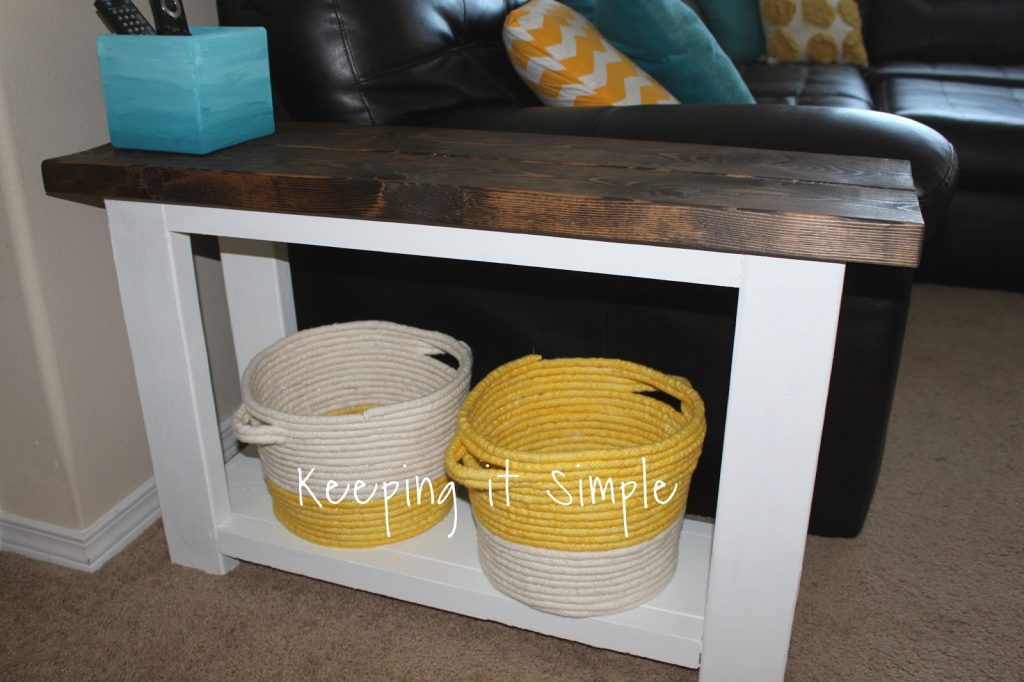
And that’s it!! I put the two baskets onto my cute side table and I love how they look!
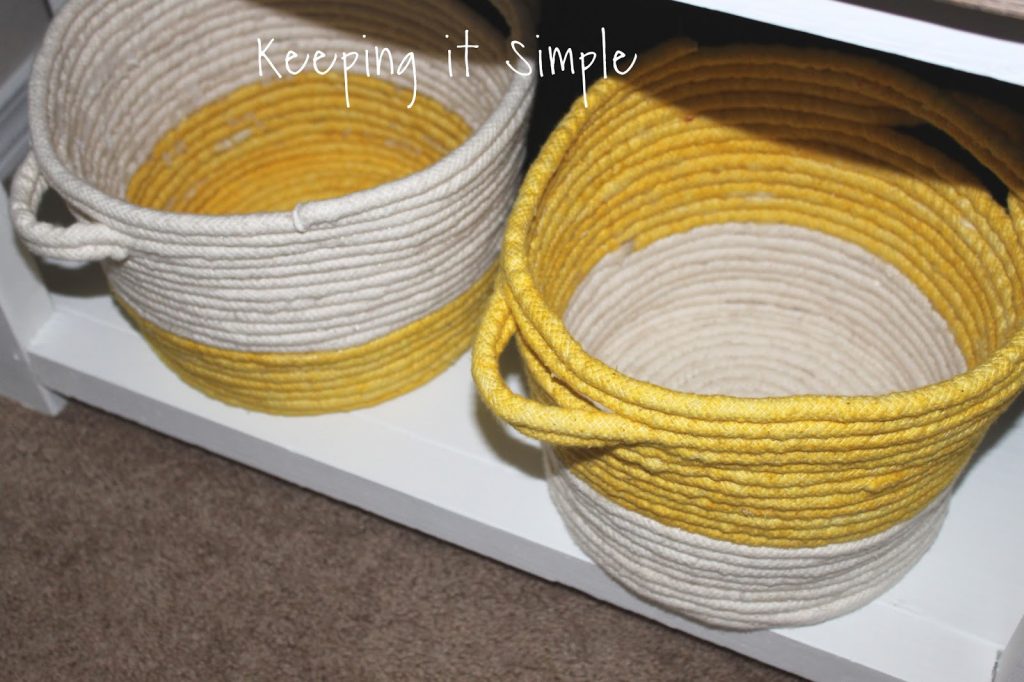

This is what it looks with the table. Aren’t they fun?!
I’m so glad that I decided to make them, I love the pop of color! And I love that they are the same but different, not too matchy matchy :).
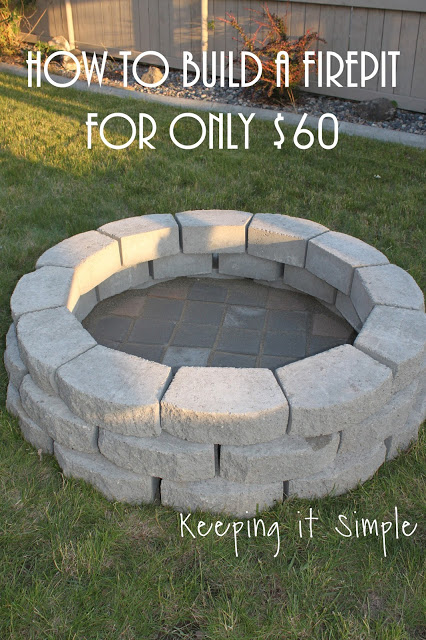
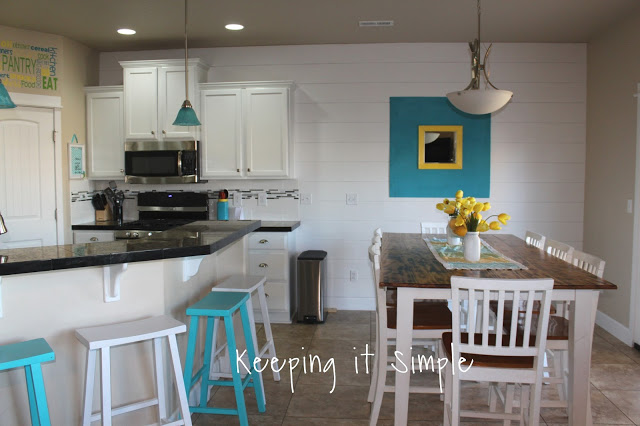
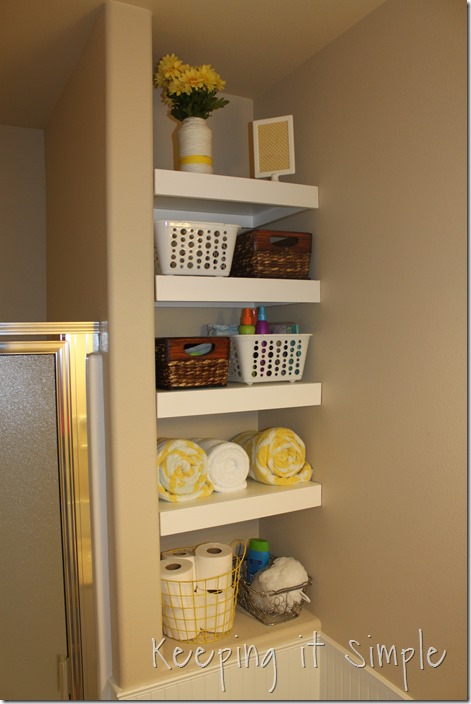
Here are a few more DIY ideas:

Leave a Reply
You must be logged in to post a comment.