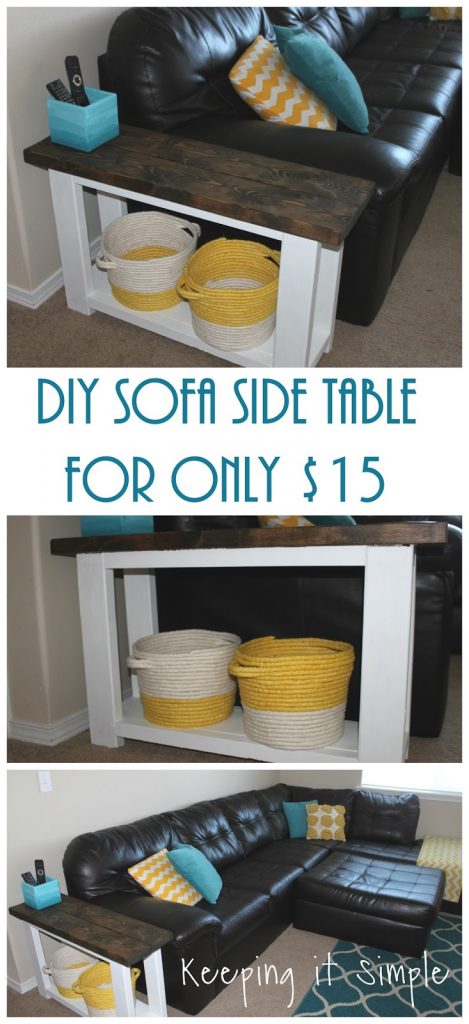
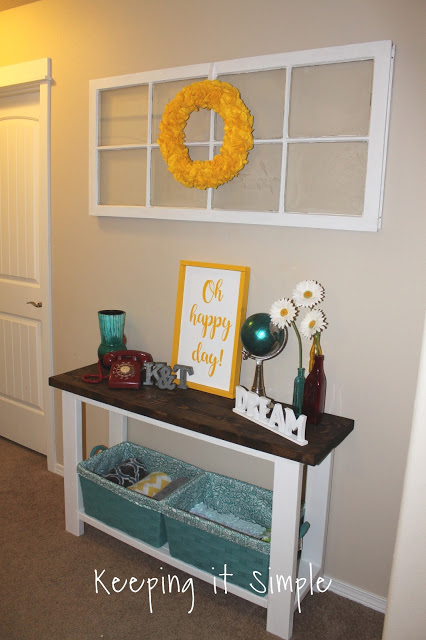
A couple months ago I made a fun sofa table for my loft area. It was my very first piece of furniture that I made all by myself. When I got done with it I loved how it turned out and wanted to make a little mini version of it to go right by my sectional sofa. It’s wasted space and I thought it would be perfect for a little sofa side table. So one day I had an itch to create something, so I headed to the store and bought so wood and built it that day! 🙂
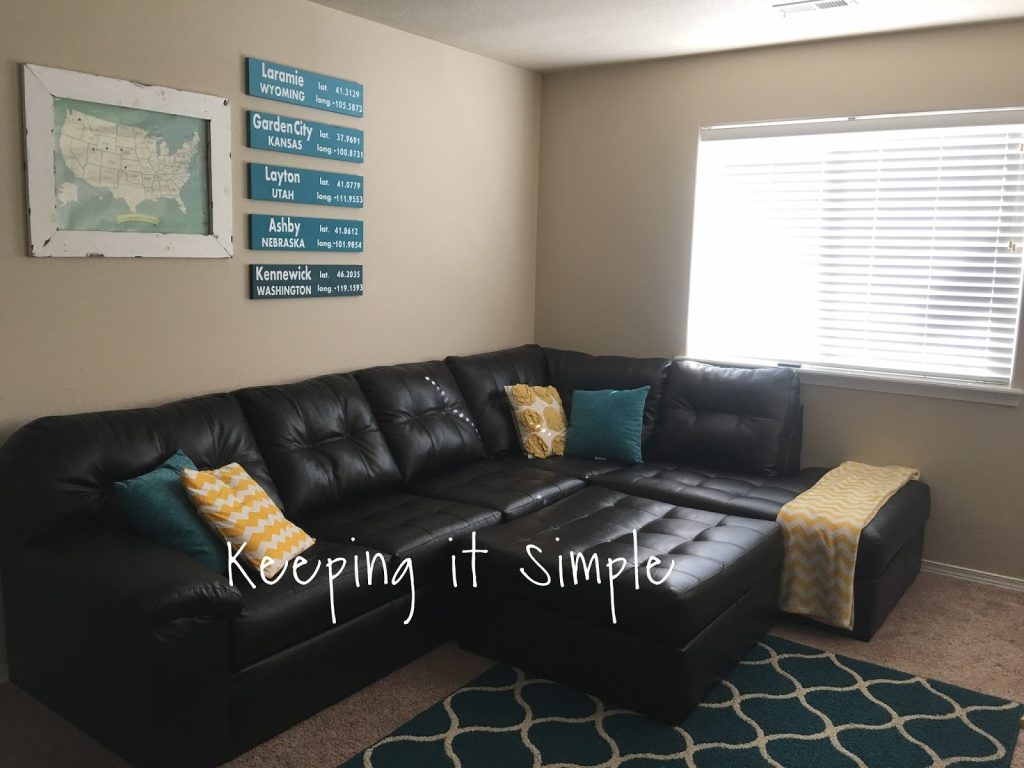
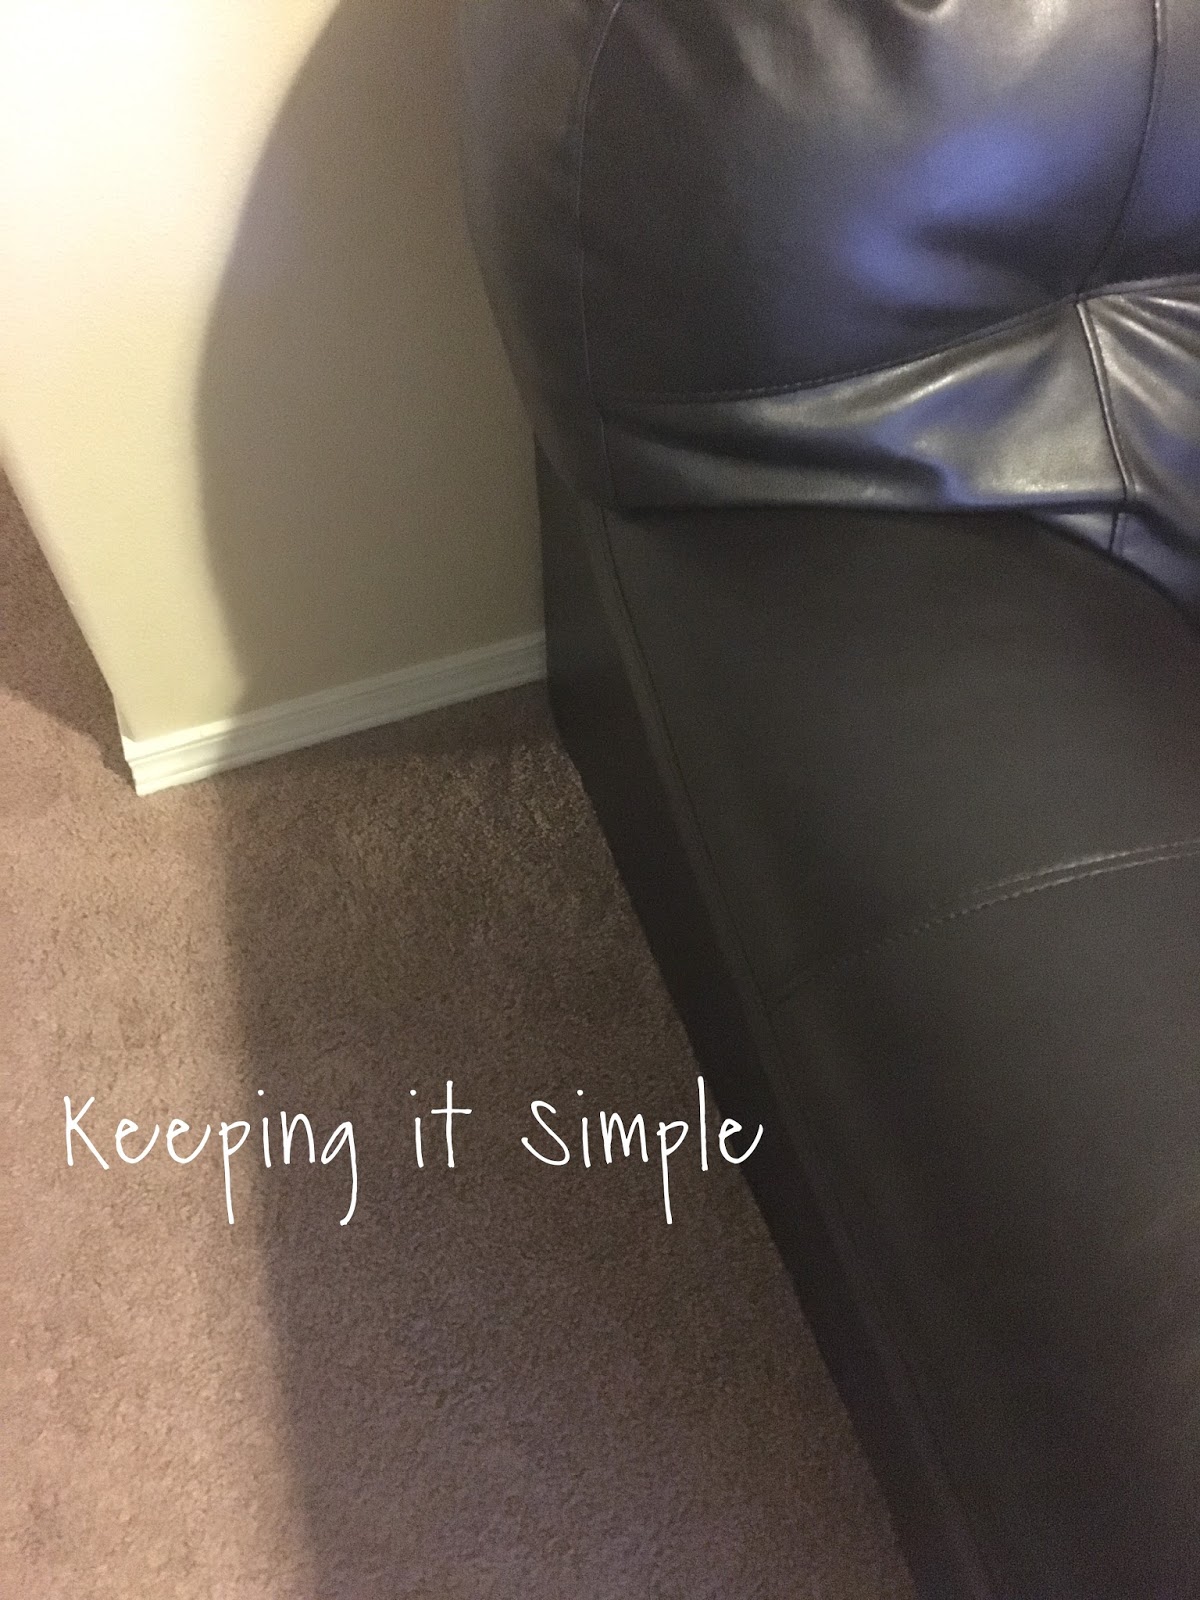
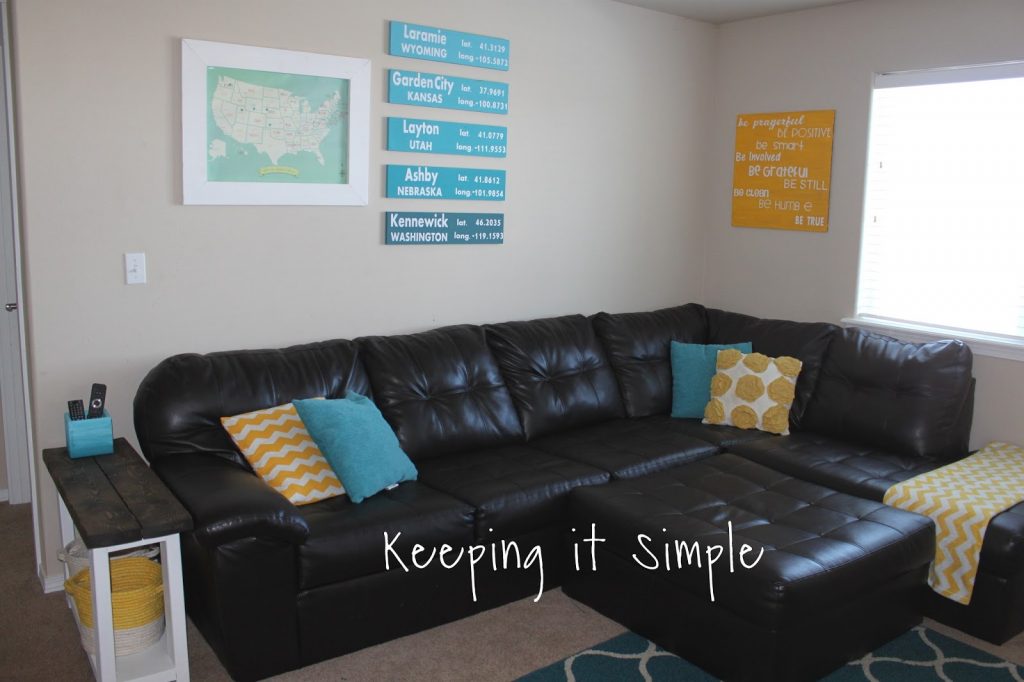
Here is the loft area before. You can’t see it great in this picture, but there is about a foot gap between the end of the sofa and the wall. That’s where I wanted to put the little table.
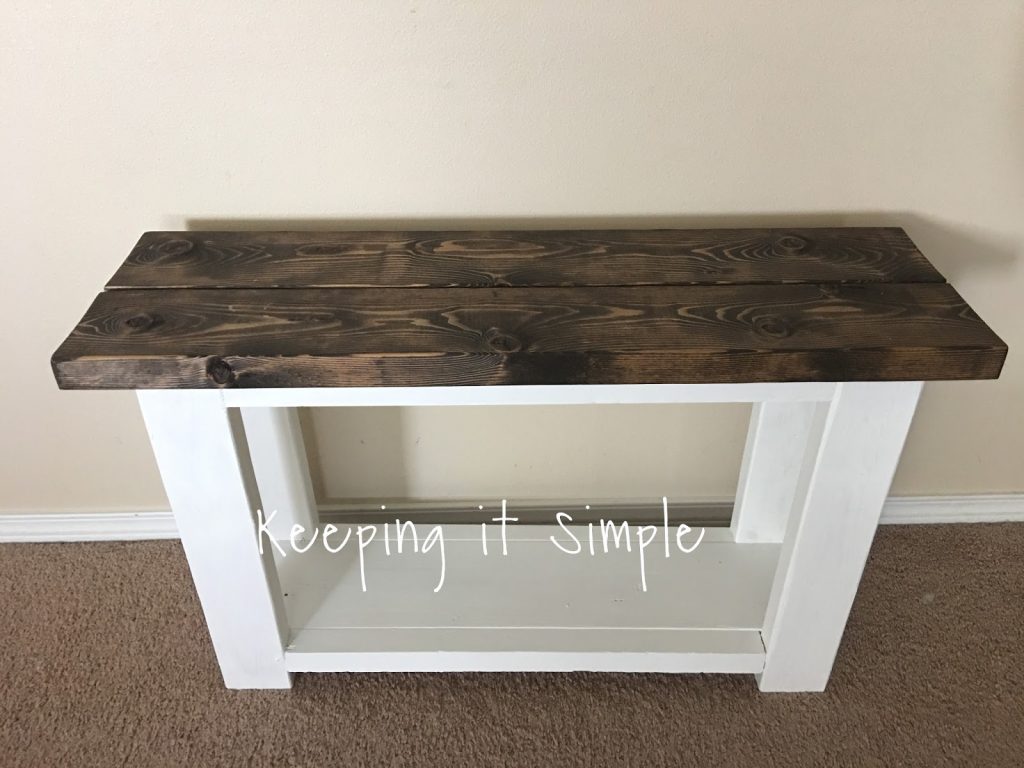
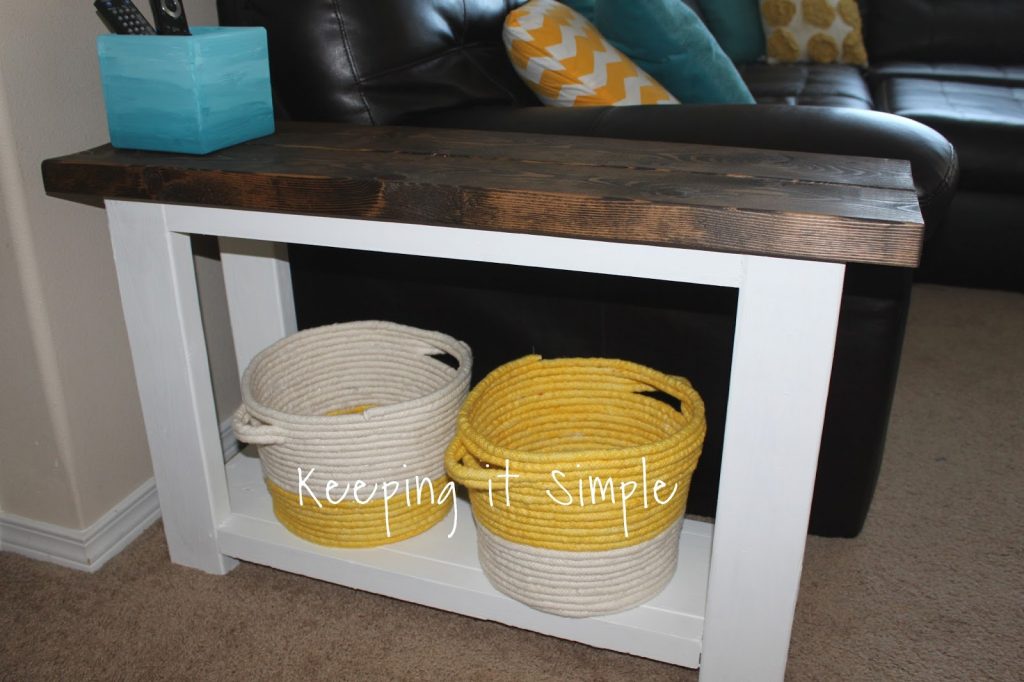
Here is a close up of the area. So the first thing I did was measured to see how big I wanted the table to be. I decided that I wanted it to be 36″ by 11″ and about 22″ high.
Here a breakdown of the wood that I bought and how much it cost:
1 2×6 at $5.05= $5.05
1 2×4 at $2.68= $2.68
2 2x2s at $1.92= $3.84
2 flat brackets at $1.28= $2.56
4 L brackets at $.67= $2.68
Total equals $16.81
This is how I made the sofa table
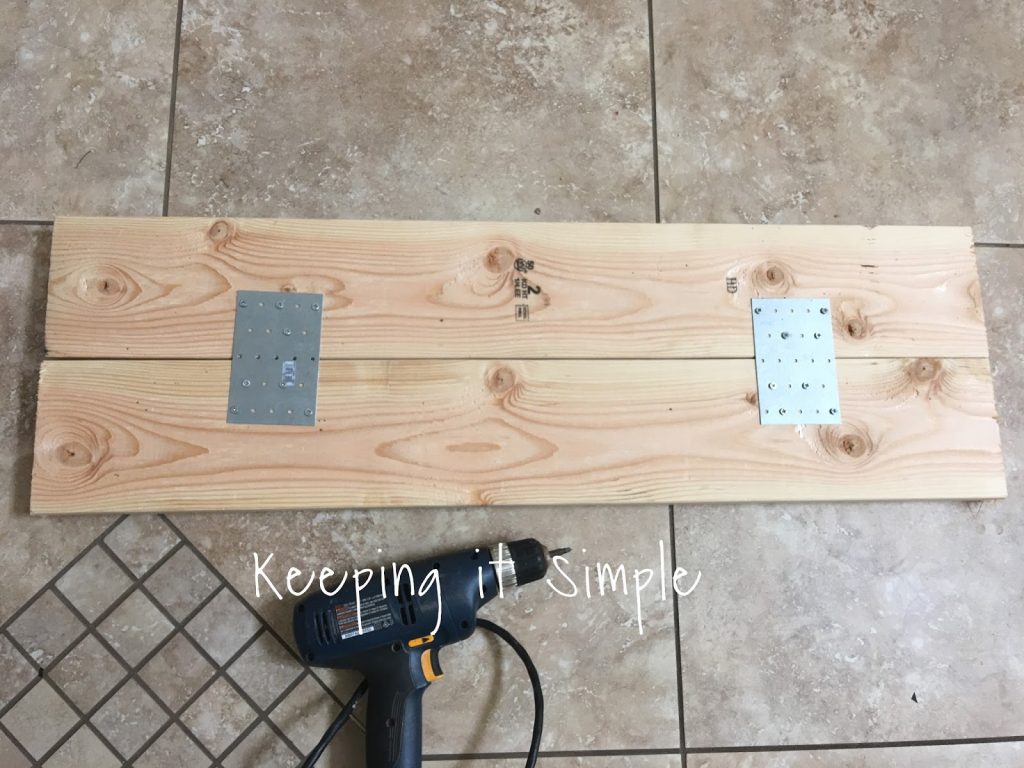
Using a miter saw, I cut the 2×6 into two pieces, each being 36″ long. Then using screws and the flat brackets, I screwed the two boards together.
Then I cut the 2x4s for the legs. I cut them to be 20″ long. Then using them, I measured where I wanted I wanted them and marked the place on the bottom of the table where they were going to be. I had them be about 2 inches in from the sides and about 3/4 inch from the front and back. Once I marked all the places I could figure out how long to cut the 2x2s. The longer ones were 24 3/8″ long and the shorter ones were 6″. I then nailed them into the board using a nail gun and 2″ finishing nails.
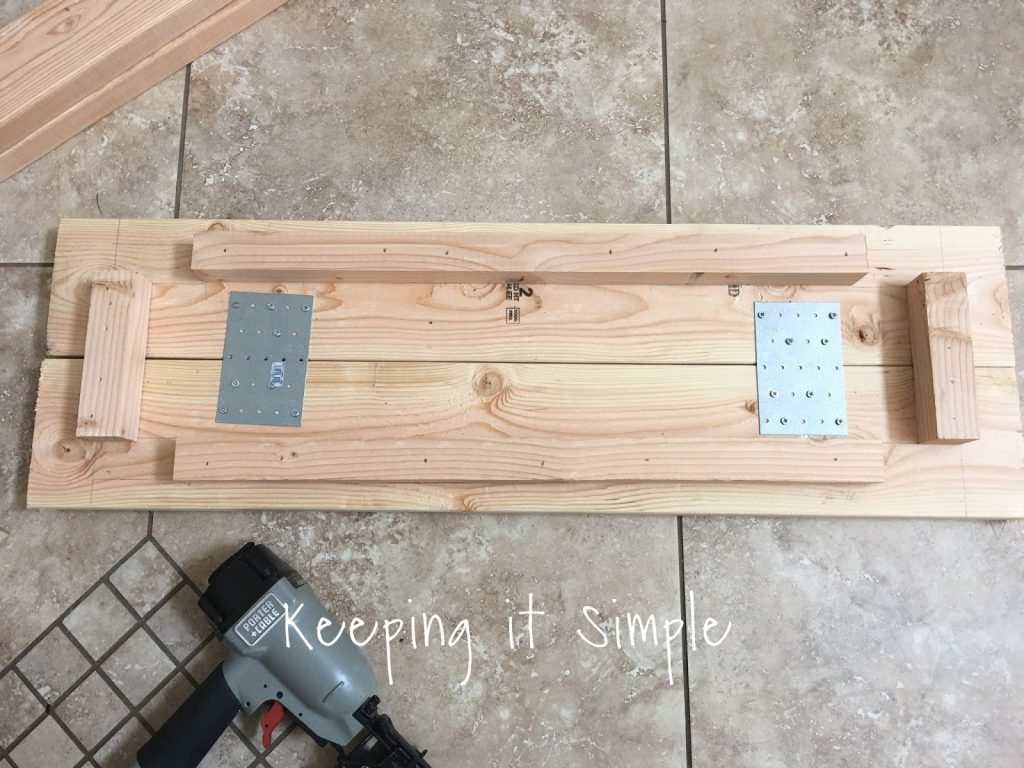
Then I put the legs onto the table. I put in three nails into the legs that connected to the smaller 2×2. This is enough to keep them there so I could really secure them.
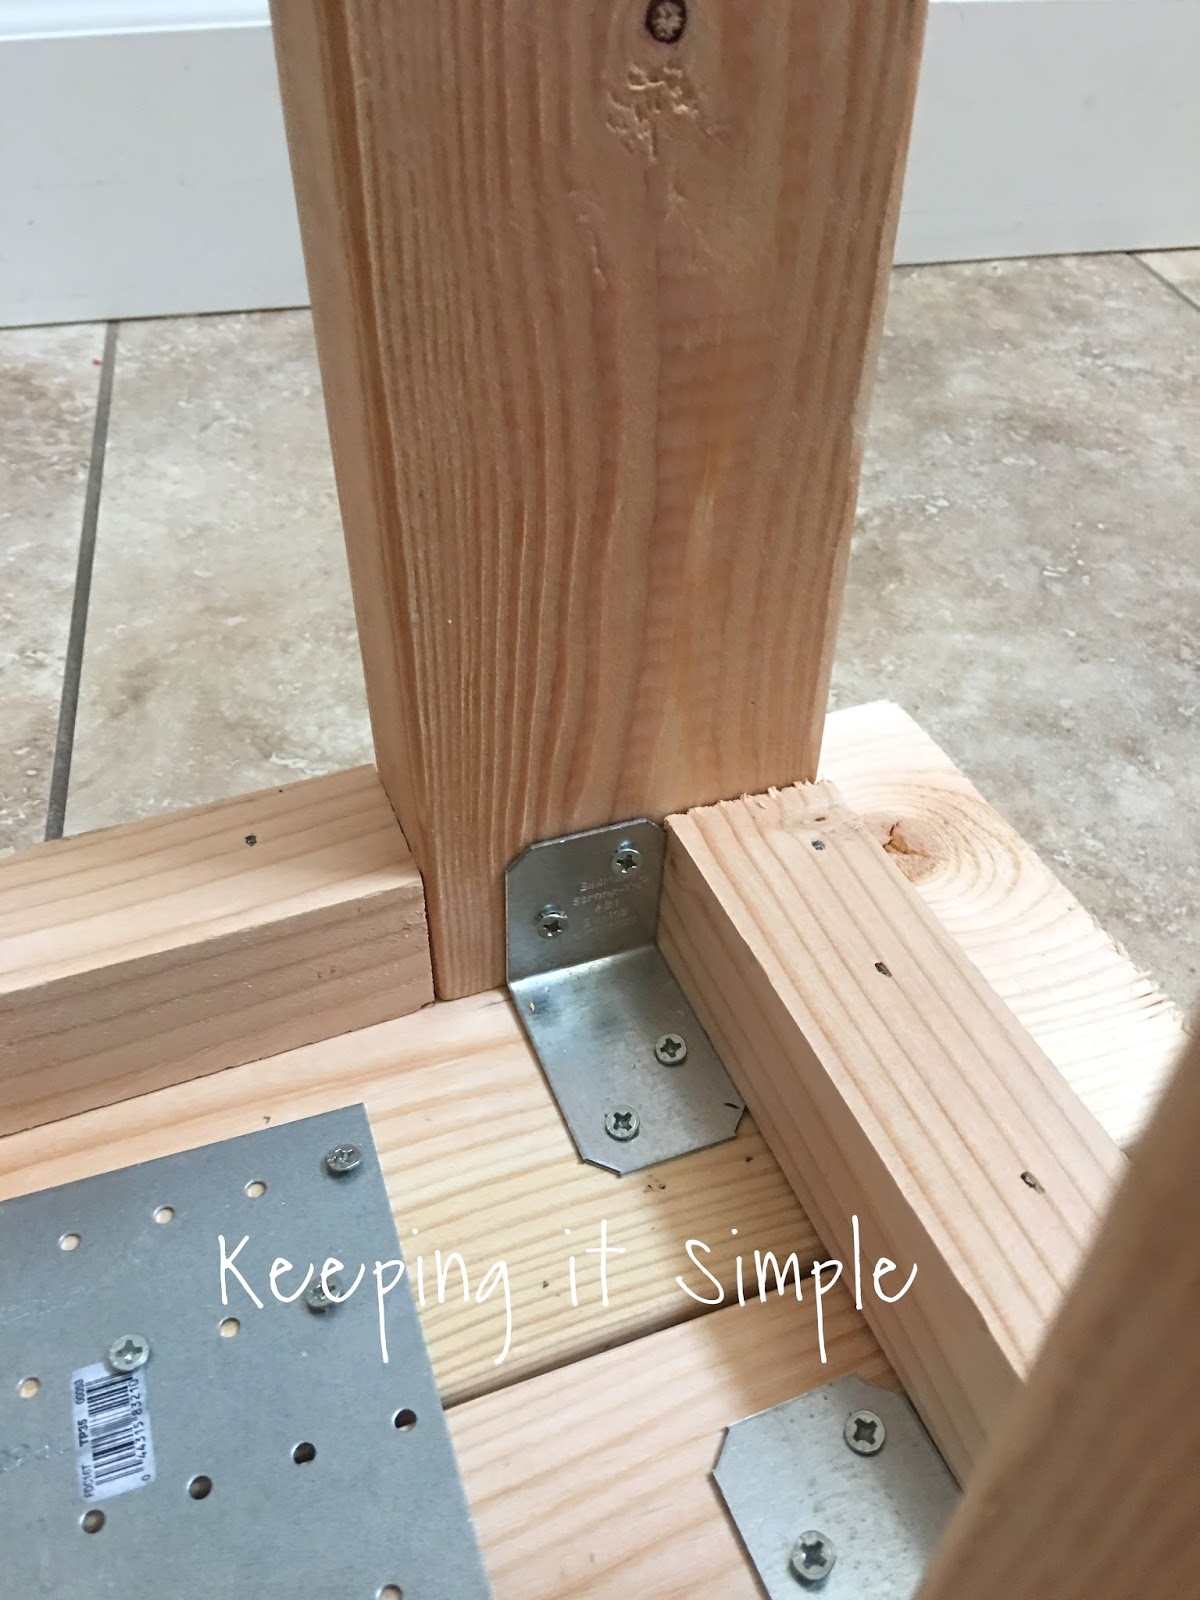
I screwed the legs on with the L brackets.
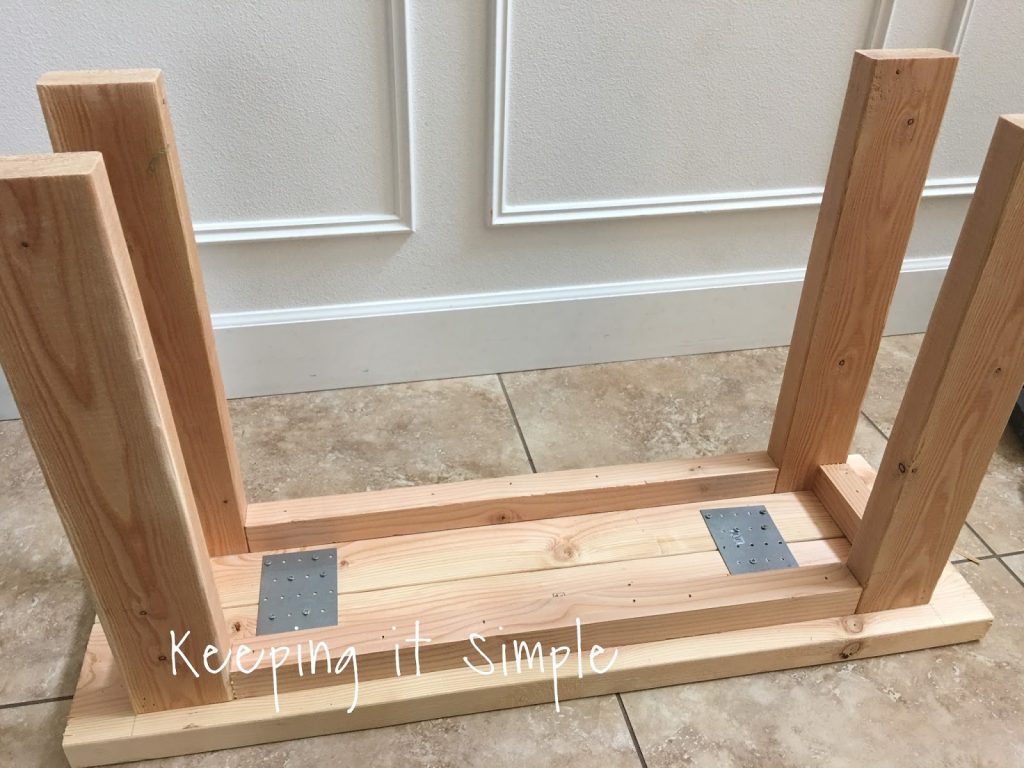
I then flipped the table around worked on the shelf for it. I measured the distance between the two legs and it was roughly 6″, so I took a 2×8 that I had left over from another project a cut it to 6″ inches wide. Then I measured how long to make it which was about 32 inches. I put the shelf onto the some scrap pieces of 2x4s to make sure it was level and even and then I nailed the shelf on. I put the nails into the legs and that secured the shelf.
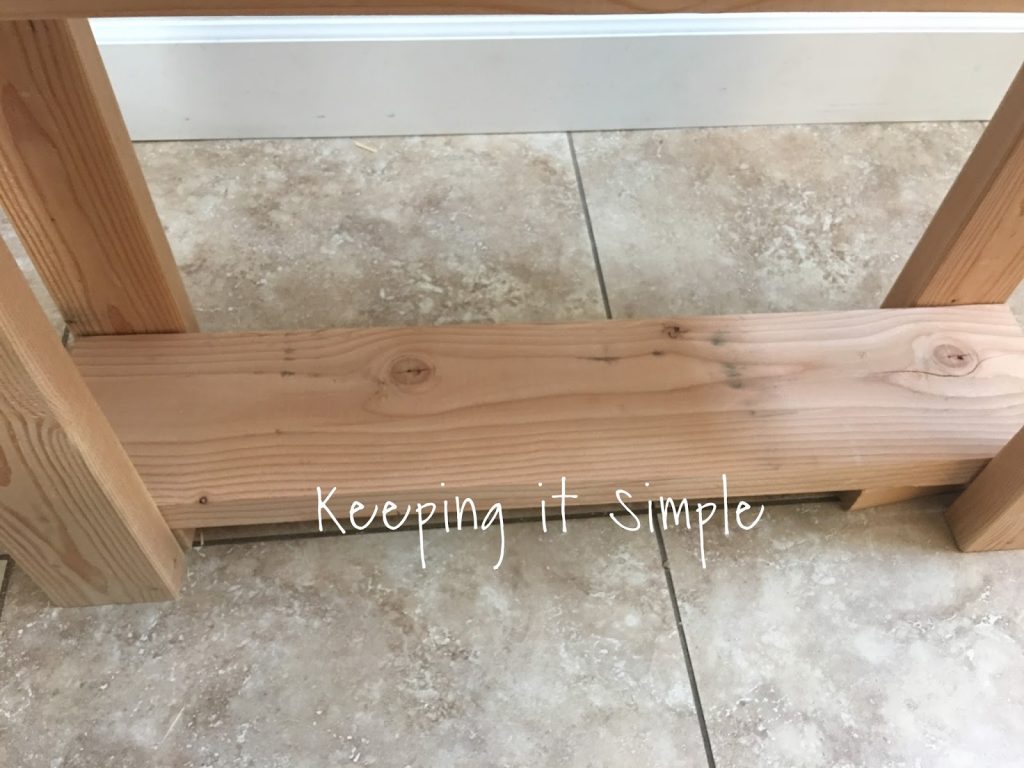
I then cut another two pieces of the 2×2 to put in the front of the shelf. I cut them 24 3/8″ and then nailed them onto the shelf to make it look nicer and give it more space.
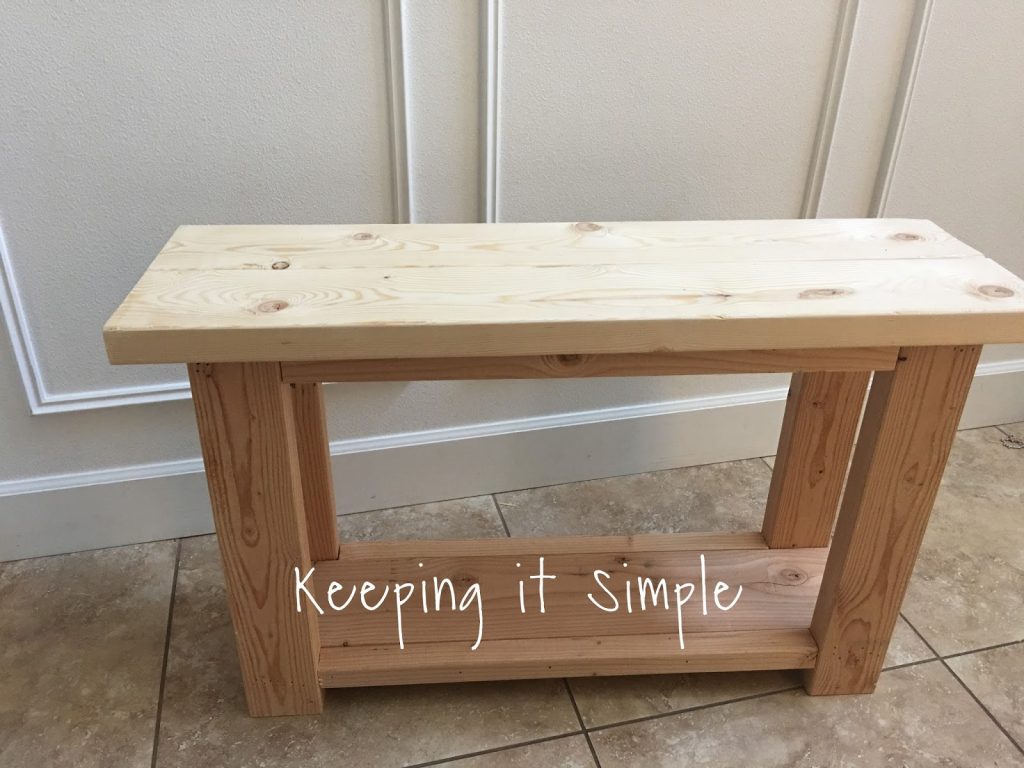
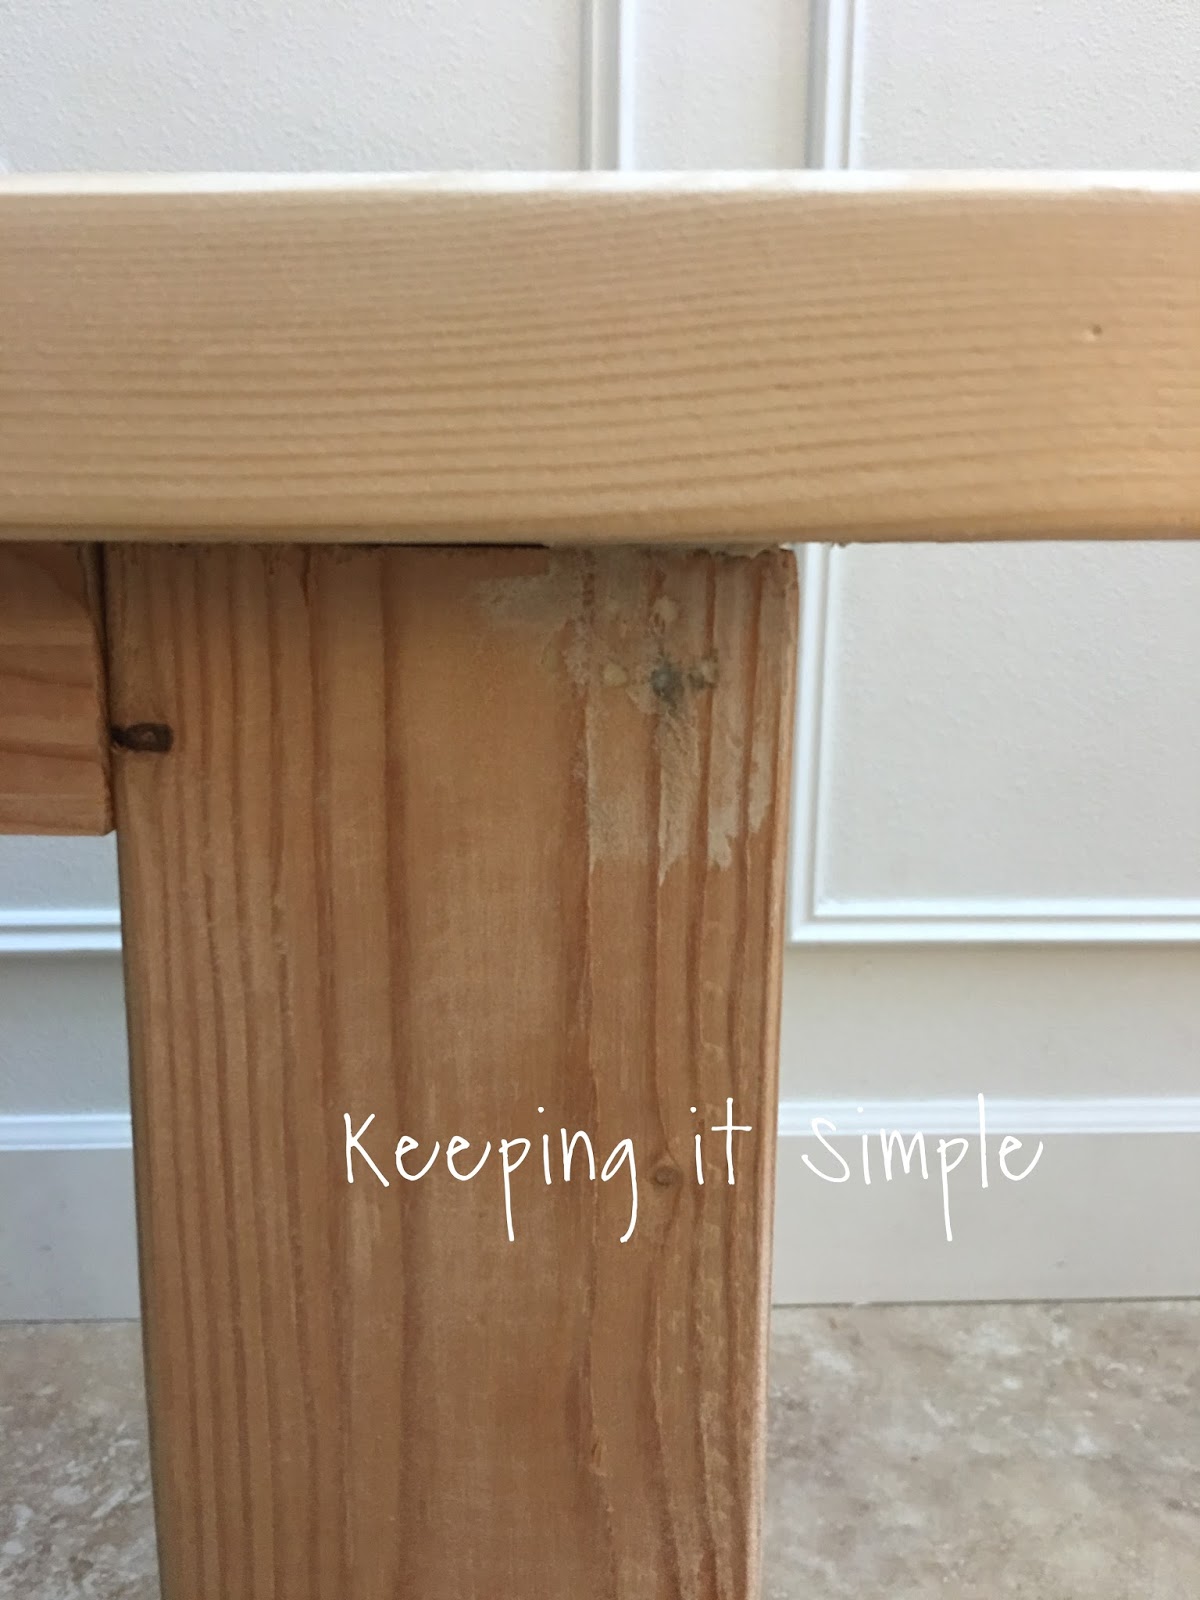
I then added more nails into the legs to make it more secure. I then filled the holes with wood filler. Then I sanded the whole surface of the table.
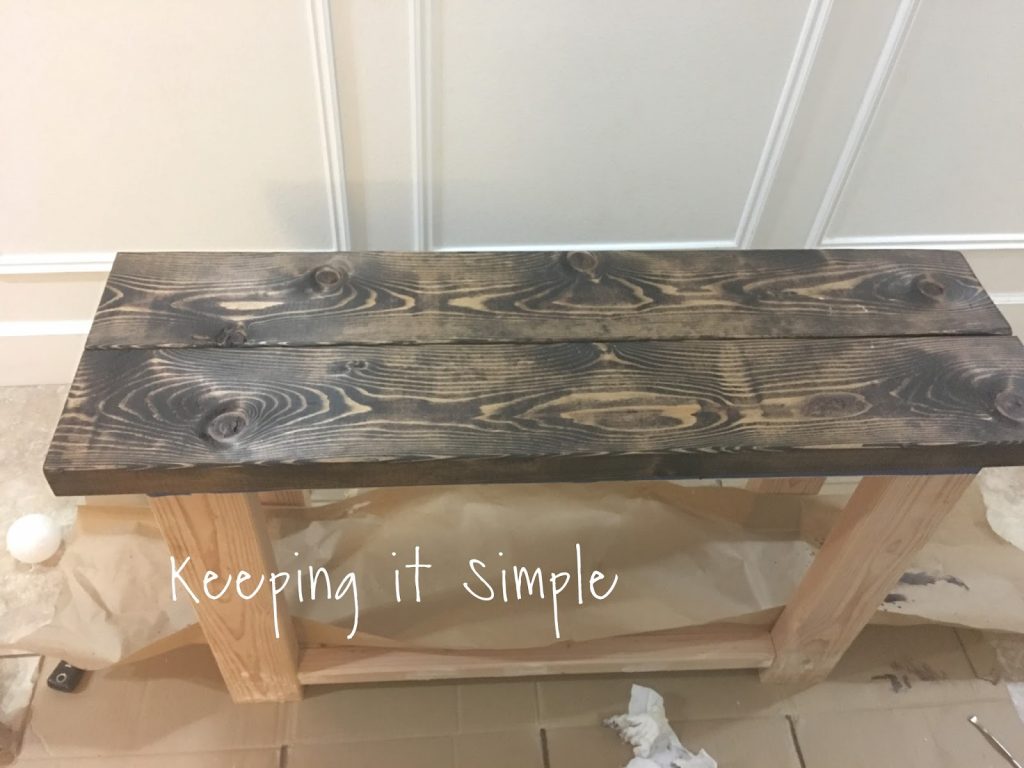
I then stained the top with espresso stain.
Then I primed the legs and shelf.
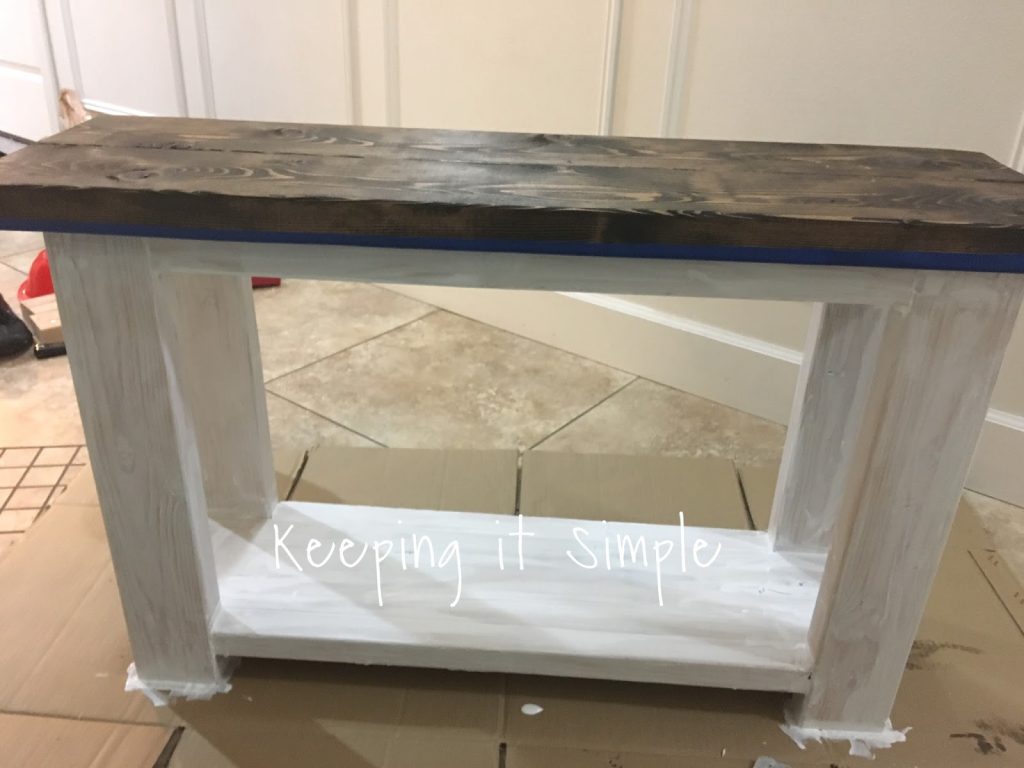
And then I painted the legs and the shelf white! And that’s it! Isn’t it so much fun?!?! It was actually really easy to make and it took me about an afternoon to make.
I put it by my couch and I love how it looks! It’s perfect for my remotes and for drinks :). Doesn’t it look great with my framed map.
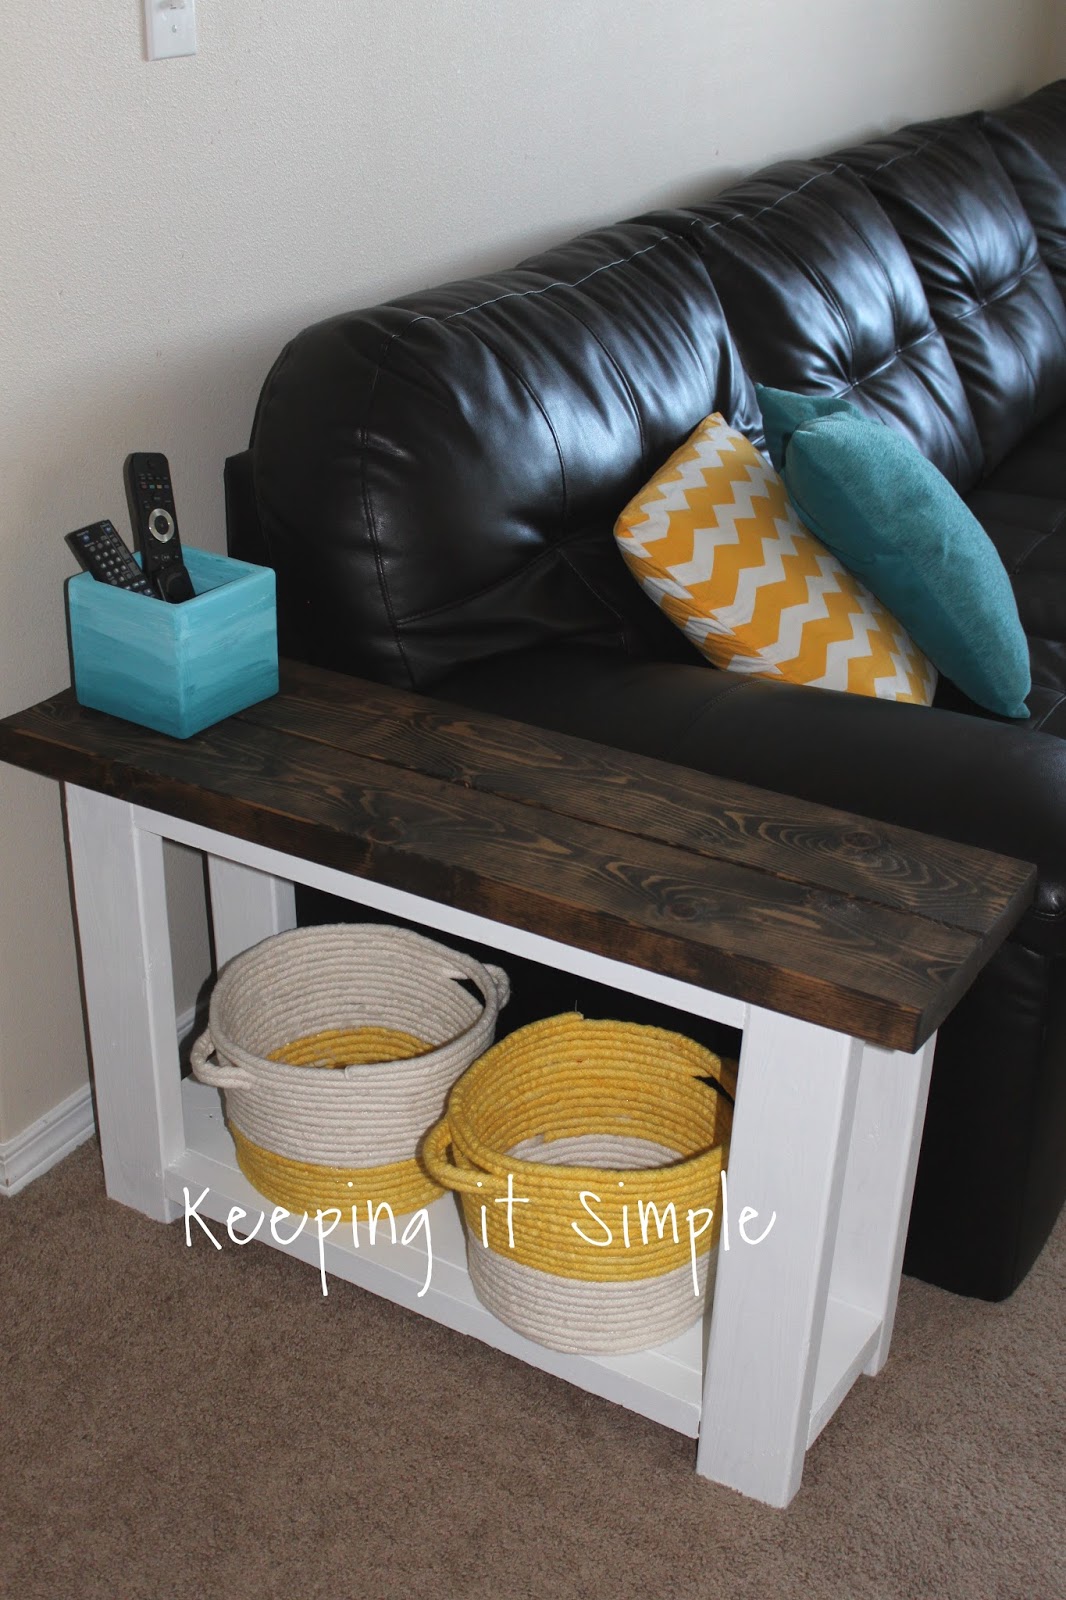
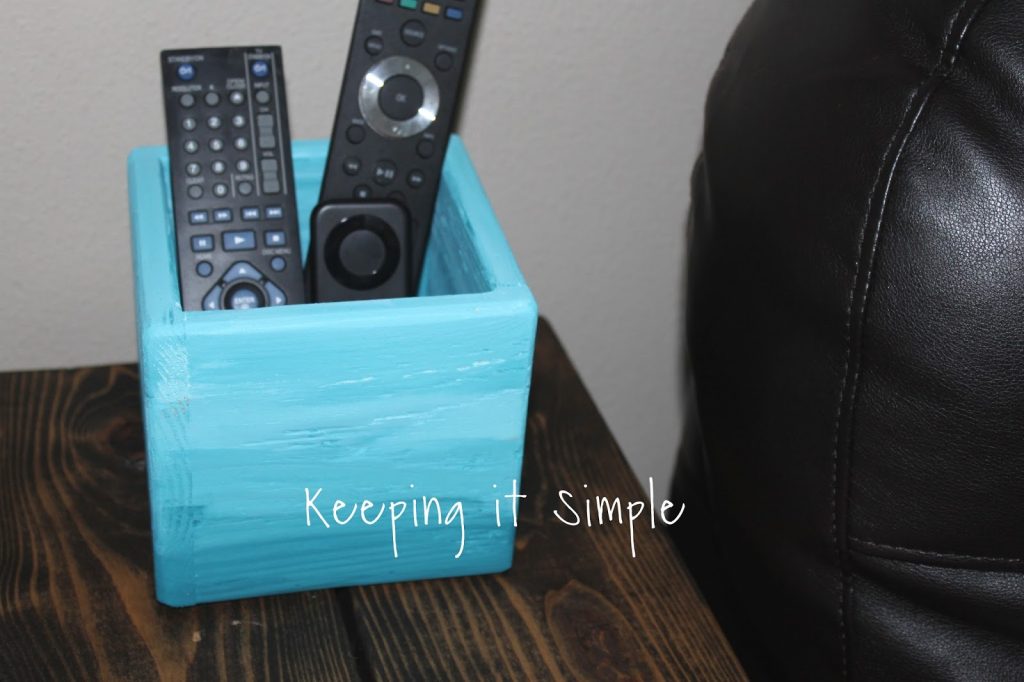
I painted a cute little wooden box with teal paint and added some white paint to it to give it an ombre effect.
Then I added some fun yellow rope baskets I made. For an area that was just wasted space, it’s pretty functional now!
Here is the sofa table I made before. They are fun together 🙂
Here are a few more DIY ideas:

This is EXACTLY what I've envisioned in my head for next to our sectional. I have a pallet in our garage that I'm going to use for wood. This is definitely my next DIY project! Can't wait! Thanks so much for how thorough this is!