Beginner’s Guide to xTool Apparel Printer- How to Set it Up and Use It
This post is a sponsored post. I was given the xTool apparel printer to review. All opinions, ideas and content are 100% my own.
I have been making shirts for several years now and I cannot tell you how excited I am about this xTool Apparel Printer. I have been using xTool machines for longer than 3 years and I have been so impressed with all them. xTool has created some of the most top of the line machines on the market, with many different functions. I am in awe of all of the different kinds of machines that they have and the apparel printer hasn’t been any different, I am in awe of it! It is amazing! I have played around with it and it has blown my mind. I cannot wait to design and create with it! What is the xTool apparel printer? It is a printer that prints on direct-to-film (DTF). DTF can then be transferred to shirts, wood, metal and much more! The possibilities are endless with this machine!
If you’ve been thinking about starting a custom T-shirt business or creating your own apparel at home, the xTool Apparel Printer is an exciting place to begin. This is also a great gift idea for your crafty friends and family!
While direct-to-film (DTF) printing can seem intimidating at first, the process is much easier than you might expect. In this beginner’s guide and tutorial, I’ll walk you through everything you need to know—from setting up your printer to creating your first professional-quality print.
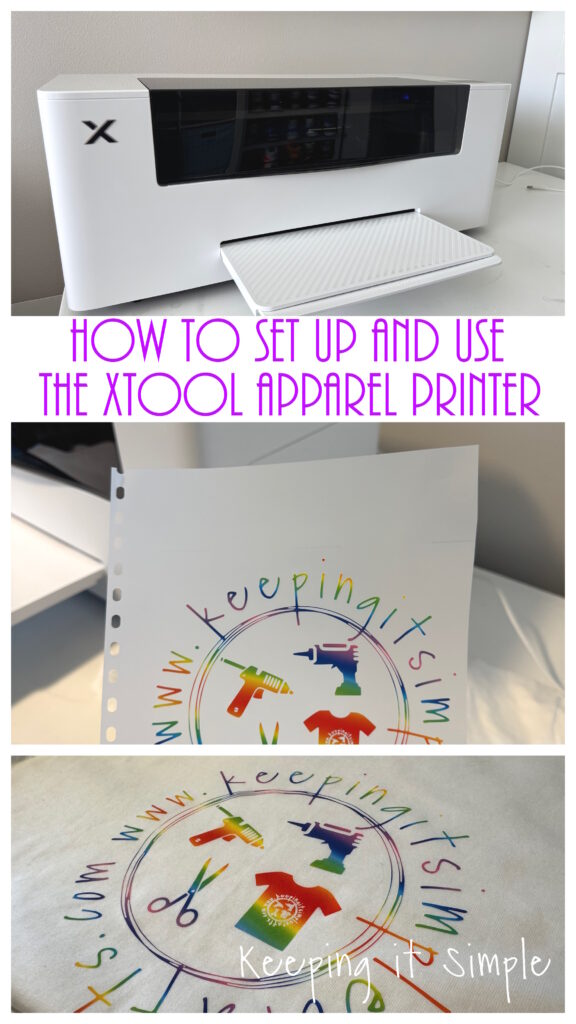
Here is a video of how to set up the xTool apparel printer and how to make a DTF print for a shirt.
Now it’s time to unbox the xTool apparel printer and learn how to set it up!
The printer comes in one big box and it has the printer and an accessories box inside it.
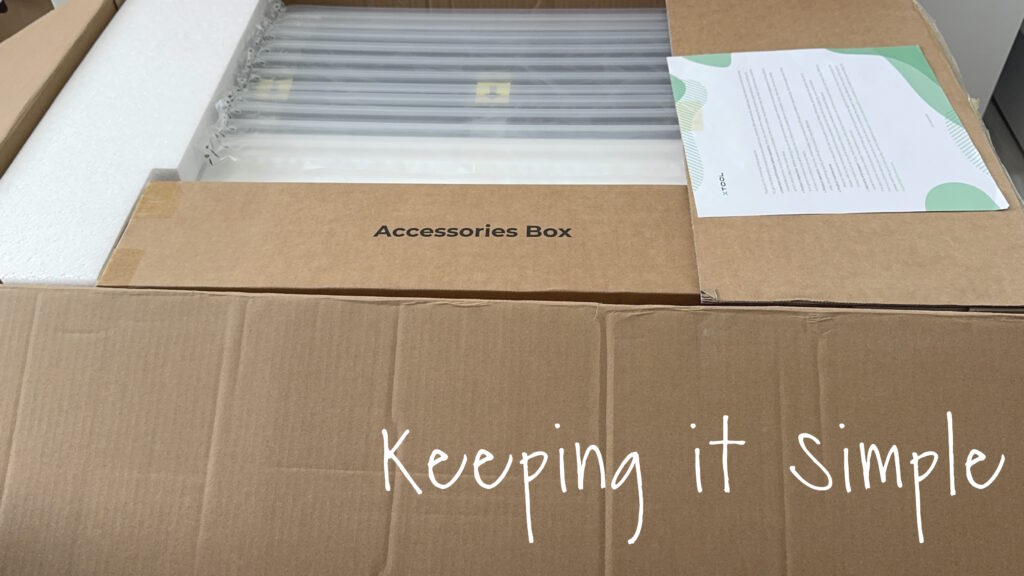
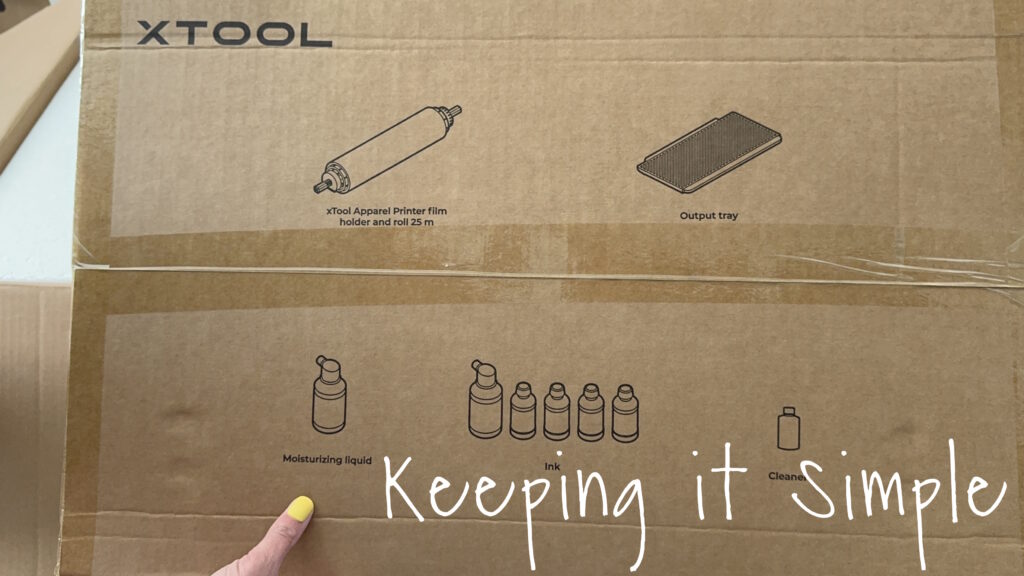
Here is the apparel printer and the accessories box unboxed.
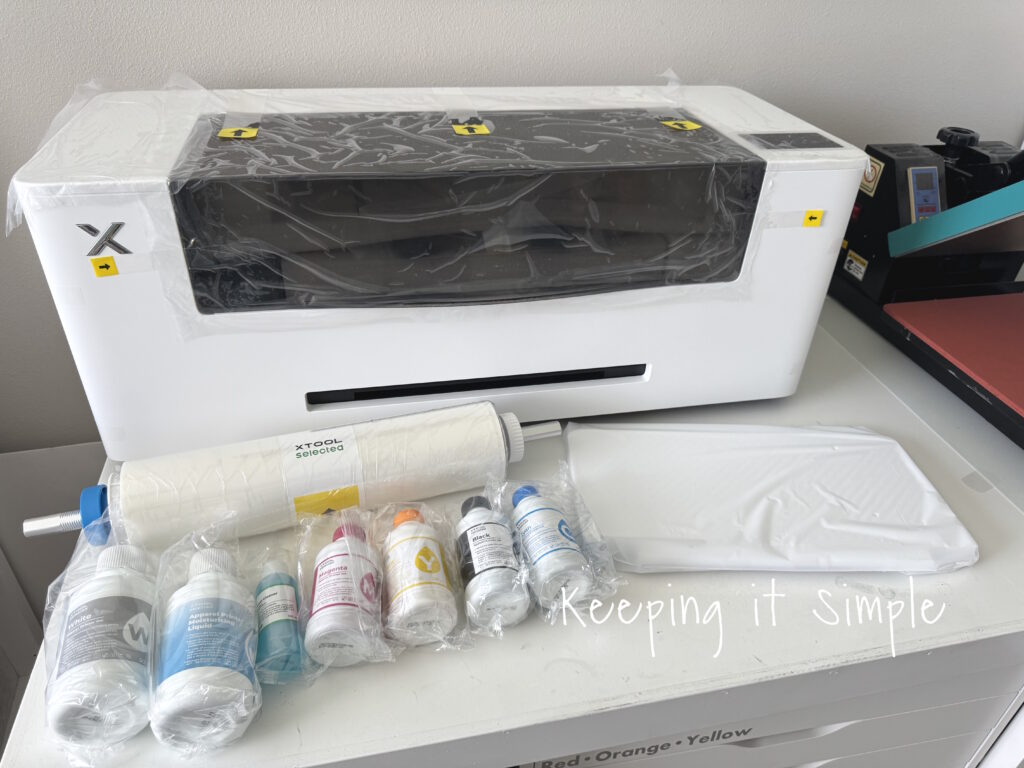
This is what comes in the big box:
xTool apparel printer, 25m film roll, 250ml bottles of black, yellow, cyan and magenta ink, 500 ml bottle of white ink, 500 ml bottle of moisturizing liquid, cleaning kit, instructions on how to set it up, brackets for the film roll and cables.
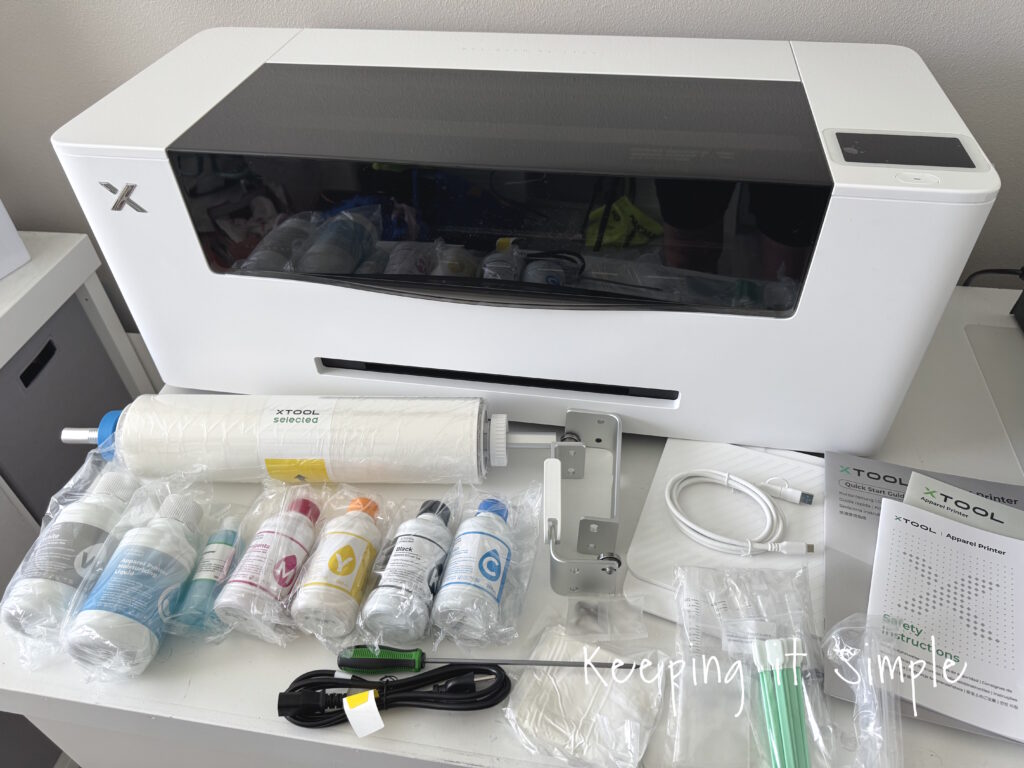
For more information on how to set up the xTool apparel printer, check out the user manual. It is very helpful to check out when setting up the machine. It has the instructions as the manual that comes with the printer but it goes into more depth.
Alright, now it is time to set up the apparel printer.
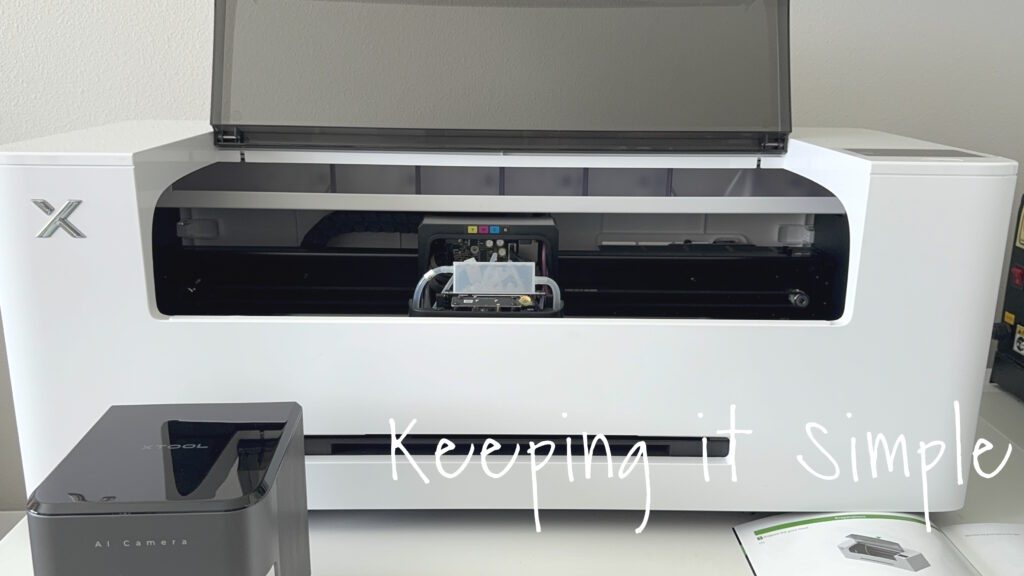
The first thing I did was removed the printhead cover.
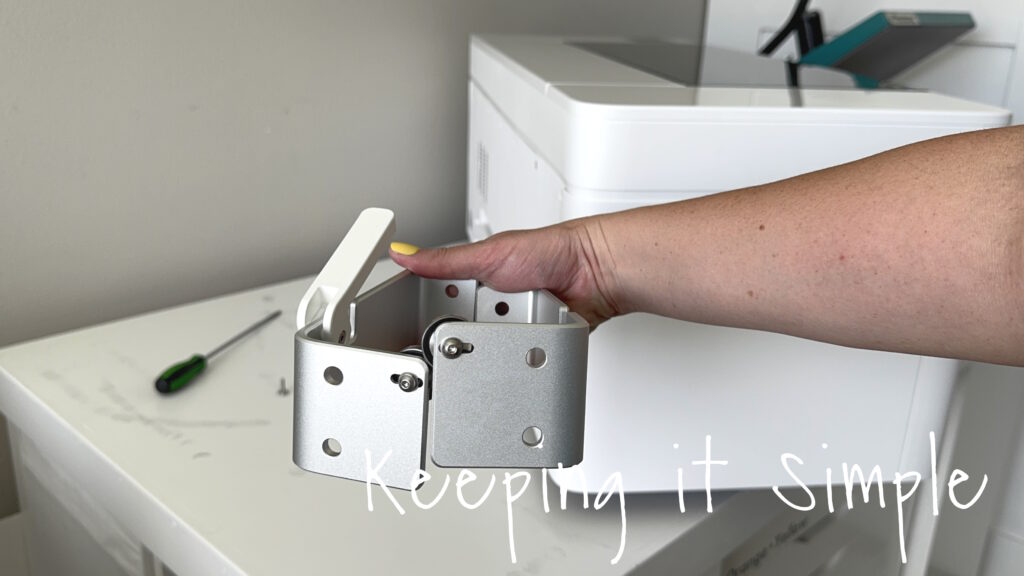
Next I added the brackets to the back of the machine. The bracket with the lever goes on the lever and the other bracket goes onto the right side.
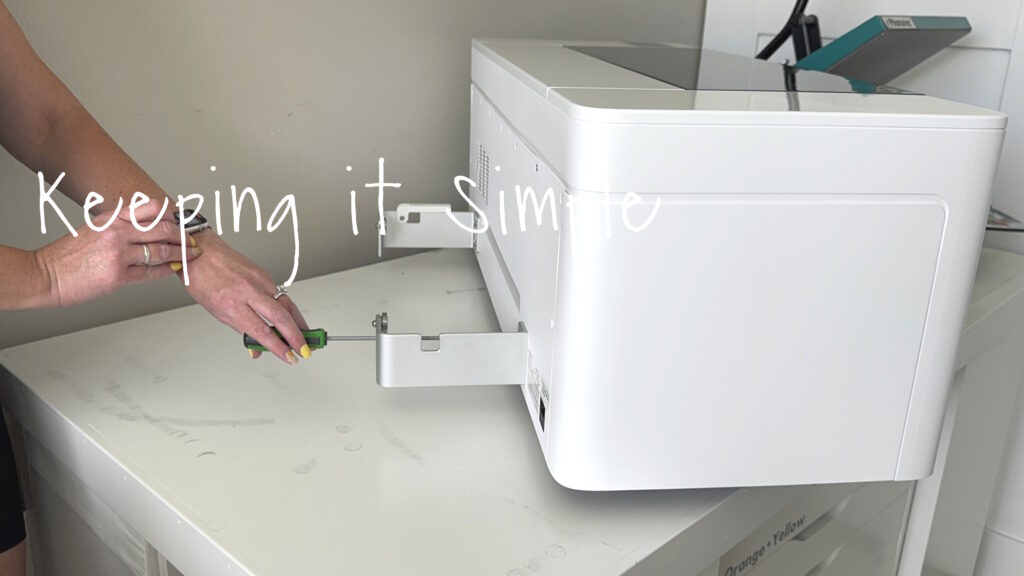
Using the long screwdriver that was provided with the printer, I screwed the brackets into the back of the machine.
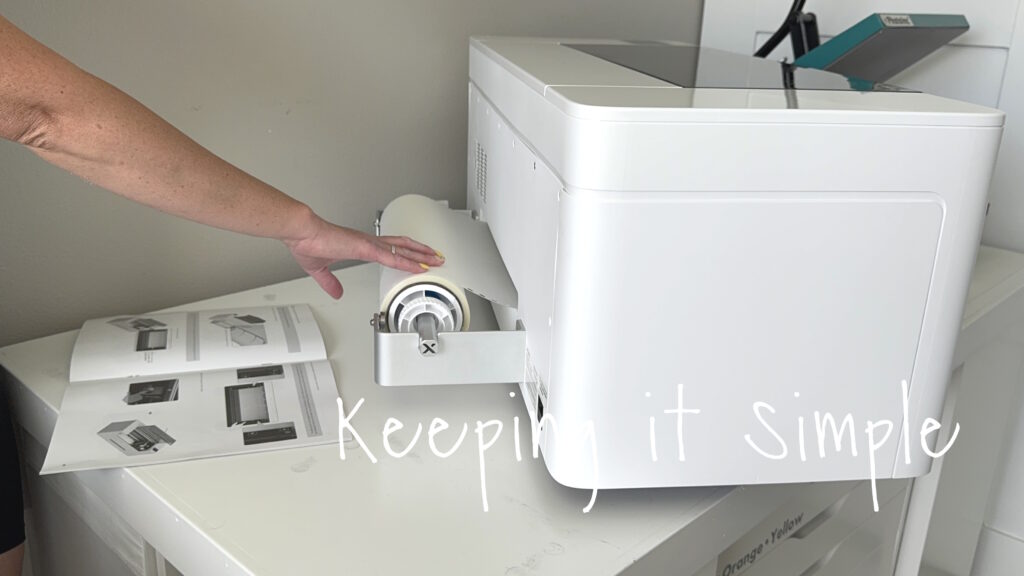
Next I put the DTF film roll into the brackets. Make sure that the yellow arrow is pointed towards the machine. I then fed the film through the opening in the back of the machine. Once the film was in place, I pushed the white level down to lock the bracket.
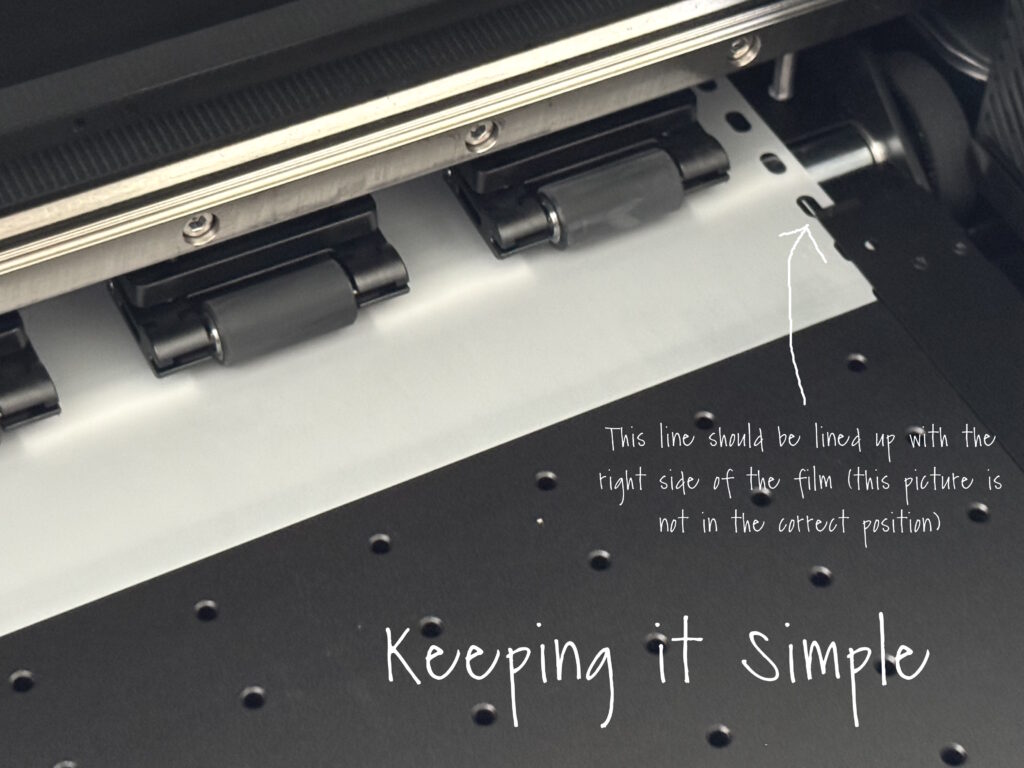
Once the film was fed into the machine, I then arranged the film in the front of the printer. There are several white lines that are on the right side of the printer. The edge of the film should line up with the white line, if it does not then it will not work correctly. The way I have it set up in this picture is WRONG, the white line needs to be on the edge of film, not in the middle of the hole. The film also needs to go under the L and R plates so it will move correctly. Once the film is in place, there is a lever to the left of the rollers that you can push to lock down the rollers.
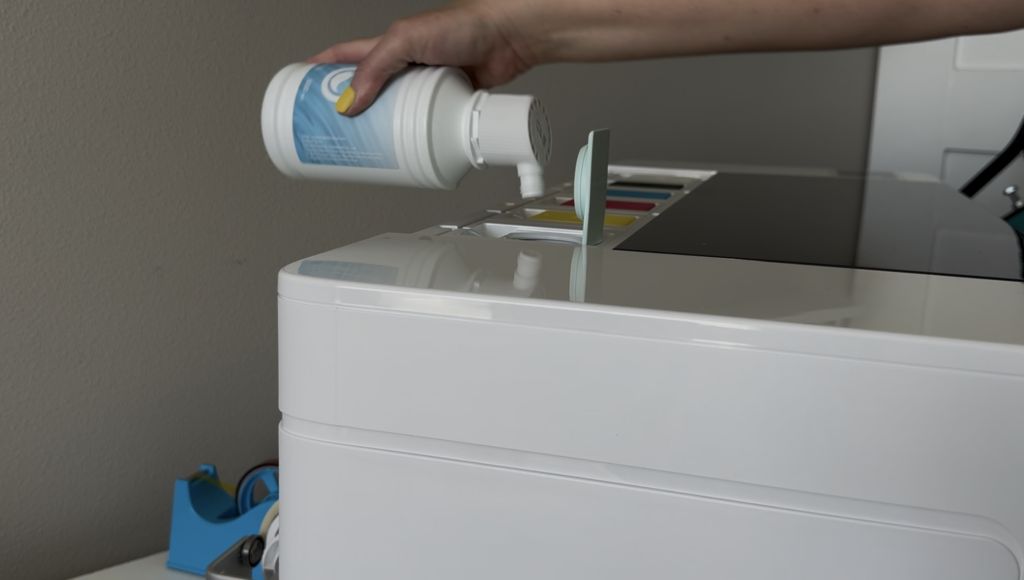
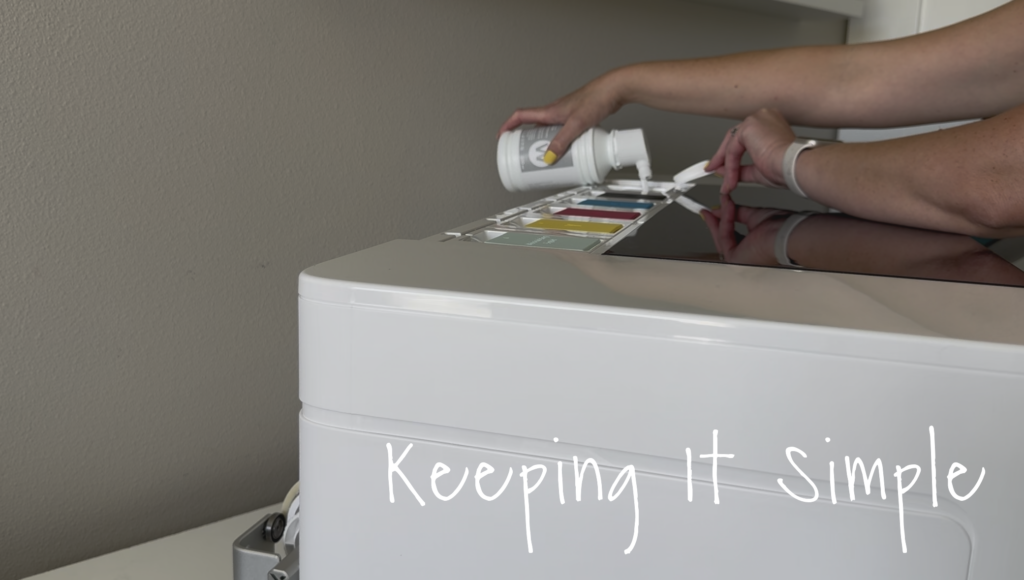
Once the DTF film roll is installed, it is time to fill the tank! First I added the moisturizing liquid to the tank. I did not use the whole bottle because you need to leave some for cleaning maintenence.
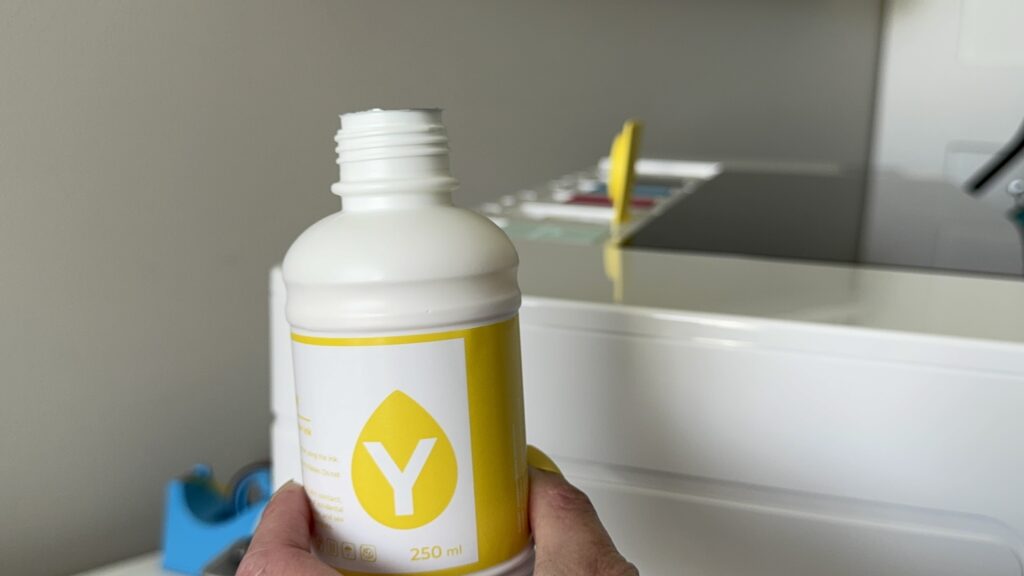
Next I added all of the colors. I did add the whole bottle to the tanks.
Lastly, I added the white ink. You have to shake up the white ink before adding it to the machine. I added the full bottle to the tank, just like I did the other colors.
Next I added the tray. It is simple, you just place it into the hole.
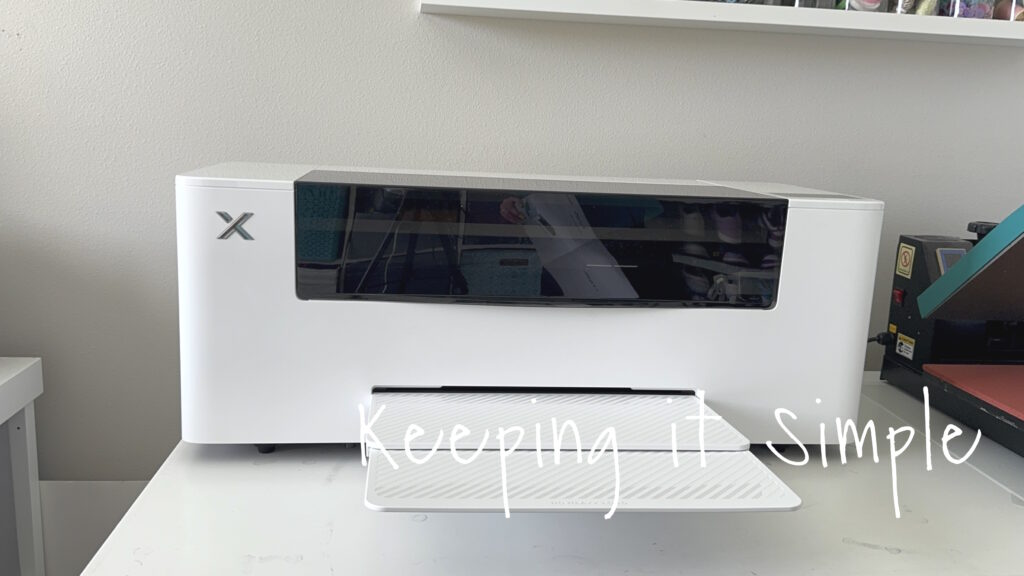
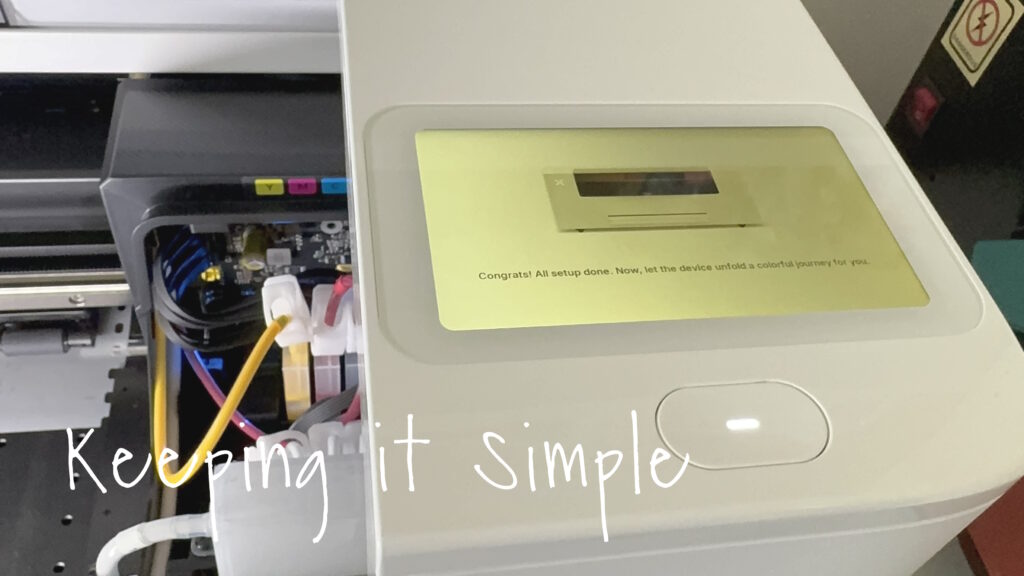
Now it is time to turn on the machine! You can connect it to Wifi and then it will ask you a series of questions and commands to do. The first thing it will do is a device check up. That’s when I learned that I did not install the DTF film roll properly. It was an easy fix and the machine will give you help when needed.
After the device check up it is time for the ink to go to the printhead.
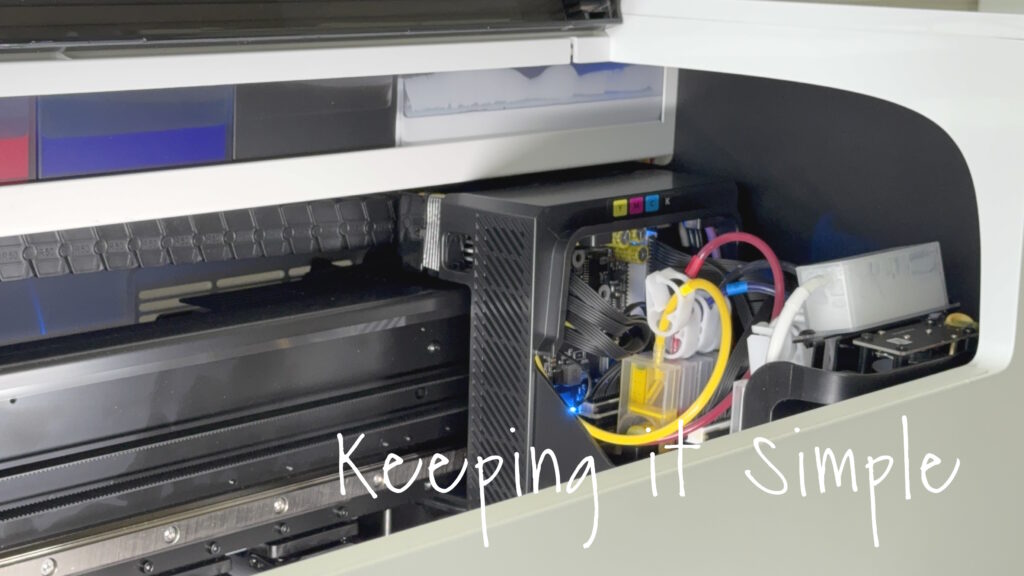
There are a few commands and functions that the printer needs to do. At one point you will have to clamp all 8 of the clamps on the hoses. Then you will have to unclamp them. It is super easy to do, you just have to wait until the printer tells you to do it.
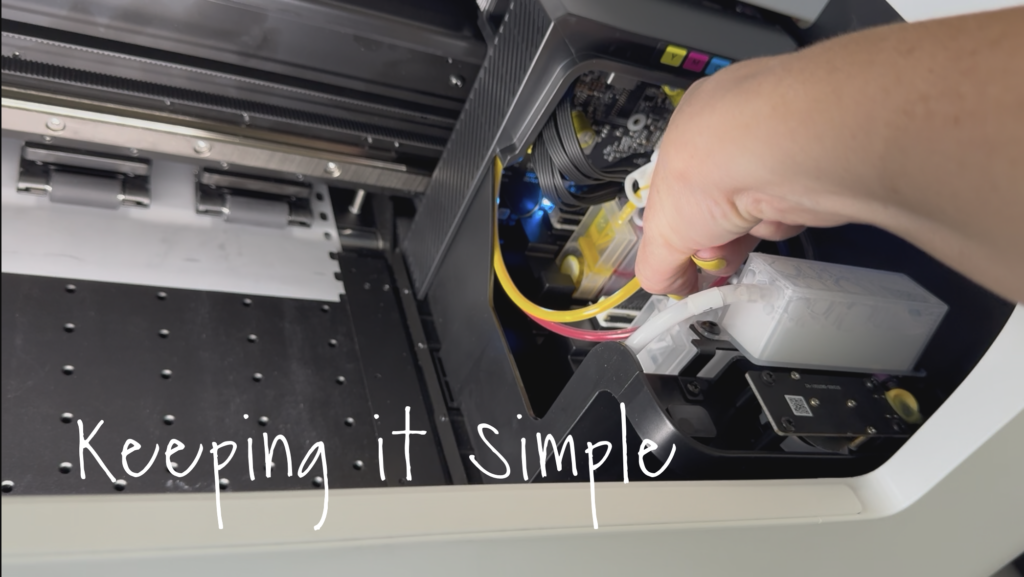
After the ink has gone through all the tubes, the machine will do a self cleaning. That takes about 3-5 minutes and once it is done, then it is all set up and ready to connect with the computer!! Woohoo!!
***Before I get to creating with the xTool apparel printer, I wanted to let you know that the printer has to be maintained and cleaned regularly. If you do not use it for a week or more, you need to do some maintenance on it and then do a deep cleaner before using it. There are multiple videos and support on the xTool website.***
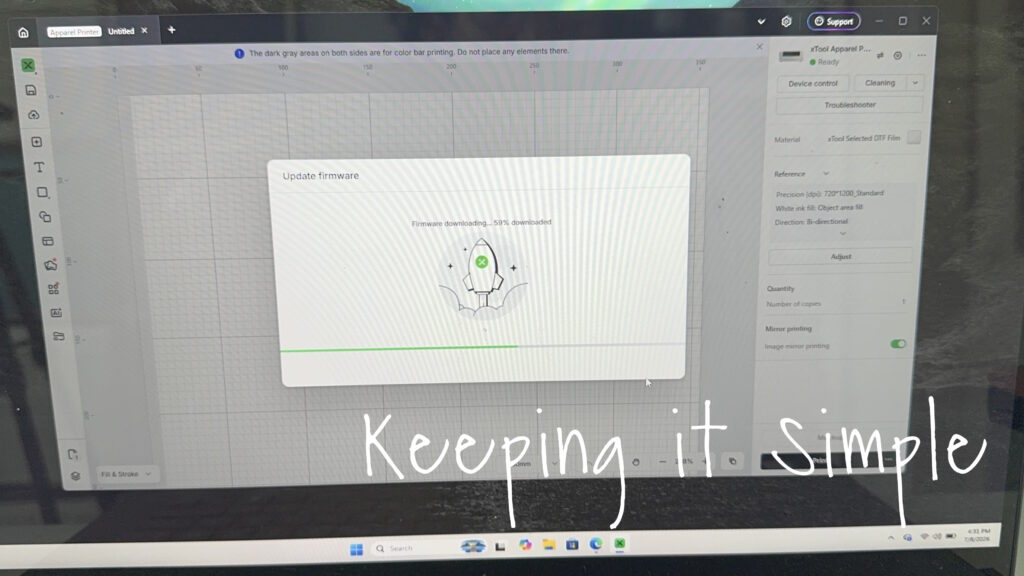
In order to connect your computer with the xTool apparel printer, you will need to have xTool Studio. If you have been using xTool Creative Space (XCS) then you will have to download xTool Studio. Once that is downloaded, you can connect the device by the USB cord that is provided. Once you have connected the device, you will need to update the firmware. That will take a few minutes.
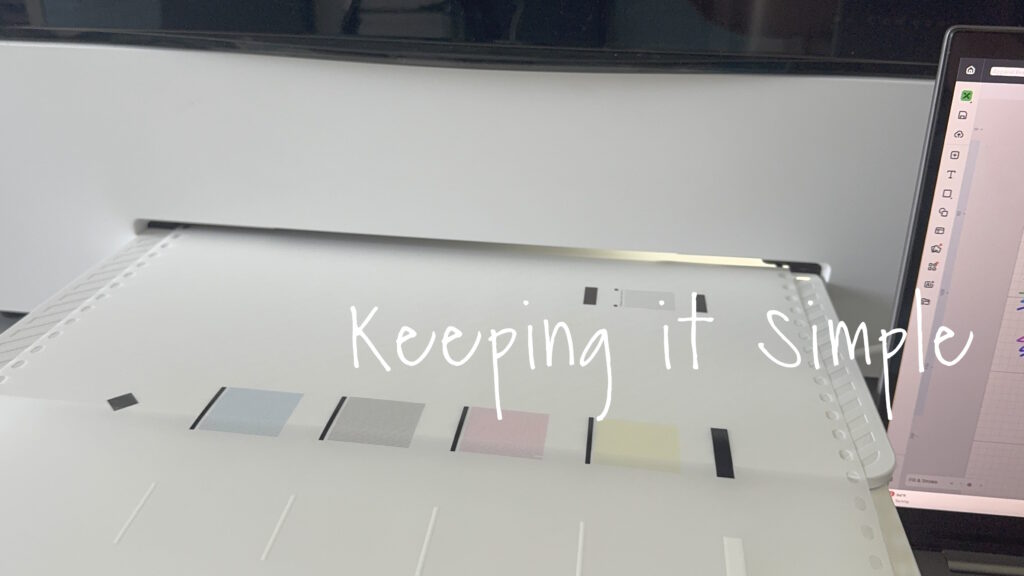
Once the software and firmware are all updated, it is time to calibrate the apparel printer. ***Before doing this you need to put the printhead cover back on. The printhead does not move, you cannot move it with your hand. On the screen on the machine, there is a button that you push to move the printhead. It is under the maintenance button and under the control tab. This part is included in my detailed video. I tried to calibrate it without the cover on a couple times and it didn’t calibrate properly without the cover on.***
Once the machine is calibrated, it will print out something like this. When there are no gaps in the ink, it is ready to use!
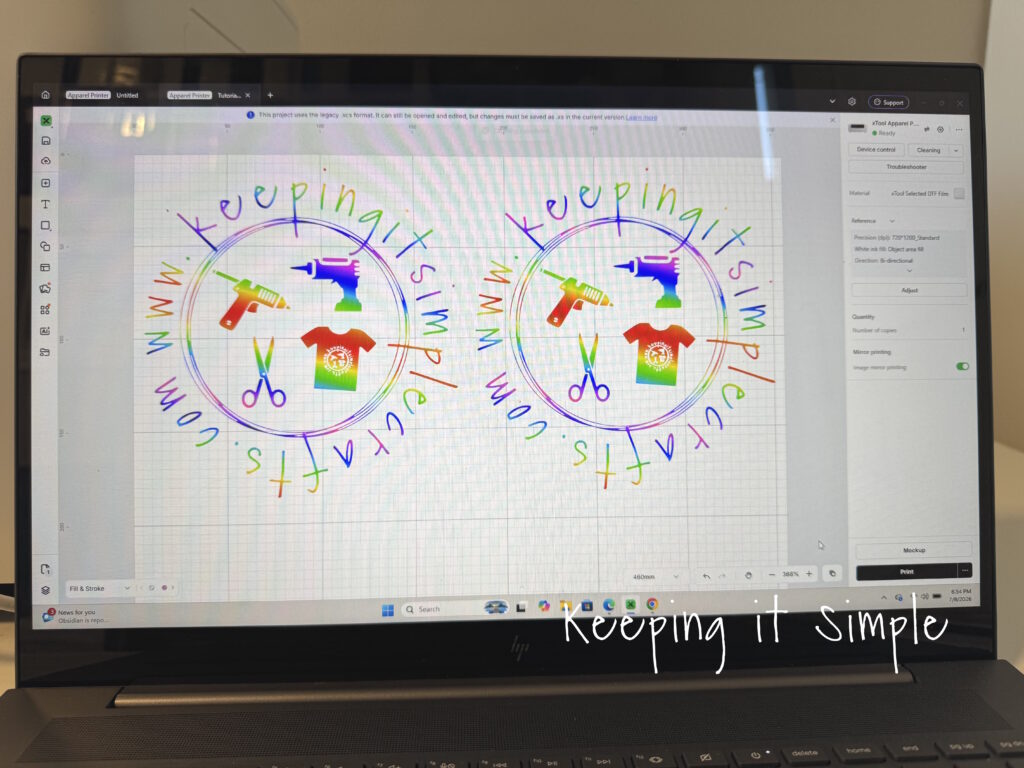
Time to create and print a design! I went with a super fun and colorful version of my website logo. I added the image in xTool Studio and then sized it. The film is 14inches wide, so I printed out two because I didn’t want to waste the film. When printing, the image is mirrored but this is something that you don’t have to do because there is a tab that automatically does it for you, it’s awesome! Once I had everything ready and set up, I clicked on the print button.
It was so much fun watching the machine print out my logo! And it does a good job and it is quick! The printer took about 2 minutes to do this!
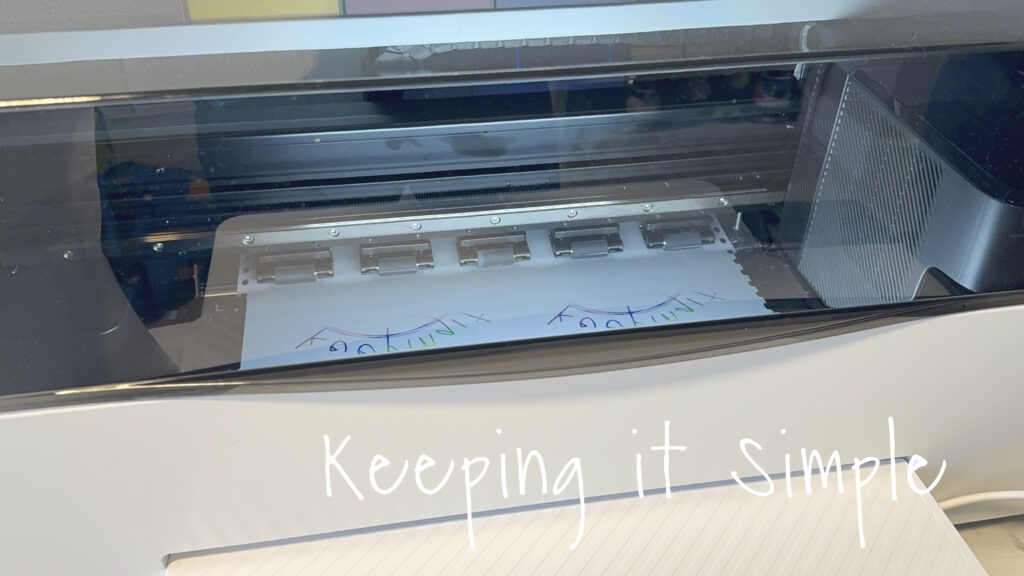
There are two parts to the printhead, one side does the color and the other side adds white to the back of it. It is so cool to watch it! It really is amazing technology!
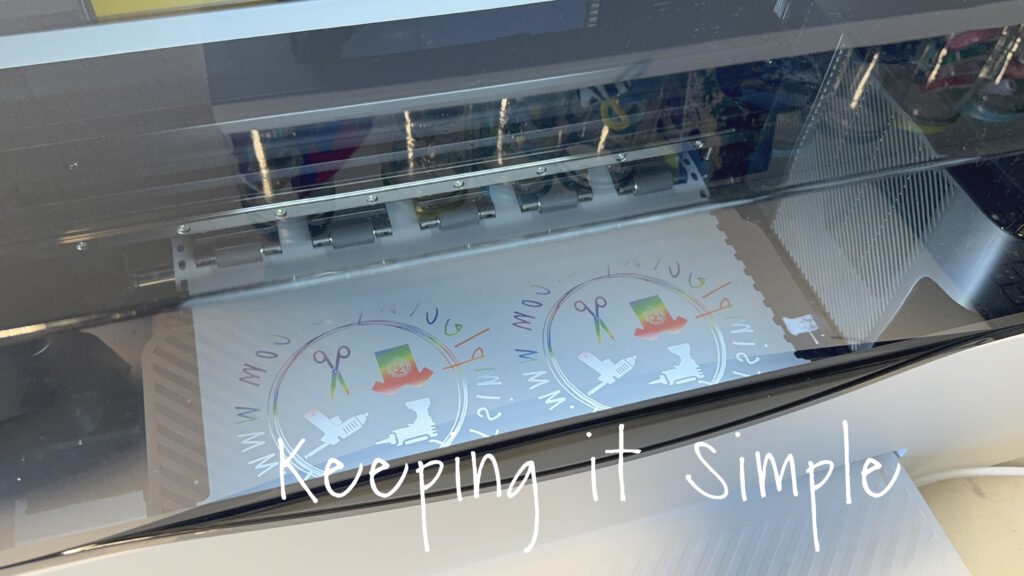
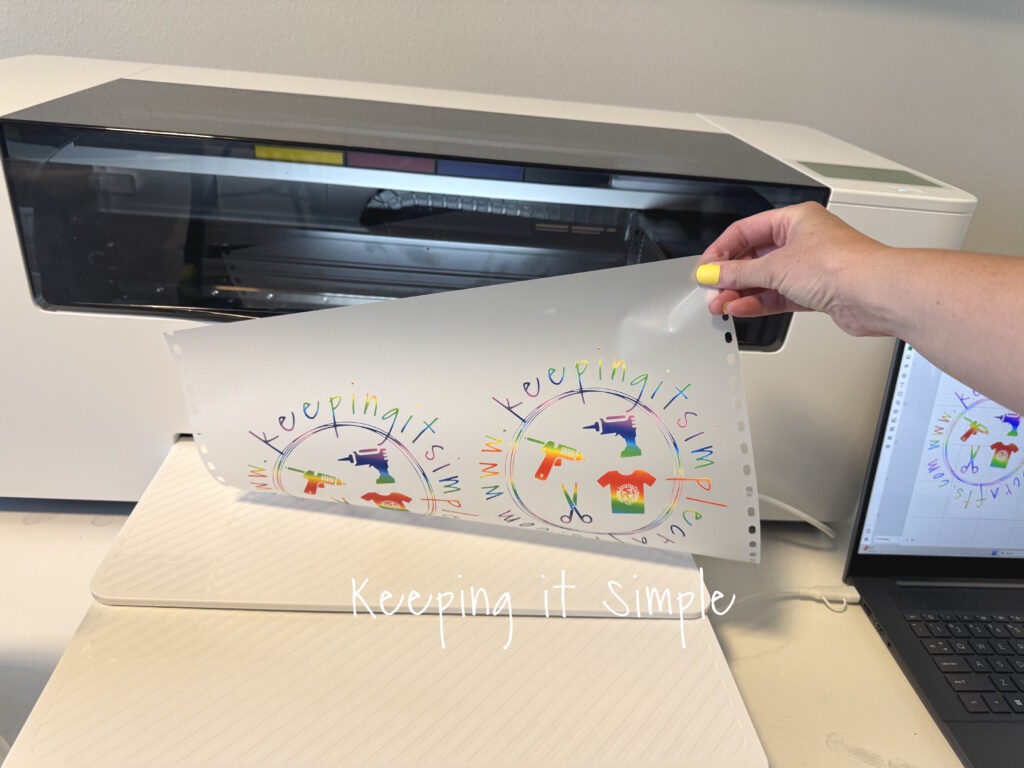
This is what it looks like! The colors are so bright and vibrant! The xTool apparel printer creates quality prints, that’s for sure!
Now time for the apparel printer powder. ***This did not come with the machine, you have to buy it separately but it is necessary for the print to be transferred***.
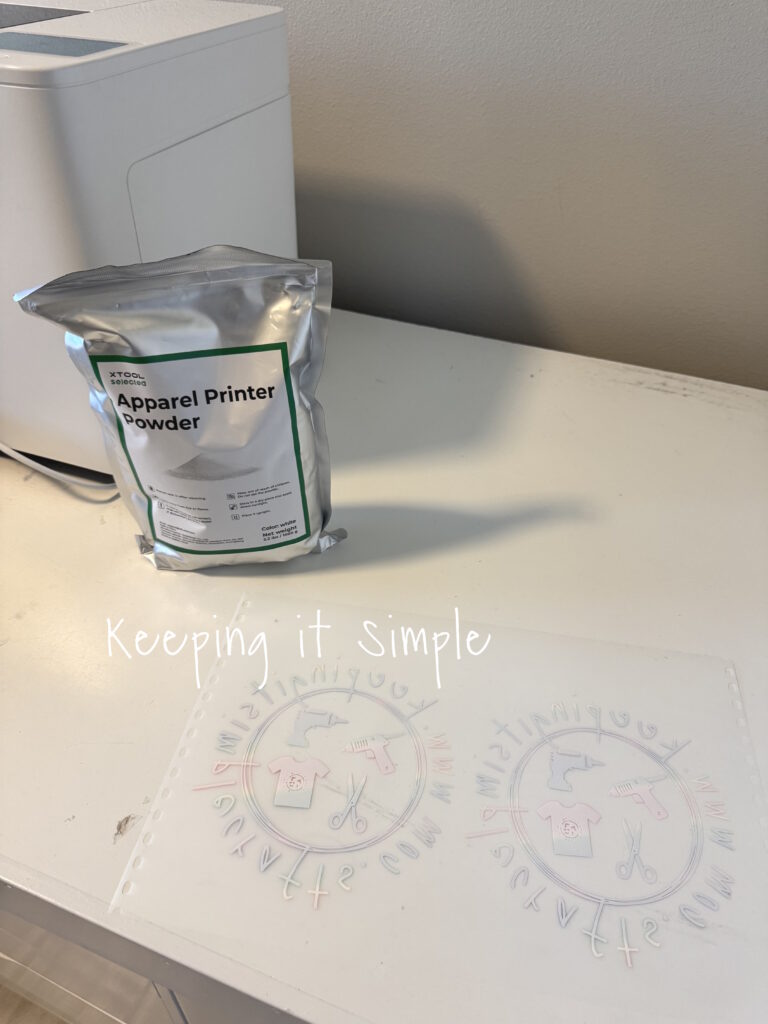
While the ink was still wet, I added a thin layer of the powder onto the back side of the design.
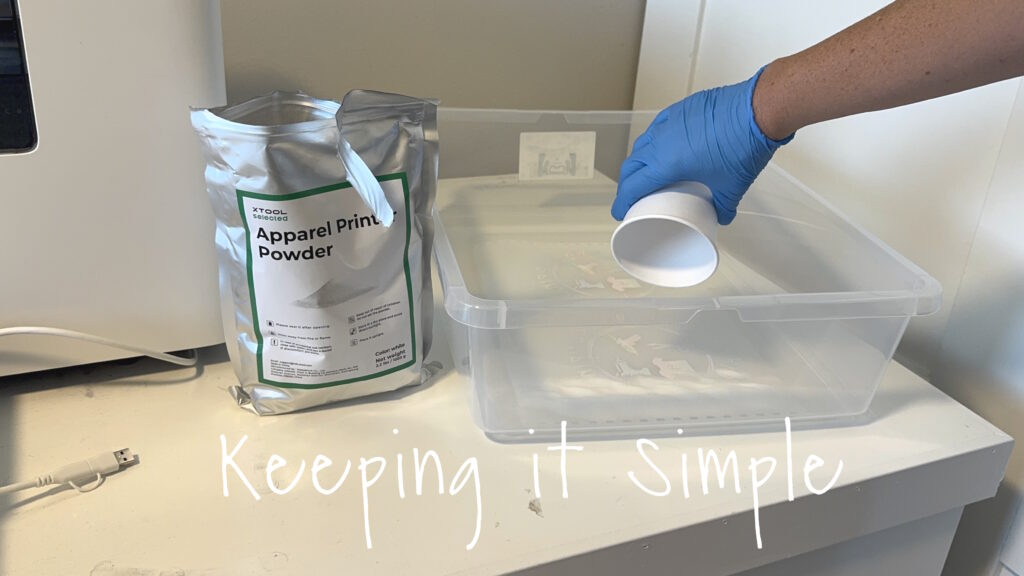
I moved the film back and forth making sure the powder covered the whole design. Then I gently tapped the film to remove the excess powder.
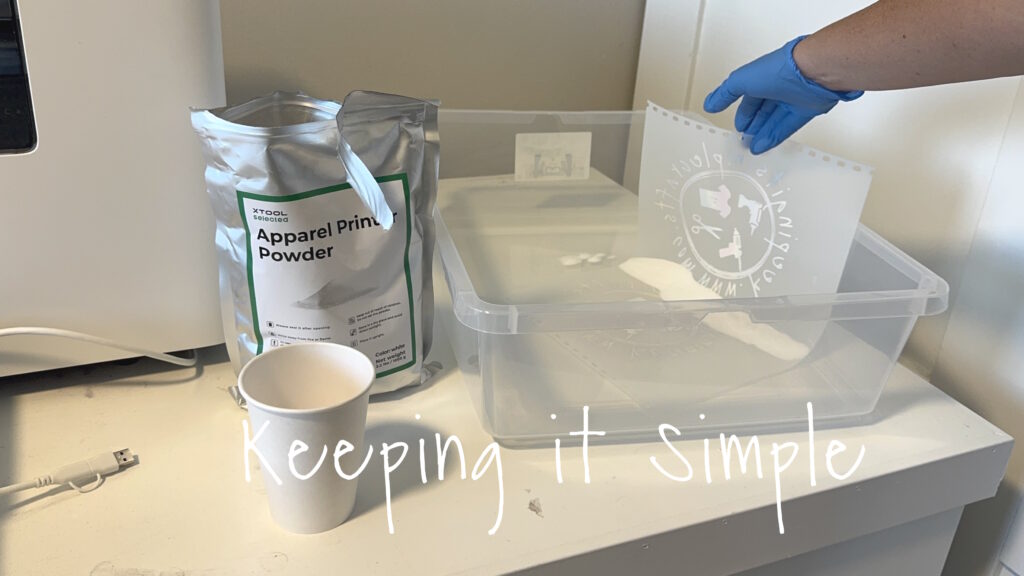
In order for the design to be transferred, the powder needs to be cure. I did this with my heat press. I set it to 355 degrees and then held the plate about an inch away from the film for 2-3 minutes (with the powder face up). I then rotated the design and repeated the process for another 1-2 minutes, making sure that all of the powder was cured on the back. ***You will want to do this in a well vented area. I did it in my garage.***
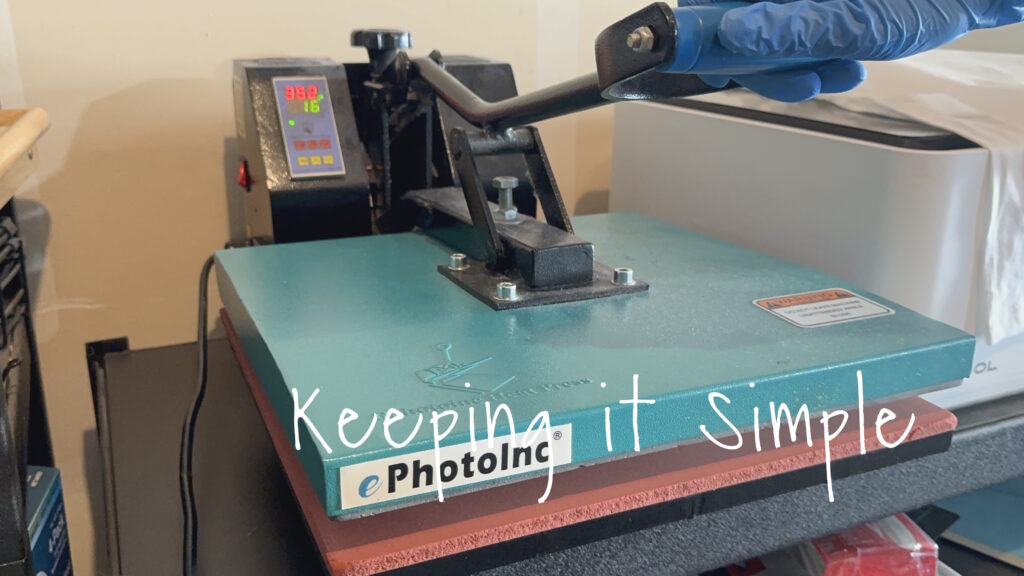
The powder will be ready once it has a glossy look to it.
Now it is time to put the design onto a shirt!
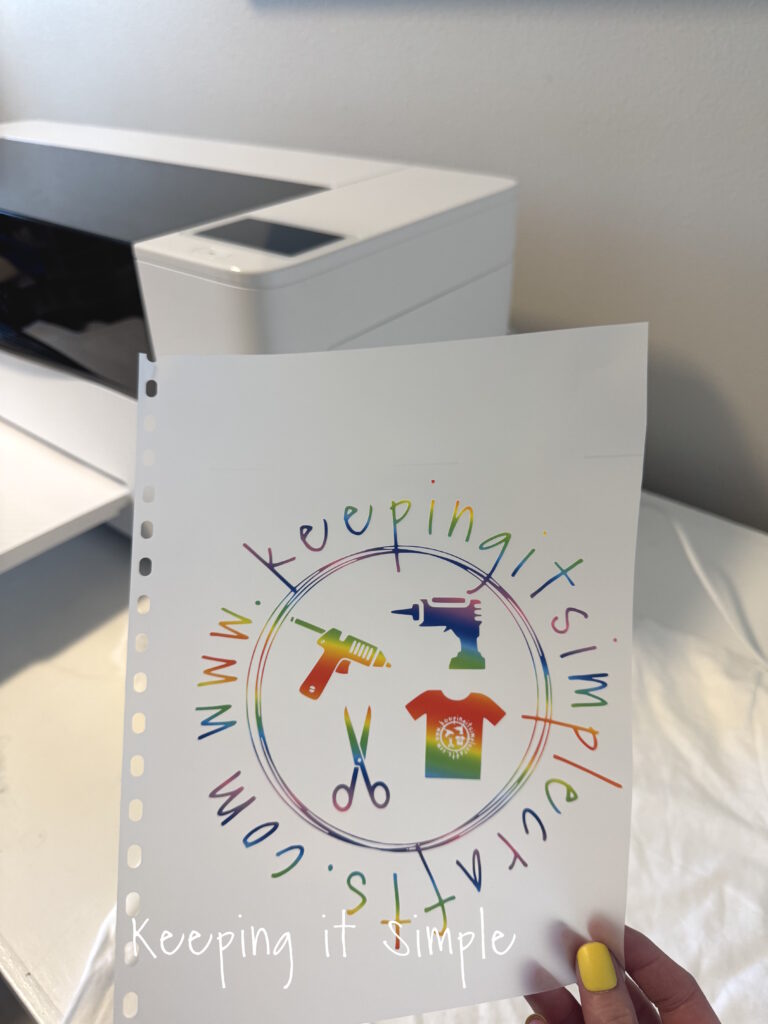
I used heat resistant tape and positioned the design onto the shirt.
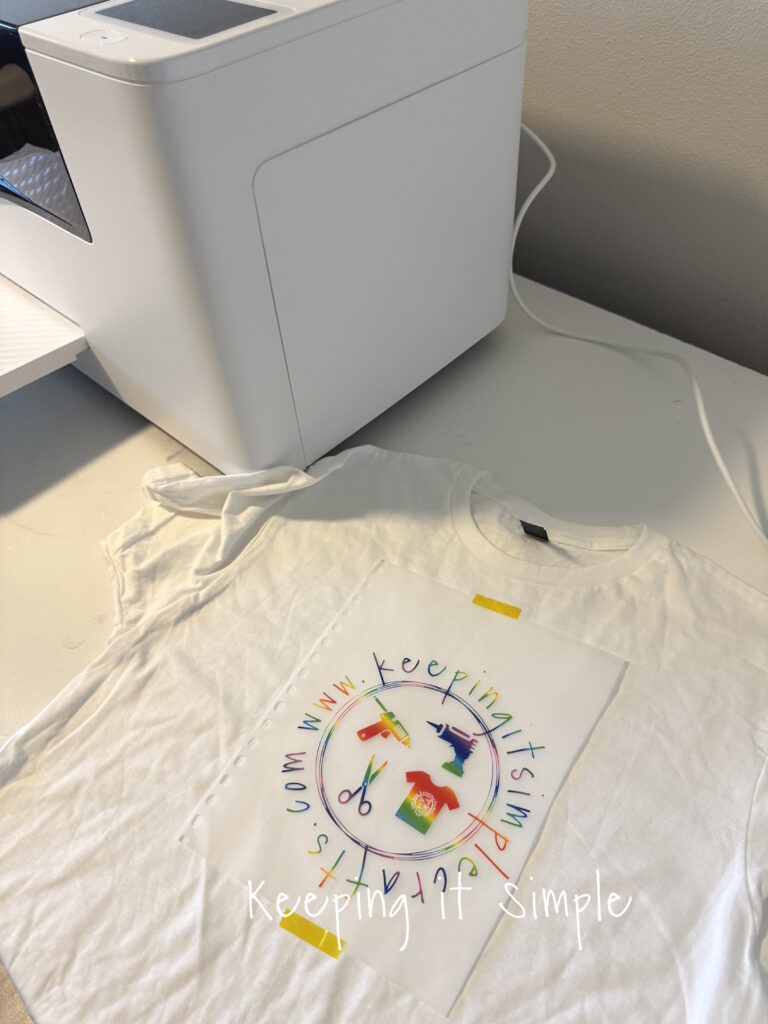
Then I pressed the design onto the shirt for 15 seconds, at 305 degrees. I then let the DTF cool and then I peeled off the DTF film and placed a Teflon cover sheet and pressed it again for 10 seconds.
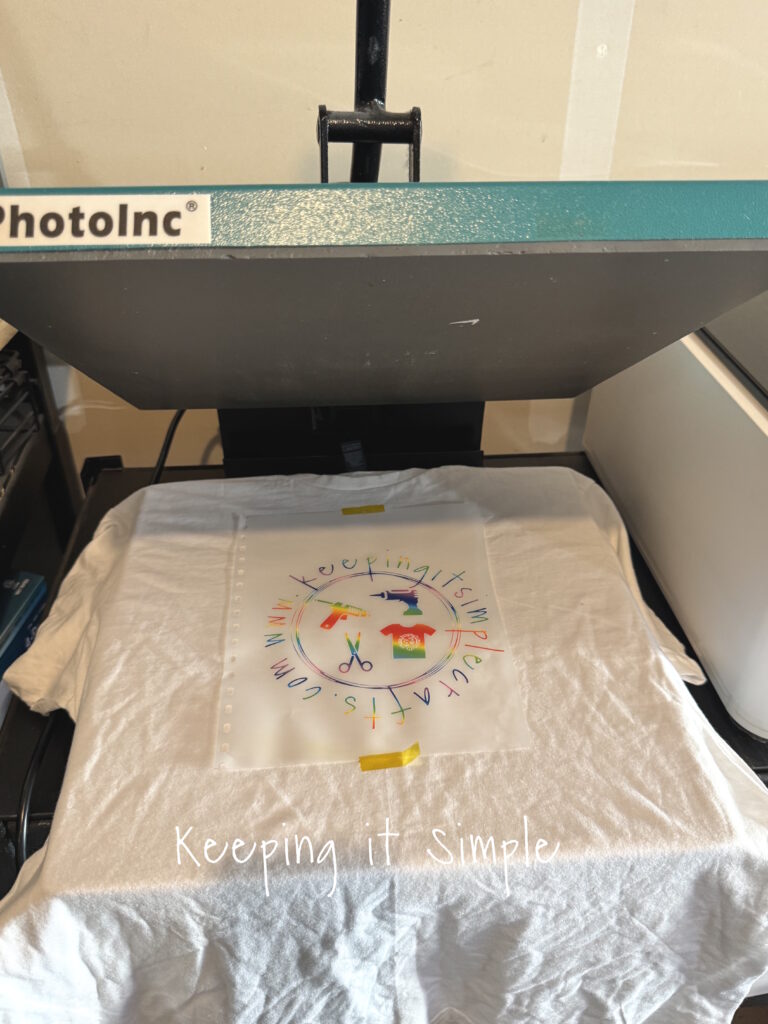
And that’s it! The shirt is done!
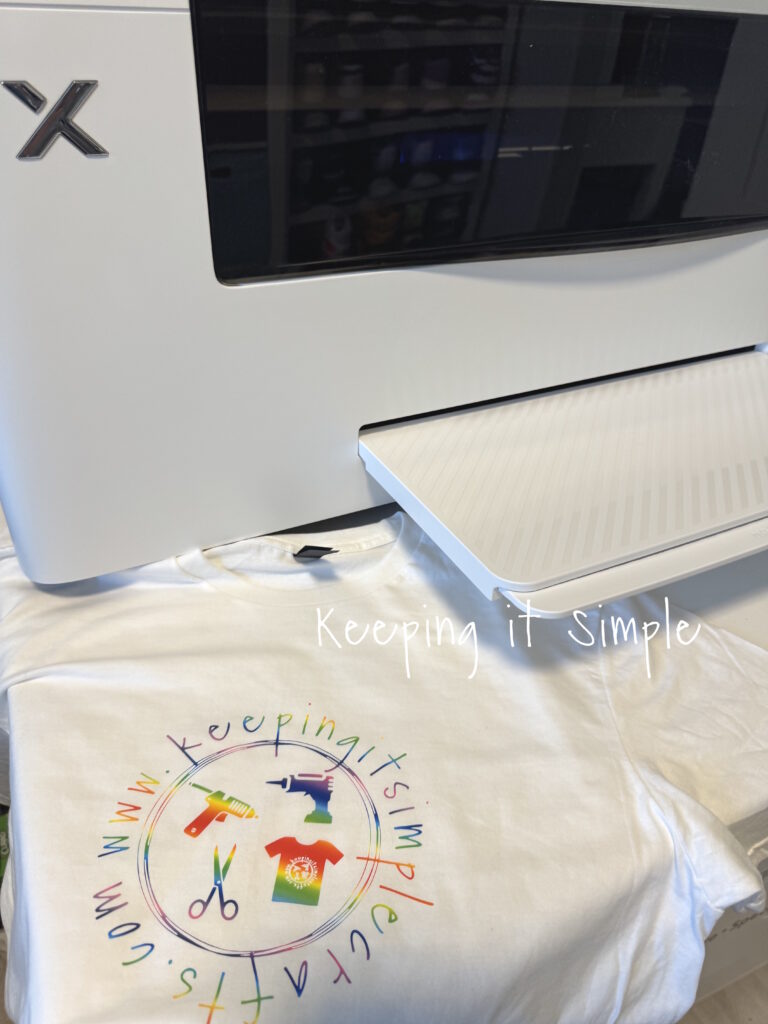
The colors look amazing!
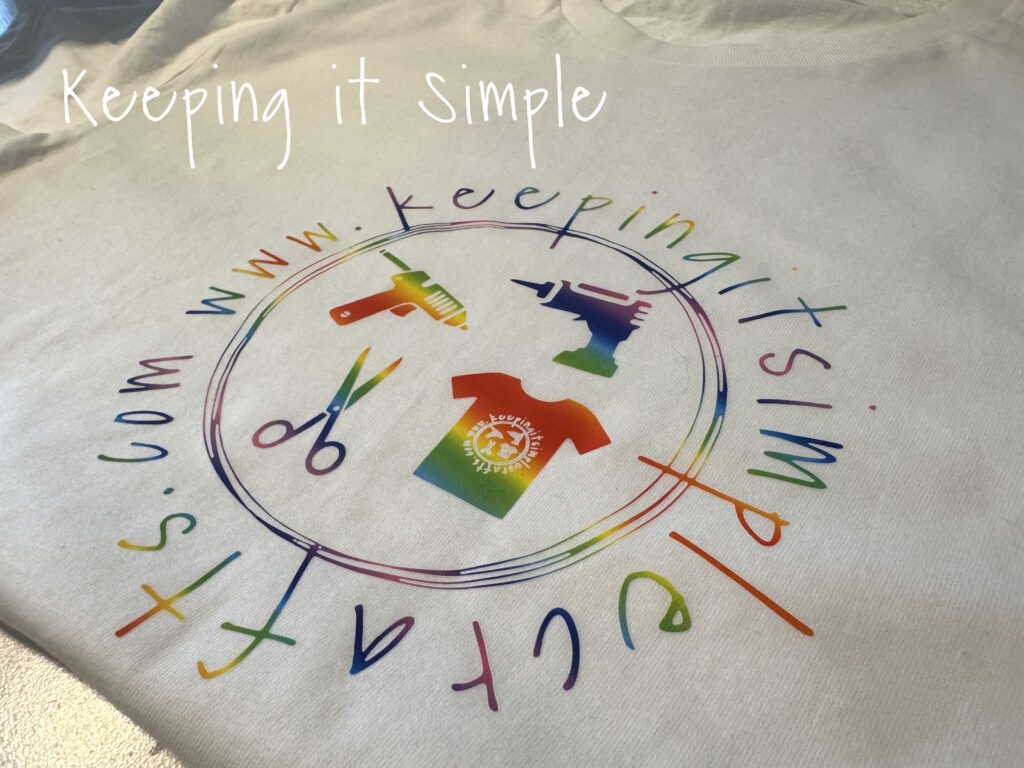
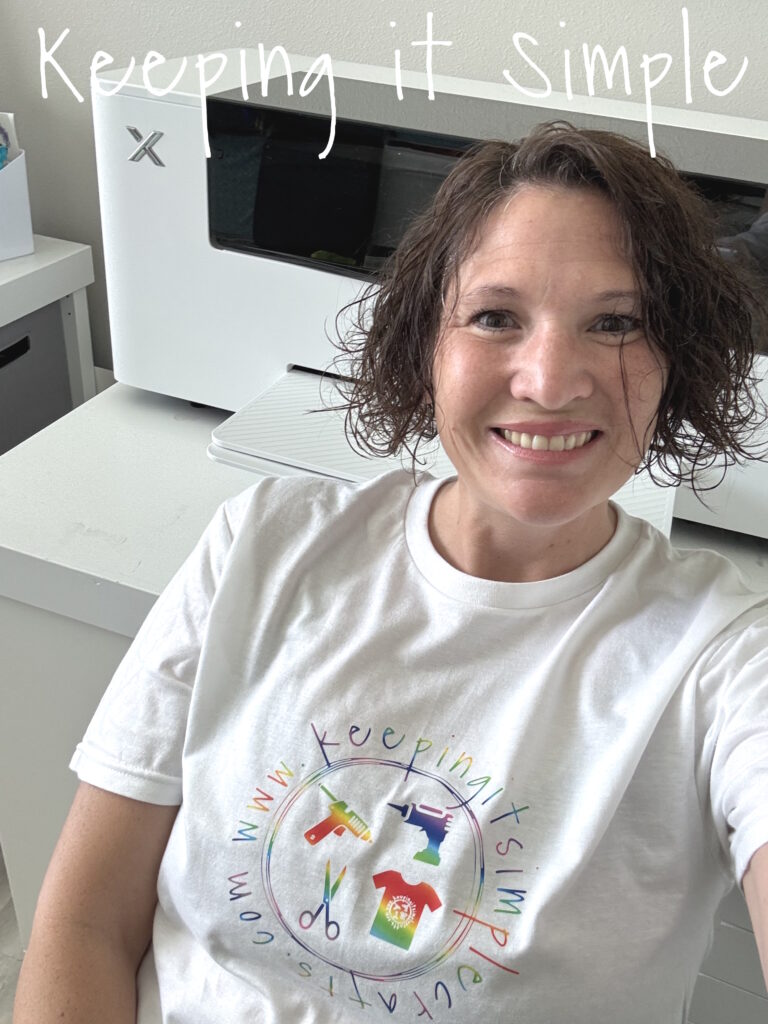
I can’t wait to rock this fun shirt all the time!
Getting started with the xTool Apparel Printer doesn’t have to be overwhelming. By learning the basics of setup, materials, maintenance, and printing techniques, you’ll be well on your way to creating high-quality custom apparel. The more you practice, the more confident you’ll become—so start with simple projects, experiment with different designs, and enjoy the creative process. And don’t worry, I am here to help guide you and hold your hand along the way! I have lots of fun ideas coming soon, to really show you what this machine can do! Happy printing!
For more xTool projects and ideas, check out all of my blog posts!
Leave a Reply
You must be logged in to post a comment.