By now, you know that one of my favorite things to do is take a plain shirt and put some heat transfer on it and give it new life! It’s super easy to do and I feel like I get new clothes!

This is how I made it:
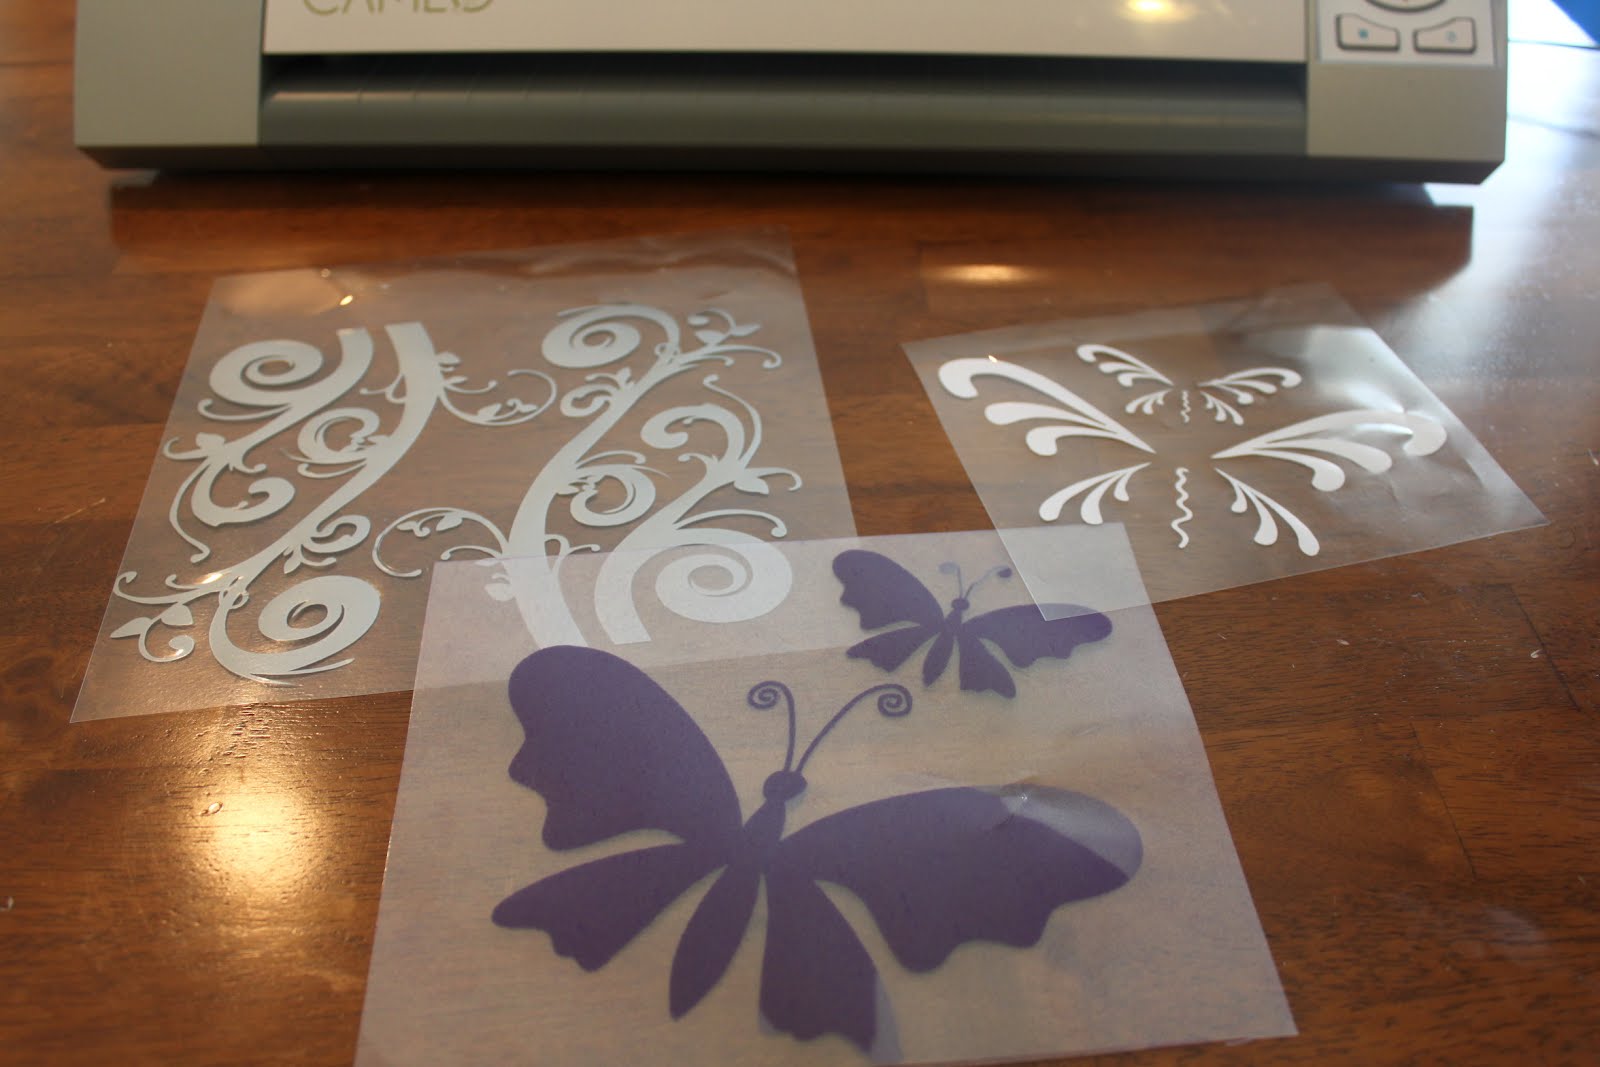
1) With my CAMEO I cut out the images. All of these were from the Silhouette online store. For the smooth heat transfer, I used blade 2 and thickness 16. For the flocked I used blade 3 and thickness 33.
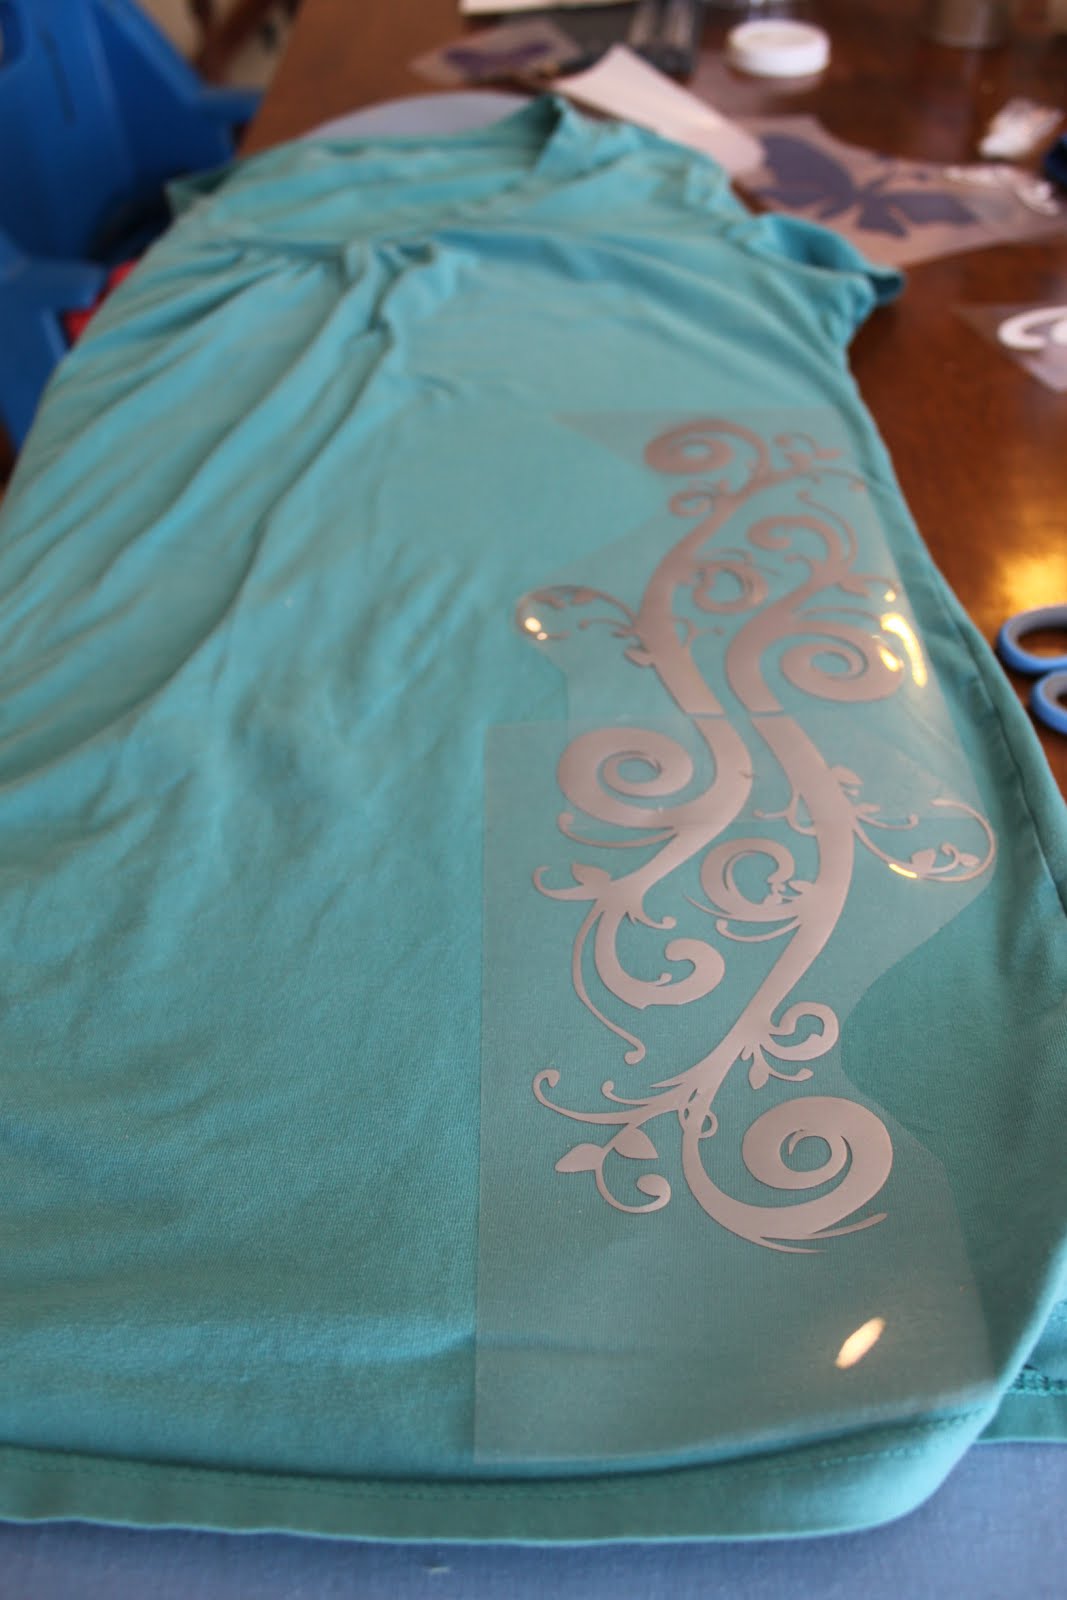
2) I first put the silver flourishes onto the shirt and ironed them on.
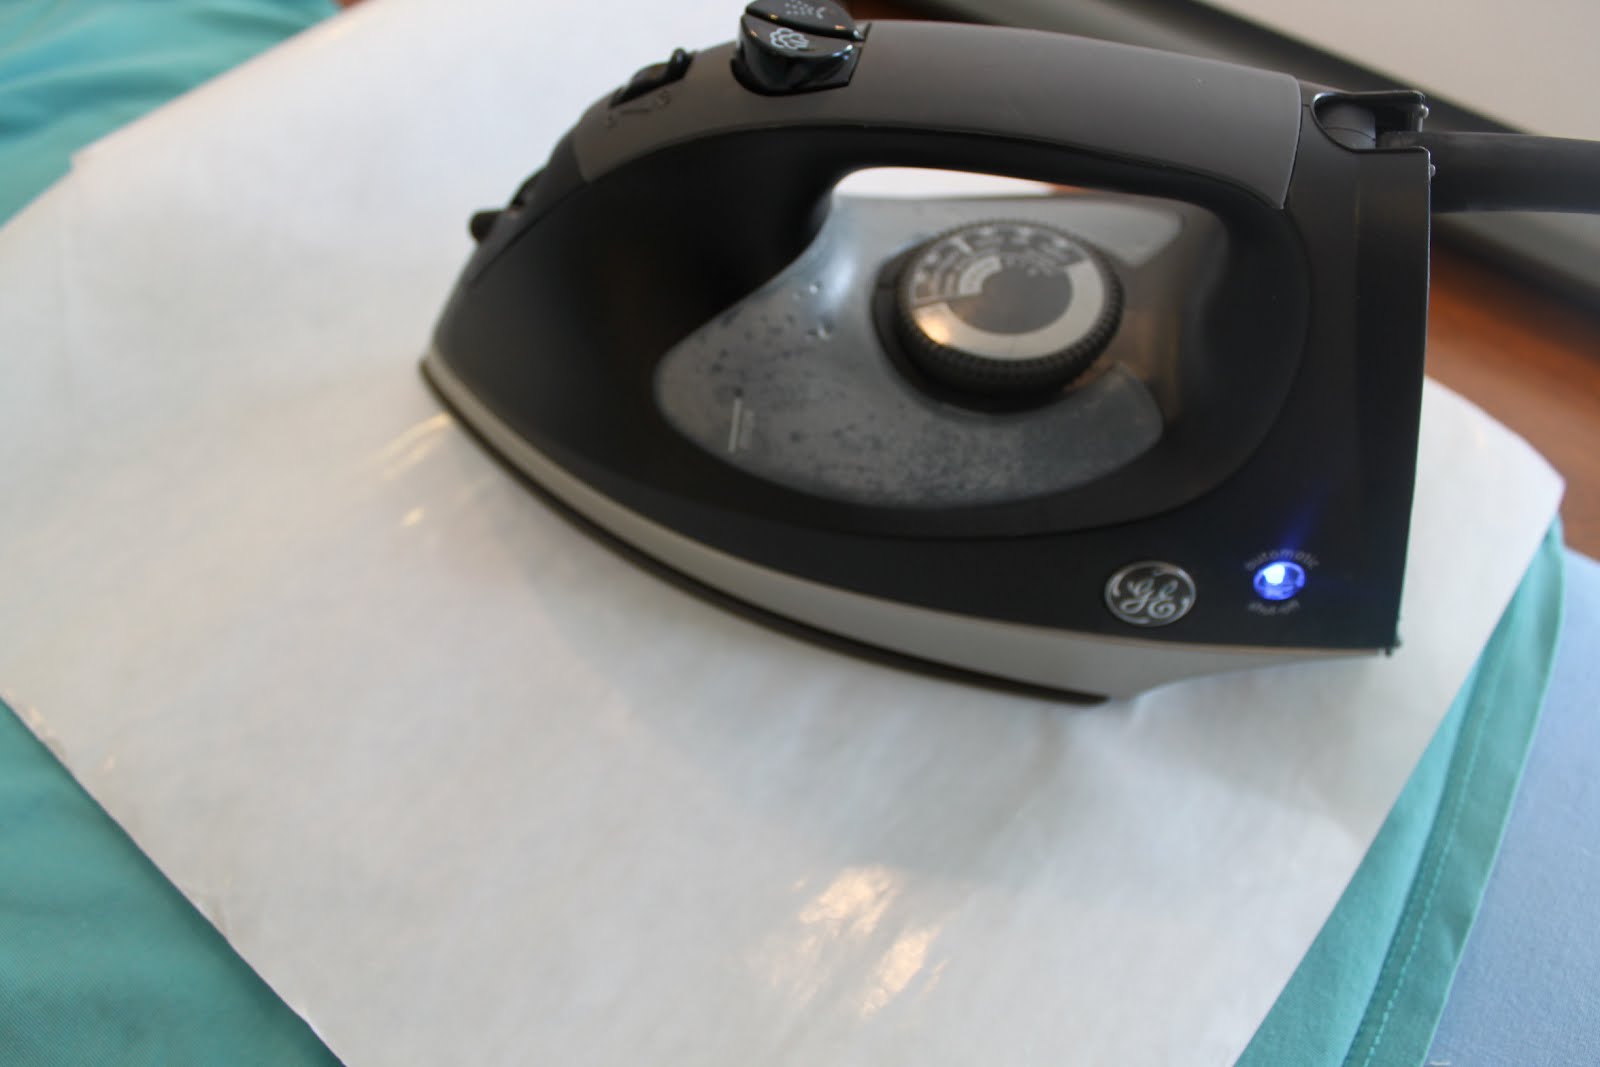
3) Next I put the butterflies onto the shirt. I used the multi-use paper, so I didn’t burn the heat transfer.
4) Next I put the white onto the butterflies. I love how it looks on the flocked heat transfer!
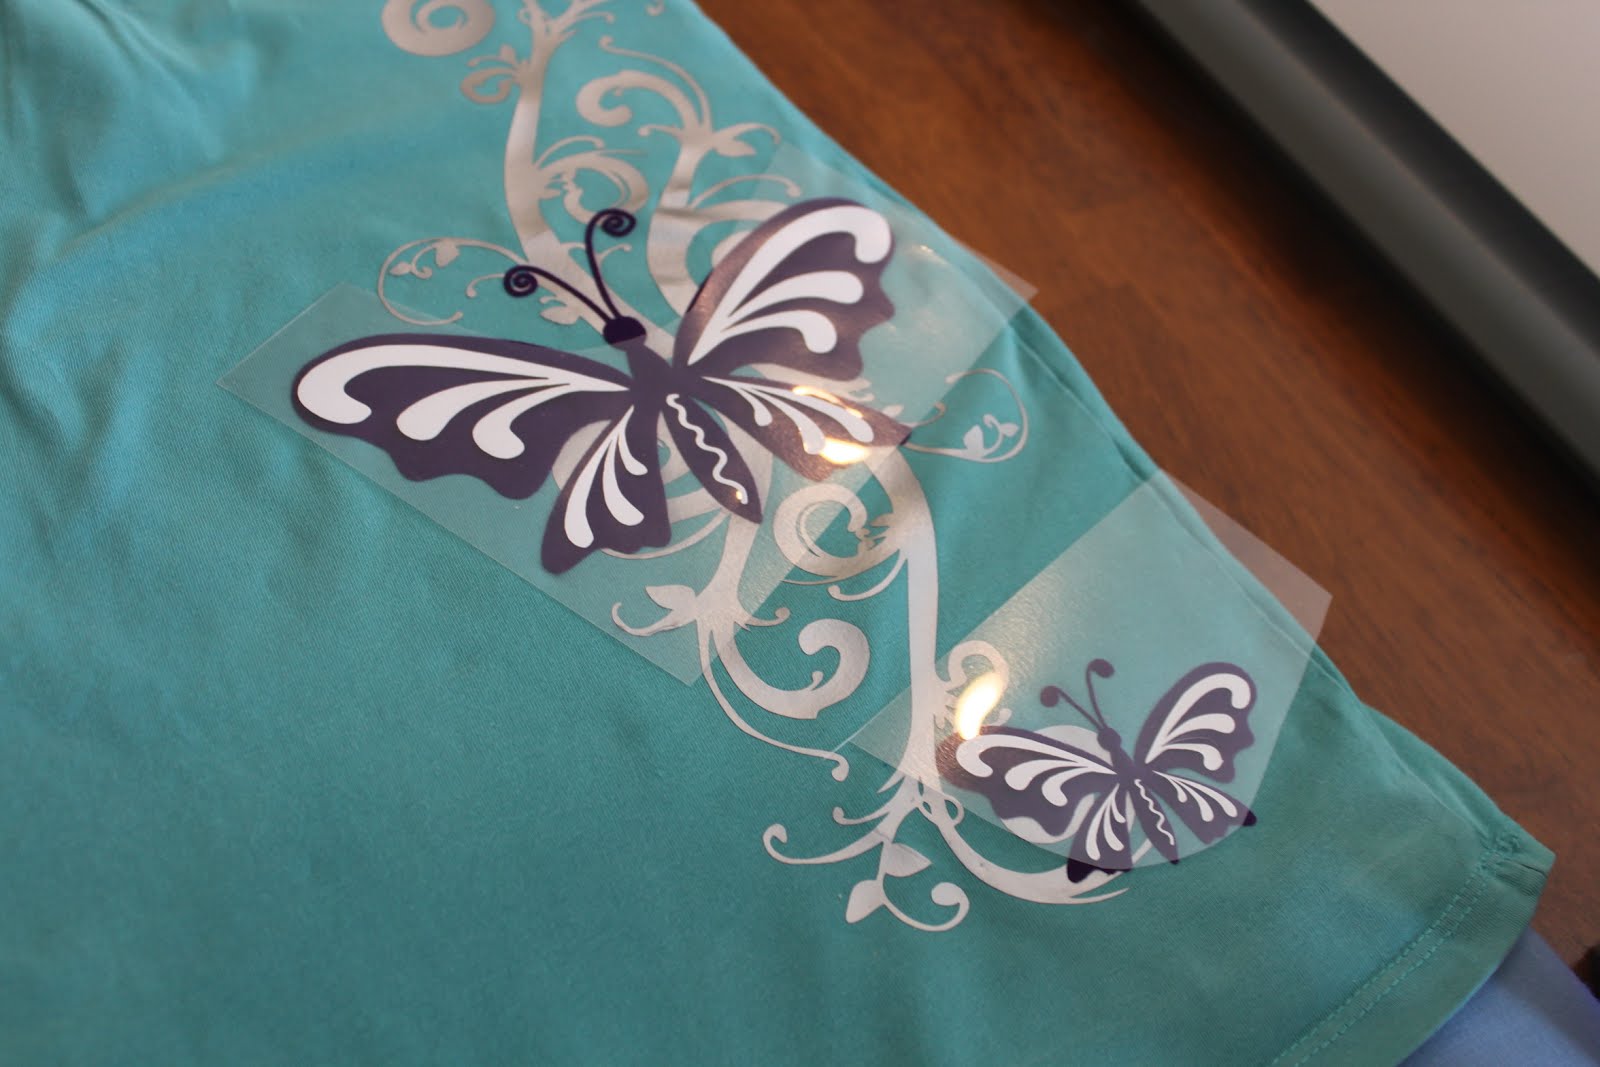
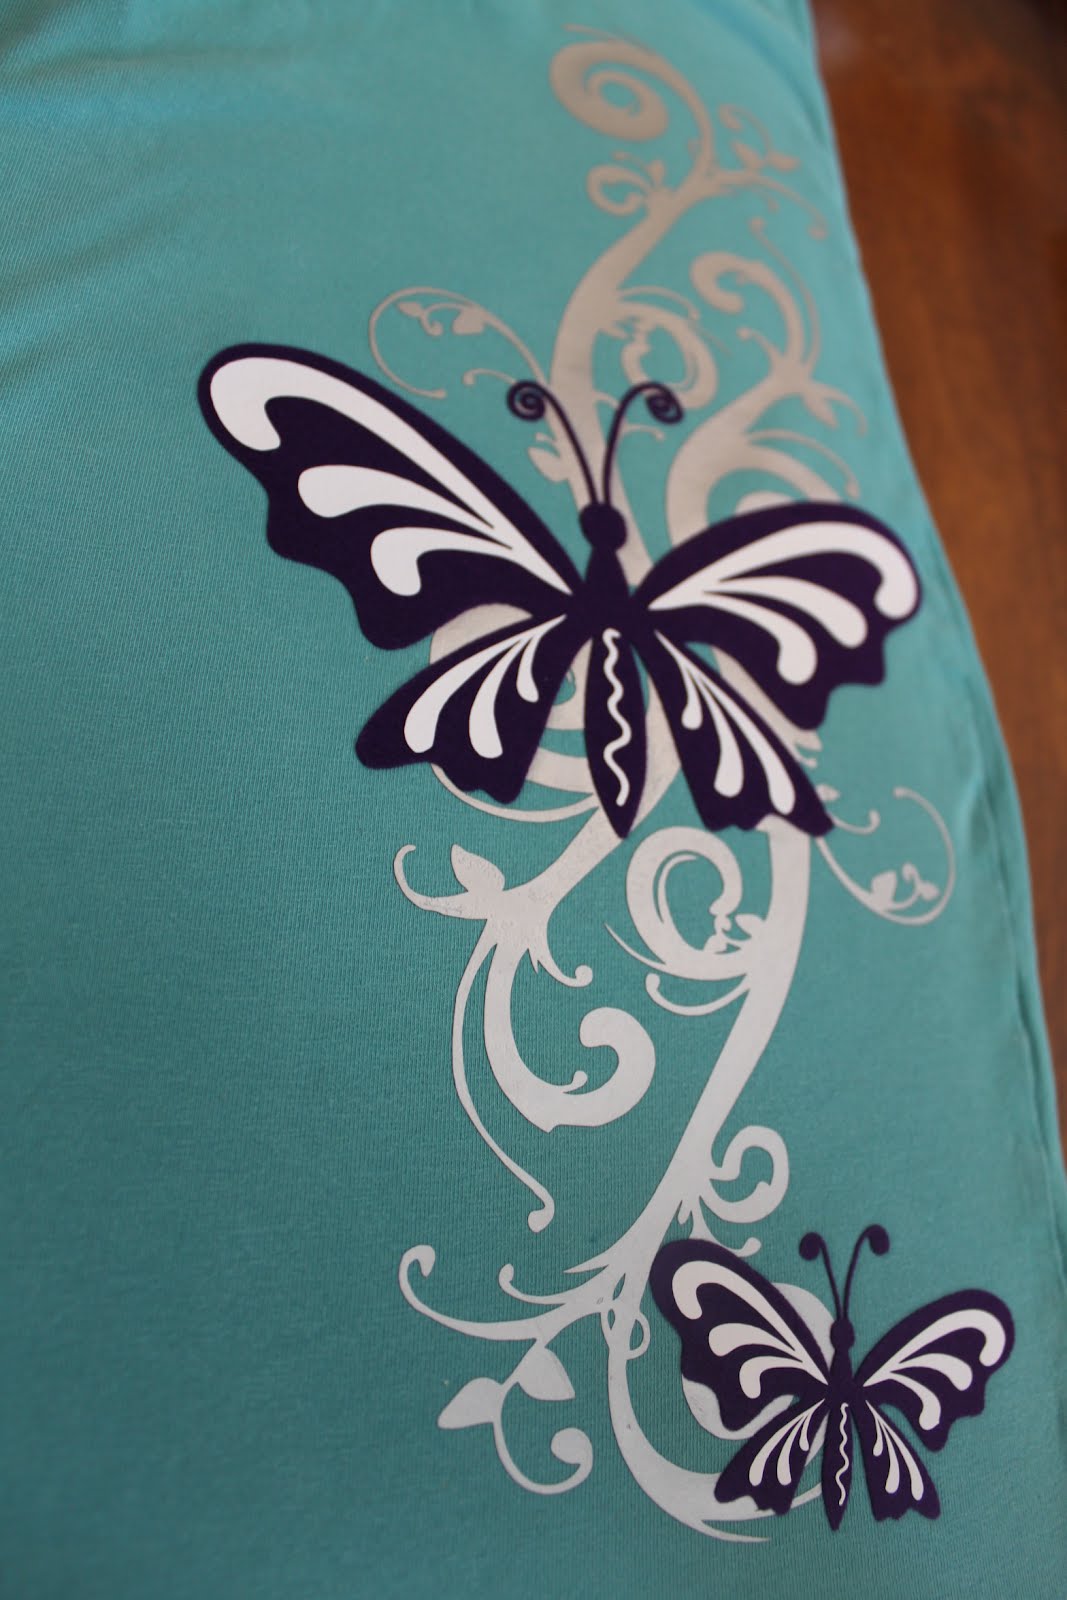
Here is the heat transfer on the shirt, love the colors!!
I wanted to add some rhinestones onto the shirt, who doesn’t love a little bling? I just recently got the new designer edition software for my CAMEO. It’s awesome!! Here are the additional features that you can do with it:
- Ability to open, manipulate, and cut .svg files
- Rhinestone tools to convert designs into rhinestone templates and create your own rhinestone designs
- Sketch tools to convert designs into several styles of sketchable art
- Creative knife tools to allow you to clip designs using different patterns
- Enhanced eraser set to modify designs with more precision
- Built-in ruler and guide lines for precise alignment and drawing
I had to try out the rhinestone feature! I used the supplies in the rhinestone starter kit.
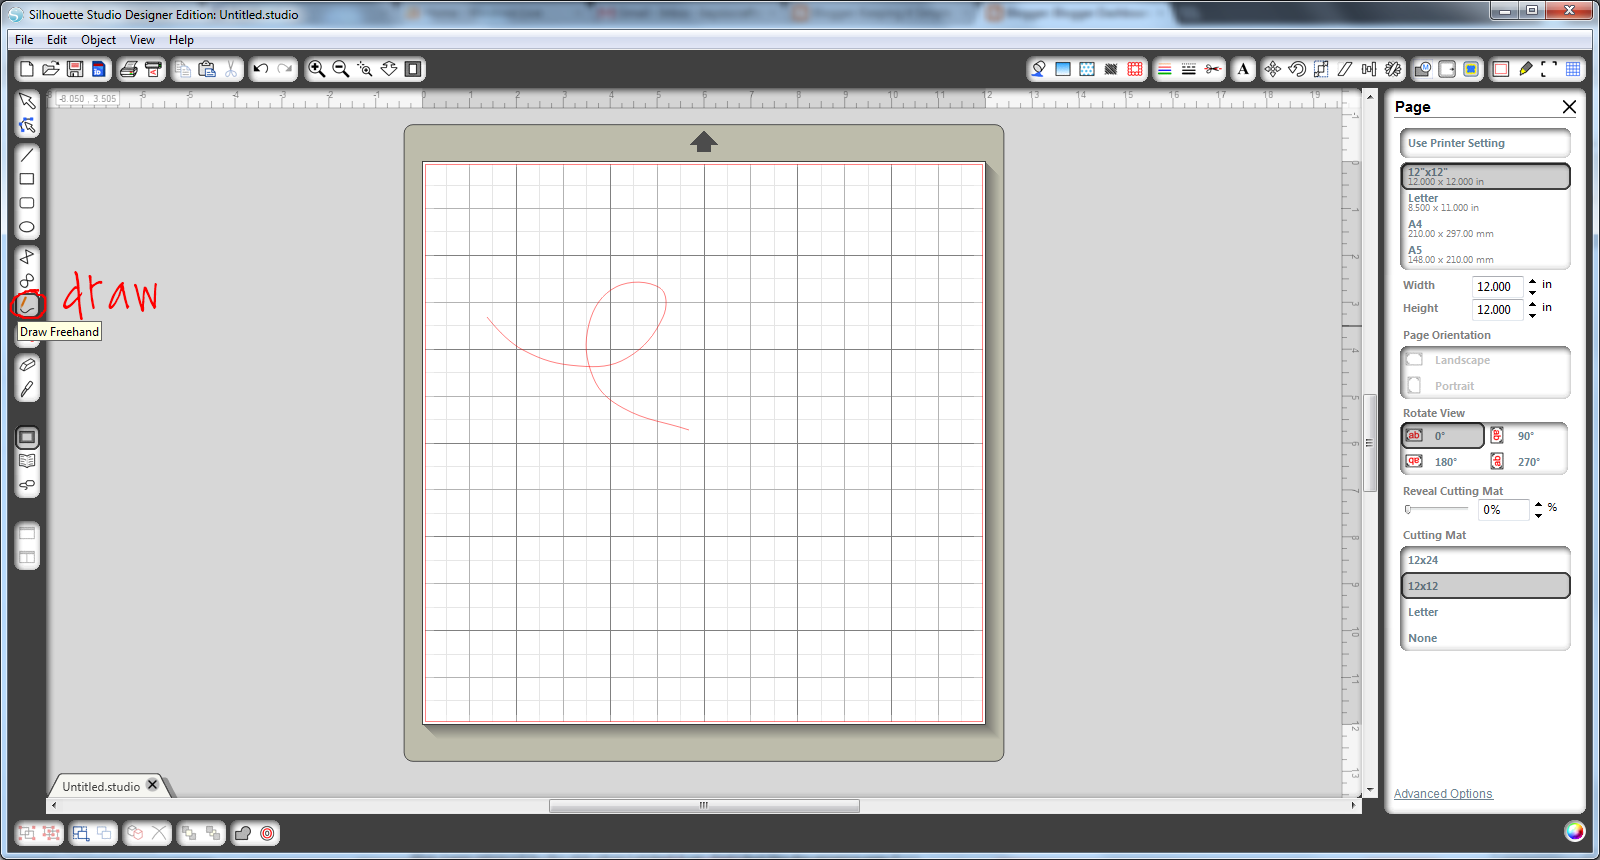
5) I just draw a little loop with the draw tool.
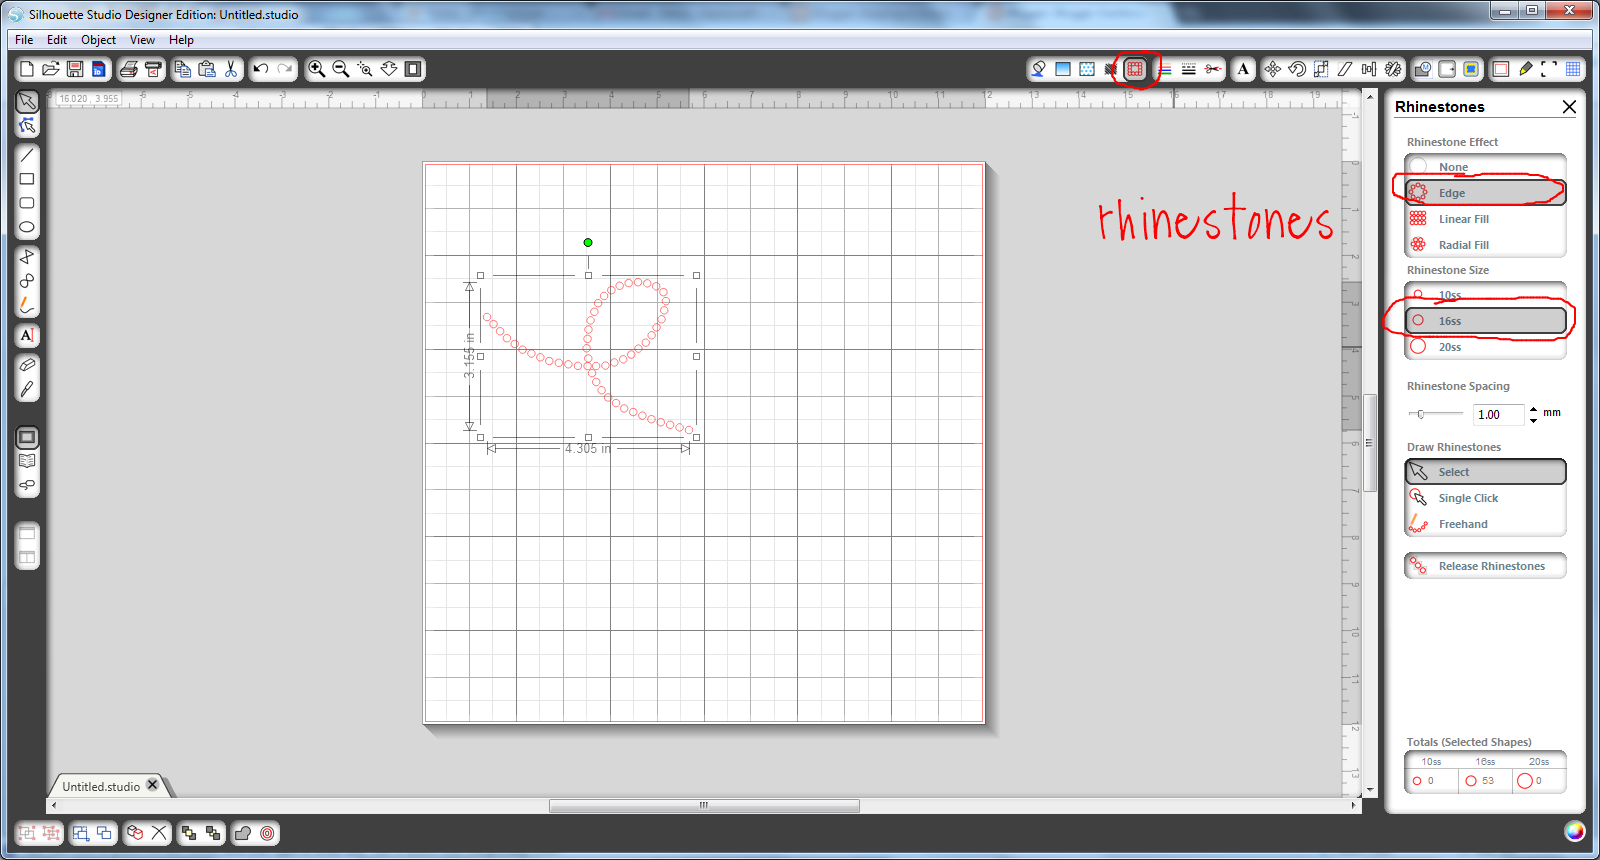
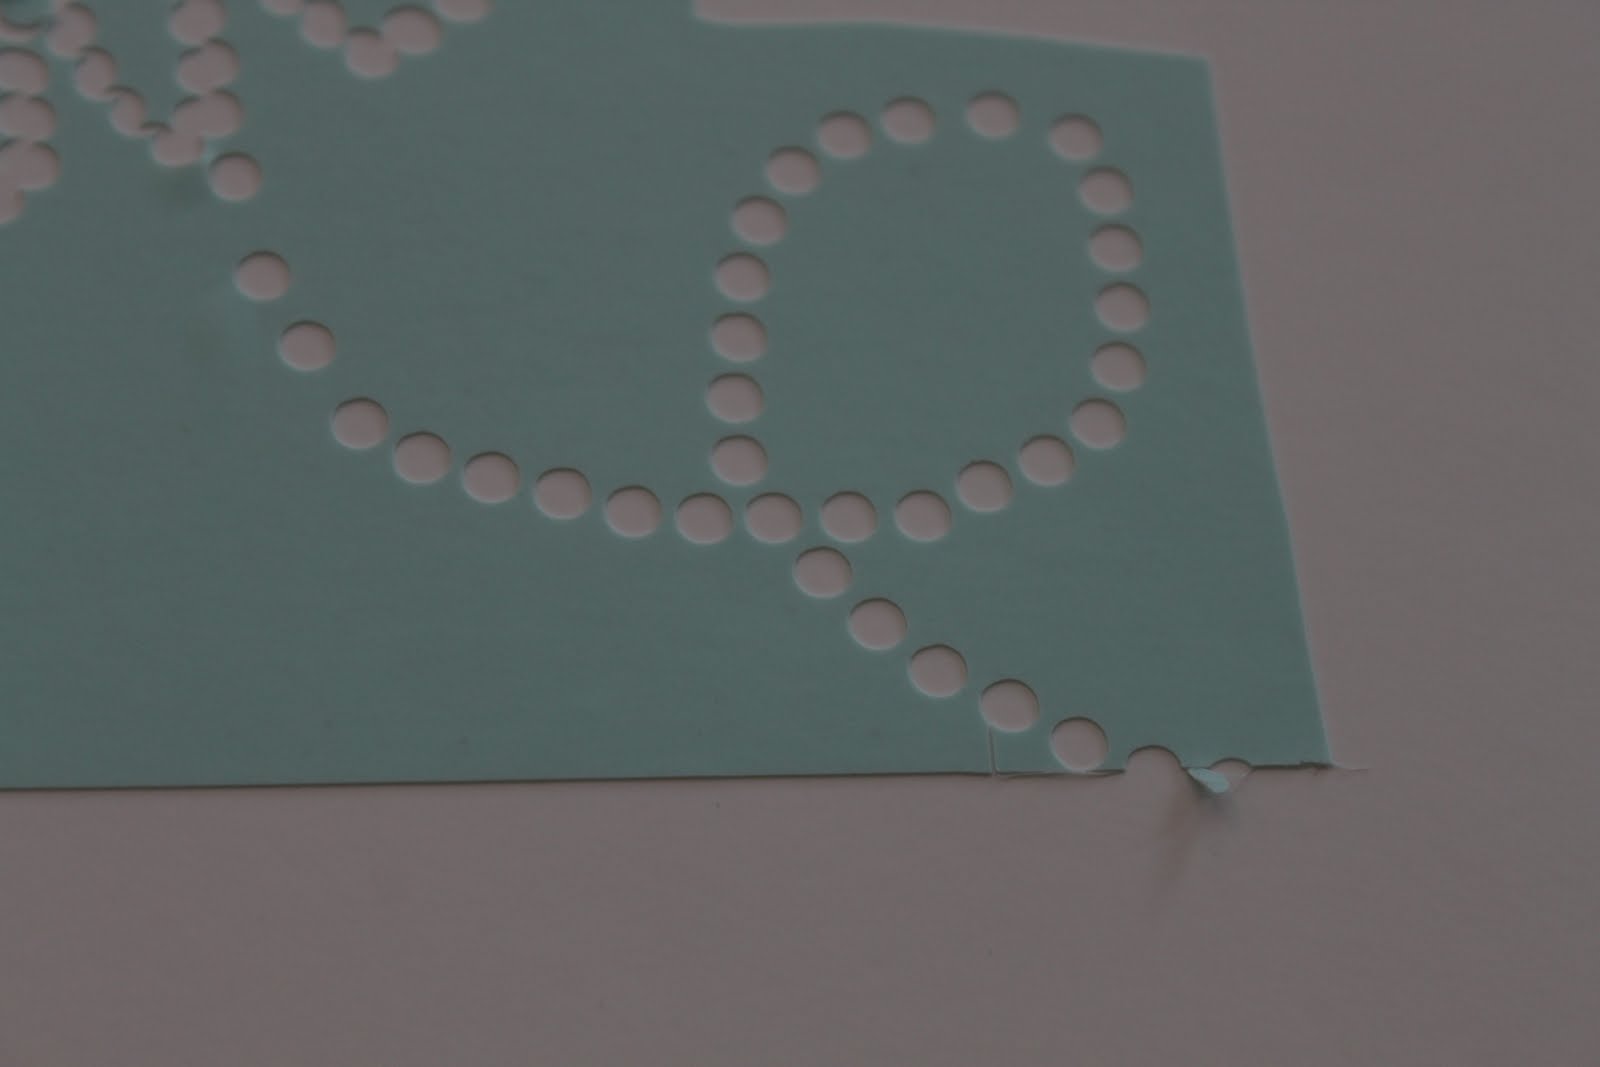
6) Then I went to the rhinestone page and clicked on the edge button. It’s so easy and quick! I used the 16ss size.
7) I cut the image out, I used the blade 3 and thickness 33.
8) I peeled the blue paper and then put it on the backer board.
9) I then filled it with rhinestones.

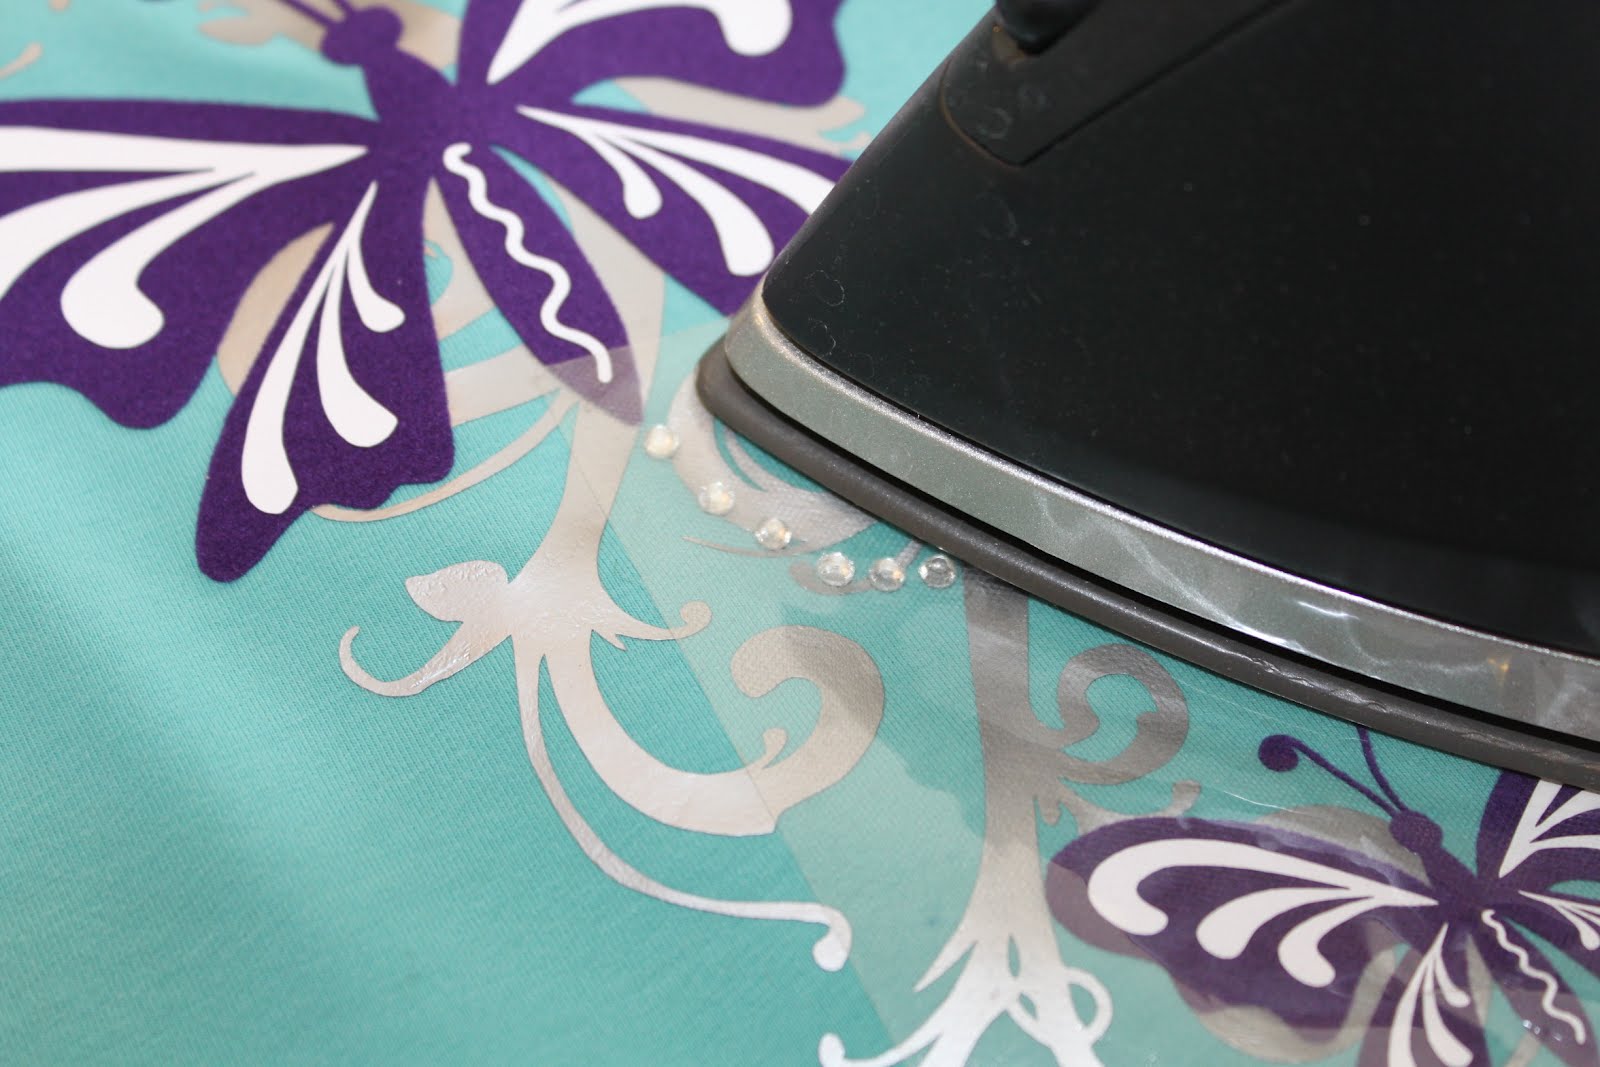
10) I put the transfer paper on the rhinestones and then put it on the shirt. I then ironed it using the wool setting.
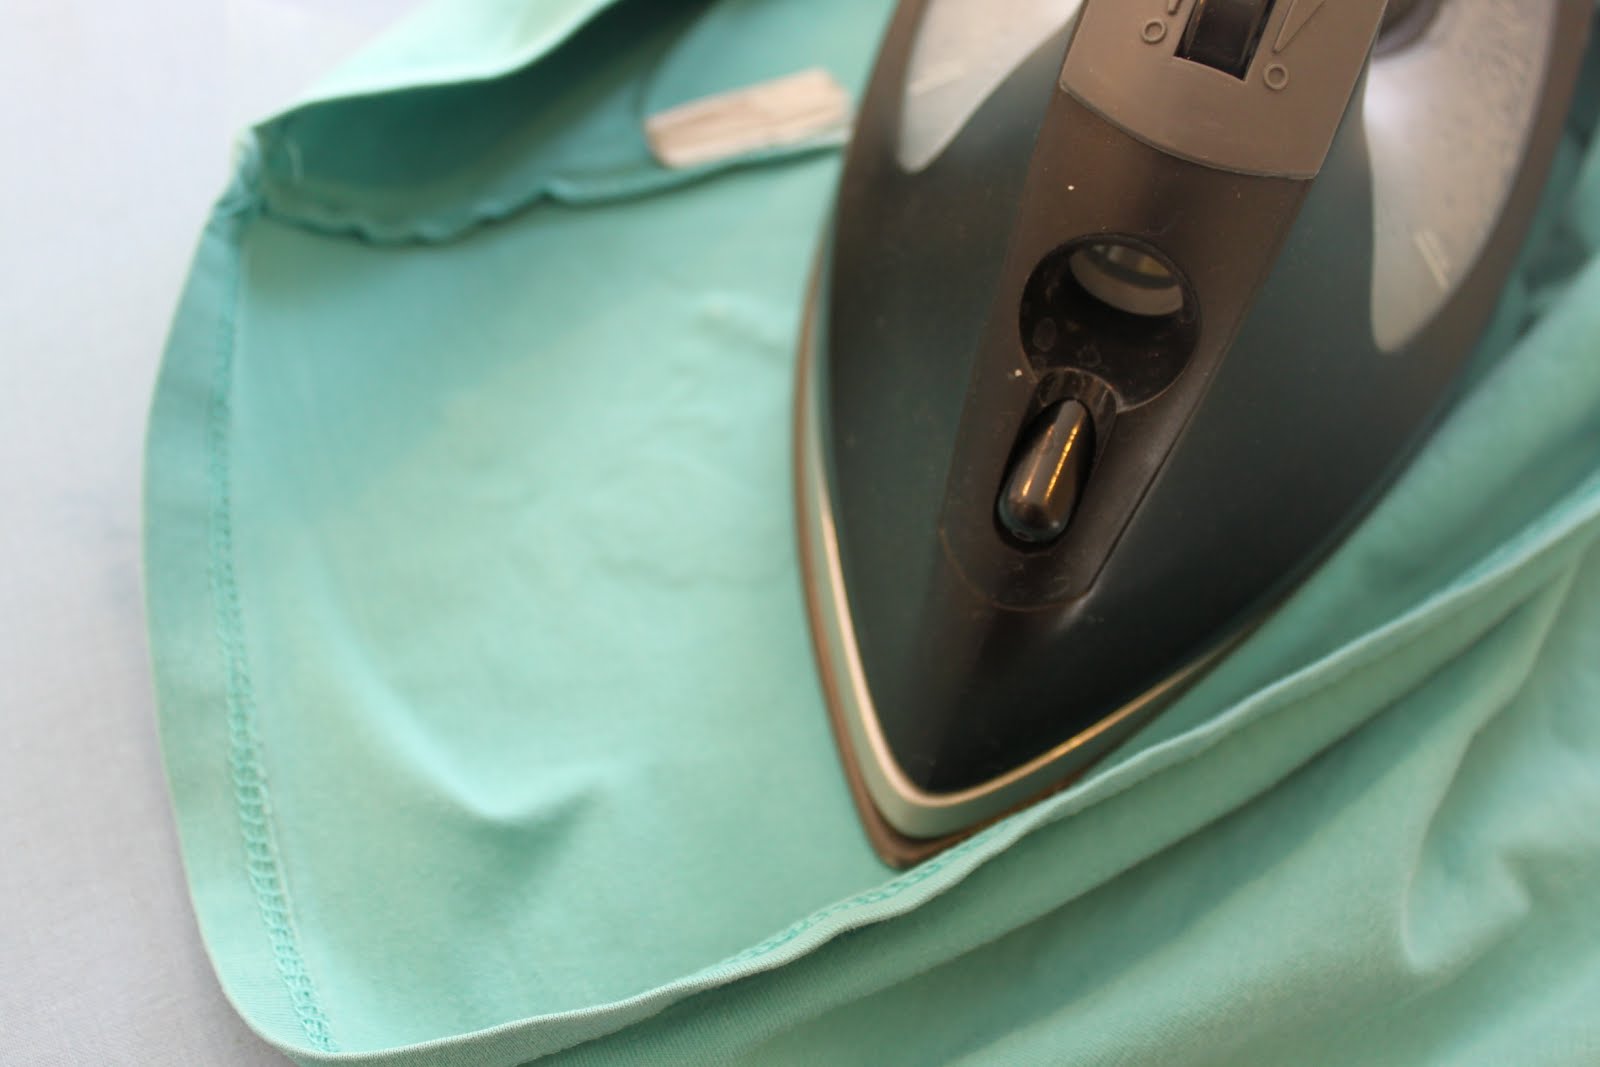
11) I flipped the shirt inside out and ironed the inside to set the glue.
12) I did another loop with the 10ss rhinestones.
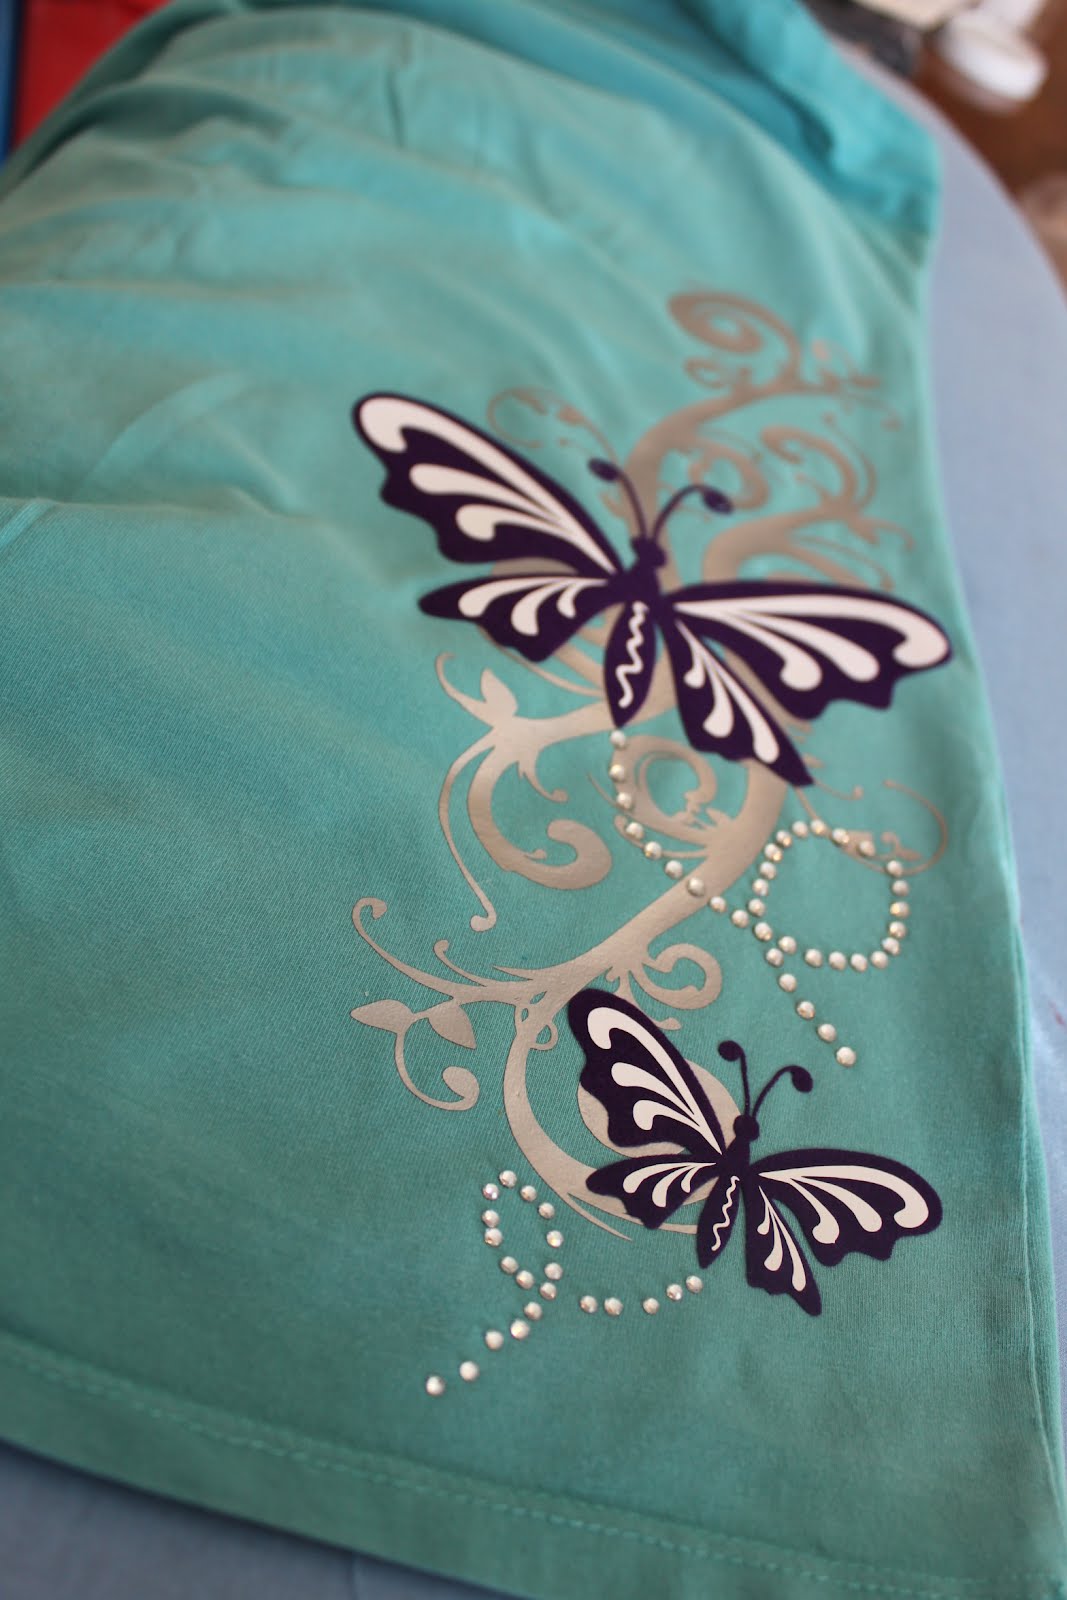
And that’s it!! It’s like a new shirt 🙂

Remember that right now, you can get the rhinestone starter kit and the CAMEO for only $269.99!!!


This is so cute! Great Job
Beautiful!
I really like what you did with this shirt – great job!
I have a silhouette cameo. I was wondering what the number of the images you used.
Hi I was wondering if the silhouette heat transfer design has remained tightly attached after several washes? By the way, the shirt looks great! You did a wonderful job!