Christmas Gift Ideas made with the xTool C1- One Machine, One Design, Lots of Christmas Gift Ideas
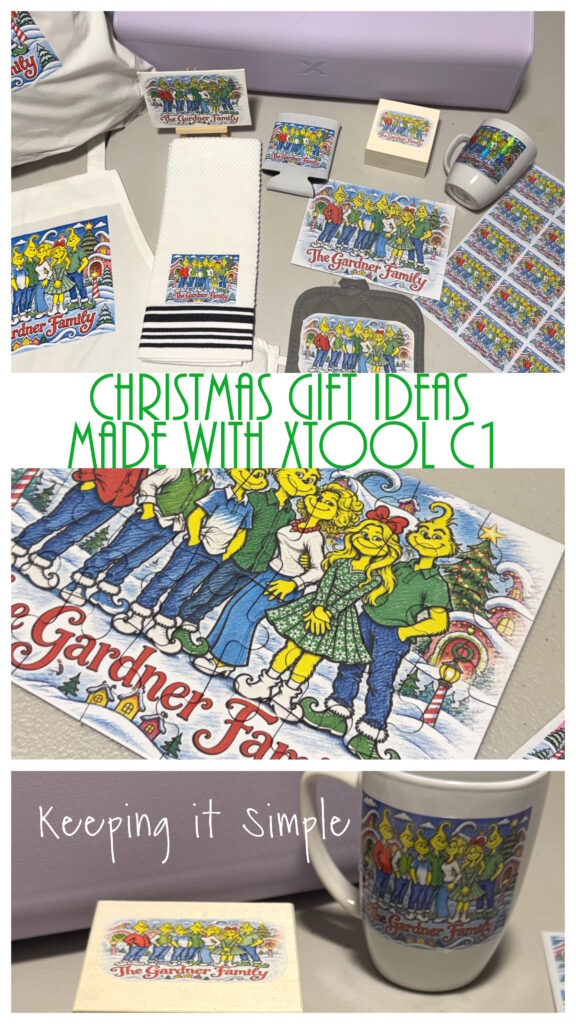
Christmas is the perfect time to get creative and make personalized gifts for family and friends! This year, I’ve been having so much fun experimenting with the xTool C1 Color Cutting Machine, and I wanted to share some of the Christmas gift ideas I’ve come up with!
One of my favorite things about the xTool C1 is how easy it is to take one design and turn it into so many different gifts. From custom mugs and ornaments to tote bags, kitchen towels, stickers, and even puzzles, the possibilities are endless!
For this project, I created a fun, Whoville-inspired Christmas design featuring my family and used it to make a whole collection of personalized gifts. I love how everything turned out, and the best part is that these gifts are both affordable and meaningful.
Whether you’re looking for handmade Christmas gift ideas, want to make something special for your family, or are just looking for new ways to use your xTool C1, I’ve got plenty of inspiration to share!
Let’s take a look at some of the Christmas gifts you can make with the xTool C1!
Here is a quick video showing how I made these fun Christmas gift ideas using my xTool C1!
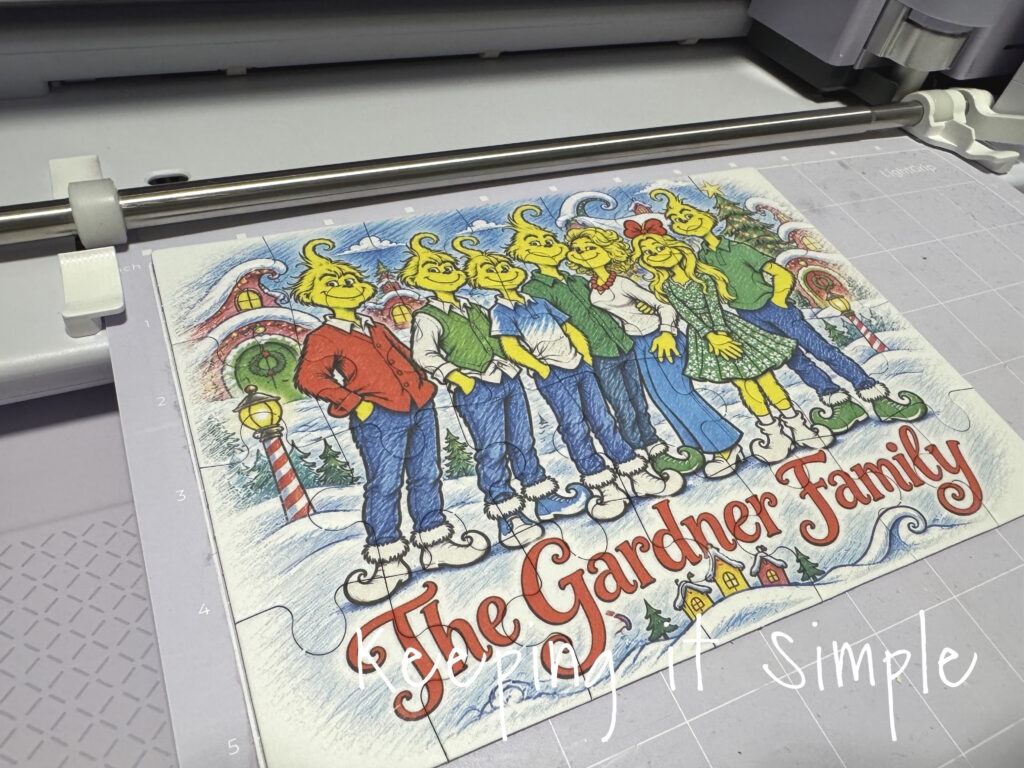
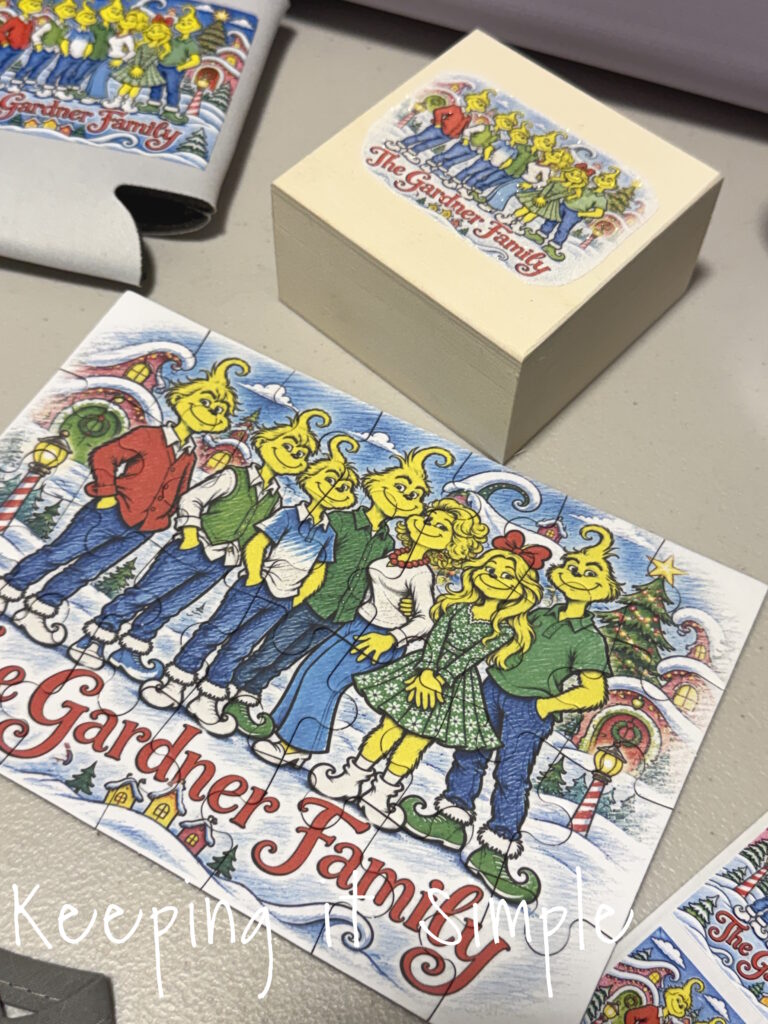
For these Christmas gift ideas, I thought it would be fun to just use one design and make lots of different things, to show you how versatile this color cutting machine is! It’s so fun how many different things that you are do with this one machine. I was so excited to try print directly onto some blank puzzles I found on Amazon. You have to make sure that the puzzle isn’t too thick, it can only be 3mm thick. I placed the puzzle onto the mat and then put it into the machine.
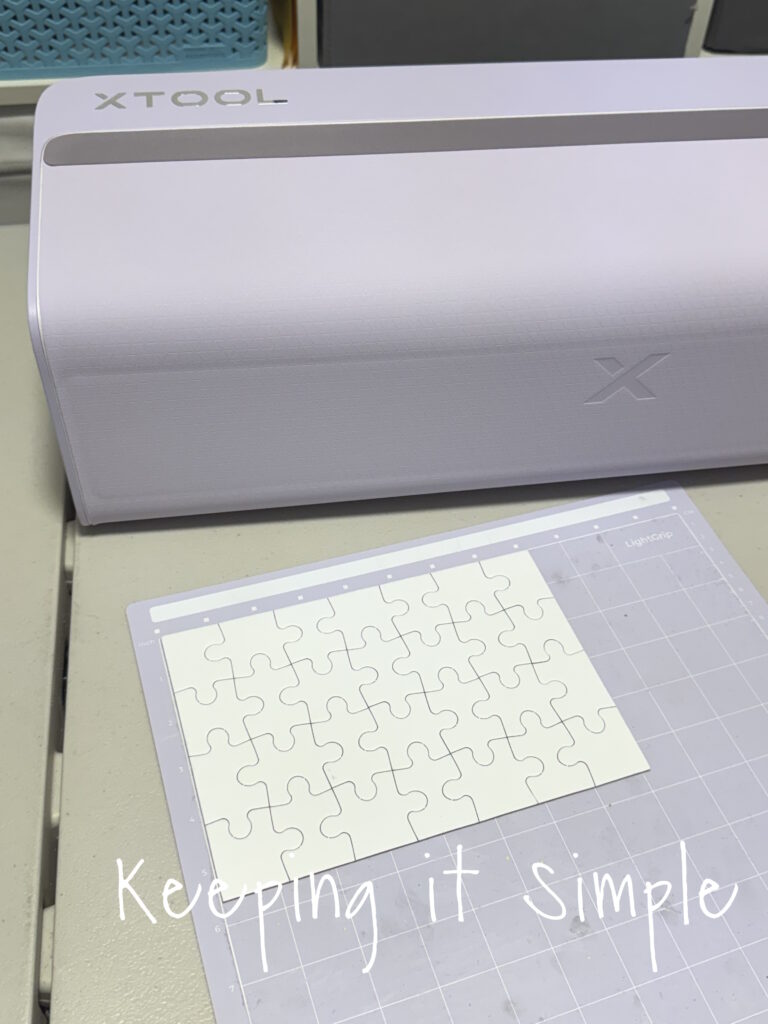
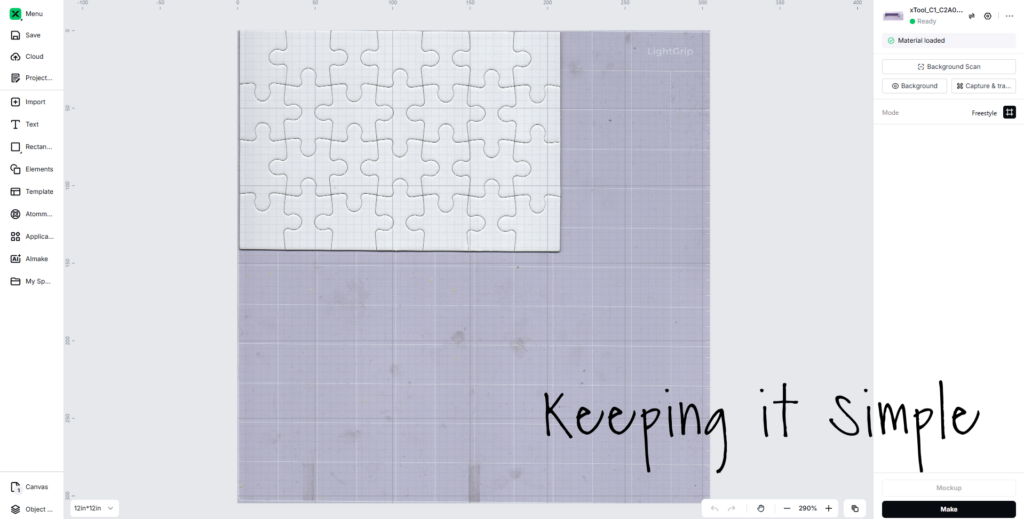
I love how the machine scans the mat and brings it up into xTool Studio, it’s so great.
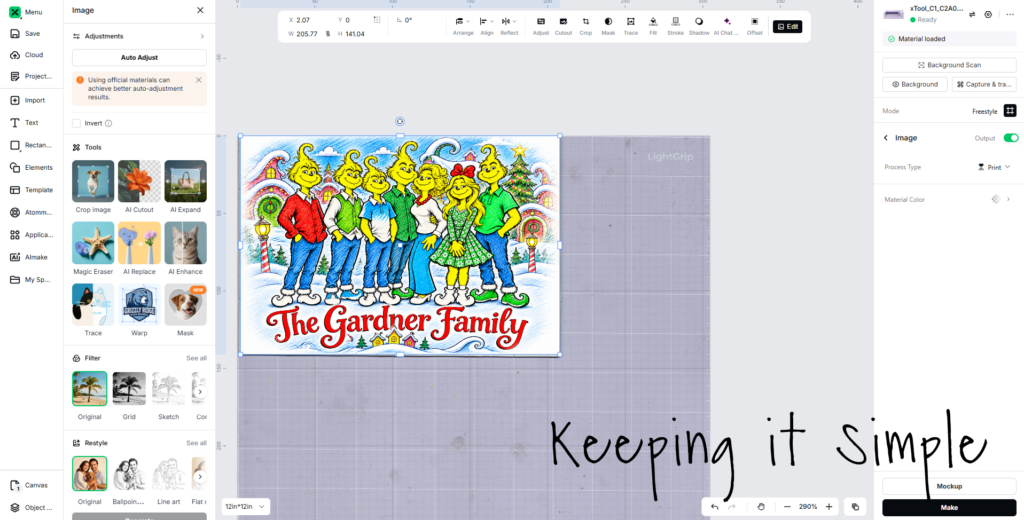
I created the image of my family on ChatGPT and then imported it into the software. I then sized the image and placed it right over the puzzle. I just had the print function going.
I was soooooo amazed by how good the machine printed onto the puzzle.
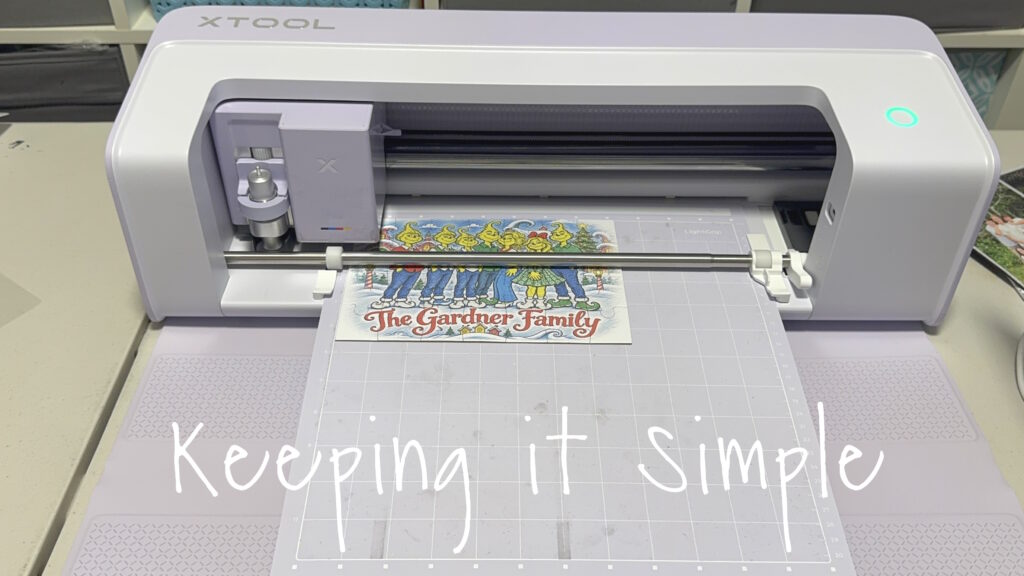
Look at how good that looks!! So amazing! I will definitely be making more of these this Christmas season!
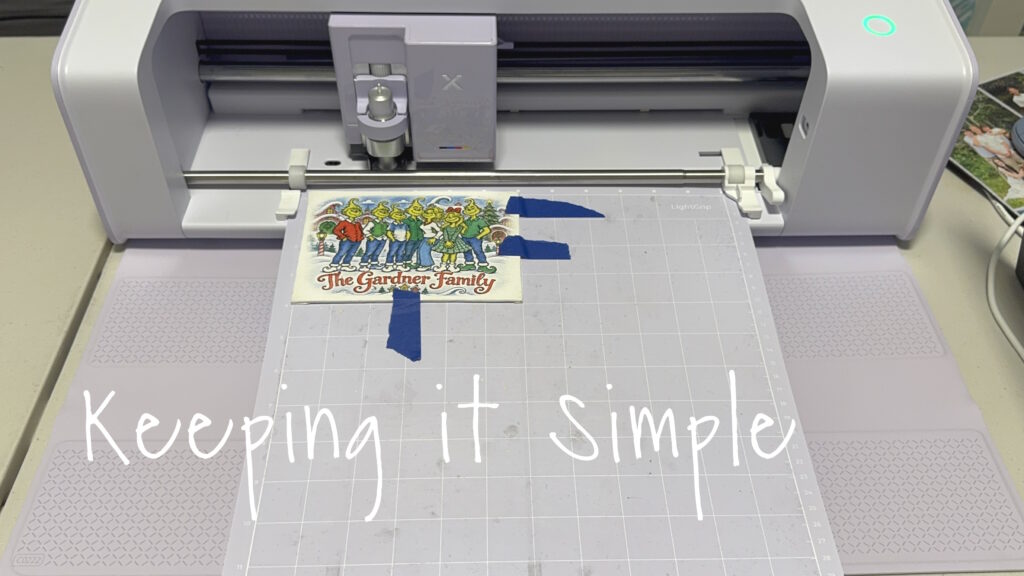
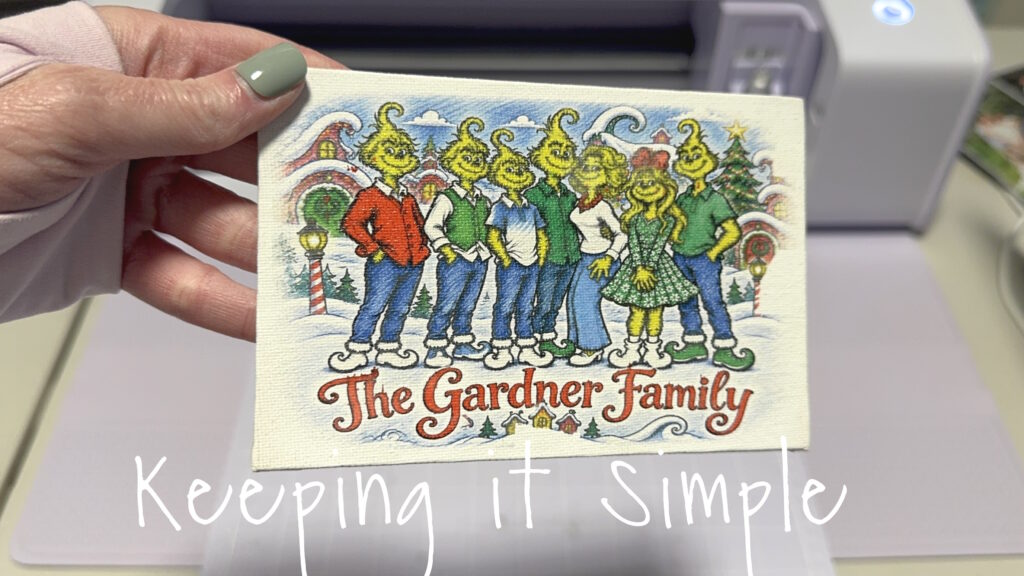
Next thing I did was printed onto a little canvas. This was a little bit thicker, so I needed to use some painters tape to secure it to the mat. I was excited how well it printed onto the canvas also.
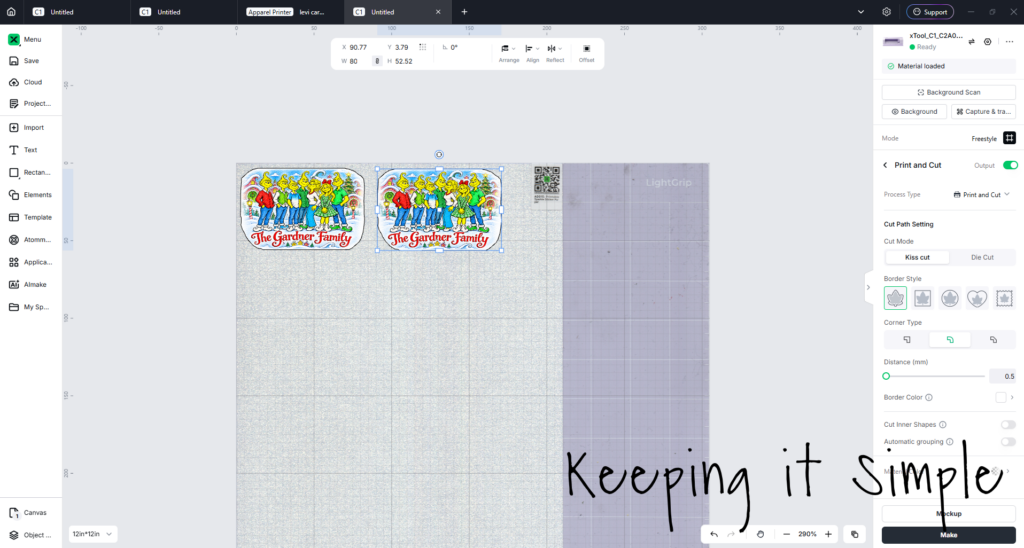
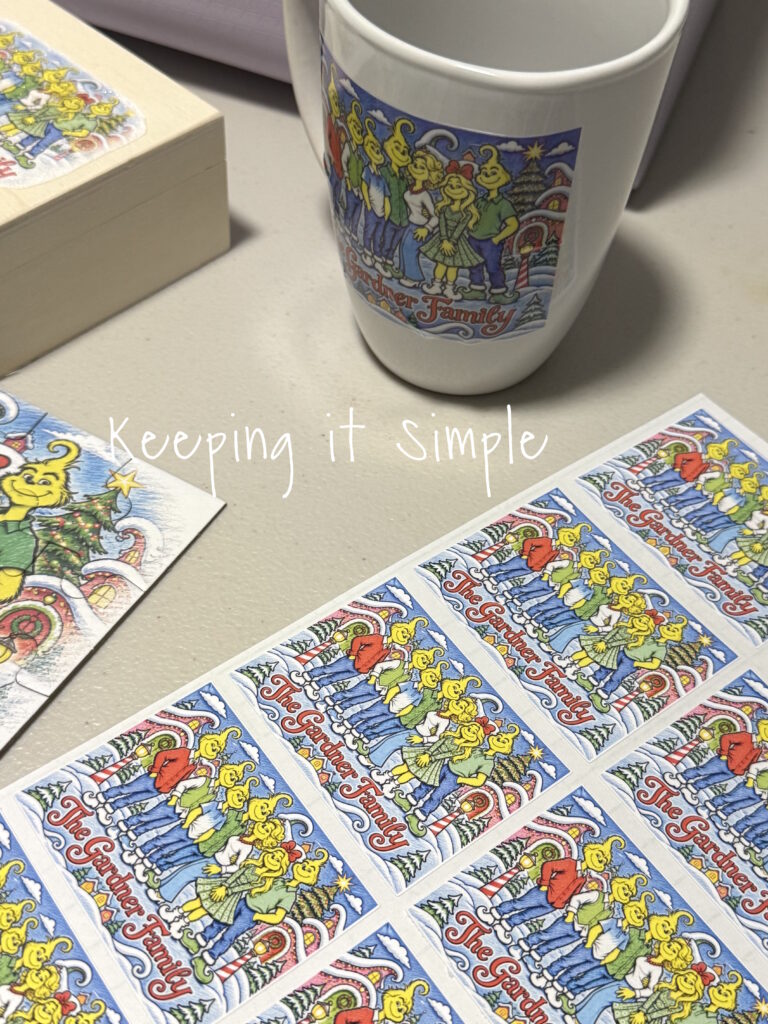
Next I stared working with the sticker printer paper. I had to go to the print and cut feature, I made the offset distance to be .5mm.
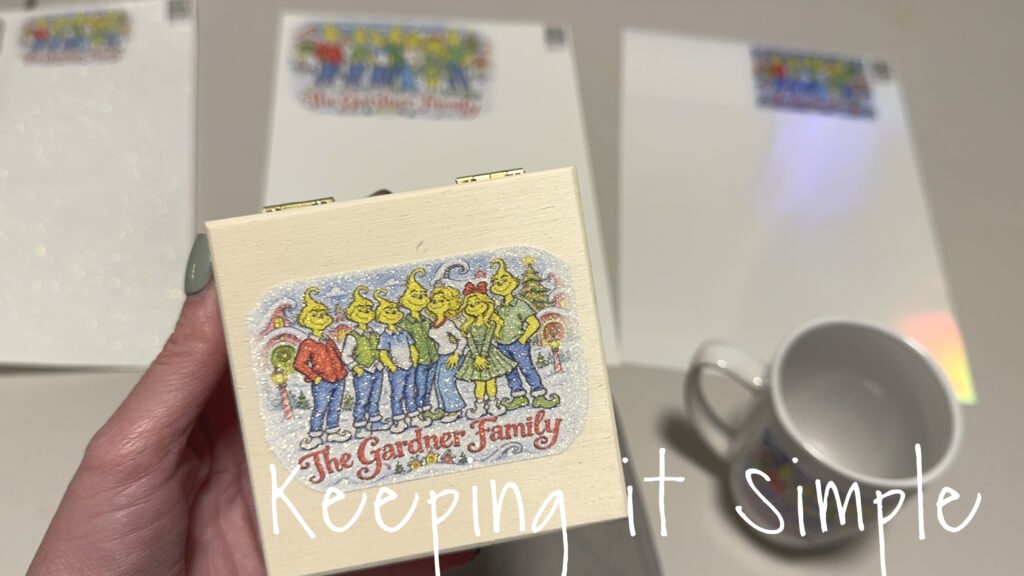
I LOVE the glitter sticker paper, it’s so much fun!
https://link.amazon/B0bgPnerX
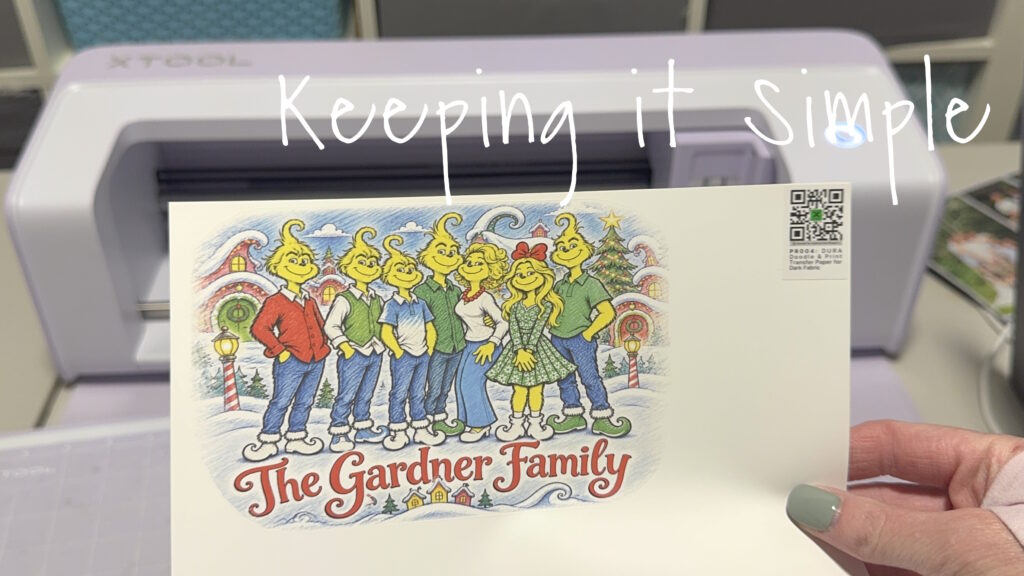
Next thing I printed on was the transfer paper for fabric. Unlike most fabric paper or HTV, you do not have to mirror the image before printing on it.
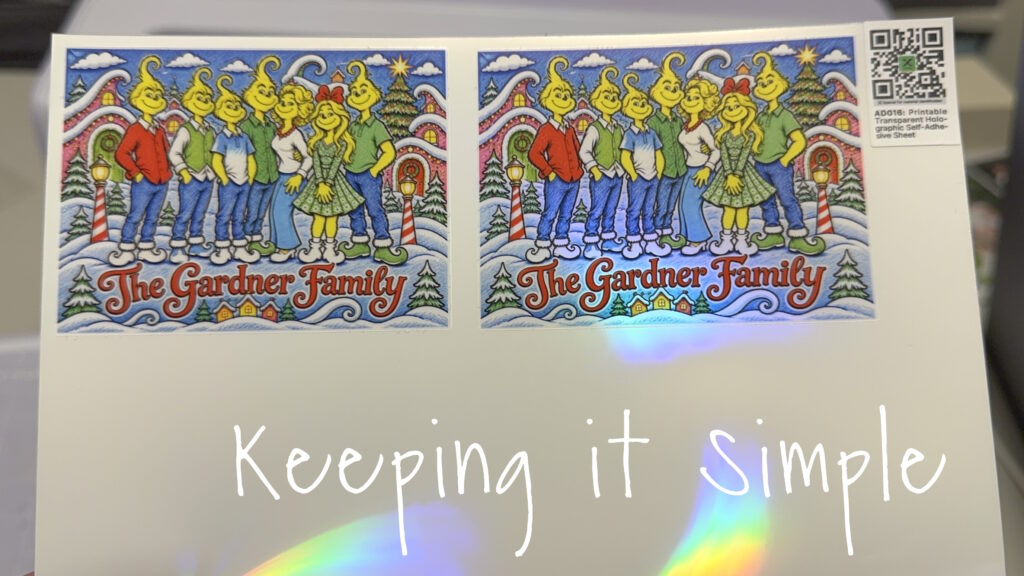
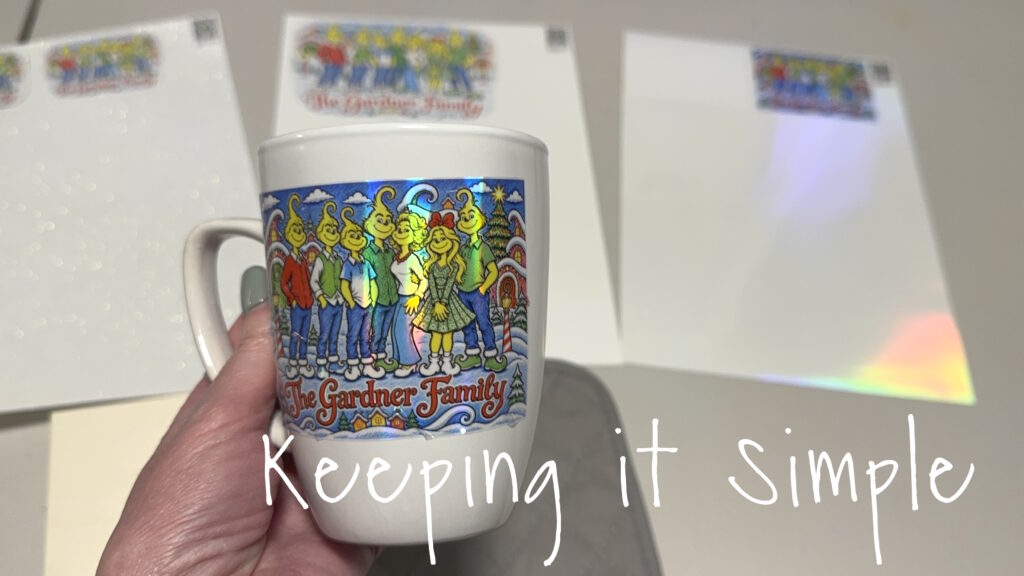
Lastly, I used the holographic transparent sticker paper and printed onto that. This time, I decided to have the design be more sold and a rectangle, instead of faded edges.
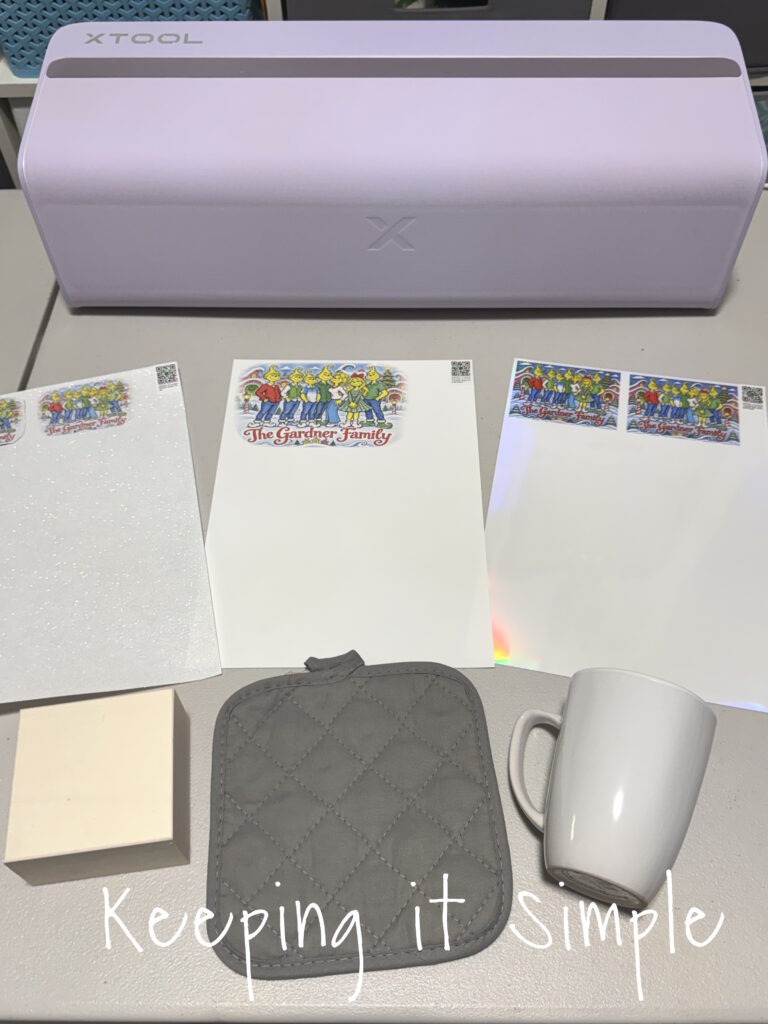
Now time to start putting the design on some items! I got a lot of stuff at the dollar store, I love when I can find cheap blanks!
I put the holographic sticker paper onto a white mug and it looks so good! I started from the middle and slowly put the sticker onto the mug, pushing out all of the bubbles as I went.
Next I put the glitter sticker on a cute little wooden box, that is where I am going store the puzzle pieces.
For the transfer paper, I peeled it off and placed it onto the hot pad. Then I pressed it with my heat press, just like I would do DTF or HTV.
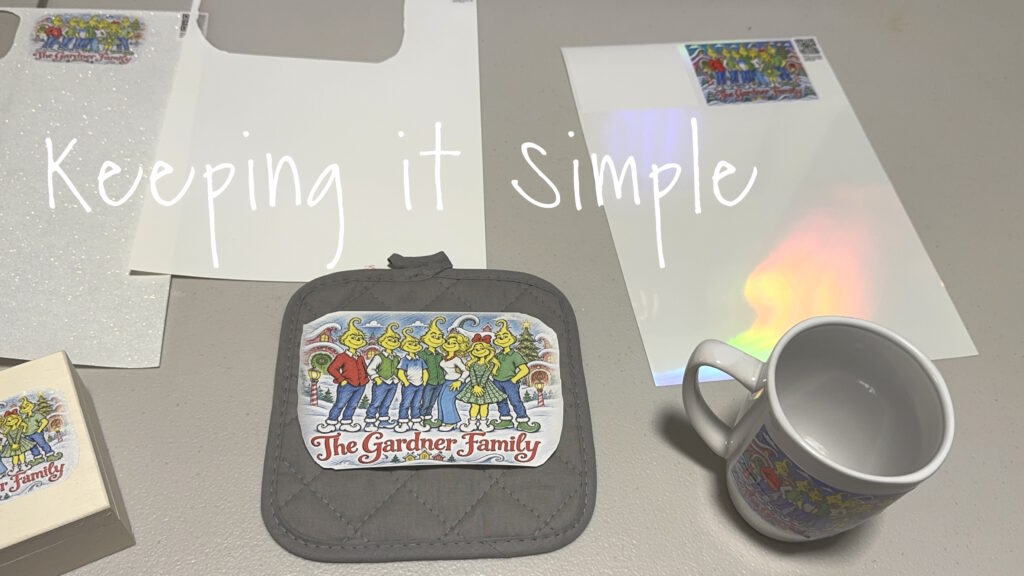
It worked so well!
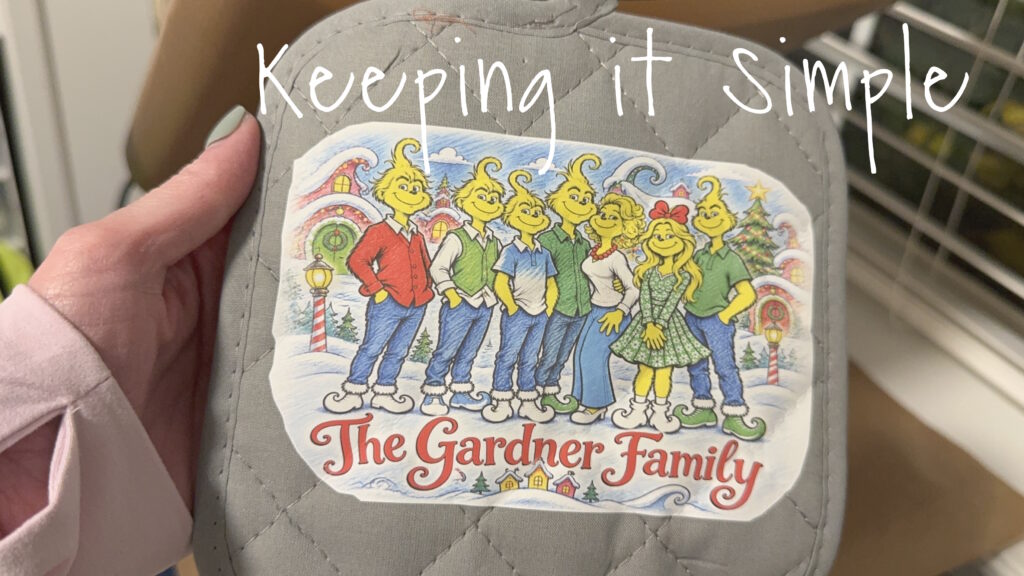
I decided to keep adding the design to other things. I decided when I used the transfer paper, I liked the look of the solid rectangle design and not the faded edges. So I printed that design for apron, towel, pillow and can cozy. I also wanted to make a sheet of stickers, just to have. I thought it would be fun to put those onto cards or a neighbor gift tag just for fun.
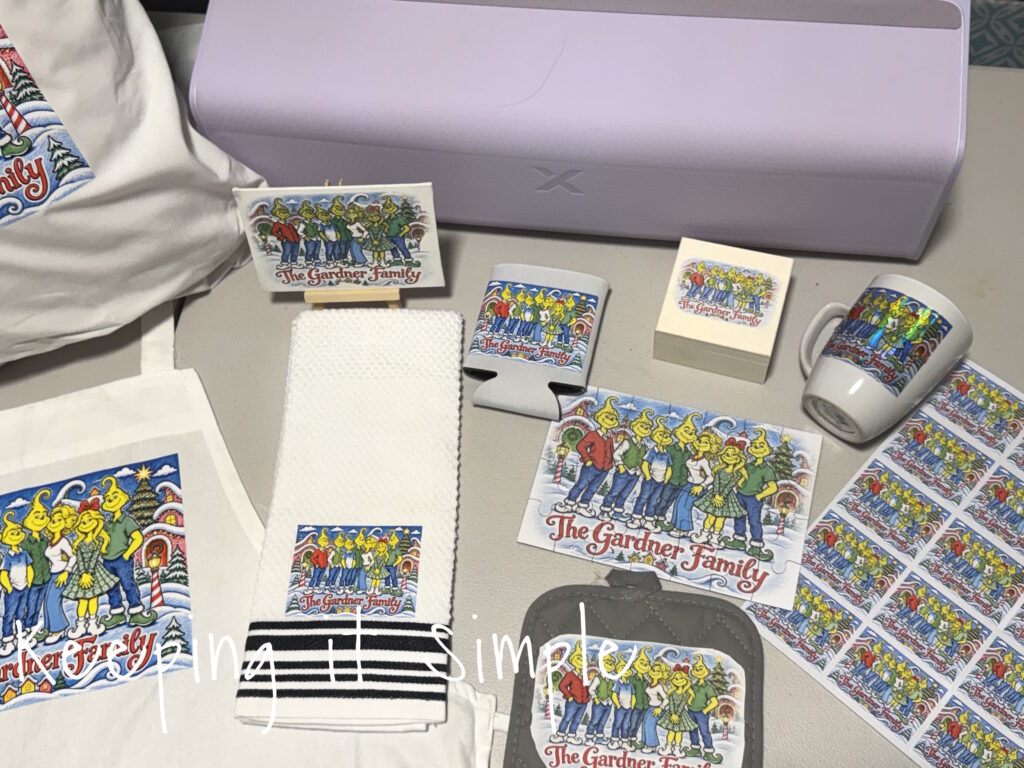
I am blown away by how well the xTool C1 preformed! I really tested it today and it performed beautifully! I love all of the Christmas gifts that I made with it!
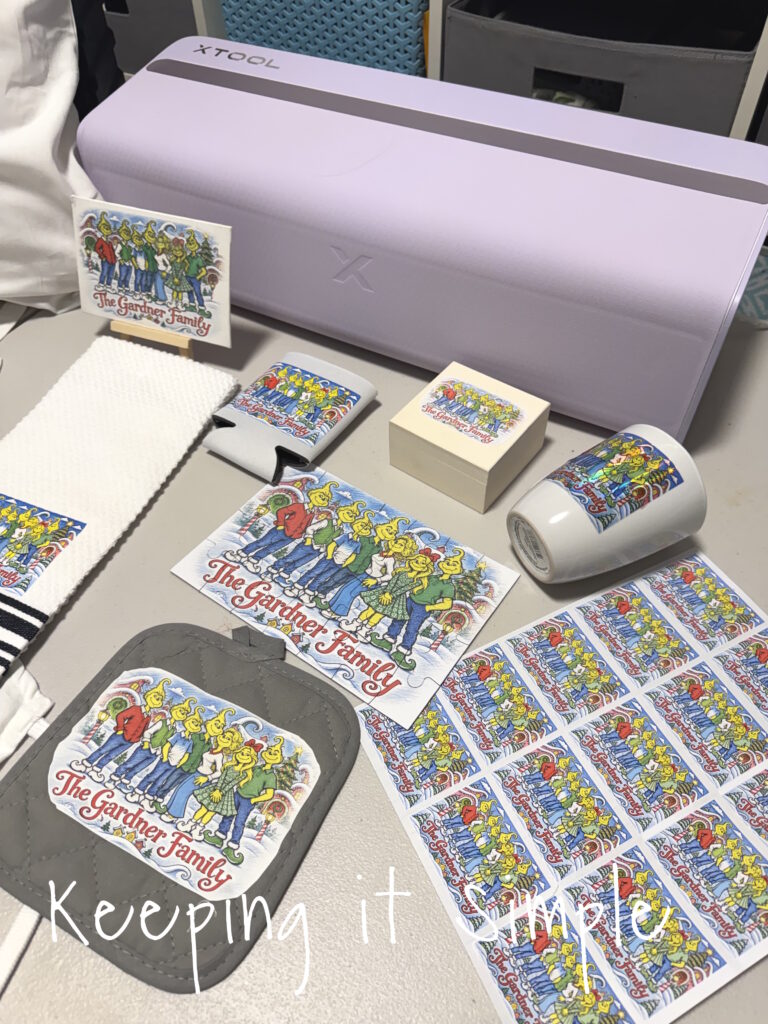
I had so much fun making this Christmas gifts that I decided to make some for my sister in law and her family. I just had so much fun that I just kept on making more things :).
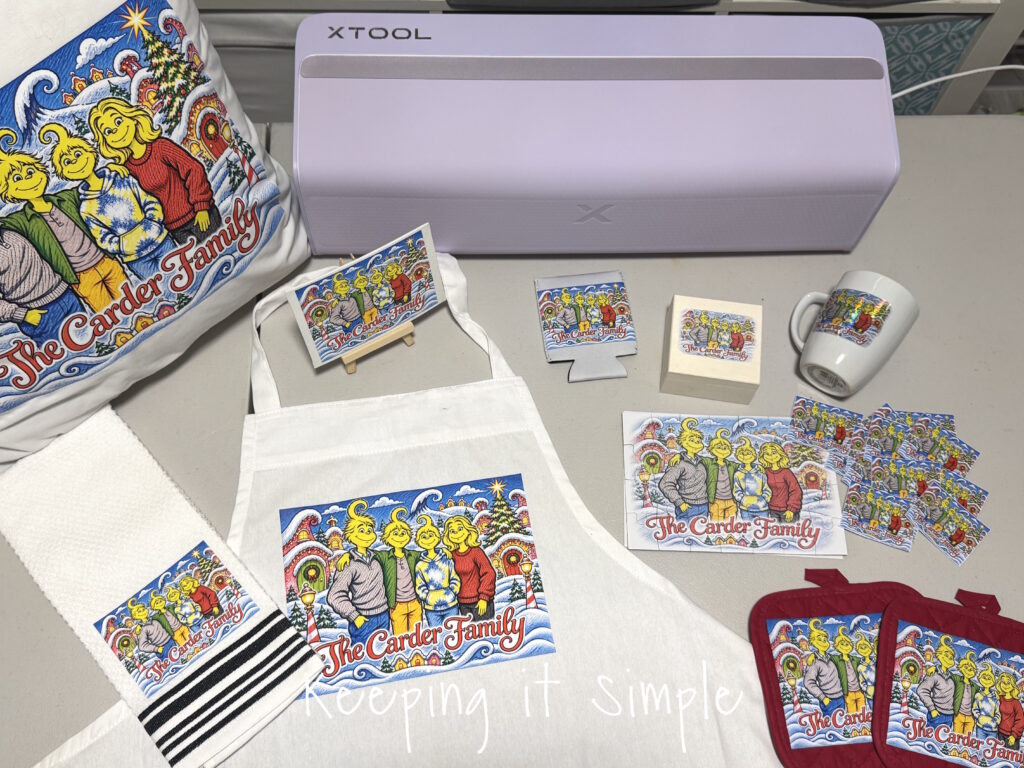
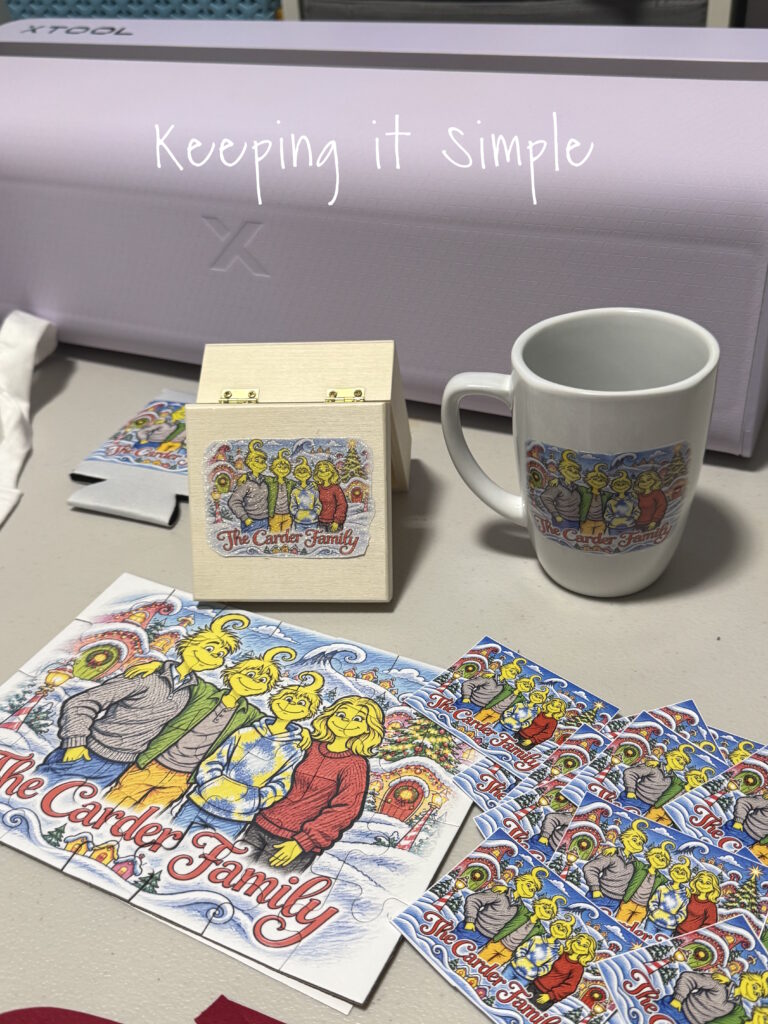
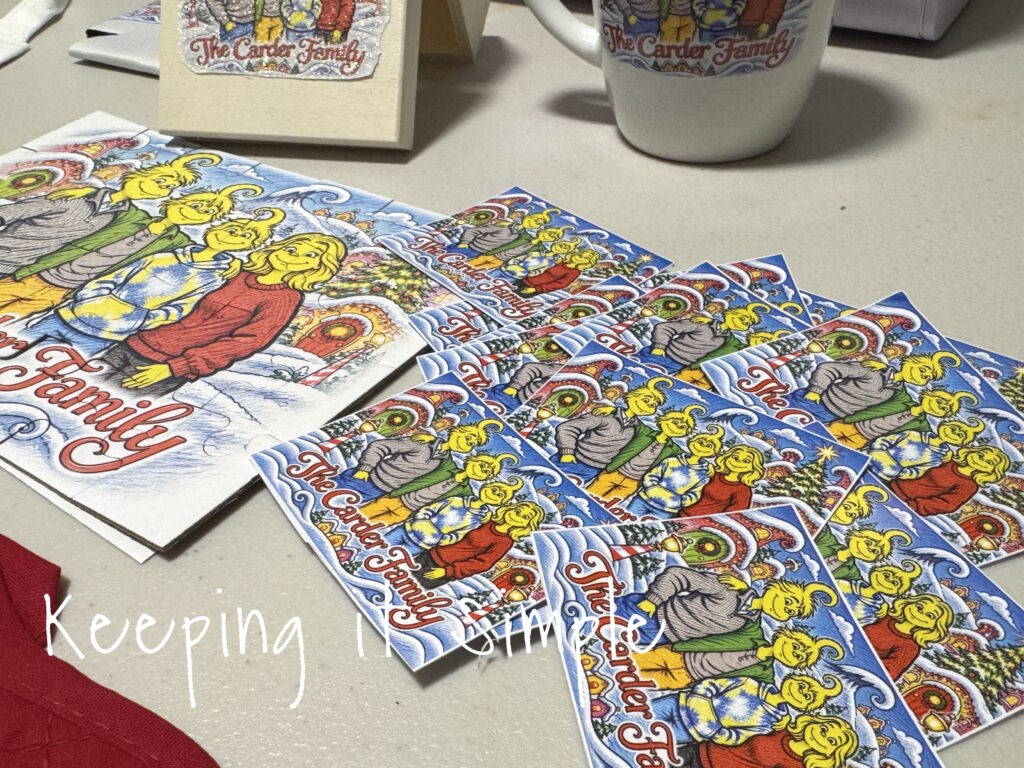
One of my favorite things about the xTool C1 is how many different projects you can create with just one design! I love being able to take a simple idea and turn it into a whole collection of personalized Christmas gifts that family and friends will actually use and enjoy.
Whether you’re making a custom mug, a cozy kitchen towel, a fun puzzle, or a set of personalized stickers, the possibilities really are endless! And honestly, there’s just something extra special about giving a gift that you made yourself.
I hope these Christmas gift ideas have inspired you to get creative with your own xTool C1! Don’t be afraid to experiment with different materials and projects. You might be surprised at just how much you can make with this machine!
Happy crafting, and Merry Christmas! 🎄
This post contains affiliate links.
Leave a Reply
You must be logged in to post a comment.