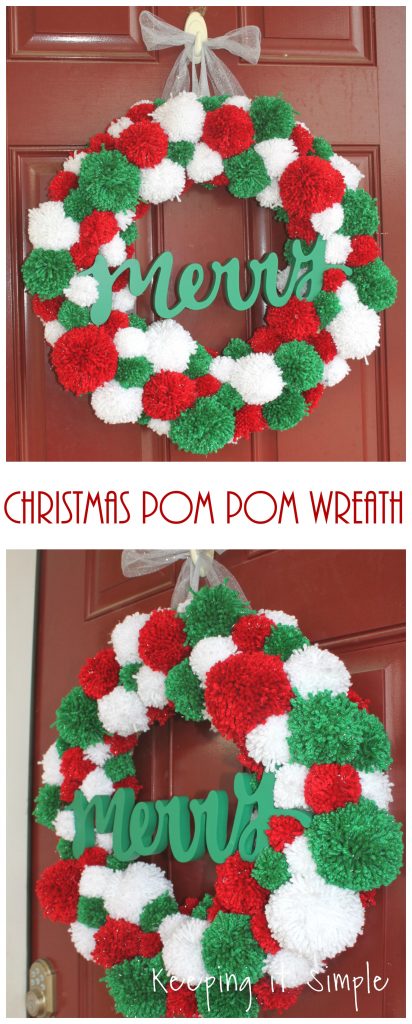
DIY Christmas Pom Pom Wreath- How to make Pom Poms
Anyone else love the pom pom craze?? They are so much fun to make and I love how they look! I recently got some pom pom makers, so I thought that it would be fun to make a super cute Christmas pom pom wreath. I love how it turned out and I can’t wait to use it year after year! You can use whatever color yarn that you want, I went with a more traditional color scheme for this Christmas wreath but I think that it would great with another color combination!
Here is a quick video to show you the process of making this Christmas pom pom wreath.
This is how I made it:
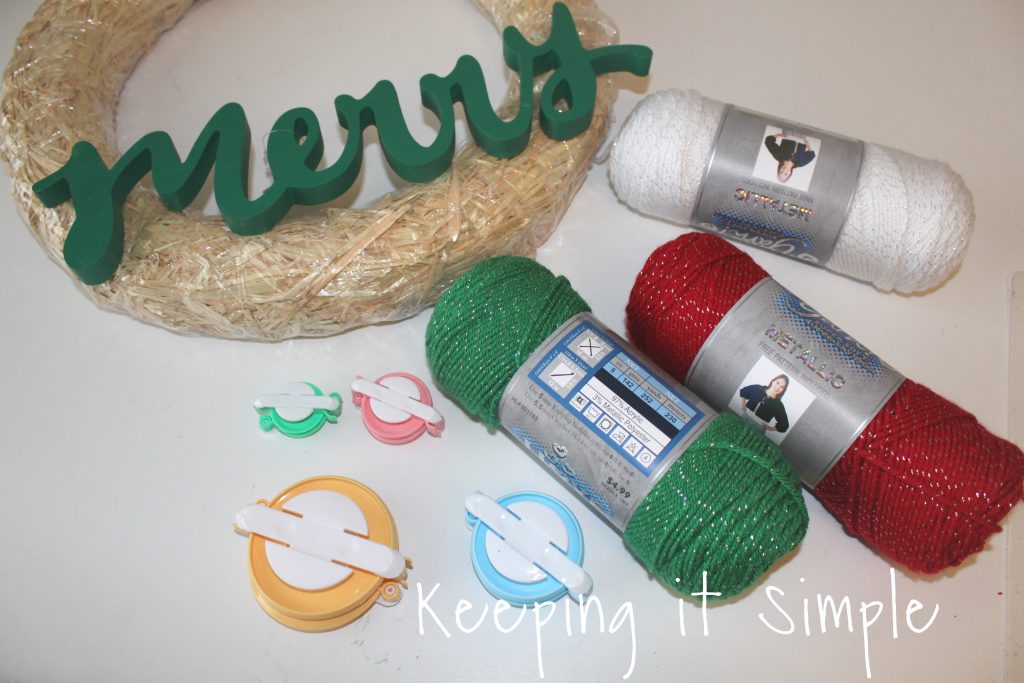
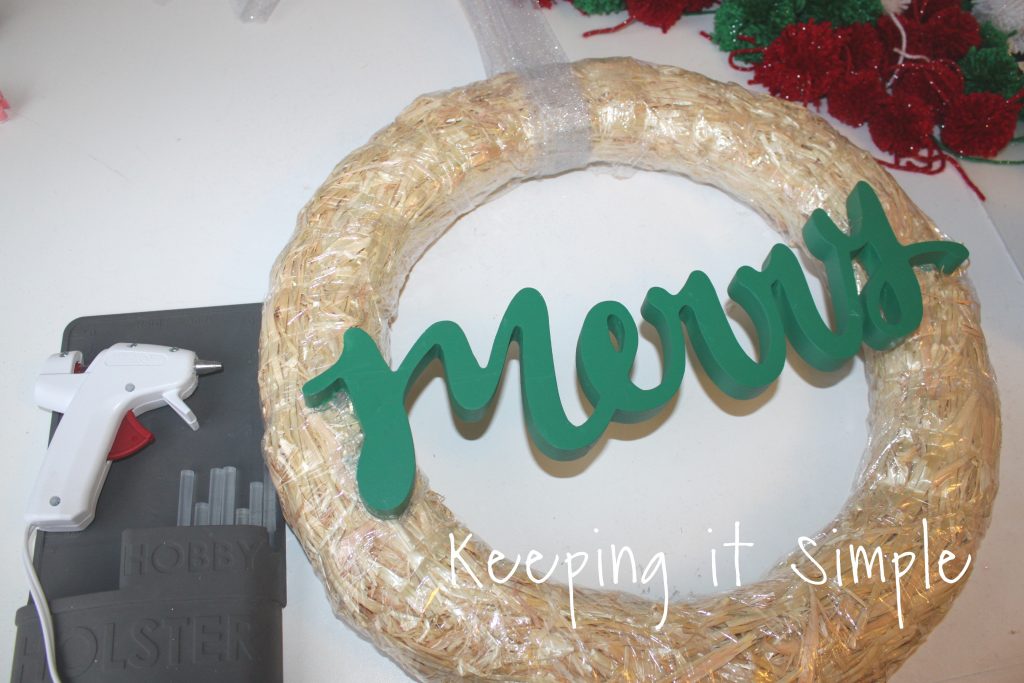
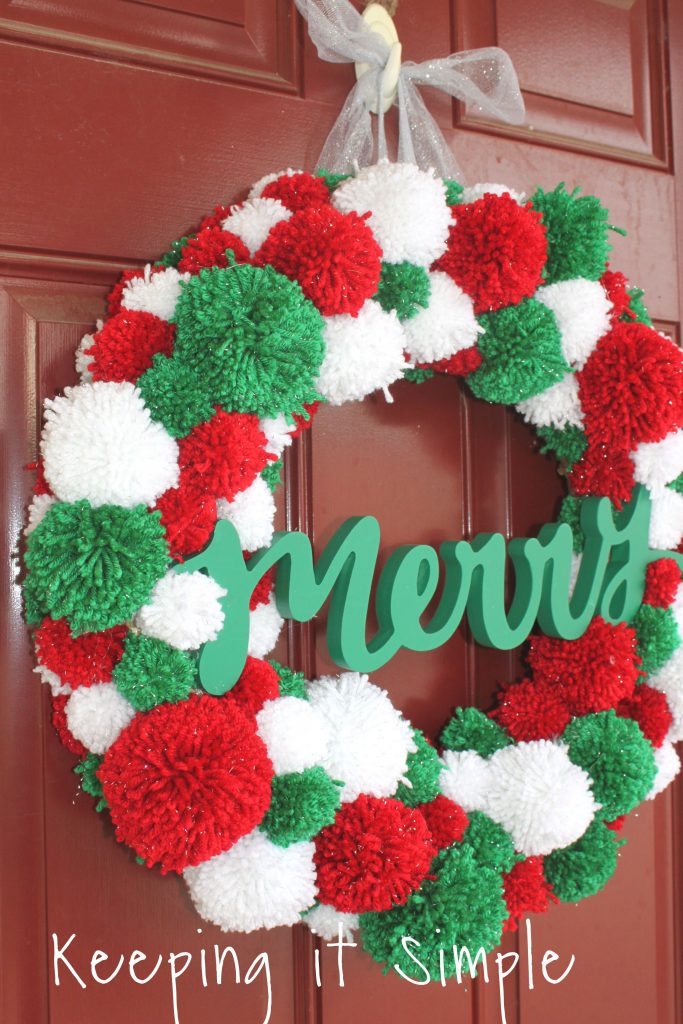
I started with a straw wreath form (it’s a large one, about 18 inches wide), a wooden Merry that I got from the Target dollar spot, red, white and green yarn and then the pom pom markers. They make 4 different sizes of pom poms.
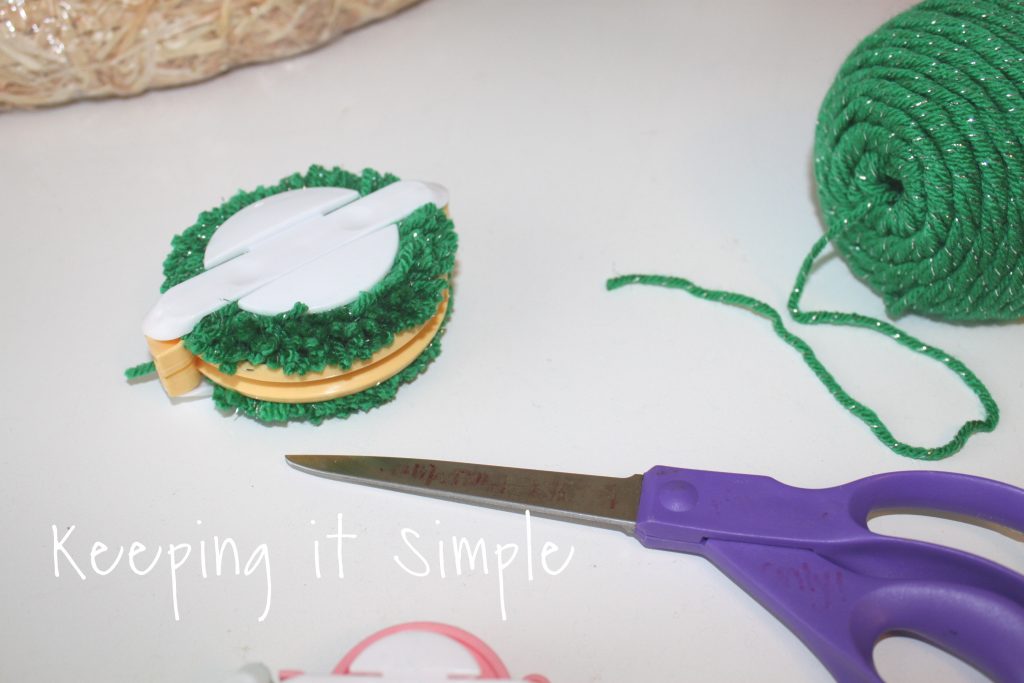
Pom poms are super easy to make once you get the hang of it. The first thing that I did was take the pom pom maker and then open one side and begin wrapping the yarn around it. Make sure to not wrap the yarn on the bottom part of the colored plastic (the part that is flat). Once I finished wrapping the yarn around the plastic, then I put the yarn through the side that has a slit. I put the yarn through that and then closed the plastic. After that I continued to wrap the yarn around the next side.
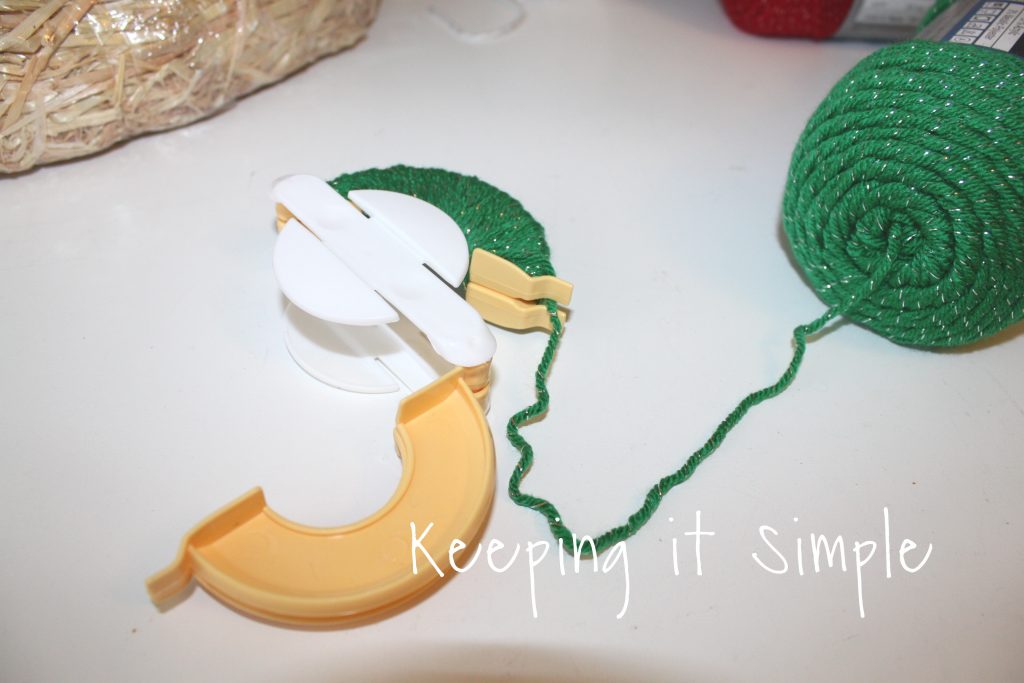
Once I had wrapped the yarn around the other side, I cut the yarn and then closed the pom pom maker.
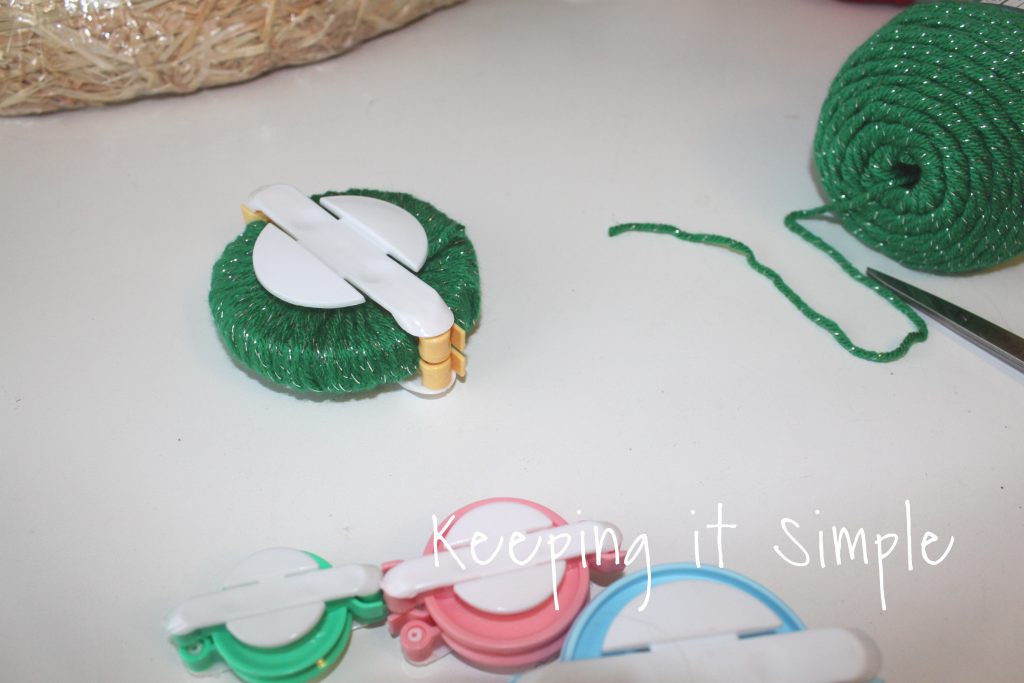
With sharp scissors (fabric scissors work well), I cut the yarn along the middle. Make sure to get all of the strands cut.
Then I tied the pom pom by putting a piece of yarn around the pom pom maker and then tying a knot around all the yarn. I tied 3 knots to make sure that it stayed put.
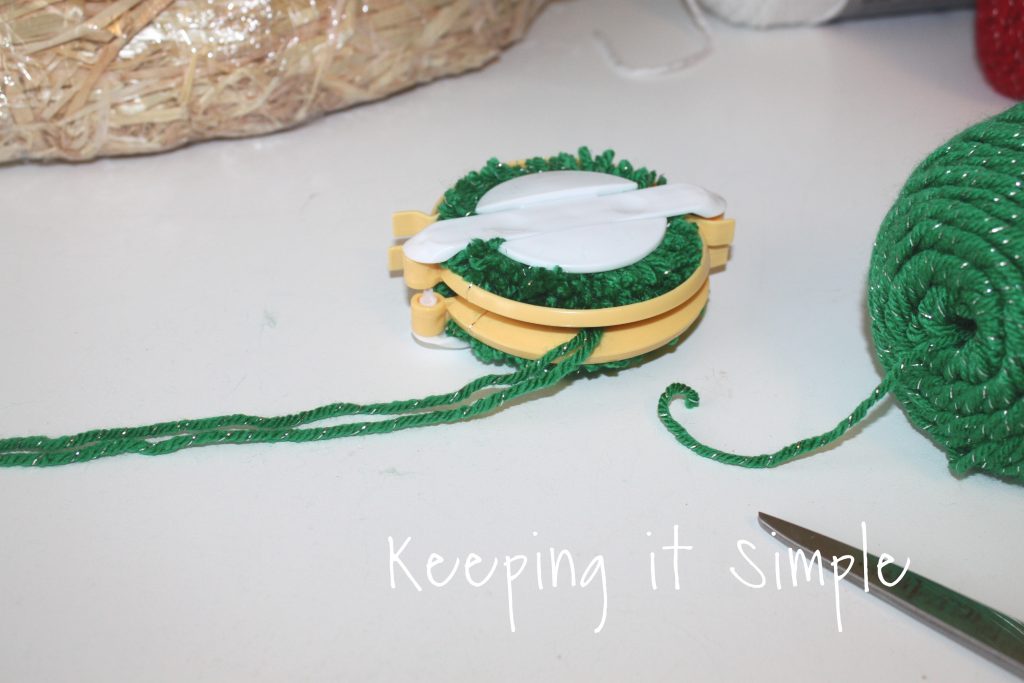
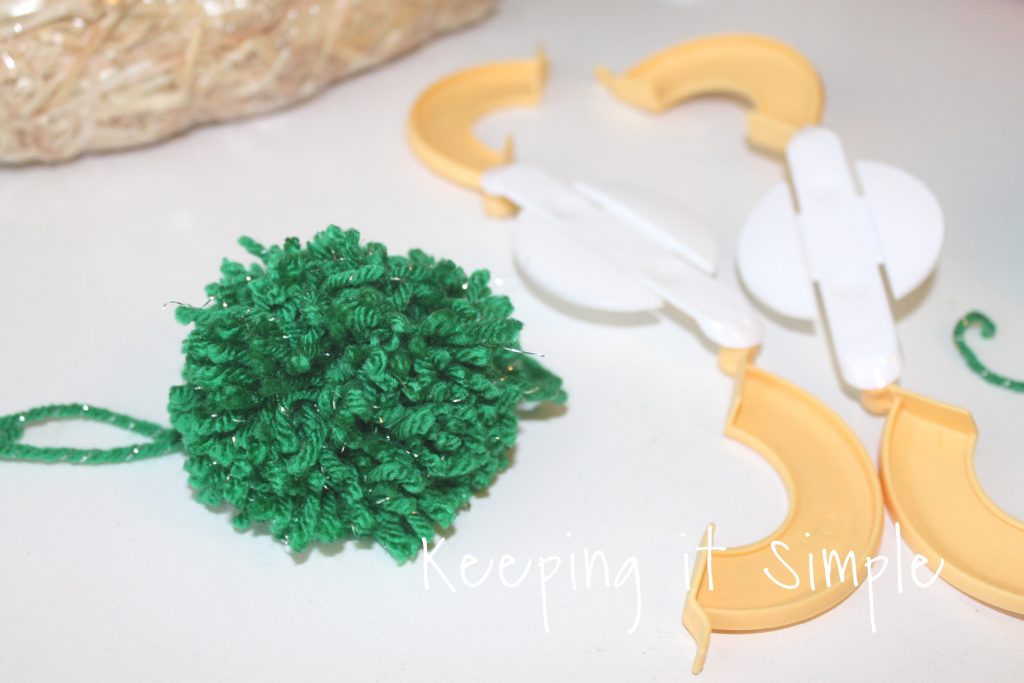
I then pulled back the colored plastic and took apart the pom pom maker. Then I cut the longer strands to make the circle even.
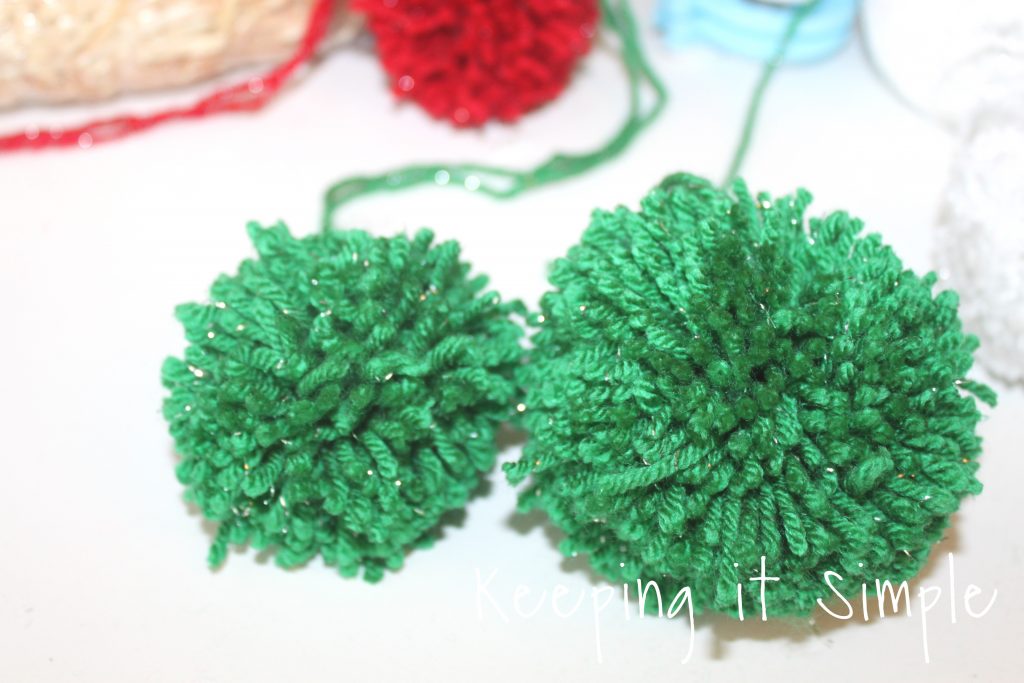
You can make pom poms bigger or smaller using the same sized pom pom maker. You determine the size with how much yarn you wrap around the maker. For this one, I did a lot of yarn. As you can see by the picture, this time I wrapped the yarn around a lot more.
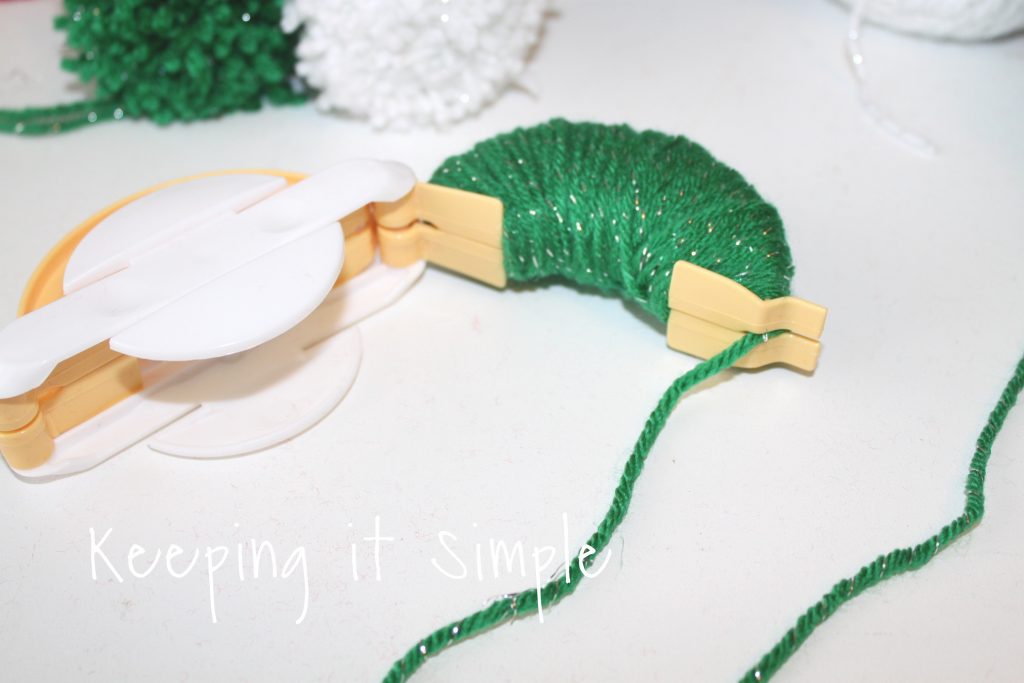
Here is the difference between the two pom poms using the same pom pom maker. The left one the first one I made and the right one is the one that I made using a lot more yarn.
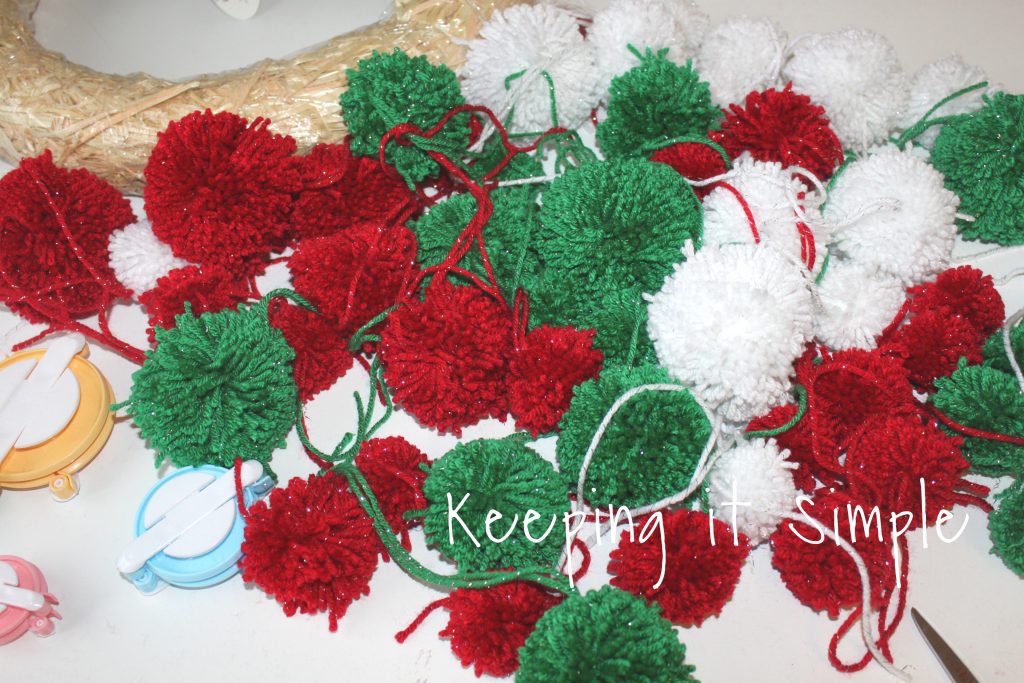
Here are the different sizes of pom poms that I made.

I made lots and lots of pom poms. It took awhile to make them, but they are super easy to make. I just put on a show and sat in my bed as I was making them.
Once all the pom poms were made, I then started working on the wreath. I first glued the wood word onto the straw wreath and made sure it was glued down good so it wouldn’t fall off. I then glued some tulle onto the top of the wreath. That is what I am going to hang it with.
I then glued the poms poms onto the wreath. Now sure why I didn’t get any pictures of the process of it. But you can see the process in the video. The biggest pom poms I put onto the front of the wreath and then the littler ones I put on the sides and inside. That seemed to work the best. I used quick a bit of glue too to make sure that the pom poms don’t go anywhere.
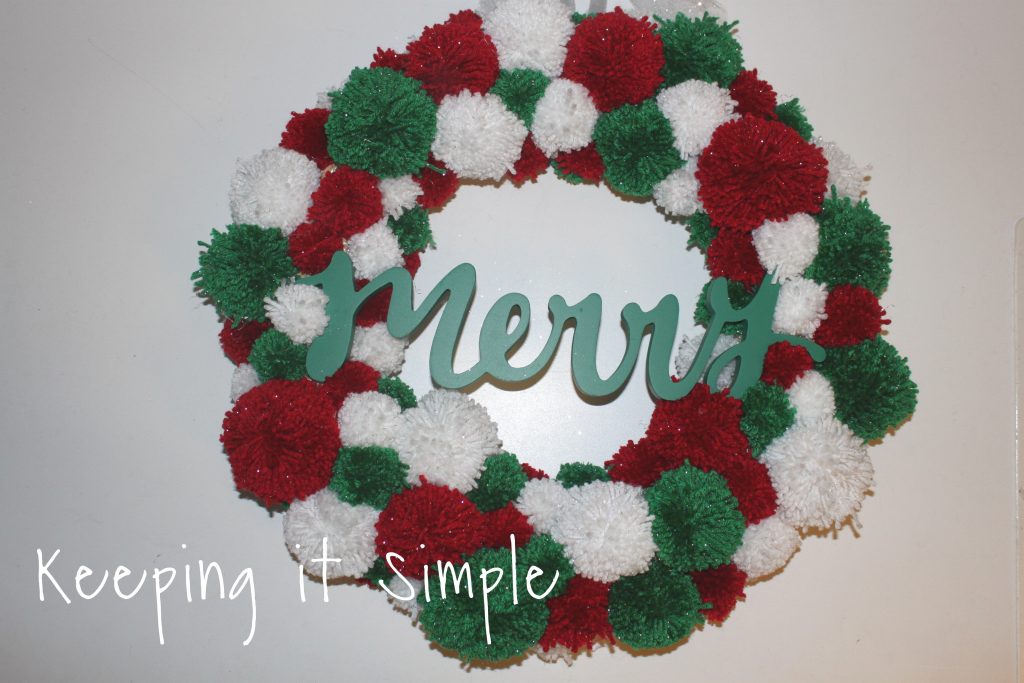
And that’s it!! I hung it up on my front door and I love it!
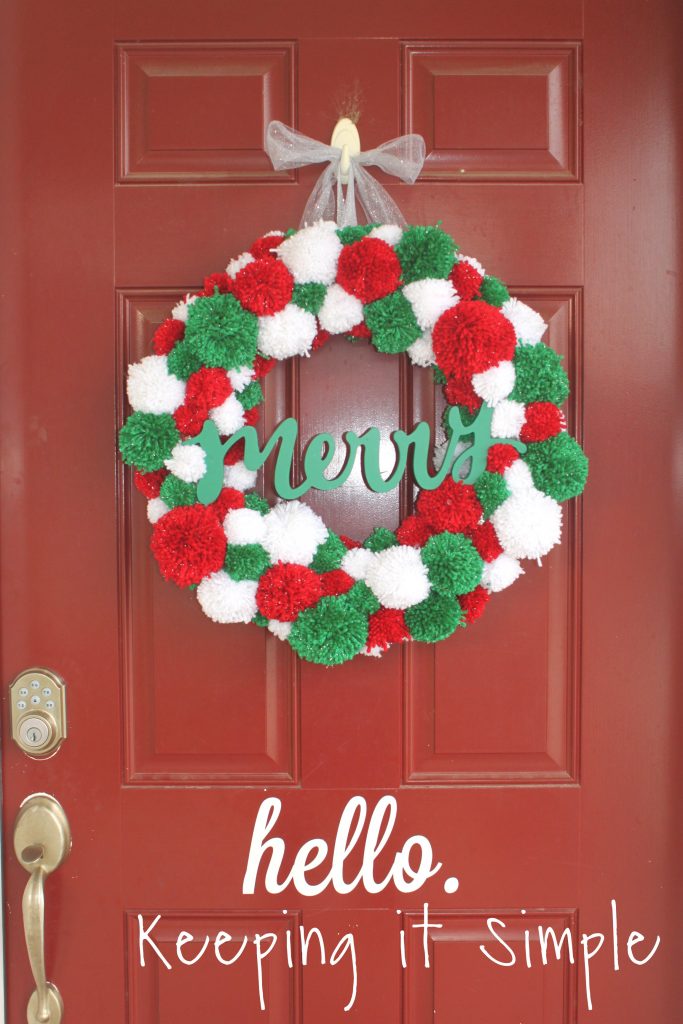
It is so colorful and bright and it makes me merry!
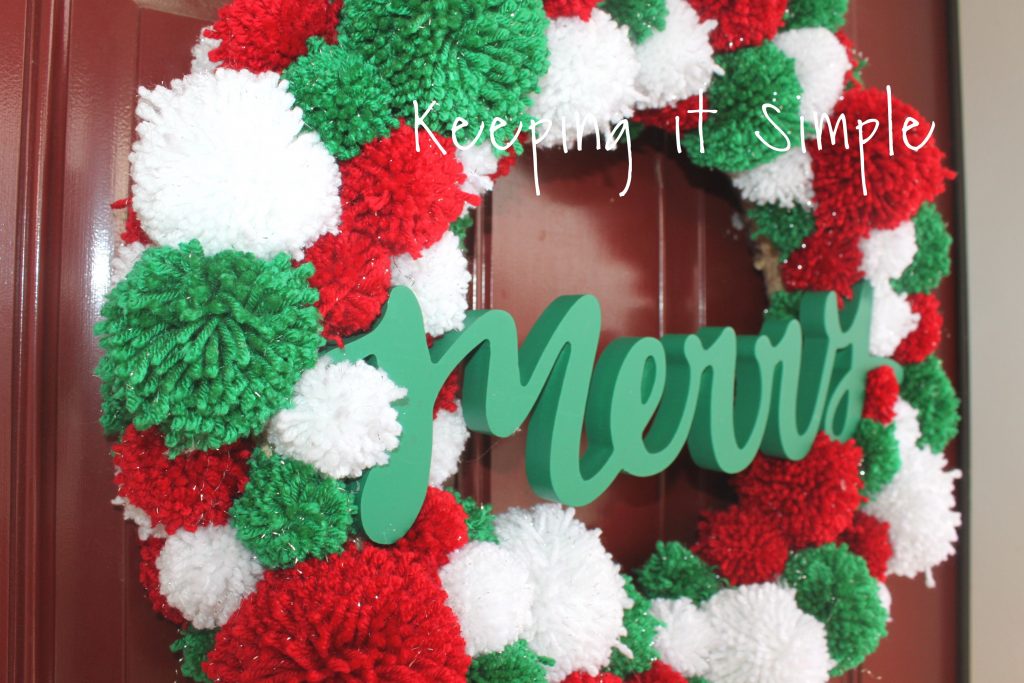
Here is a close up of the fun pom poms! I used a yarn with a silver thread in it and I love how it makes it shimmer!
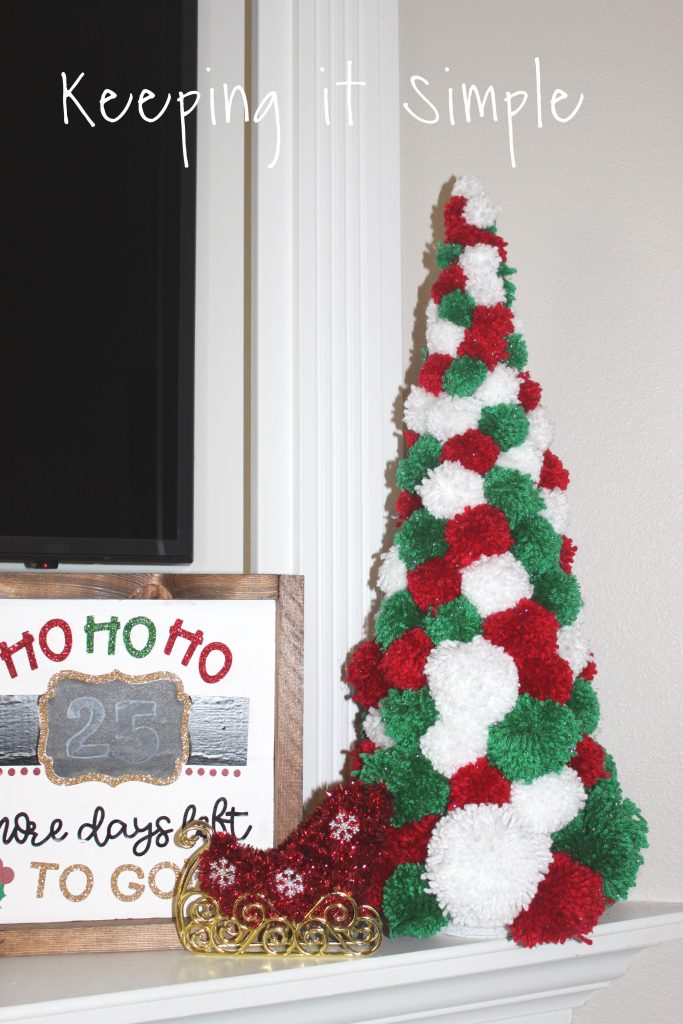
I made a fun Christmas tree out of the pom poms too.
Make sure to check out my other Christmas crafts!

Leave a Reply
You must be logged in to post a comment.