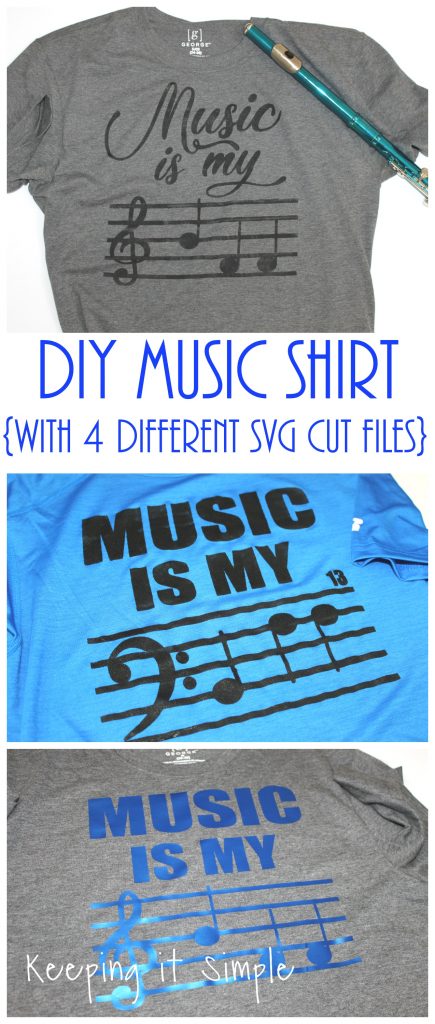
My son turned 13 this past weekend and for his birthday shirt he said that he wanted a music shirt, so I made him a fun and clever music shirt for his birthday :). I liked it so much that I ended up making four different designs, two in treble clef and two in bass clef. And then two of them have a fancier font and the other two have a more bold font. All of them turn out so good and I love them!! You can use paint or you can use heat transfer vinyl to make them too :).
Here is a quick video to show how to make them :).
This is how I made them:
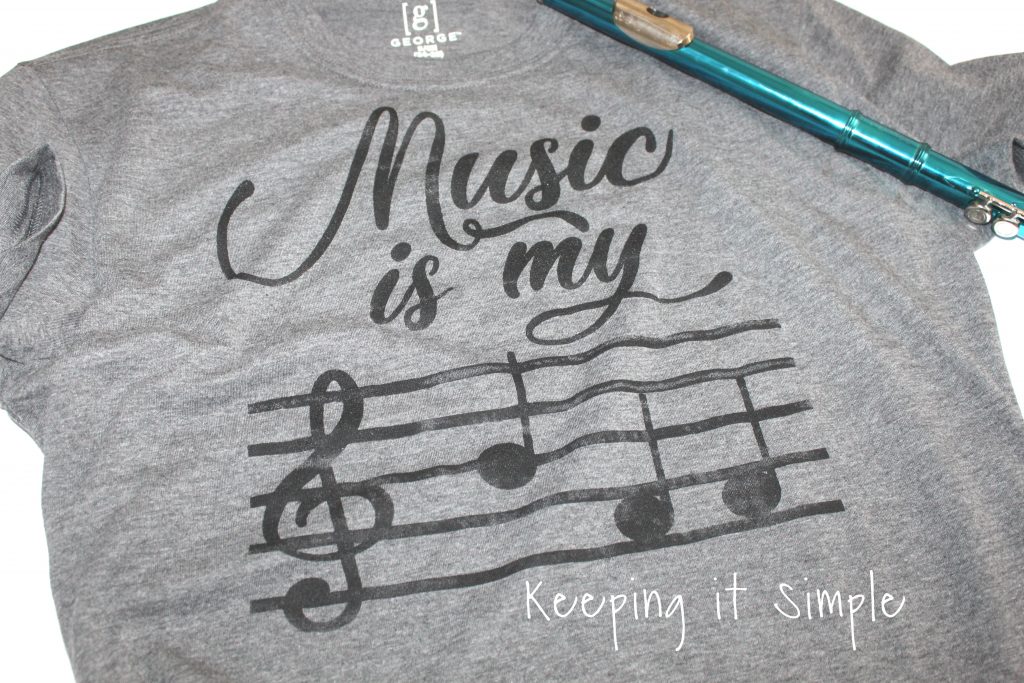
I made them with both heat transfer and with paint. I personally prefer paint because I like the vintage and faded look of it but I know a lot of people like it with heat transfer so I figured that I might as well show both. If you are doing paint, then you use stencil vinyl for it and cut it out normally. If you use heat transfer you have to make sure that you mirror the image before you cut. Oh and if you can’t read it, it says “Music is my BFF” 🙂
The first thing I did was designed the shirt in Silhouette Studio and then cut it out of the stencil vinyl. You can get this design here:
Once it was cut out, I then removed the image from the vinyl, leaving a stencil.
Using transfer paper, I then transferred it to the shirt making sure it was smooth and that all of the edges were pressed down good.
I then used a stencil brush and black fabric paint and painted the shirt.
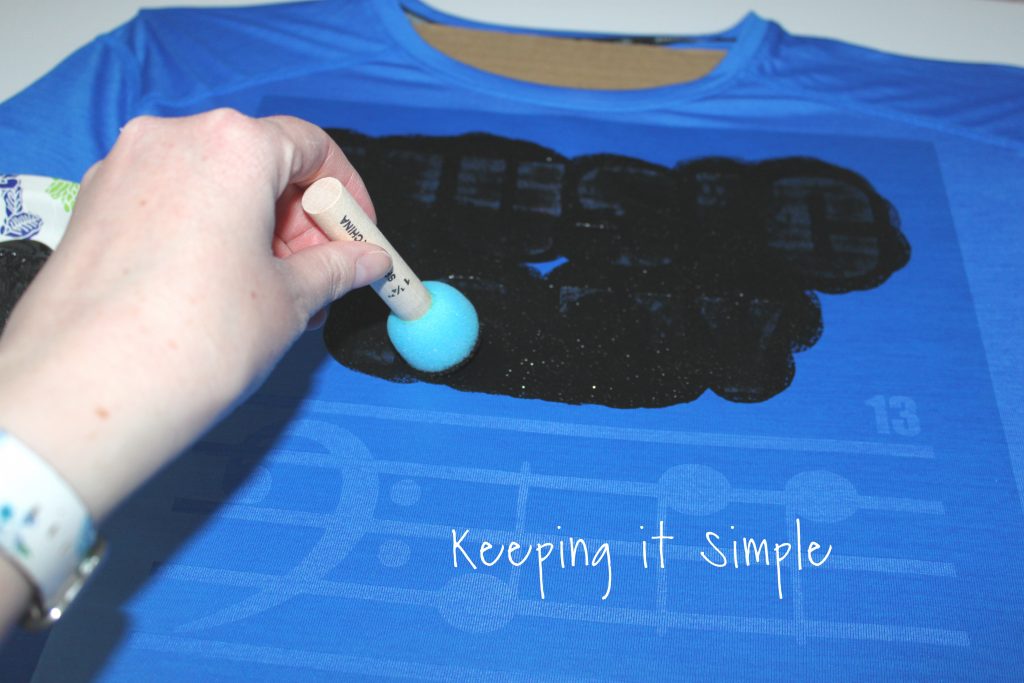
Here it is all painted. I let it dry completely before taking off the vinyl (I used a hair dryer to speed up the process too).
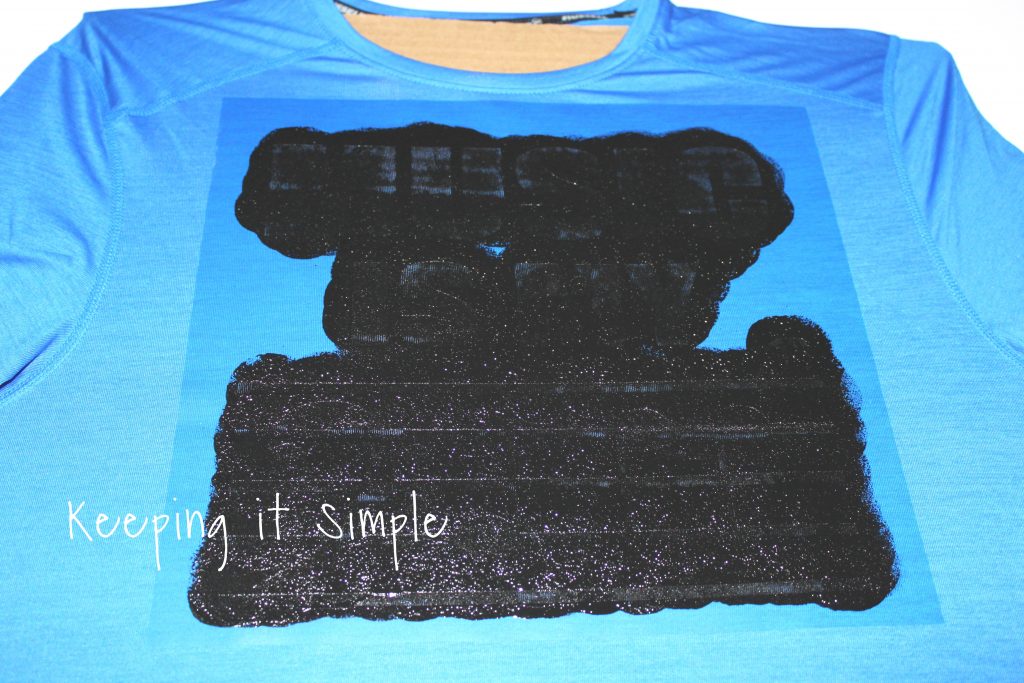
I then peeled off the vinyl, leaving the design painted. The lines are nice and crispy and I love it!
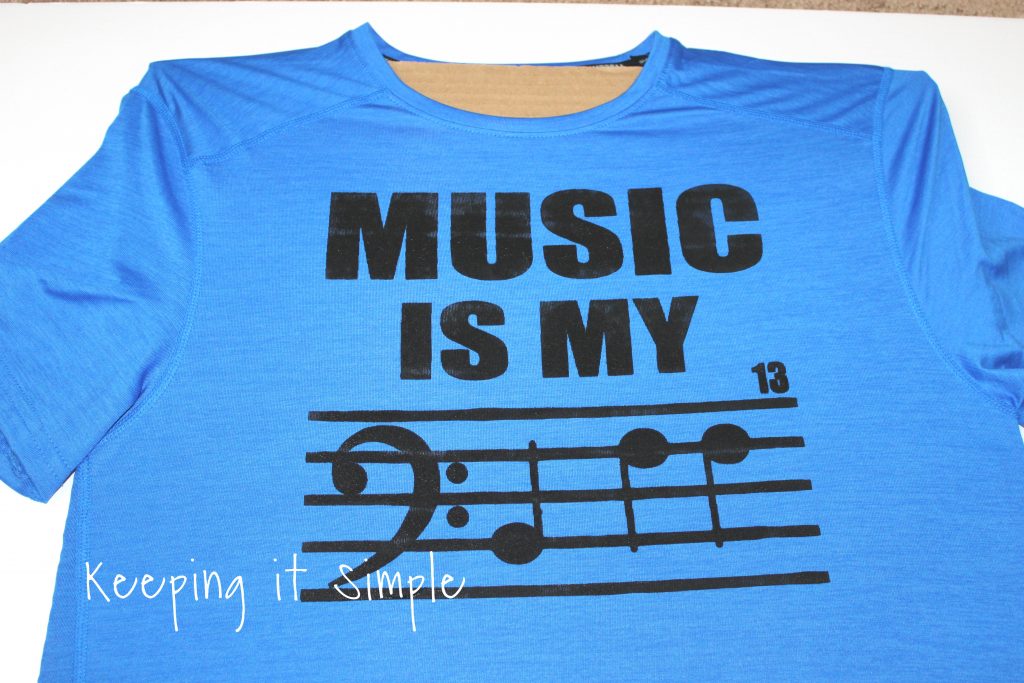
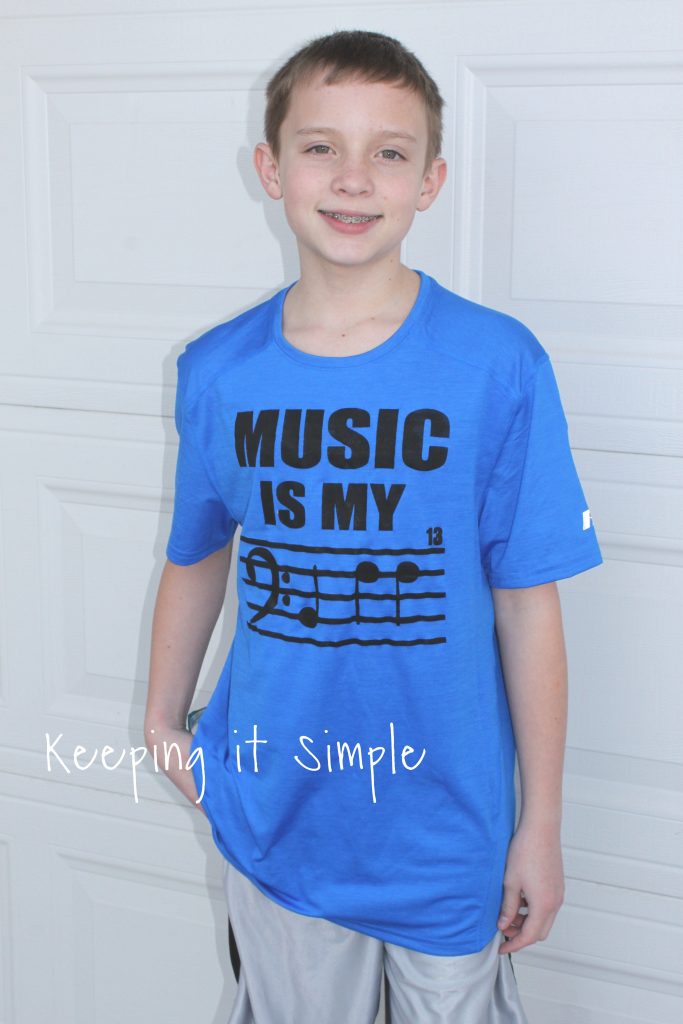
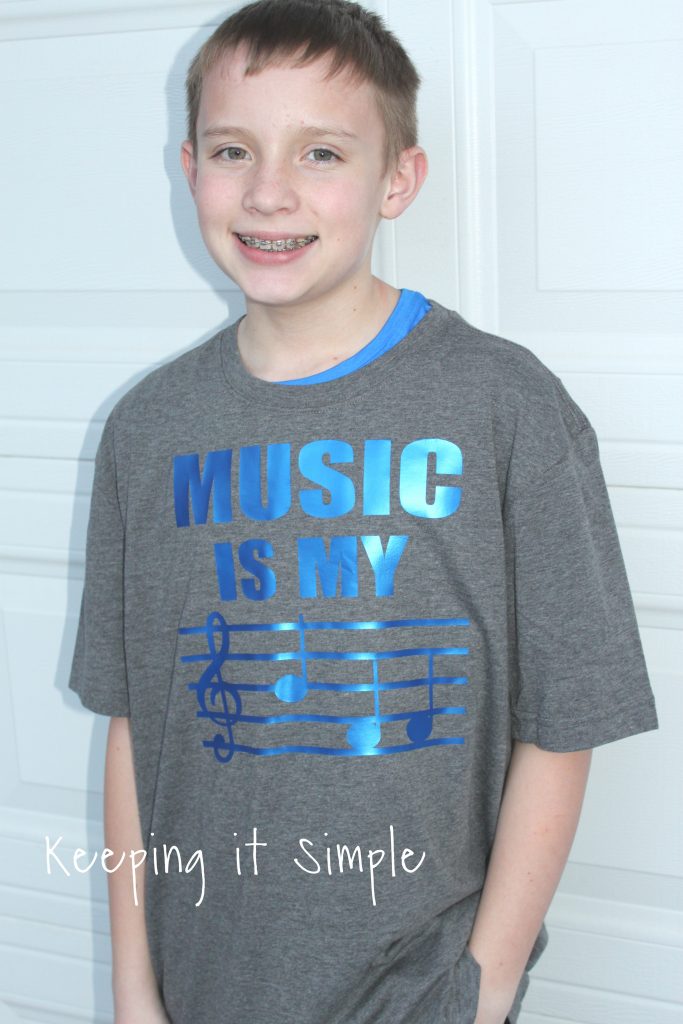
Here is the fun music shirt that I actually made for his birthday (that’s why the 13 is there).
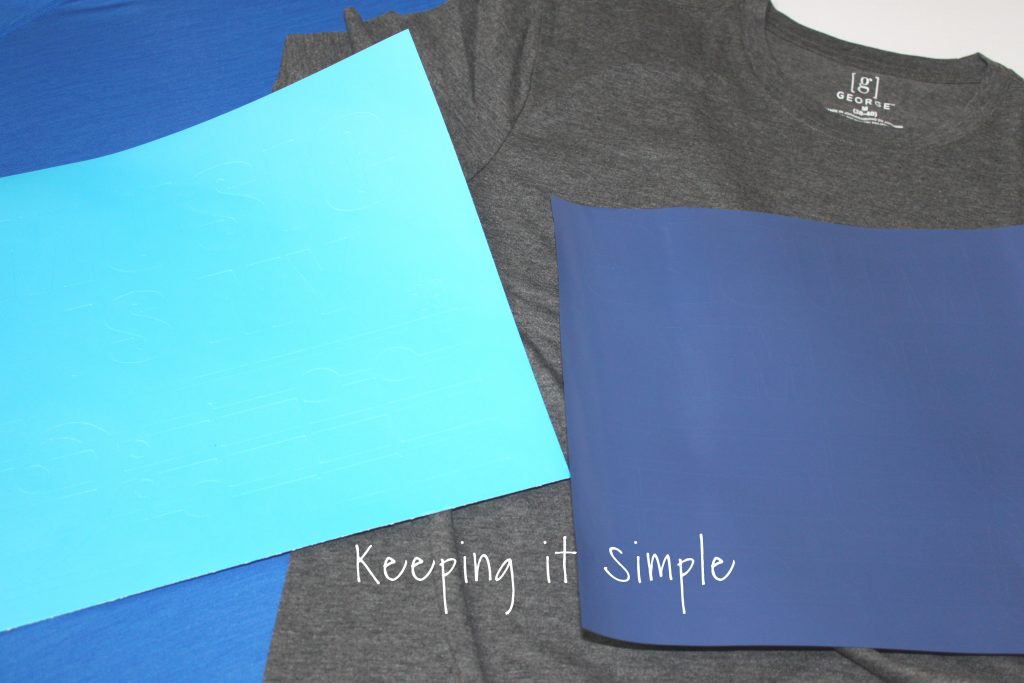
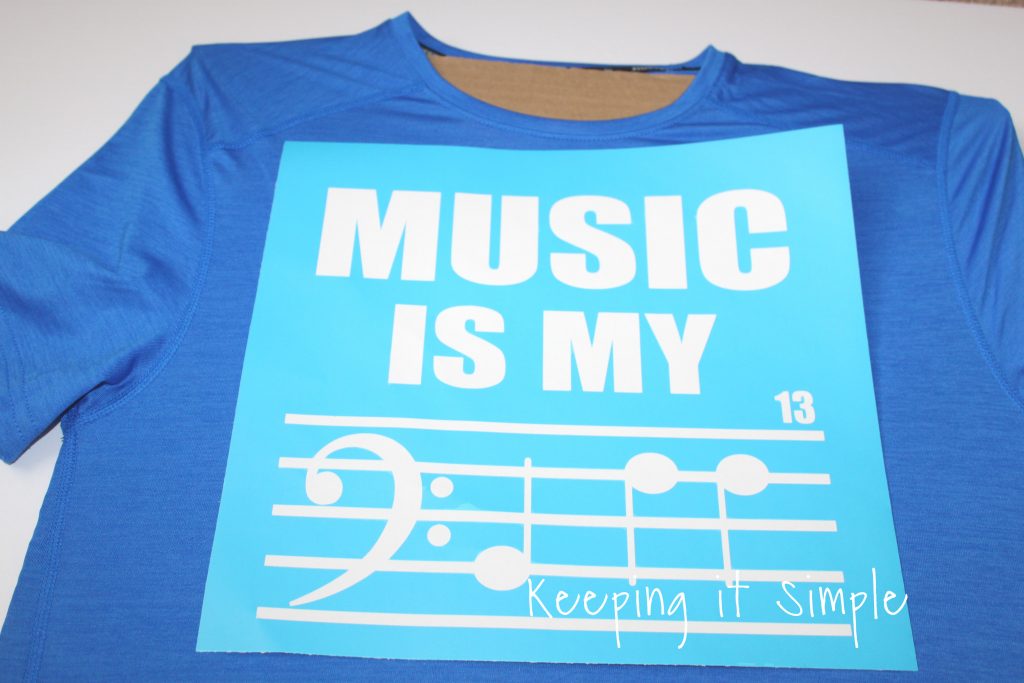
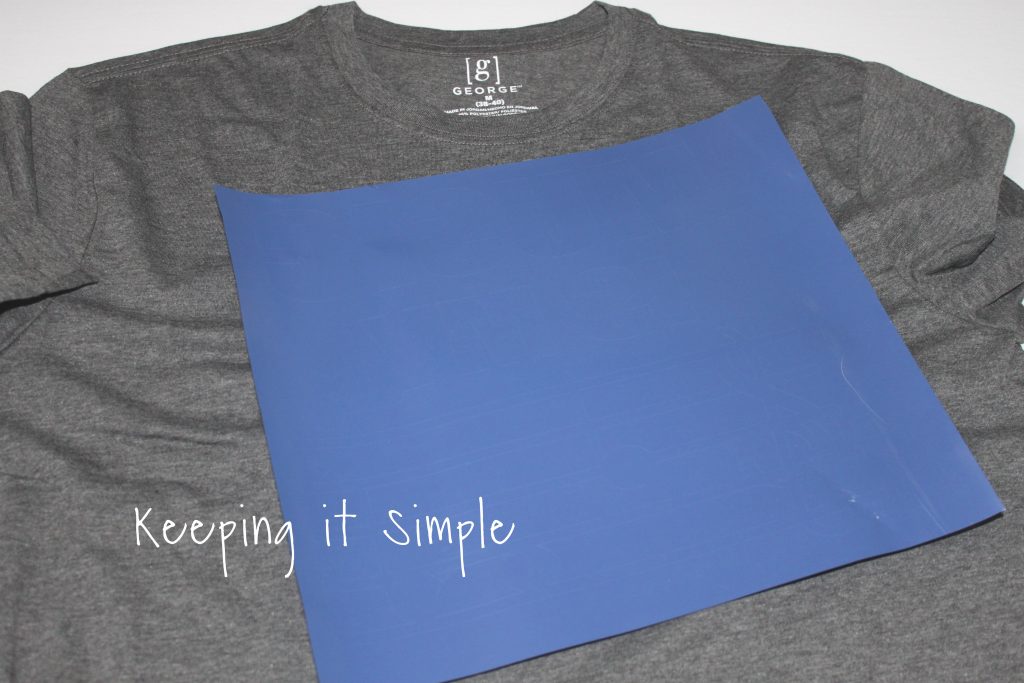
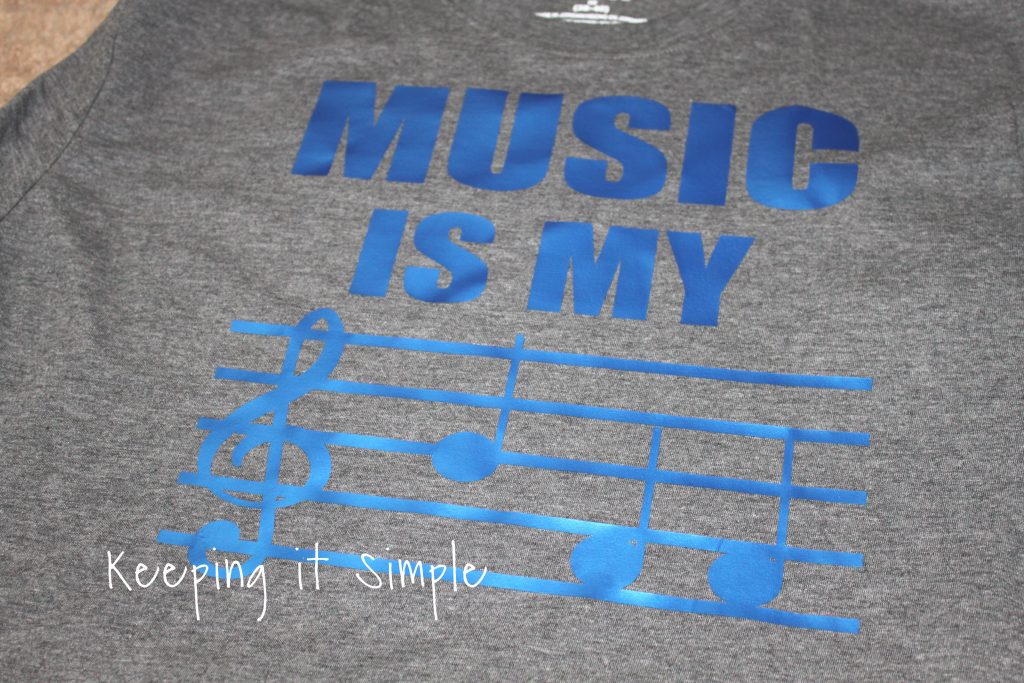
Now for the one with heat transfer vinyl. I used a electric blue color and I mirrored the image and cut it with my Silhouette CAMEO (make sure to put the shiny side down on the mat). You can get the design here:
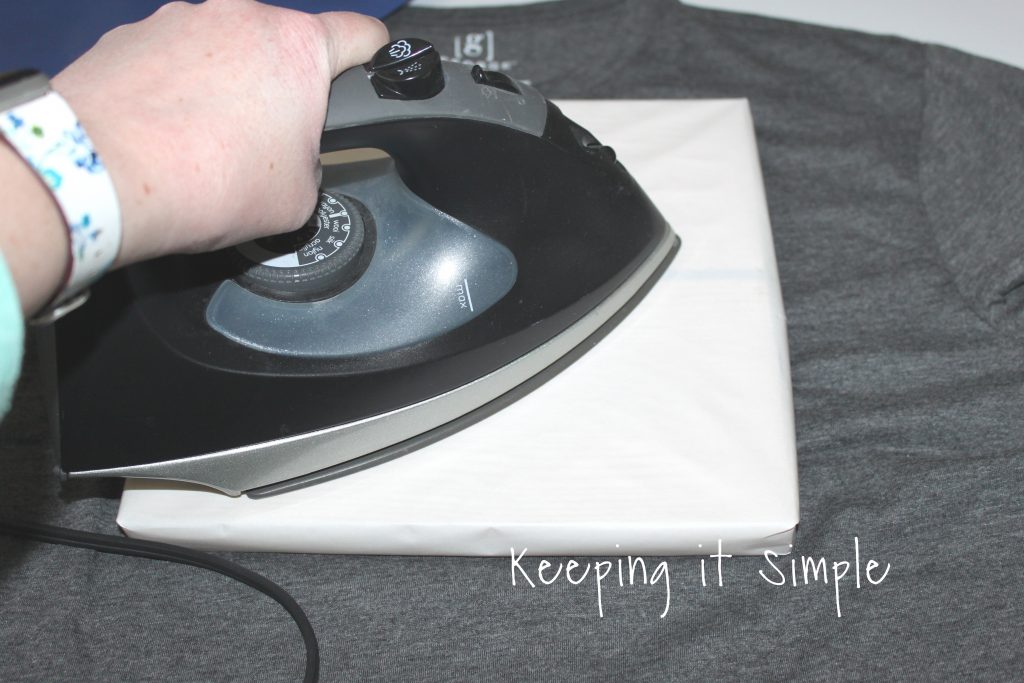
To help weed the heat transfer, I heated up a piece of wood that is wrapped with the multi use paper and then put the vinyl onto the board when it was warm. It’s just a little trick to help make weeding the vinyl easier :).
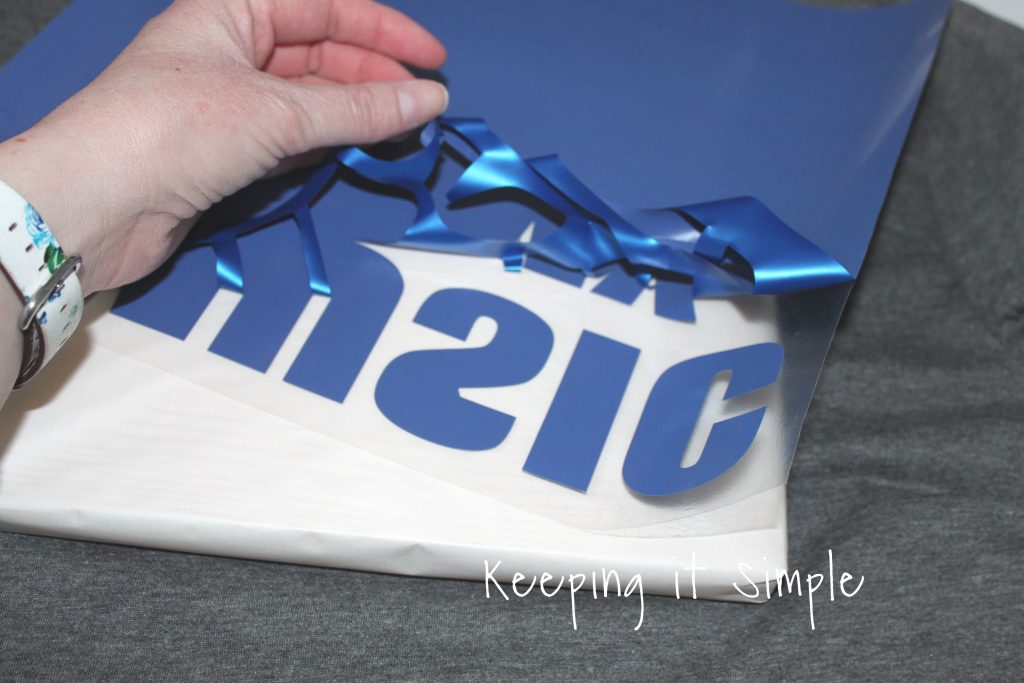
I then weeding the vinyl, the electric vinyl is so pretty!
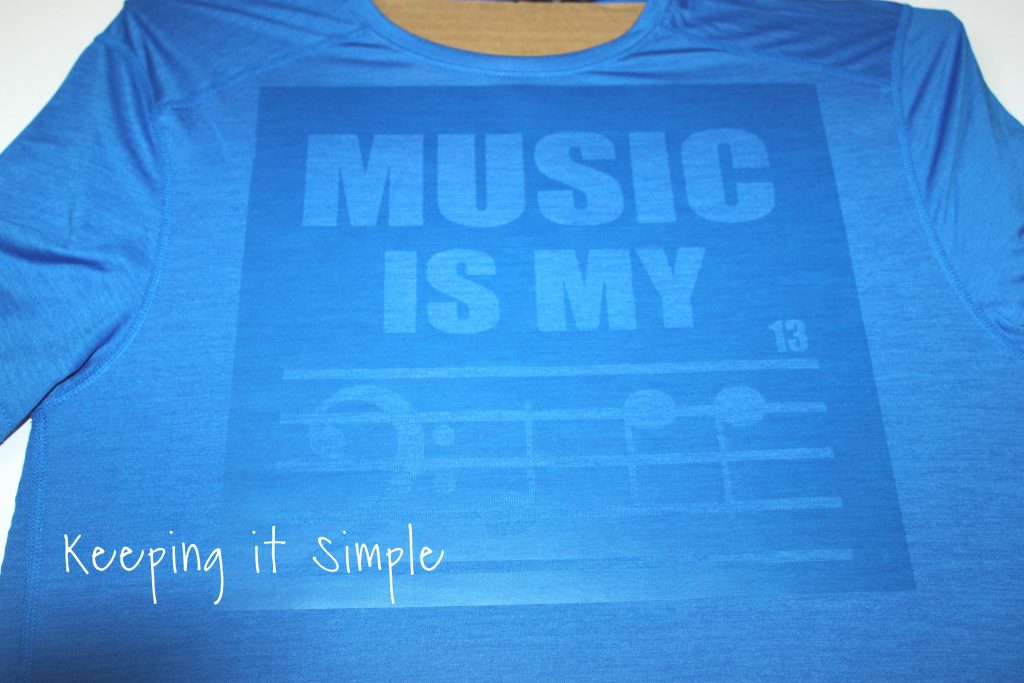
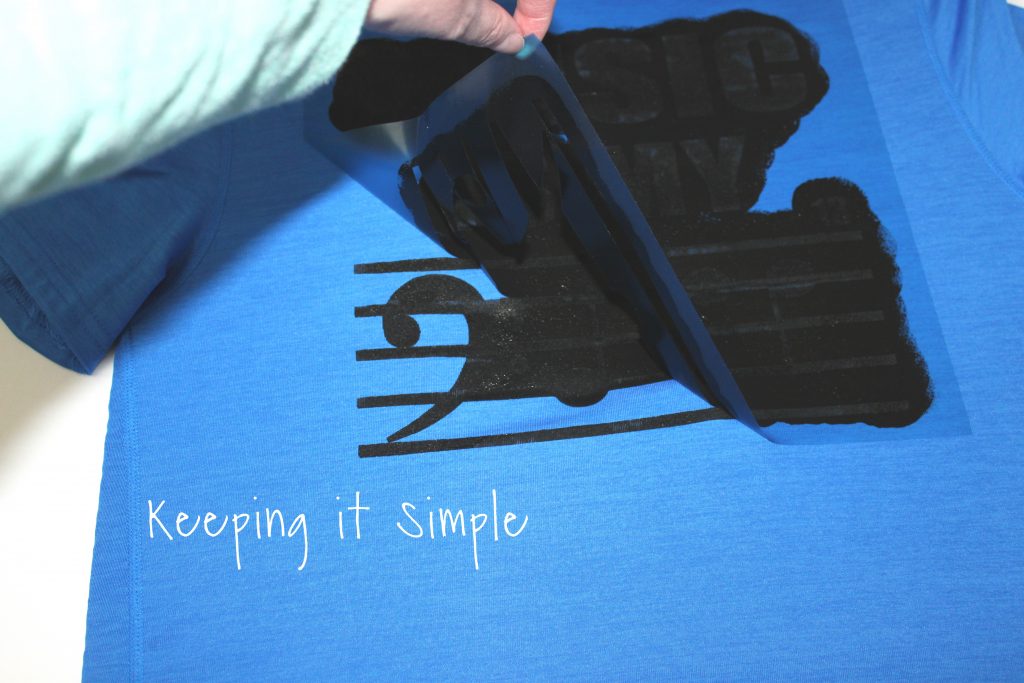
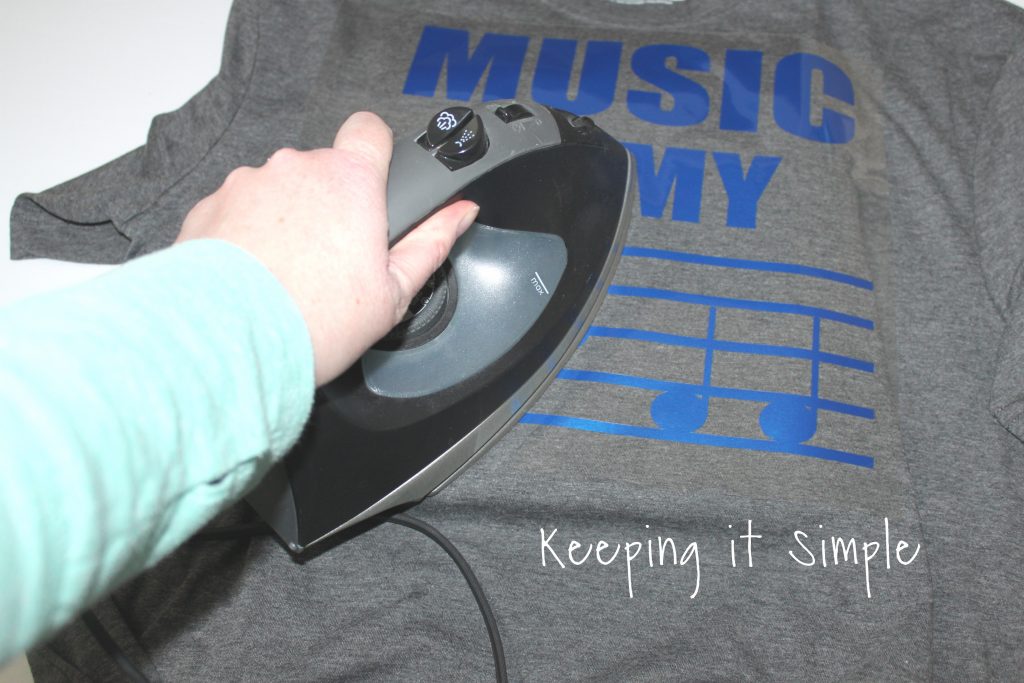
I then ironed the vinyl to onto the shirt (I had the shirt on the wood just to give it a nice hard surface to iron on, so I could put a little pressure onto the vinyl).
I then peeled off the plastic, leaving the design. I love it so much!
And that’s it! Aren’t they so much fun!!
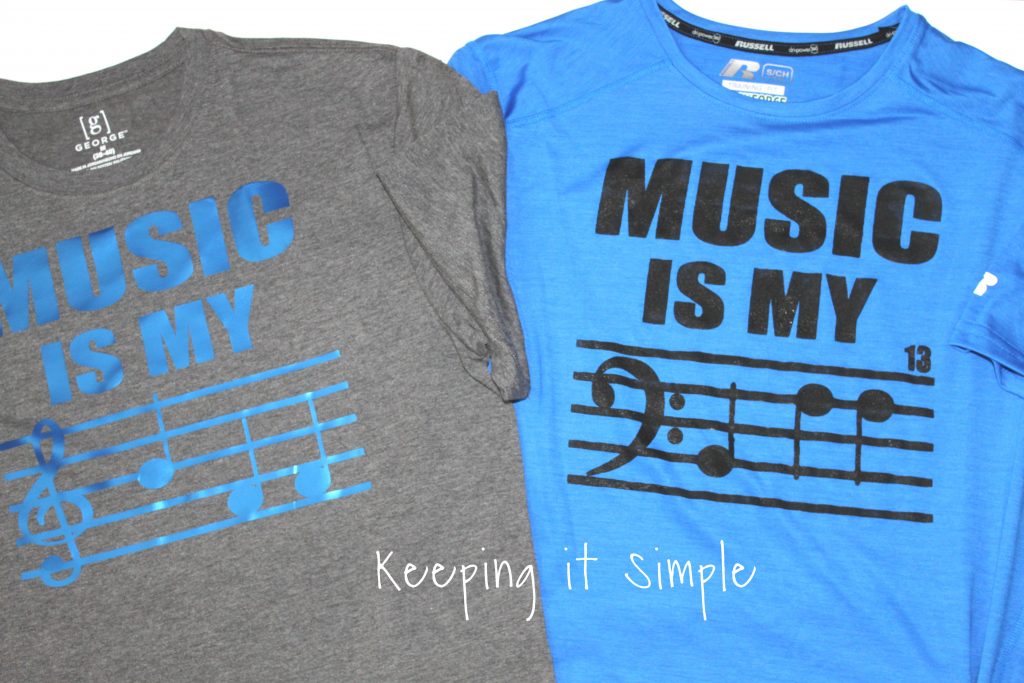
Here is my handsome boy modeling both of the bold font ones. He loved it and was so excited for his music shirt.
I decided to make up a two more designs with a more girly font. You can get them here:
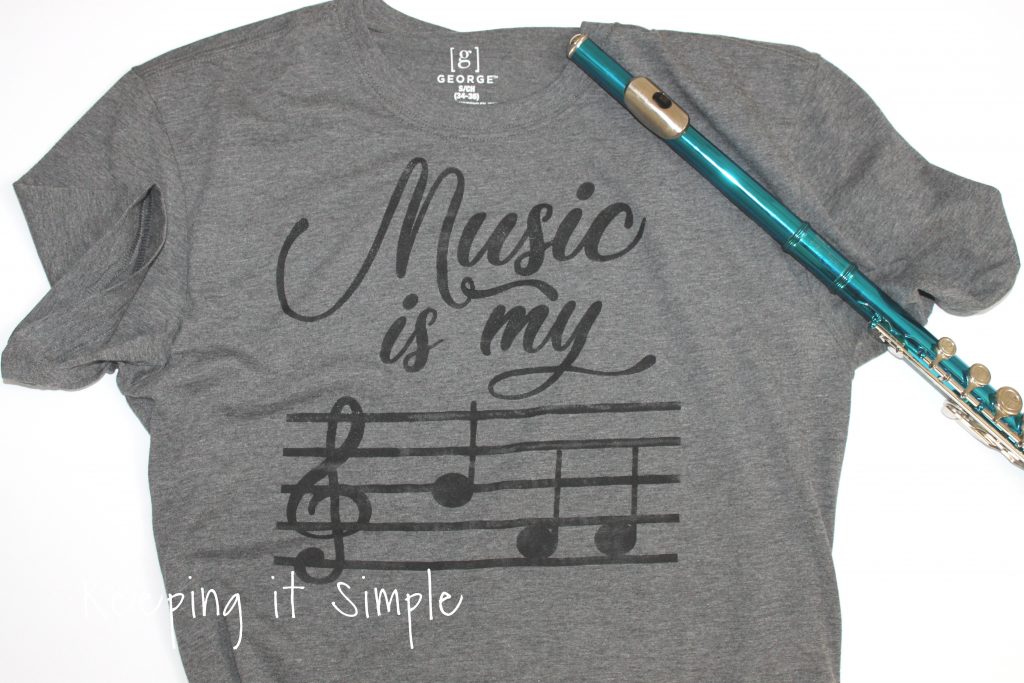
This one I did with paint and I love it! I think that I am keeping it for myself because I just love it!
Check out the other fun shirts that I have made.
This post contains affiliate links.
Leave a Reply
You must be logged in to post a comment.