
This post contains affiliate links.
A couple weeks back I found some old doors at a garage sale for a great price, so I decided to get them and make something with them. About three months ago we switched my daughter’s bed from a queen size to a twin size (the queen went to my oldest’s son room). She was pretty upset about it and I told her that I would make her a fun bed. I’ve been planning on doing something for awhile but never got to it. Then I found the doors, so I got to work. I LOVE how it turned it and it was pretty easy to make. Usually my husband and I do project together, 50/50. This one I took lead, I did most of the work: the design, the measuring and he helped me put it together. So I was really excited when it came out like I wanted it too :).

Here are the doors that I scored at the garage sale. Check out what I did with the other one here (for my son’s bed). I sanded the door and painted it white.

I made the arms of the bed out of 2x4s. I cut two pieces 38″ and the other 6 were 30″.
")
I put the piece that would be the top of the arm onto the ground and spaced them out evenly. The first piece of wood is turned differently than the others and it matched up perfectly with the edge of the bottom piece. Then all other ones are 3.5″ apart. Then we screwed them in using pocket screws.
")
Next we put on the bottom piece and for each piece used two screws. We also did that to the top piece too (just for added support).
")
And here is the arm all put together. I then sanded it really good and painted it white (I put on 4 coats).
")
Now time to put it together. We put some 2x4s onto the wall directly so the door has something to rest on. We cut those 18″ because that’s the height we wanted the door to land on the wall.
")
Next we screwed the door onto the arm. From the back of the door we put in 2-3 screws into the arm. We did that for both sides.
")
Then we put the door onto the 2x4s that were in the wall and then screwed the door onto the wall.
")
For added support, we added a L bracket to each arm to attach it to the door.
")
And that’s it!! It was actually a really simple project. The painting is what took the longest. If we didn’t have to paint, we could have done it in an evening, easily. And it was pretty inexpensive to make, only about $35. Her made is on a metal bed frame (I didn’t make it) and we just pushed it into the day bed.
")
I love how it looks and how her bedroom looks now.
")
")
I added some fun pillows to go with it :).
")
")
")
To see the rest of her room, check it out here– she has a really fun room!
Check out these DIY ideas:
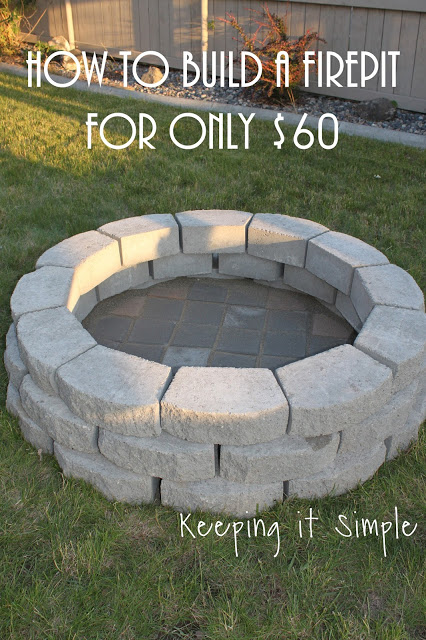
DIY Fire Pit
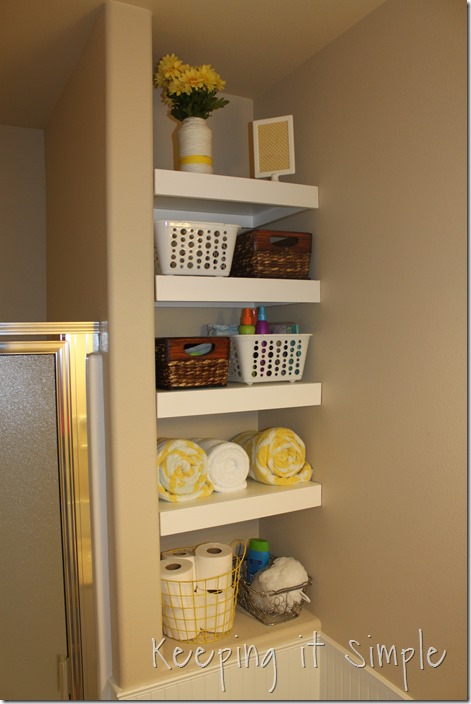
Storage Shelves
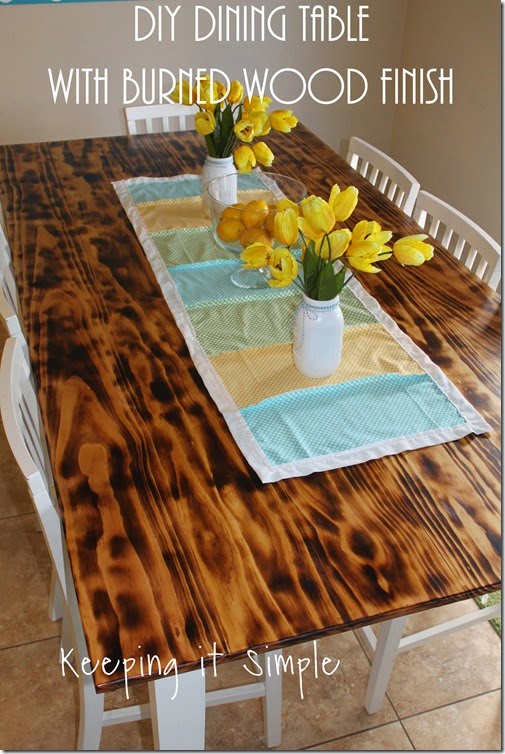
DIY Dining Table
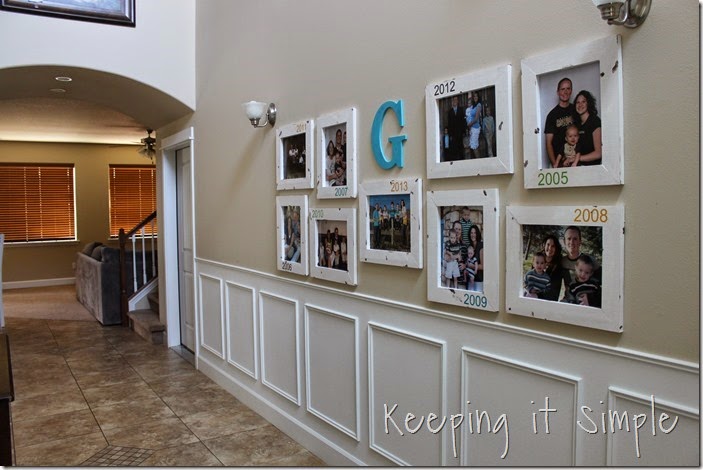
Family Photos Gallery
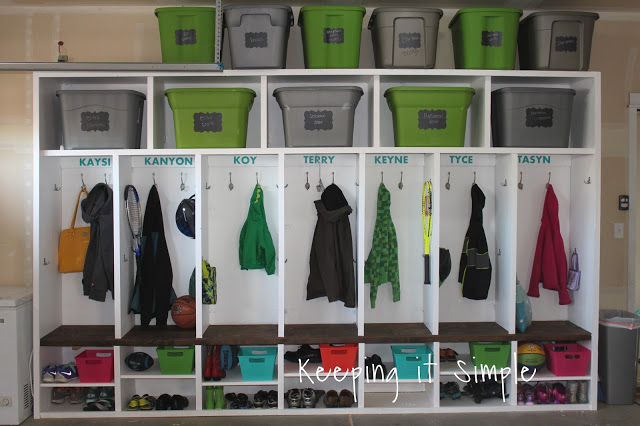
Garage Mudroom Lockers
DIY Fire Pit
Storage Shelves
DIY Dining Table
Family Photos Gallery
Garage Mudroom Lockers

This is such a beautiful project with a great outcome. However, I feel the instructions are just a little incomplete without explaining how you made the base for the mattress to set upon. I would really like to make this project myself and would need those instructions as well. Could you provide those for me? I would be forever so grateful.
@teresa
I didn't make the frame for the bed, we just had a metal twin bed frame that we used.
Ahhhh…that makes perfect sense. Thank you so much for the quick reply. I am definitely adding this to my DIY project list. Wishing you continued creative magic.