
Hi! I’m Stephanie from western Kansas. I’m a wife to an hard-working, somewhat romantic {don’t tell him I’m ruining his street cred} man and momma to my 3 year old little boy and I love to pull details together to make something beautiful. Kaysi and I met while we were both working with the teenagers in our church before they made the move to Utah and we bonded over crafting and the challenges of motherhood!
The 2012 Challenge: Do Something That Scares you EVERY Day
When Kaysi asked for Guest Bloggers, I realized that I would take out two birds with one stone.
1. Write a tutorial for a craft blog.
2. Master pleating – I’m in love with the end product, but the work to get there drives me batty!
Not just ironing, but Ironing WITH a ruler!

{Those Ghost Lines really help keep everything in line}.

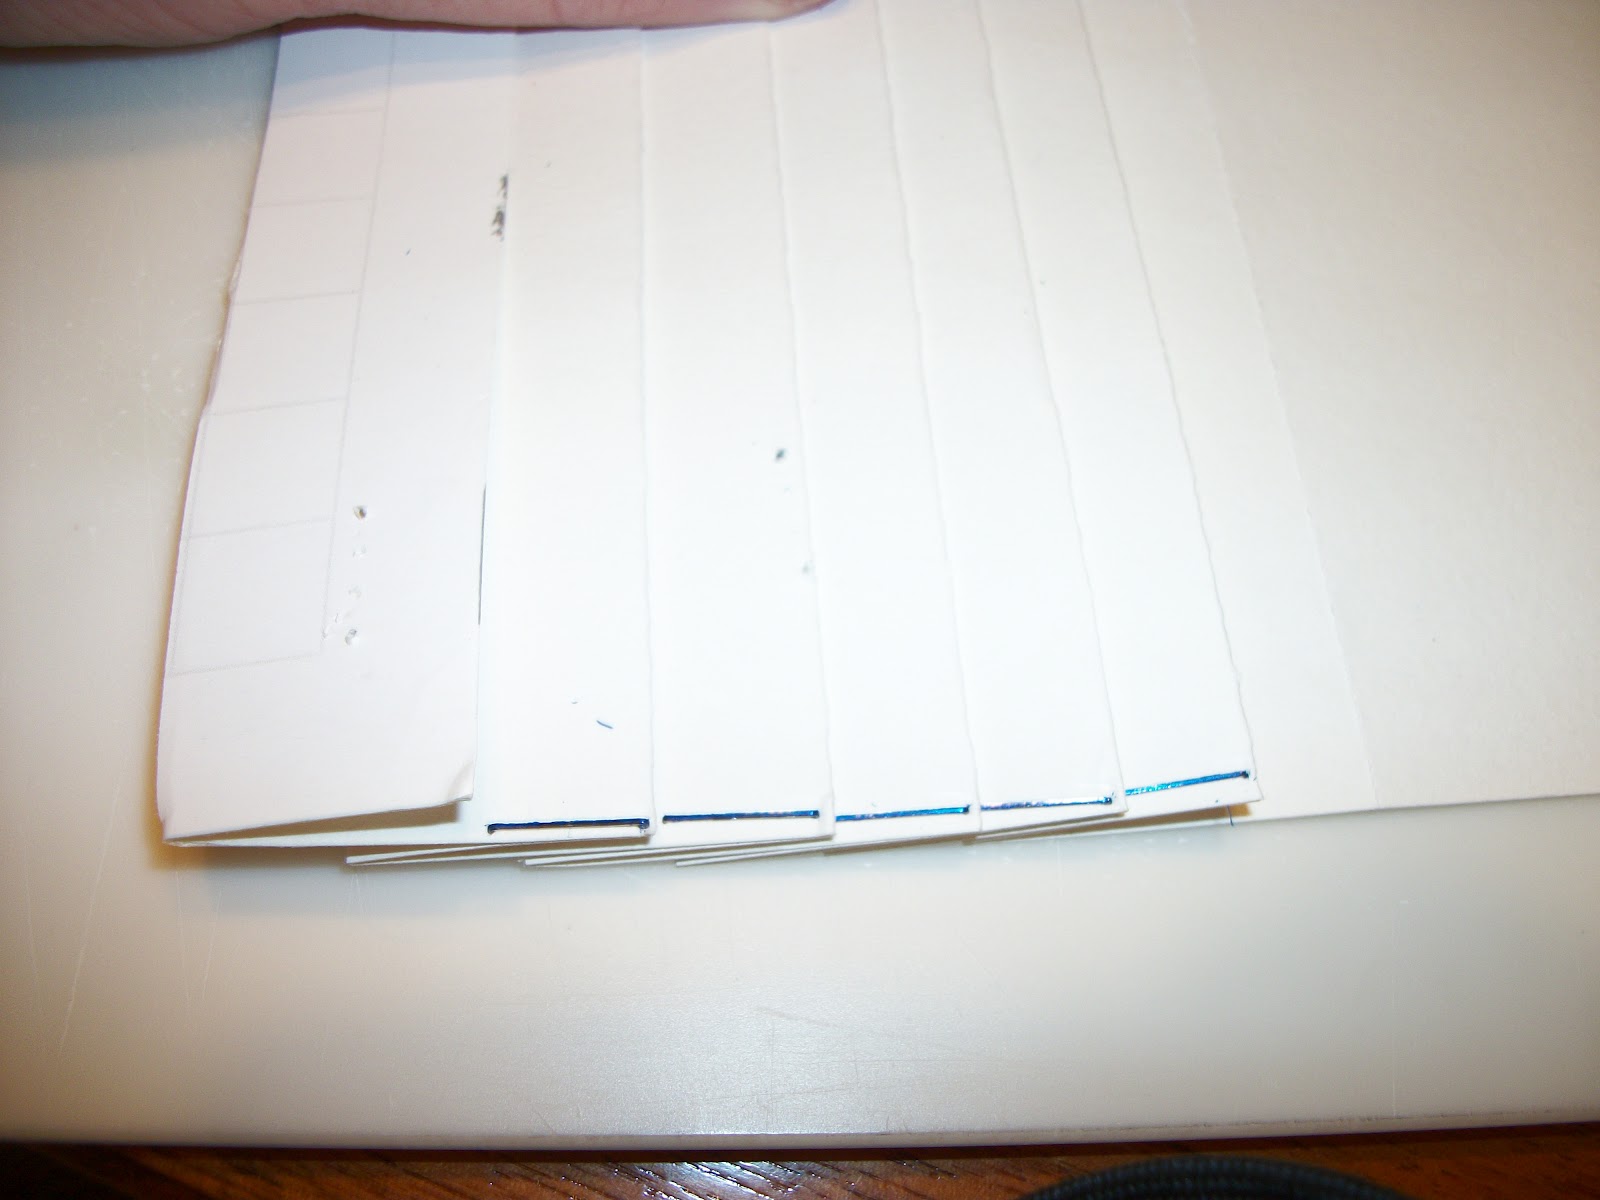
I marked off 1 inch then 1-1/2 inch intervals across the top and bottom of both pieces of poster board.
Using my Yard Stick, I lined up the top and bottom marks and scored each line with the Utility Knife.
Press hard enough that you’ll be able to bend the poster board, but you don’t want to cut it.


I stapled each pleat to the back on the ends, to keep them spaced evenly.
Then I stapled it to one of the other pieces of cardboard, so that it would maintain it’s shape.

Then, I covered all of the staples with tape.
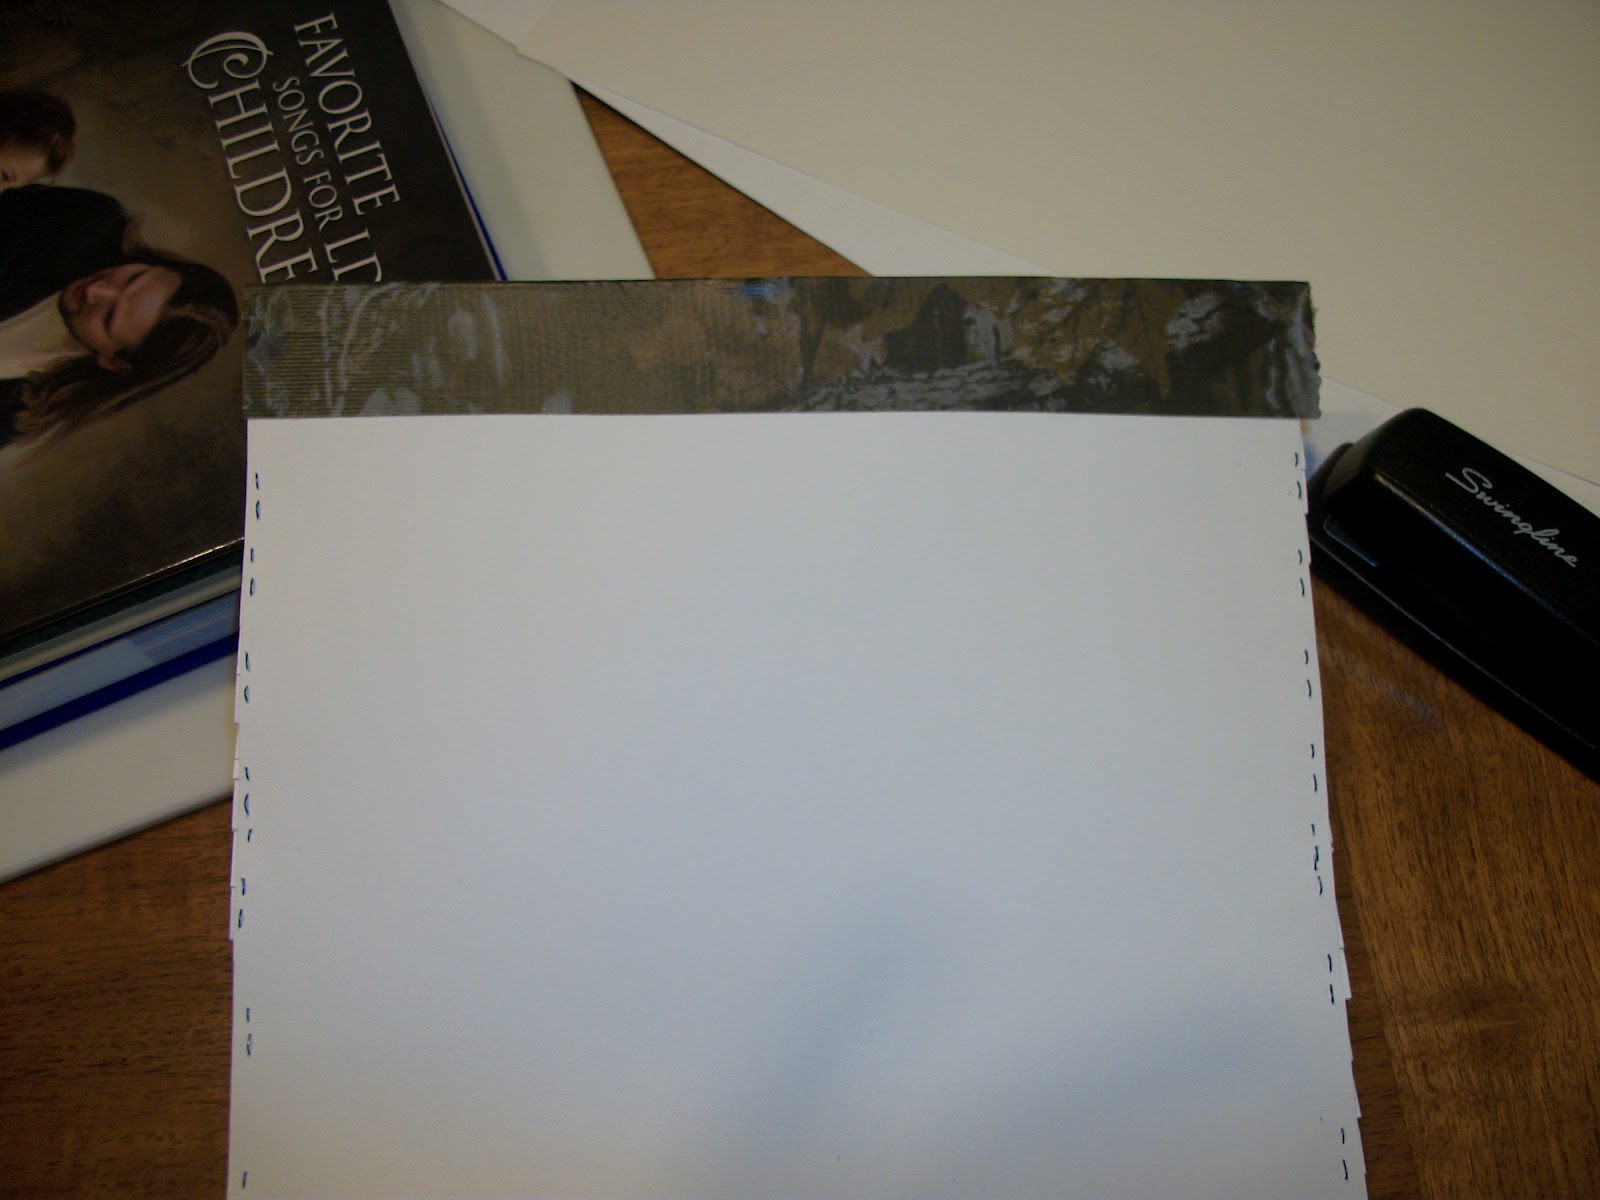
My 3 year old ran off with my clear tape, so I pulled out my Hubby’s Camo Duct Tape
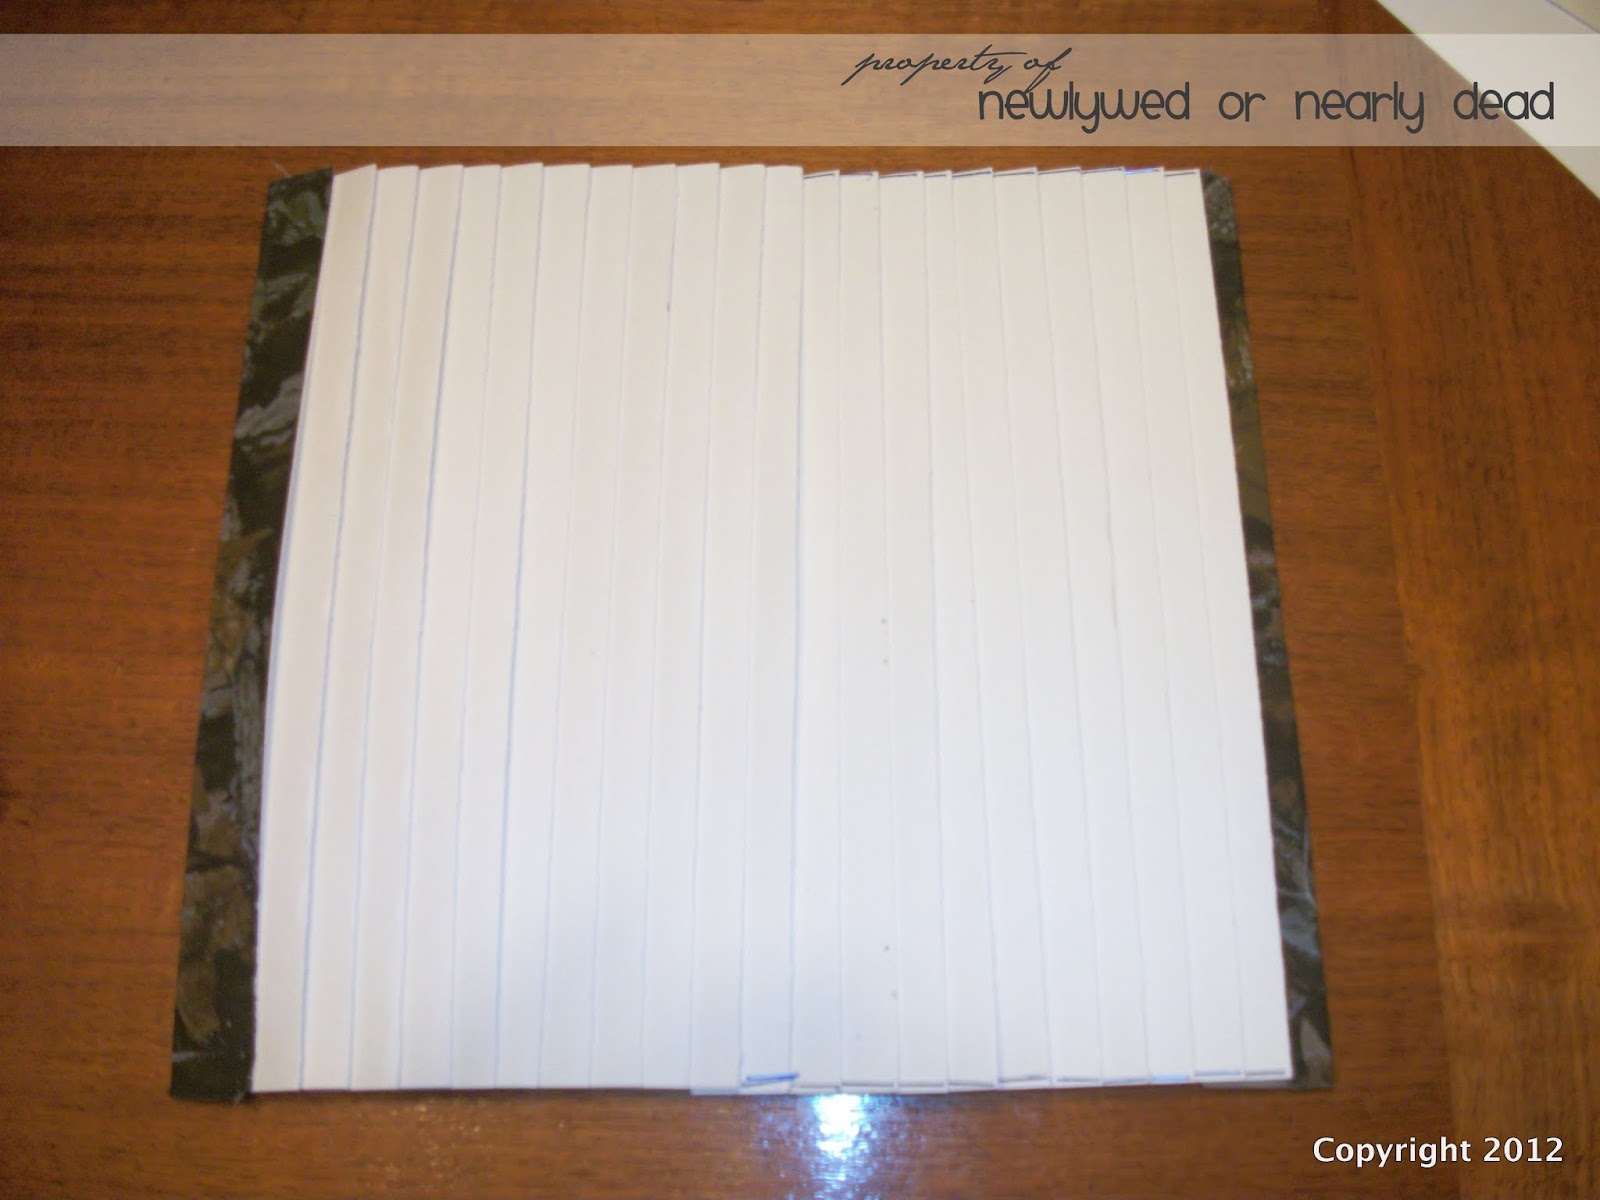
I did all of the edges, so that I didn’t snag myself or the material I was pleating.
Then I played with my new toy!


I also used spray starch to help hold the pleats.
I let it cool all of the way to set the pleats and then I slid the material off.
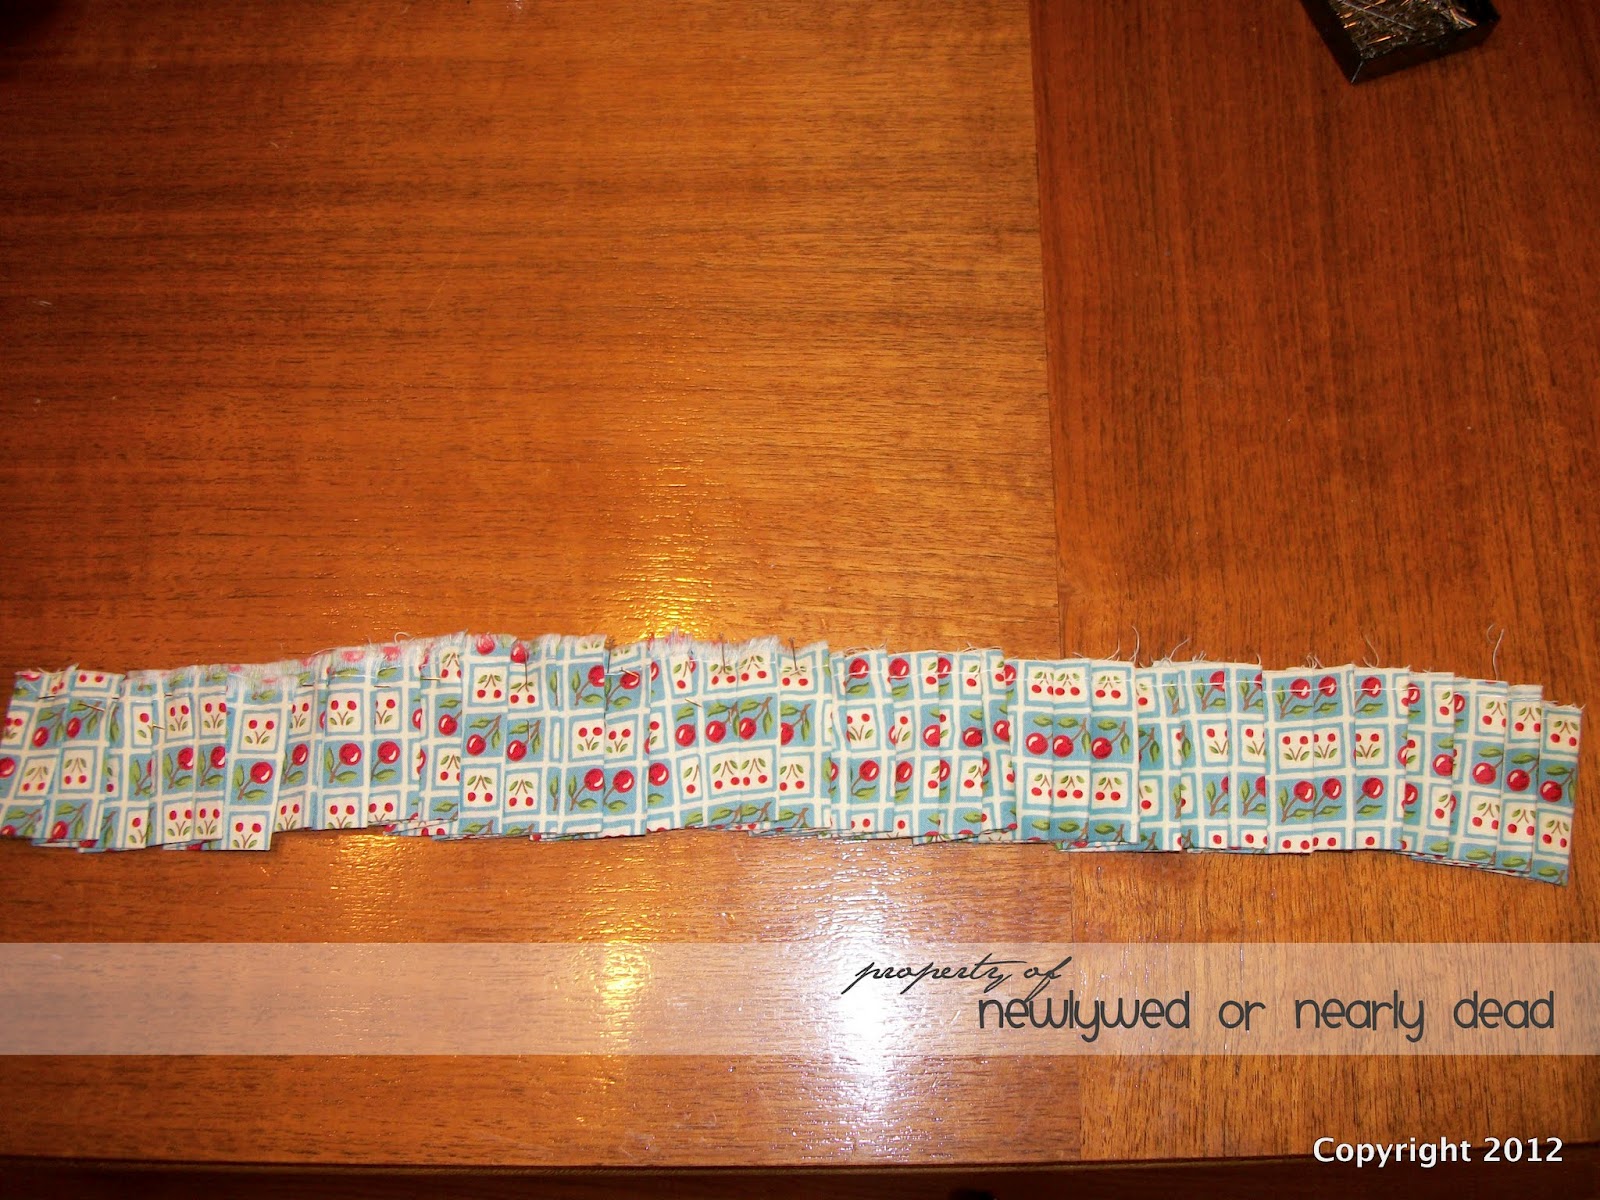
Now, unless you know a trick I don’t, you’re pleats aren’t going to stay perfect, but the ironing will have left the heavy creases you need to line them right back up.

My helper – he’s exploring the color green and using scissors like Momma.
Now, since I happened to have all of that nicely pleated material, I decided to redo an apron I had into one of those flirty, sassy ones from the 50’s. I already had a white basic apron from when my Hubby and I were able to go with our church youth group to Nauvoo, Illinois. I borrowed my Mom’s and used it for inspiration.
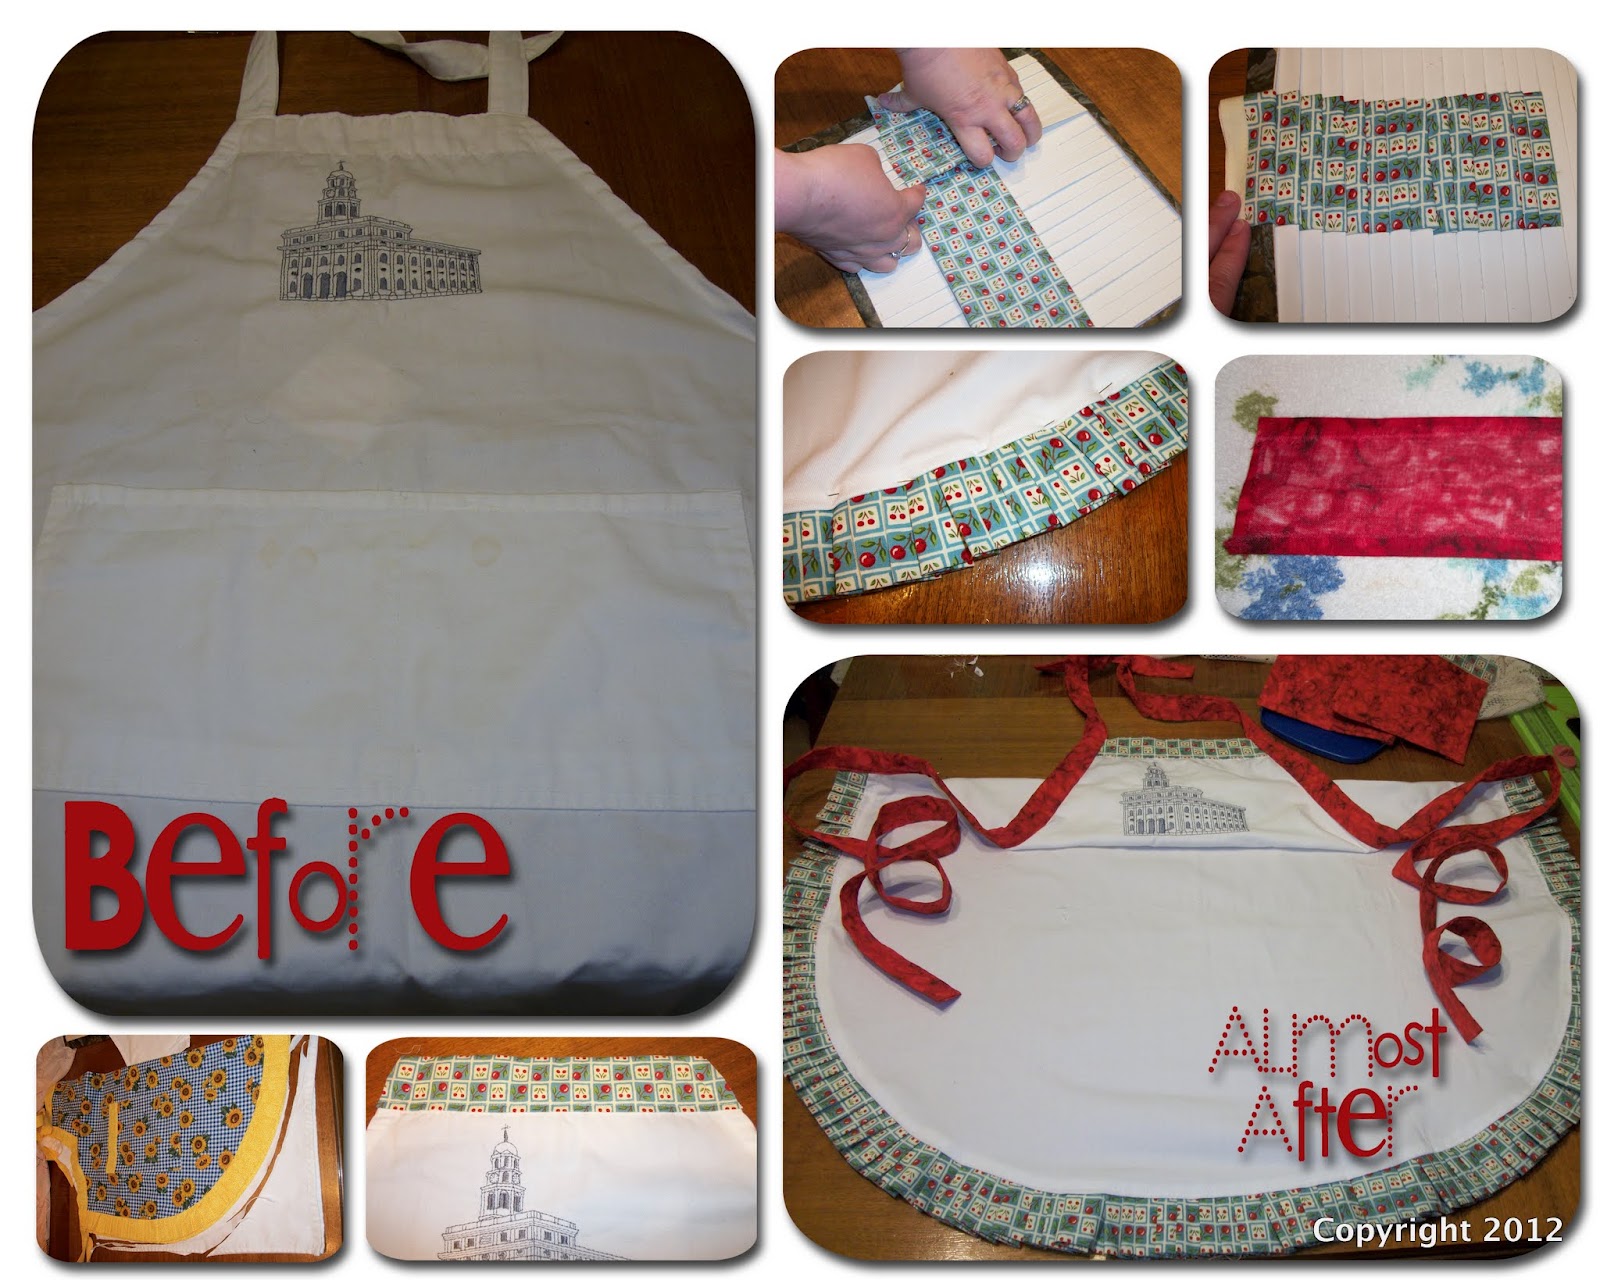
I was almost done when somehow the tension on my sewing machine went crazy, so I still have to add the coordinating pockets, but I think it turned out pretty cute!
I hope this tutorial is helpful. If you have any questions, please leave them in the comments or you can email me at newlywed at wbsnet dot org.
Thanks so much Stephanie!!! That pleat board is AWESOME!!! What a great idea, I’m going to have to try it out!!

What a great idea, Steph! I'll definitely be using this. And I love your blog, Kaysi! So glad I found it. There are definitely some projects going on my to-make list. I think I'll start with that cute T-shirt scarf. CUTE and EASY! Thanks!