• Skip to primary navigation
  • Skip to main content

Keeping it Simple

creating simple crafts, DIY, recipes and more

  • About Me
  • Advertise
  • Buttons
  • Contact Me
  • Keeping it Simple Designs
  • Privacy Policy
  • Tutorials
  • Home Decor & DIY
  • Recipes
  • Holiday Crafts
  • Gaming & Geek Crafts
  • Printables
  • Kids Crafts
  • Sewing
  • Vinyl Crafts

Guest Post: Tie Shirt Refashion

August 22, 2012 by Kaysi 23 Comments

Hi there!  I’m Becky. I’m a mom to a beautiful 2 1/2 year old boy, wife, crafter and teacher. I am a naptime/bedtime crafter. Most things I do don’t take longer than an hour or two. That is why Kaysi’s blog appeals to me. I would consider myself a micro blogger. I blog my crafts here and my daily life here. I also have a small Etsy store where I sell some of my creations. 

I find myself purchasing many v-neck tees and sometimes I like to spice them up. I found this cute idea for a tie necklace on Pinterest and decided that instead of a necklace, I would attach it permanently to the shirt. I knew going into this that this shirt would be a forever hand wash item because of the delicacy of the tie, but it was worth it.  I made this shirt for myself and decided this time around to make one for my friend, Jamie.
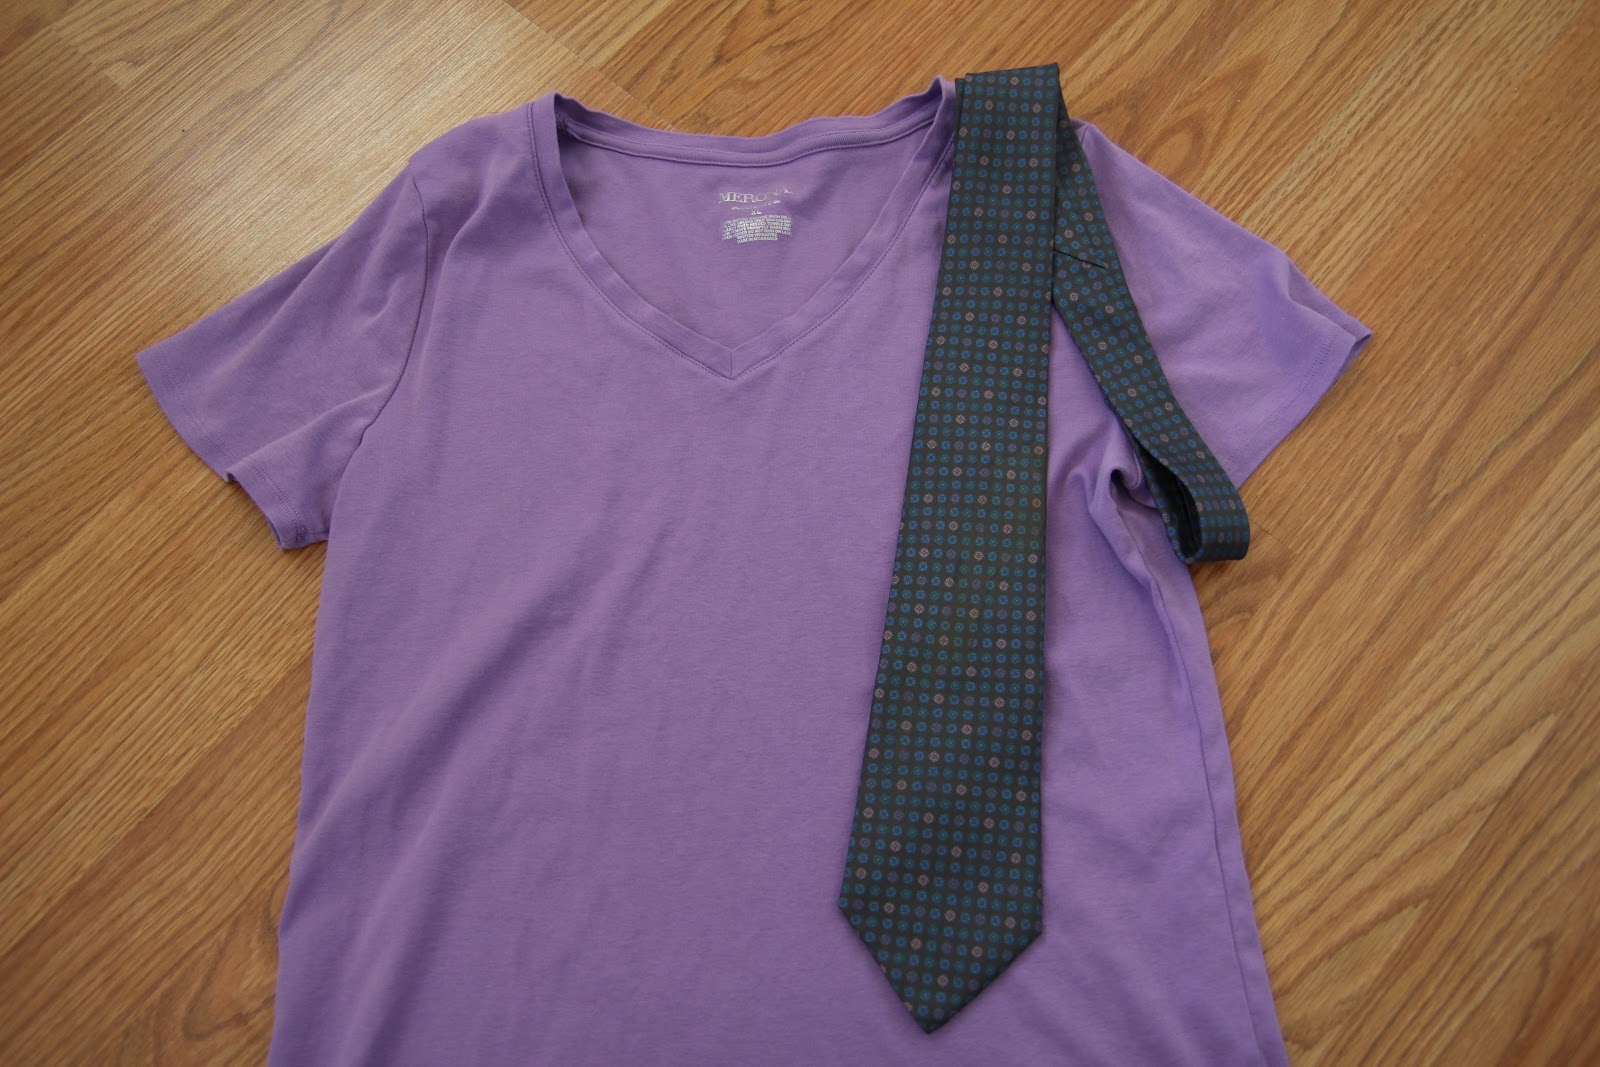
First, I went to Goodwill and found a tie that coordinates with the shirt Jamie gave me.

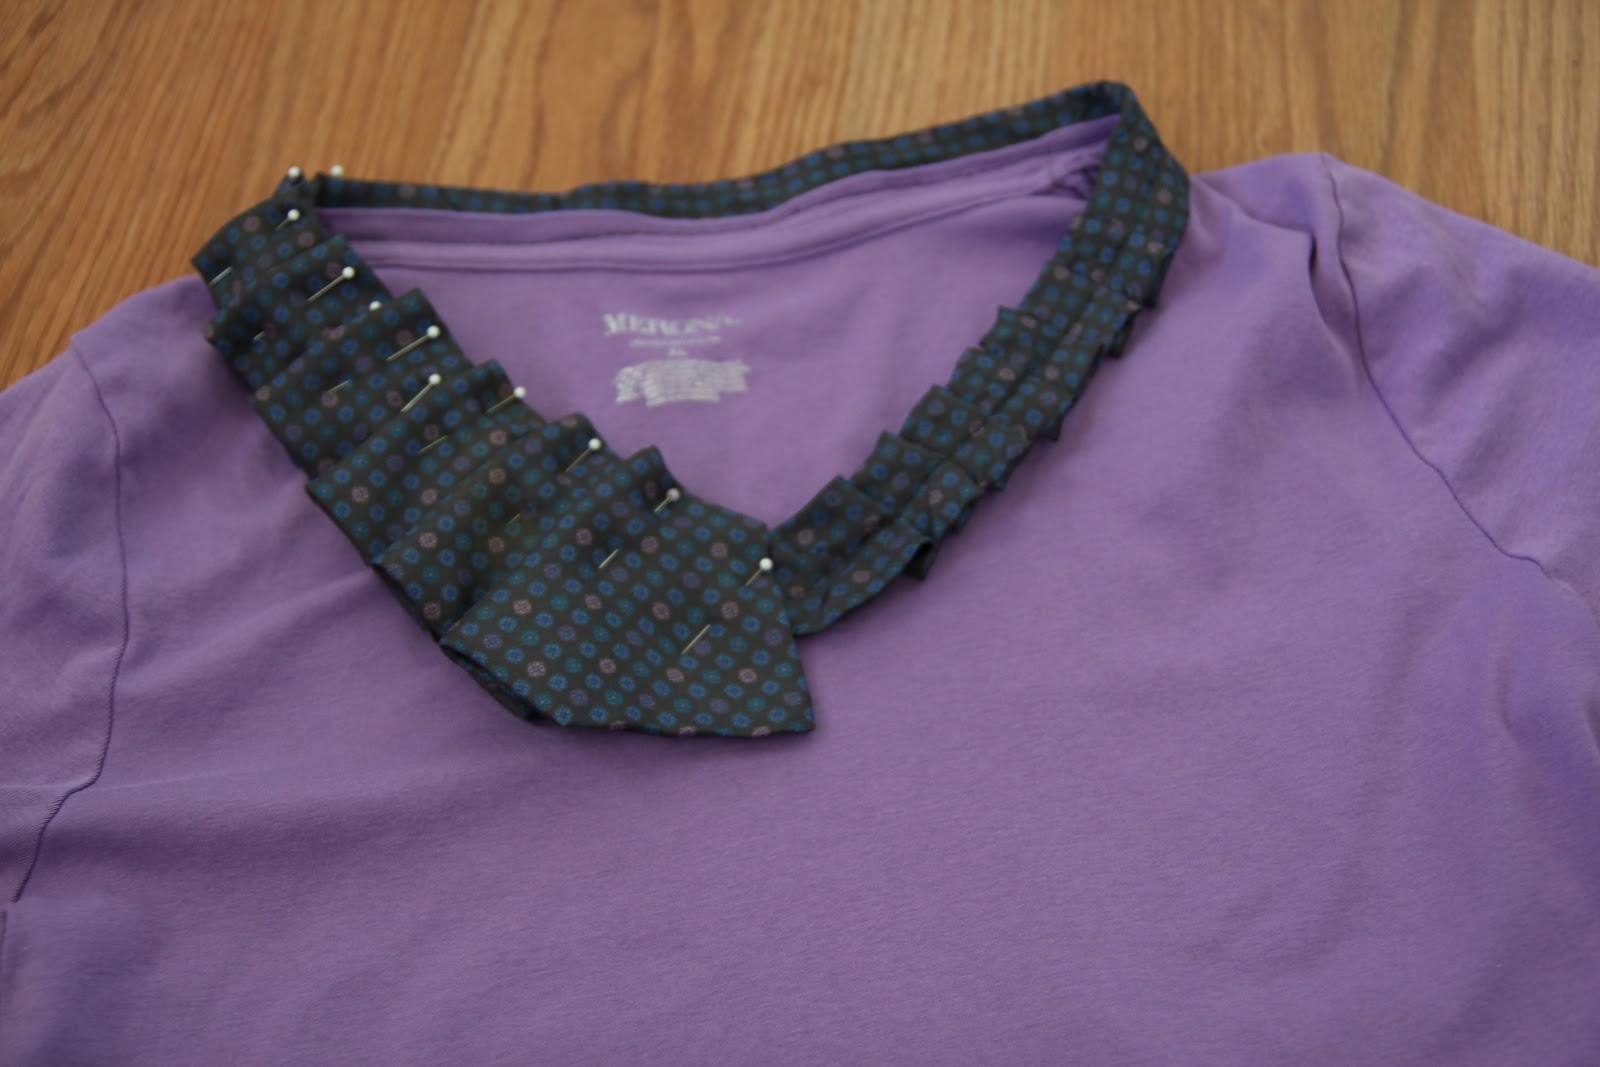
Next, I started pleating and pinning the tie. I didn’t measure or use math, I just did what looked good. 

I continued to do this until the pleating reached the shoulder seam of my shirt.

  I left enough tie to extend flat along the back of the neckline and then started pleating again in the opposite direction I was before so the folds pointed up toward the shoulder from both sides of the collar.

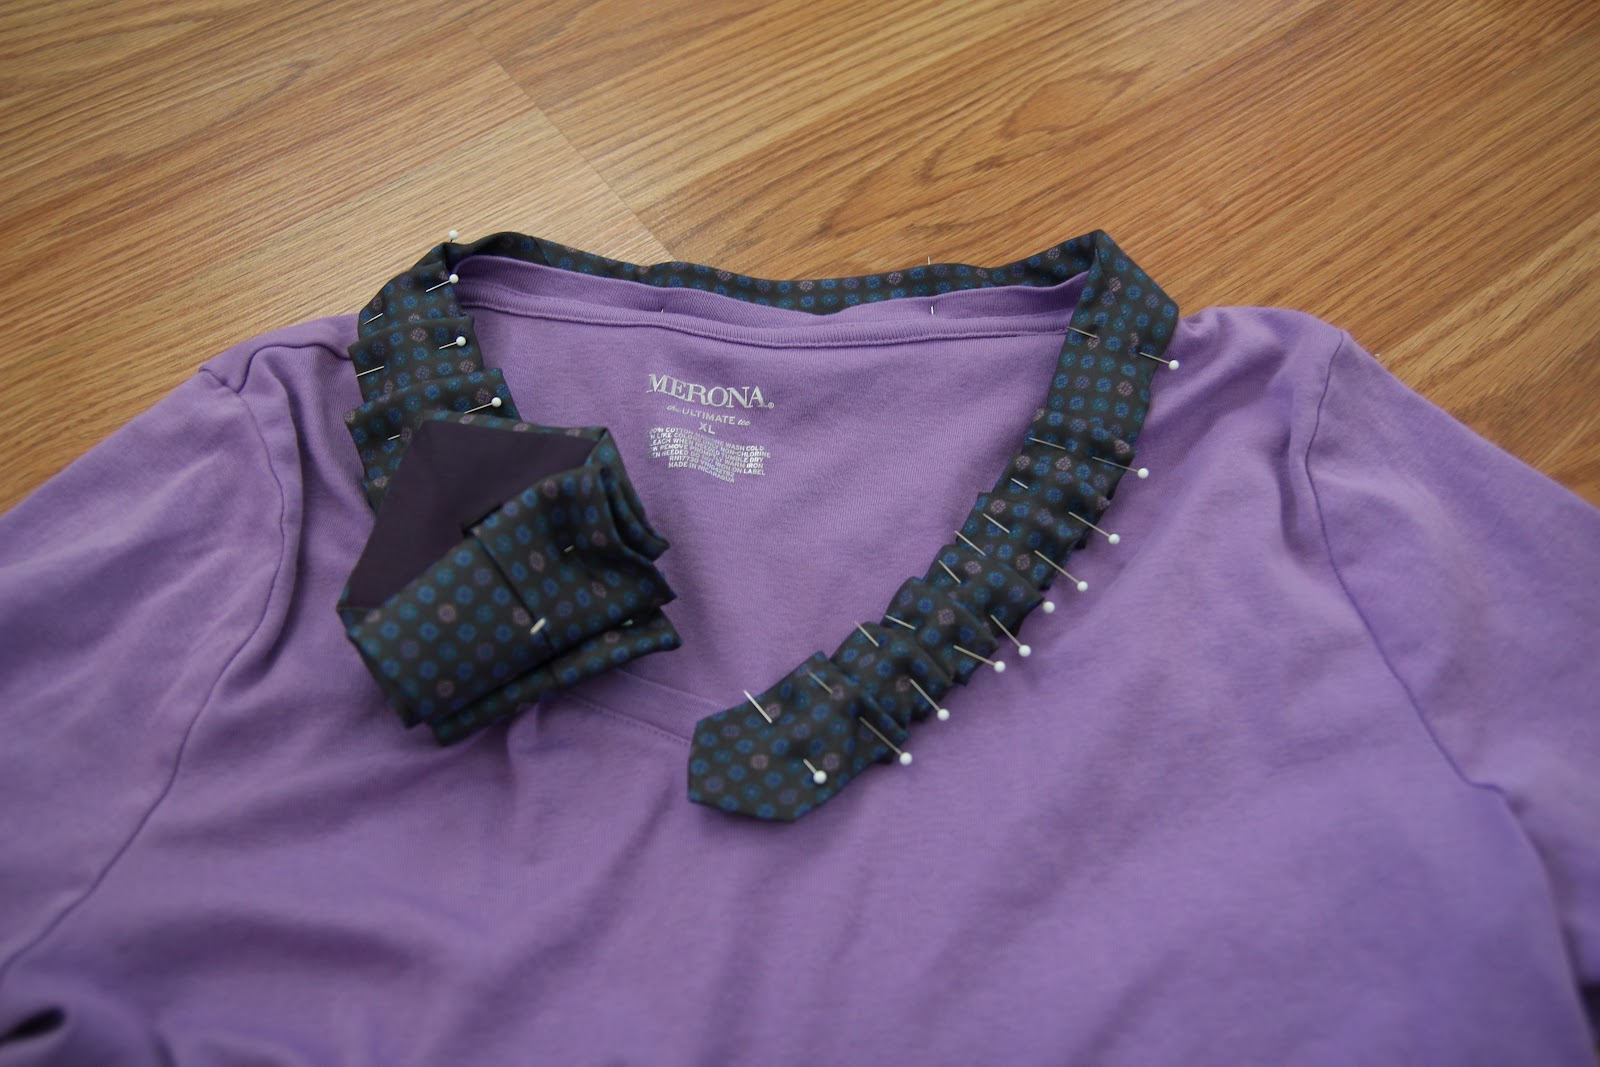
Once I got to the end, I had to do a little readjusting to make the tie end up where I wanted to. Like I said, I didn’t use math or measure, so I just did a little unpinning and repinning until it looked how I wanted it to. I pinned the pleated tie to the collar of the shirt, leaving the wide end of the tie unpinned so I could overlap at the end.
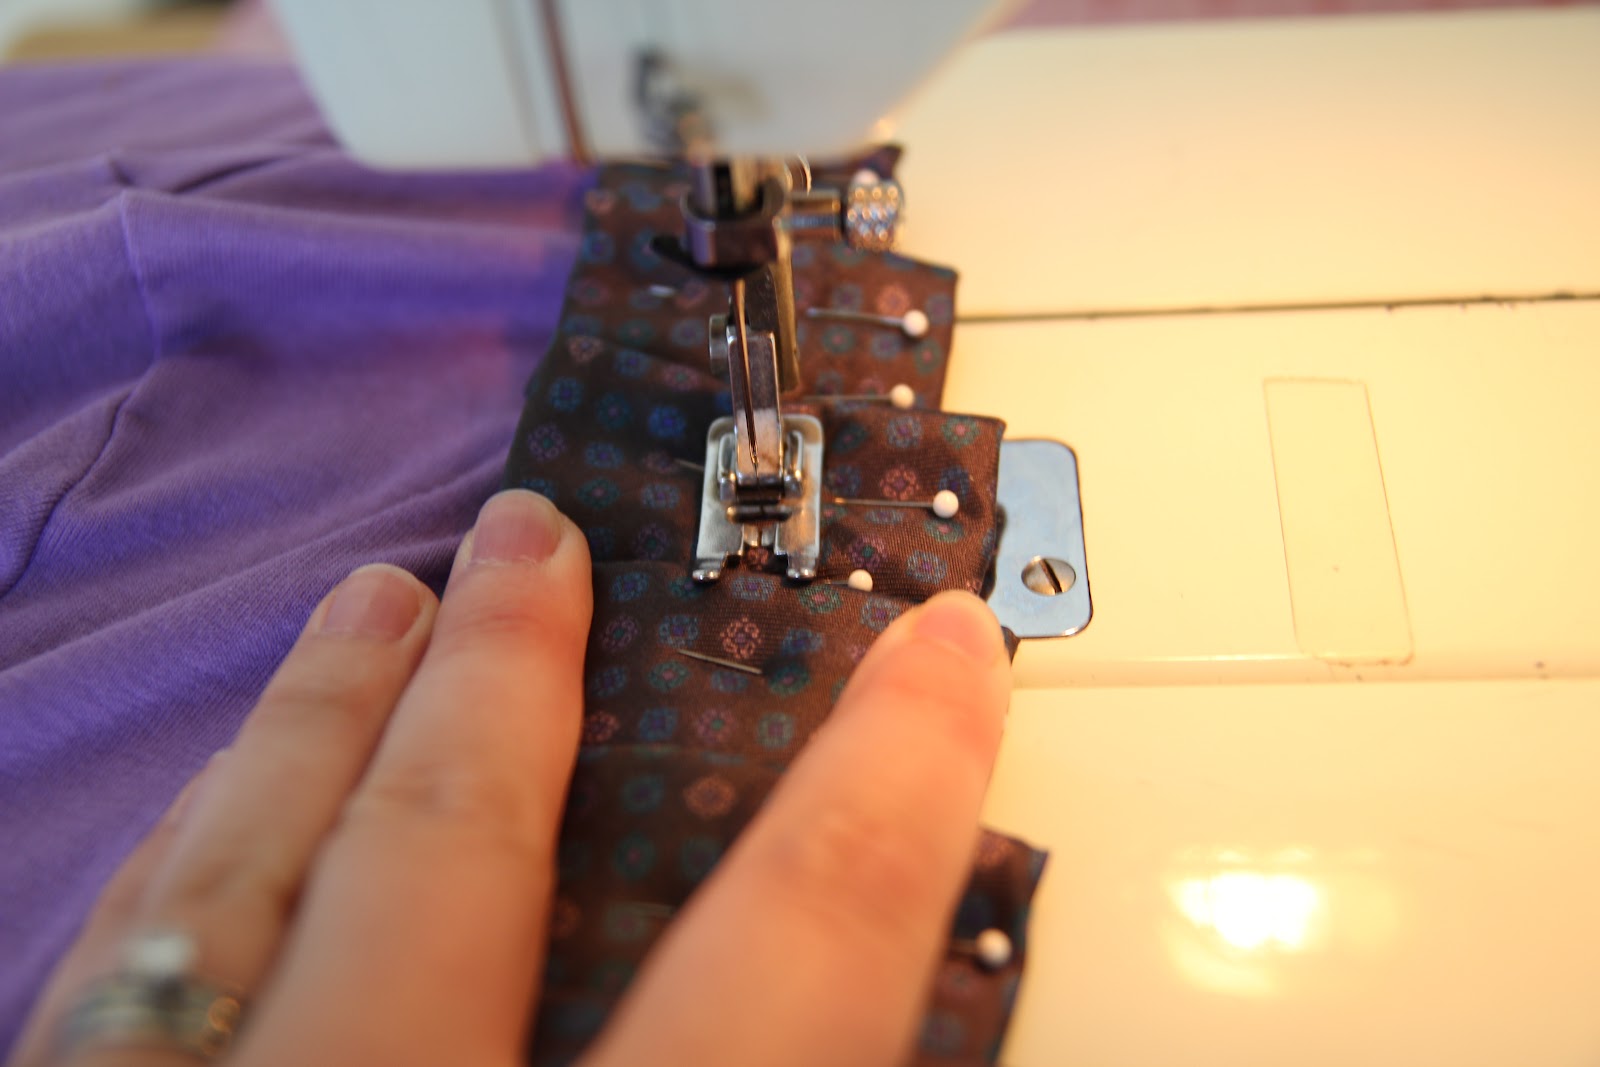
 I began sewing the tie from the end working to keep the stitch centered.
 
I sewed around the back of the shirt and stopped when I hit the second shoulder seam where I would be going back down the front of the shirt. 
 I look it off the machine and pinned the end of the tie down.
Then I began sewing again. This part requires a little patience to make sure the pleats go under the presser foot on your machine and don’t bunch up. I had to do a bit of holding them firm and lifting the presser foot to make sure they would go under neatly. 

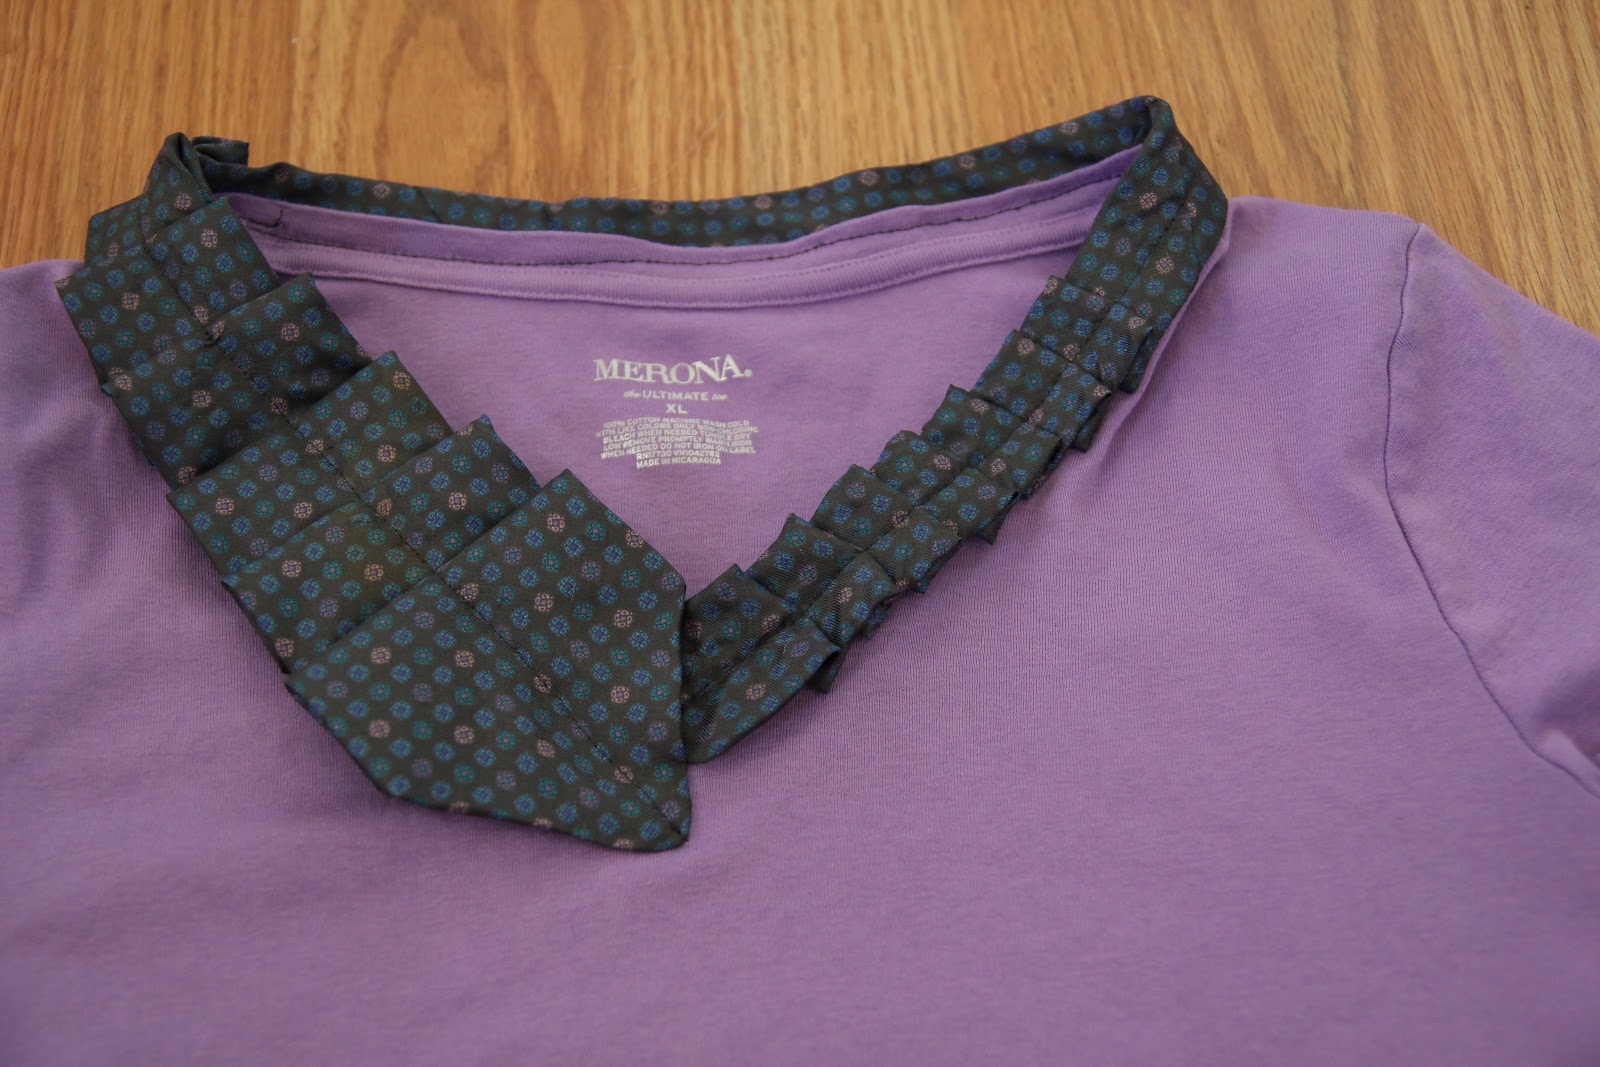
 I sewed to the end making sure it overlapped, then I was done!
The whole project took me about 30 minutes.

Here’s Jamie in her CUTE shirt!

Filed Under: guest post, Uncategorized

Previous Post: « Guest post: Julie K
Next Post: Guest Post: Tie Shirt Refashion »

Reader Interactions

Comments

  1. twelve-O-eight

    August 22, 2012 at 9:44 pm

    That is a really creative idea, I love how comfy tshirts are but sometimes it's fun to do something snazzy with them. Thank you for sharing 🙂

    xoxo, Tanya
    http://twelveoeight.blogspot.com/

    Log in to Reply

Leave a Reply Cancel reply

You must be logged in to post a comment.

This site uses Akismet to reduce spam. Learn how your comment data is processed.

Copyright © 2026 · Foodie Pro & The Genesis Framework