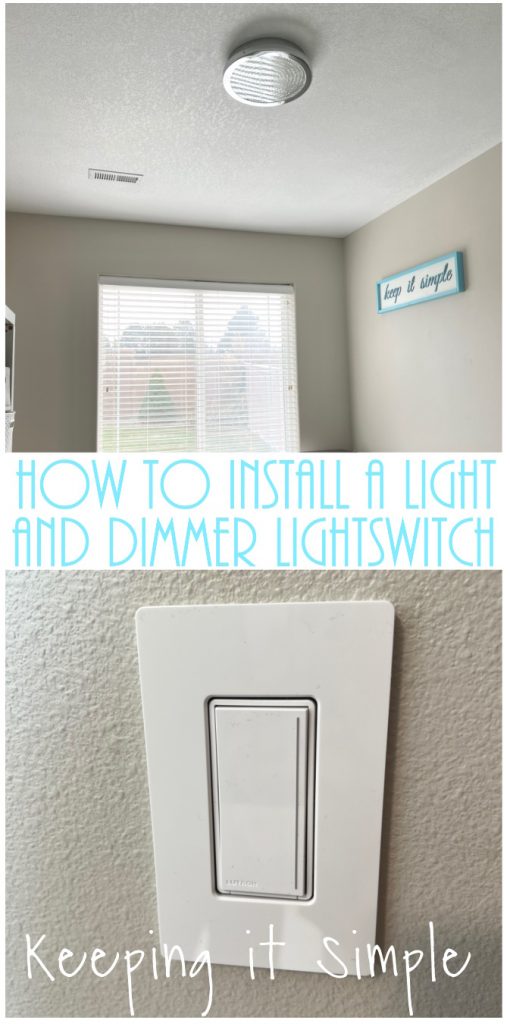
How to Install a Dimmable Light with Dimmer Light Switch
One of my favorite ways to update my house is changing out the lighting. It’s such an easy way to update a room without having to do a lot and spending a lot of money. You can really brighten up a room (literally) with a new light. We have been updating our lights and adding new LED dimmable light fixtures. It is so nice to have LED because we don’t have to worry about switching out light bulbs and we can dim the lights. They are nice and bright and so pretty! Changing out light fixtures is seriously super easy to do and only takes about 15 minutes to do. And if you want to make it even cooler, you can add a dimmer light switch and make it so you can easily dim the light with a touch of a button!
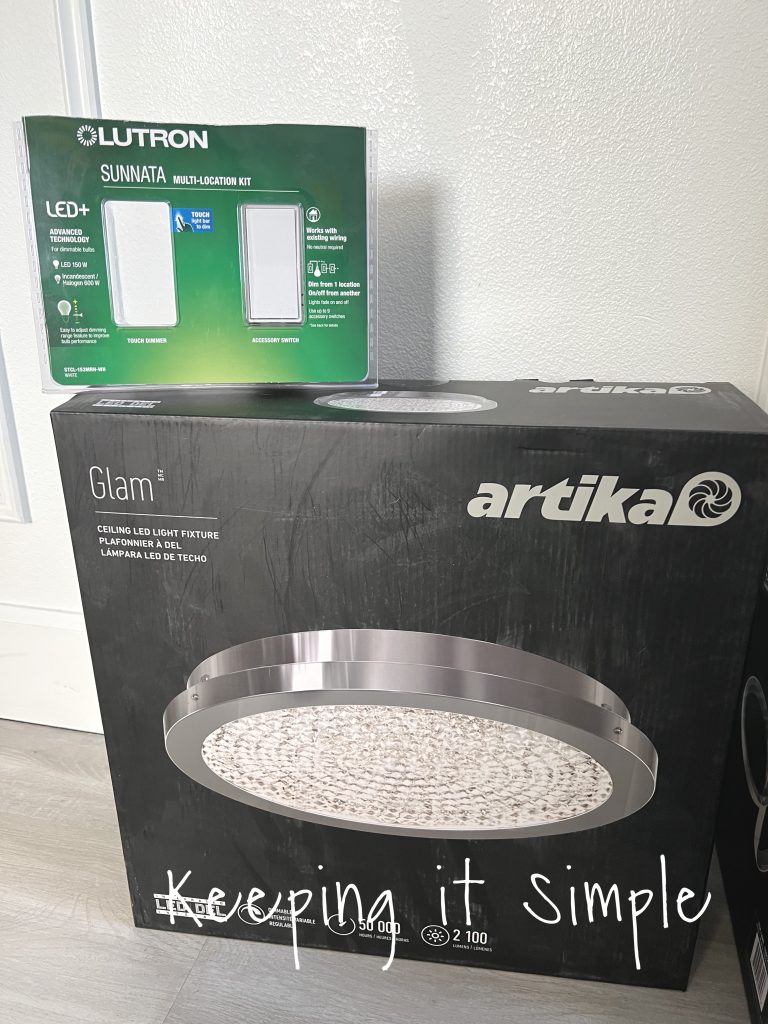
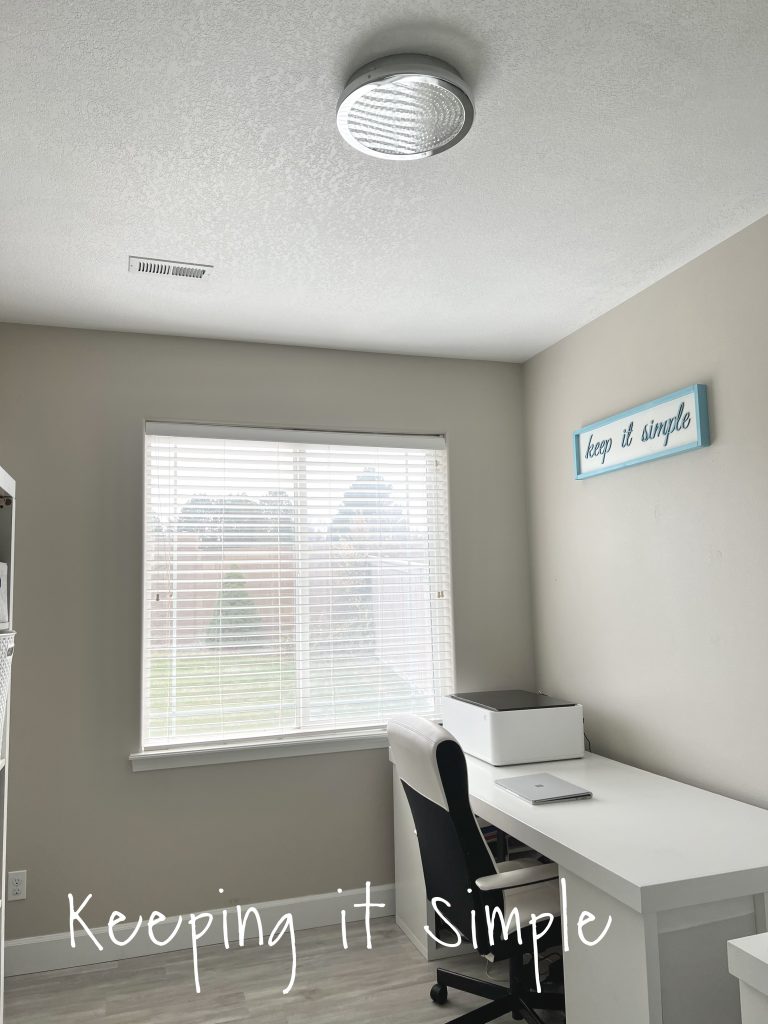
Here is the cool new LED light fixture I got for my craft room. We live in the PNW and it’s super dark in the winter time, so I picked a light that was bright. This one has 2100 lumens and I love it! Then I got a dimmer light switch so that I can dim the light when I don’t need all 2100 lumens :).
This is how we installed the LED dimmable light fixture.
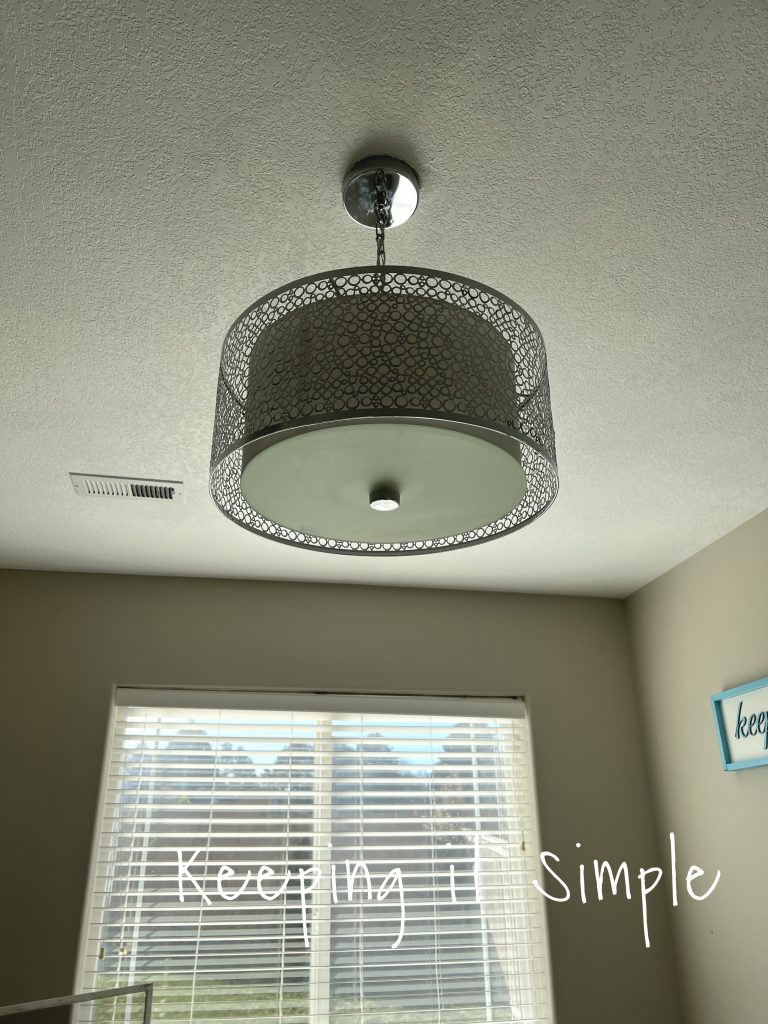
Here is the old light. We actually adding this one to my craft room. I loved it but it wasn’t quite bit enough for the room.
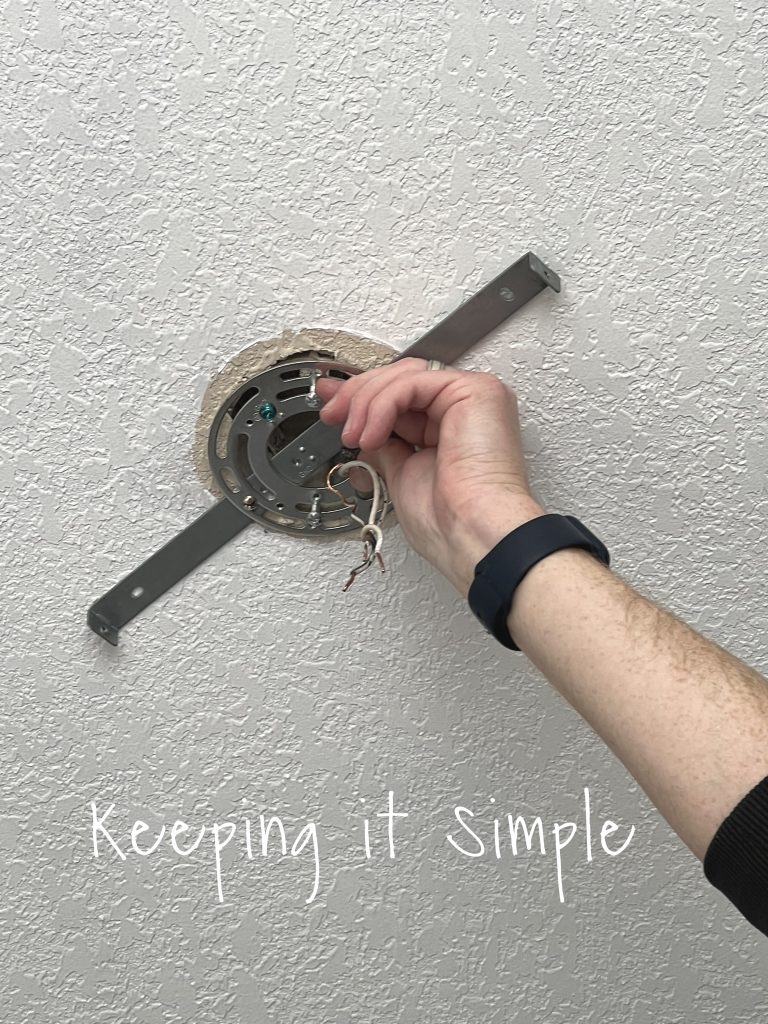
***The first thing you do is turn off the power to the room.*** Next we removed the old light. We unscrewed it from the base plate and then unscrewed all the wires, leaving the ones attached to the ceiling.
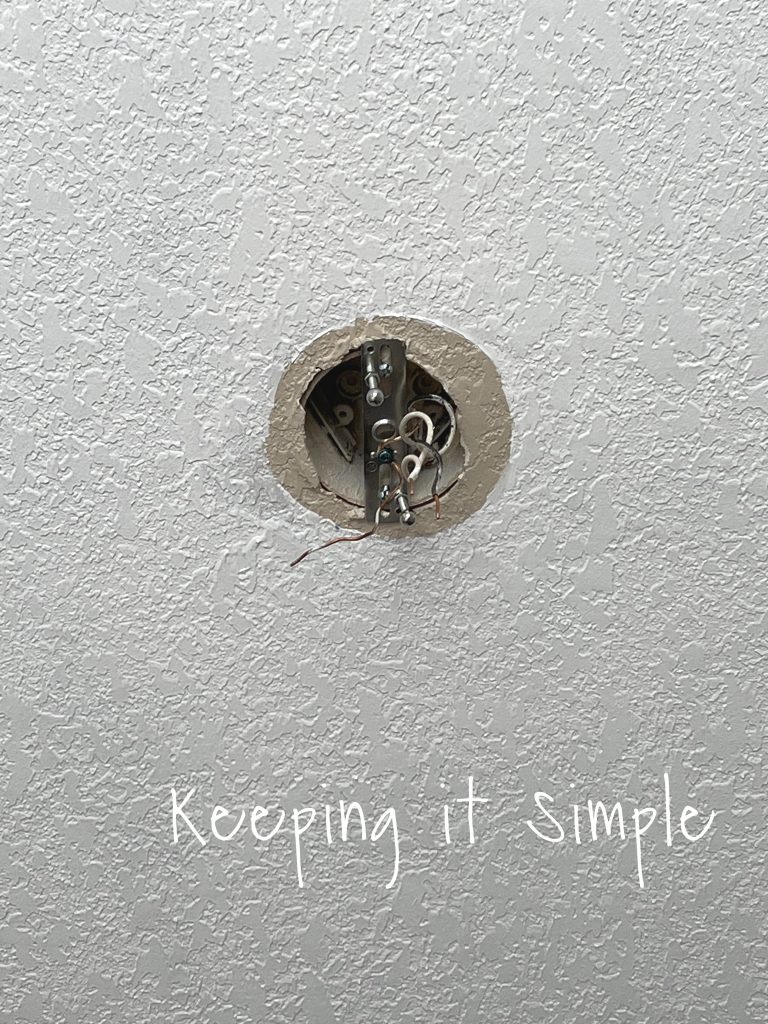
Next we put in the new base plate onto the ceiling and screwed it into place.
Next we put the hook onto the base plate to secured the light fixture so you can connecting the wires. The first wire that we attached was the ground wire. Sometimes the ground wire is a different color, like green, and sometimes it is just cooper. It was just cooper with this light fixture. We connected the ground wires and capped them off. With the ground wires, you have to wrap it around a screw on the base plate and screw it into the plate.
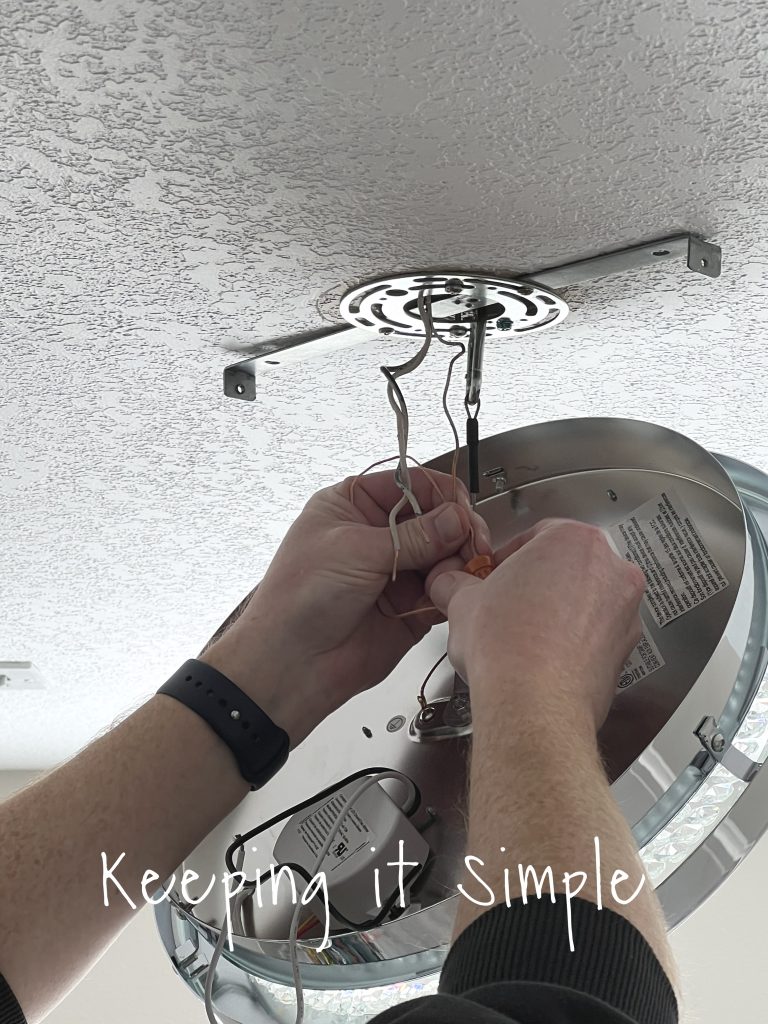
The next step we connected the other two wires from the light fixture to the wires from the ceiling. Then we capped them off, the light fixture is now hooked up.
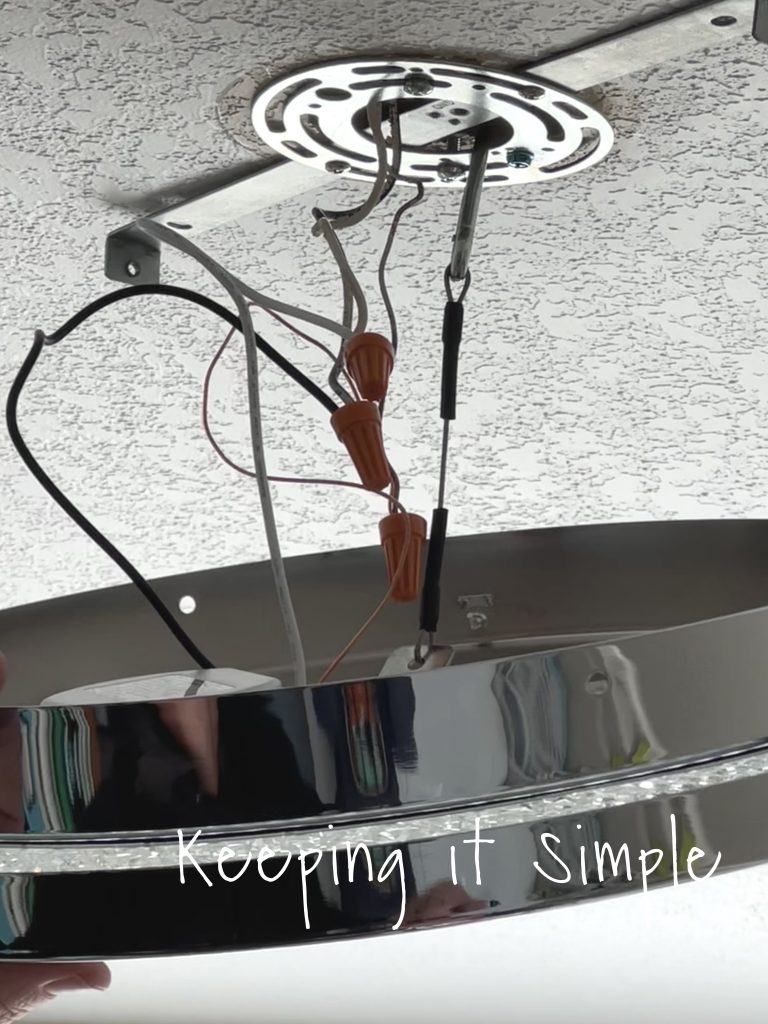
We put the light fixture onto the base plate and screwed it into place. Super easy!!
Now for the dimmable light switch. This was a little bit trickier than switching out the light fixture but still fairly easy to do.

This is how we installed the dimmer light switch. ***Make sure you turn off power by switching off the breaker***
The first thing we did was unscrewed the light switch and then pulled out the light switch. This is where the tricky part came in, the light switch was hard wired into the house. So we actually had to pull the wire from the light switch. It took us a minute to figure out what to do, so if your light switch is hard wired into the house, then you will have to disconnect the wires.
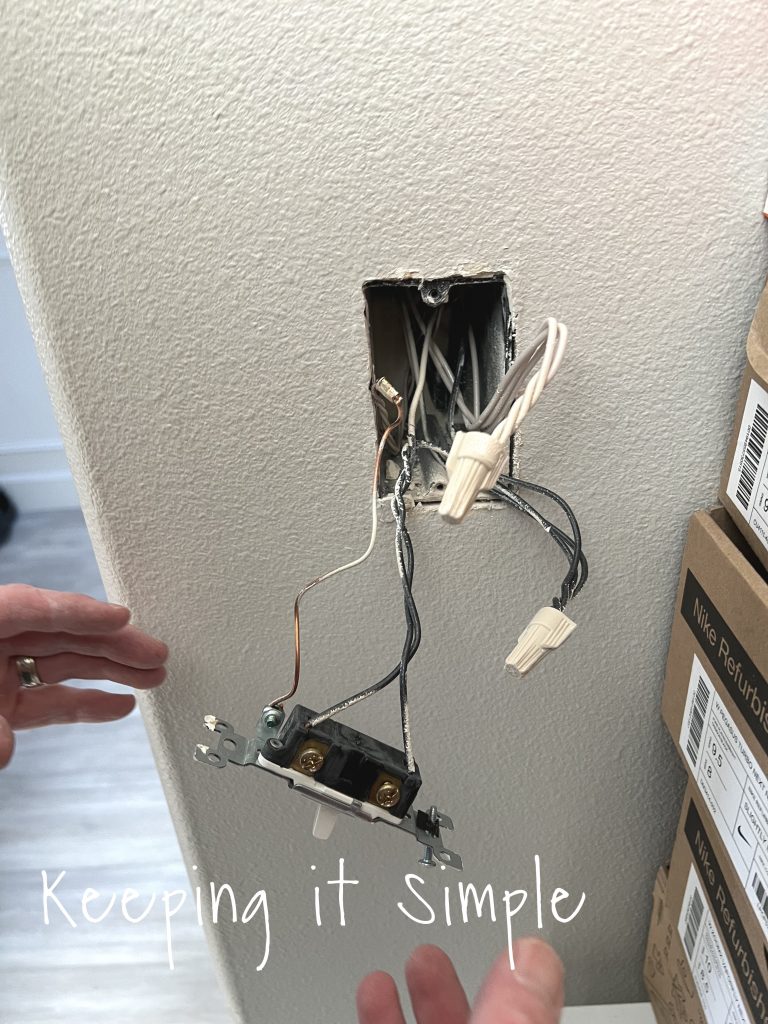
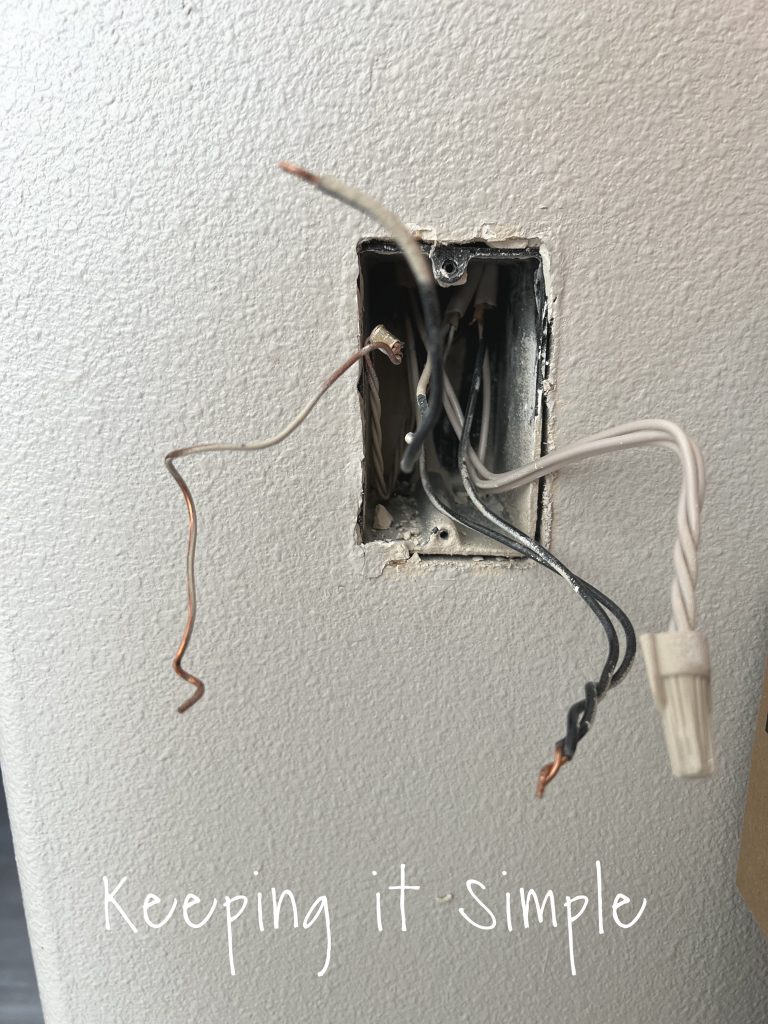
Here are all of the wires disconnected. The one that is capped wasn’t connected to the light switch, so it didn’t need to be connected to the new dimmer light switch.
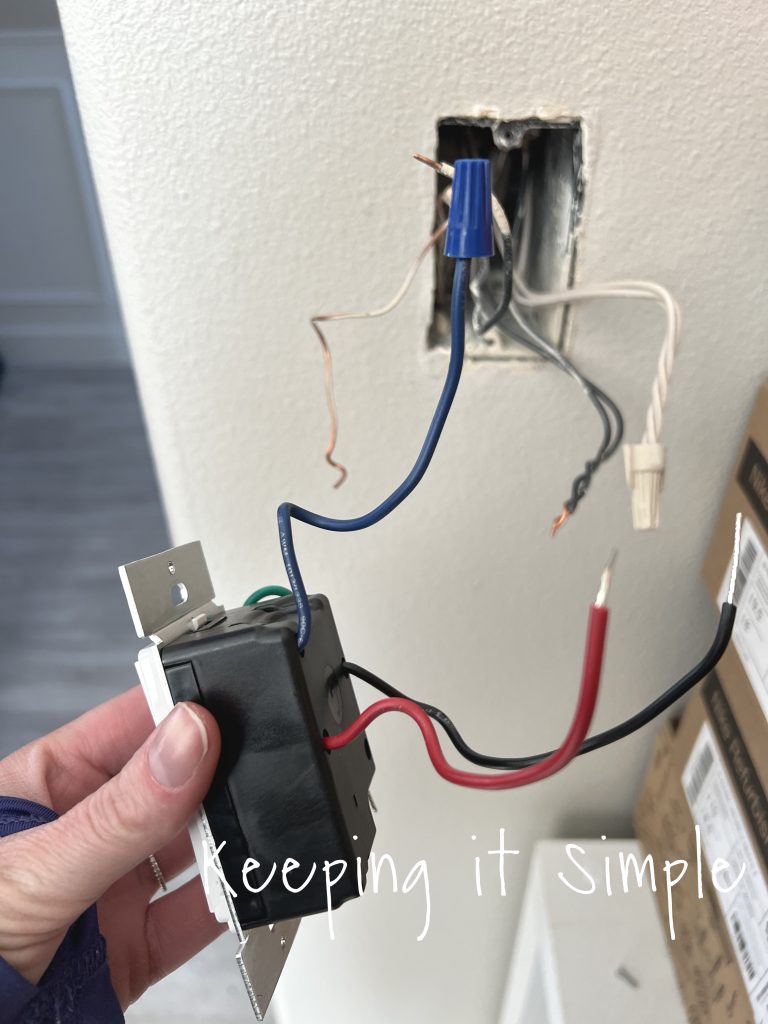
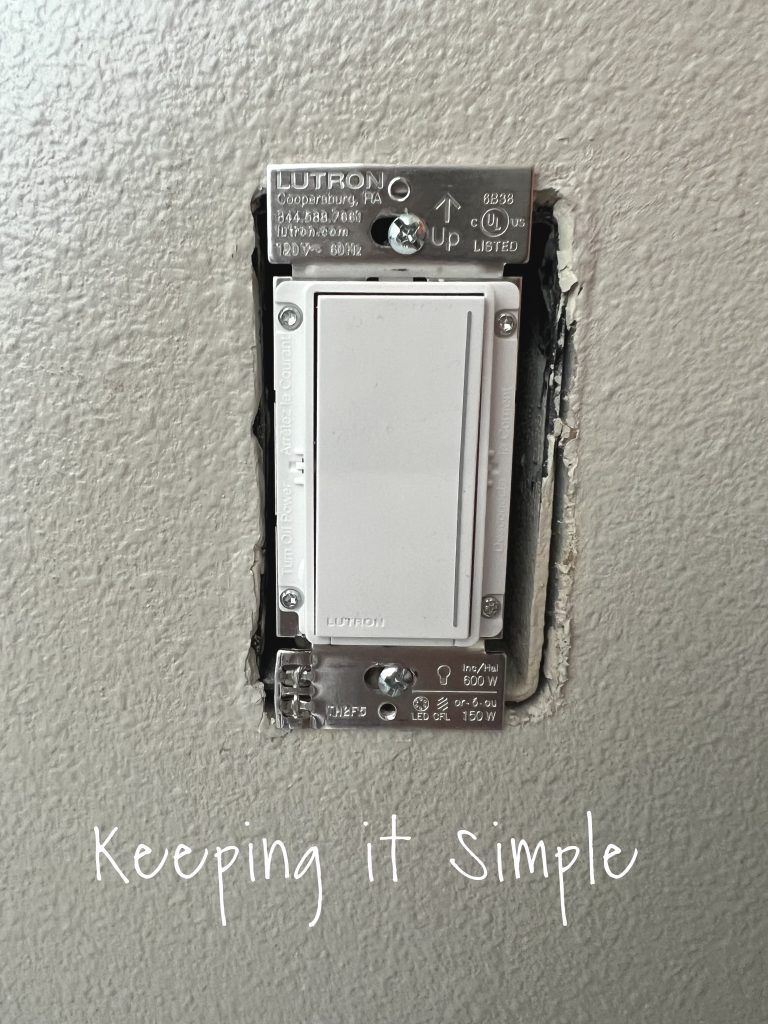
Now time to connect the new dimmer light switch. For this one, it had 4 wires. The blue one is for a 3-way. If you don’t know what a 3 way is, that is when you have a light fixture that is controlled by two different light switches. So if you have a light fixture that has that, you need to use the blue wire. In our case, there is only one light switch in my craft room, so we capped the blue wire with the blue cap.
Next we connected the 3 wires. The green wire is the ground wire, so we attached it to the cooper wire. You don’t have to attach it to a screw like you have to do with the light fixture. Then we connected the other two wires and capped them also.
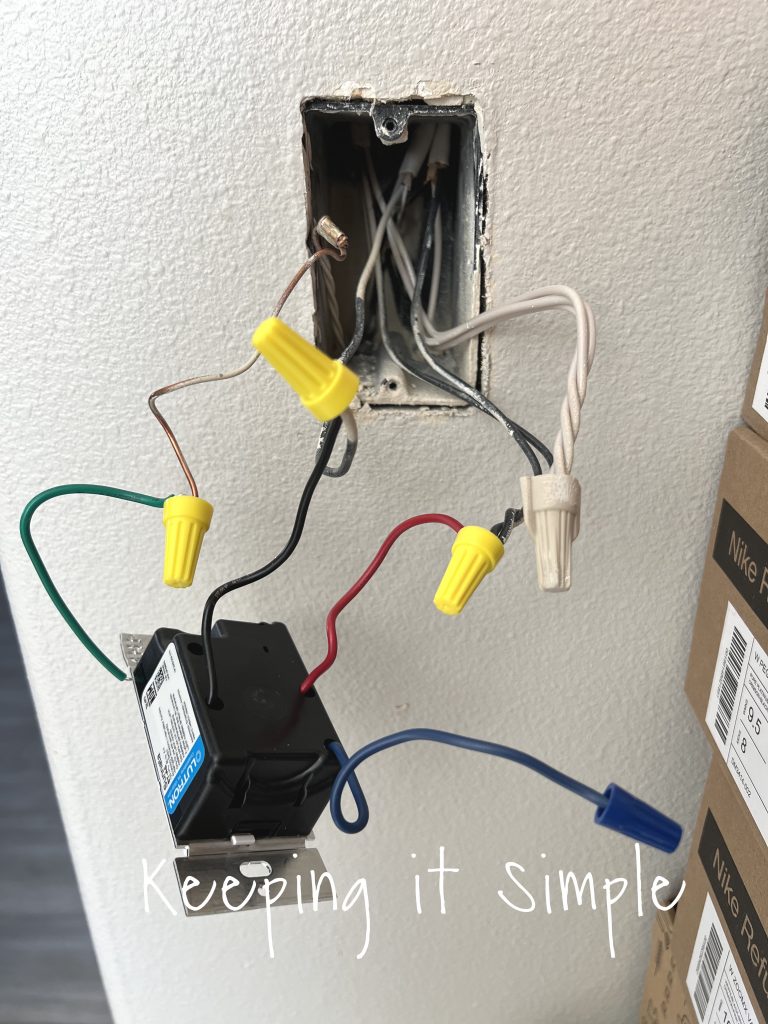
We stuffed all the wires into the wall and then put the dimmer light switch into the wall and screwed it on.
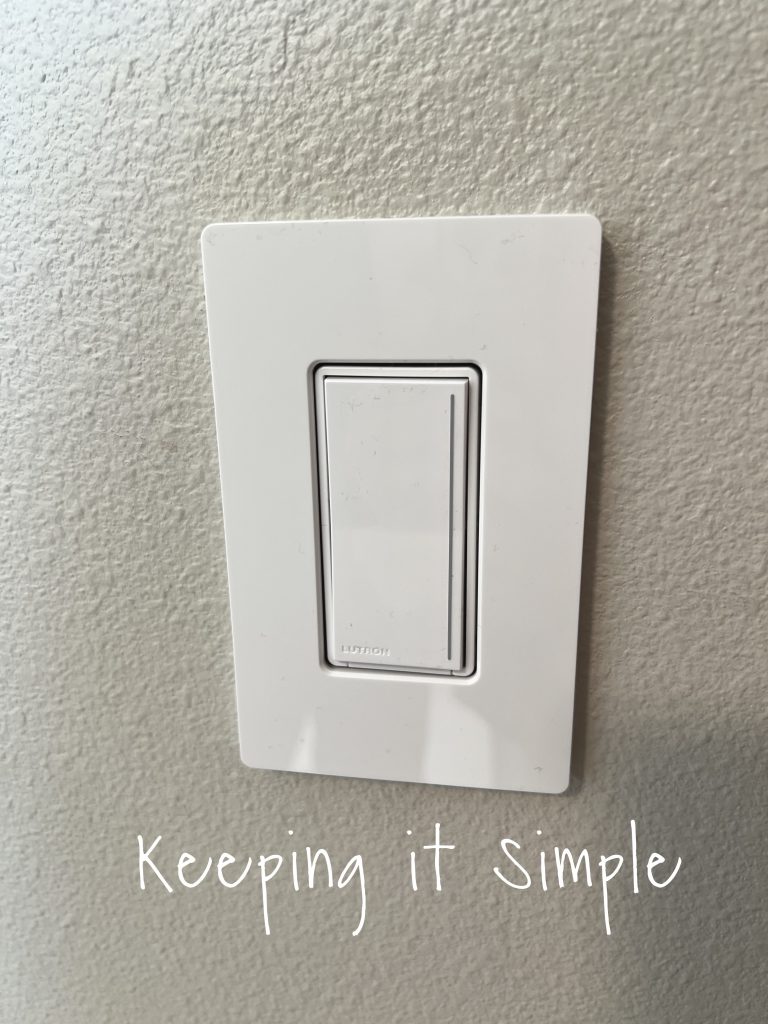
And then we added a fun new face plate to the dimmer light switch!
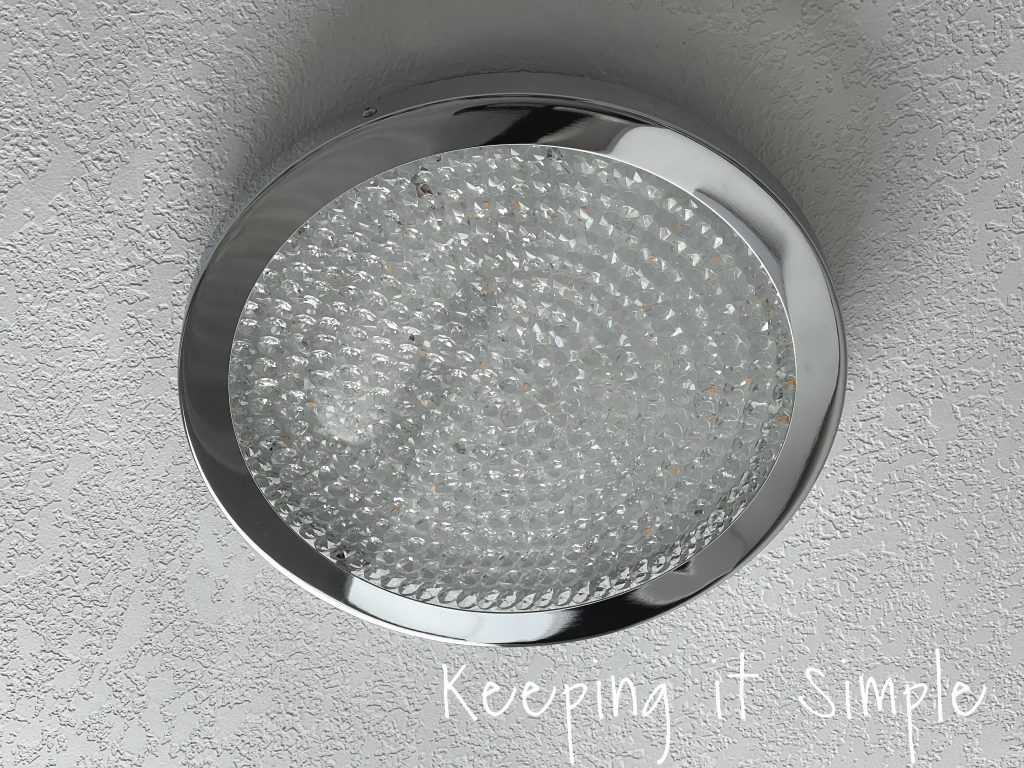
And that’s it!! The new LED dimmable light fixture is so pretty and so bright!!!
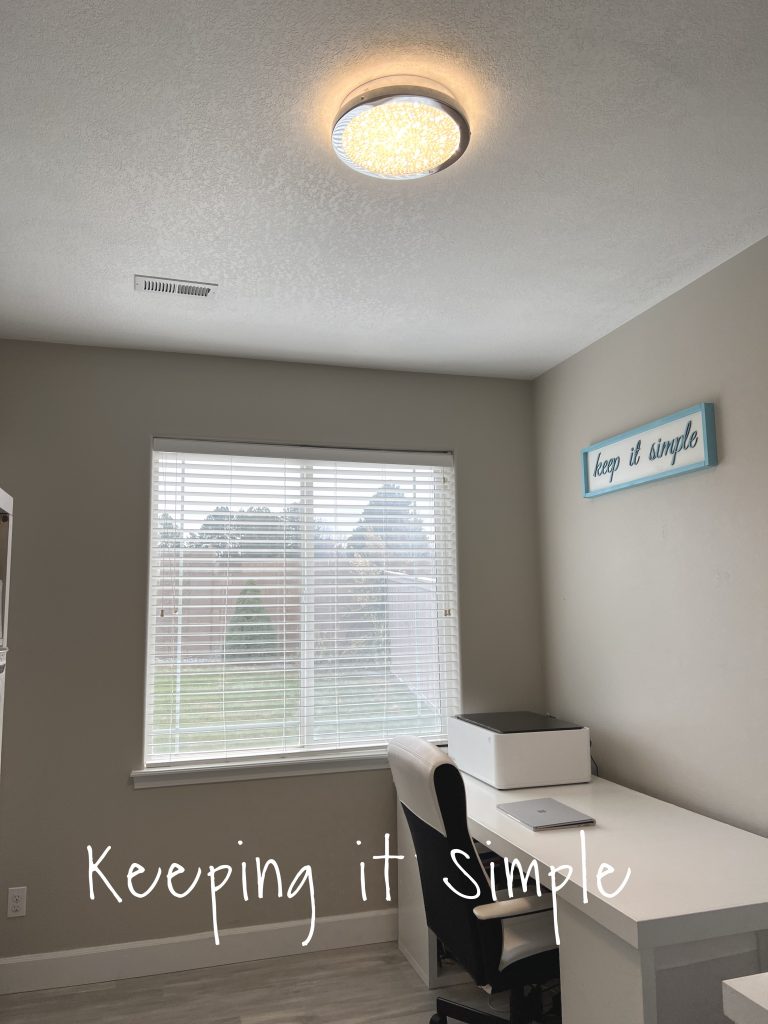
I love my new light fixture!
Check out my other home improvement projects!


This post contains affiliate links.
Leave a Reply
You must be logged in to post a comment.