This is a sponsored post. All opinions are 100% my own.
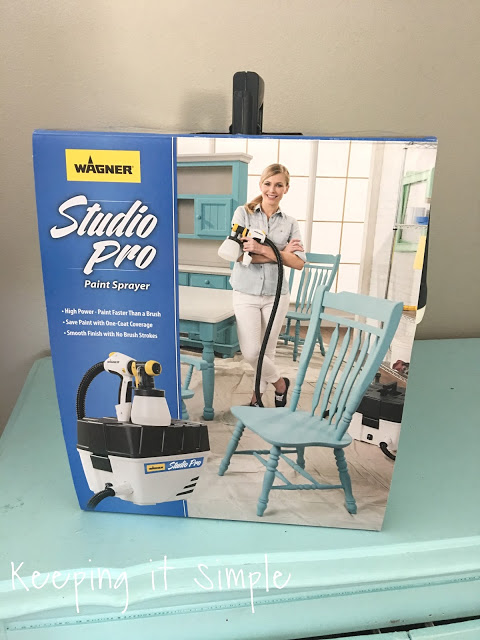
For the past few years I have been looking for a paint sprayer to get (because I do a lot of painting, not many things in my house are their original color :D). I knew that I wanted one that would work on big things, like my fence or house or walls, but also would work on some things like furniture. While I was at a conference in April, I was BLOWN AWAY by the Wagner paint sprayers they had. Seriously I was like a kid in a candy store, so excited to get my hands on them and try them out! I have tried other paint sprayers and this one was seriously awesome. First off they were painting inside a room, with no over spray problems and the coverage was amazing. When I finally got my hands on it and painted a design on a tote bag with a stencil, I knew that nothing would be safe in my house, I knew that I would want to paint everything (and even repaint some things!). The first thing I did when I got the Studio Pro sprayer was took it to my ceilings.
For the past few months I have been painting all of the living areas of my house. I had been painting the ceilings with a roller and pole and it was killing my back and shoulders. After I was done painting my downstairs, I couldn’t lift my arms up for a few days, LOL. So when it was time to paint the ceilings in my loft area, I decided to use a paint sprayer instead.
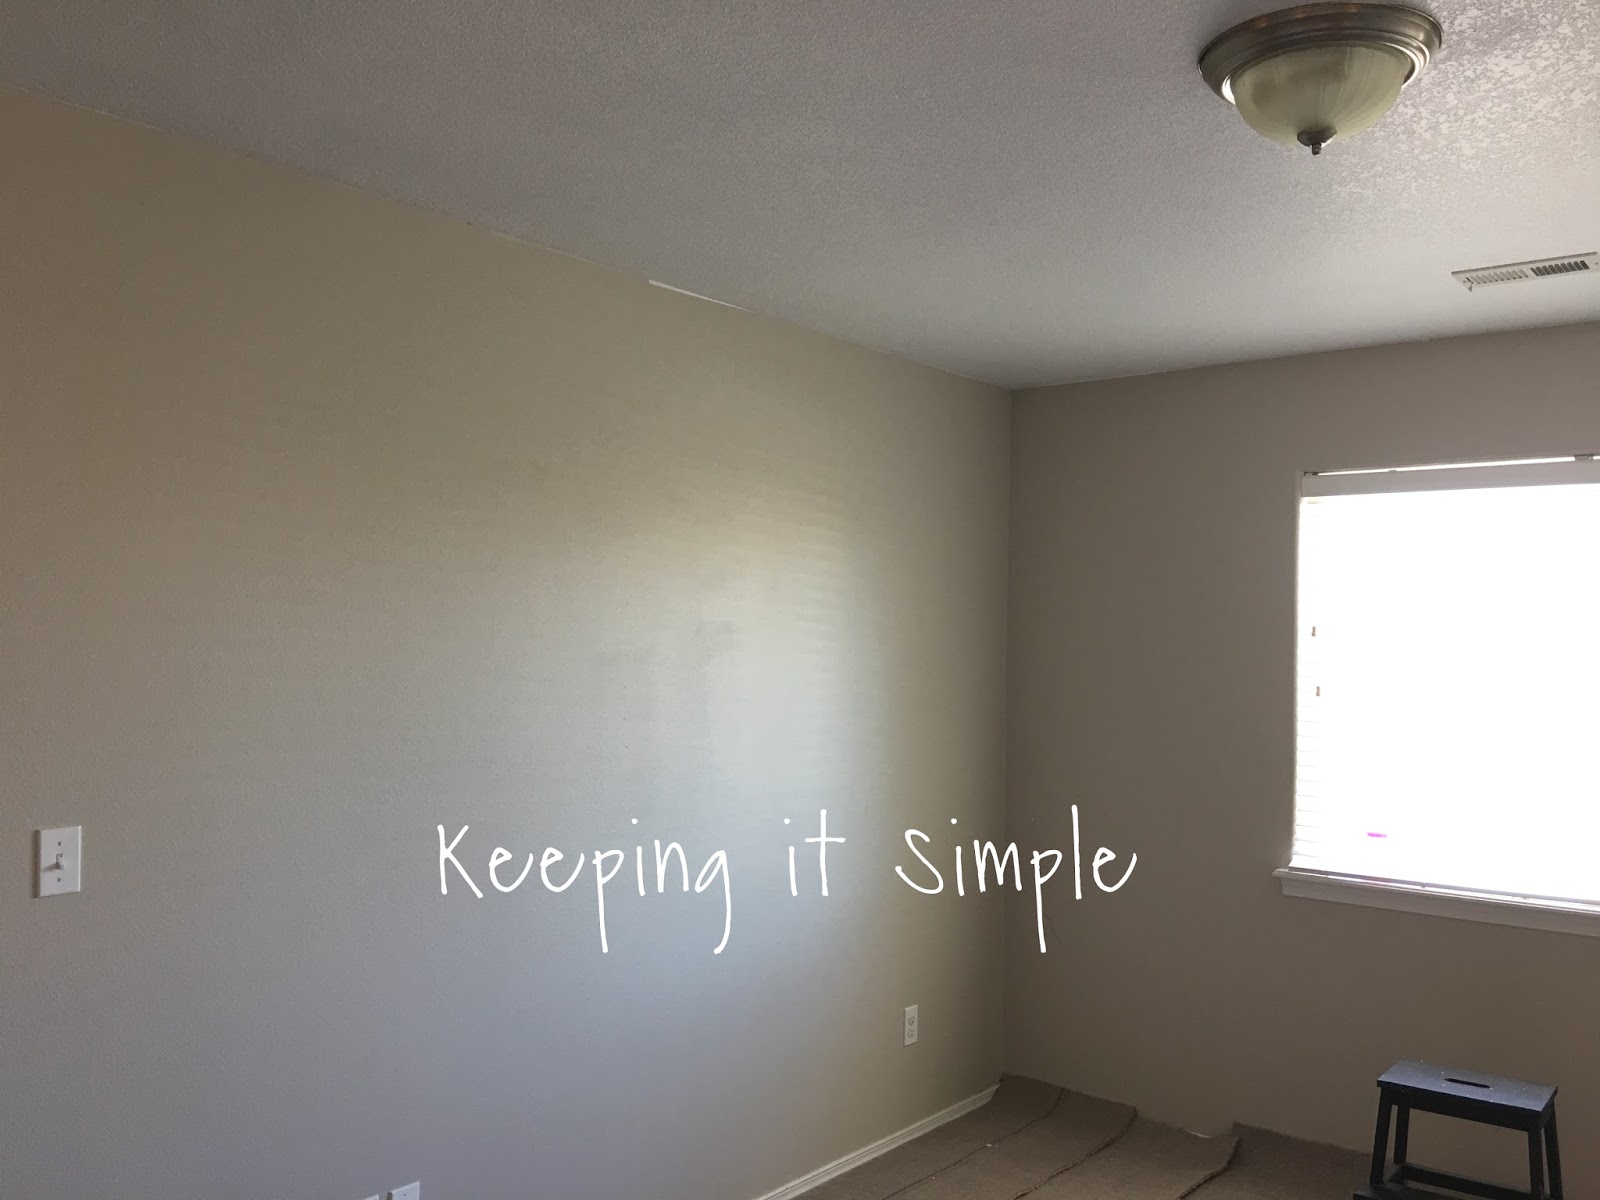
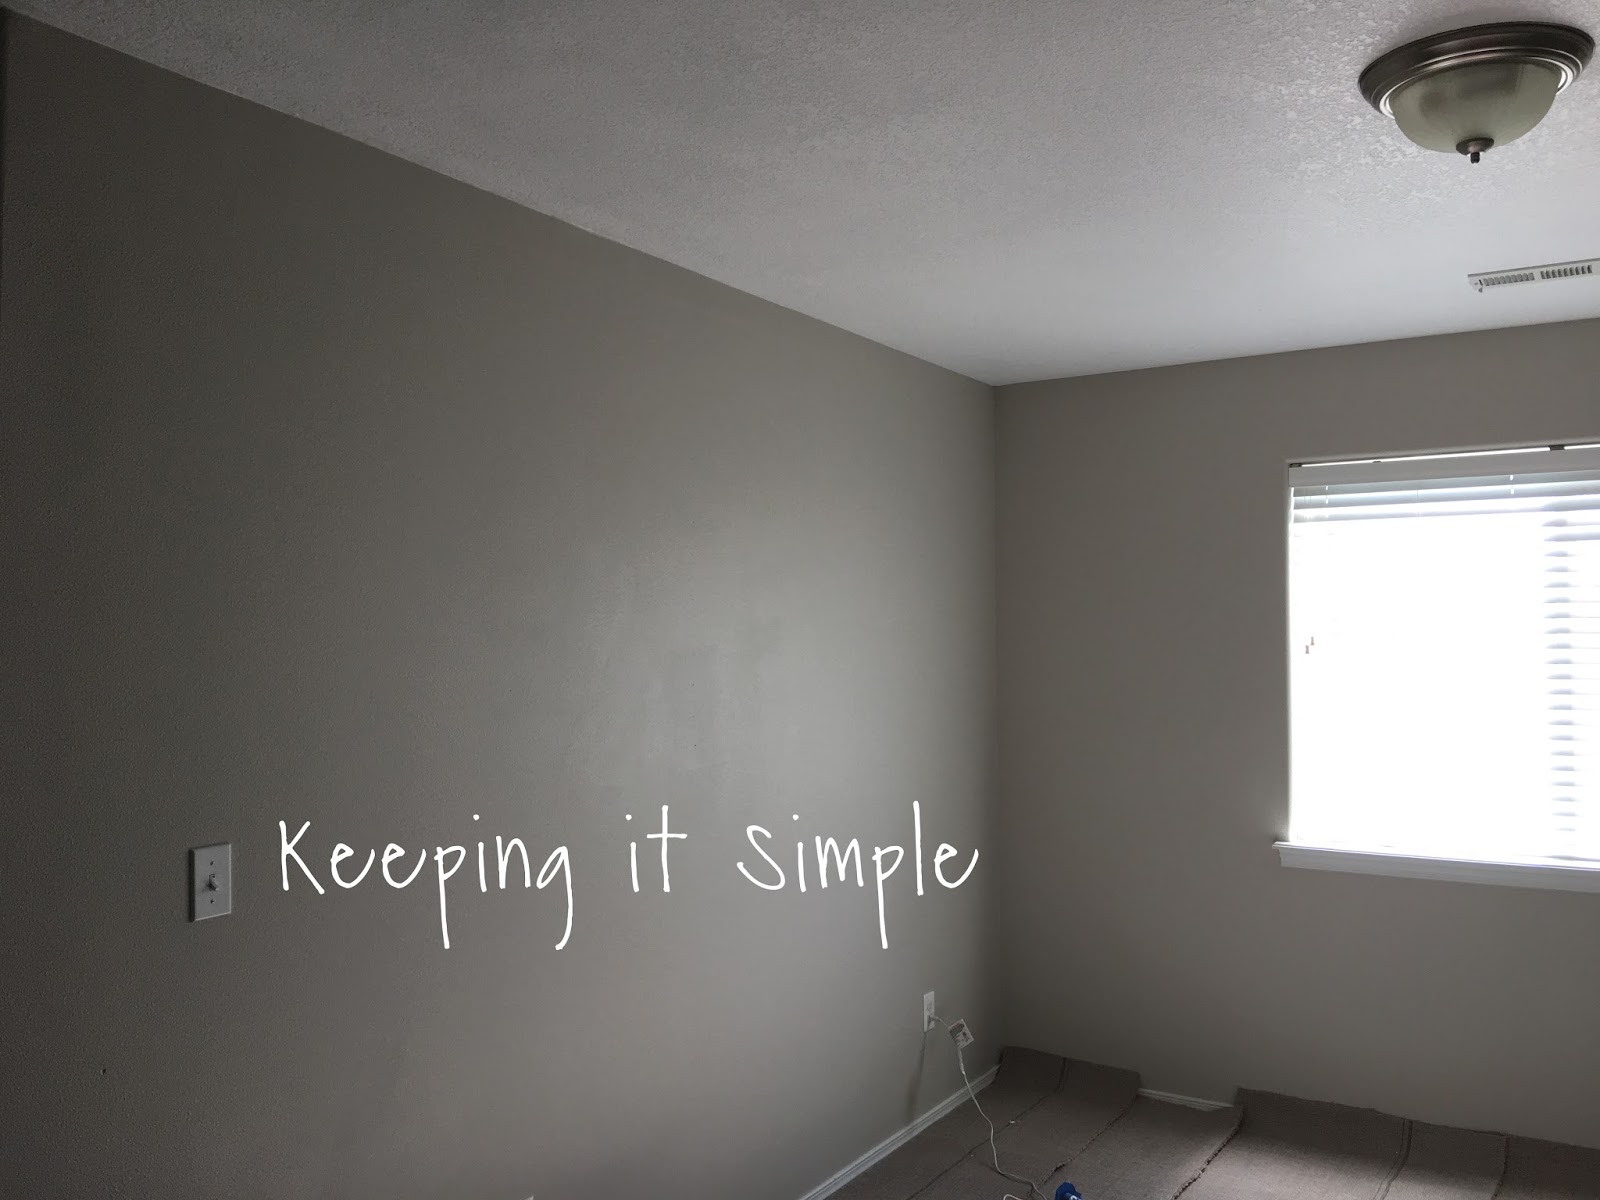
Here are a couple pictures of the before. All of the walls and ceilings were a beige color.
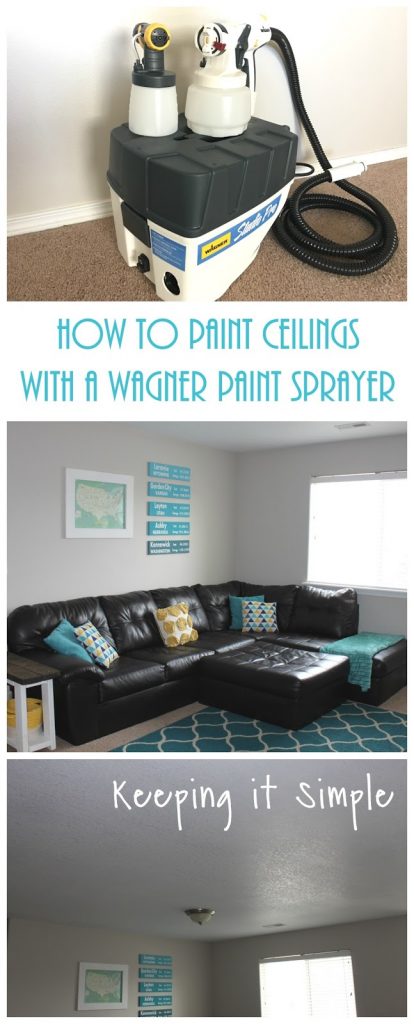
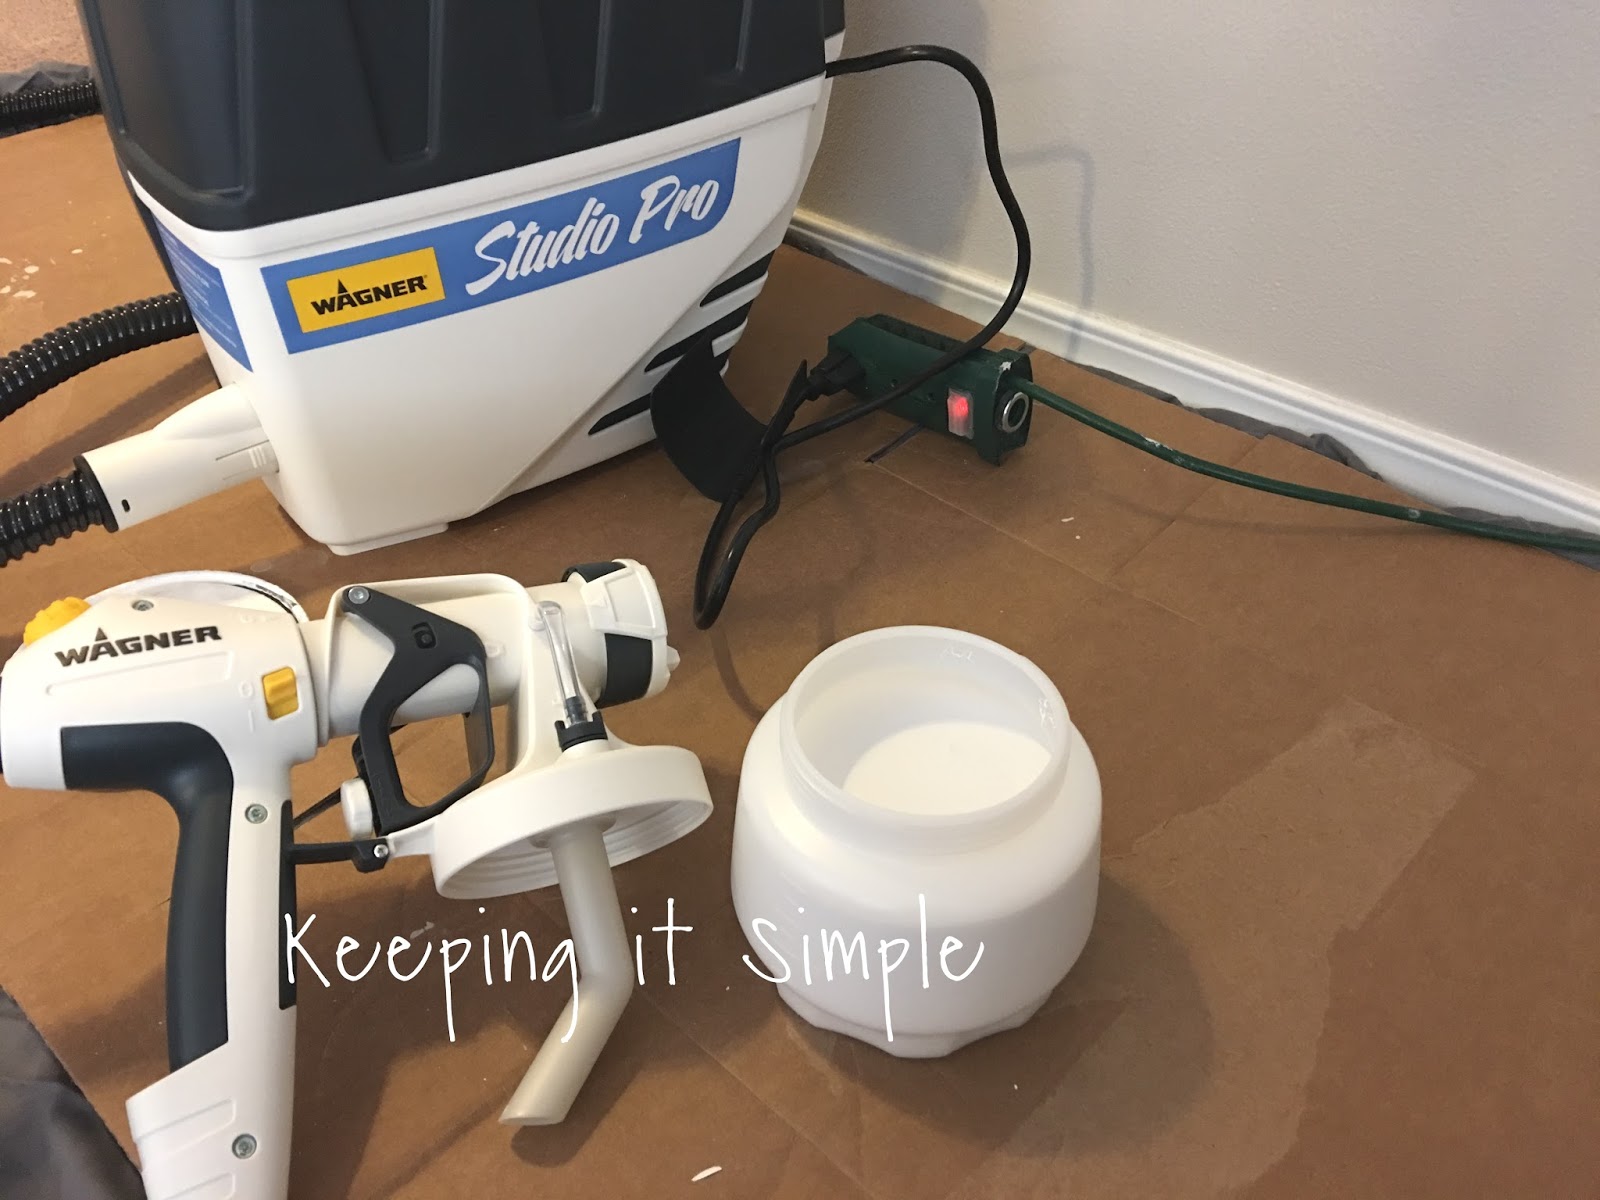
The sprayer I used was the Studio Pro because it is big enough cover walls and ceilings but it also has a smaller nozzle that is perfect for furniture and other projects.
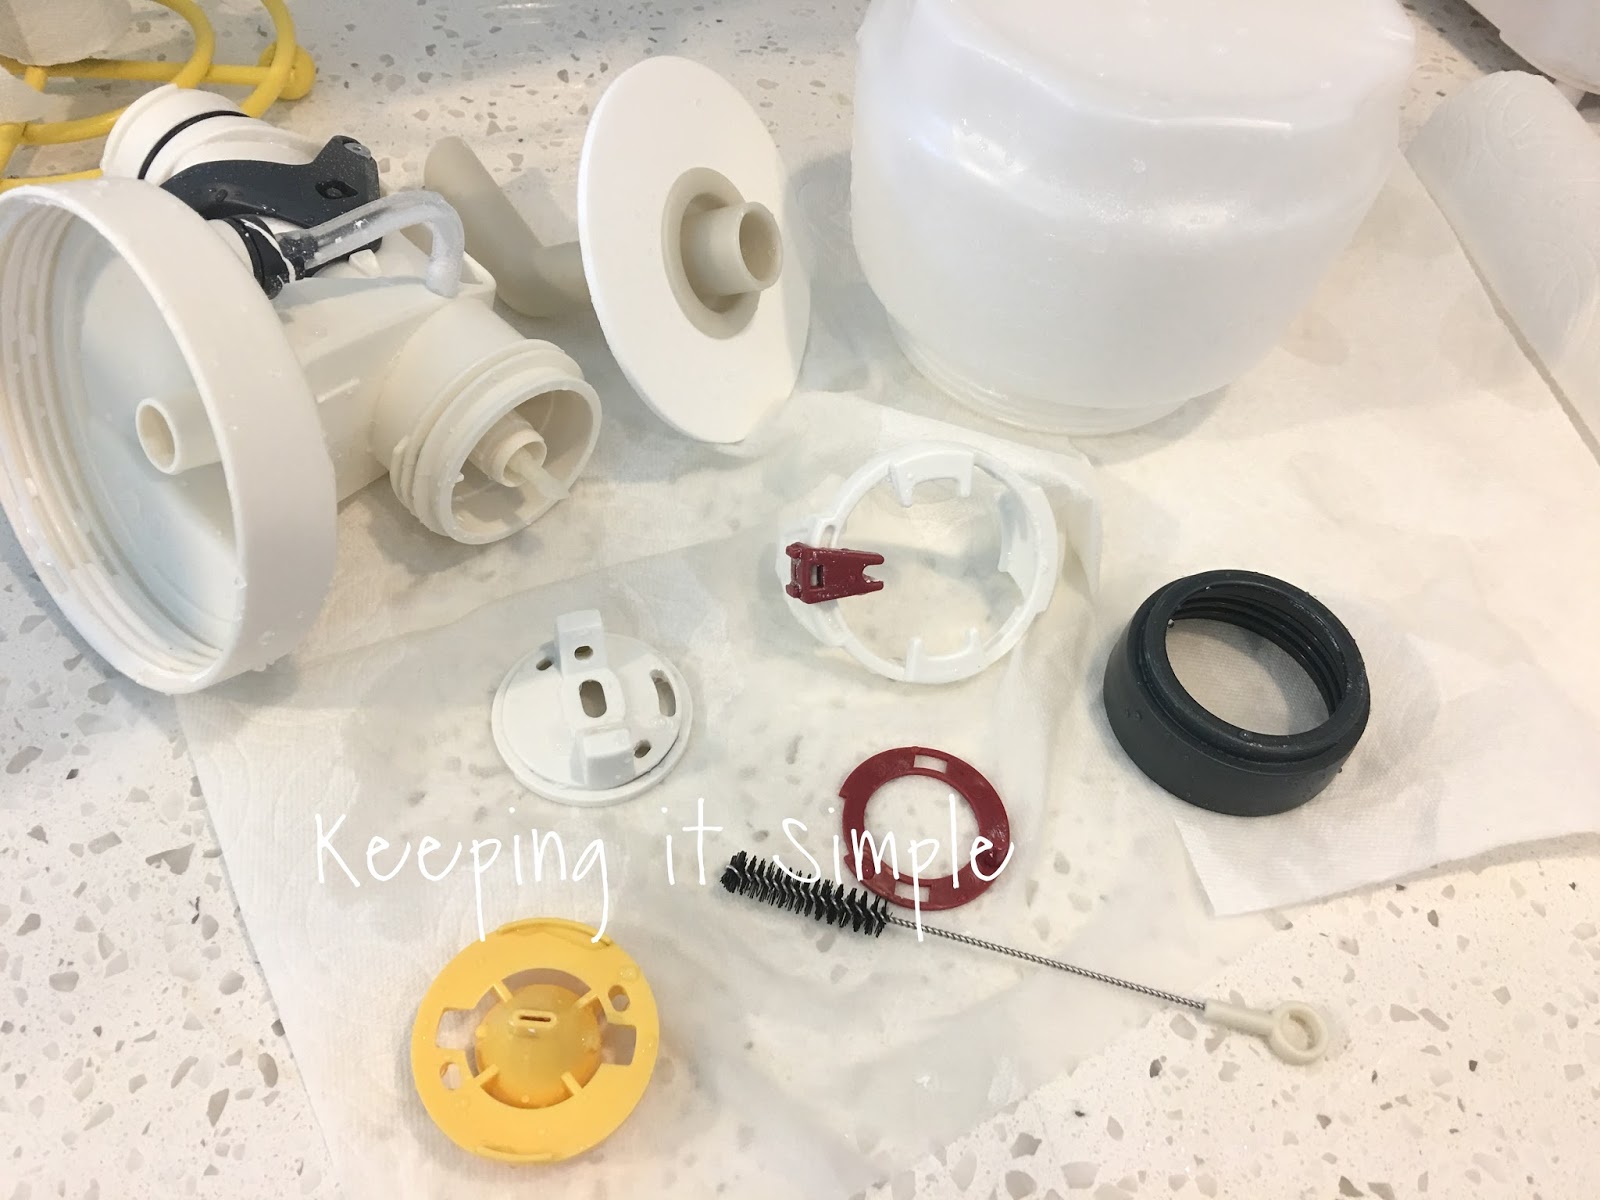
Here is what is included in the Studio Pro- the iSpray nozzle and the Control Finish nozzle. I used the iSpray nozzle for the ceilings. With the nozzles you can adjust the air flow so I can have more control over the paint.

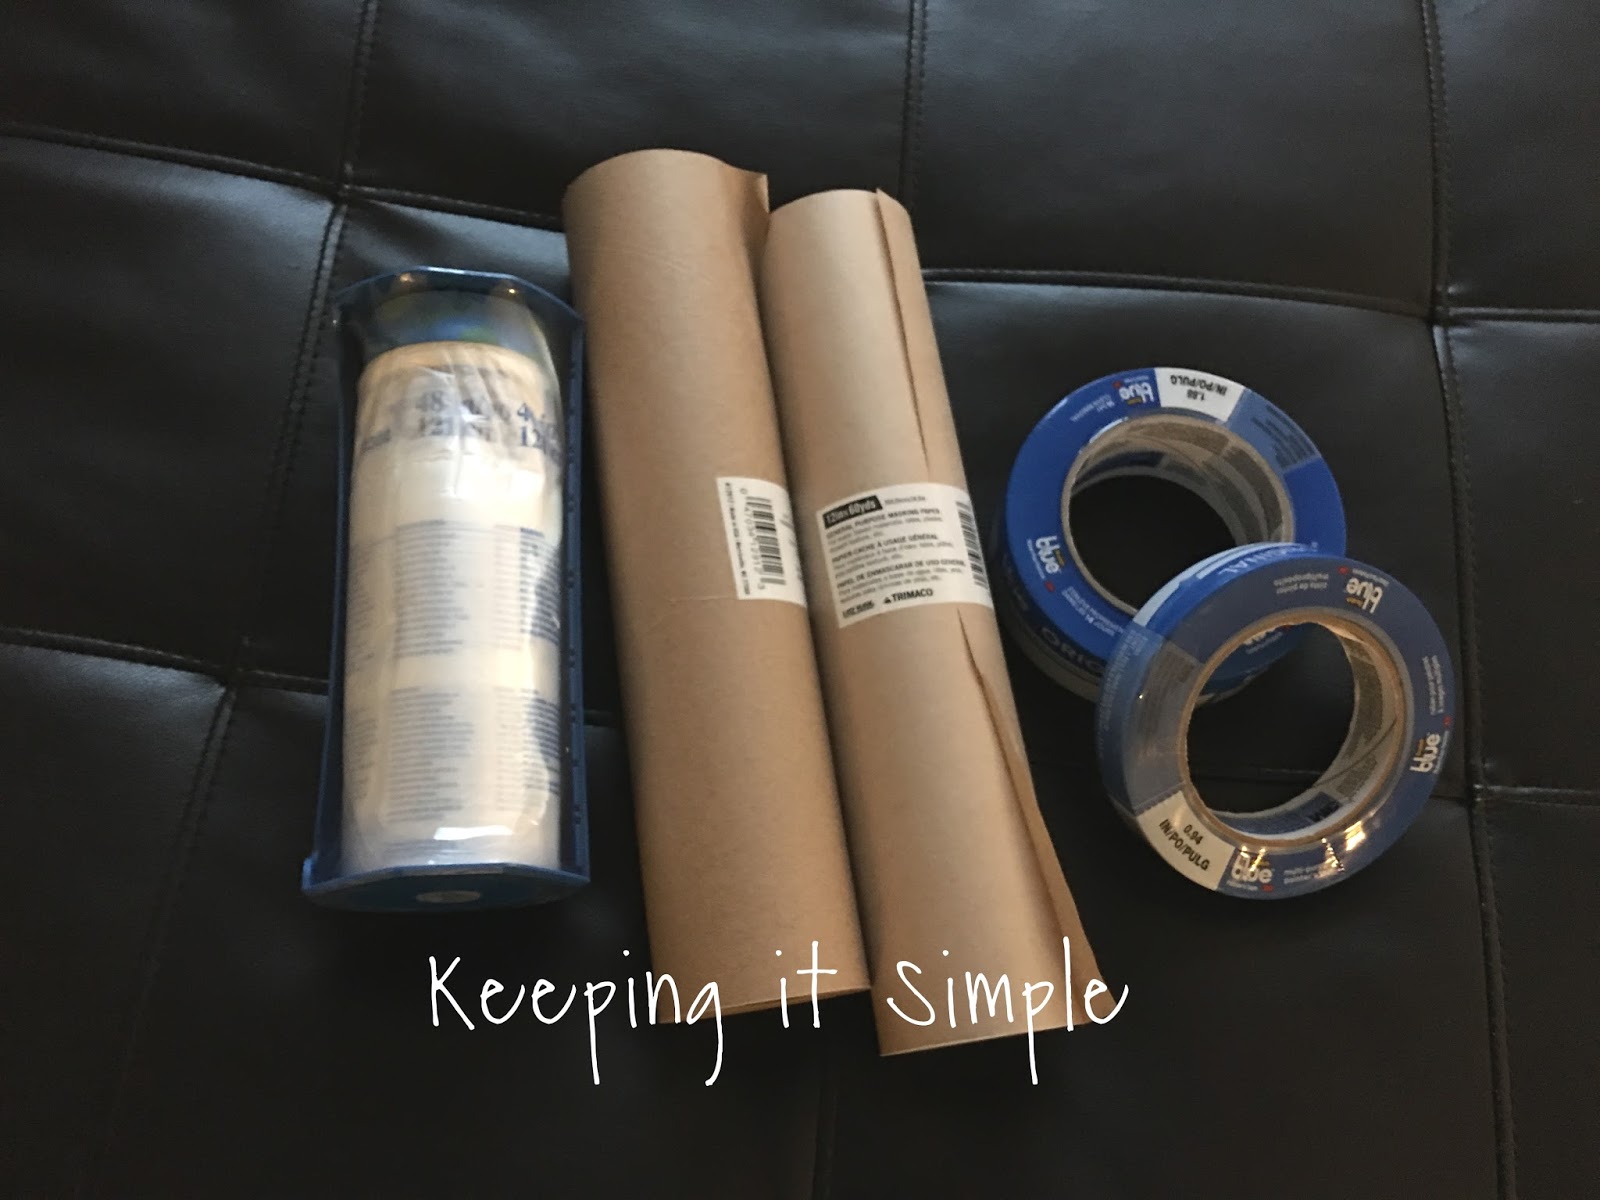
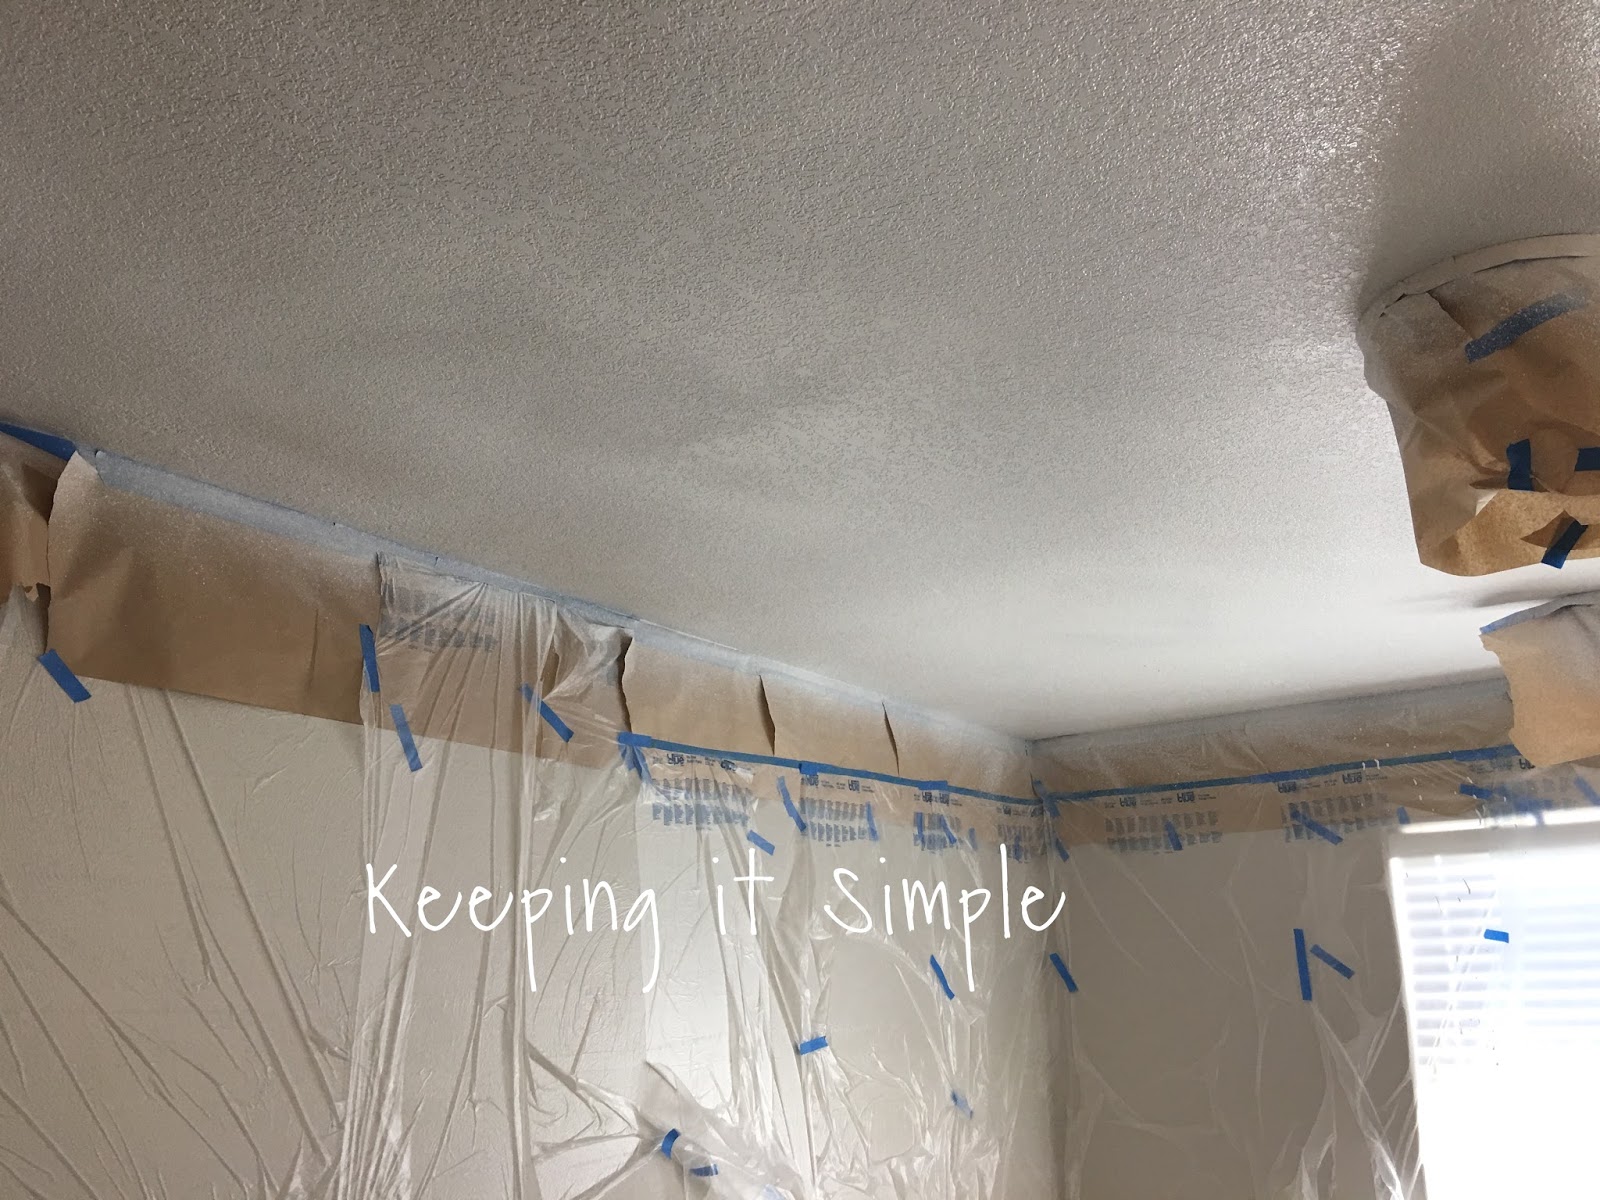
One thing you have to do is use tape and plastic. In the manual it recommends to have your walls covered down 72″ and have drop cloths on the ground. So I used some tape that has plastic with it, some paper and then more tape. You will want to make sure your area is covered.
One of my favorite things about this paint sprayer is that you don’t have to thin the paint (if you use chalk or milk paint you may have to thin it). I just used a flat latex paint in a factory white for the ceilings. When working with ceilings, you will have to make sure the intake tube is pointed towards the sprayer, that way when you have the sprayer pointed upward it will still continue to suck up the paint. If you are sprayer down then you flip it around to point the other direction.
I watched this video and it really helped me to figure things out and of course read the manual before painting, there is a guide for what settings to use depending on what kind material you are using.
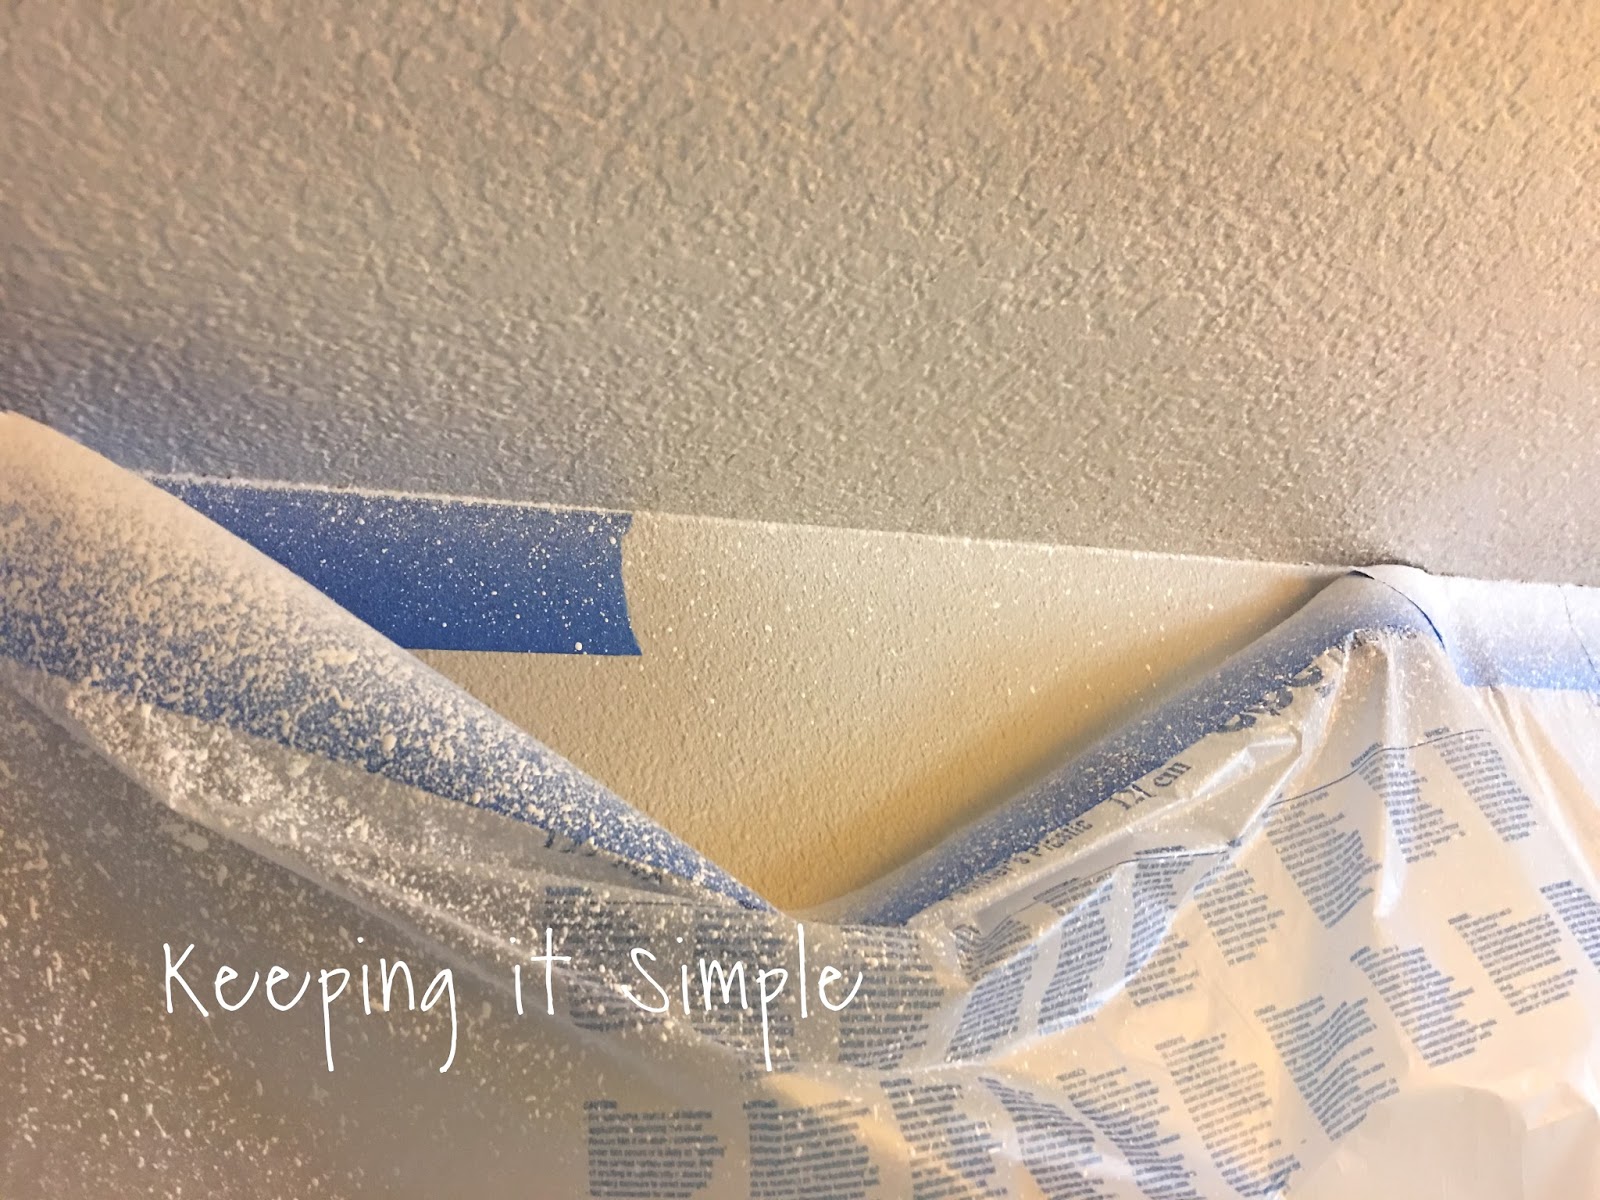
So because I love you all and don’t want you to make the same mistakes as me, here are a couple pictures of what not to do, haha. So I put the tape with plastic onto the walls and then taped it down with the 1.5 inch tape. I thought that I had it nice and covered, I even added another 12 inches to the bottom it.

Then I started painting…. the tape on the plastic just wasn’t strong enough to hold with the air, it blew it off so I didn’t get a crisp line. Also you will want to move or cover anything and everything in the room and cover all the carpets, like the manual says. I didn’t do that and well I should have :). Apparently they know what they are talking about, haha!
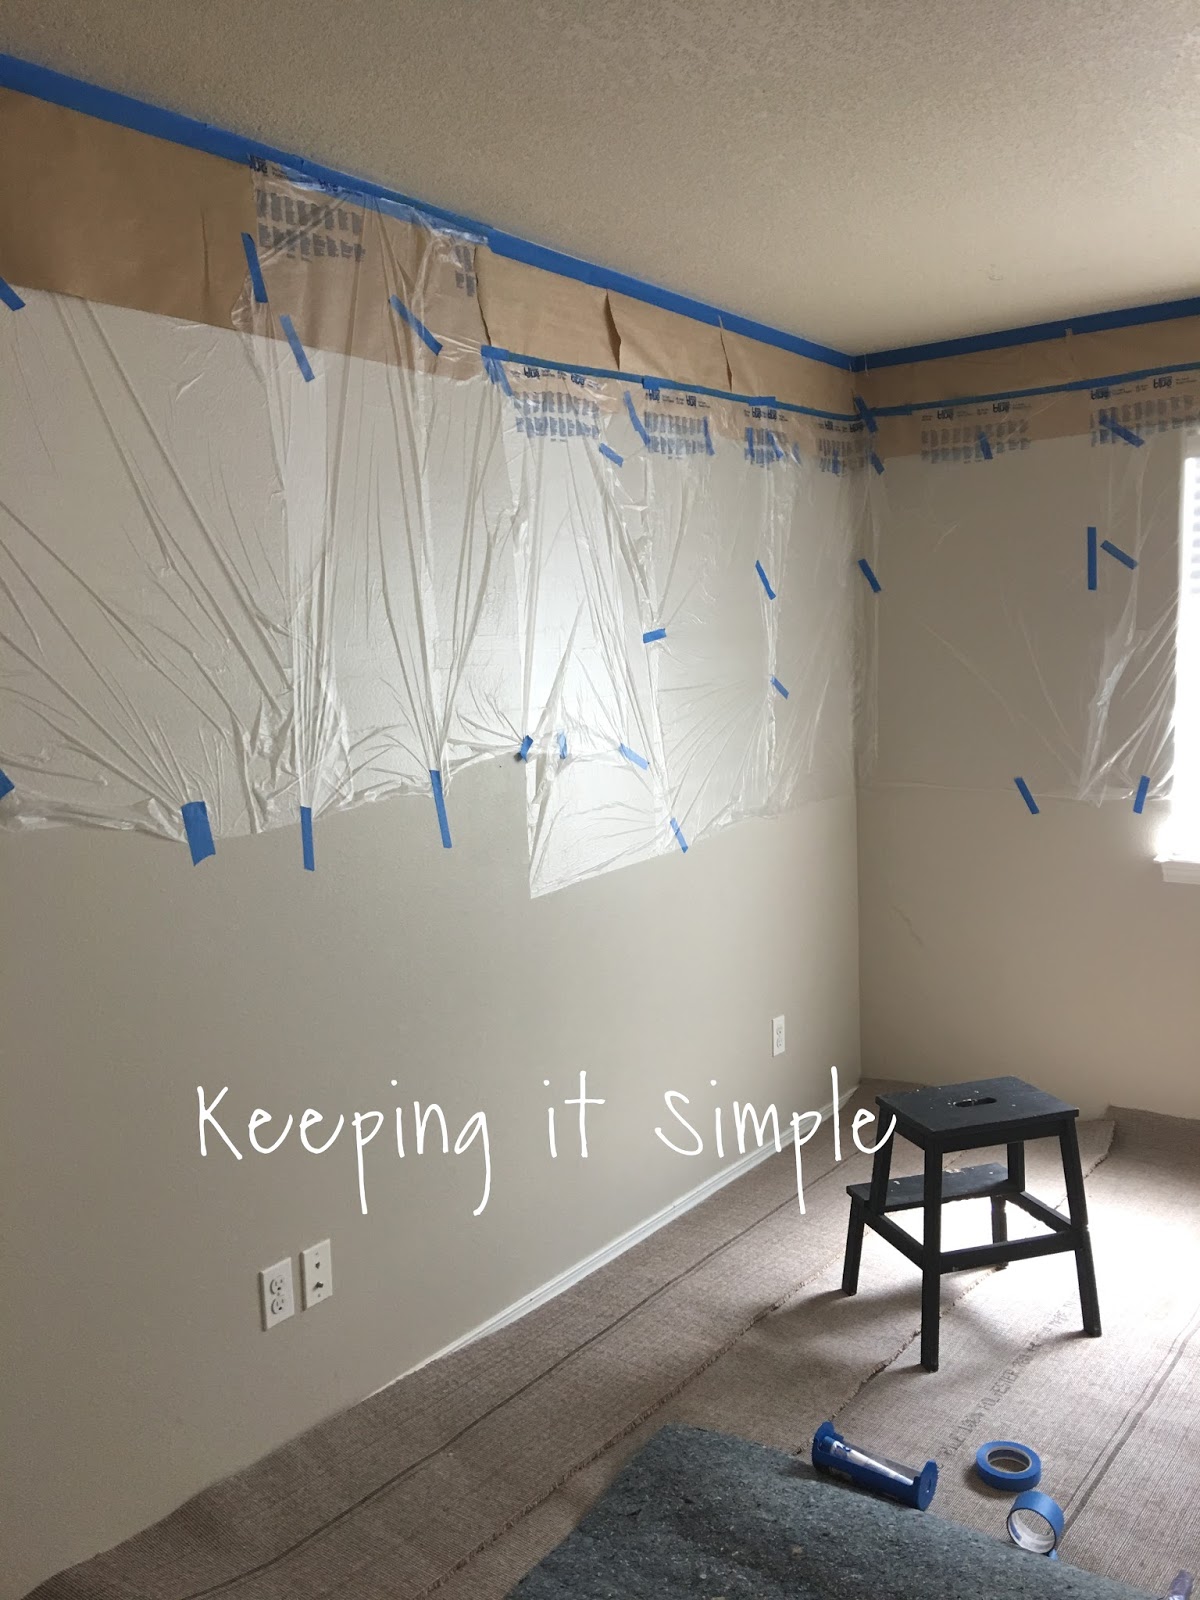
So after I learned the plastic wouldn’t hold up, I put the paper on first and then put the plastic over it and it worked MUCH BETTER! I then covered all of the floors with old sheets and old rolls of carpet that we had laying around. We also moved everything out of the room. Once that was all done it was time to spray the ceilings.
Here is what one coat of paint looked like. I just got on the stool and put the sprayer about 3-6 inches away from the ceilings, going at about a 45 degree angle. What is so nice about the sprayer is that you don’t have the brush/roller marks and the coverage is so much better. I did do two coats since it was darker before. I was amazed by how quickly it went and how much easier it was on my back and shoulders (I had to do a couple of places with a roller because I couldn’t get close to the ceilings with the sprayer and there is definitely a big difference between the two ways). I had no problems with drips of paint whatsoever and it dried fairly quickly. The paint came out evenly and it didn’t splatter all over the place.
Once I was all done painting the two coats, I then washed out all of parts of the nozzle. I used warm soapy water and then the little brush that comes with it.
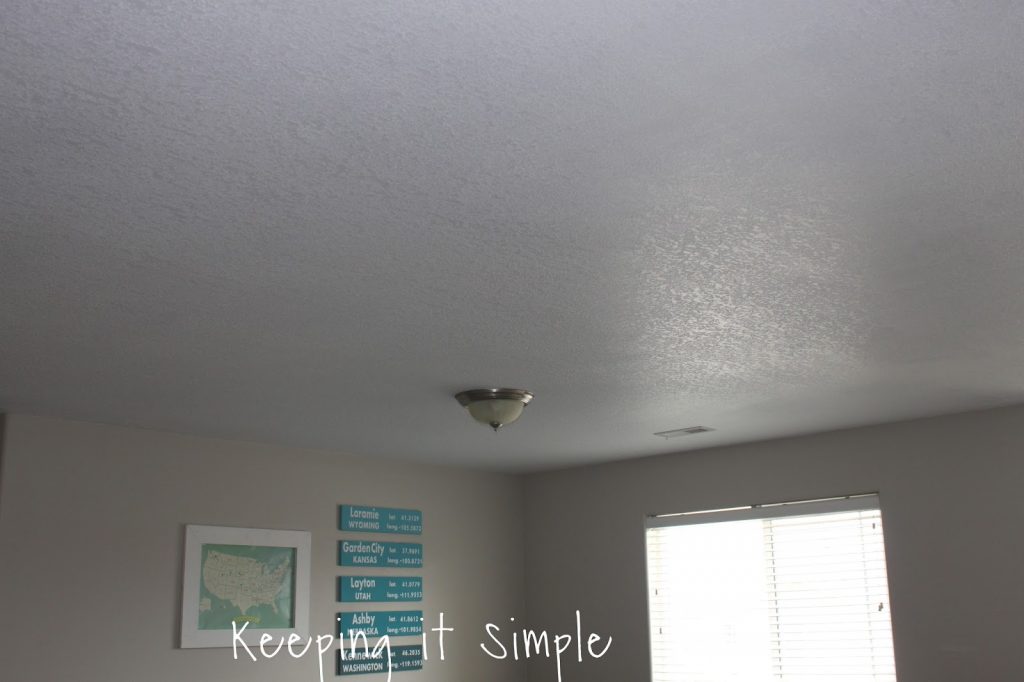
Here is what it looks like with the tape off. By the way, I did paint the walls a gray color before painting the ceilings, that’s why they look different than the before picture.
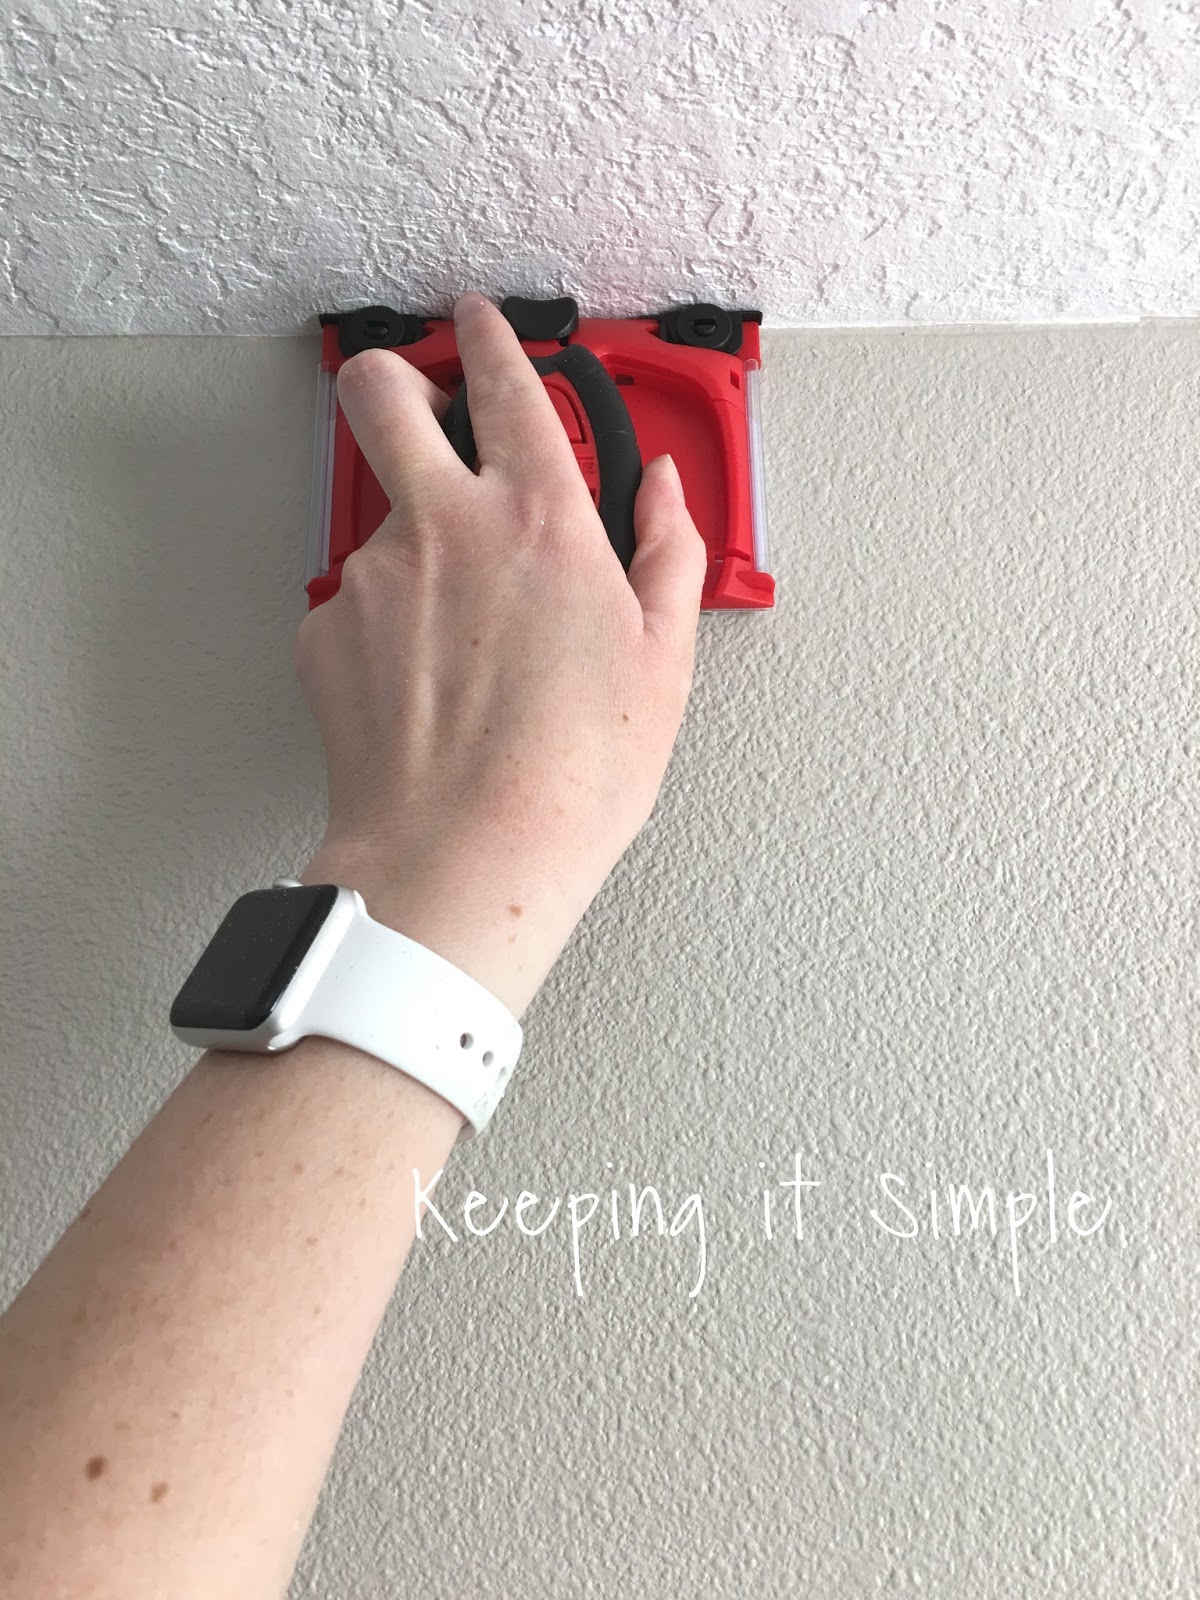
No matter how I paint ceilings and how well I tape, there are always some touch ups that I have to do so I took an edger tool and went around wall to get the touch ups done.
And that’s it for the ceilings!
Here are a few things I learned along the way:
• When you are using the sprayer, you will definitely want to test out the spray on card board before your ceilings.
• When you run out of paint and have to refill it, make sure to wipe off the tip of the nozzle and spray on the card board before the ceilings again, it might splatter if you don’t.
• Use plenty of tape, plastic and paper, cover everything.
• The prep before painting takes more time but the actual painting time goes so much quicker.
• Use smooth, constant motions.
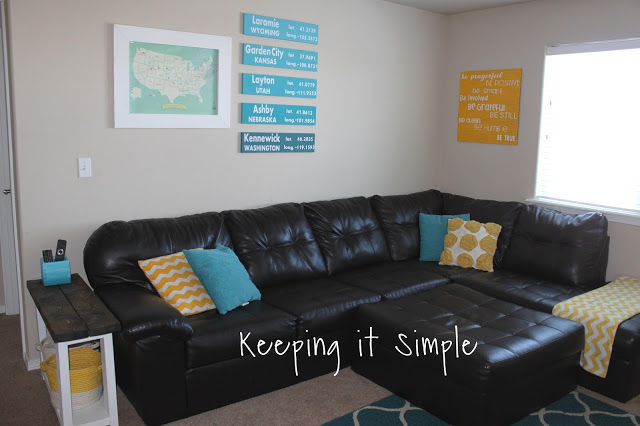
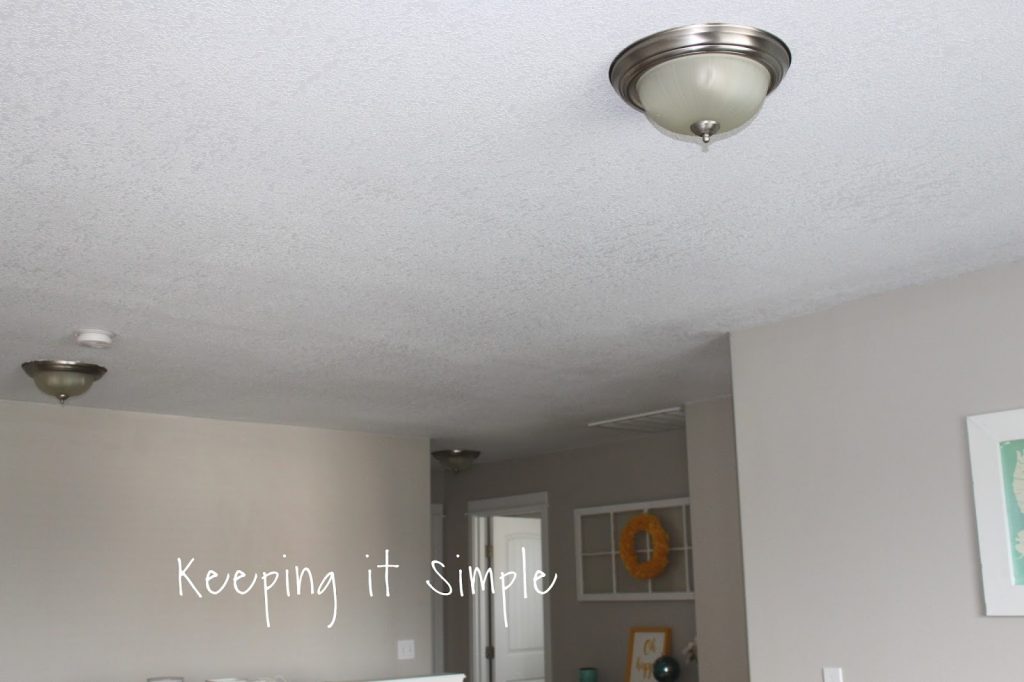
Once the ceilings were all done, I put all my furniture back and put up my decor and I absolutely love it!
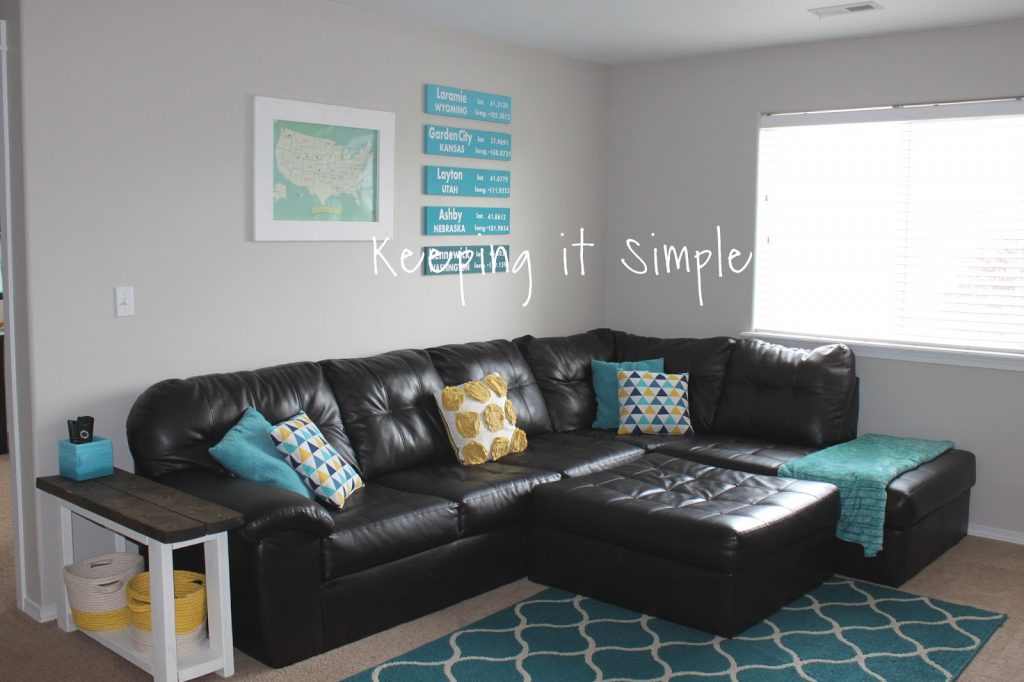
Don’t the ceilings look amazing?! I have a lot of texture on the ceilings, so the sprayer made it so much easier to get in all of the grooves and lines of the texture.
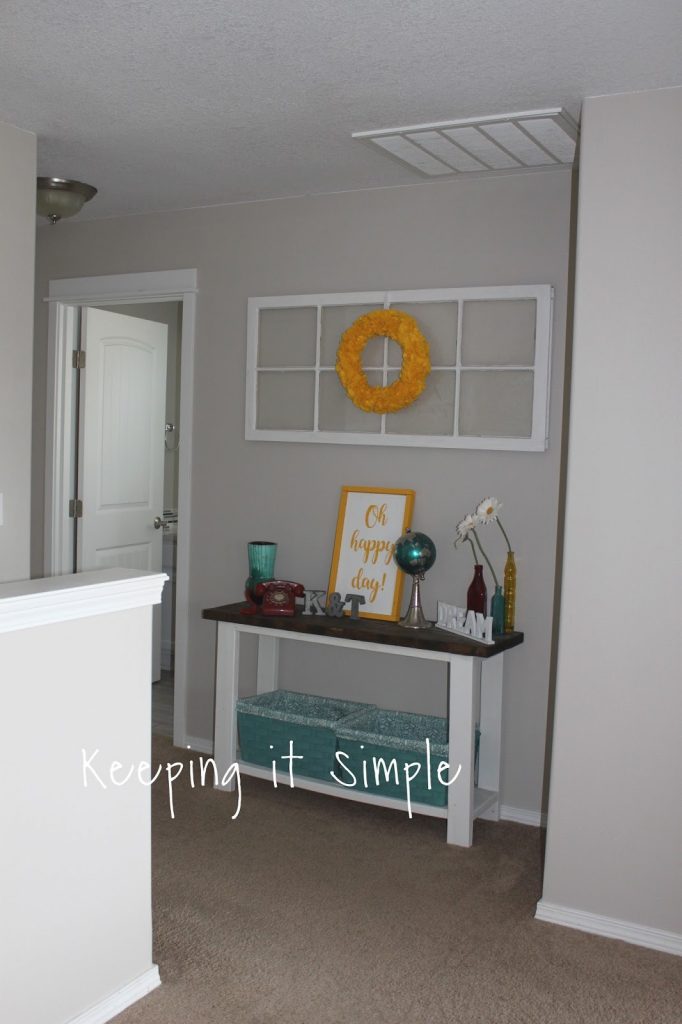
And here is the after of my little nook area.
If you have been looking for a paint sprayer then you should definitely check out all the Wagner paint sprayers. They have different sizes and kinds, so you will find one that will fit your needs! I guarantee that I will be using mine again (in the near future, I already have plans :D).
it all looks good. I am sold. I need a Wagner Studio Pro Paint sprayer!
Yes you do, especially if you are going to do your cabinets
Great job Kaysi! I was at SNAP doing the WAGNER demo, so it is great to see our product in action. The Studio Pro is my favorite sprayer that WAGNER sells across the entire assortment, so you definitely chose well. I am looking forward seeing more painting projects from you in the future! Mark
Thank you so much Mark! Yes the studio pro is awesome! I have a feeling I'm going to be using it a lot.