• Skip to primary navigation
  • Skip to main content
  • Skip to primary sidebar

Keeping it Simple

creating simple crafts, DIY, recipes and more

  • About Me
  • Advertise
  • Buttons
  • Contact Me
  • Privacy Policy
  • Tutorials
  • Home Decor & DIY
  • Recipes
  • Holiday Crafts
  • Gaming & Geek Crafts
  • Printables
  • Kids Crafts
  • Sewing
  • Vinyl Crafts

Jeans turn into shorts {Melly Sews}

July 27, 2012 by Kaysi Leave a Comment

Hi Keeping it Simple readers! I’m on a shorts kick this month. Today I’m going to show you how to take jeans, cut them off, and hem them so they look like they were shorts all along!

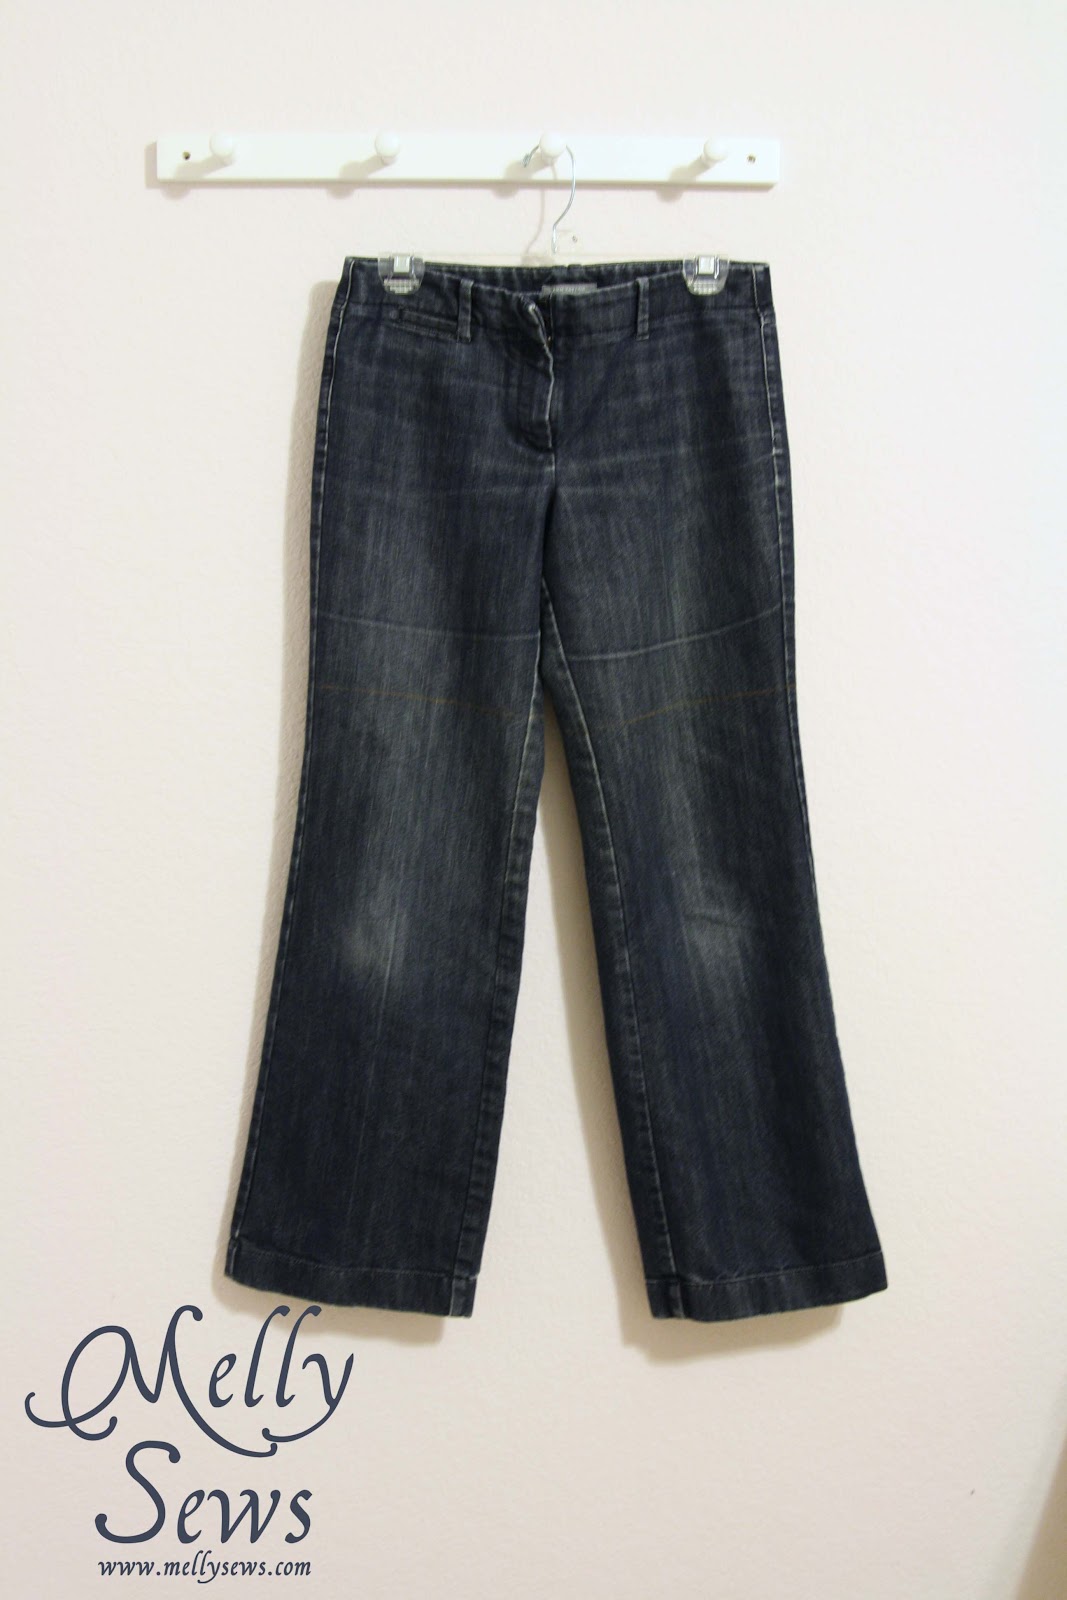
Why not just buy shorts, you ask? Well, there are a couple reasons. First of all, I got the jeans for $3 at my local thrift store. Jeans are more readily available than shorts there. Secondly, I suspect a conspiracy, just like the intimate apparel/swimsuit makers have. I have no problem finding jeans I like, but shorts – as I said in my last contributor post here, I have a hard time finding ones that fit and flatter.

So, start with a pair of jeans. For this particular style, I chose a looser fitting trouser style pair of jeans.

The looser fit through the thighs is important to make sure these don’t end up looking like Daisy Dukes.

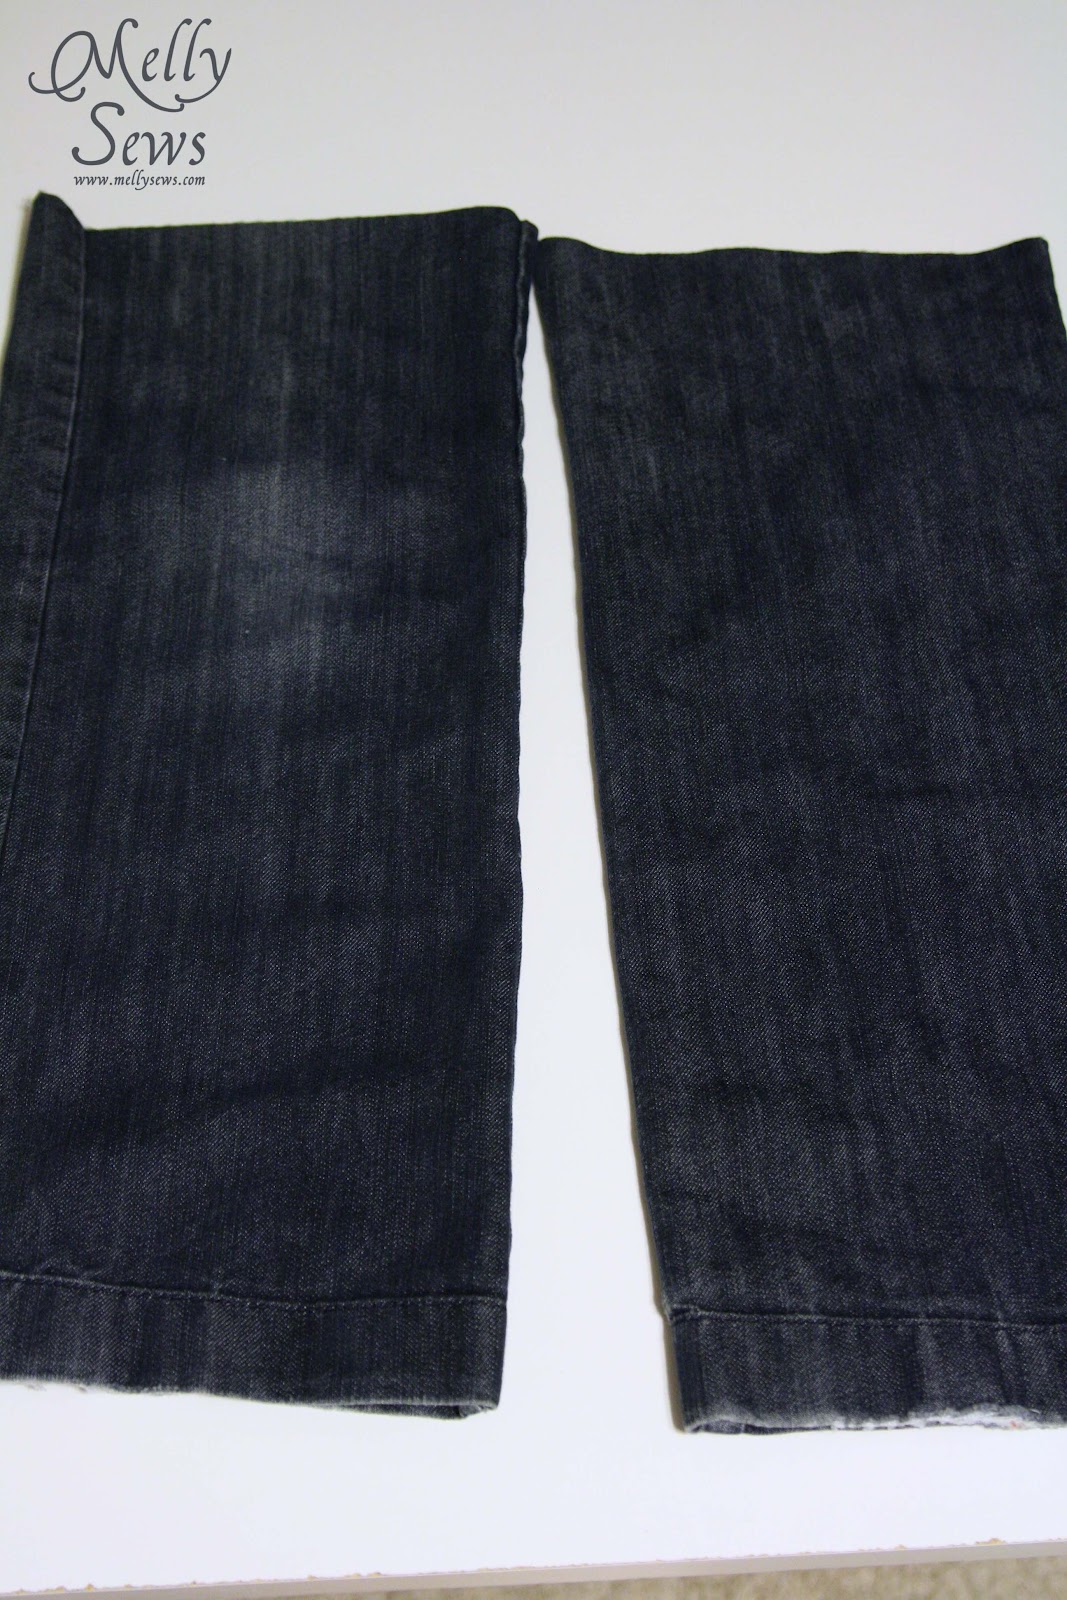
Try on your pants, and mark where you want the shorts to end. Make a long, straight mark. In my case, these pants already had a wear line (from being on a hanger?) right where I wanted them to end, so I used my ruler and made another line 1 1/2 inches below  the fade line.

You’ll probably notice that your straight line you made when standing now looks angled. That’s OK, go with it. Cut one leg on the second line you drew, then fold in half to cut the other leg.

Don’t forget to save those jeans legs to make toddler shorts.

Fold your hems to the inside on your first line. Next, using your seam ripper, open your side seams up to the fold. You’re doing this because almost all jeans are tapered in the thigh (even straight leg jeans) so you have to open the seams so the hems will lie flat. 
Now pin the hems, leaving the seams wider apart at the top edge of the hem as needed to lie flat. 
Stitch your hem in place. This looks best if you find thread that matches the original thread as closely as you can. Tip: Upholstery thread is often readily available and looks a lot like the thread used to sew most jeans. This pair was easy because they were sewn with navy blue.
Finally, to prevent fraying, you can zig-zag stitch the raw seam edges down. Use a thread that matches the fabric if you do this. I outlined my zig-zag stitches below so you can see what I mean. 
And then, enjoy your new shorts – which no one will suspect were once pants.

Thanks for having me!

Keeping It Simple

Filed Under: girls, guest post, refashion, sewing, Uncategorized

Previous Post: « Tasty Thursday: Cookie Salad
Next Post: Guest posts and Studio 5 »

Reader Interactions

Leave a Reply Cancel reply

You must be logged in to post a comment.

This site uses Akismet to reduce spam. Learn how your comment data is processed.

Primary Sidebar

 photo KISsidebaraboutme.jpg

Keeping It Simple Photobucket Keeping It Simple Keeping It Simple Keeping It Simple Keeping It Simple

Copyright © 2023 · Foodie Pro & The Genesis Framework