This post contains affiliate links.
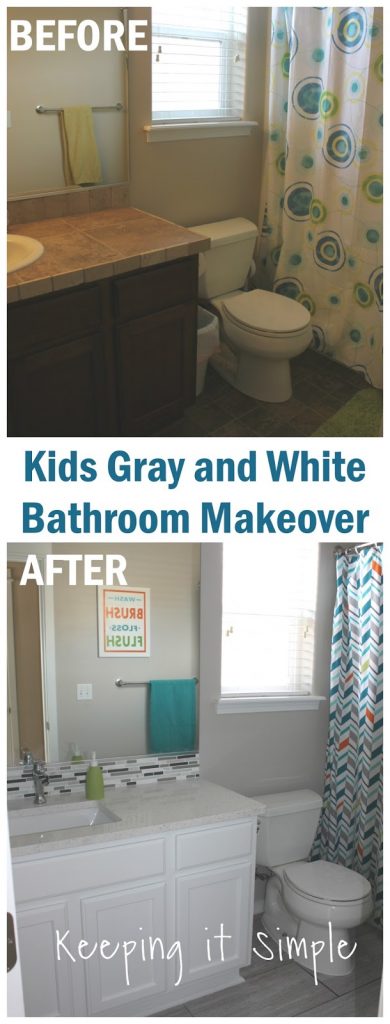
Do you ever do a project and when you are finished that you love it so much that you want to do it to your whole house?! Well while we were redoing our master bathroom I was loving the outcome so much that I wanted to redo my kids’ bathroom too. They have similar features and colors so I knew that it would look amazing in their bathroom as well. I just love how it turned out, it’s so nice and bright and clean and fresh!
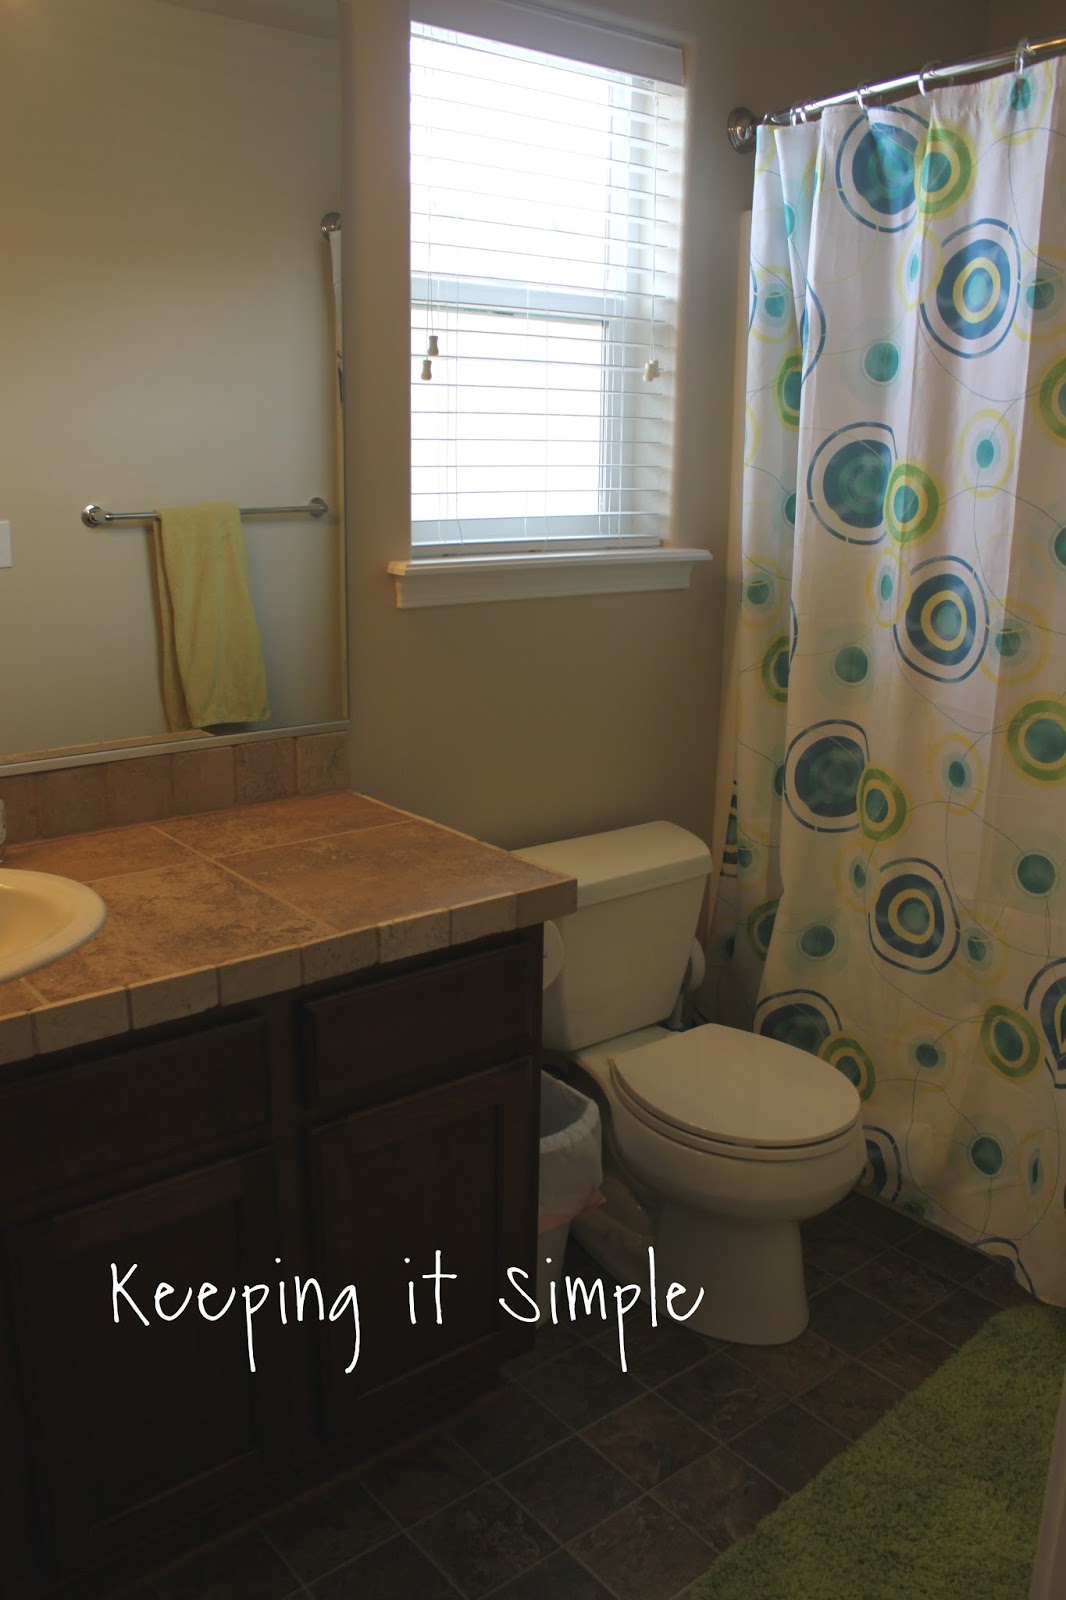
Here is the before picture, the one I took before we really moved in.

And here is the before picture after I decorated a little bit. Very dark, especially since this window is north facing and it never gets direct sunlight. I knew that I needed to do something to it.
This is how we did it. I will give a rough overview of what we did, but I did full tutorials on my master bathroom, so you can check those out to get all the details on how we did it :).
The first thing we started with was the floor. To get the full tutorial on how we installed the floor tiles, go here.
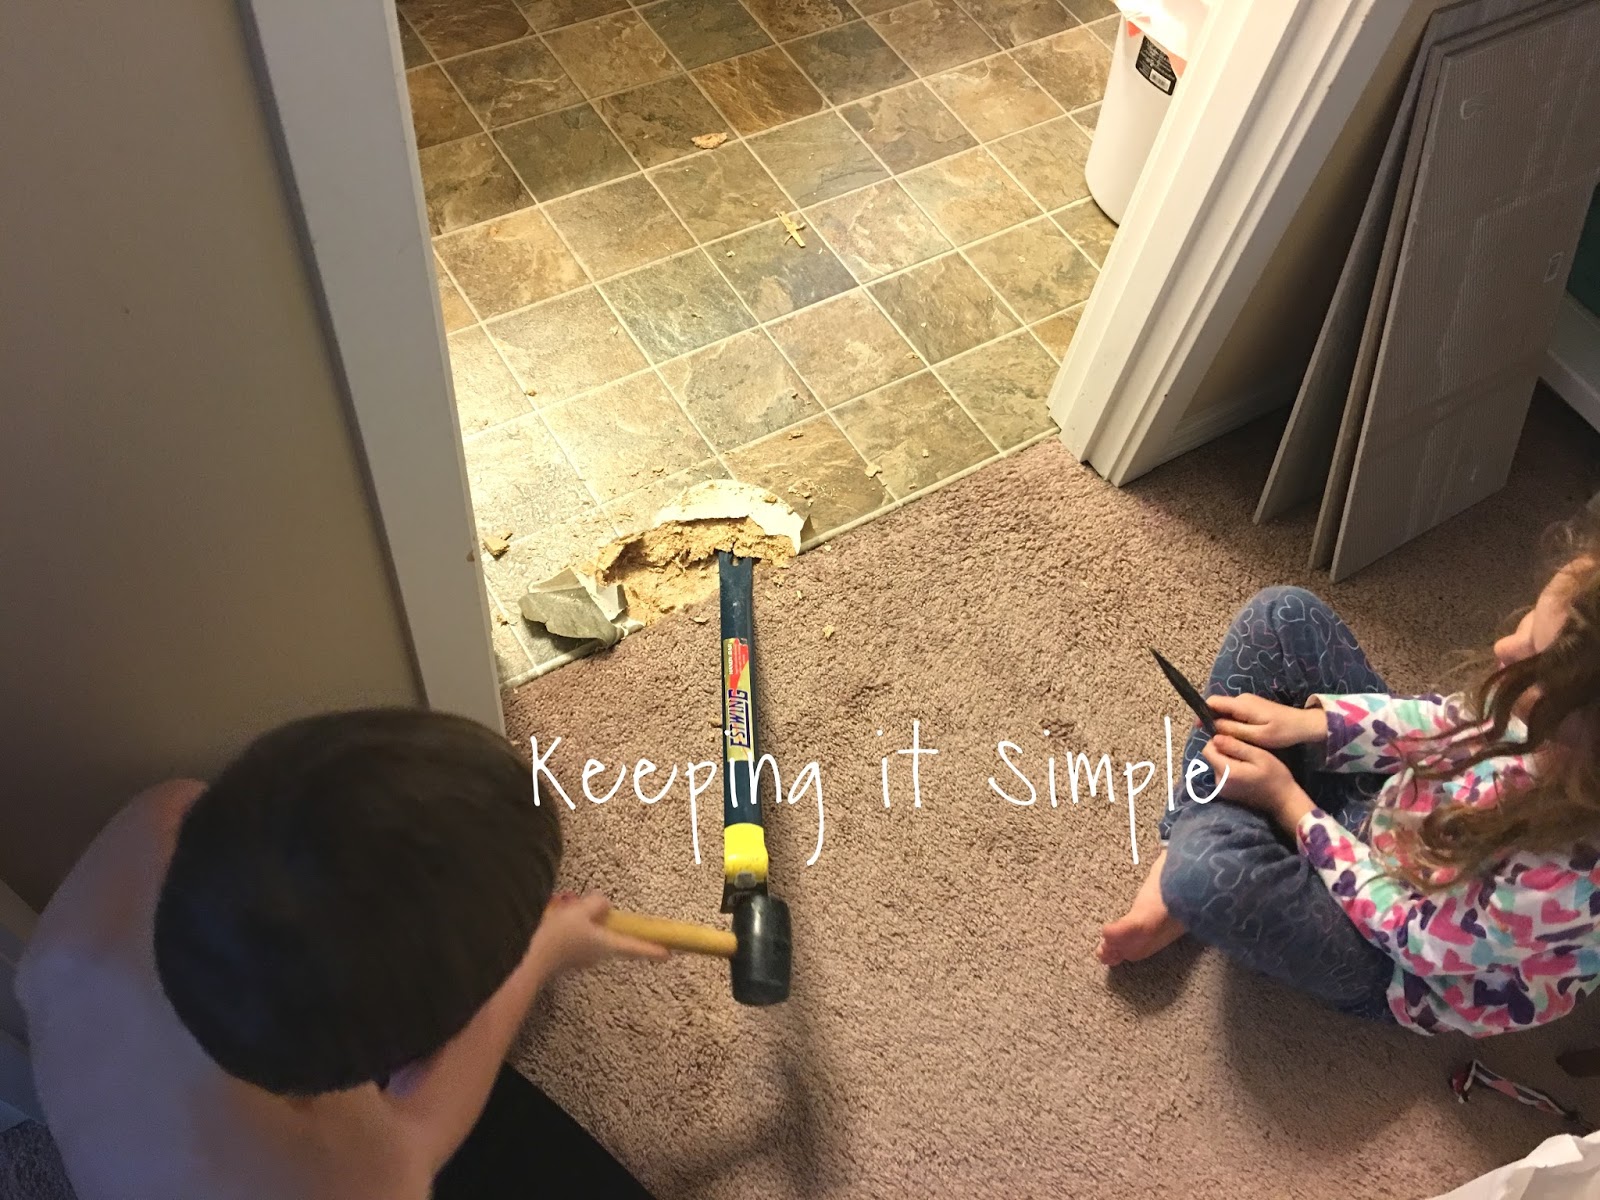
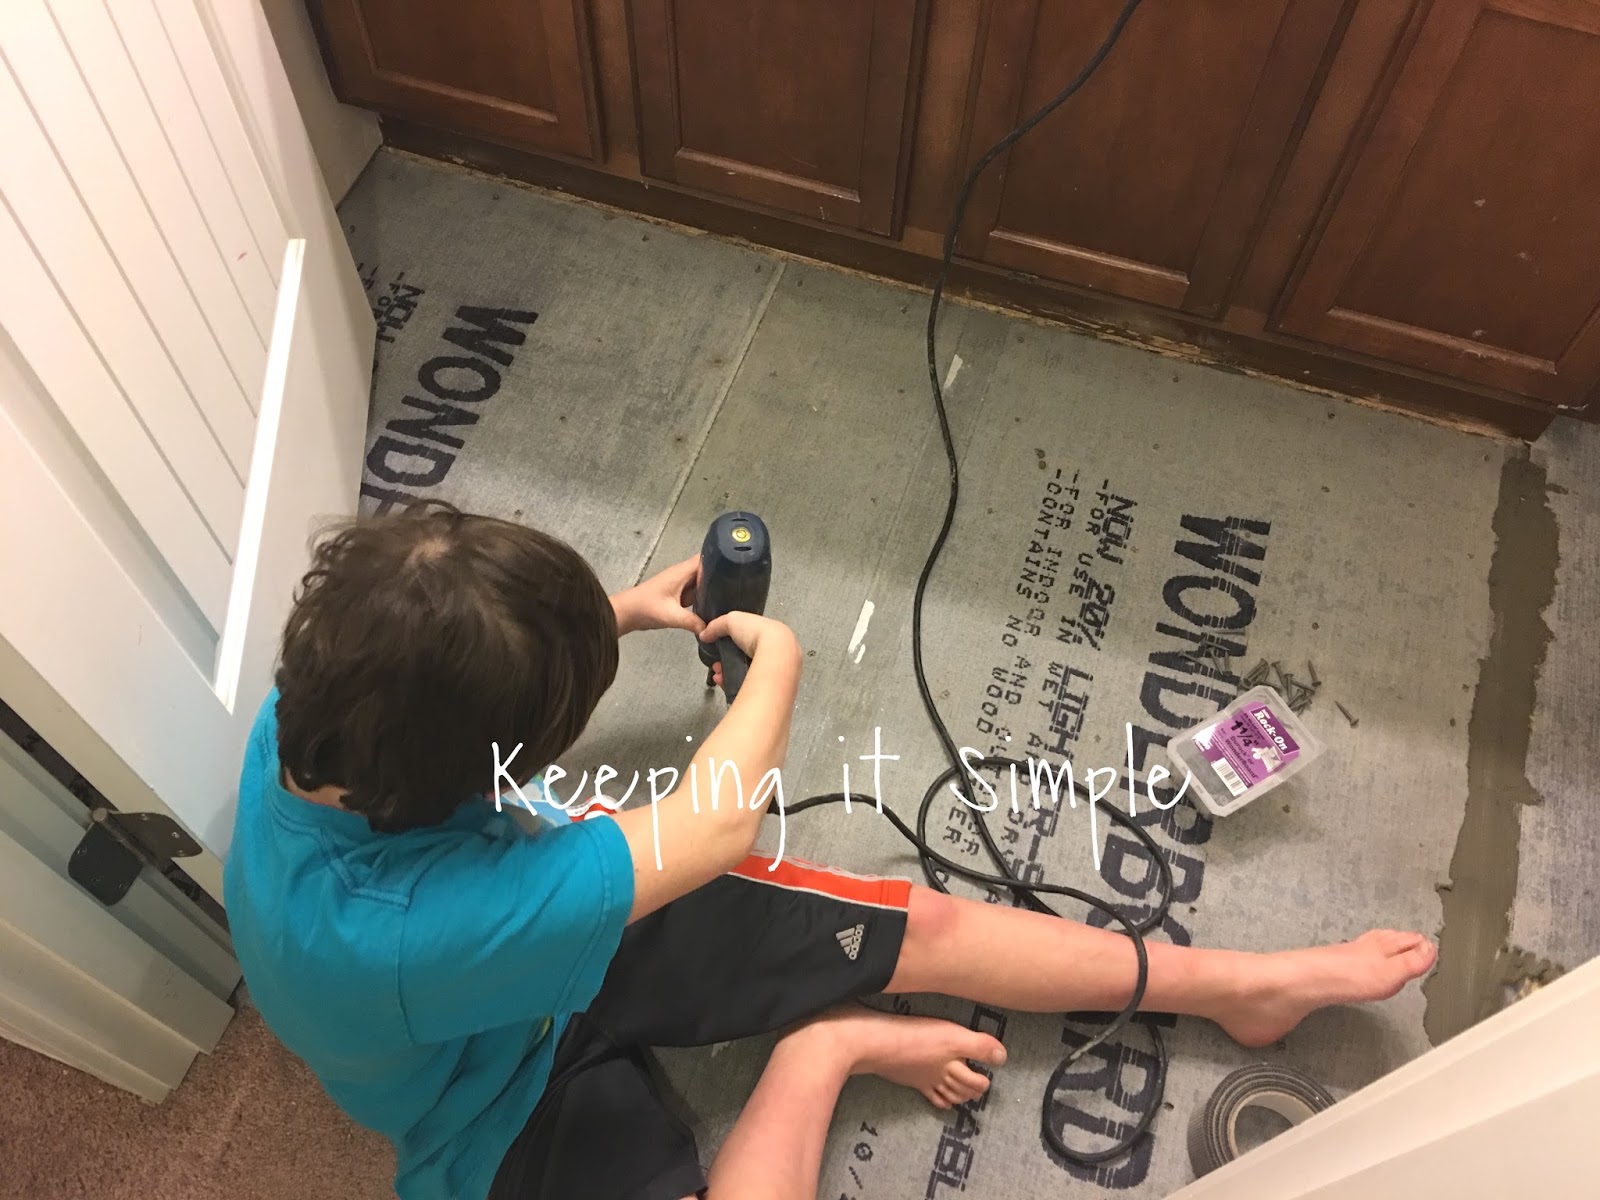
Using a crowbar and a rubber mallet, we took out the floors. I had my kids help me and they loved it. I actually just let them do it themselves while I was doing something else in there.

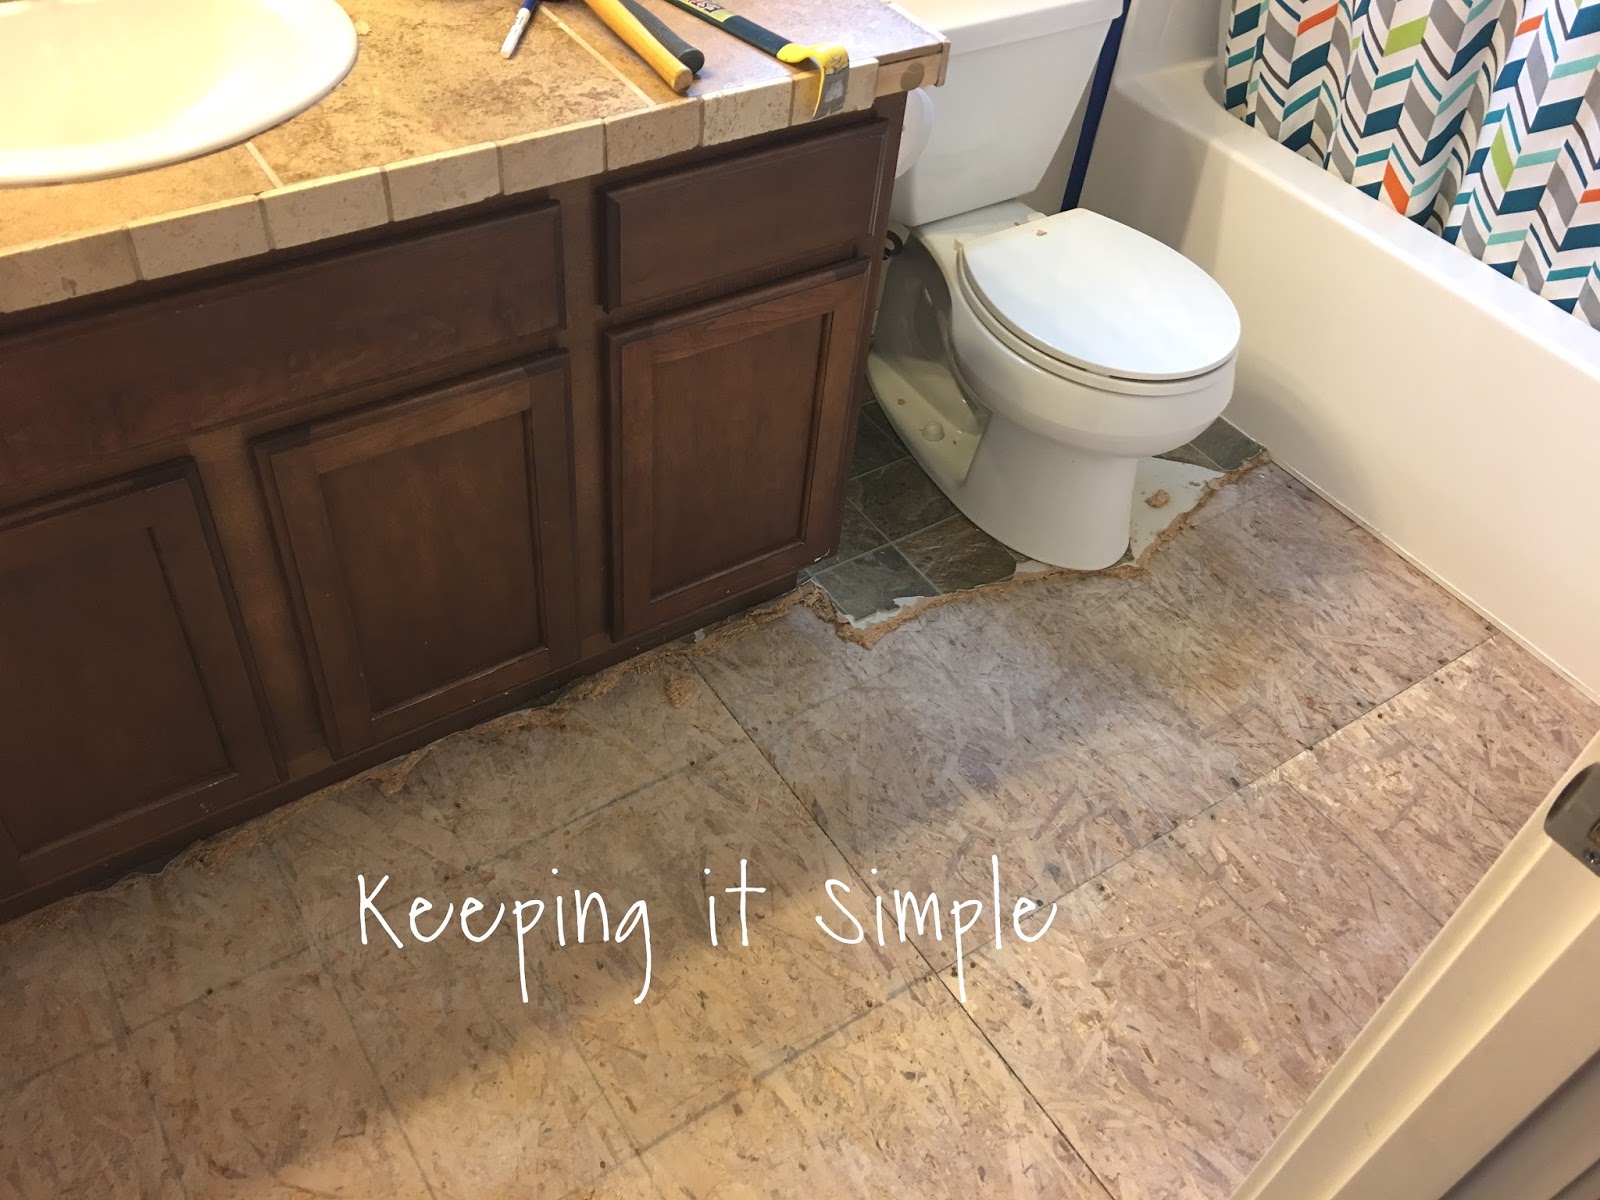
Here is what the floor looks like underneath. We didn’t do the toilet until we were ready to put the backer board on, because it’s no fun having one less toilet!
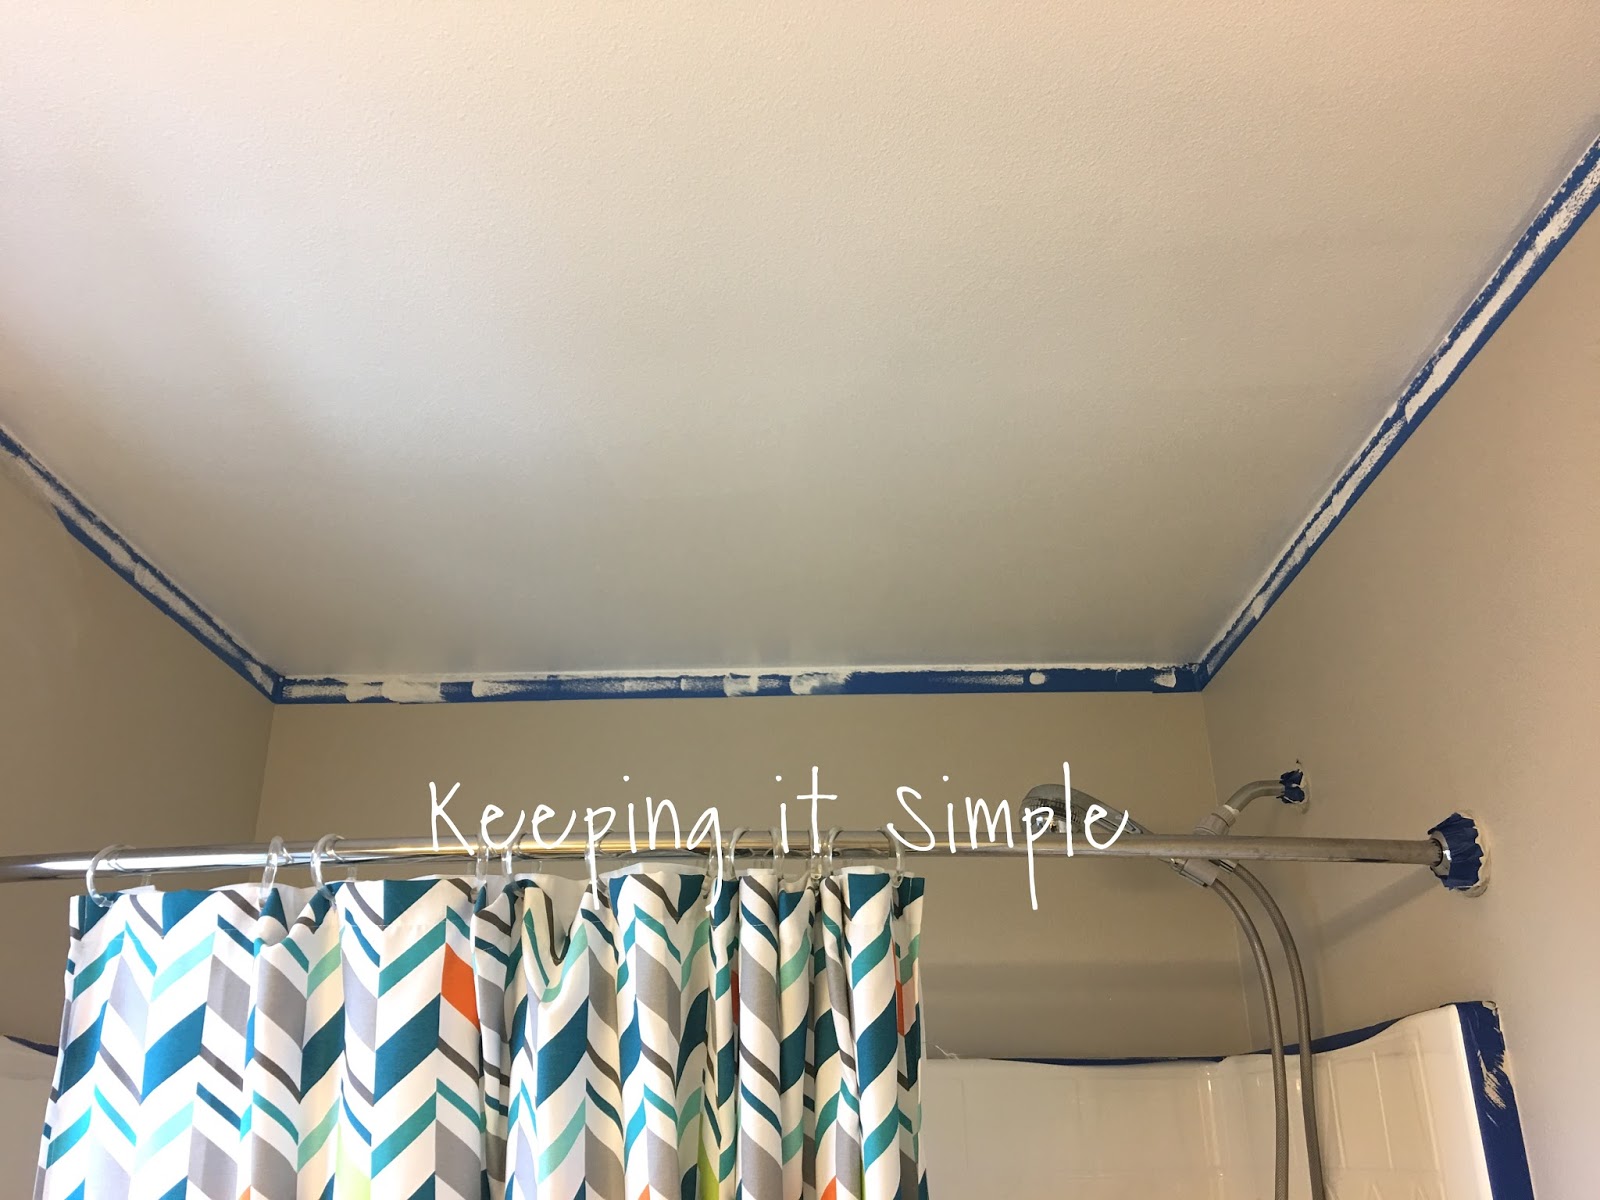
While the floor was ripped up, I decided to tape and then paint the walls and ceilings. I used the color Worldly Gray from Sherwin Williams and then a basic white paint with a flat finish for the ceiling.
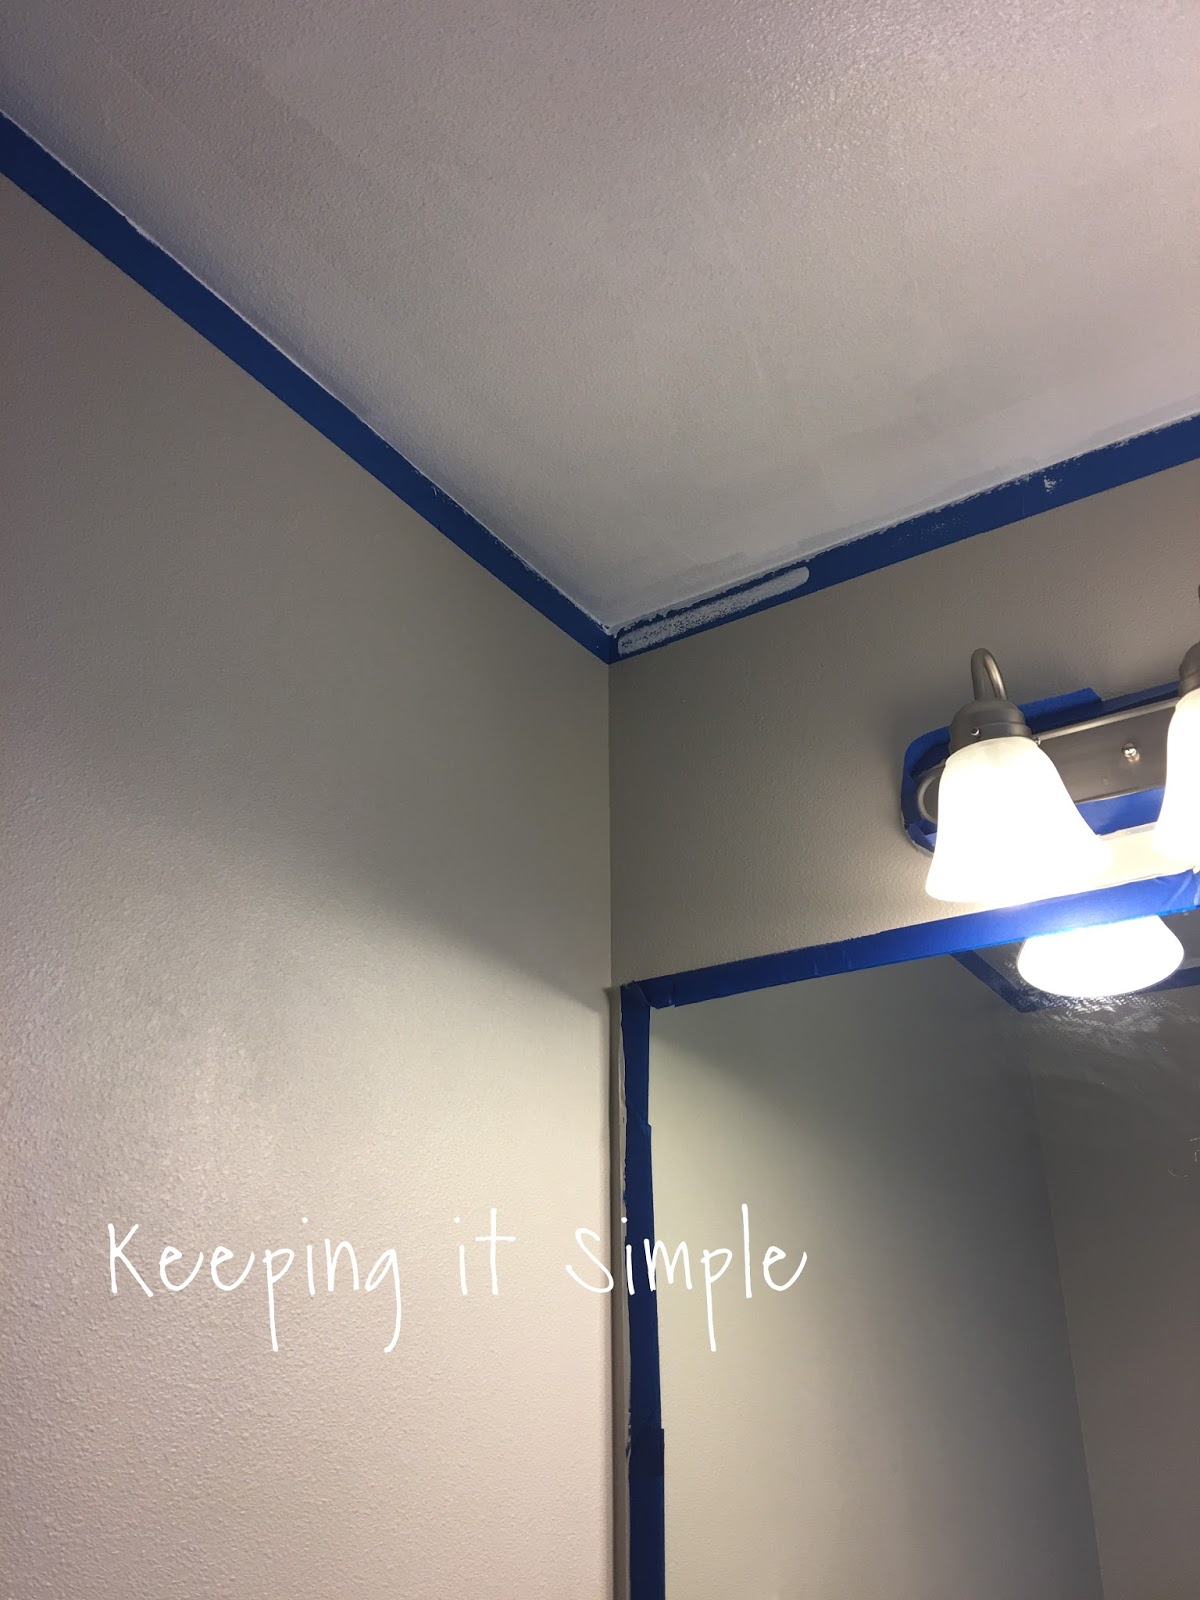
Here’s more pictures of the paint.
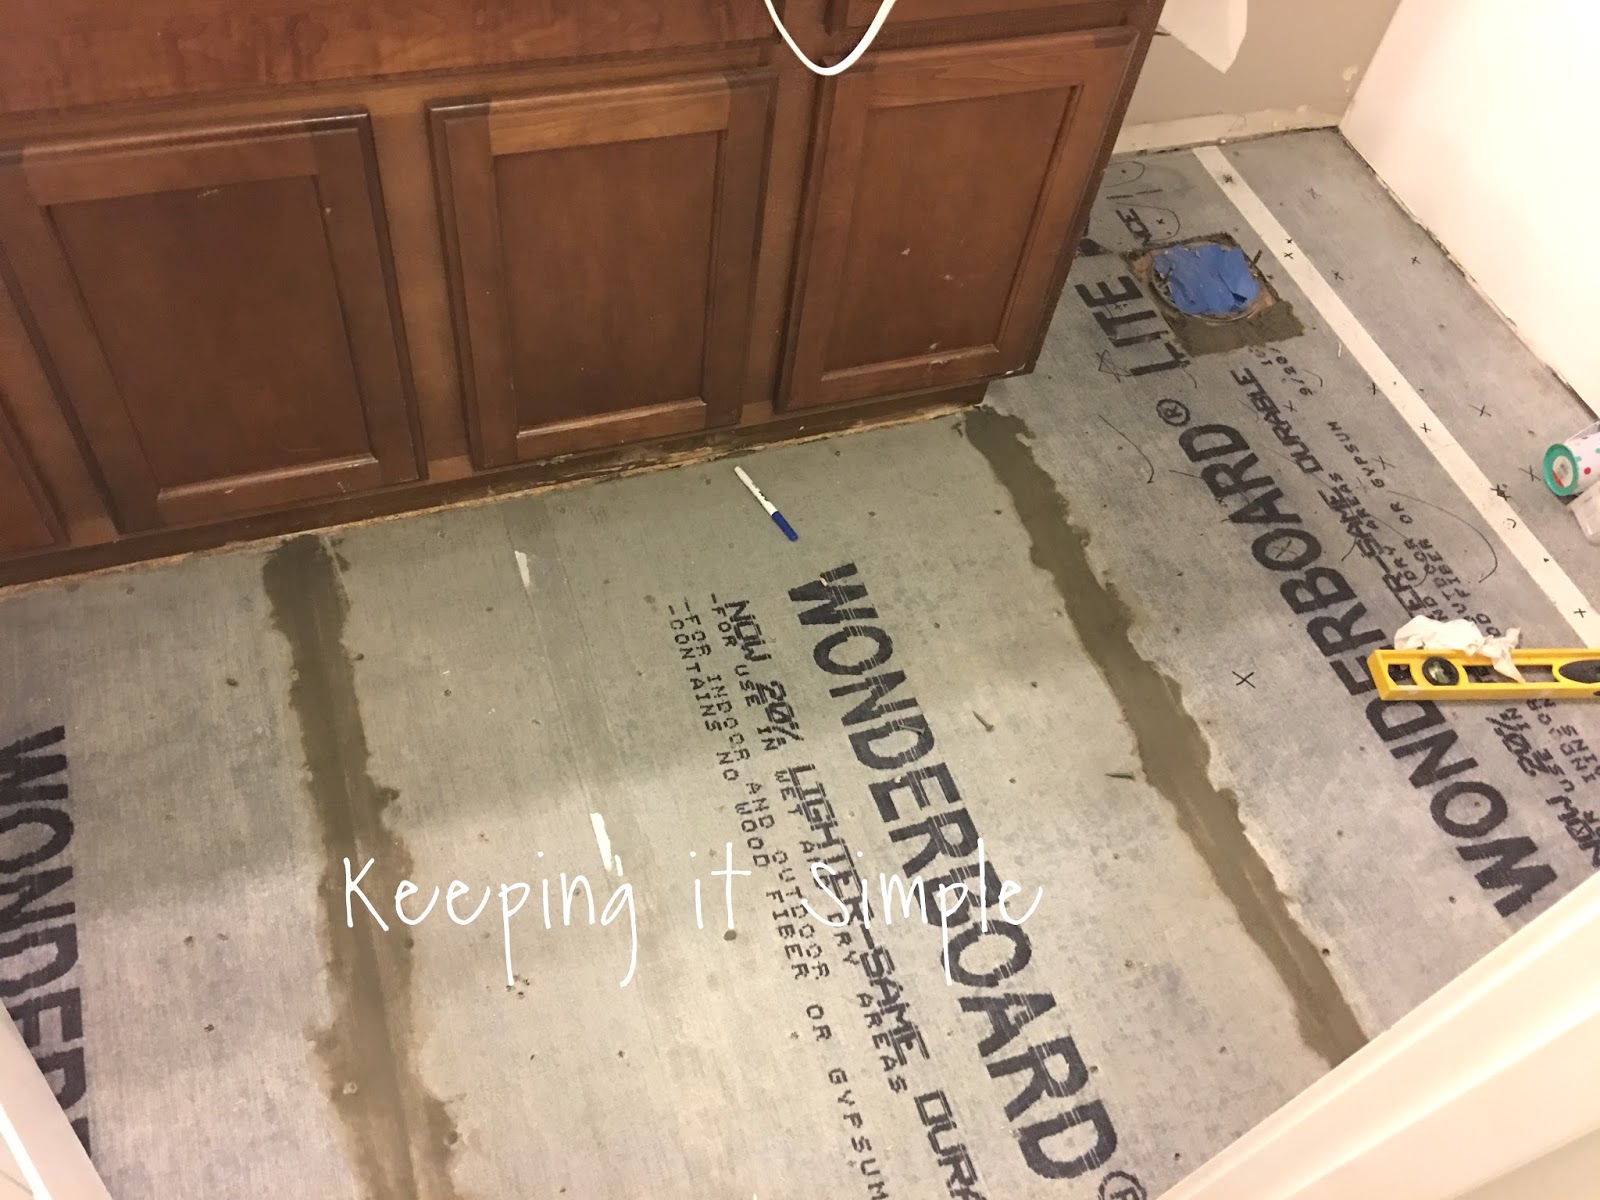
The next thing we did was worked on the floor again. We took a 1/4″ backer board and then cemented it in and then screwed it in. For all the details for this process make sure to check out my tutorial on tiling floors.
Here is what the floor looked like with the backer board on. 
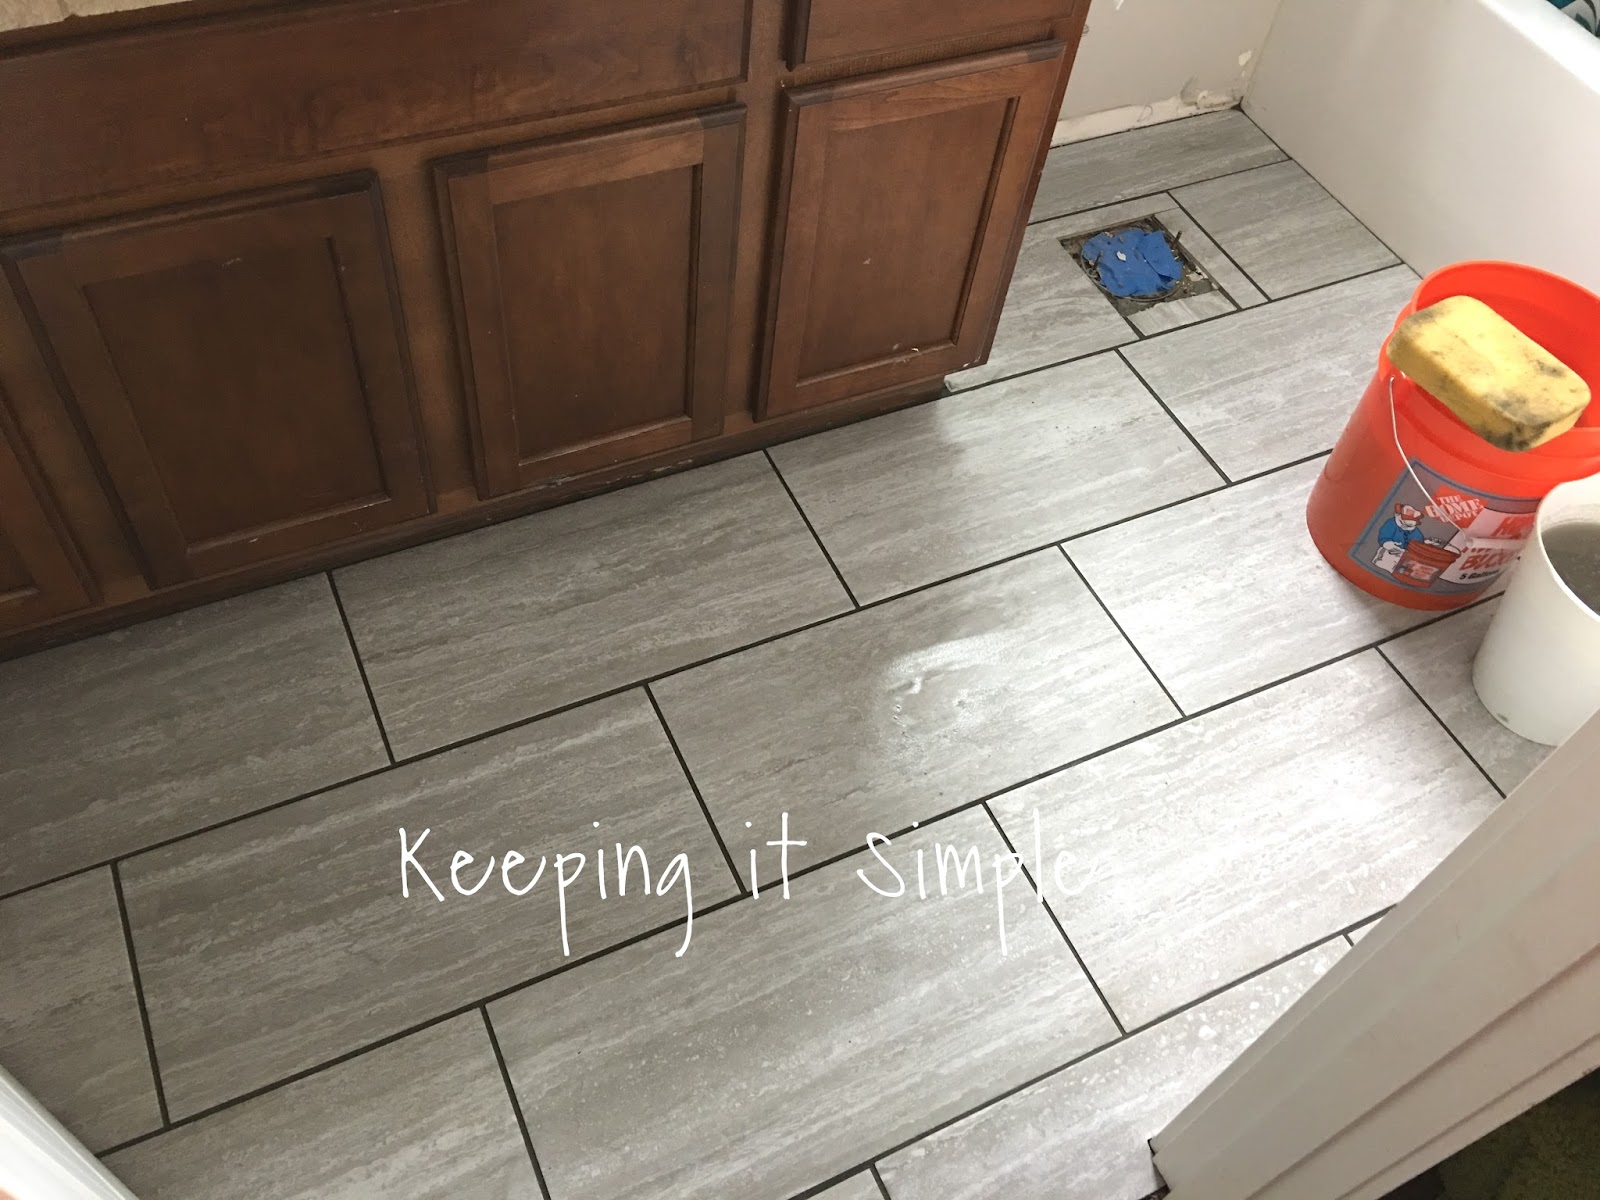
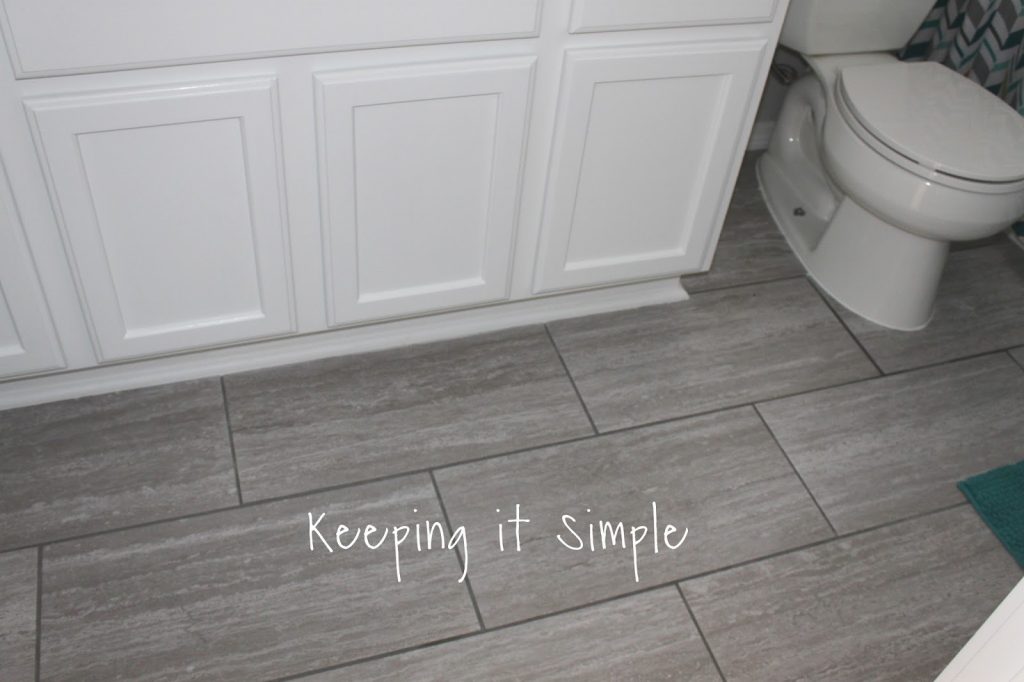
Next it was time for the tile. We used a 12×24 porcelain gray tile for the floor and I just love it!
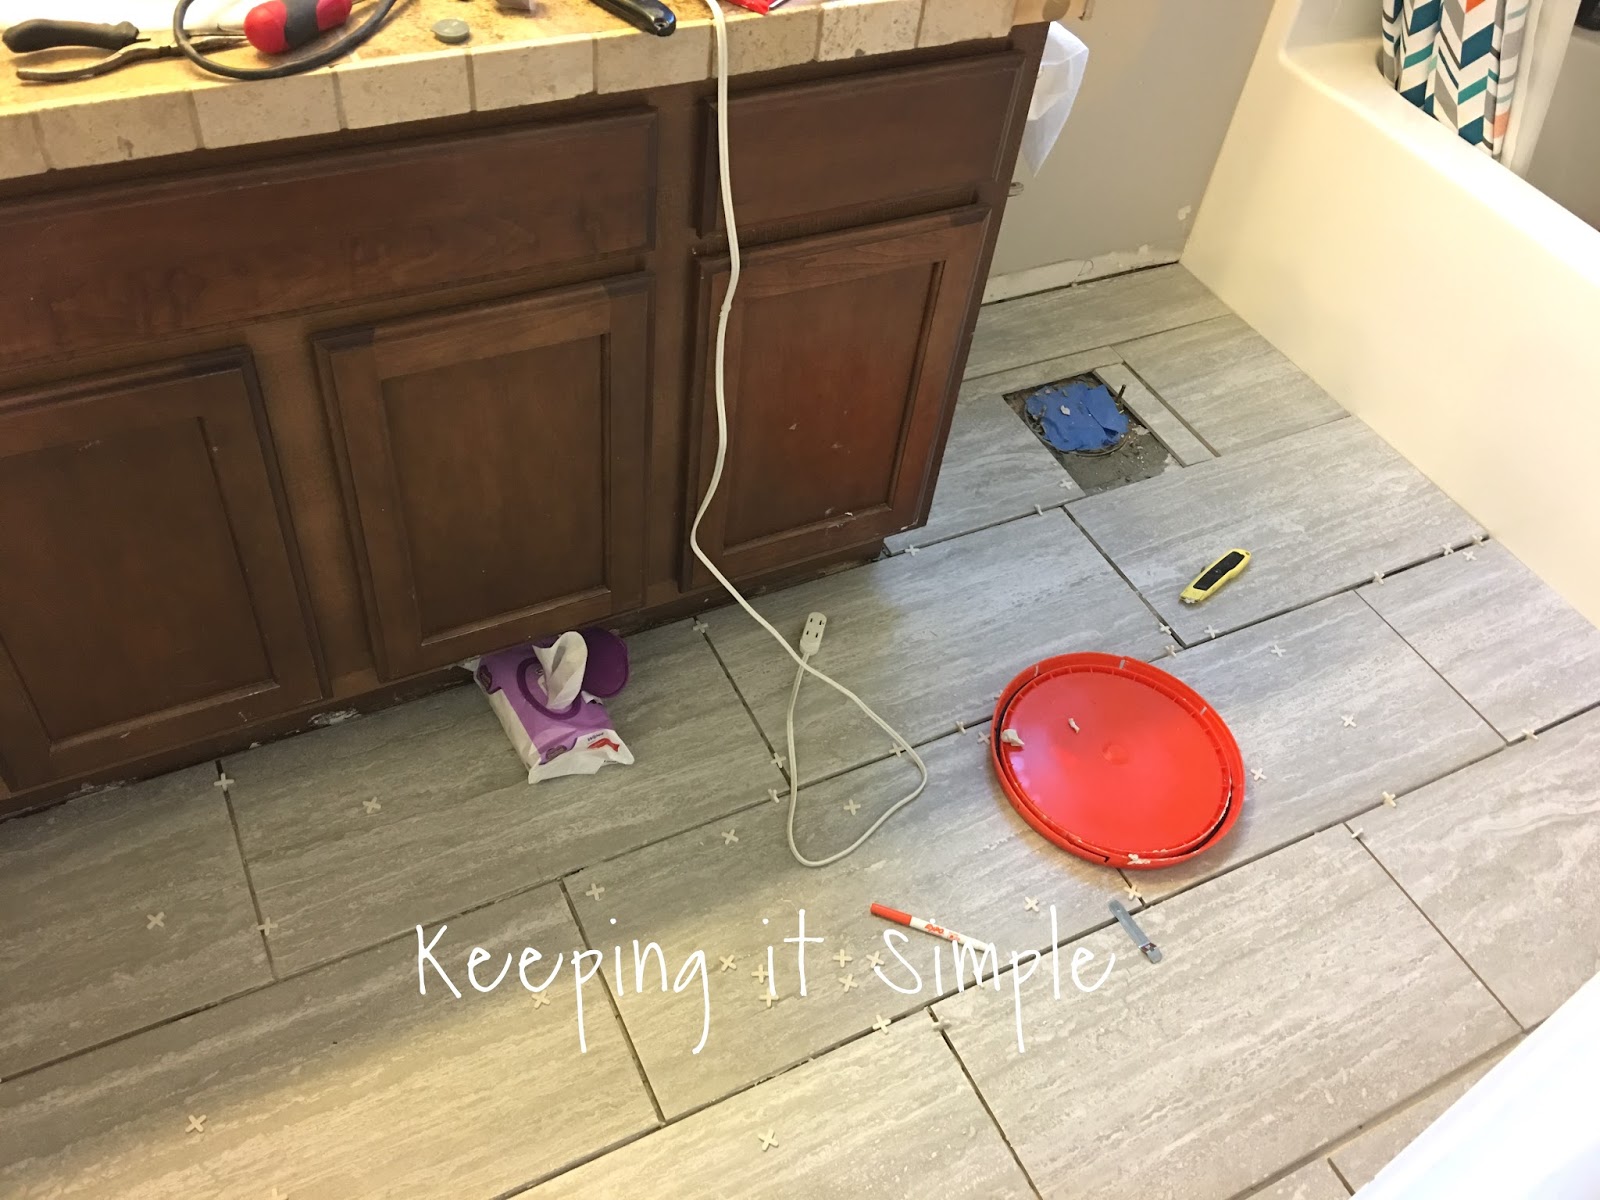
Once all the tiles were in we then grouted it with a natural gray color grout.
Once the floor was done it was time to focus on the ugly vanity. I did it at the same time as my master bathroom and you can see the full tutorial here. I took off all of the drawers and doors and then cleaned and sanded the surfaces.
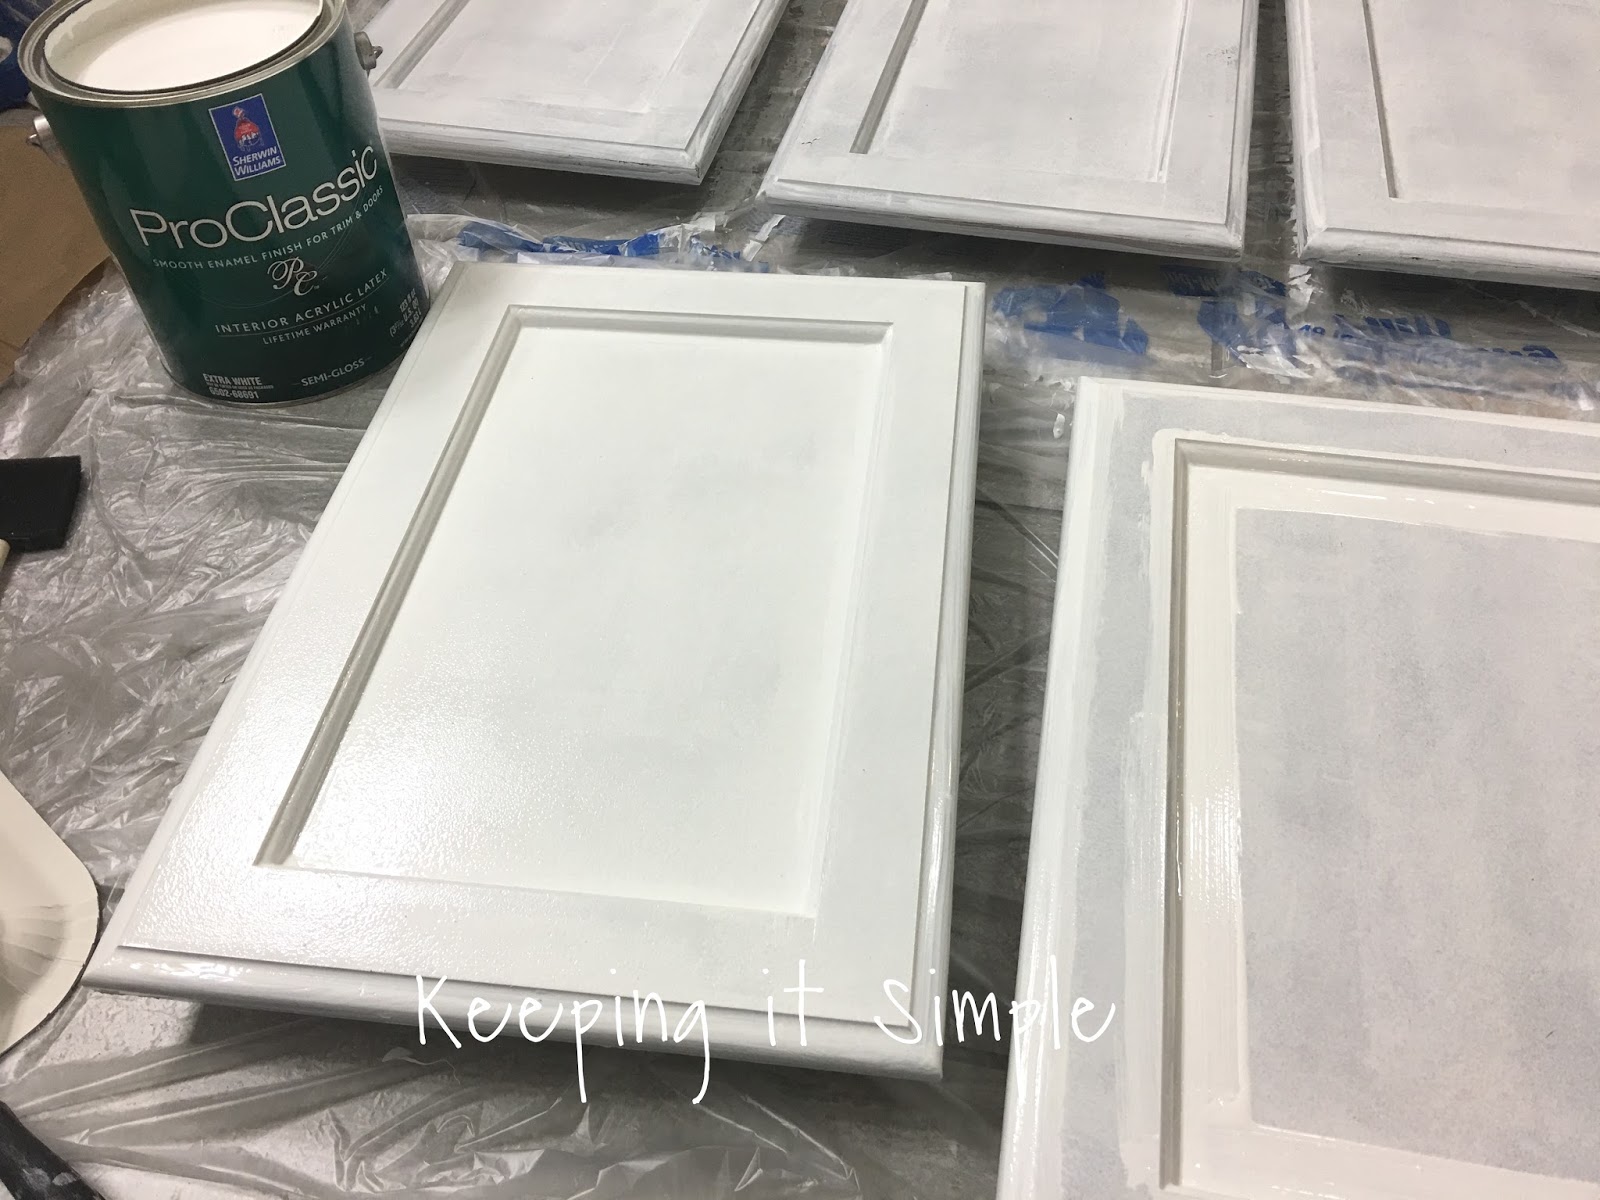
I primed the doors and drawers with a primer. I did two coats on them.

Once they were dry, I did two coats of Pro Classic white paint.
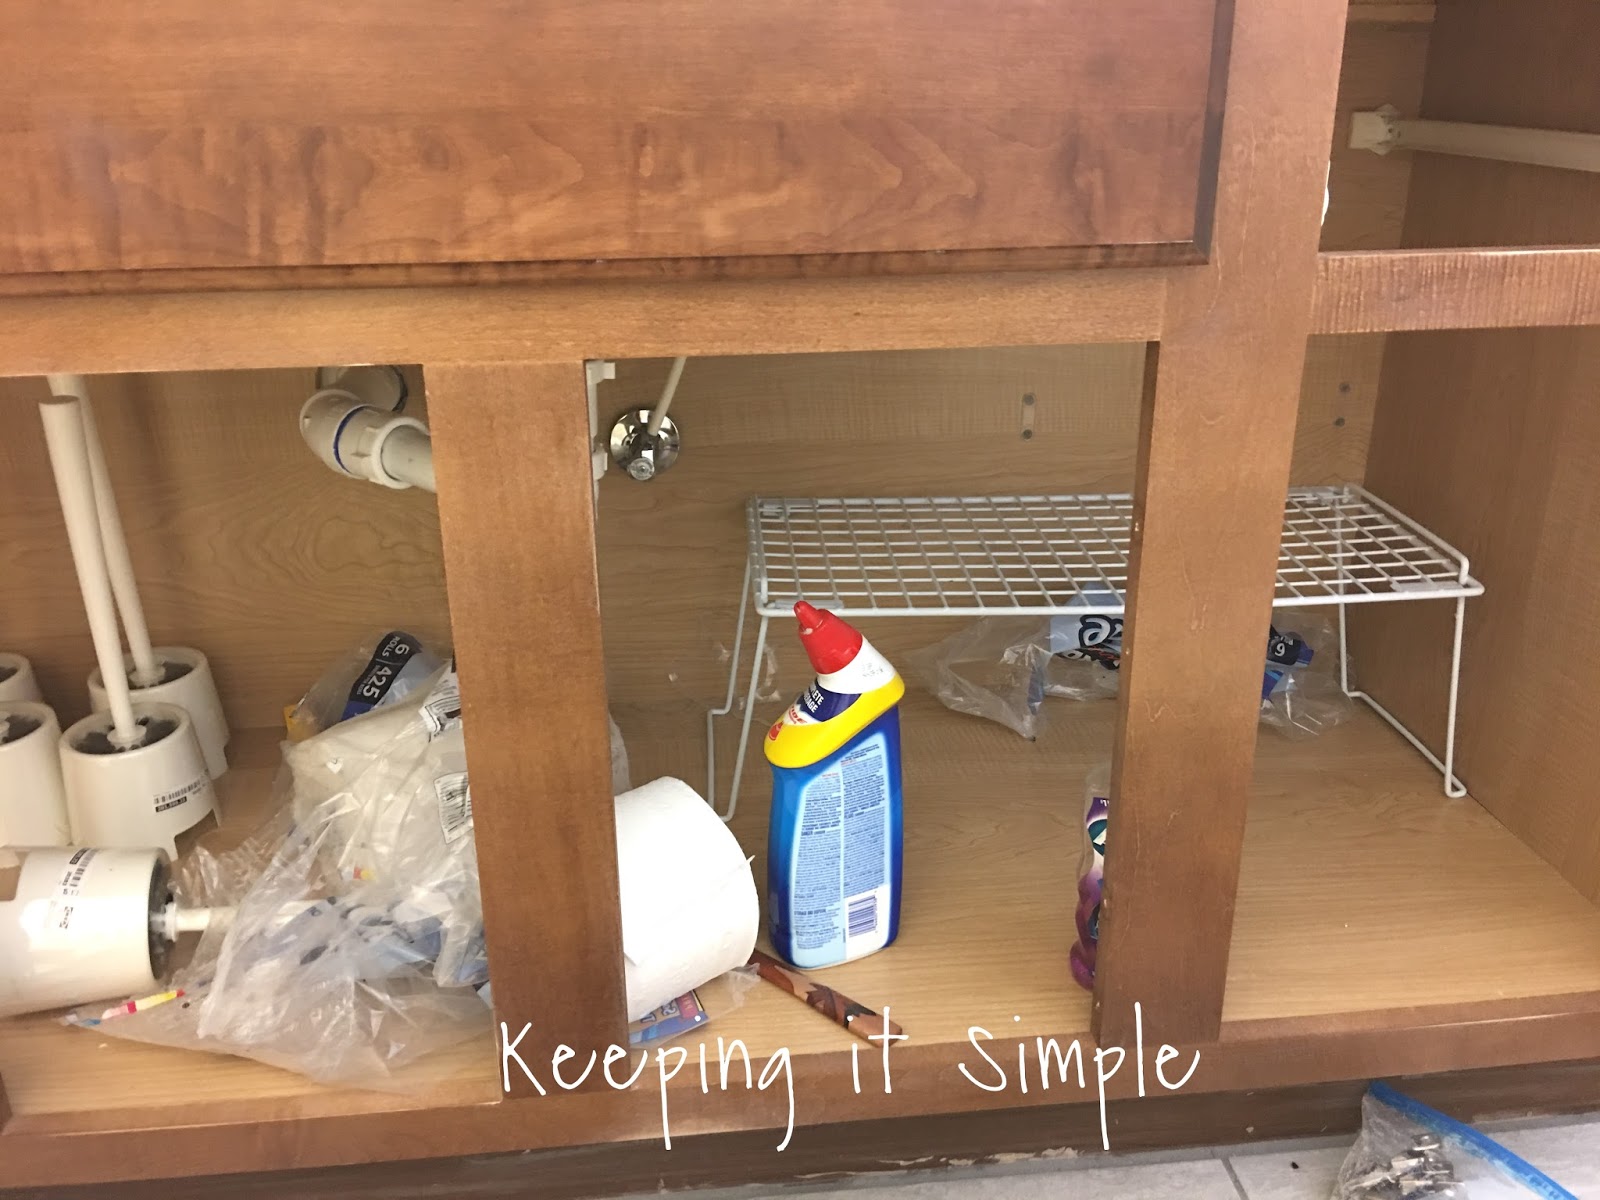
To prepare for the counter top, we took off the old and ugly tiled one (it always drove me crazy!). Once the top was off I then started working on painting the vanity. 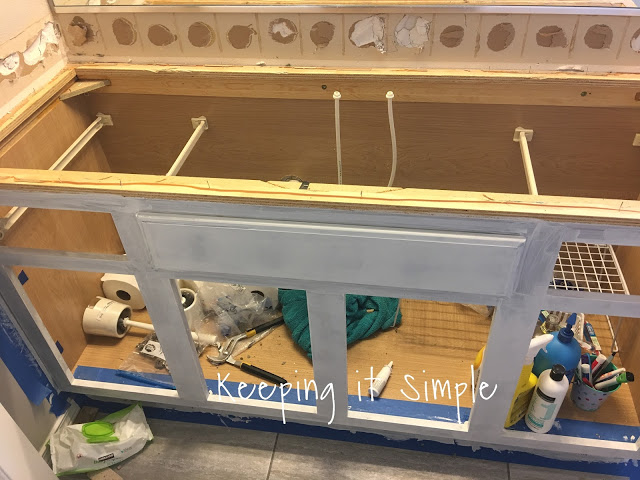

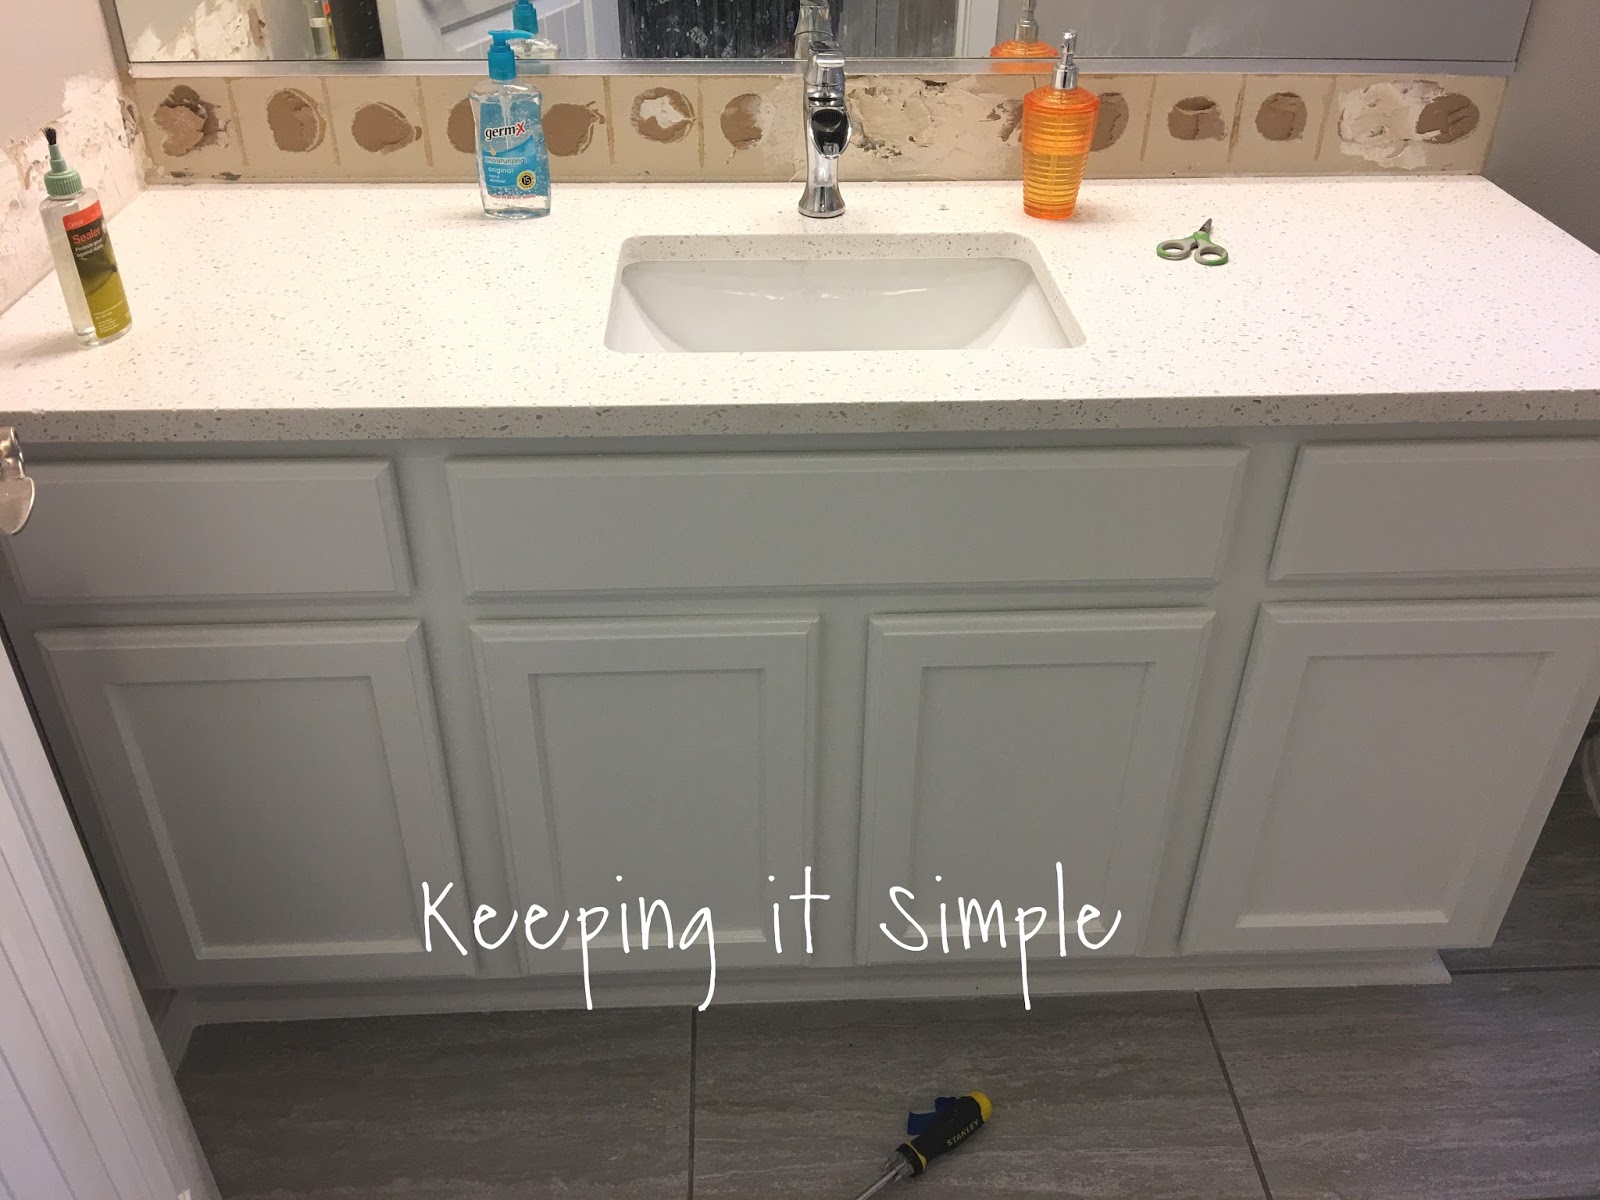
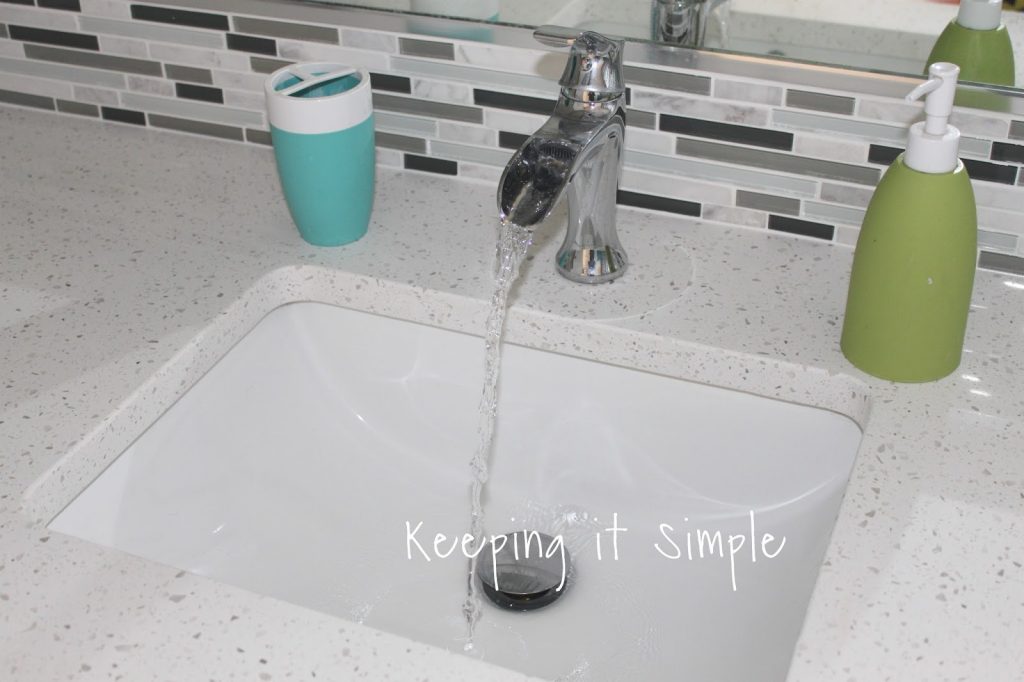
Once the vanity was painted, we then had the counter tops installed. We got a quartz called Iced White and I LOVE it!

I then put the doors and drawers back onto the vanity, isn’t it looking amazing?! I just love how bright it is!
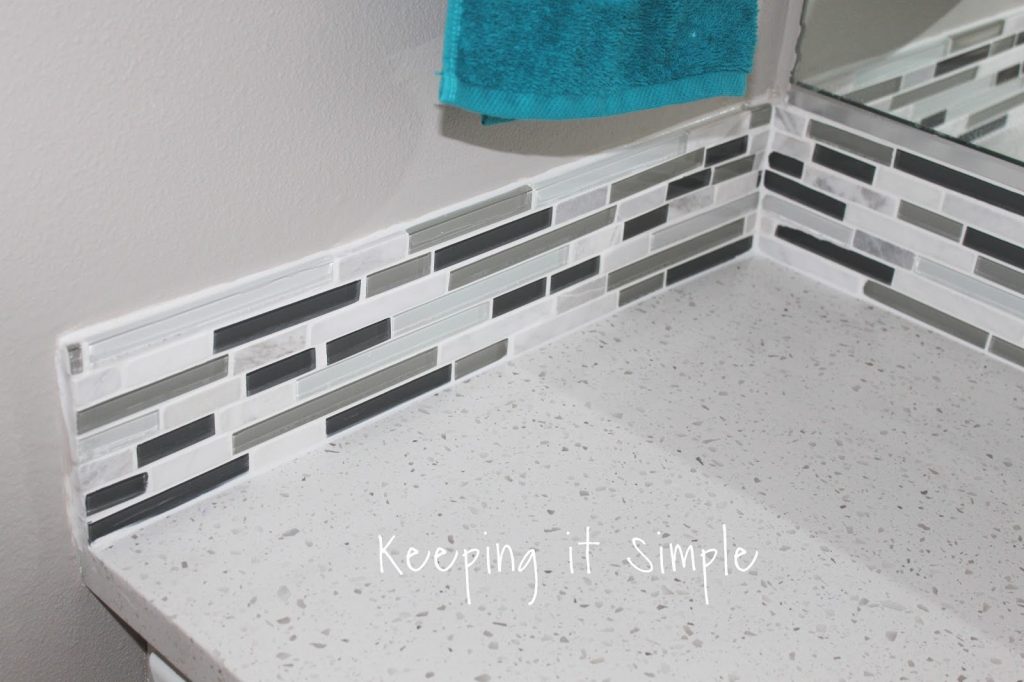
We then worked on the back splash. You can get all the details on how we did that if you go to this tutorial. We used a mosaic tile for the back splash.
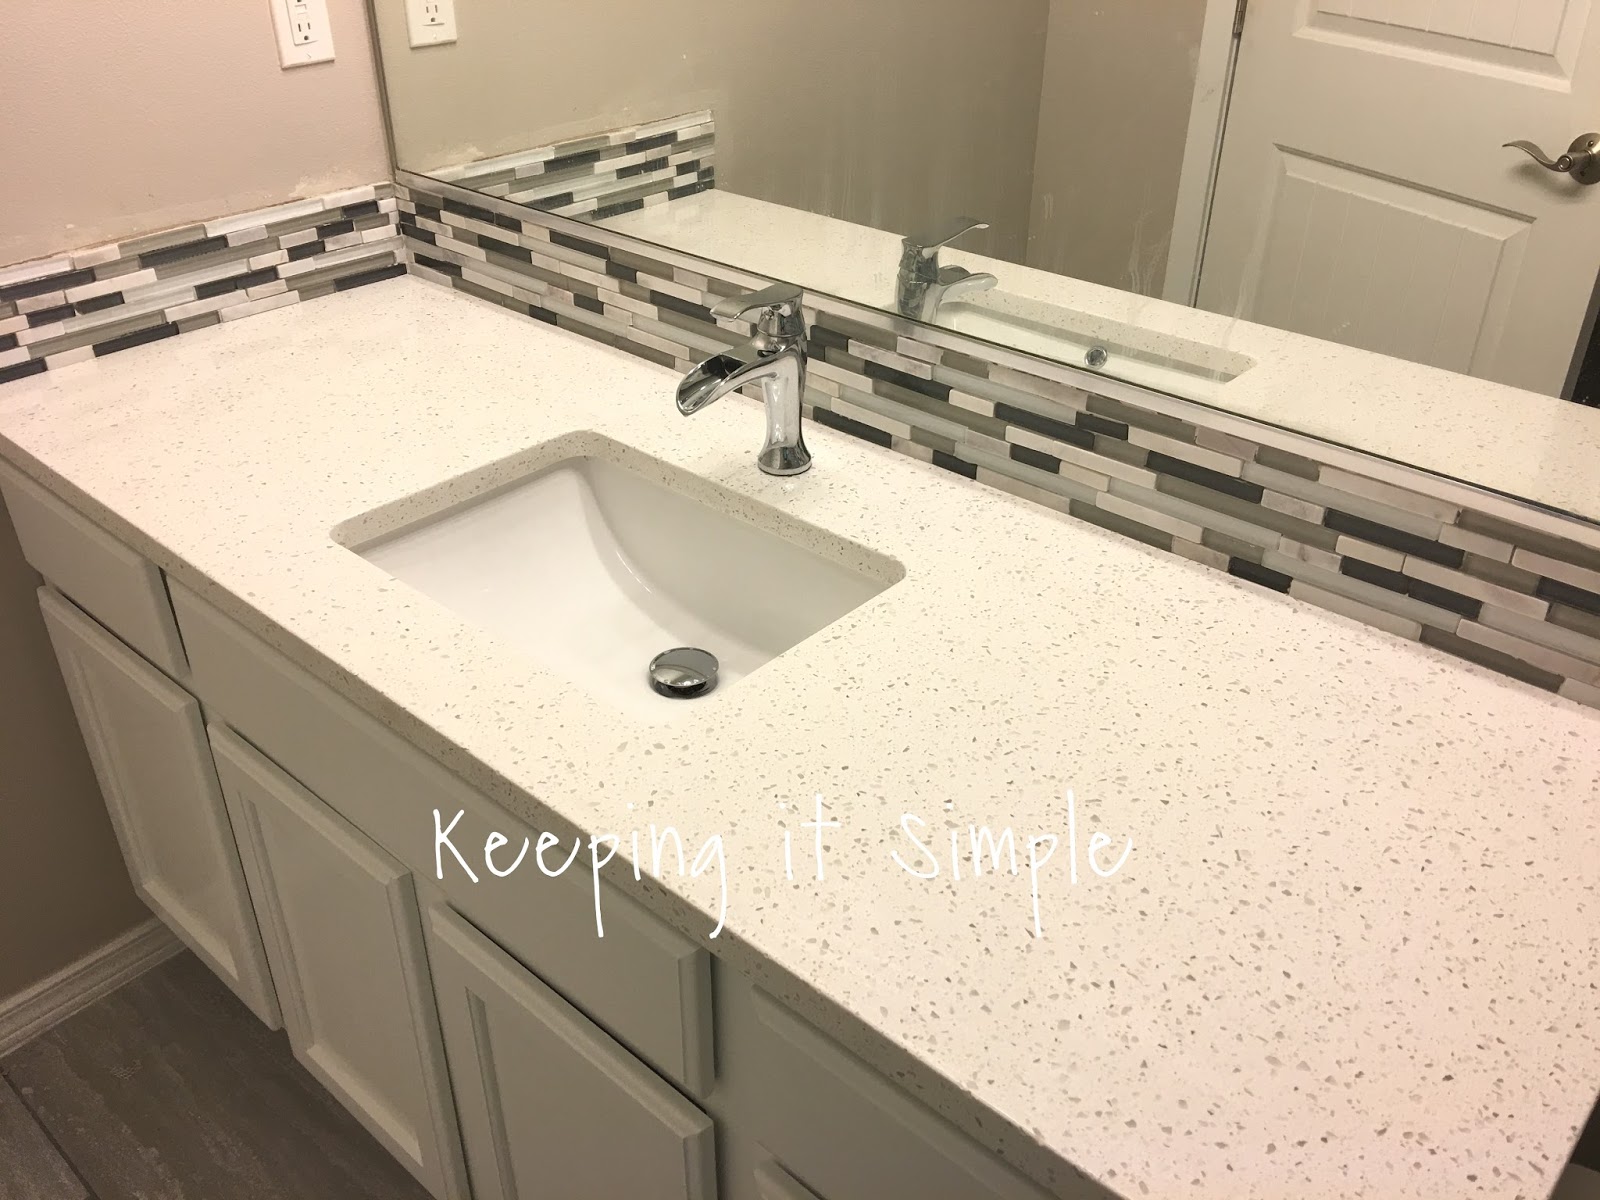
We then grouted the back splash and then caulked the edges and did paint touch ups.

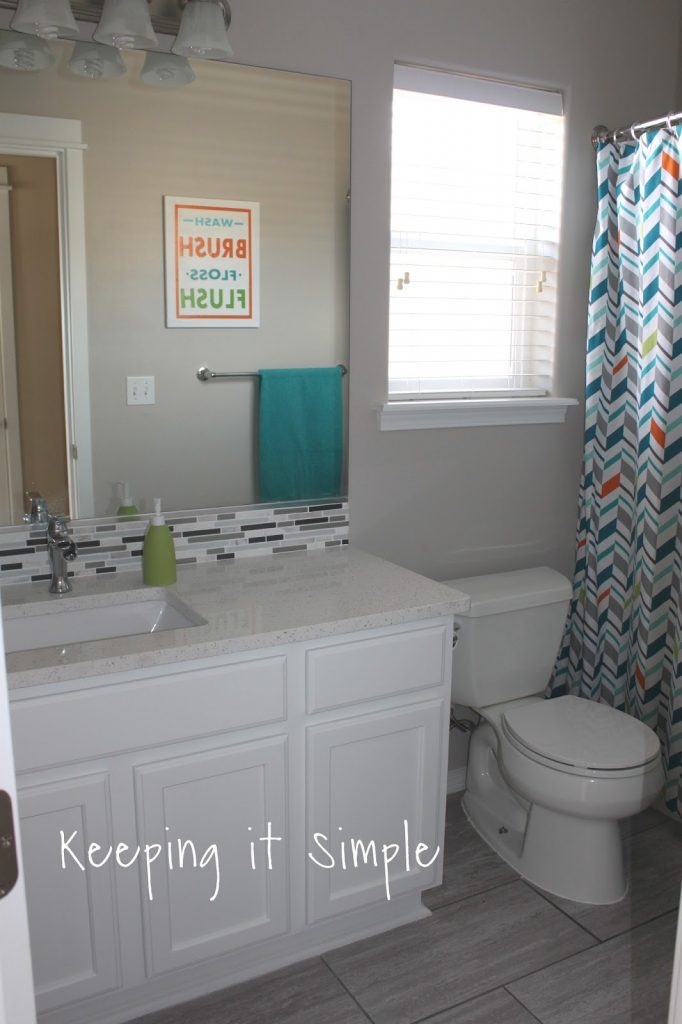
And that’s it! Doesn’t it just look amazing?! I love it so much. And since it was a kids’ bathroom I decided to do lots of fun colors in there to make up the white and gray colors in the tiles and vanity.
My favorite thing is the vanity for sure, I just love it so much!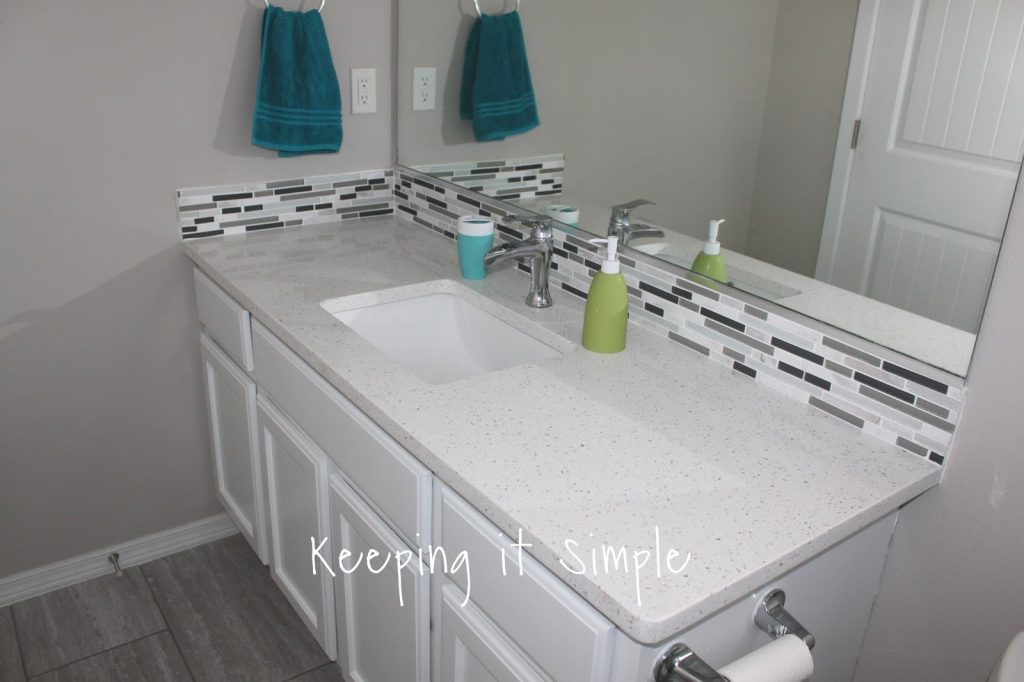
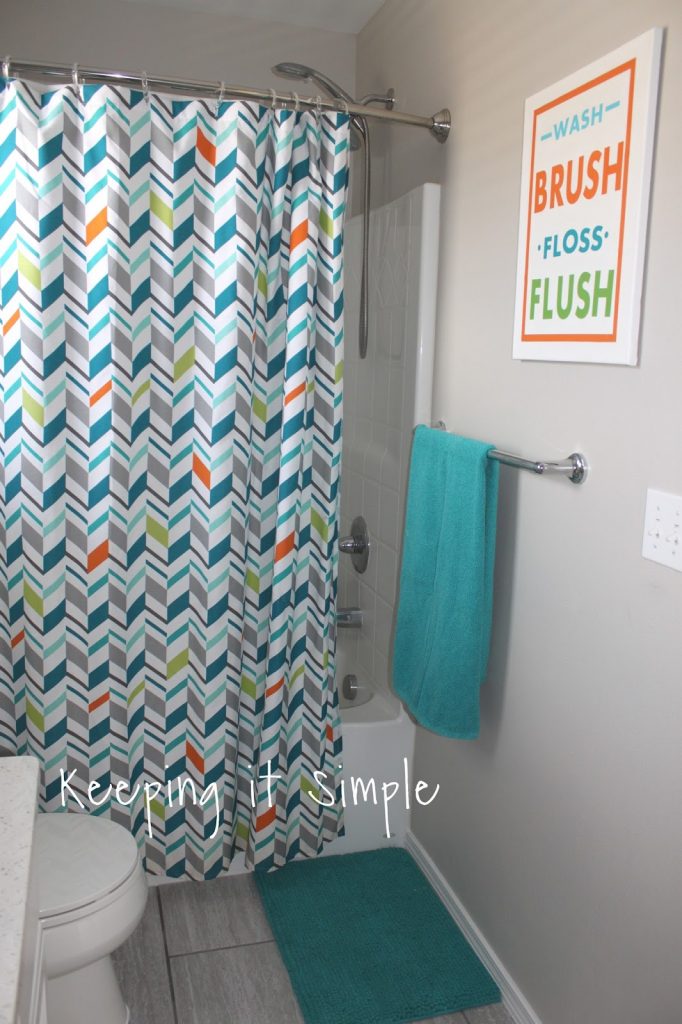
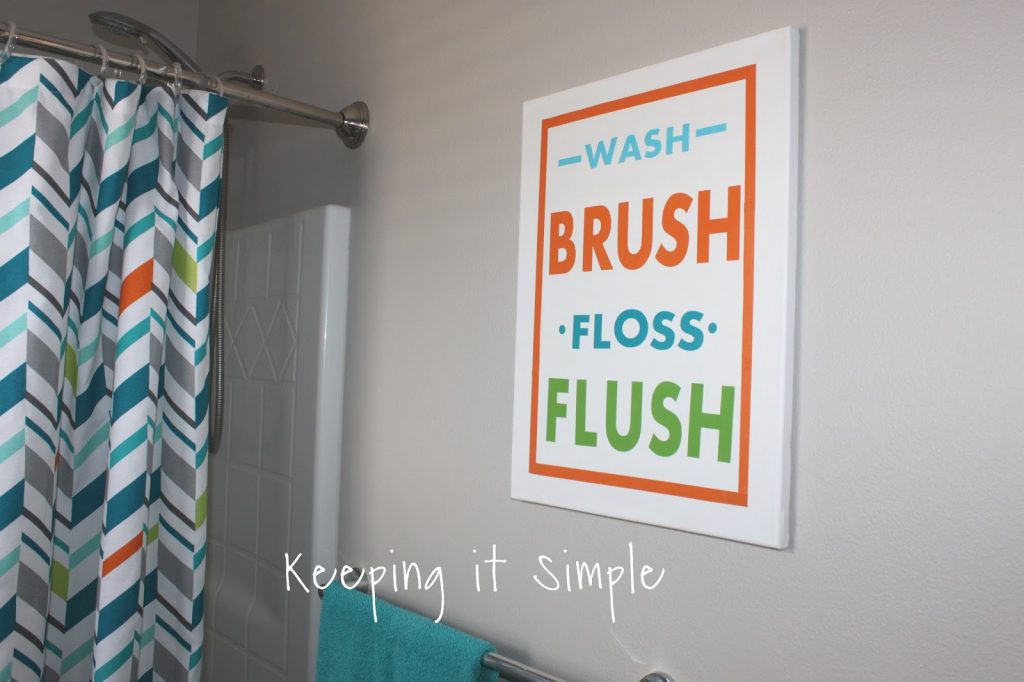
I made a cute little sign to on the wall and I used the colors to match the fun shower curtain in there.
Here is a close up of the back splash, I just love it.
And here is the flooring. Tile is so much better than linoleum that’s for sure.
We went with a fun waterfall faucet in there and a pop up/down drain.
Isn’t it amazing the difference in the bathroom?! I seriously love it and so glad that we did it. This room took us about a week to do :).
Here are a few more DIY ideas:

Leave a Reply
You must be logged in to post a comment.