Silhouette has a promotion going on right now!! You can get the machine and the rhinestone starter kit all for $229. The starter kit has everything you need to start making shirts like this! If you don’t need the machine, all their rhinestones and paper are 30% off. Or you can get the rhinestone bundle for just $34.99! Just use SIMPLE in the code box when you checkout! Good only through the 27th.
The bundle comes with:
SD Silhouette Machine2 sheets of rhinestone template material2 sheets of rhinestone transfer tape2 rhinestone backing boards1 rhinestone placement brush1 CD of rhinestone images1 pack of clear 10ss rhinestones1 pack of clear 16ss rhinestones1 pack of clear 20ss rhinestones1 pack of pink 10ss rhinestonesand1 Pick-Me-Up toolThis is a prefect gift for Mother’s Days!!
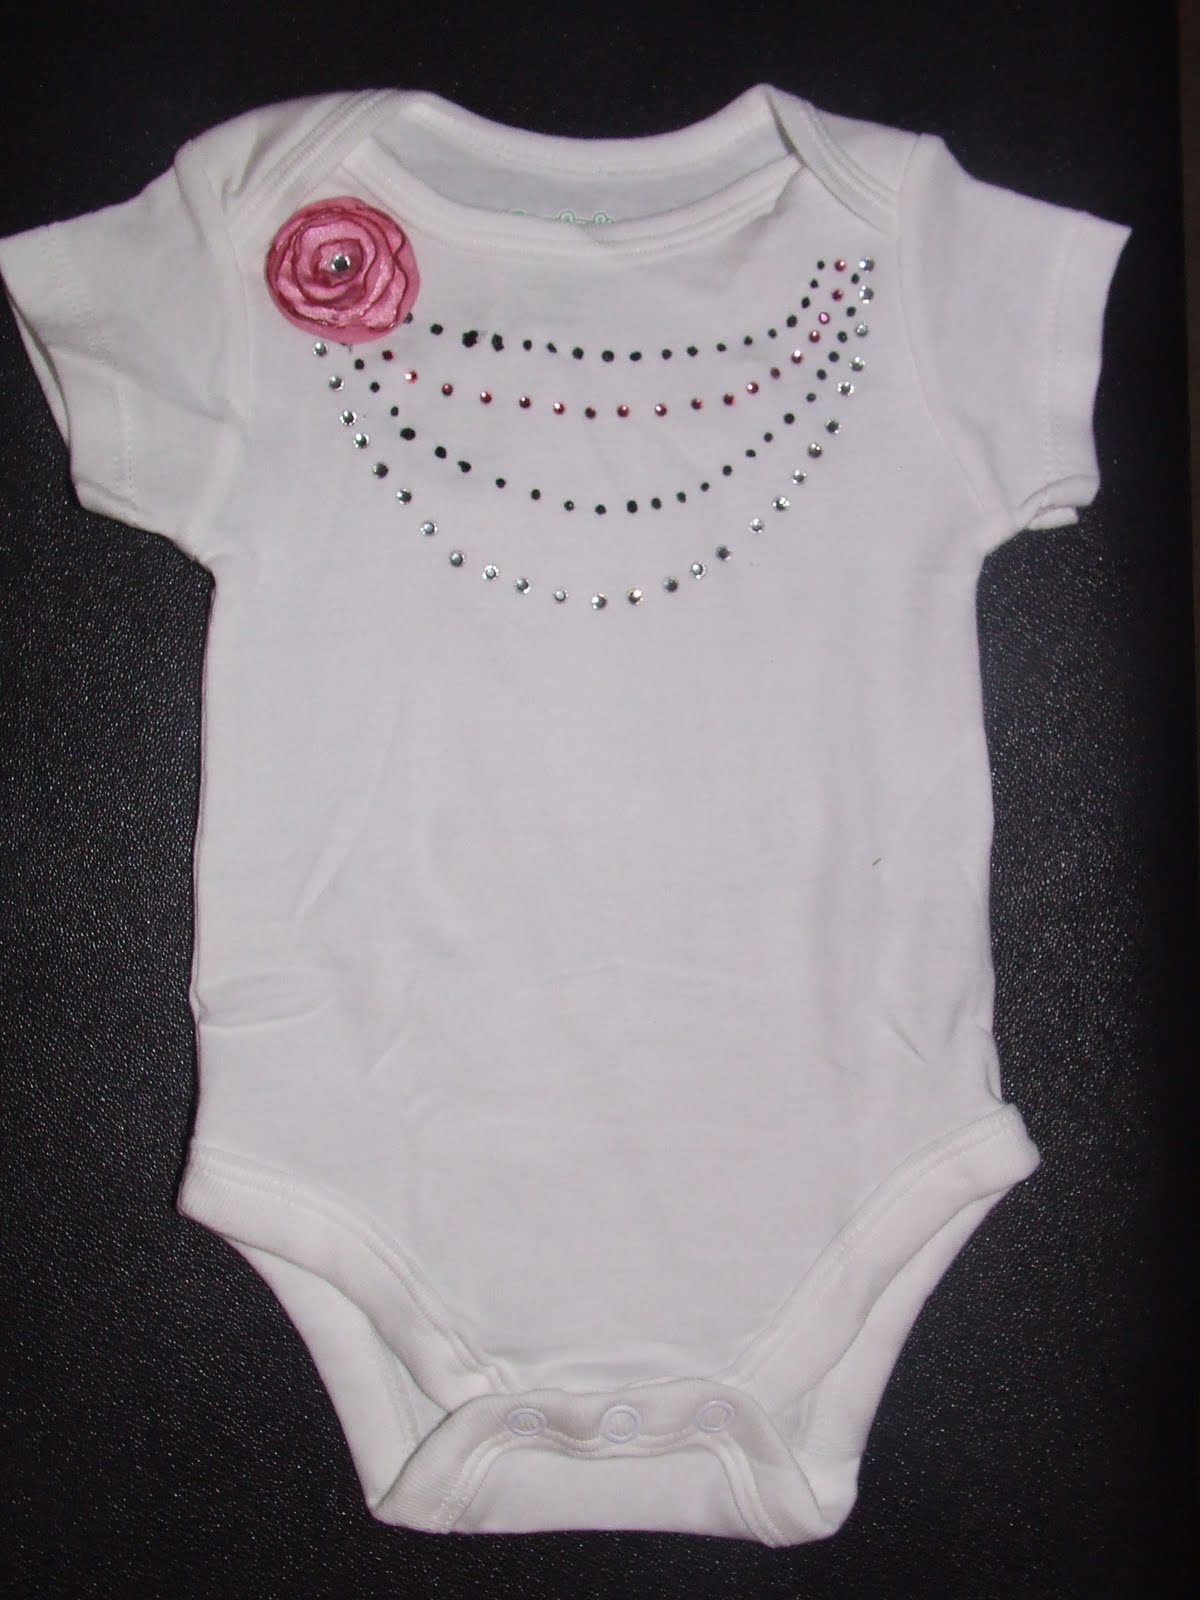
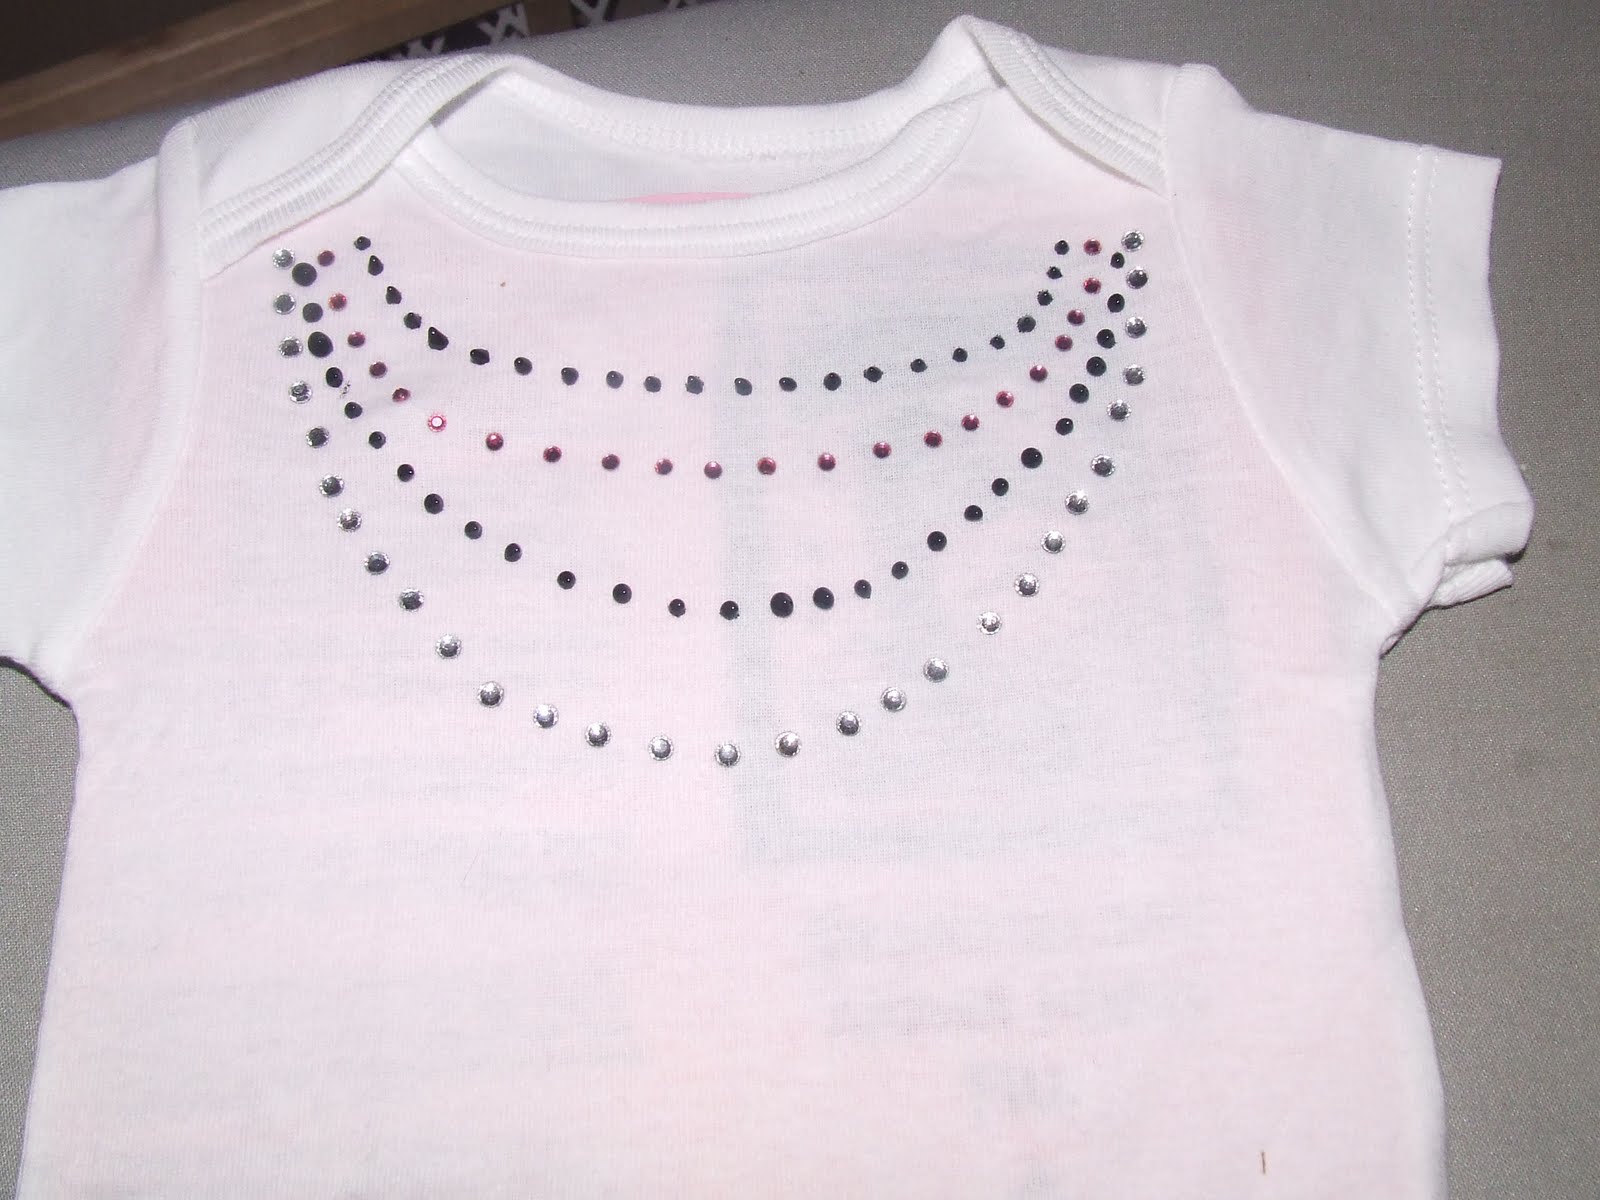
So I saw this super cute idea and I immediately knew that I wanted to make it with rhinestones.
So I saw this super cute idea and I immediately knew that I wanted to make it with rhinestones.
This is how I made it:
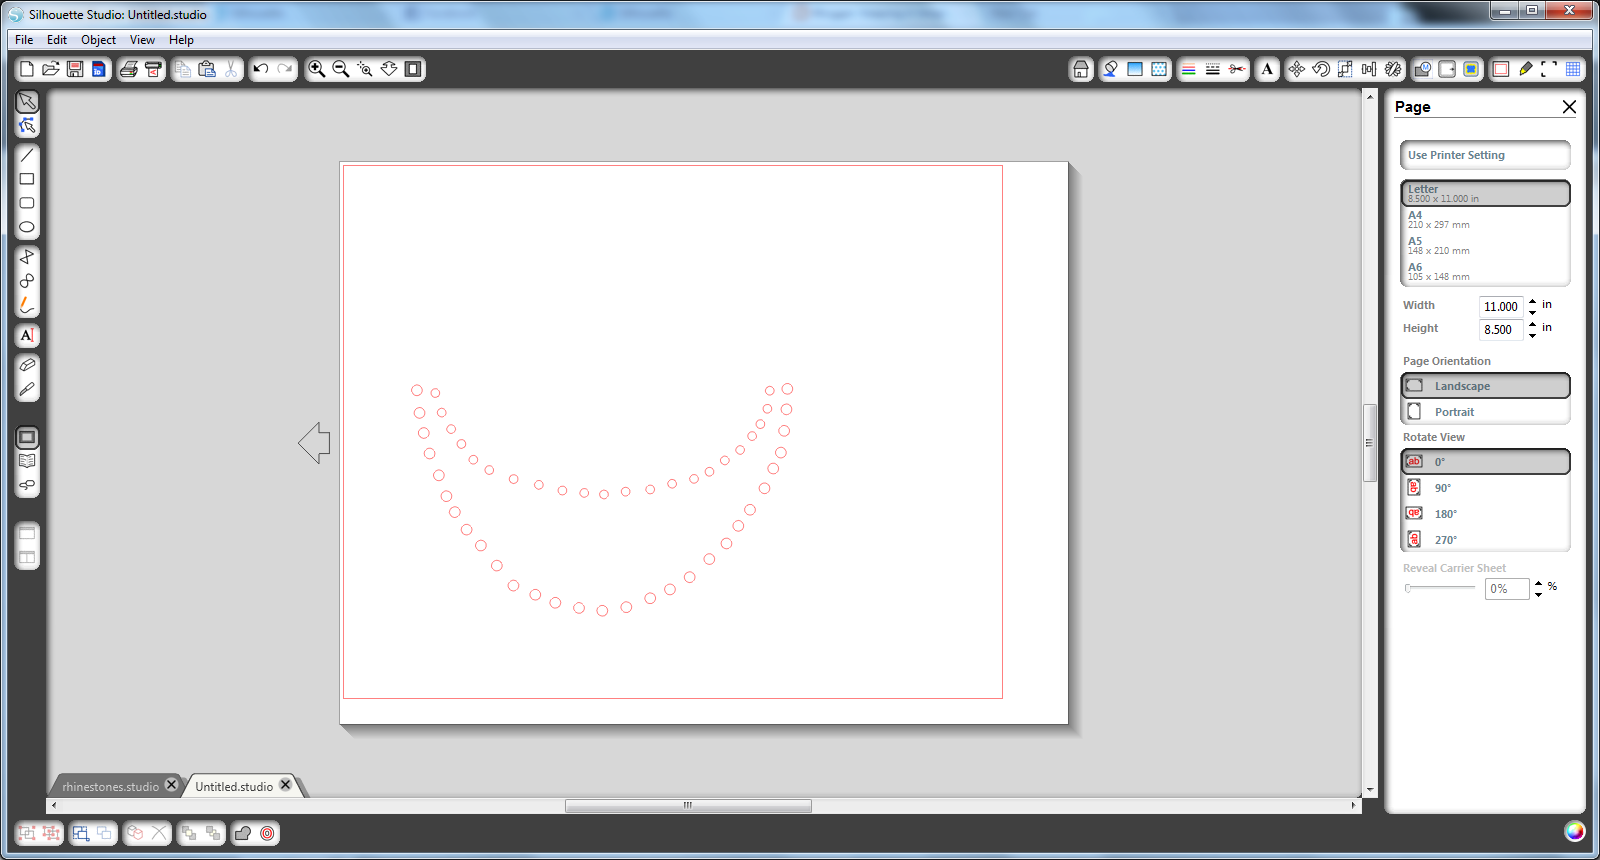
1) The first thing I did was arranged my necklace. You can’t resize the rhinestones images, but you can rearrange them. So I used the K from the cd from the starter kit. I used two different sizes, one for the 10ss rhinestones and one for the 16ss. I first used the ungroup button (Ctrl+U) and then deleted the K’s (it has three sizes) that I didn’t need. Then I moved the circles into a U shape. I did the same thing for the bigger size. Then I used the group button (Ctrl+G) so it was easier to move around
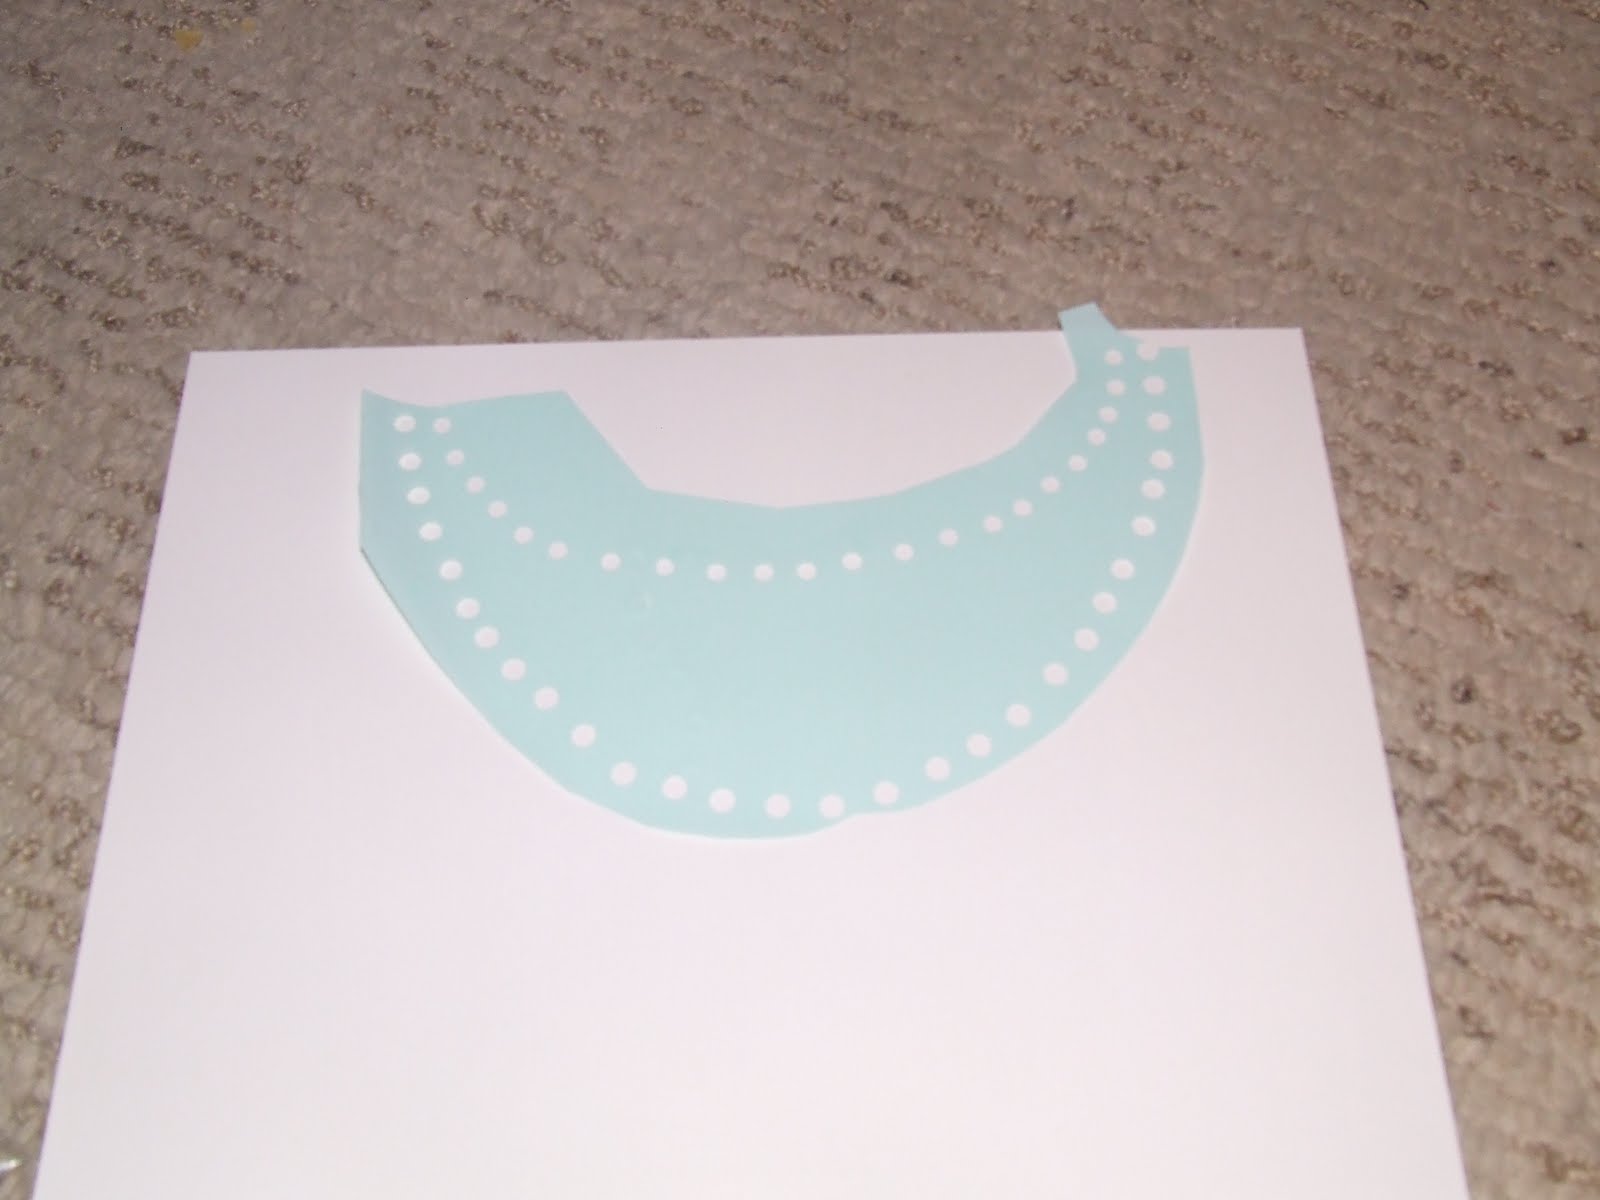
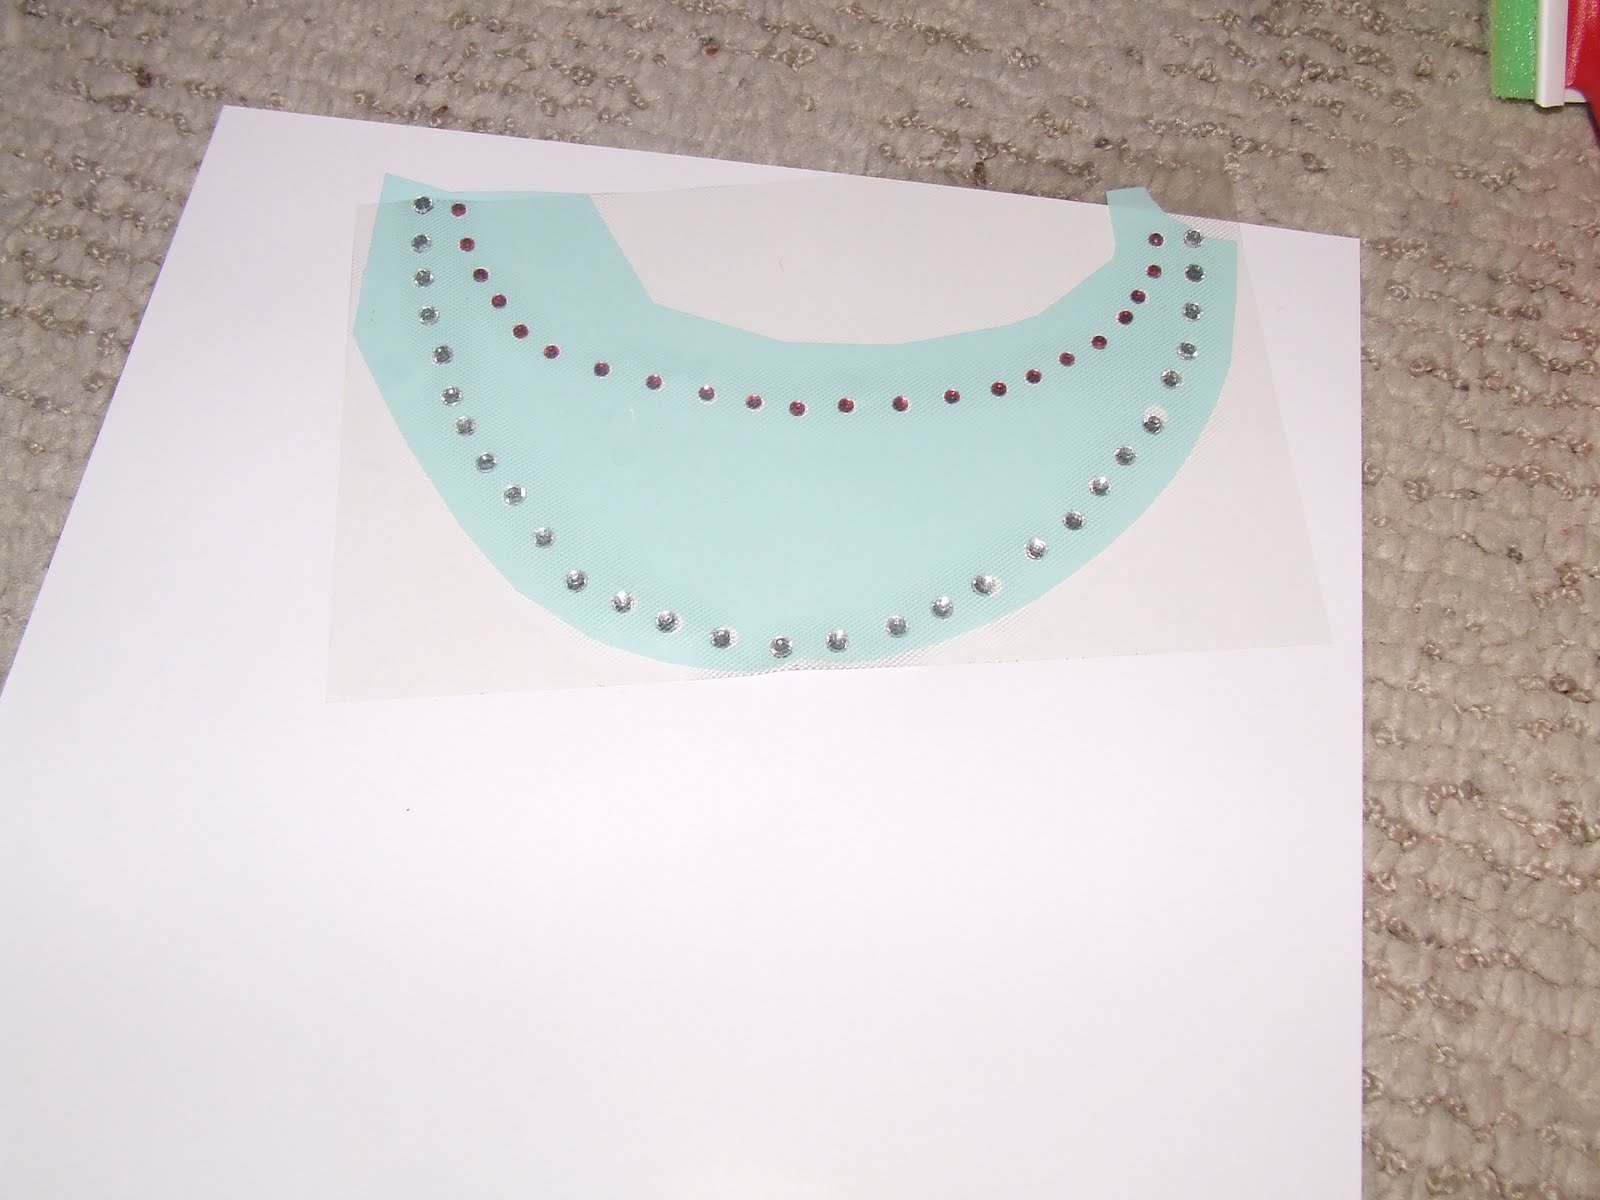
2) I then cut the image into the rhinestone paper and placed it onto the backer board
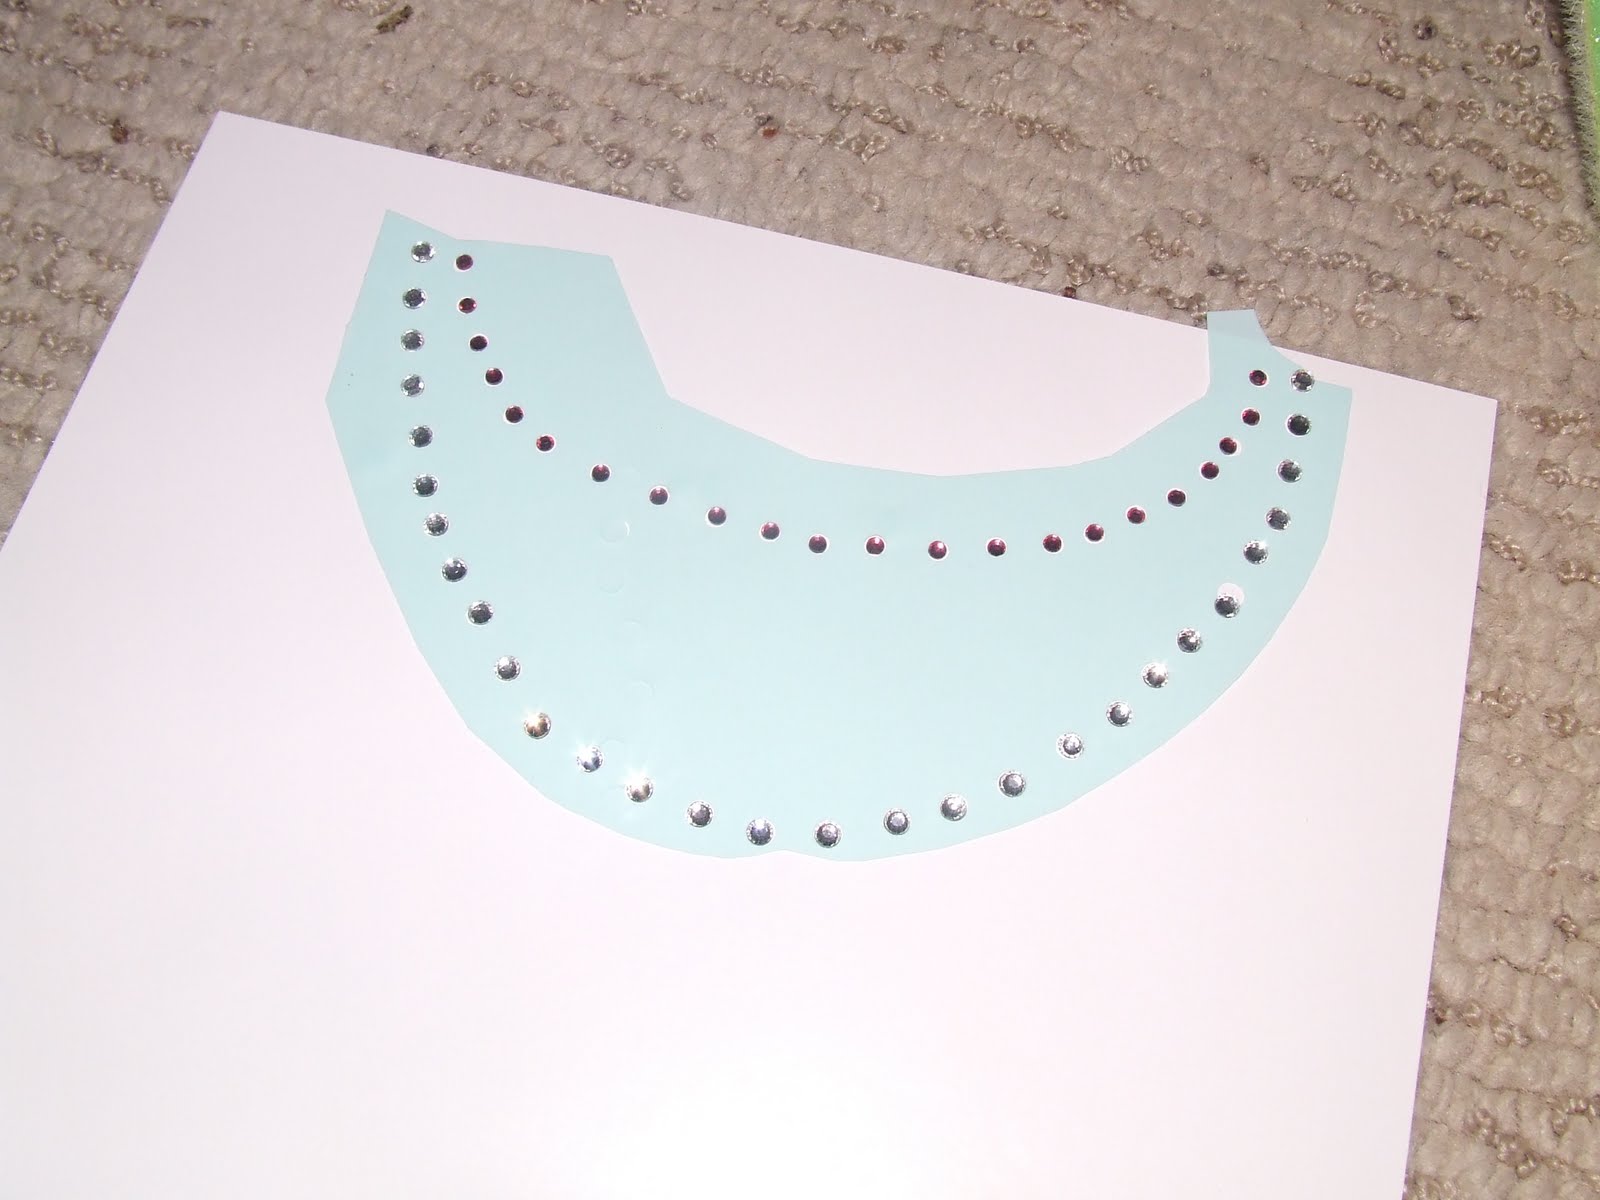
3) I filled the holes with rhinestones. The top were 10 ss pink and the bottom 16 ss clear. I used the pick me up tool a ton in this step!
4) Next I put the transfer tape over the rhinestones. I used the brush to help transfer them.
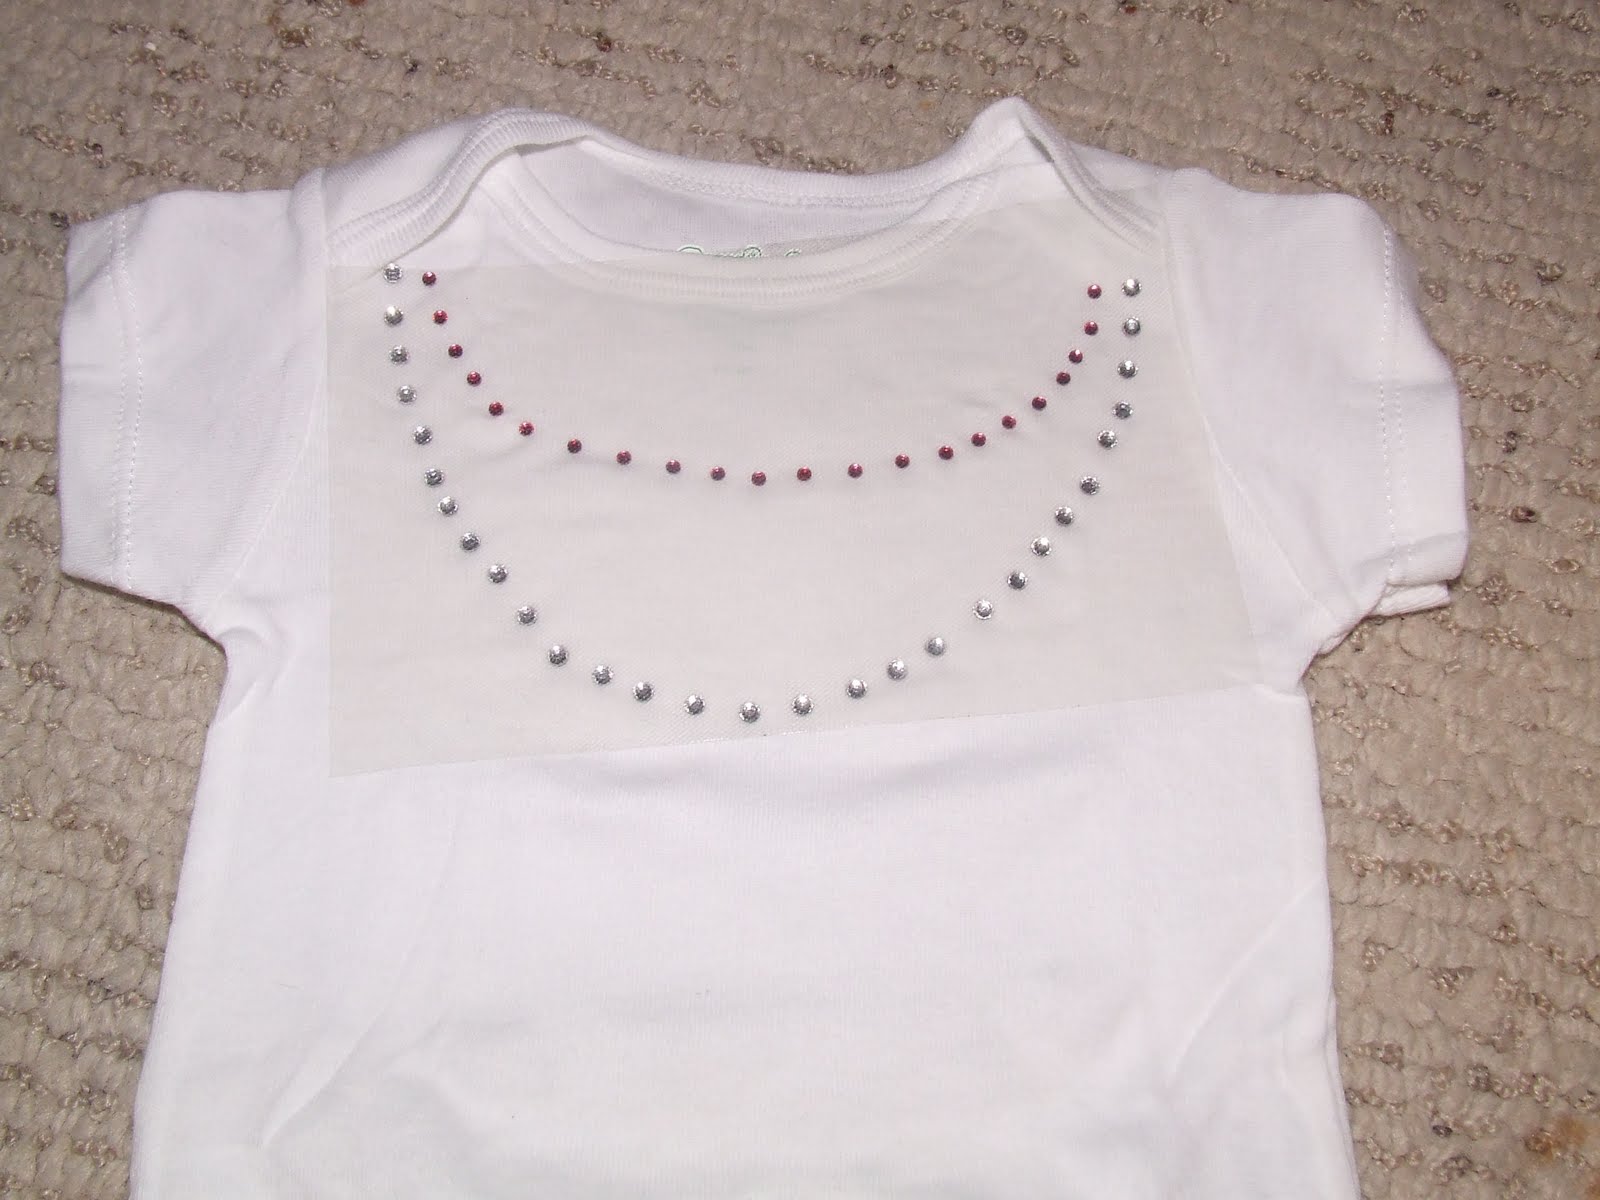
5) Then I transfered the rhinestones to the onesies.
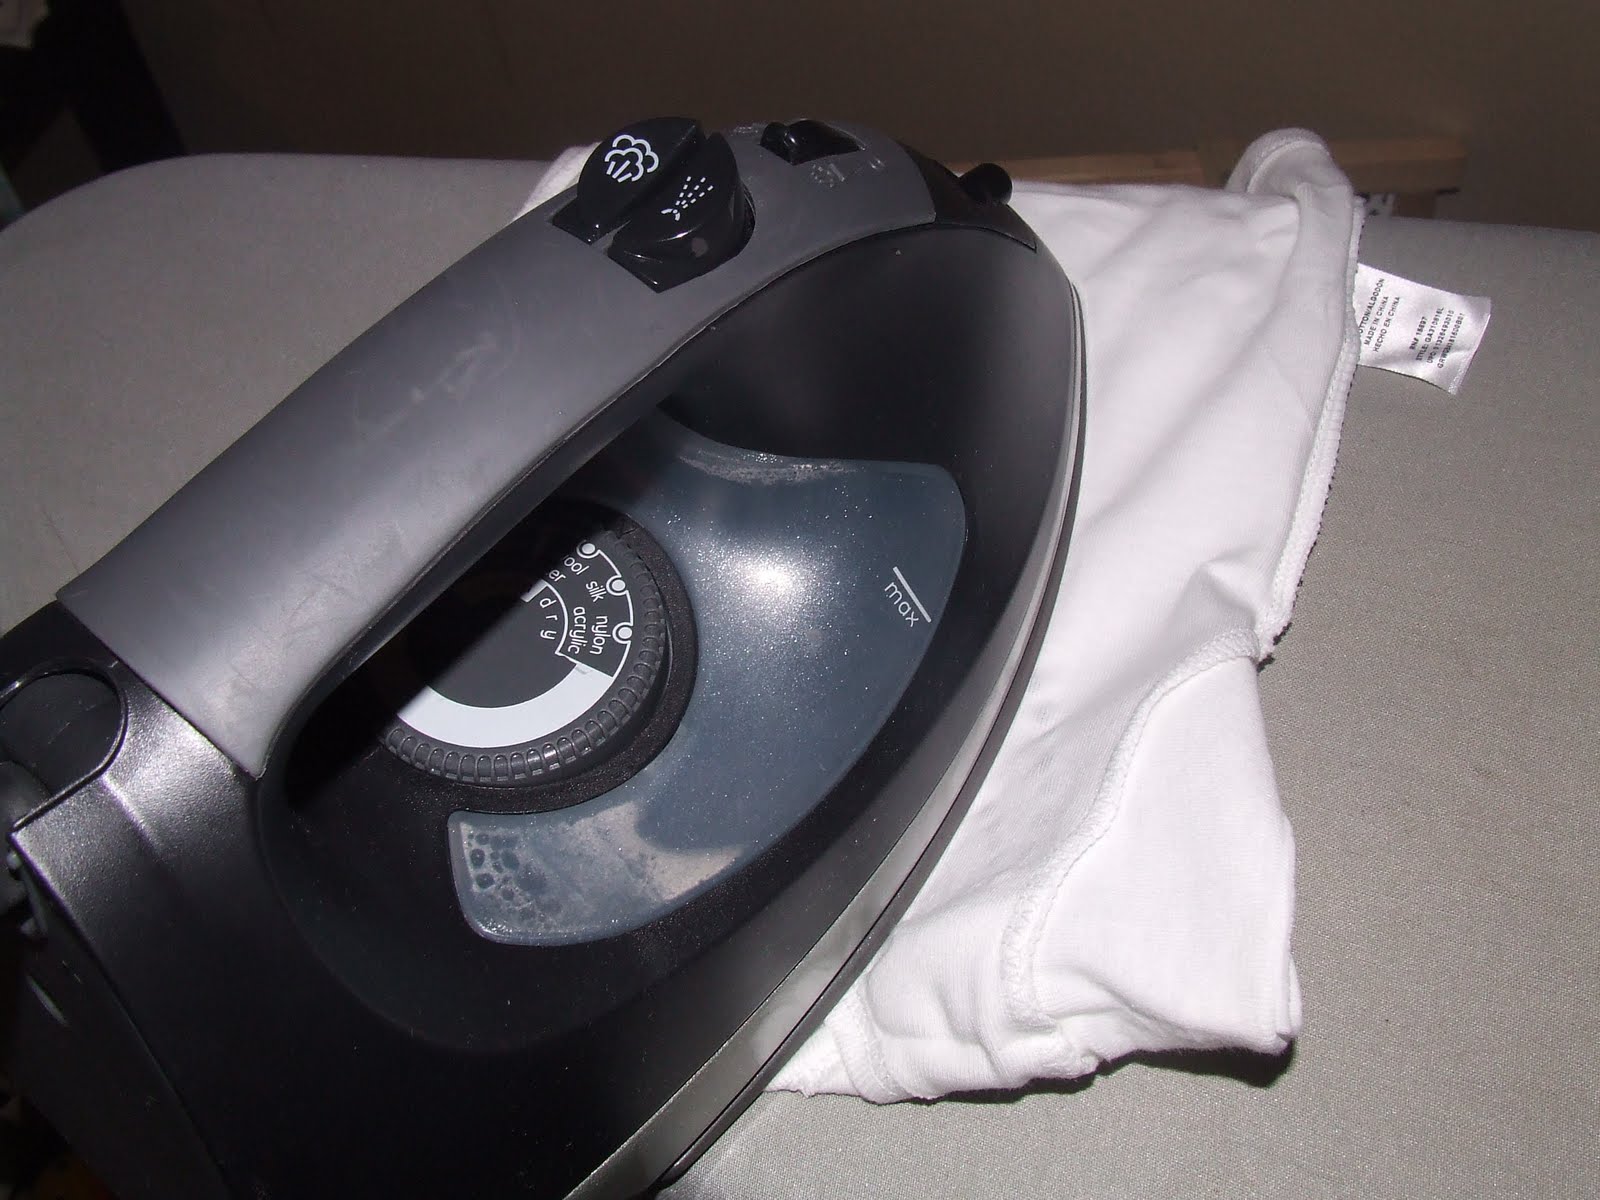
6) Using the wool setting, I ironed them on for 60 seconds.

7) I then flipped it inside out and ironed the back side for 60 seconds. This sets the glue.
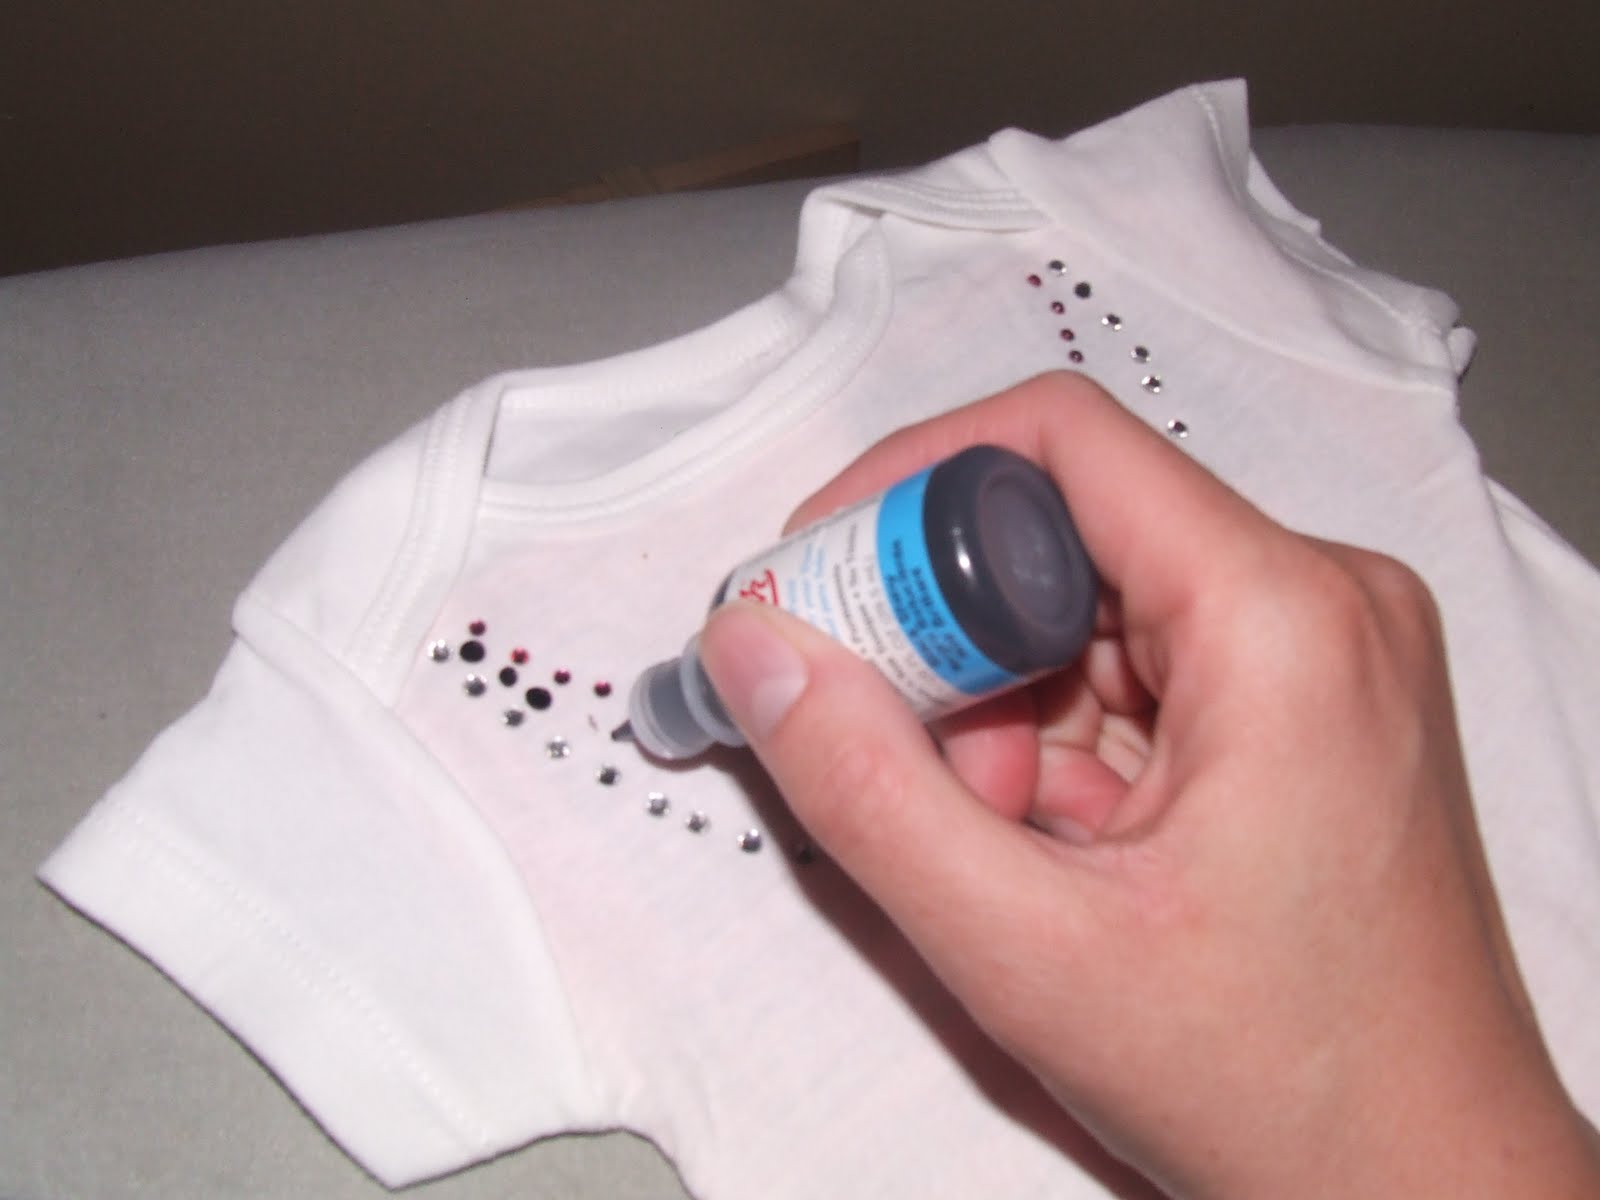
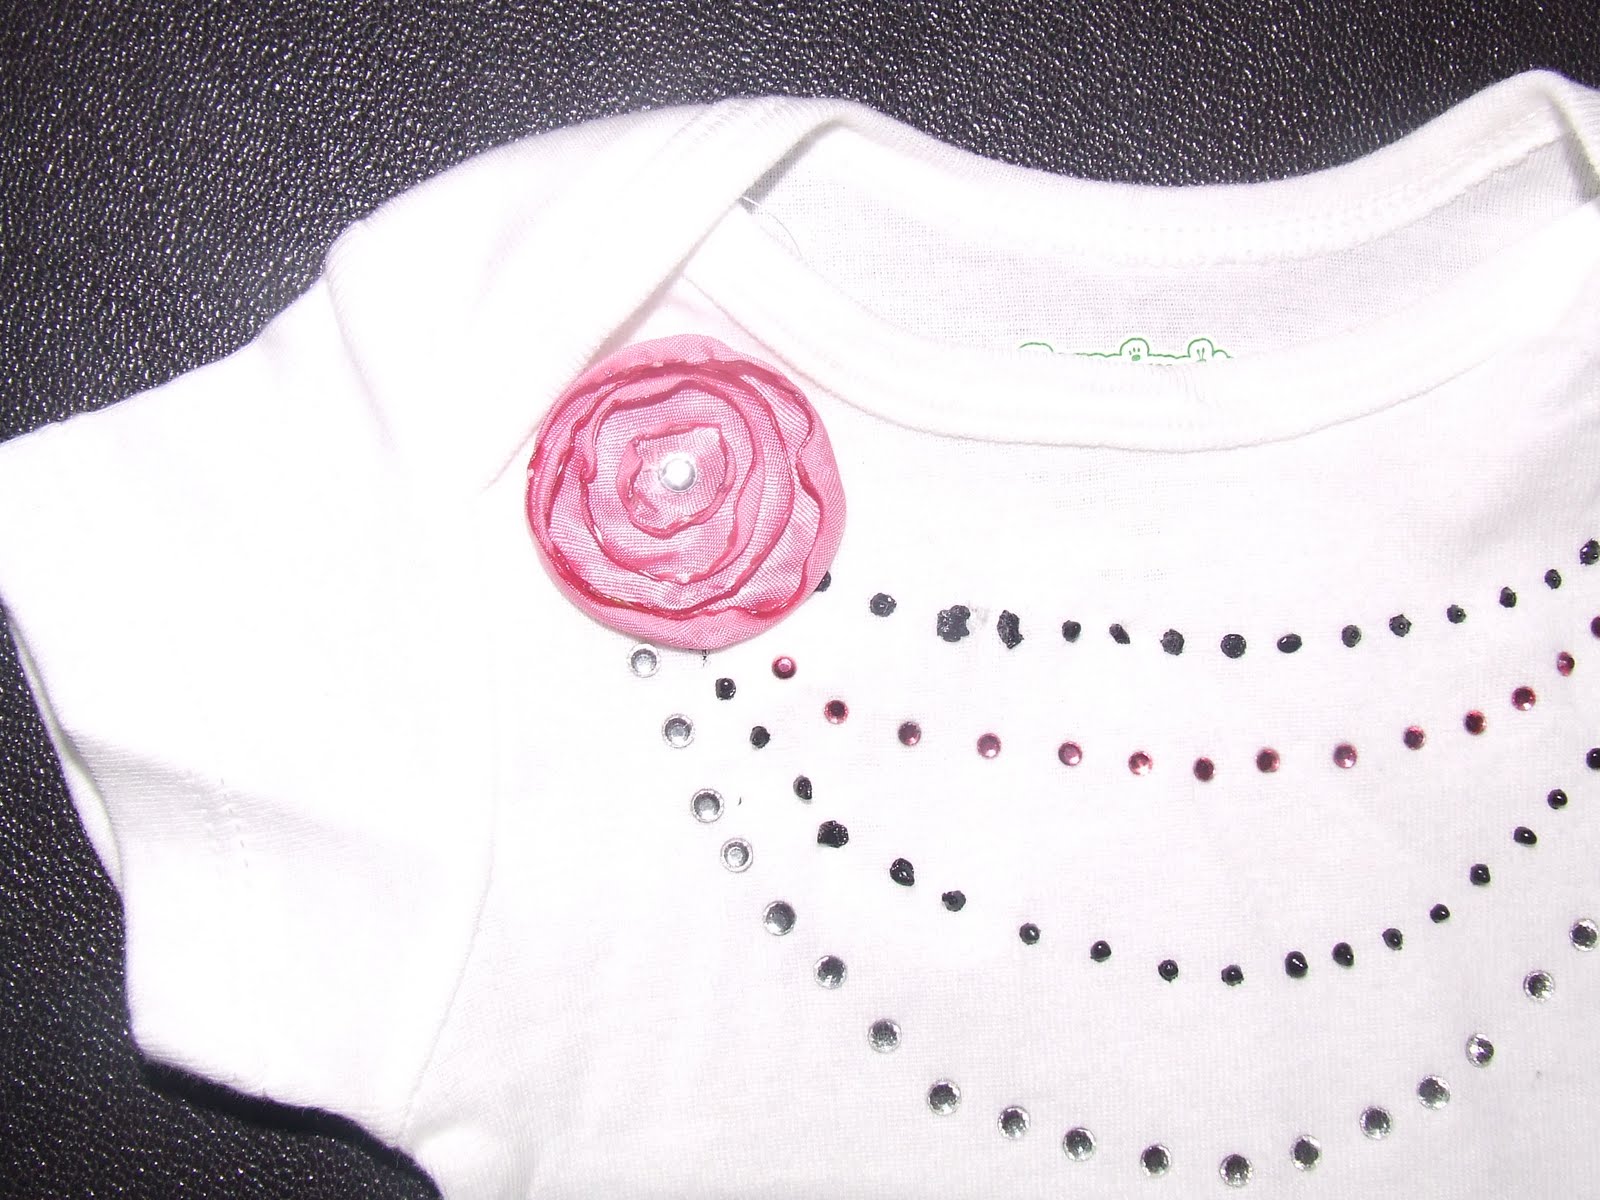
8) Using puffy paint (is that what it’s called, that’s what I called it in high school) I put black dots in the necklace.
9) I did two different strands. And yes, there is pink paper in between the shirt.
10) Next I made a little flower out of satin and singed the edges. I then sewed it onto the shirt.
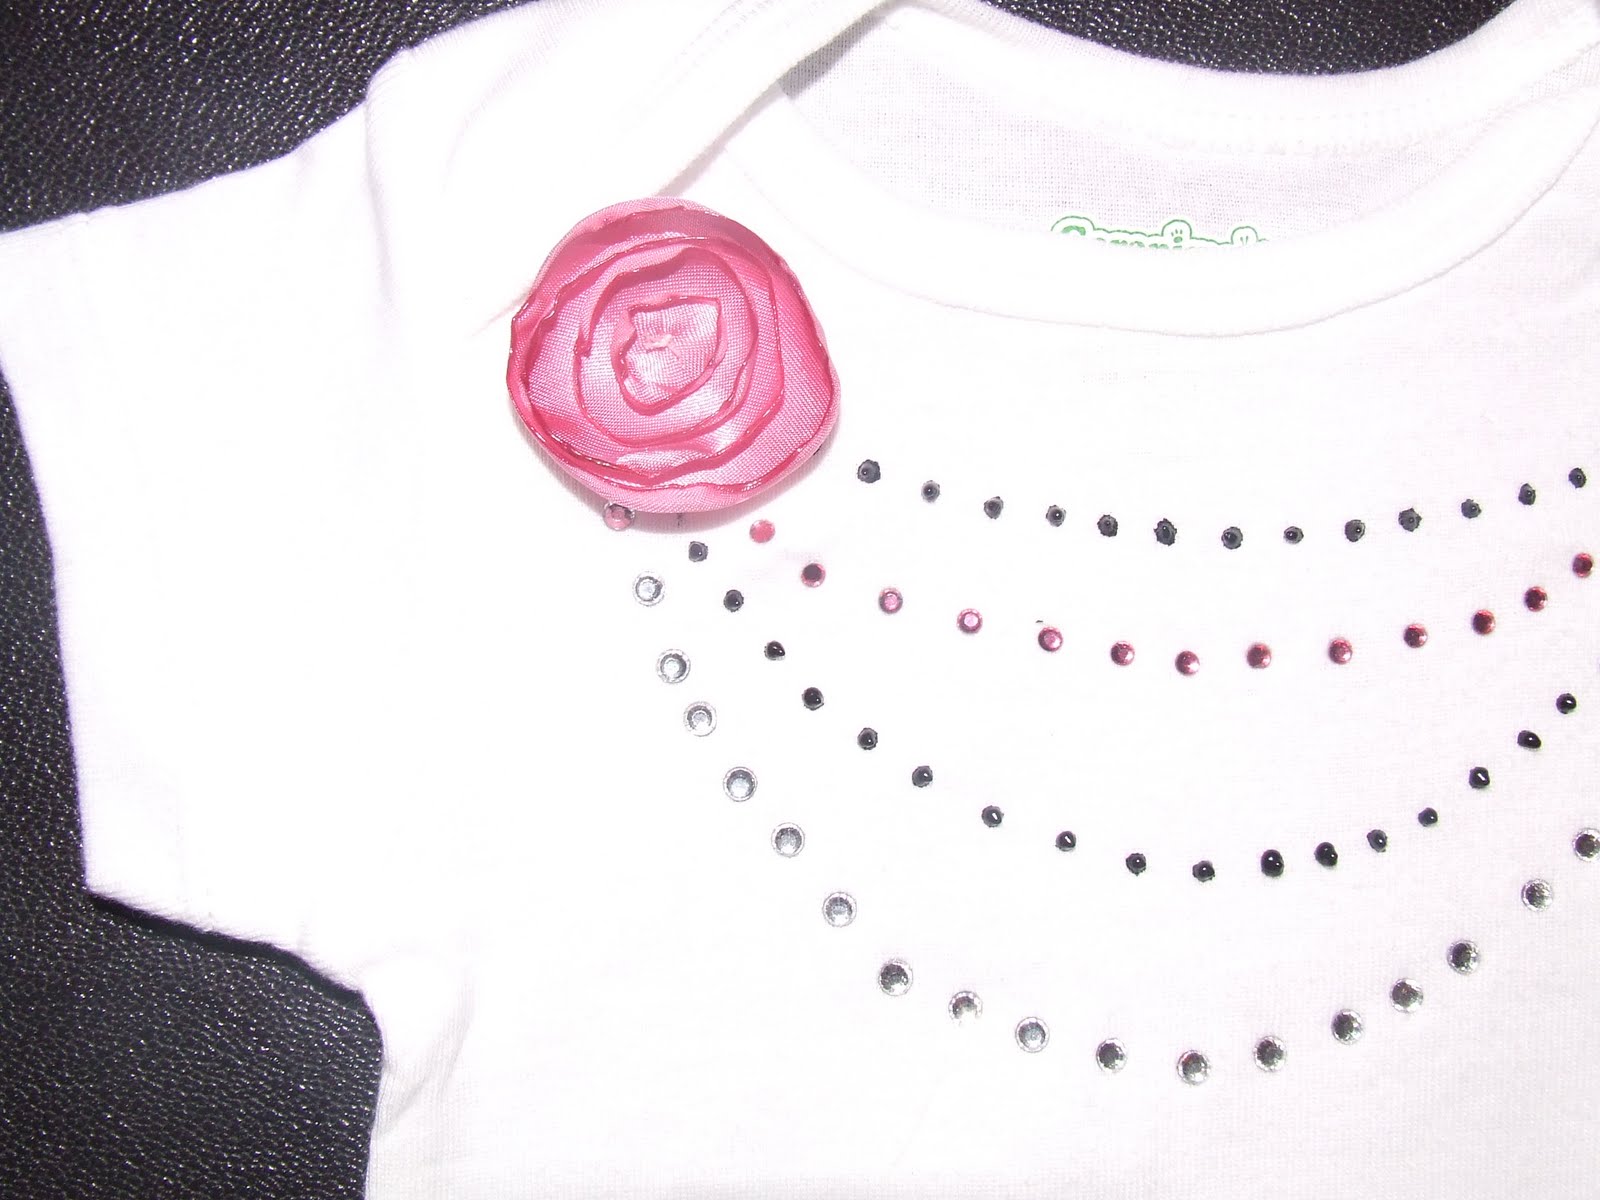
11) Using a little bit of transfer tape, I put a rhinestone in the middle of the flower.
I can’t wait for my little girl to wear it, so cute!!


Check out these sites!!


I haven't tried the rhinestones yet because I have yet to see a project that I love … but this might be it! That is SOOO cute! My girls would love it.
That's adorable! Love this! Thanks for sharing.
That is adorable. I have a new baby neice – that would be perfect for her!
SO Cute !! Love it!
This is so cute! I saw it on Fireflies and Jellybeans and was like "Oh- I made one like that with paint!" Then I noticed you linked back to my shirt! LOL! Thanks for the link back and I LOVE yours with the rhinestones!!!
Kelly
PS- I am your newest follower 🙂
These are the cutest onesie's I've seen in quite a while. I have a couple friends having babies – I might need to make one of these if one of them is a girl!!
~Jessa
http://www.jessajill.blogspot.com
I love this. My sis just had a girl and its PERFECT!!
Can you not re size the rhinestone immages becauuse it will then make it too big for the rhinestones? I'm just starting the rhinestone adventure…
Darling project! What a fun idea!
Very nice! I'd love for you to link up at Inspire Me Mondays.
http://singingthreelittlebirds.blogspot.com/2011/04/inspire-me-monday_25.html
Oh my this is sooooo darn cute!!!! Thanks so much for sharing it at my NIFTY THRIFTY TUESDAYS PARTY:) I didn't see where you posted my party name…silly me…I'm sure I missed it.
Blessings,
Linda
LOVE IT!! sooo cute:) always looking for baby shower ideas
Cutie patootie!
Cute! come and join our party: http://fabricbowsandmore.blogspot.com/
This is adorable!
this is super adorable! what a fun idea!
Thank you so much for joining the party @ Inspire Me Fridays!
Oh & I forgot to mention, you've been featured!
This is sooo adorable! Wish I had a Silhouette to make fun stuff! Can't wait to see what else you can do with yours! Thanks for sharing with the Pink Hippo party!
very cute, thanks so much for linking up.
Crystal
super cute! I may have to do that with one of my teen daughters shirts. Thanks for the tutorial!
Hi, Kaysi! I am from Bulgaria. I am studing English this year so this is (rearing and writing here)good practice for me.
When I saw this decoration, I decided to make same for me.
I have a white top, but I am not wearing it. I used colored beads and sequins.
It is my favourite top now.
If you want to see it, you will see here: http://towerwitch.blogspot.com/2012/05/blog-post.html
I think it became well.How does it seem to you?
I wish you happinesses.