This post contains affiliate links.
7 months ago my husband and I started doing a remodel on our house. It was built in 2010 so it is VERY beige, so we starting updating it and making it more gray and white. We tiled our master bathroom and kids’ bathroom and I loved how it turned out so much that I wanted to tile the laundry room too. I love how this room turned out! I think that this will make it easier to do laundry :). I’m excited to show you the process of how we made over our laundry room.
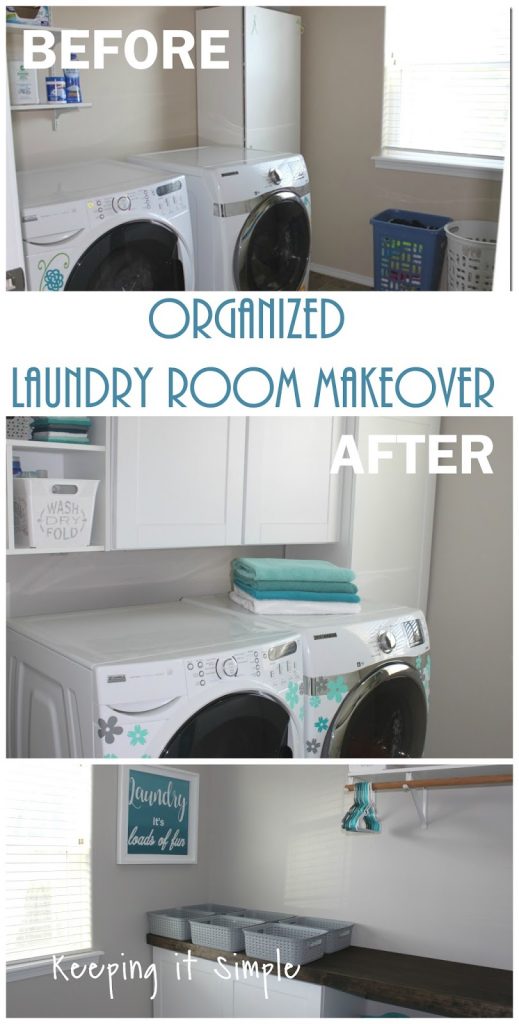
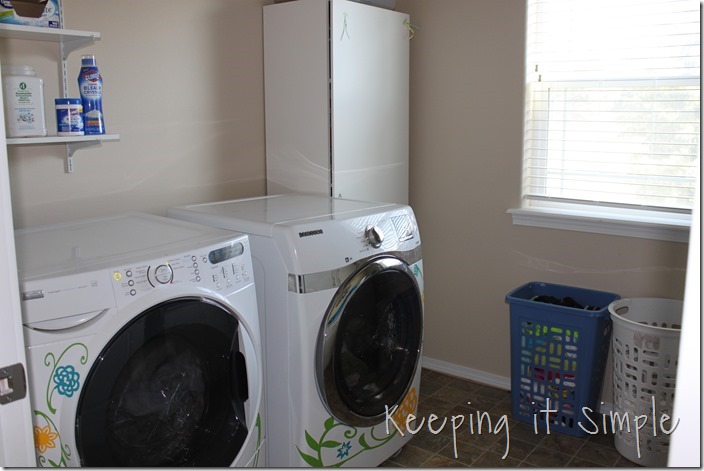
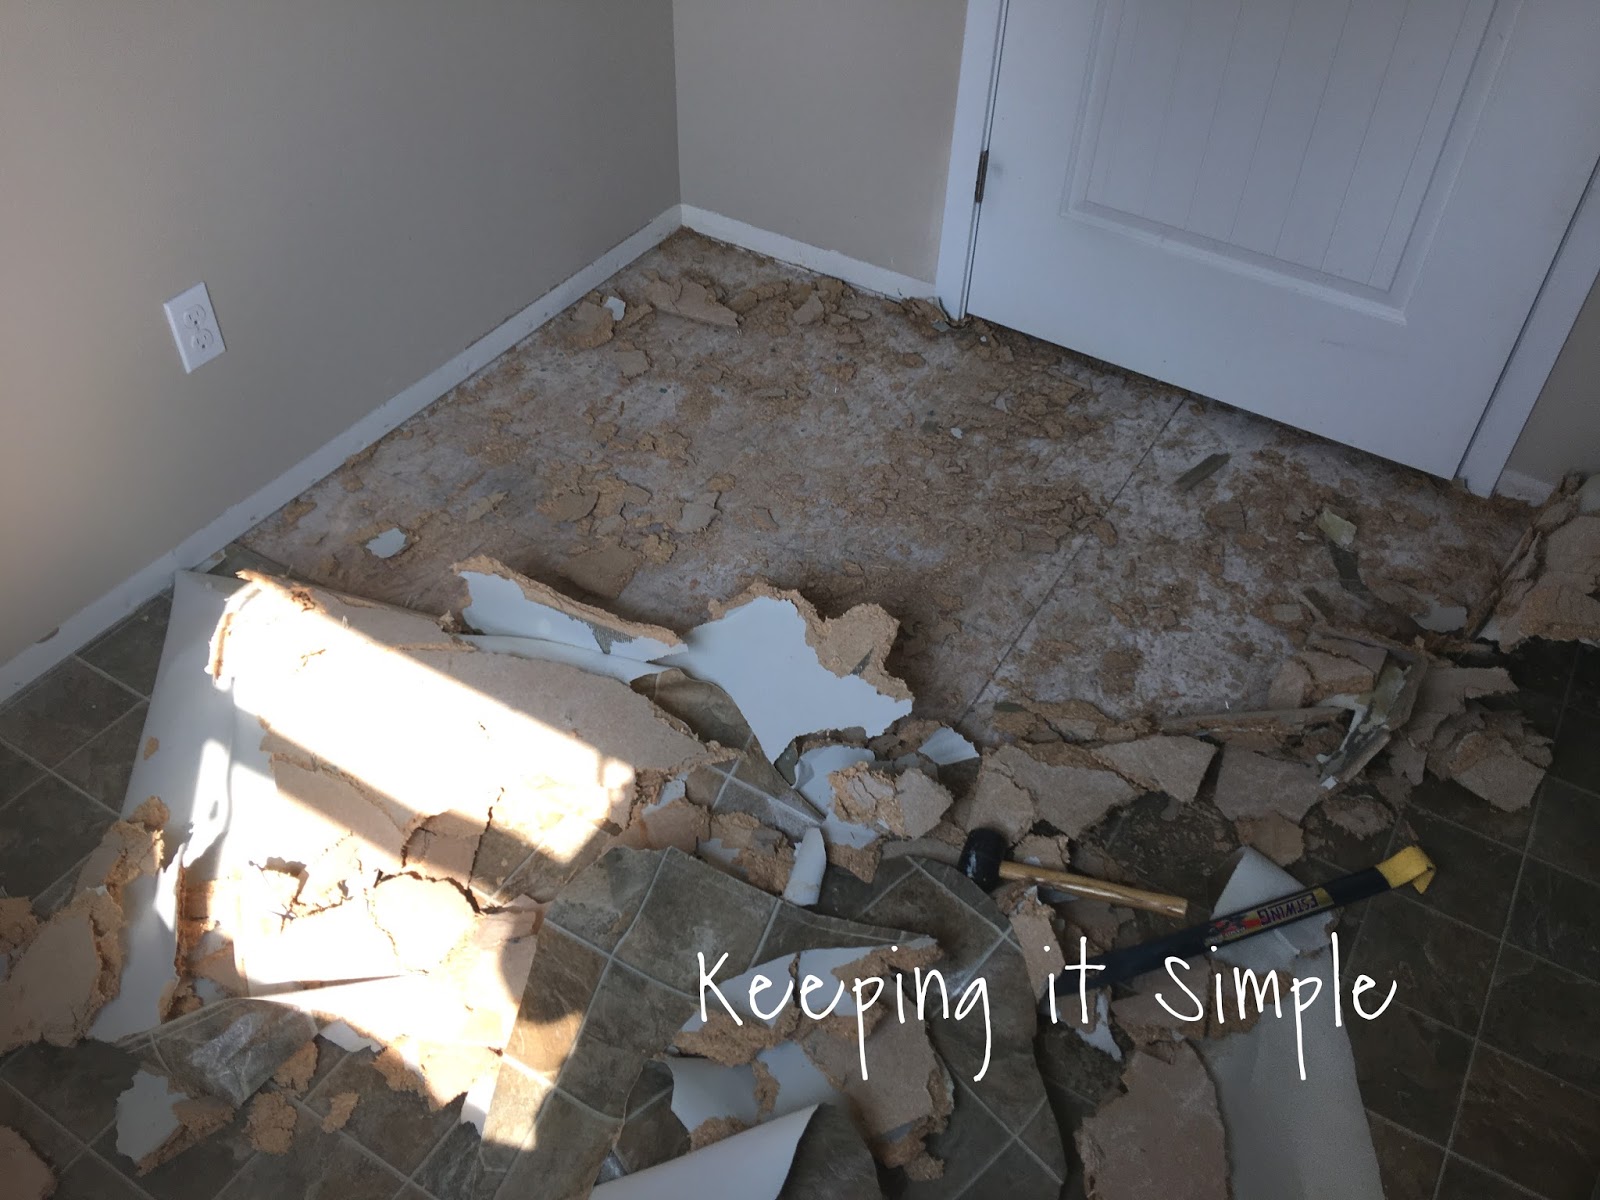
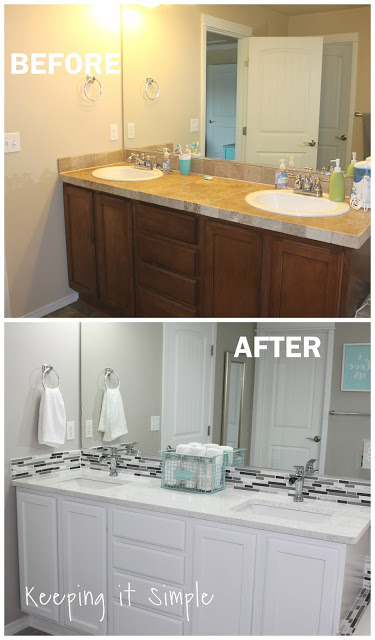
Here are the before pictures of our laundry room. Not super pretty…..
Now to get to the process of making our laundry room pretty :). For a VERY DETAILED tutorial on how to tile floors, check out this post.
Here is what the floor looked like before, it is a nice linoleum but it’s very brown, so it had to go.
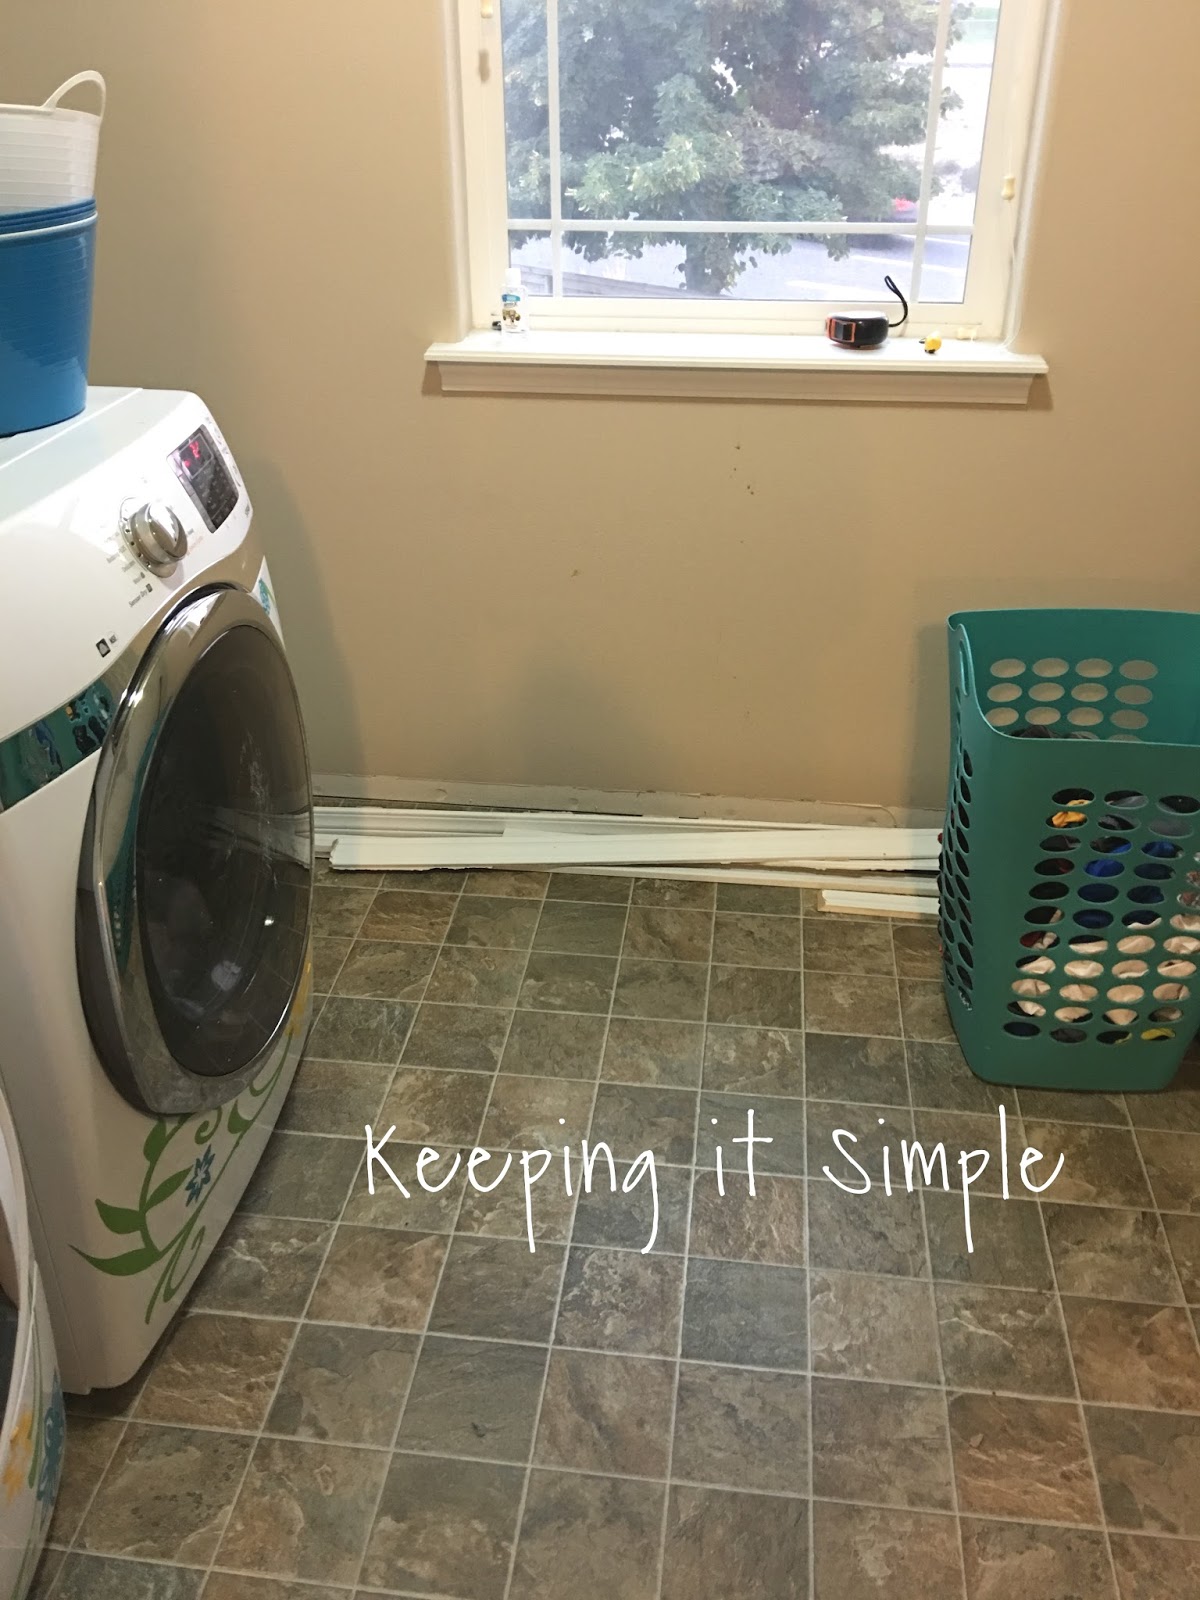
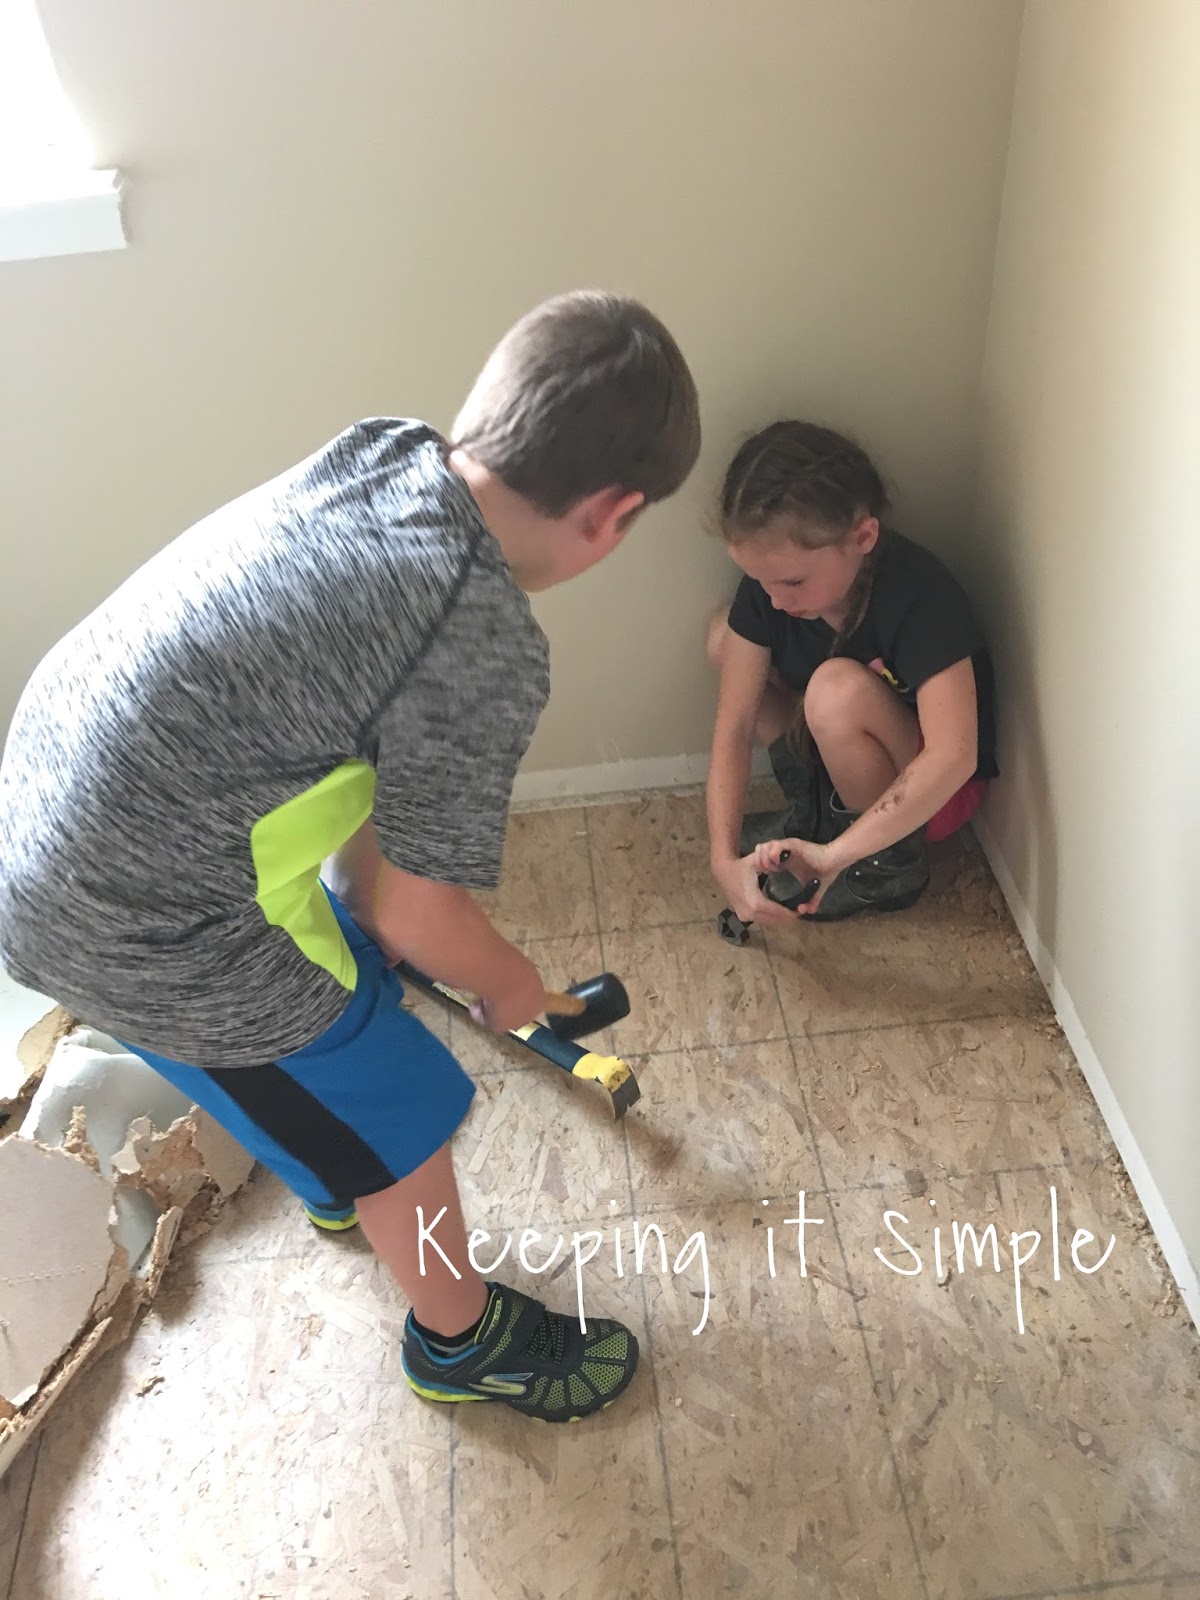
Using a crowbar and a rubber mallet I took out the flooring. The linoleum was glued to some plywood, that was nailed to the floor.
I had my kids help along the way :). My daughter used nail nippers to get all of the nails out of the sub flooring.
Once I got all of the flooring out and before putting in the backer board, I painted the walls Worldly Gray from Sherwin Williams and then the ceiling white.

After painting, we then put in the 1/4″ backer board.
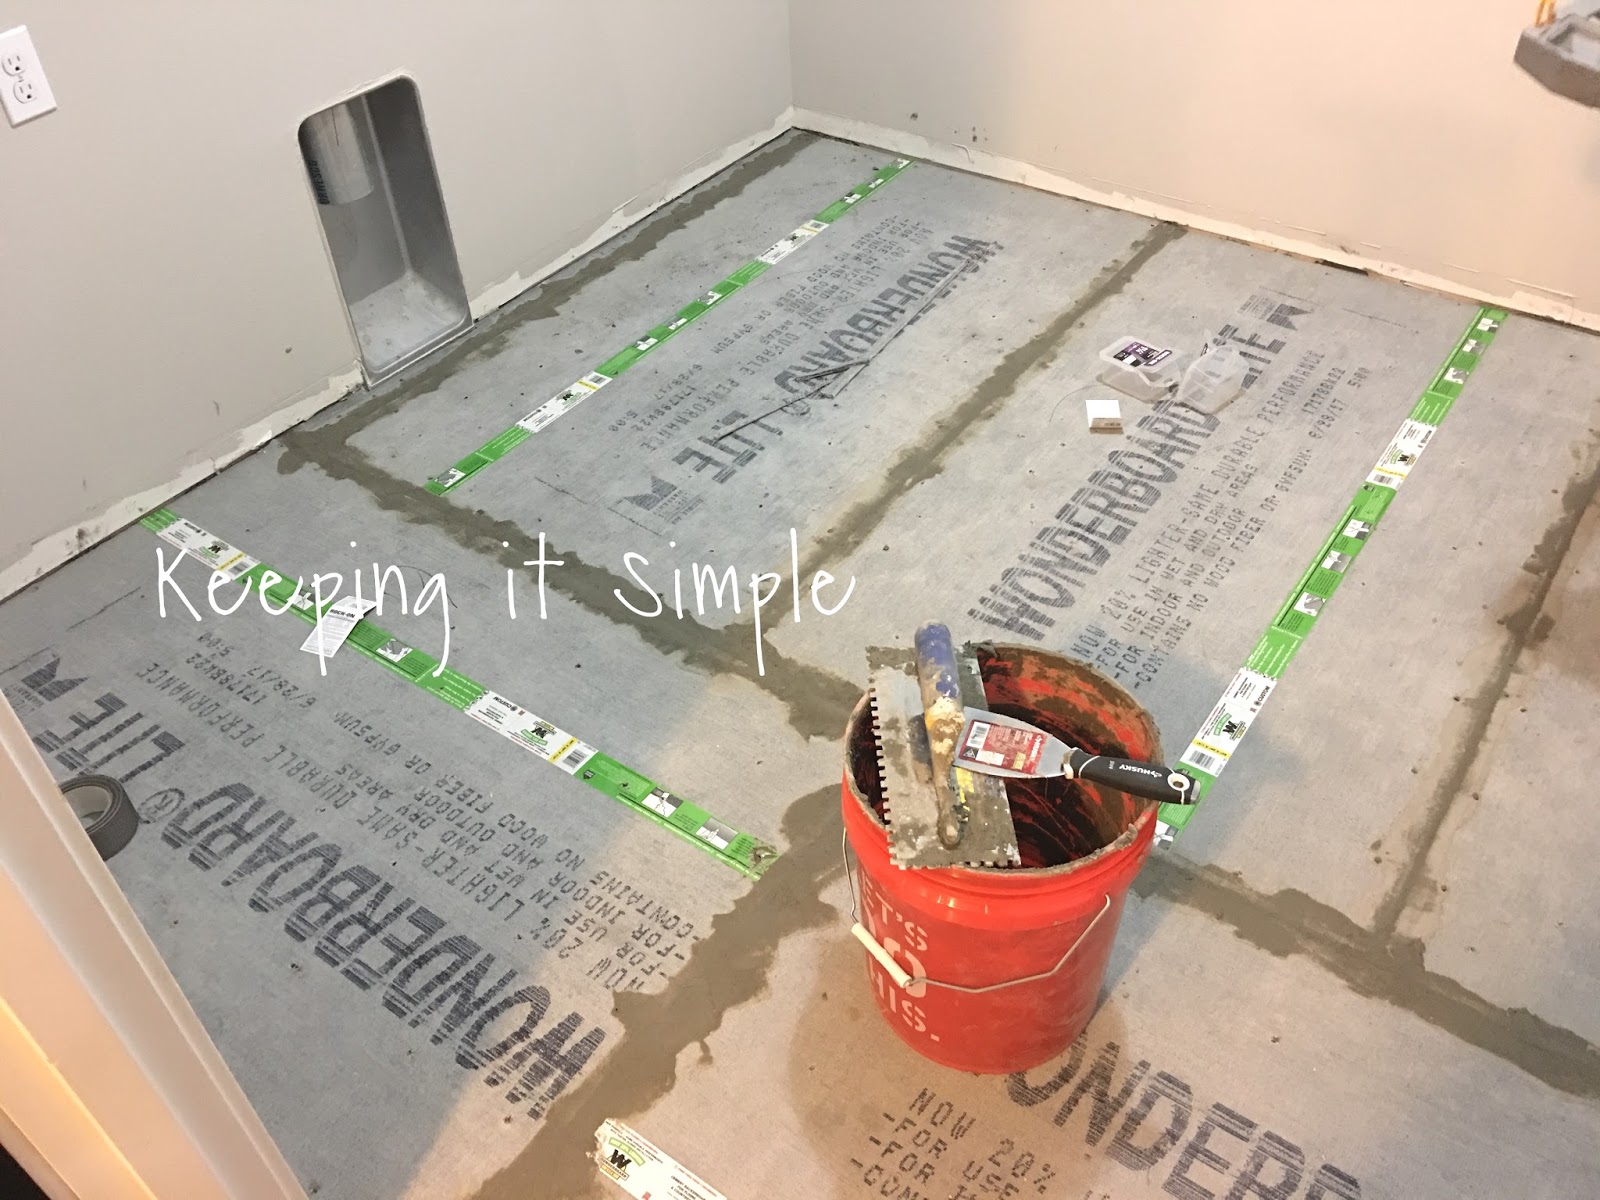
Once the backer board was in for 24 hours, we then started putting in the tiles. We love these silver tiles, they look amazing! We put in the full sized pieces first.

Then we finished up by putting in the cut pieces.
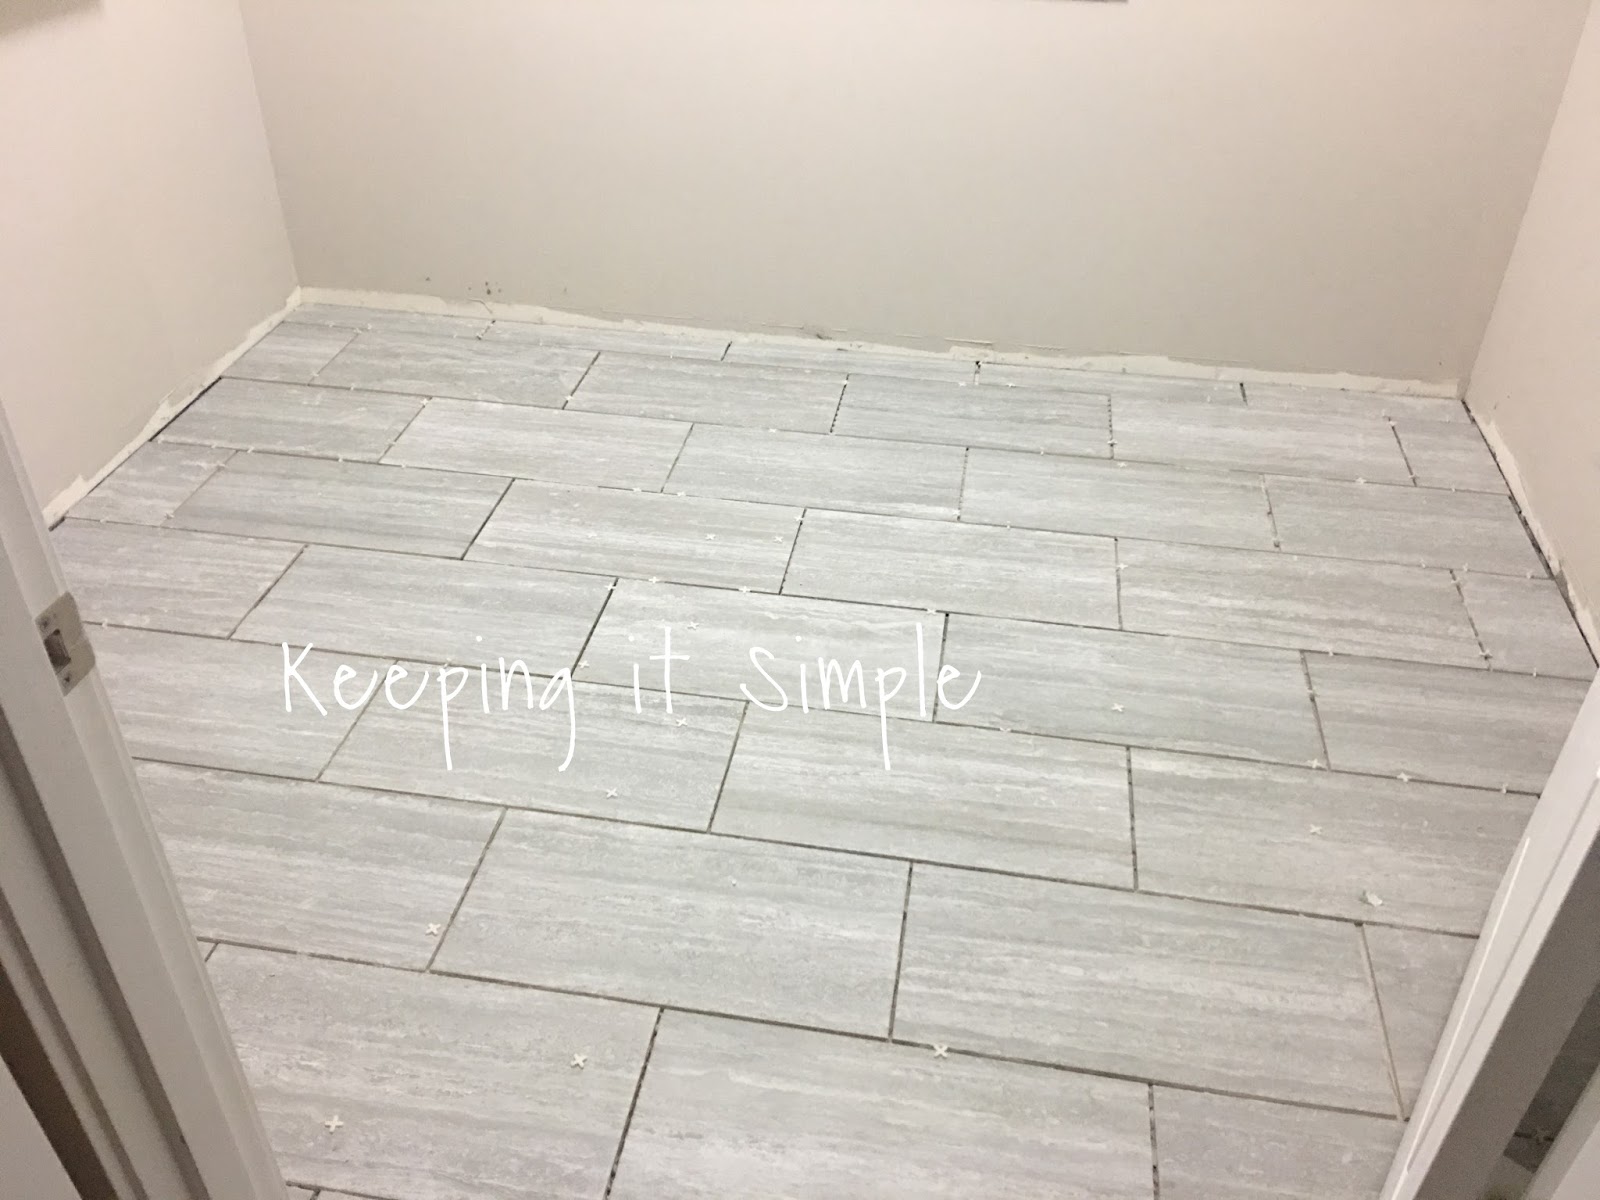
After the tiles were in for 24 hours, then we grouted it with a natural gray grout. Doesn’t it look amazing?!? I love it so much! It is amazing how much flooring can change and update a room!

Now time for decorating the room and making it more functional. We don’t have a linen closet at all, so the laundry room has to be part linen closet too. So we have a couple of cabinets in there that are for blankets and stuff. They are great but I wanted to dress them up a little bit, so I added some underlayment to cabinets to make them look like they are shaker style. I used a brad nailer with a 5/8″ brad nails to attach them to the doors.
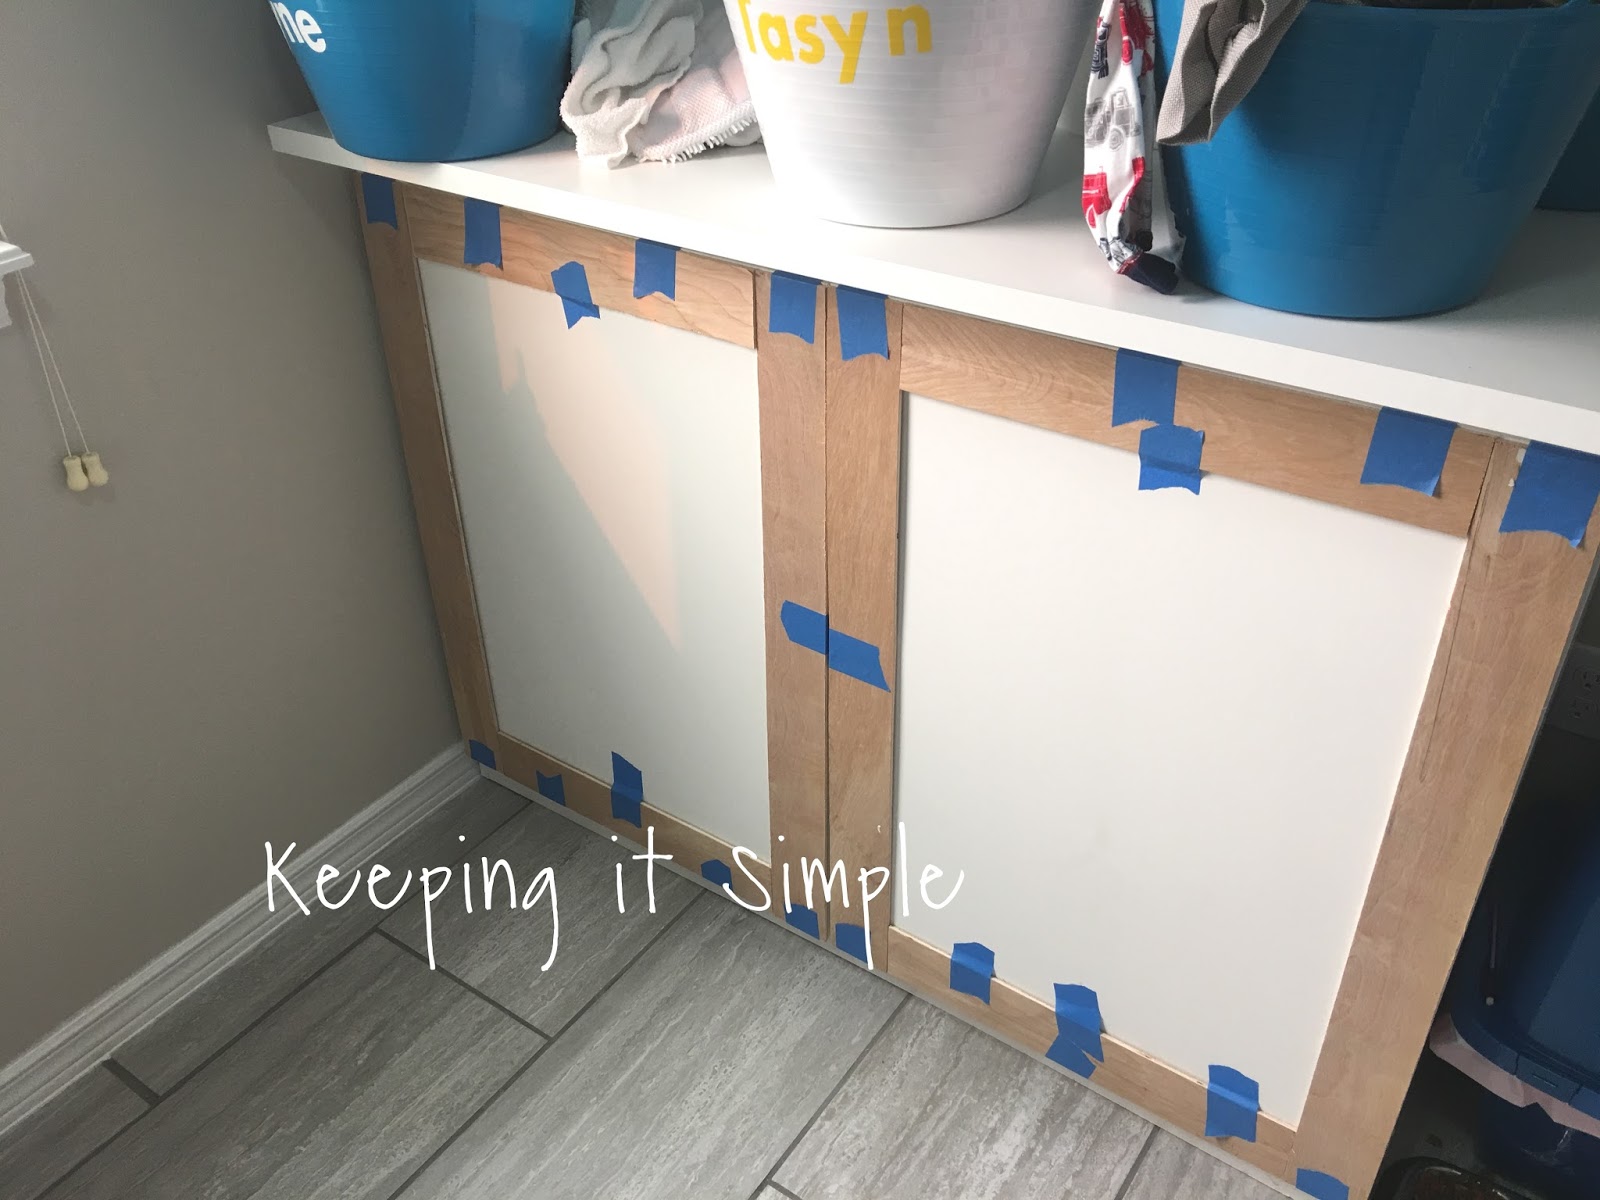
I then caulked the edges, sanded it and painted it white. It looks better, huh? :).
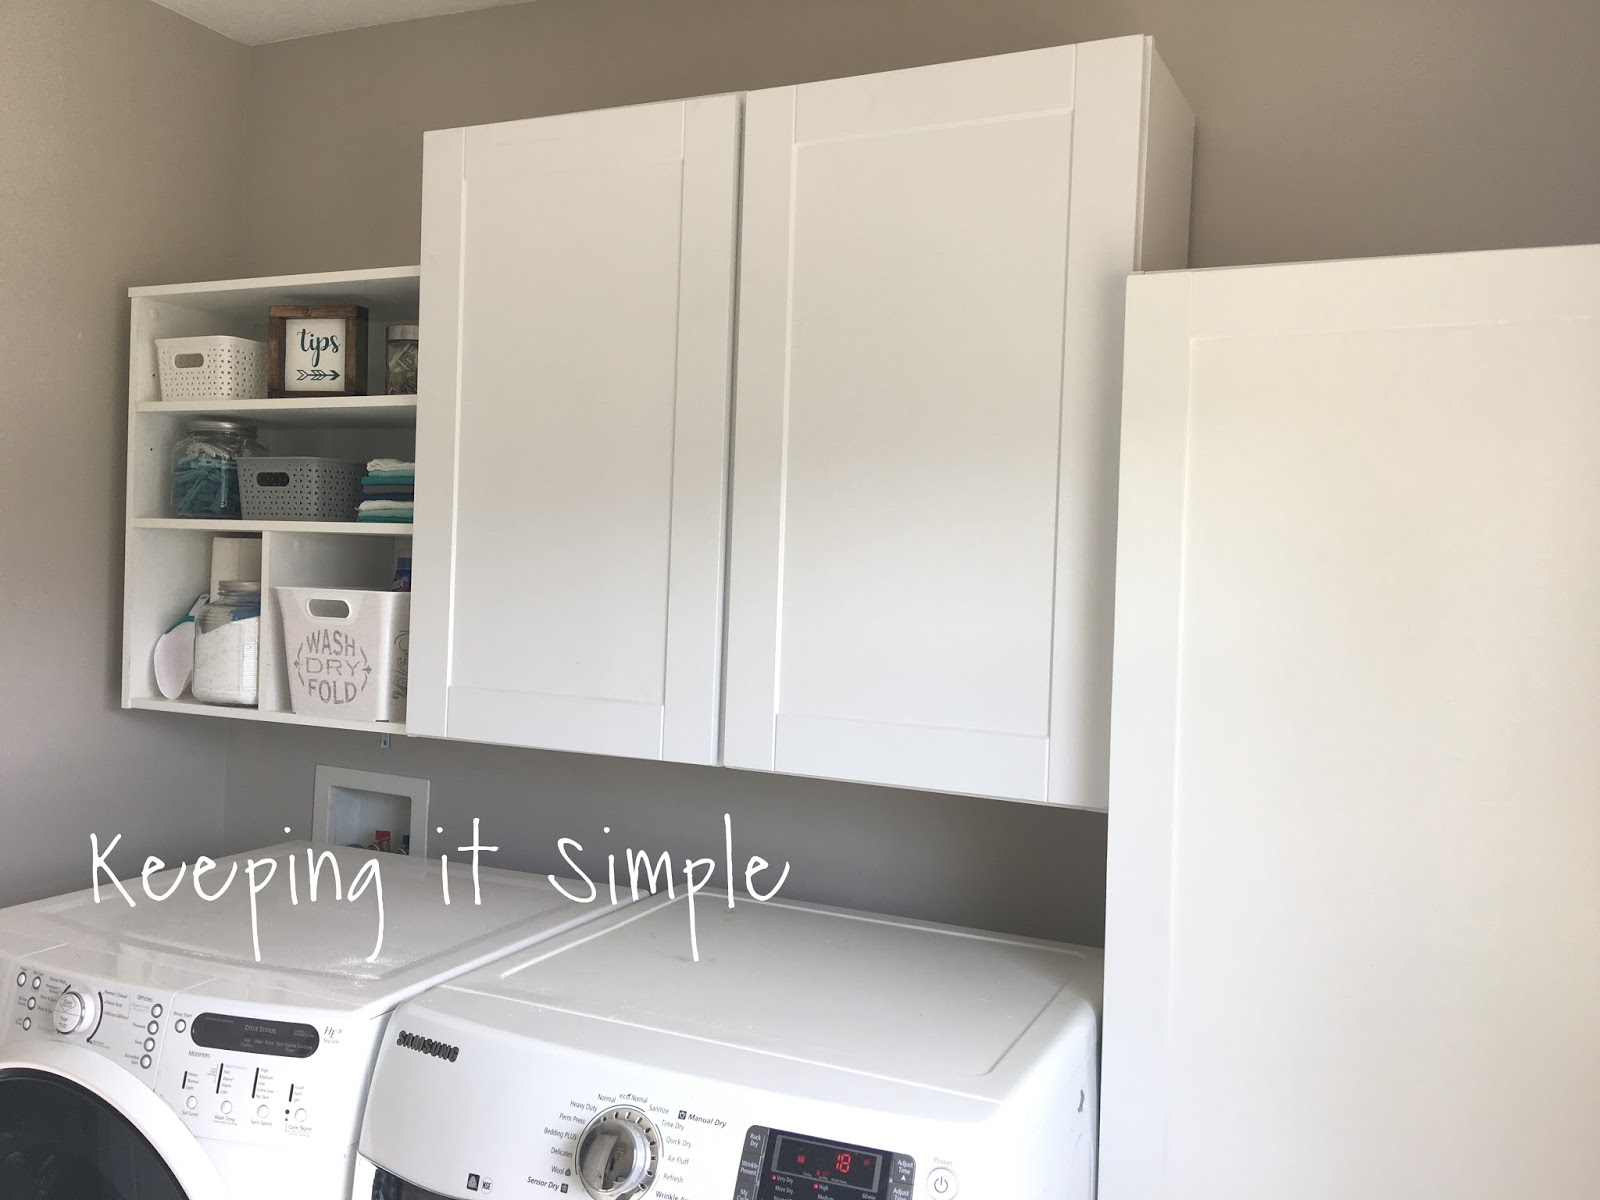
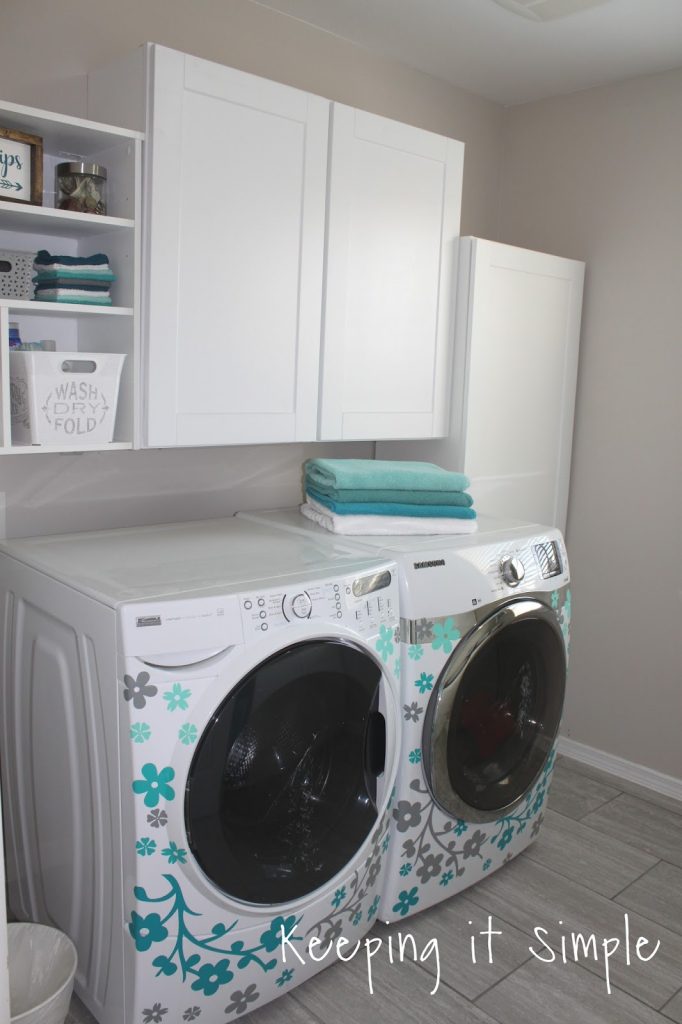
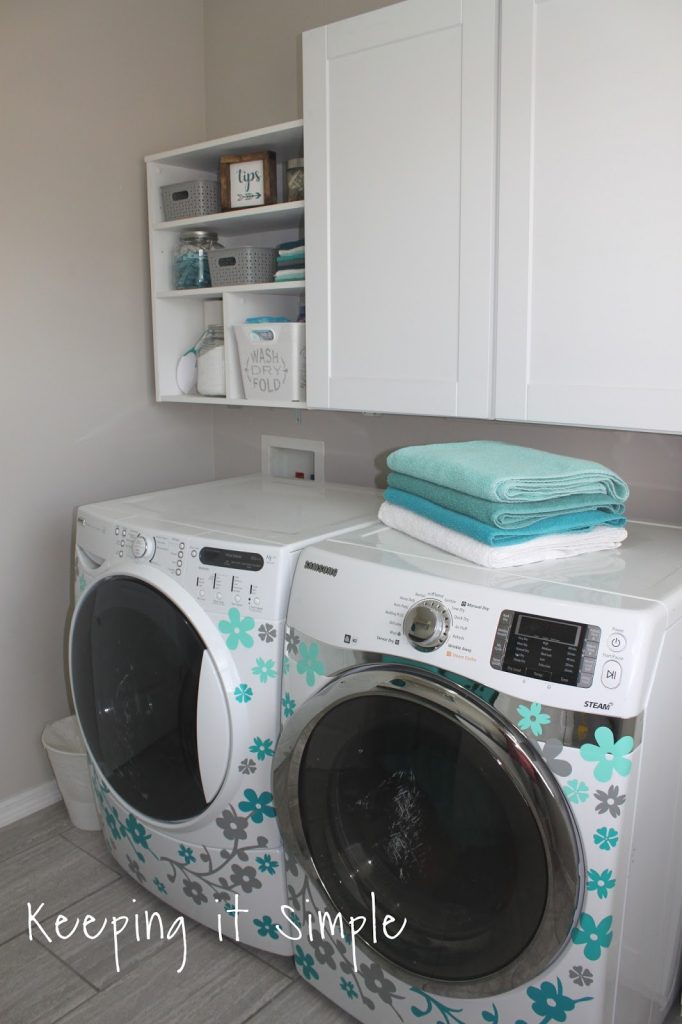
Above the washer and dryer we had plenty of room to put some shelves and cabinets for extra storage. We found this book shelf and really liked the look of it (plus it’s easier than building one). Using brackets we attached it to the wall.

We also added some cabinets to the wall. We got the already assembled ones and the larger cabinet was already there (I added the underlayment to it too). Now we have lots of storage and I love it!
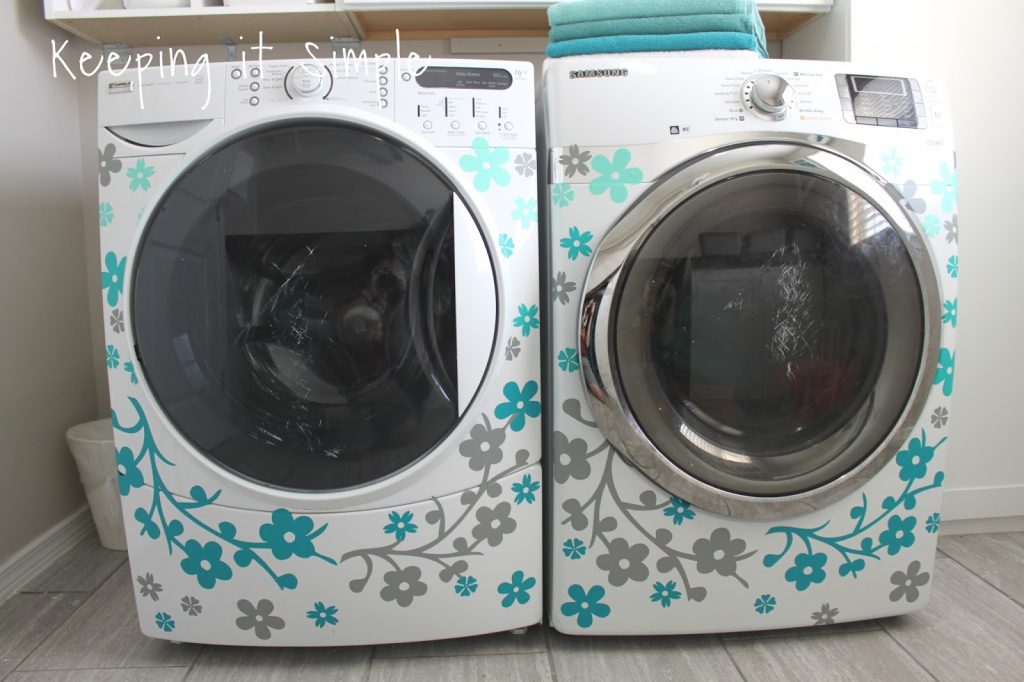
About 4 years ago I added some vinyl to my washer and dryer. I really liked it but I decided to change it out and just used the teal and gray colors.

Here they are with the vinyl! I did an ombre look with teal.

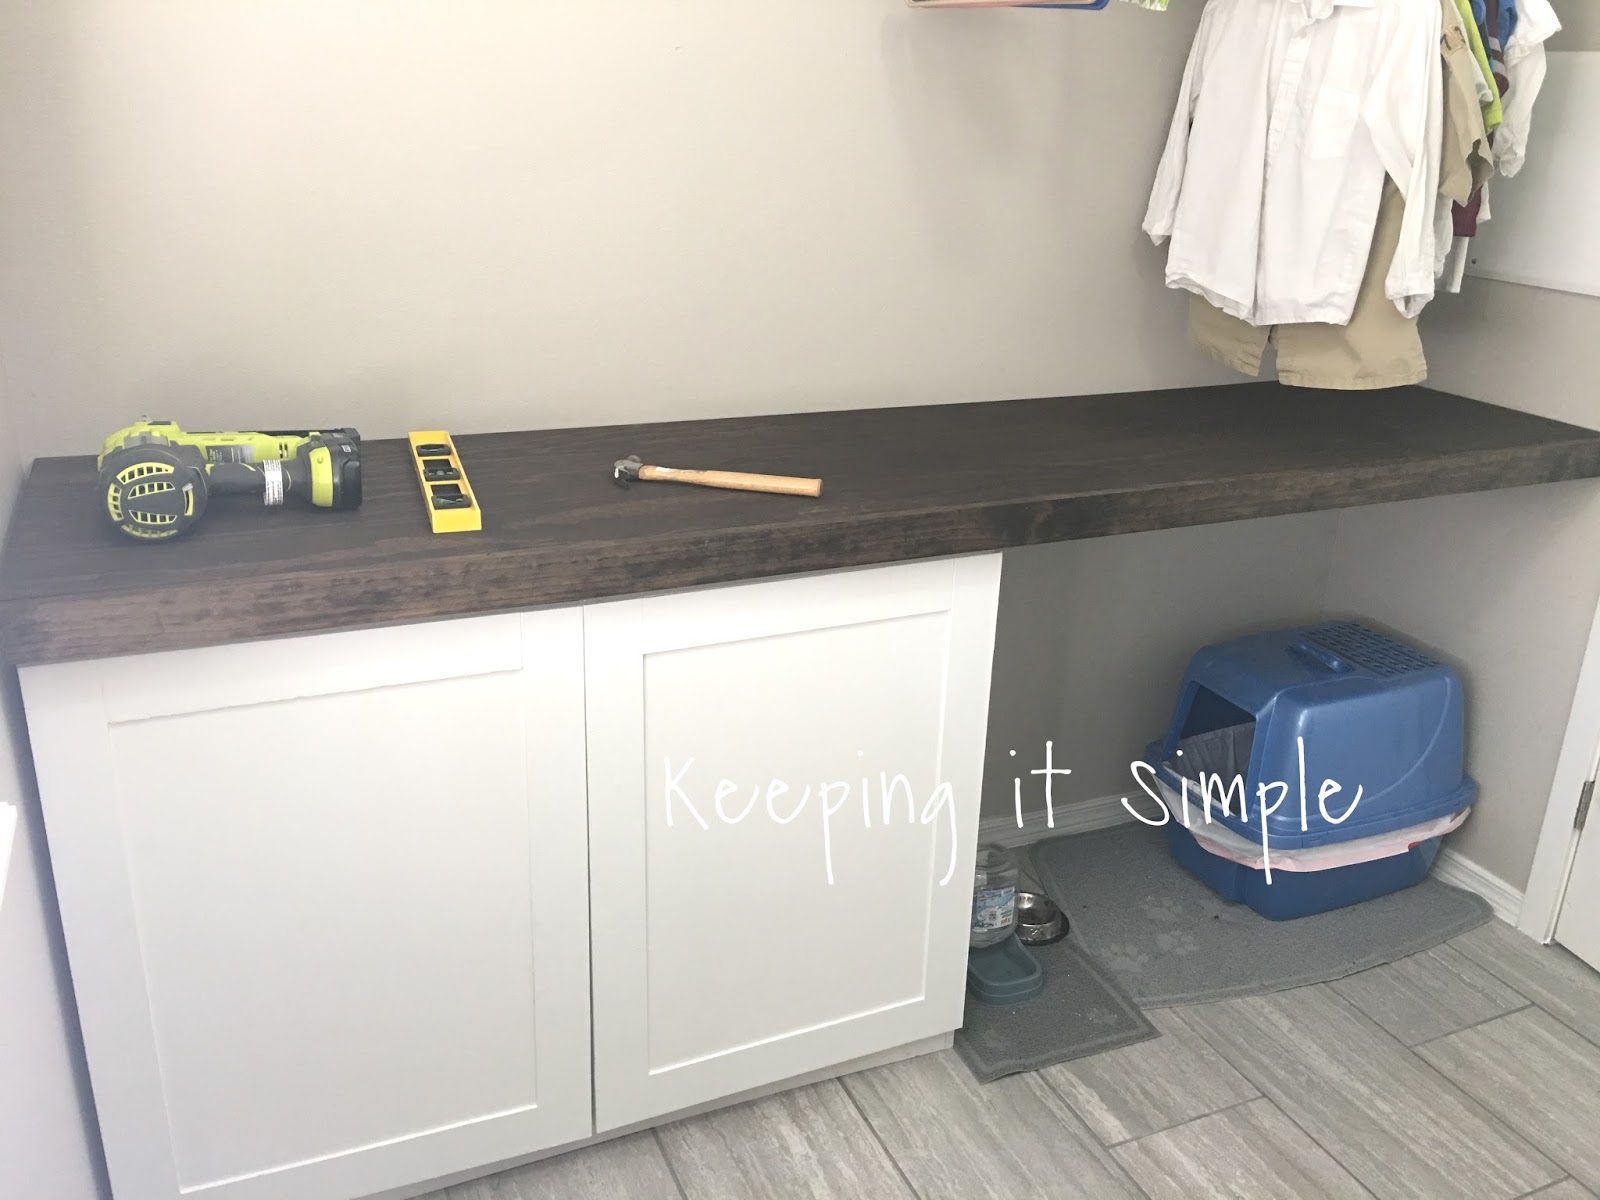
Now for the other cabinet. It’s a great cabinet but I wanted more table space to fold clothes on, so I built onto it. The table was a little too wide, so we cut it with a circular saw and then took a piece of plywood and cut it 22″ by 8 feet and a 1×3 piece of pine cut to 8 feet. I then stained it with an espresso stain.
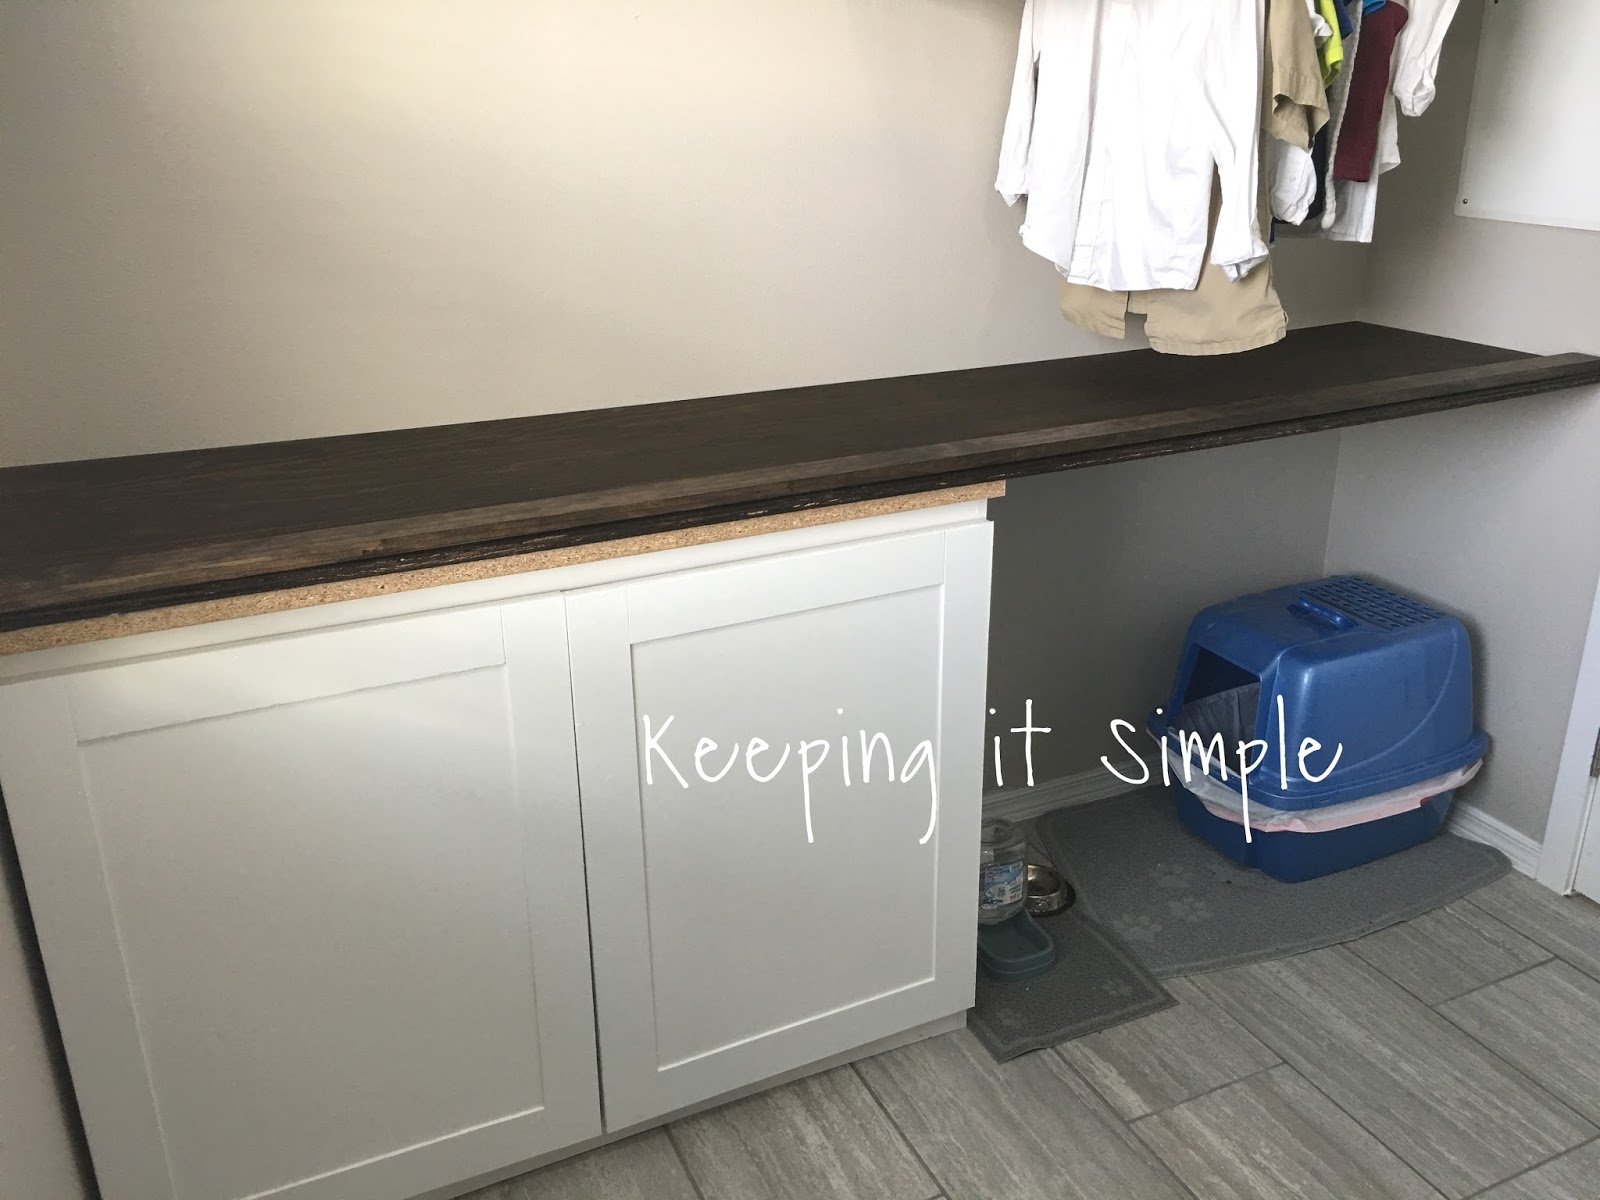
I then put the wood onto the cabinet. Using a nail gun and finishing nails, I attached it to the table top and then added the 1×3 piece of wood for a trim. Then I screwed and nailed a 1×2 into the wall to hold up the table on the right side.
And now it’s complete and I love it! Here is how it looks from all 4 corners.
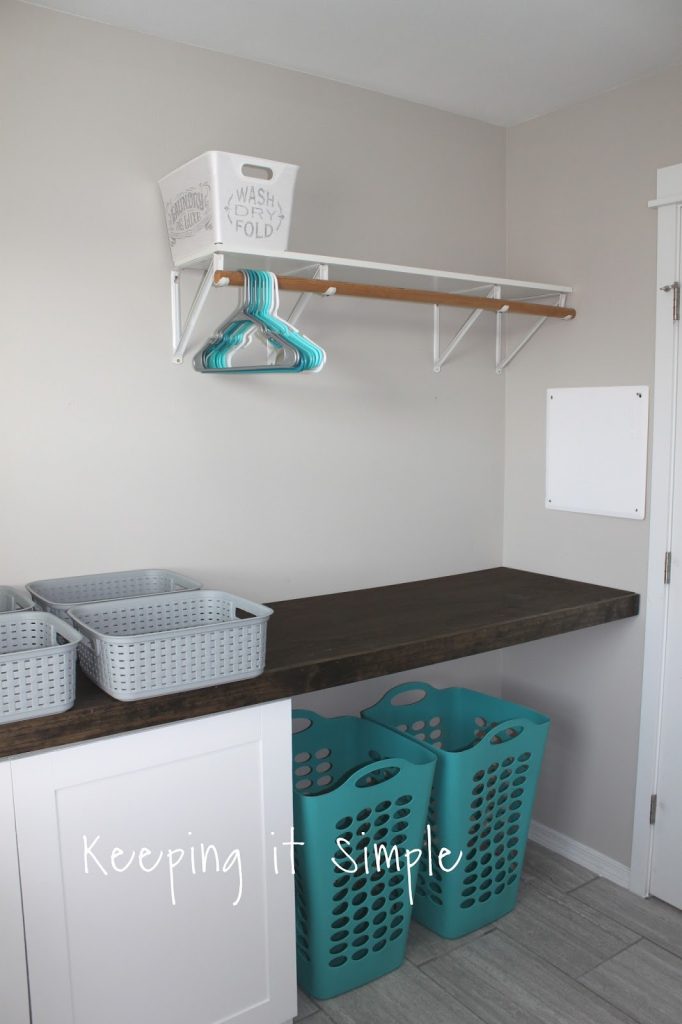
I love having a tall of cabinets/shelves! It’s so nice to be able to store all of my cleaning supplies, linens and laundry detergents in a organized and cute way :).
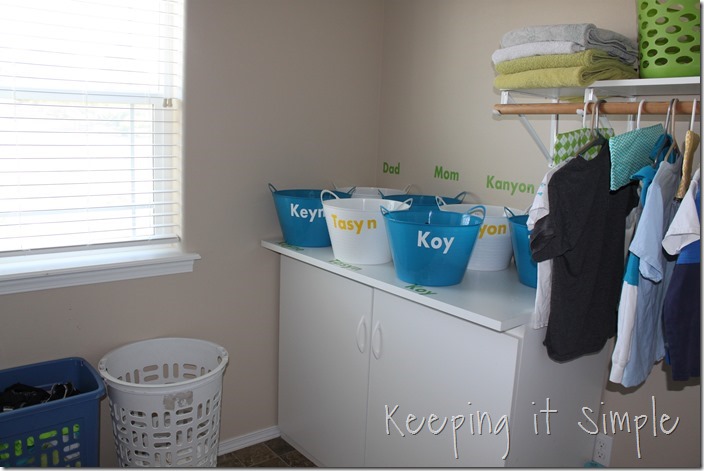
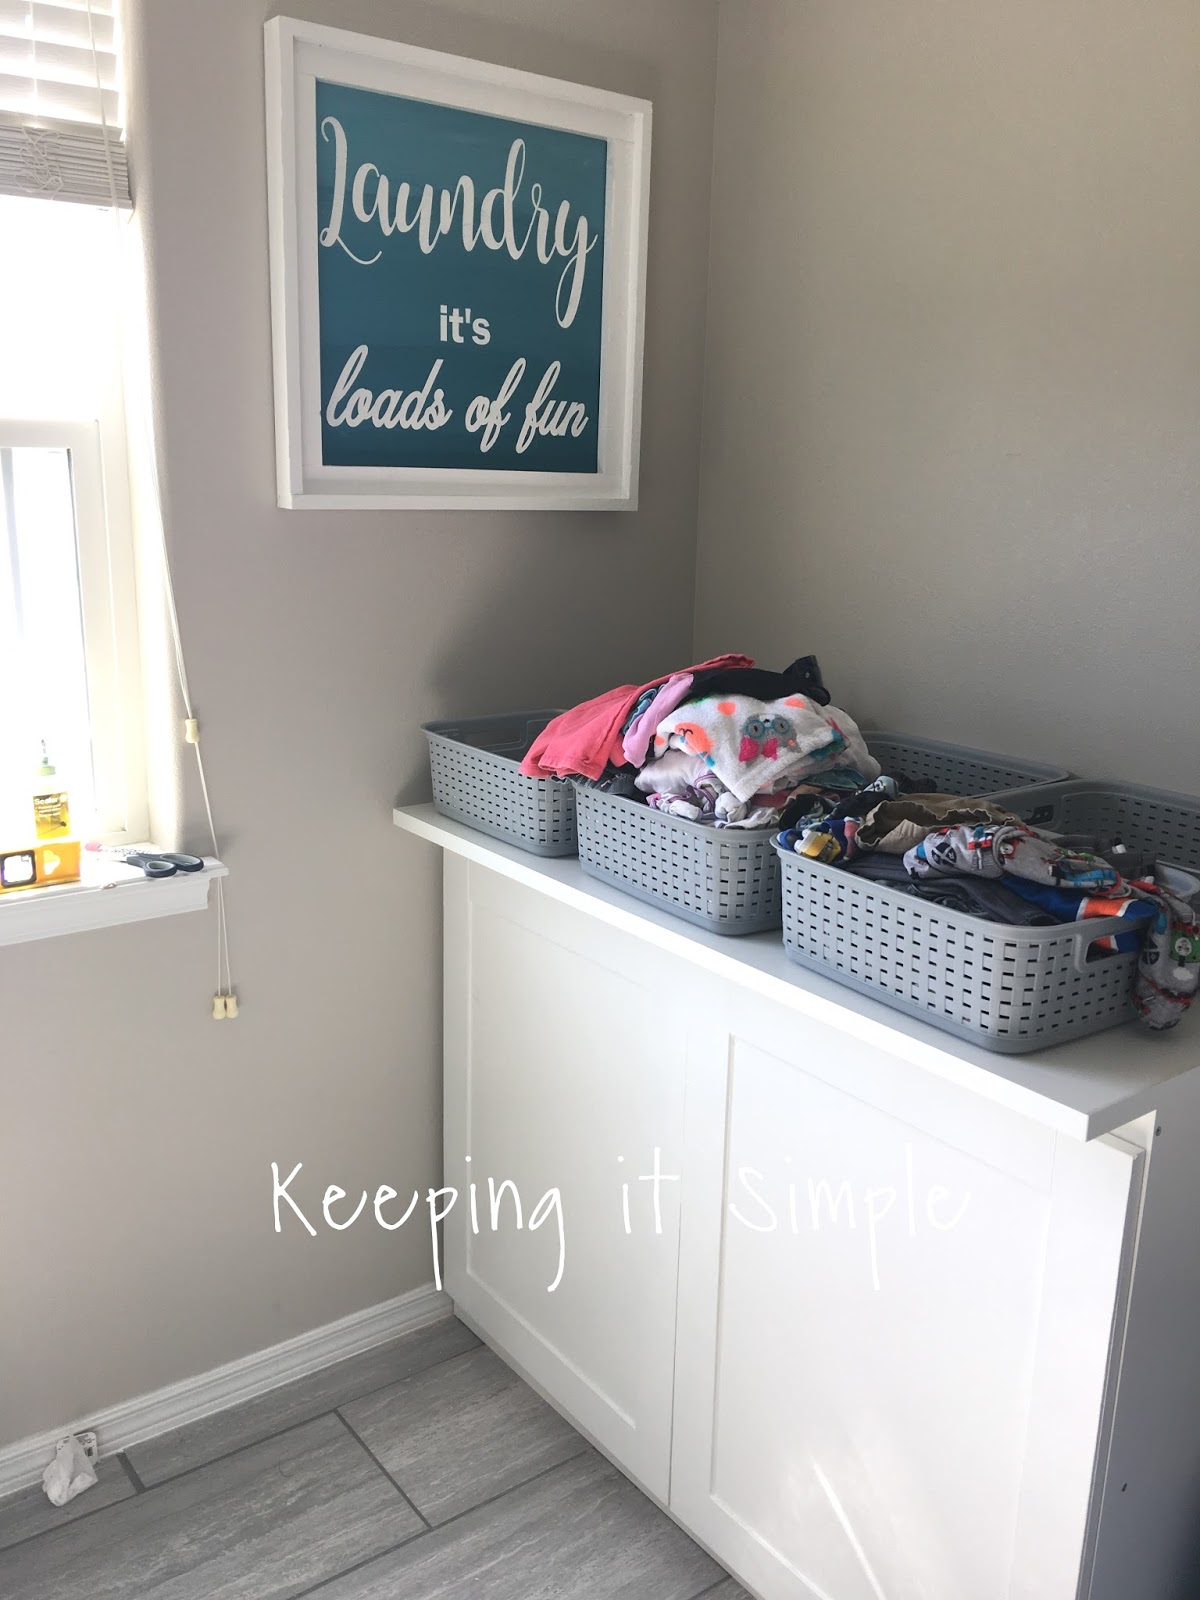
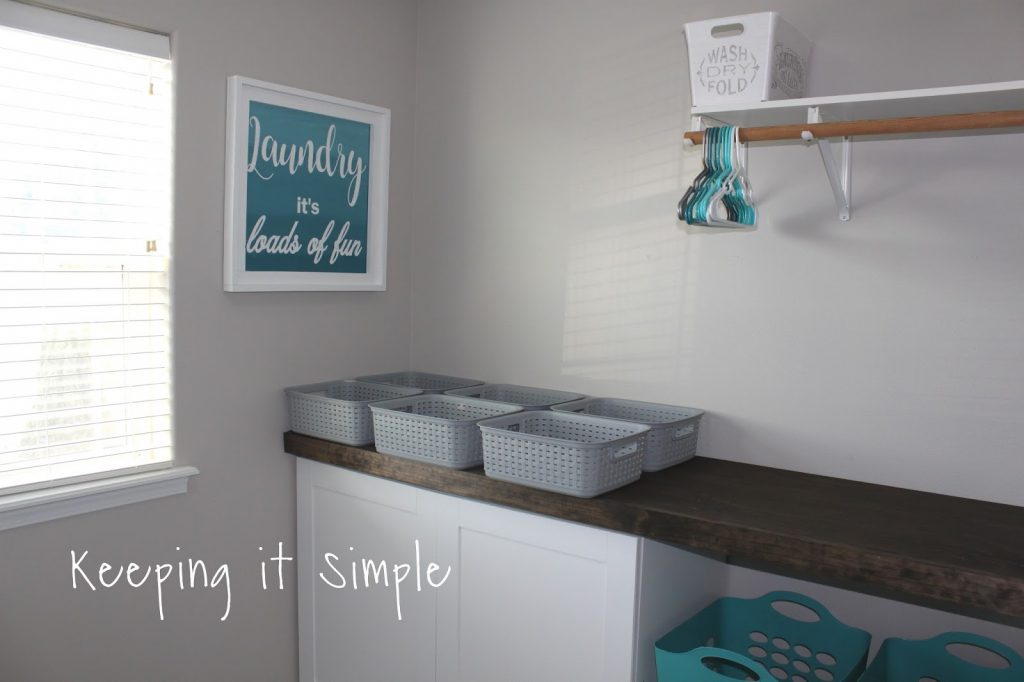
The folding table is awesome and long (it’s about 8 feet long!). I can fold the clothes, hang them up and put them in the kids’ baskets so they can put them away.
The space on the folding table that don’t have baskets is where I am going to put the load of laundry and so I can switch the load and while it’s going, fold the clothes. Plus the space underneath is a great place to put the hampers (or cat stuff, as in previous pictures :D).
And now for all the little details that make up the room and make it so much fun!
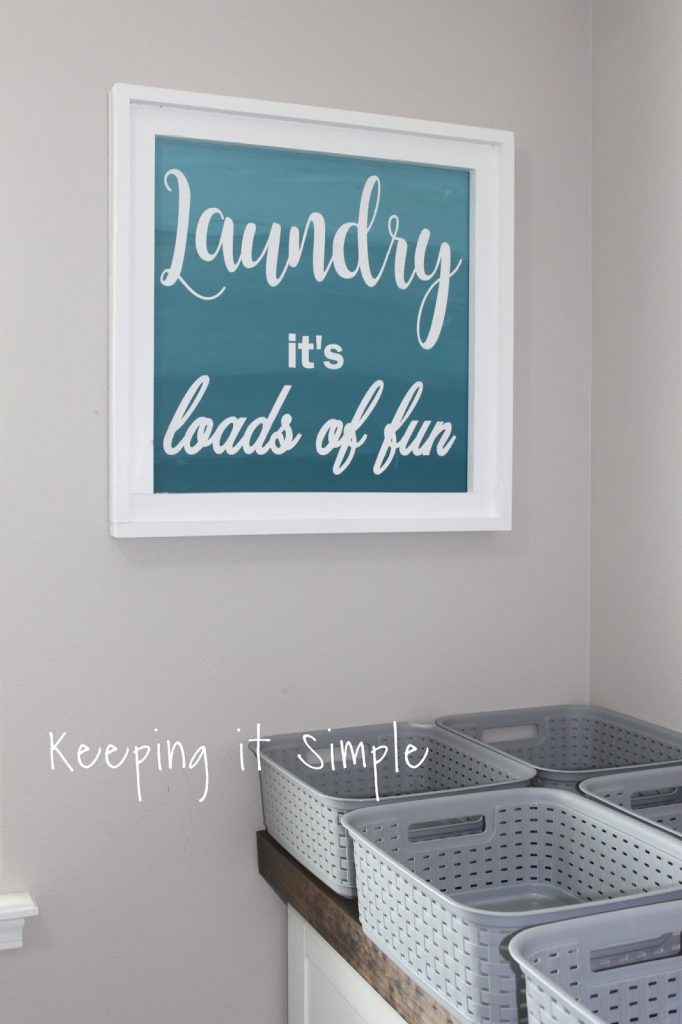
I made up this sign for in there and I love it! The subtle ombre really makes the sign unique and fun.
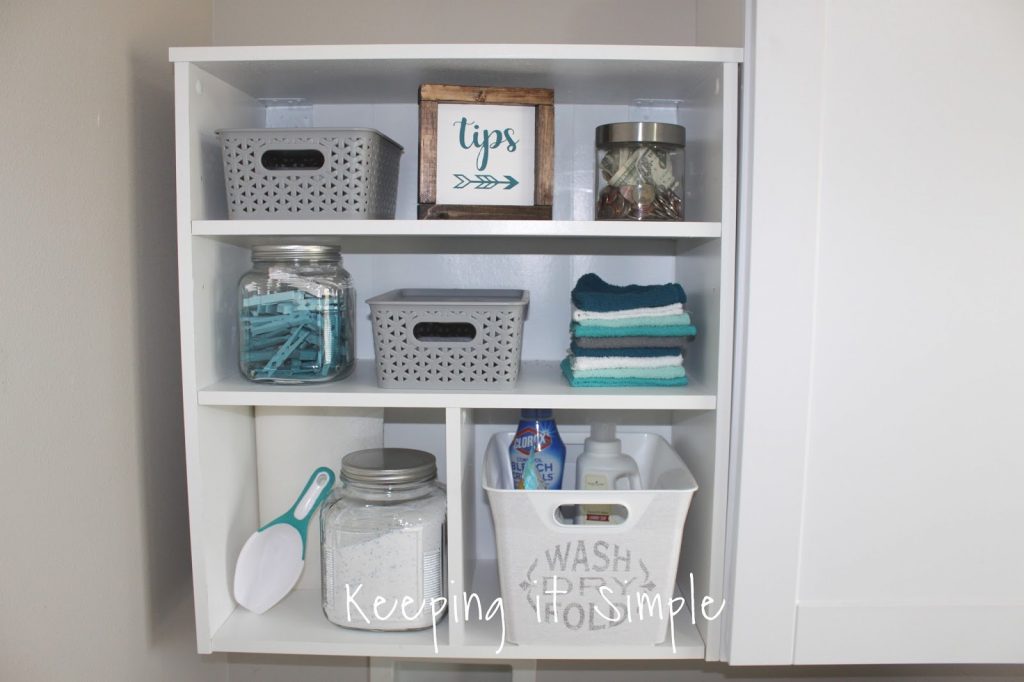
These shelves were so fun to decorate. They are functional but also fun too. The bottom shelves hold the laundry detergents and supplies. And then the top two shelves are more for fun but also practical.
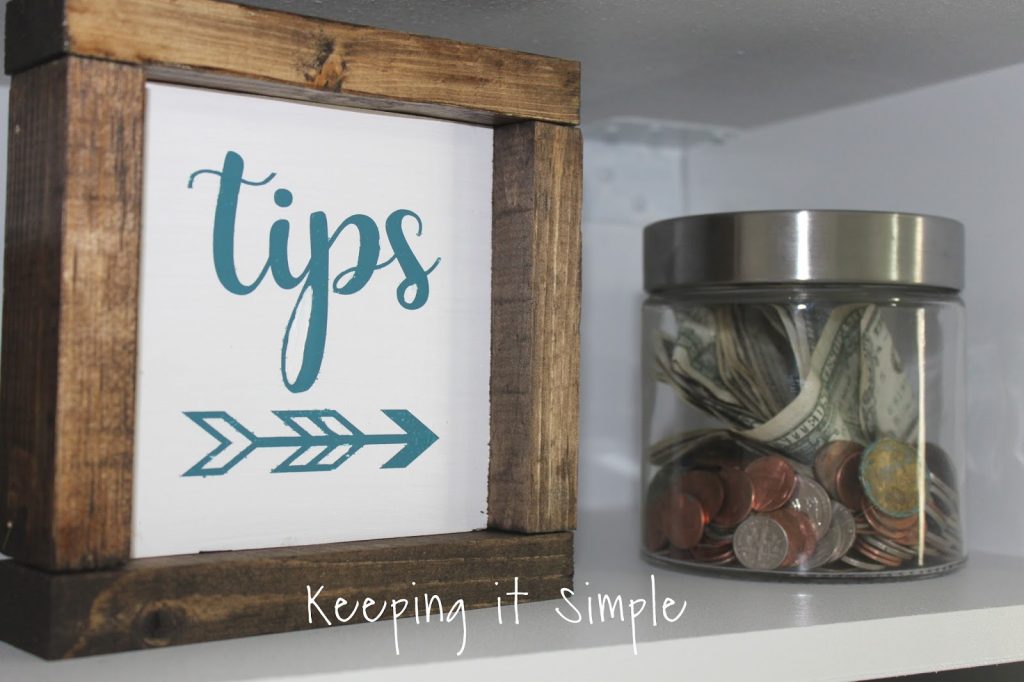
Since I am always finding money in the laundry, I made up a cute sign that says tips and have a money jar for all the money I find. Sometimes it pays to do laundry :). The stain that I used for the sign is the same color as the folding table.
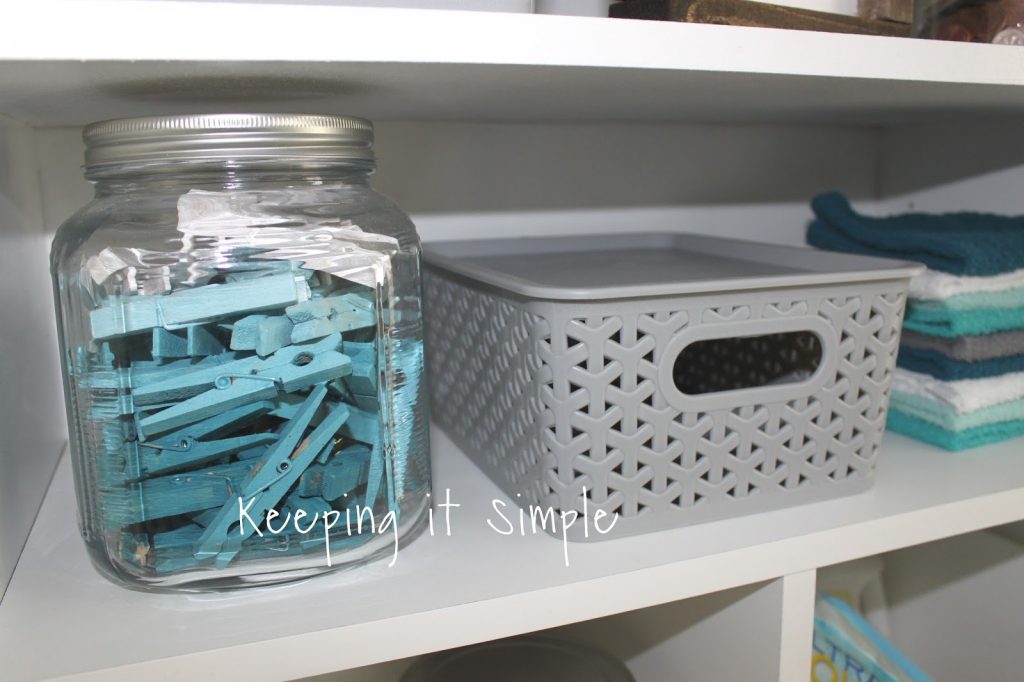
Another fun thing that I did was I painted some clothes pins to be ombre. I used the same paint and colors as I did on the laundry room sign.
The vinyl on the washer are so much fun. It’s fun to give them a little color and personality.
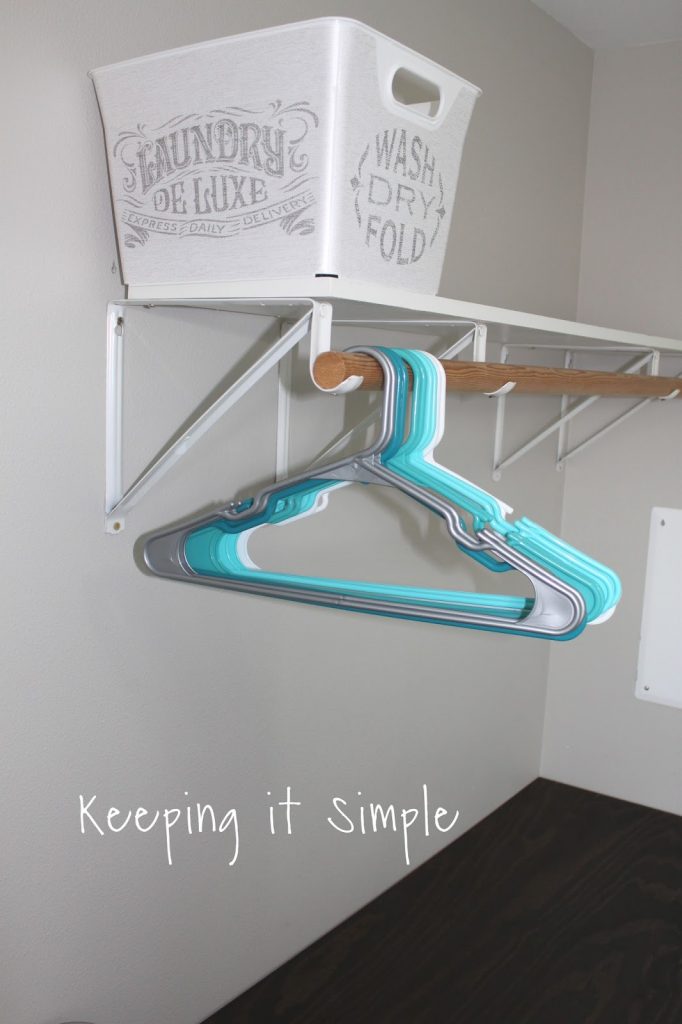
This shelf is so nice to be able to hang up the kids’ clothes and store things in. I found these adorable baskets and I knew that I had to get them because they were perfect for my laundry room. I store all the lost socks in it.
I love how this room turned out! I am actually excited to do laundry in it (we will see how long that lasts for :D)!
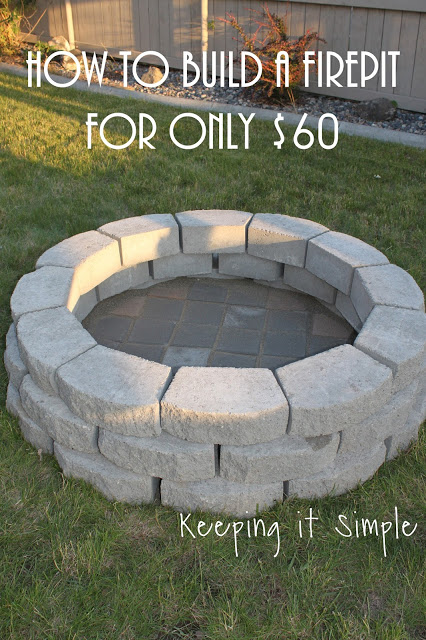
Like this post? Then you might like my other DIY ideas!

It looks fantastic Kaysi! I want to put vinyl on my w/d now. What a fun idea! I love everything about your laundry room!