I made this cute little pillow dress awhile ago for my little girl. I love how it turned out!

I used the Riley Blakes Indian Summer, love it!!!

Pillow case dress are super easy to make, and super cute!! I put a little twist on this on by have several different fabrics in it, normally it’s just two rectangles sewn together. Here are the measurements for the dress, according to age.
Length, add three inches for seam allowance:
6 month – 14.5″ long
12 months – 16.5″ long
18 months – 17.5″ long
2T – 18 .5″ long
3T – 19.5″ long
4T – 20.5″ long
5 – 21.5″ long
6 – 22.5″ long
Width, add one inch for seam:
6-18 months – 15″ wide
2T-4T – 16-20″ wide
5-6 – 21-24″ wide
This is how I made the dress:
1) I made it for my girl that is 16 months, so I used the 18 months measurements. I cut four strips (two times) that were 5″x16″ (there will be one more later)
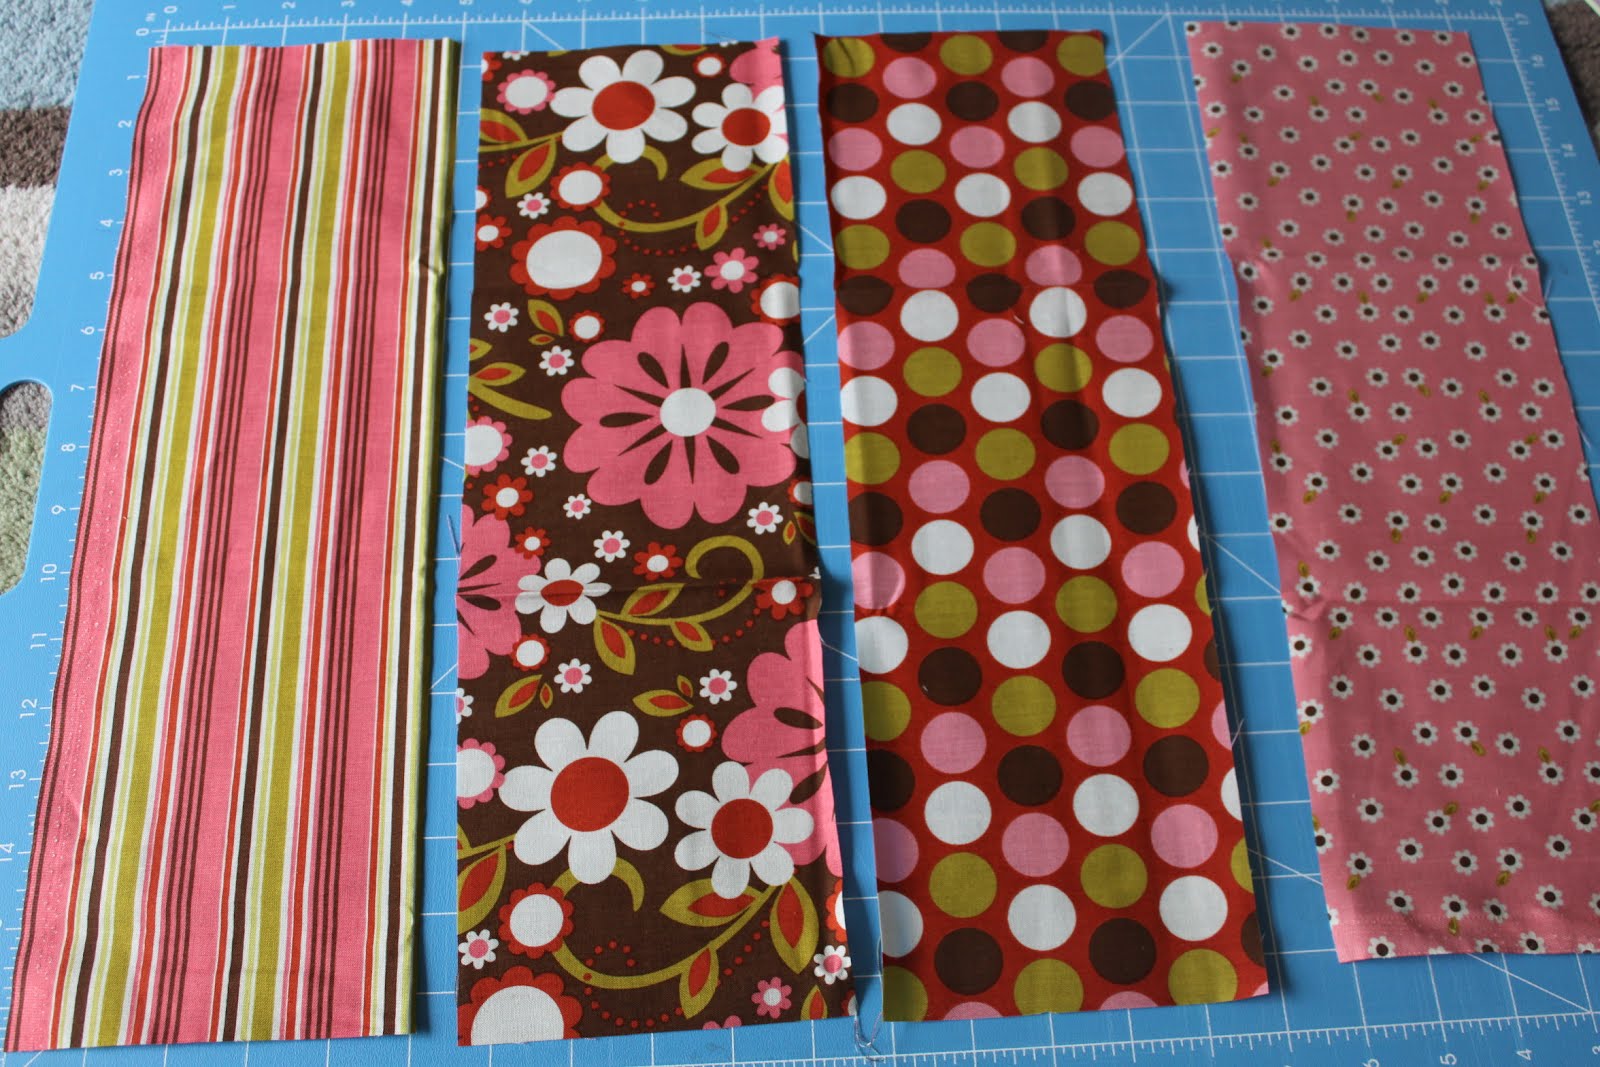
2) I wanted the seam on the outside of the dress, so I put two strips together, back facing each other. Then I sewed a 1 inch seam.
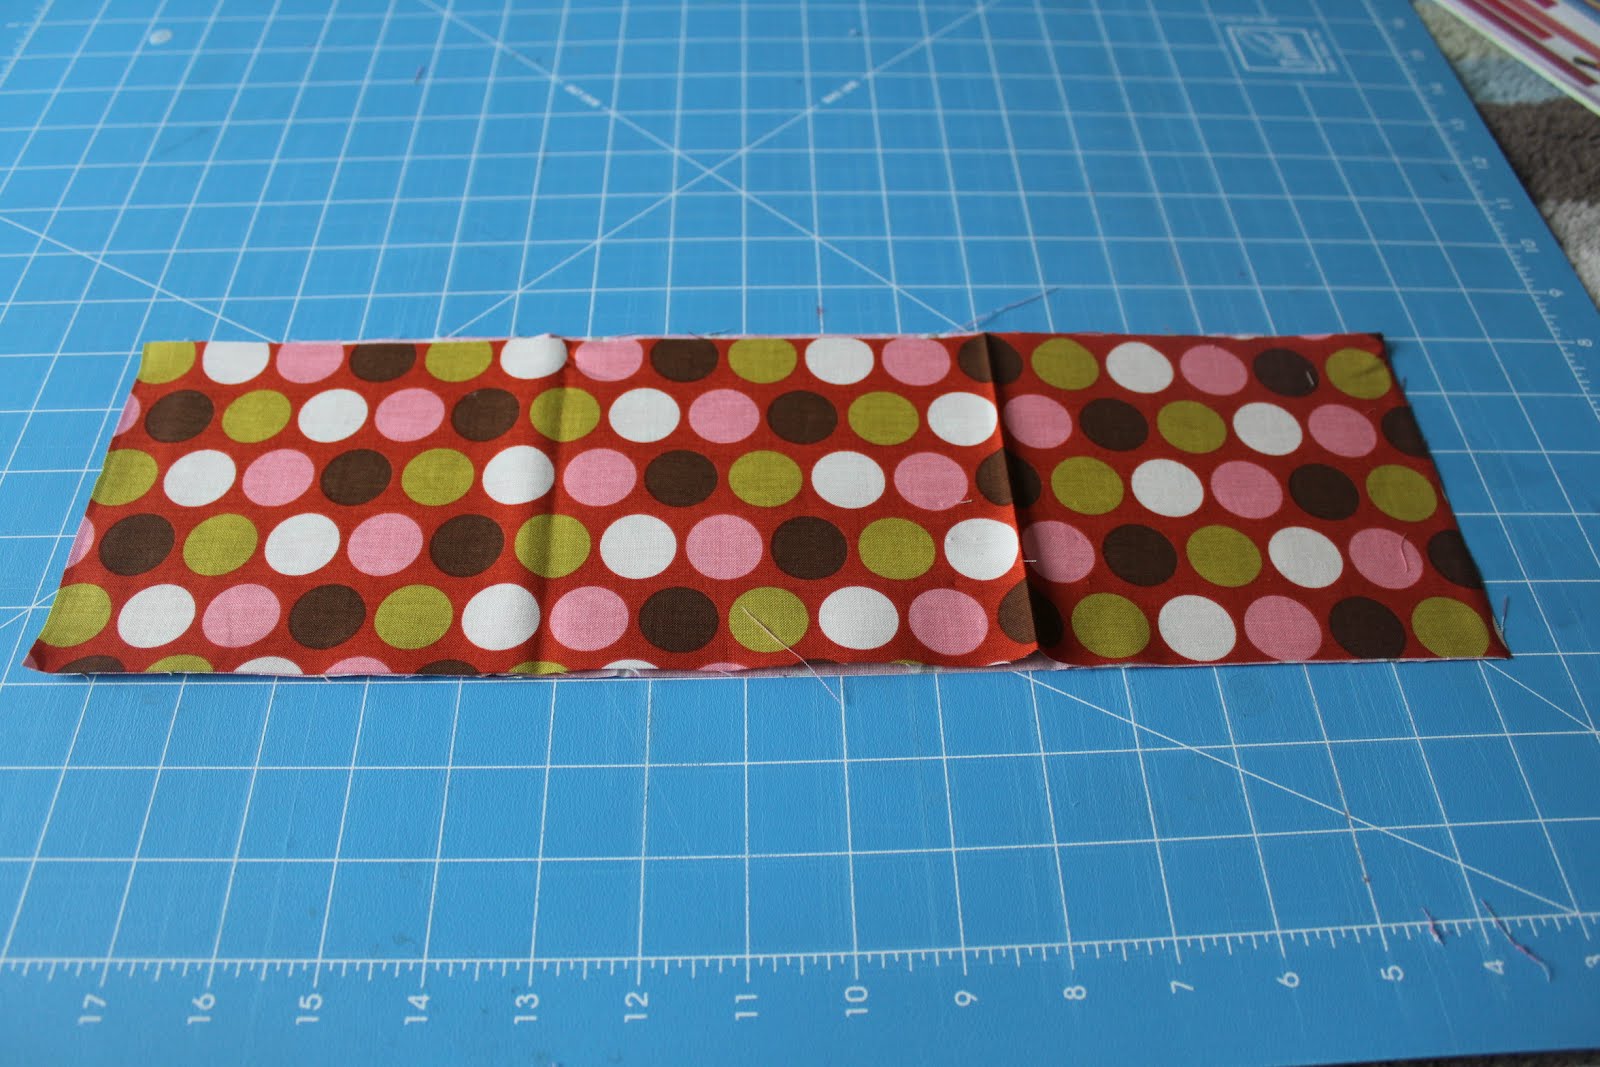
3) I continued to sew the strips together, putting the back together.

4) I sewed the four strips together, two times.

5) For the last strip, I wanted to make it a ruffle. So I cut two strips that were 5″x40″
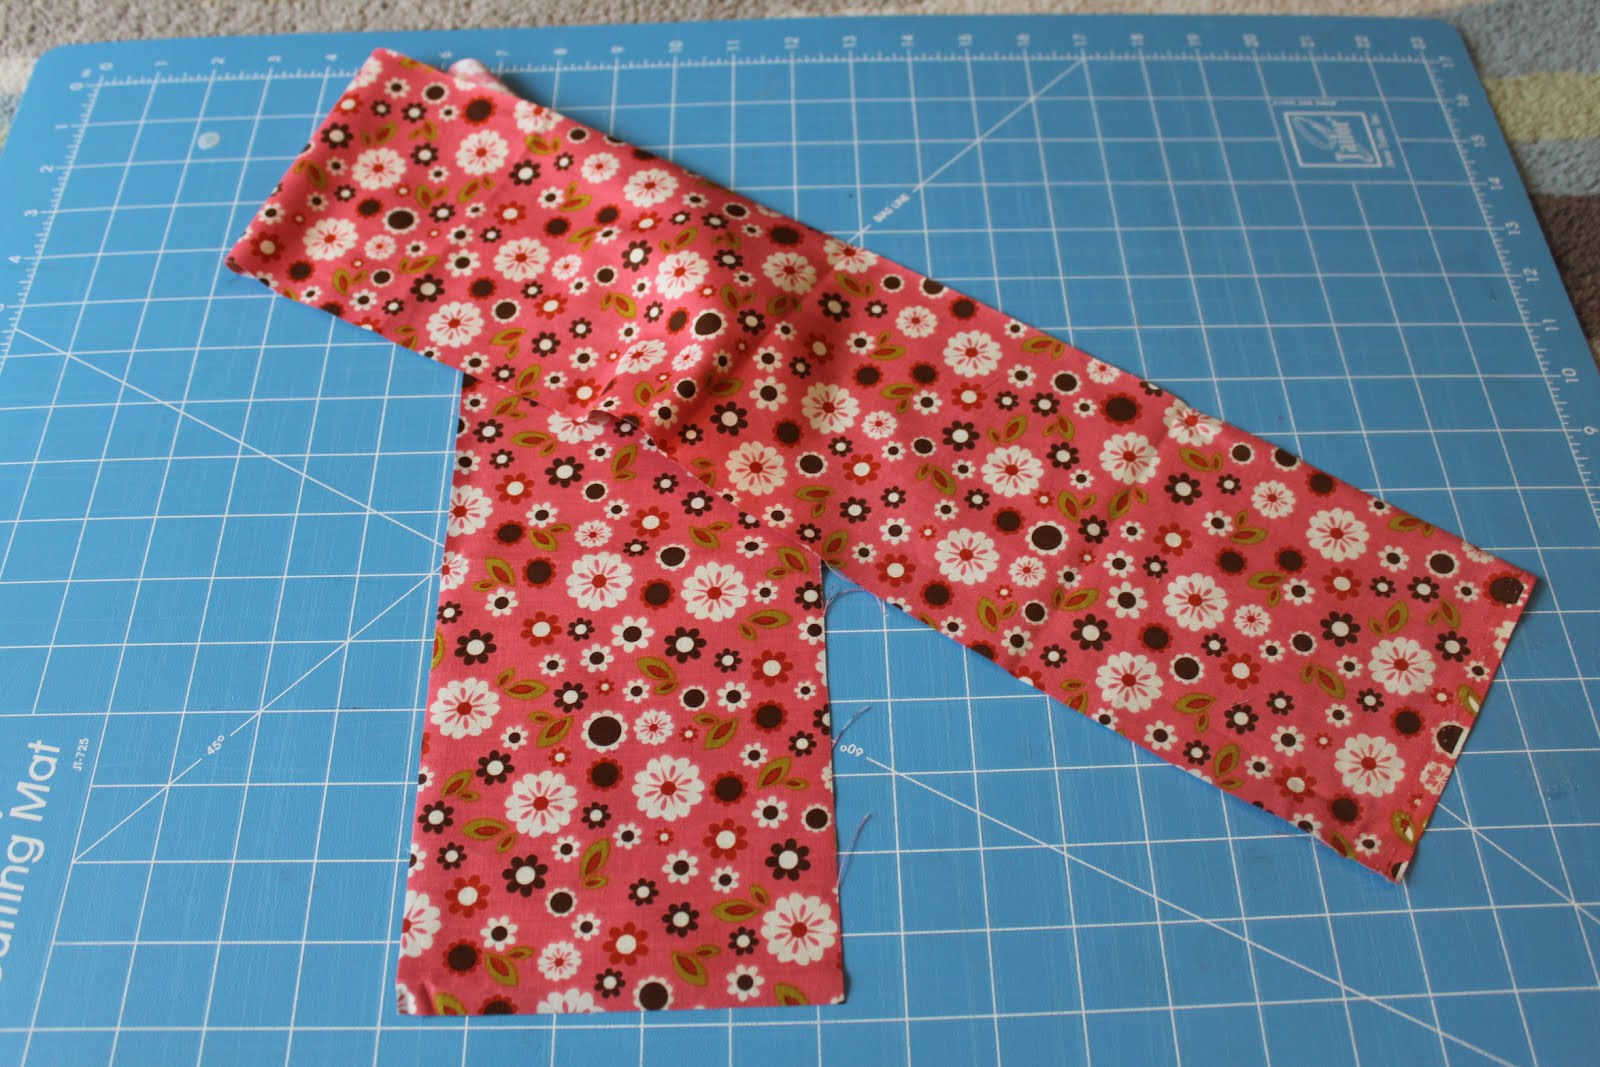
6) I hemmed the strip and then using my longest stitch setting, I sewed the top of the strip.
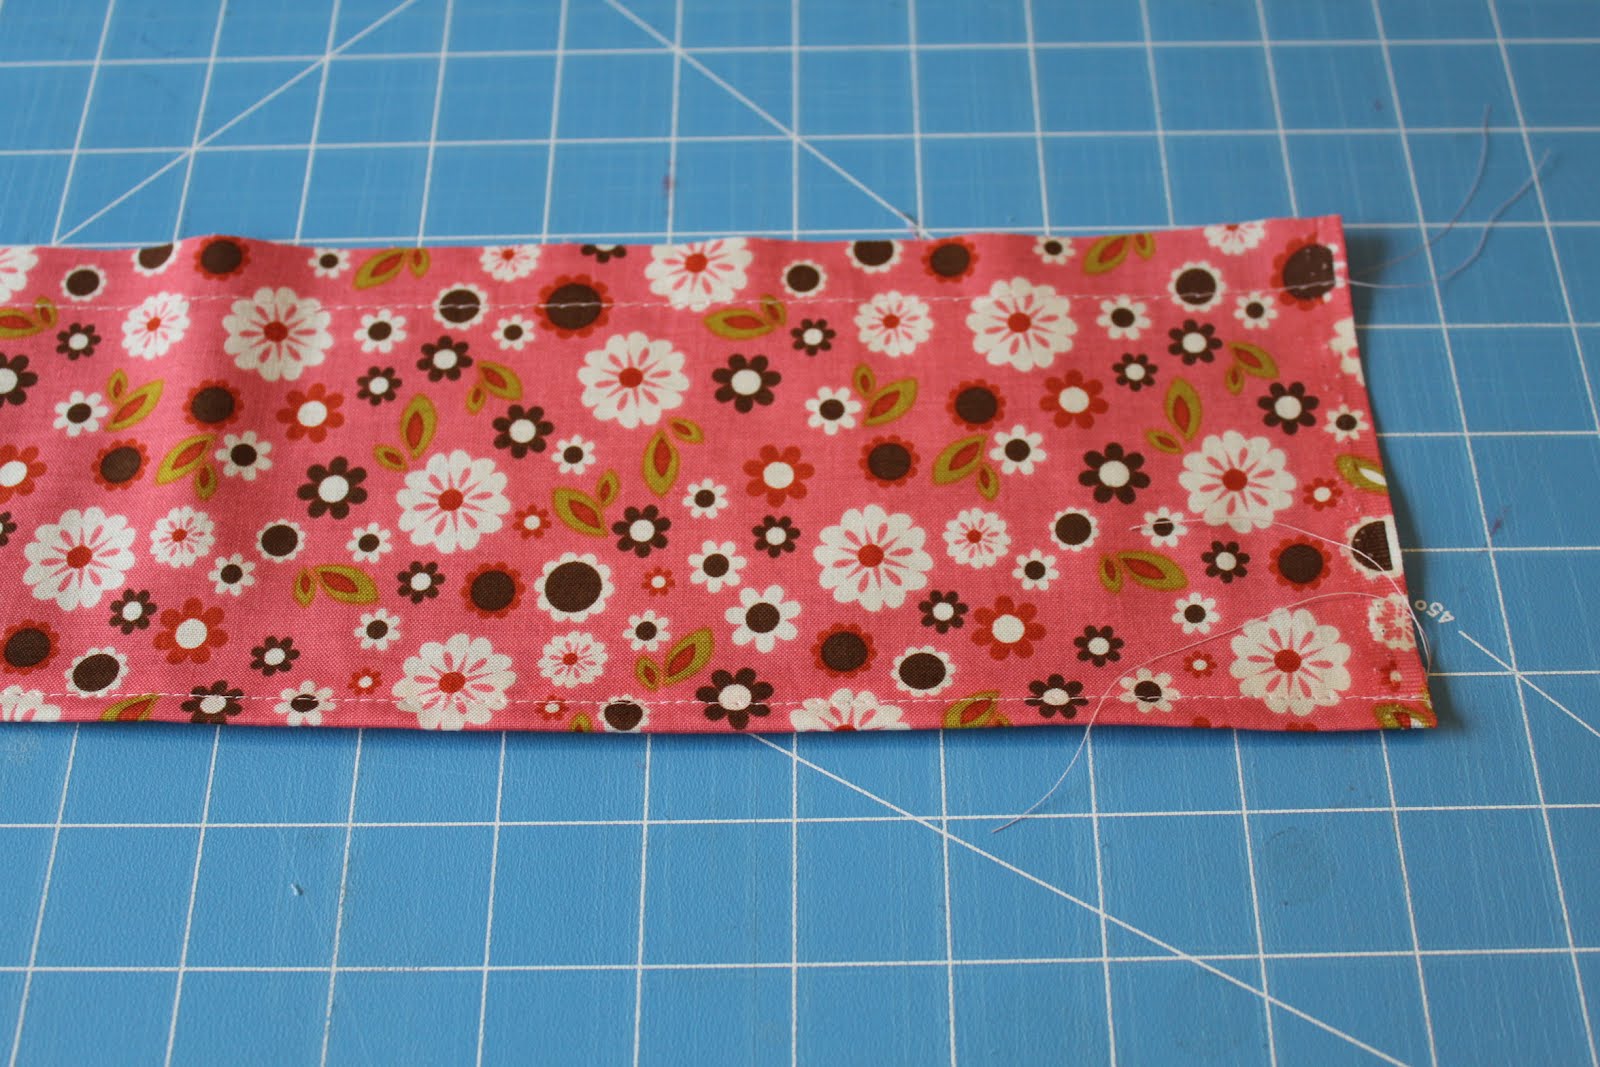
7) I then pulled the bobbin thread and gathered the fabric to make a ruffle.
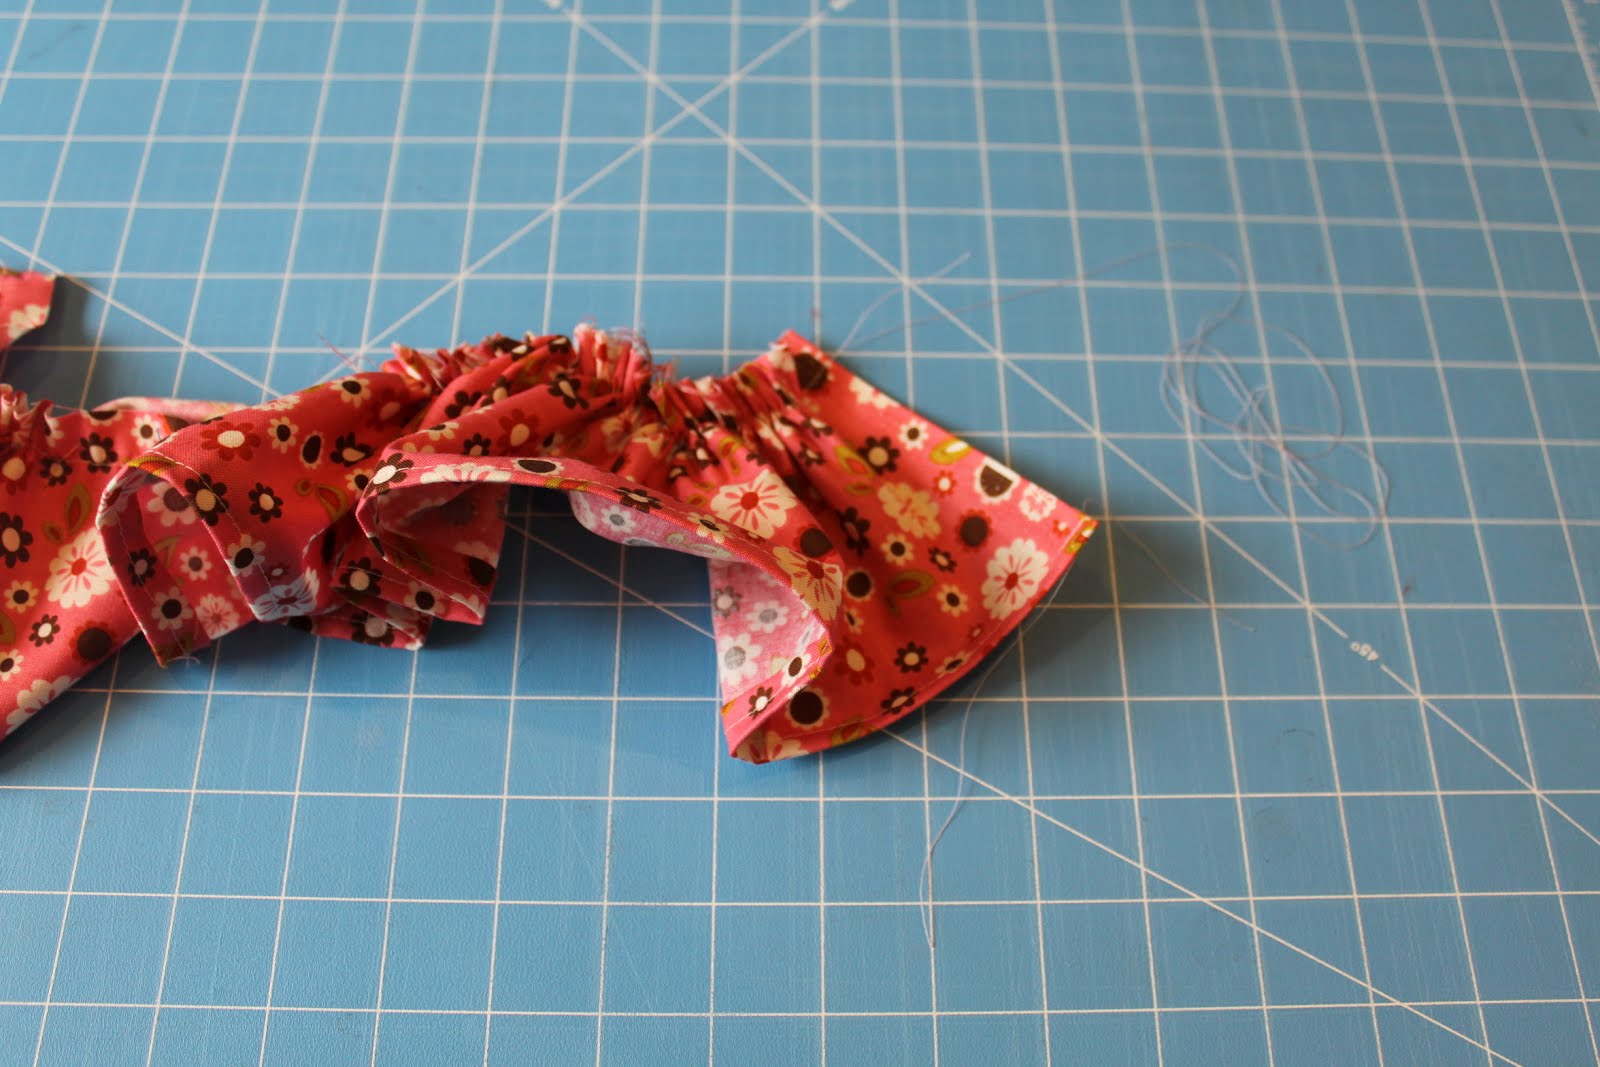
8) I pinned and sewed the ruffled onto the other strips.
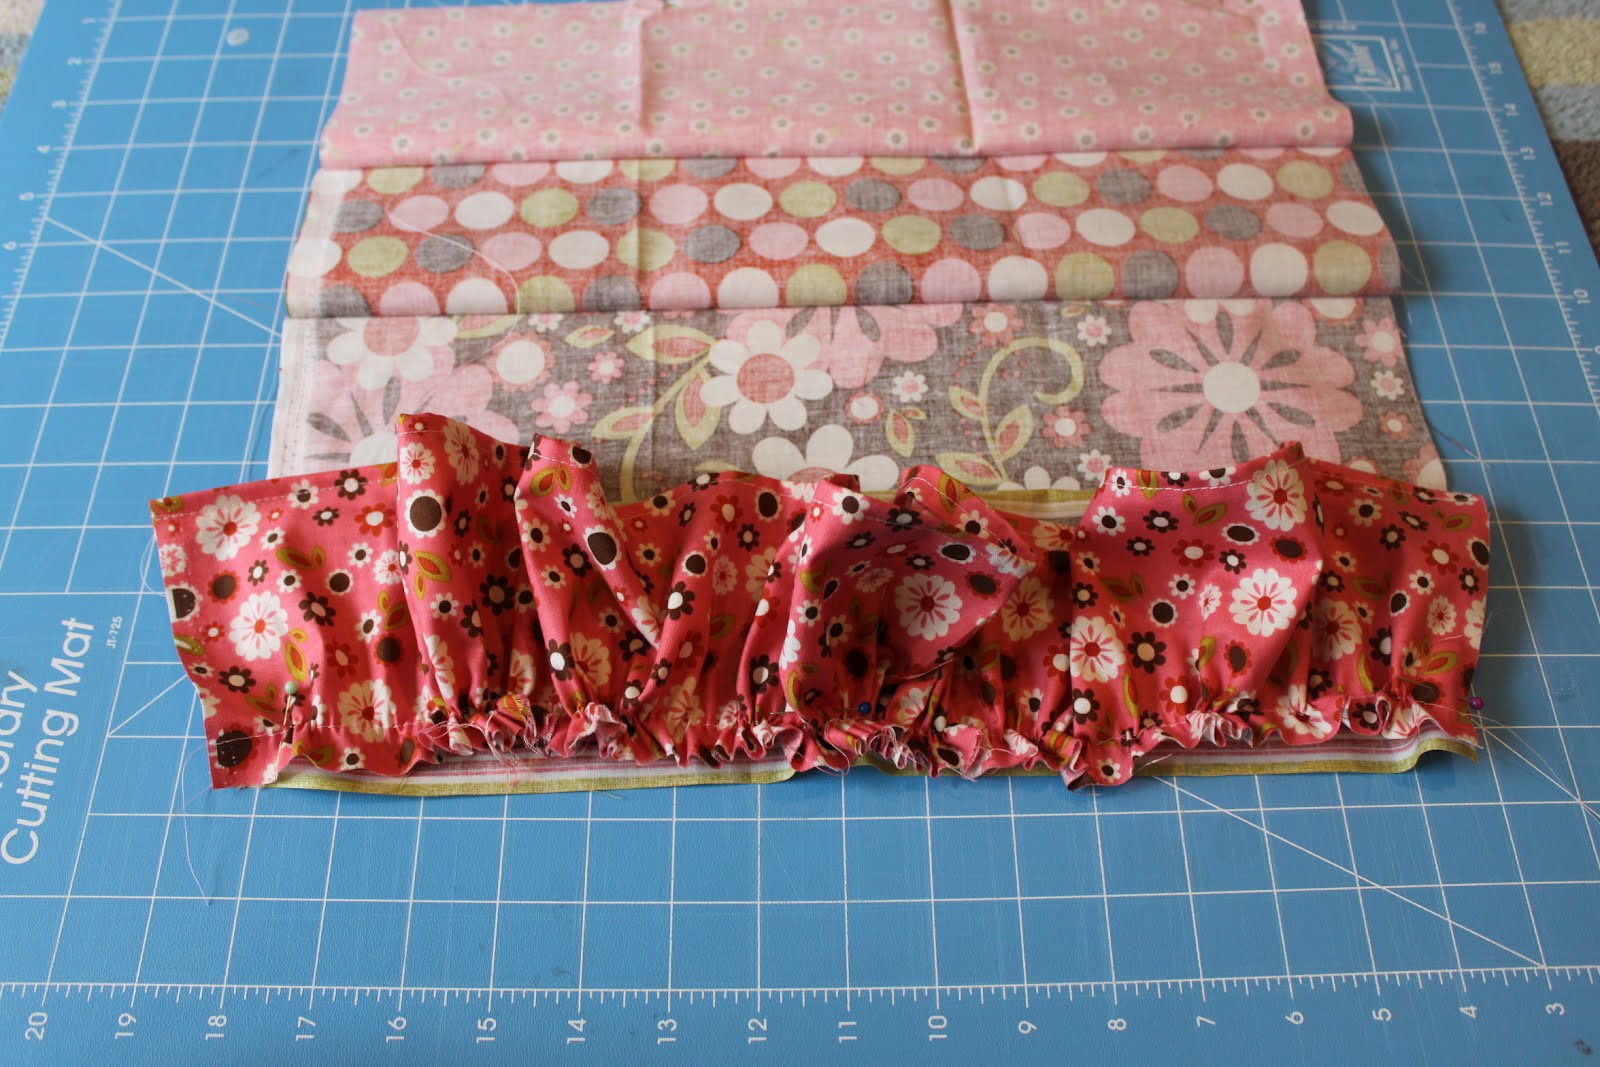
9) I then took the two sides and put them together fronts facing each other and sewed the edges together.
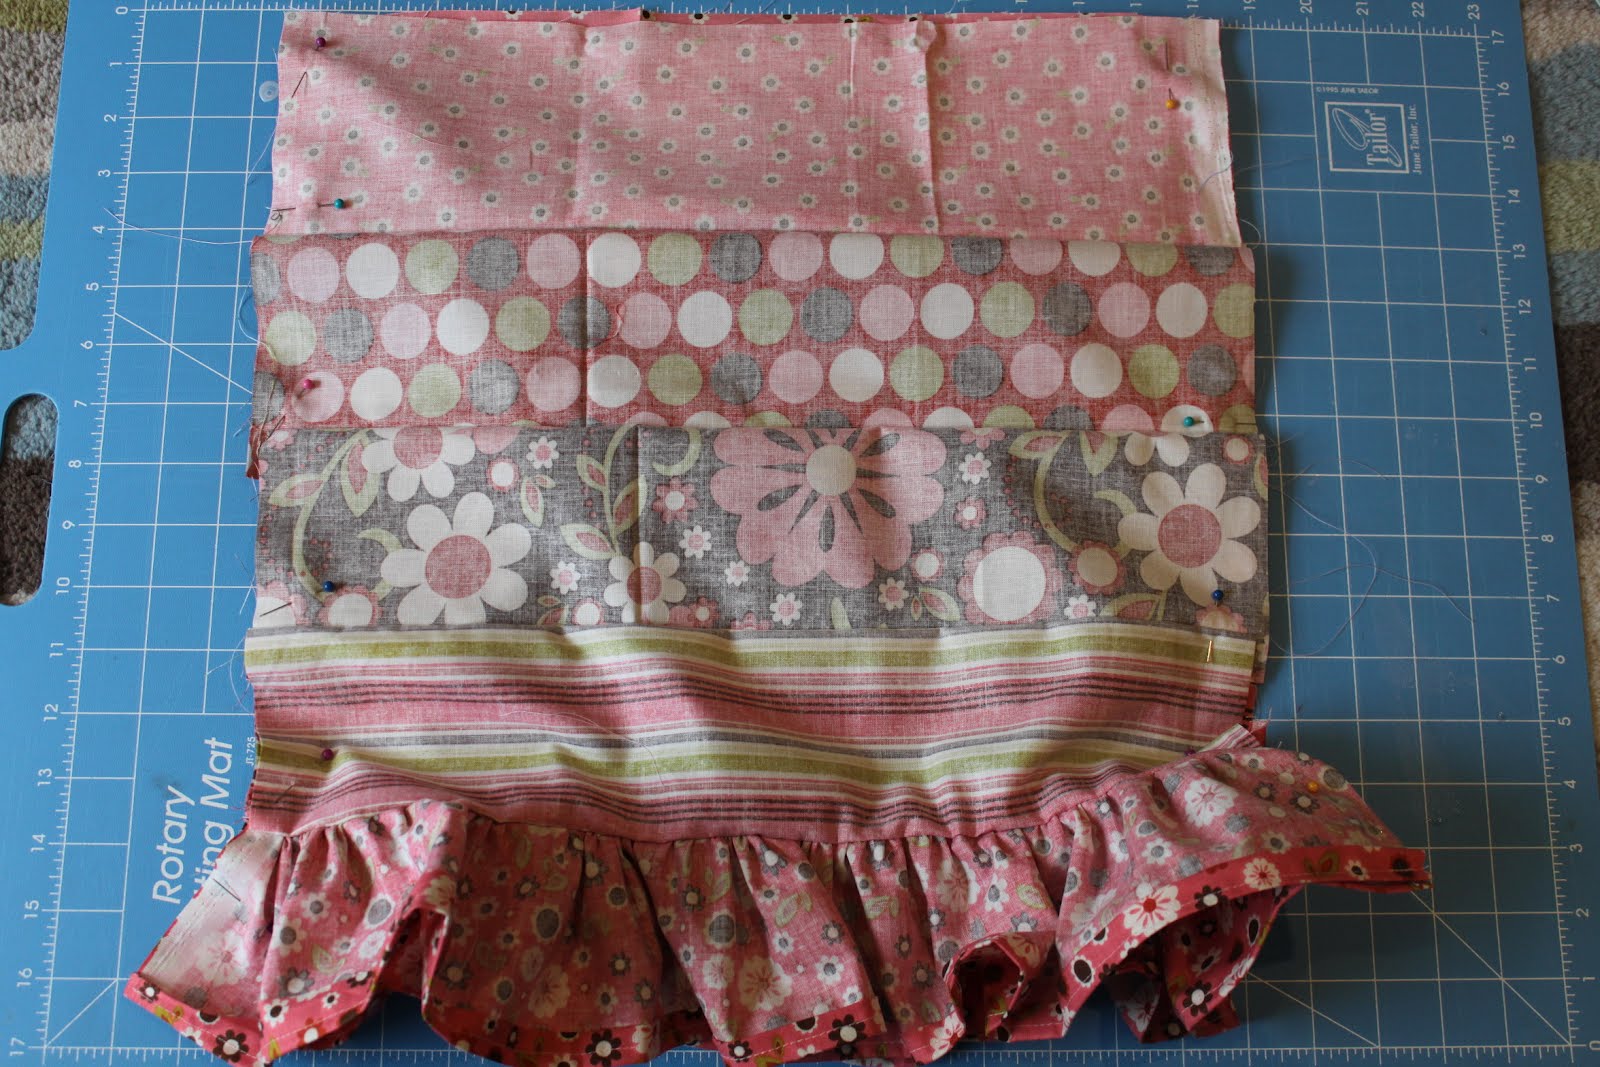
Here is the dress, it’s taking shape now!
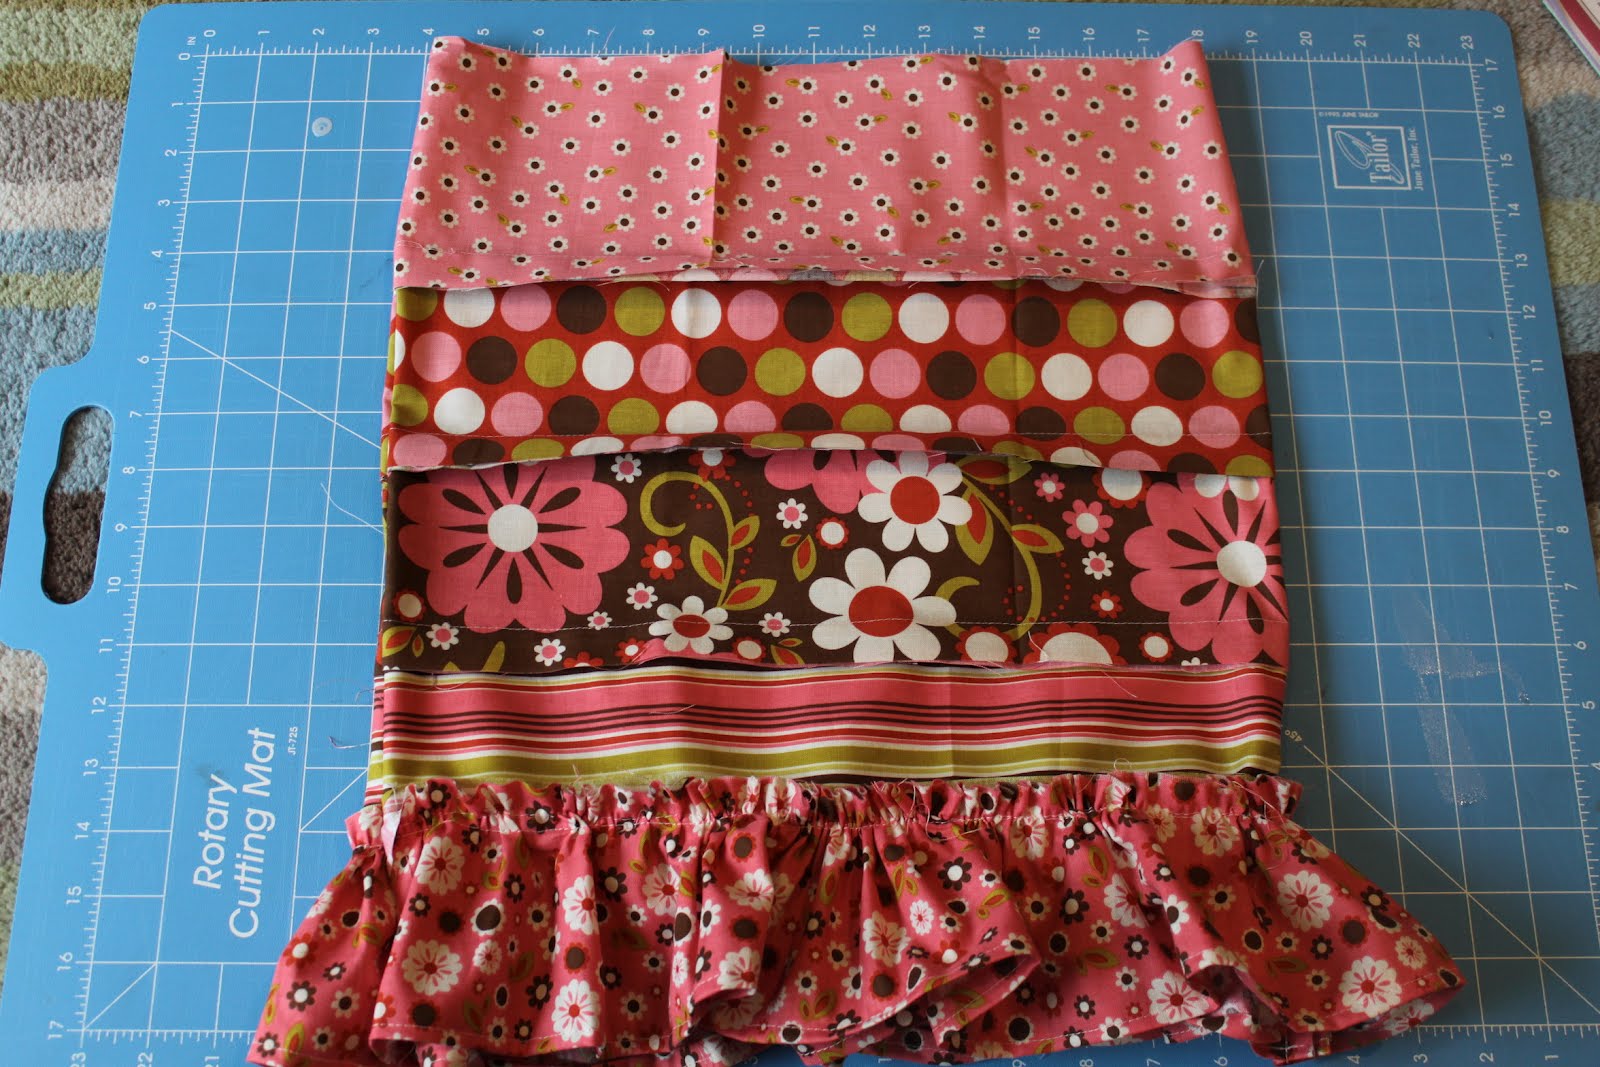
Now for the top of the dress. You have to cut arm holes. Here are the measurements for that:
6 month – 2T – cut down 3″ from the top and in 1.5″ from the side
3T-4T – cut down 4″ from the top and in 2″ from the side
4 and 5 – cut down 5 or 6″ from the top and in 2″ from the side
6 – cut down 7 or 8″ from the top and in 2″ from the side
10) I folded the dress in half and then cut a backward J, 3″ down and 1.5″ from the side.
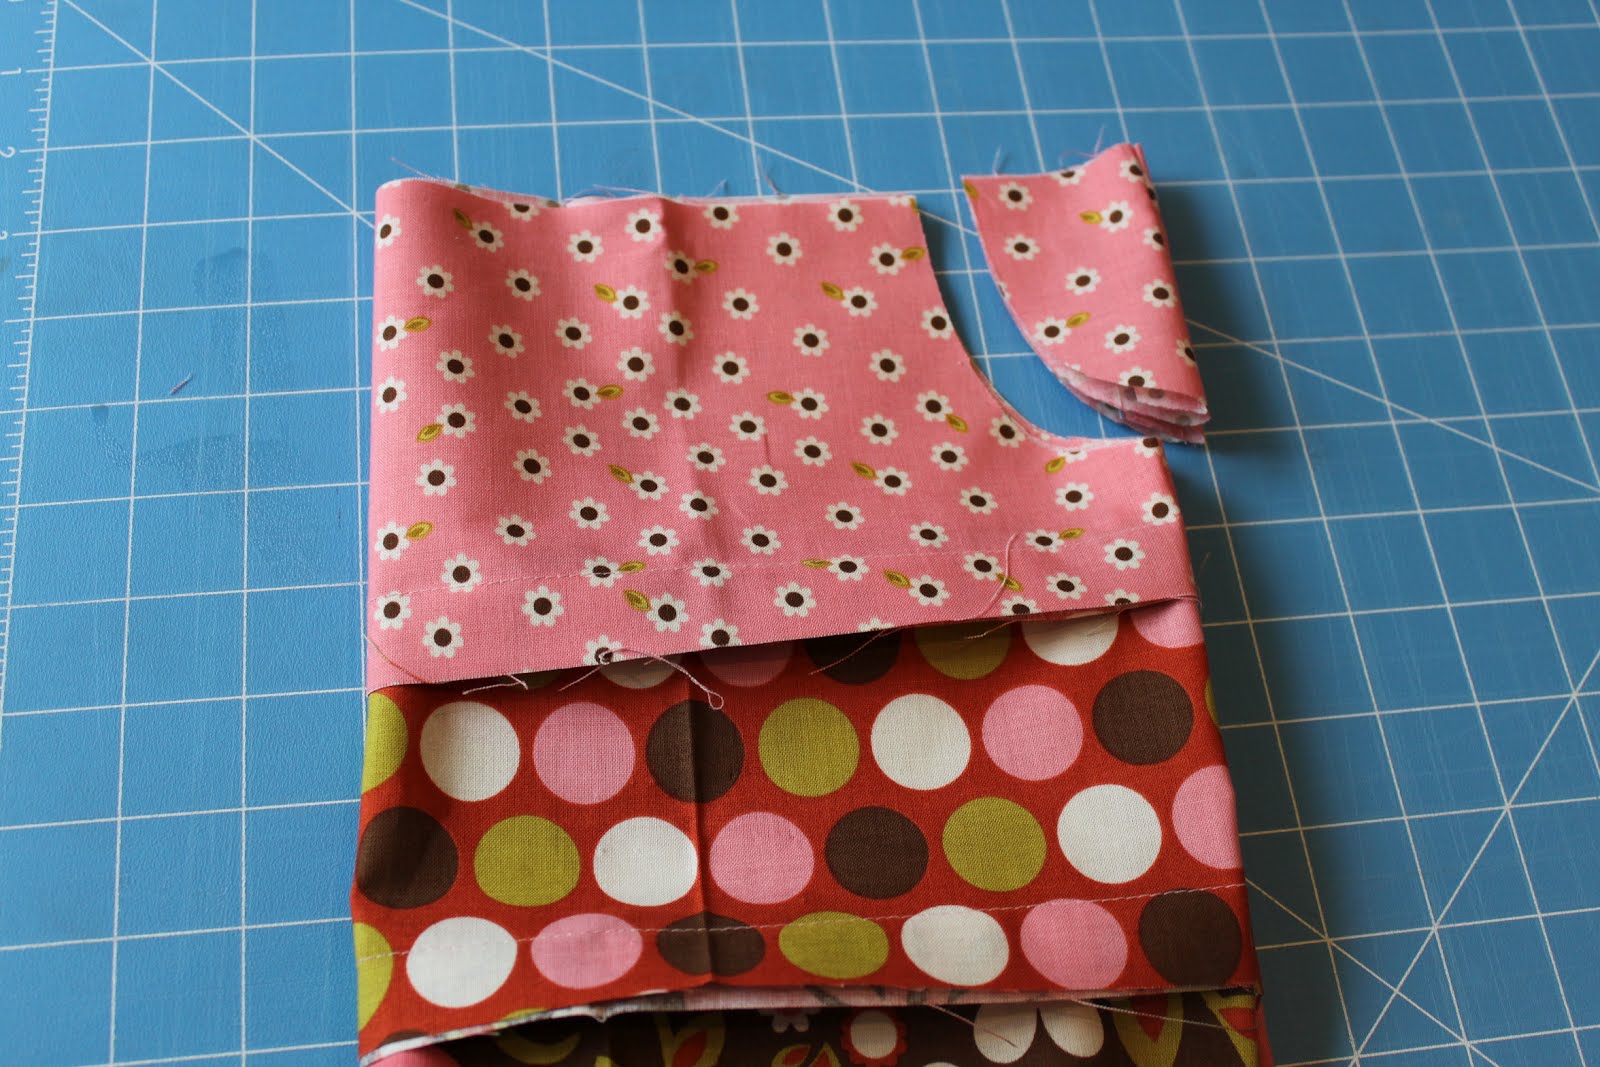
Here is what it looks like with the arm holes.
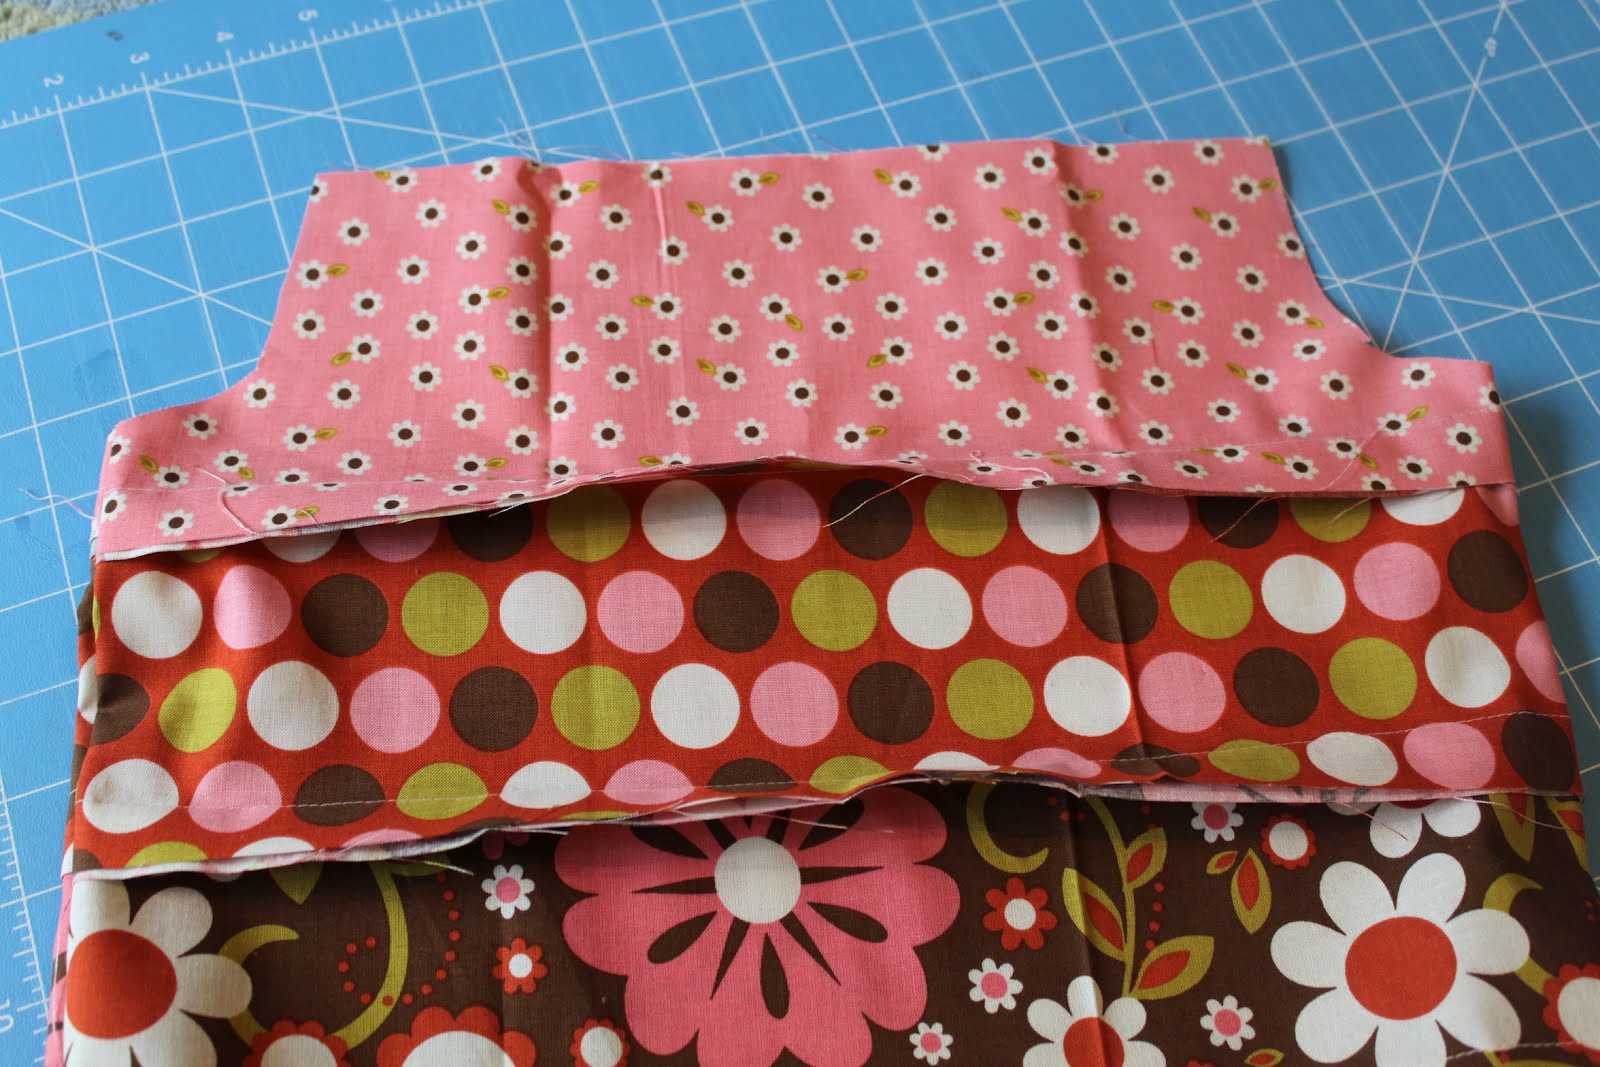
11) I ironed the sides to hem the edges.
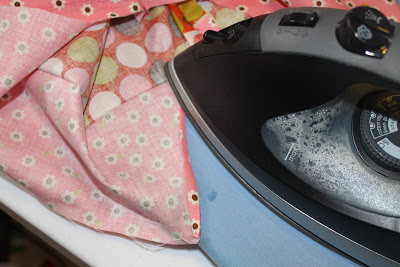
12) I then folded down the top about 1 1/2 inches for the ribbon. I sewed the bottom.
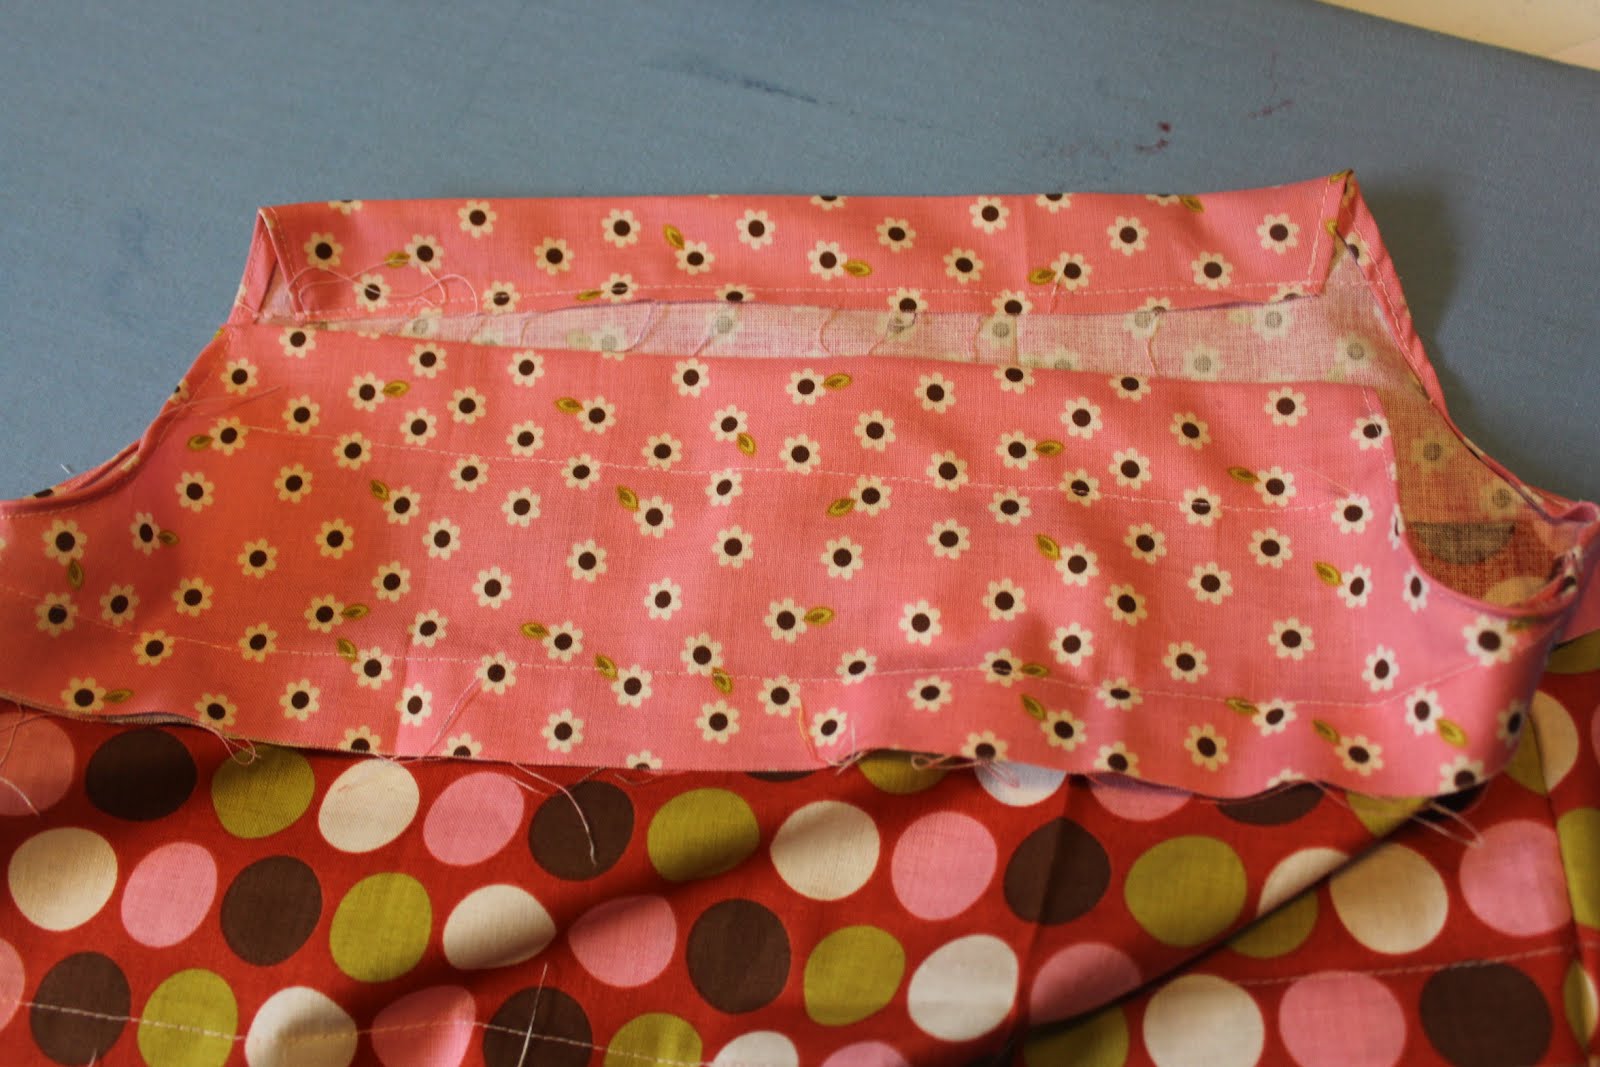
13) I added 1 yard of ribbon into each slit.
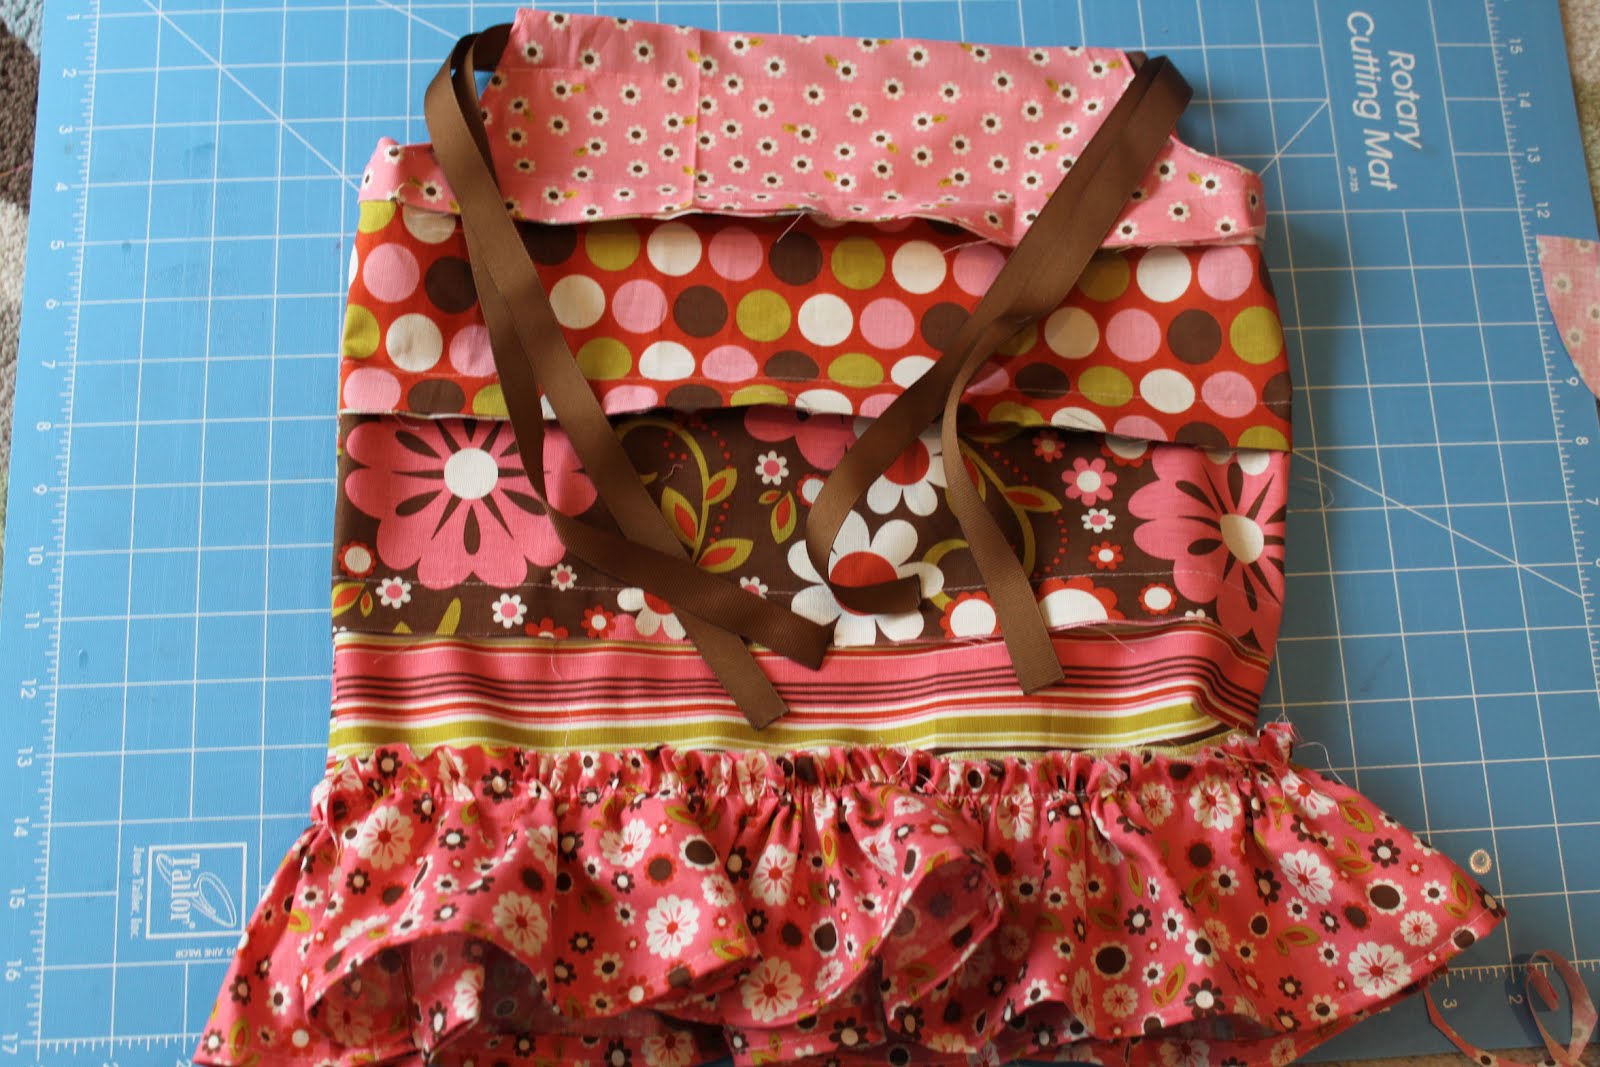
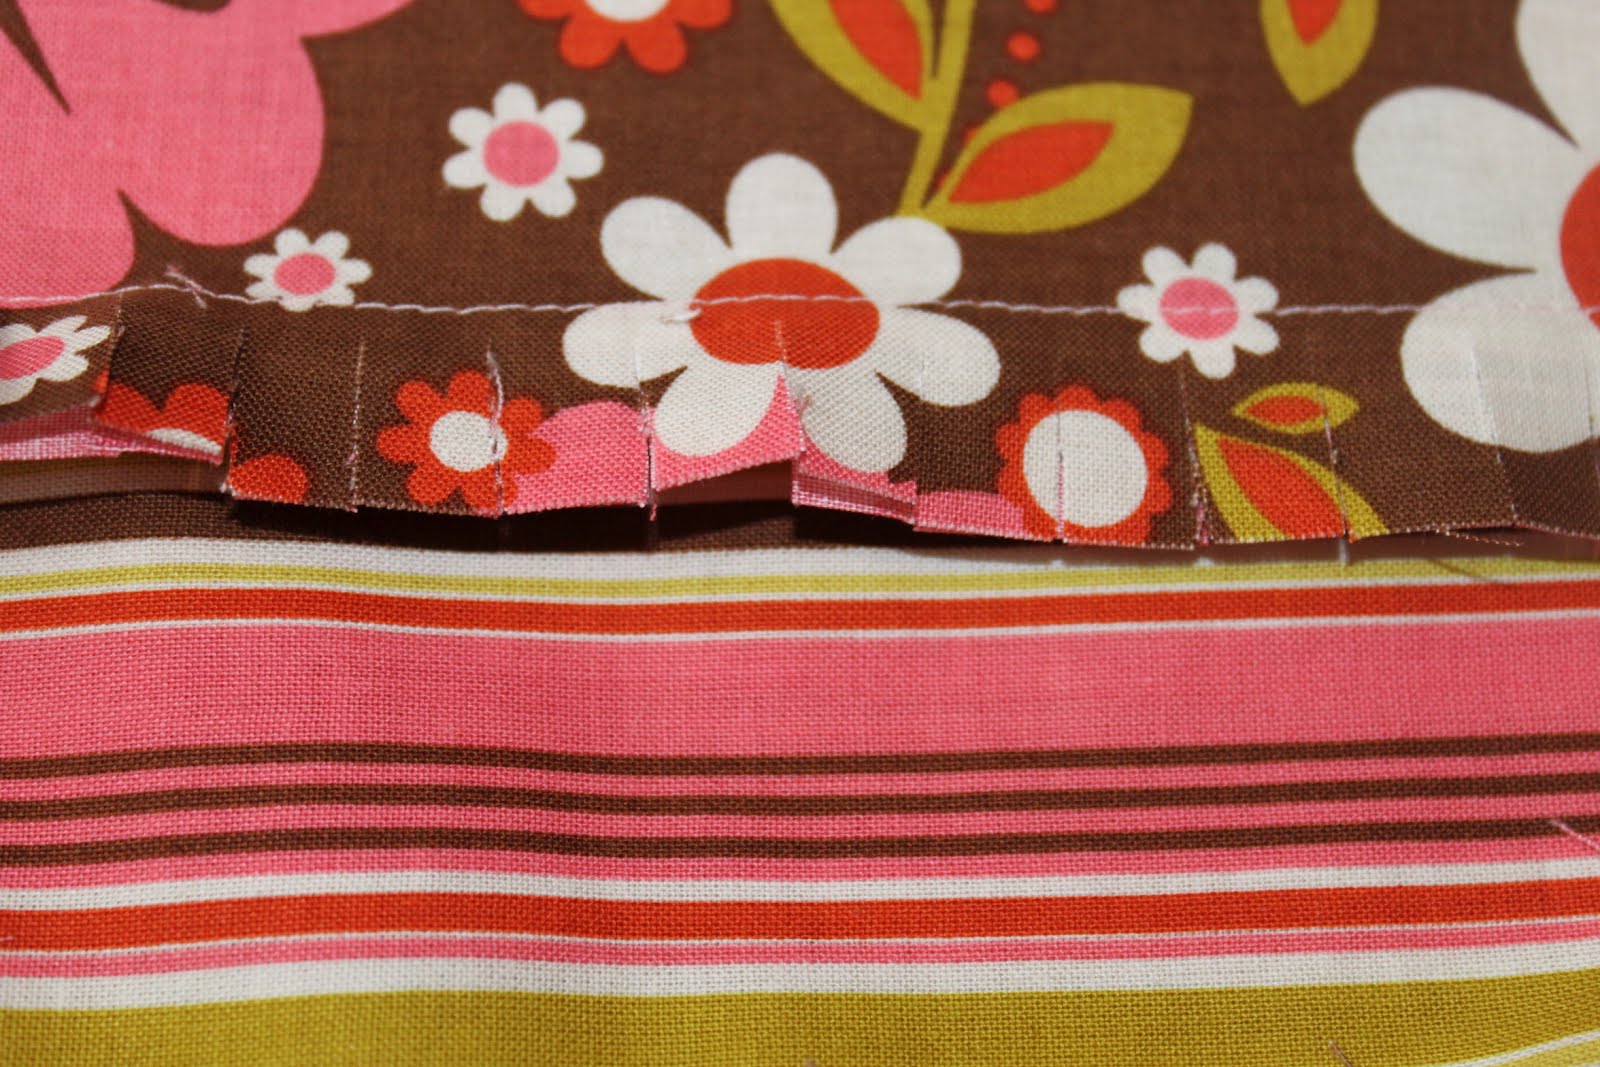
14) For the outside seams, I cut them every 1/2 inch.
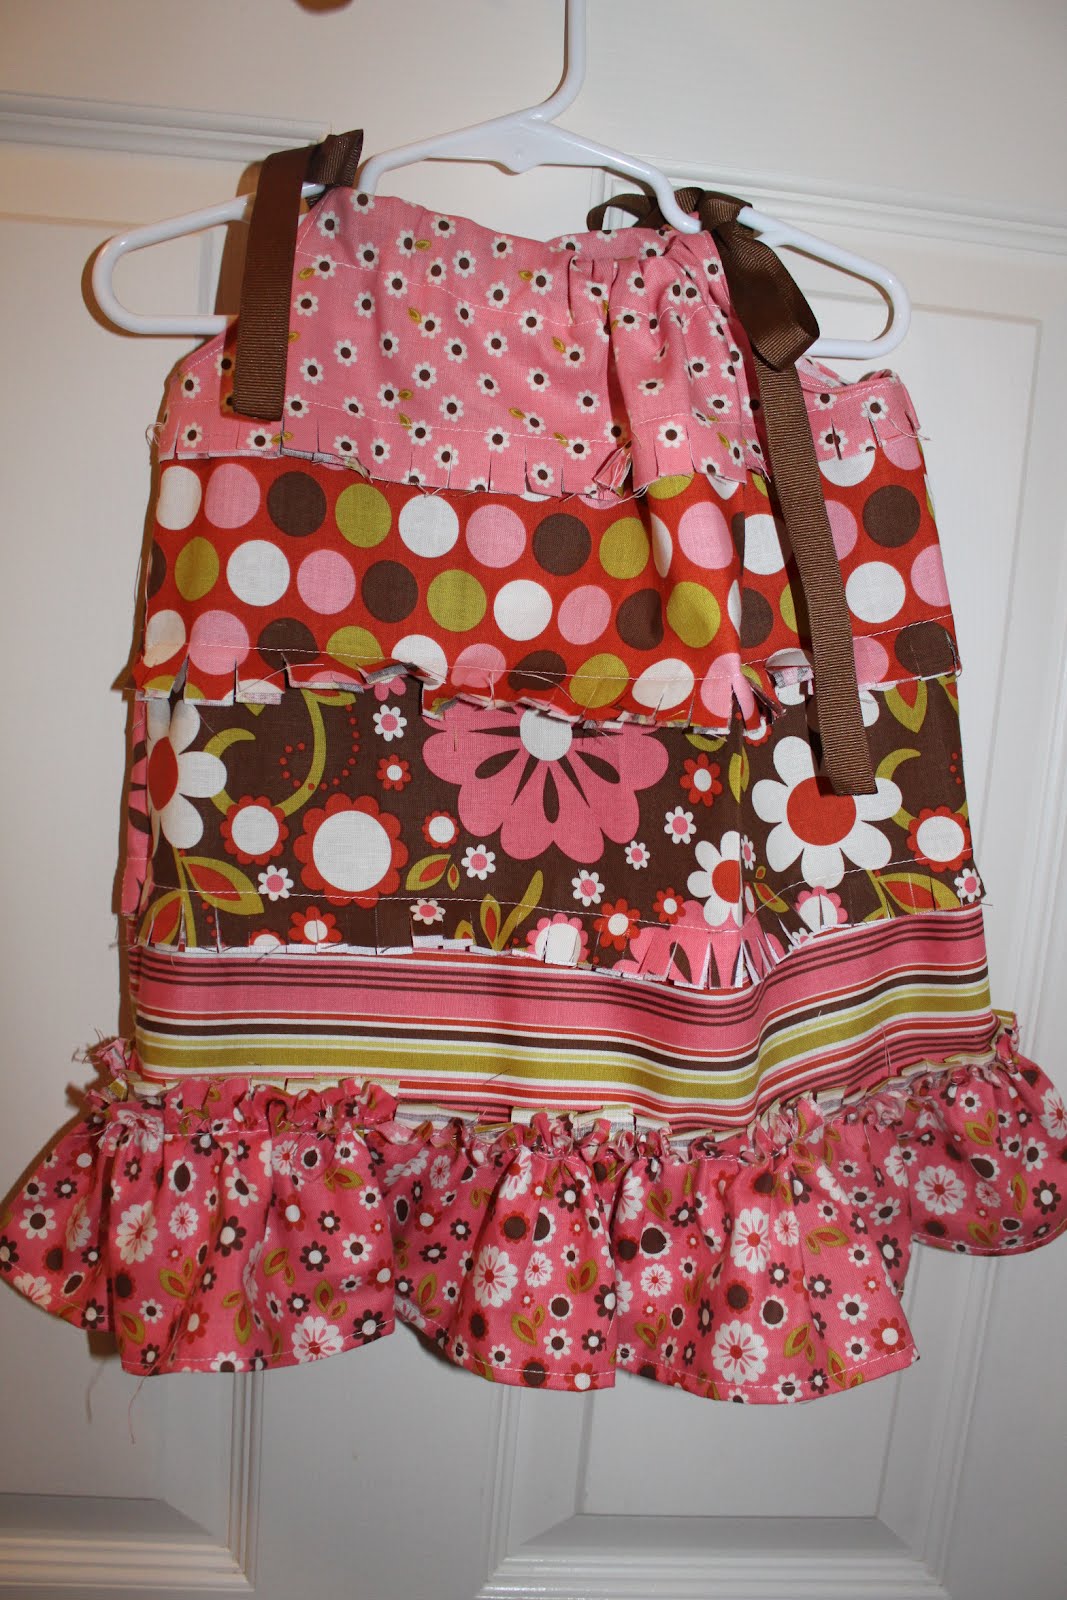
And that’s it! Super easy and super cute!!
Here is my little girl in her new dress!
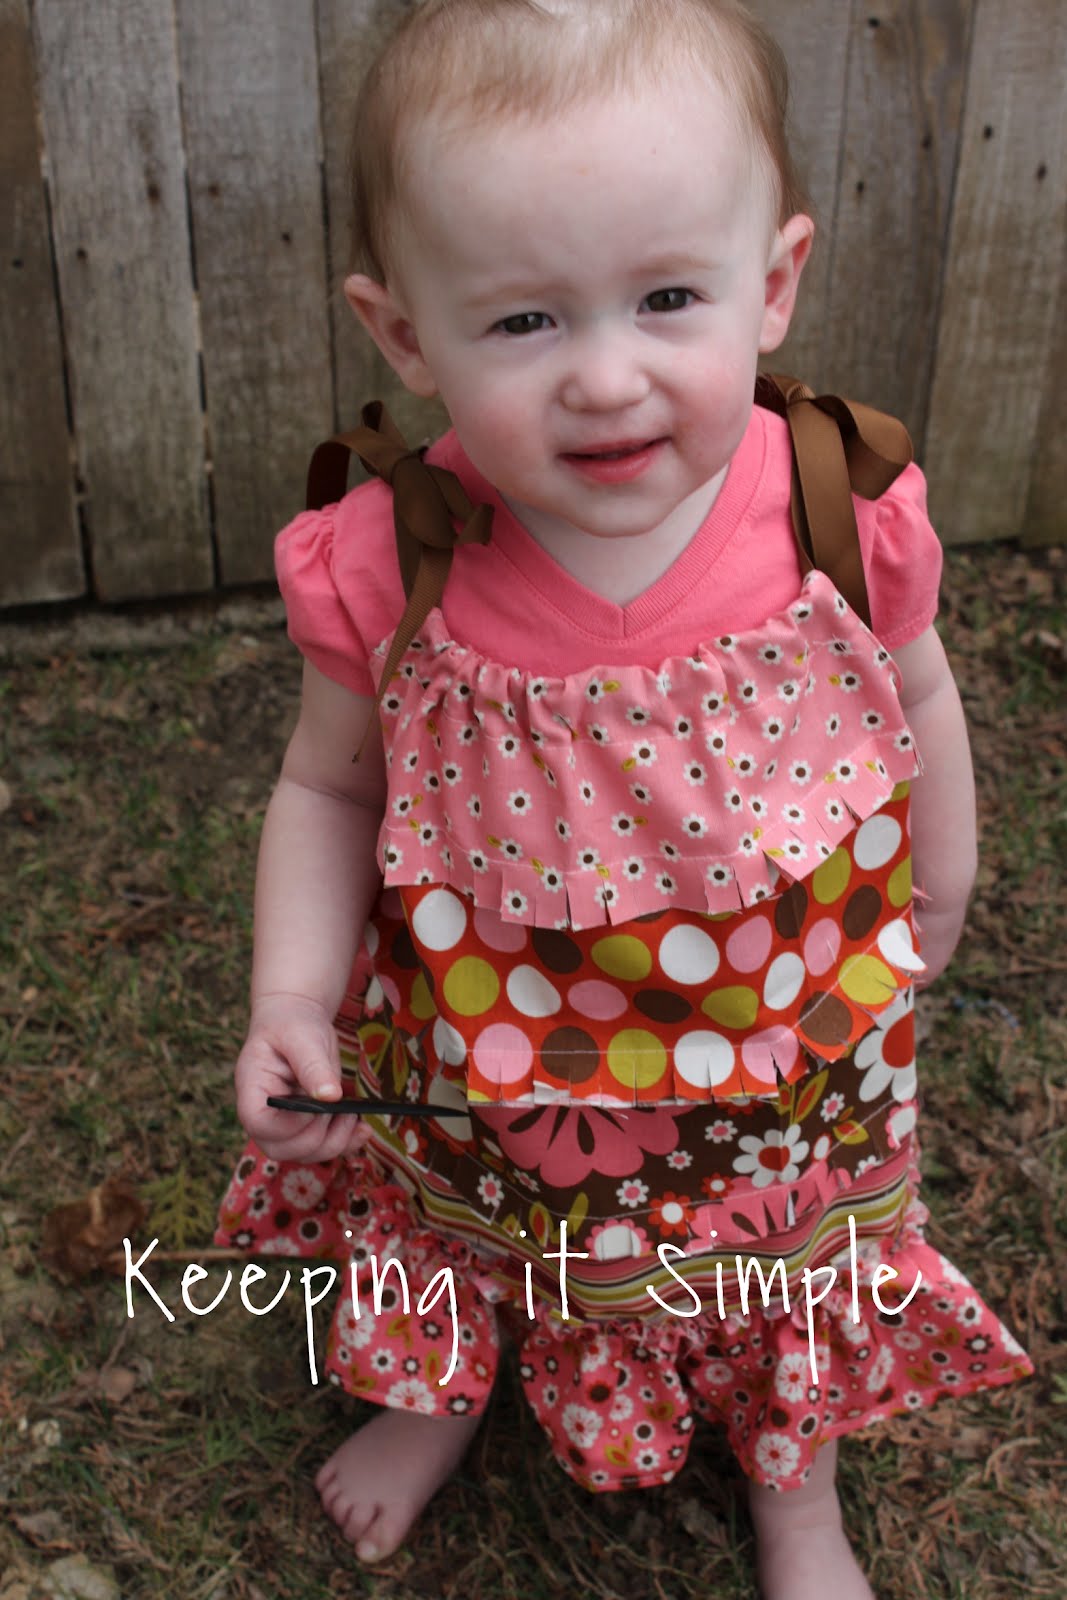
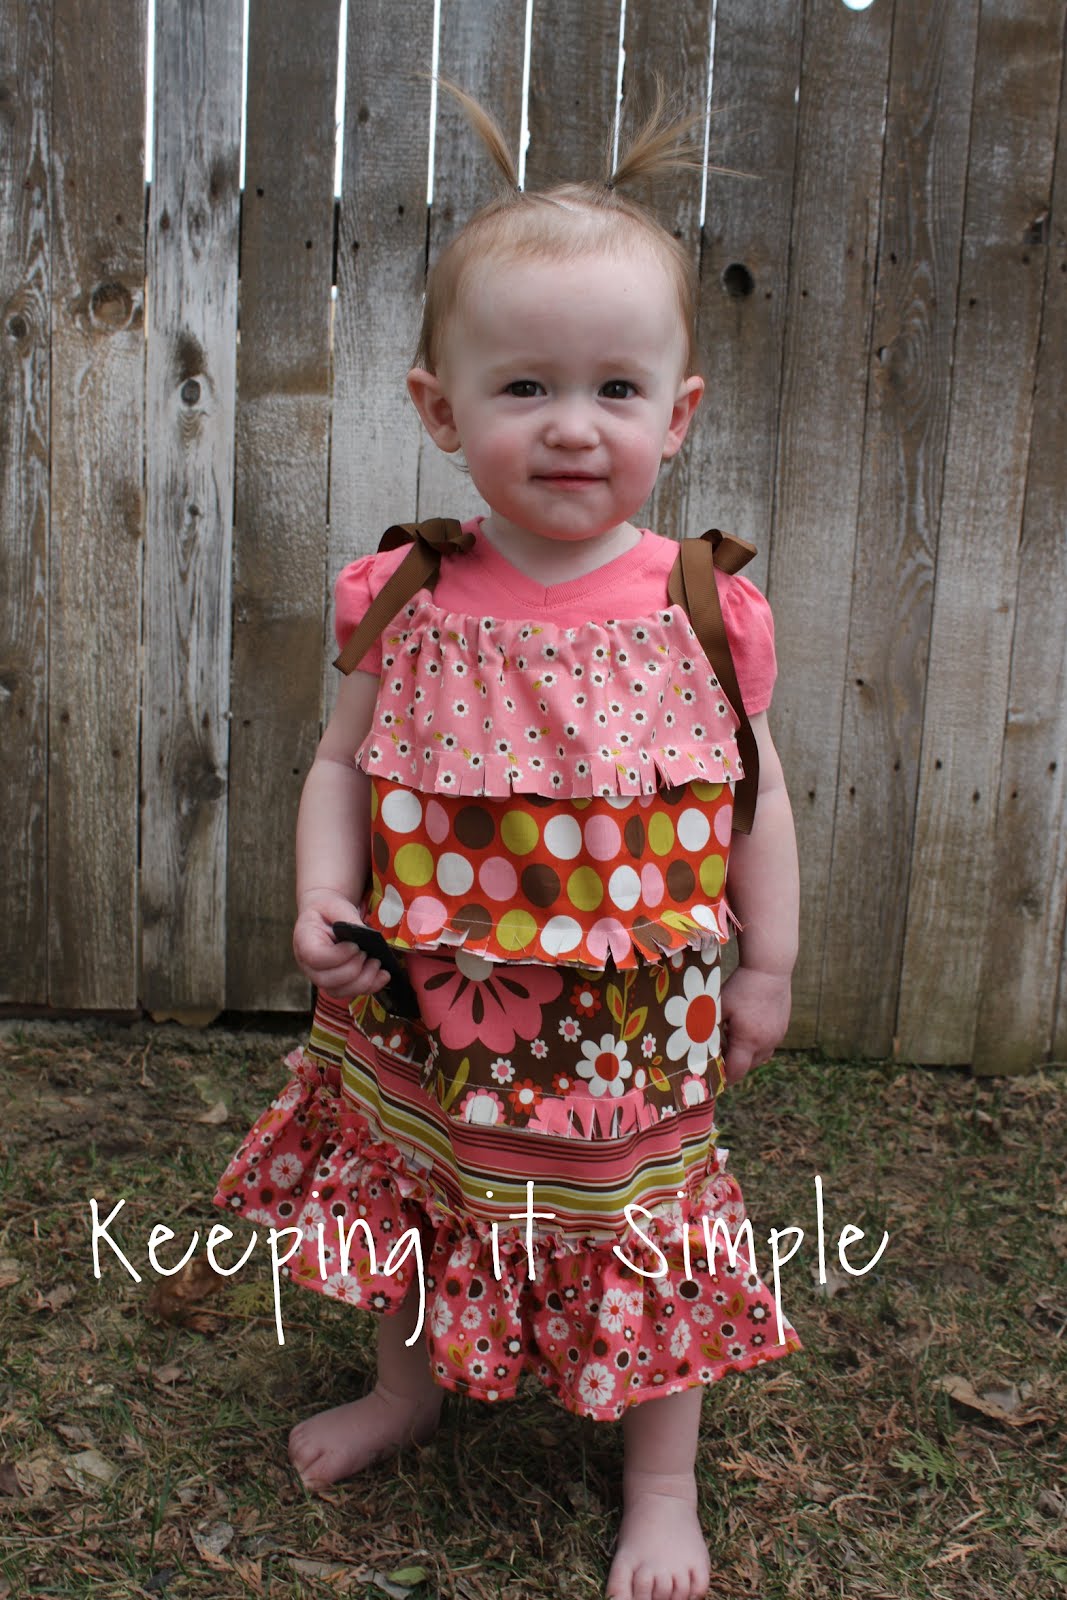
And when you wash it, it even gets cuter!! The ends become all raggy!
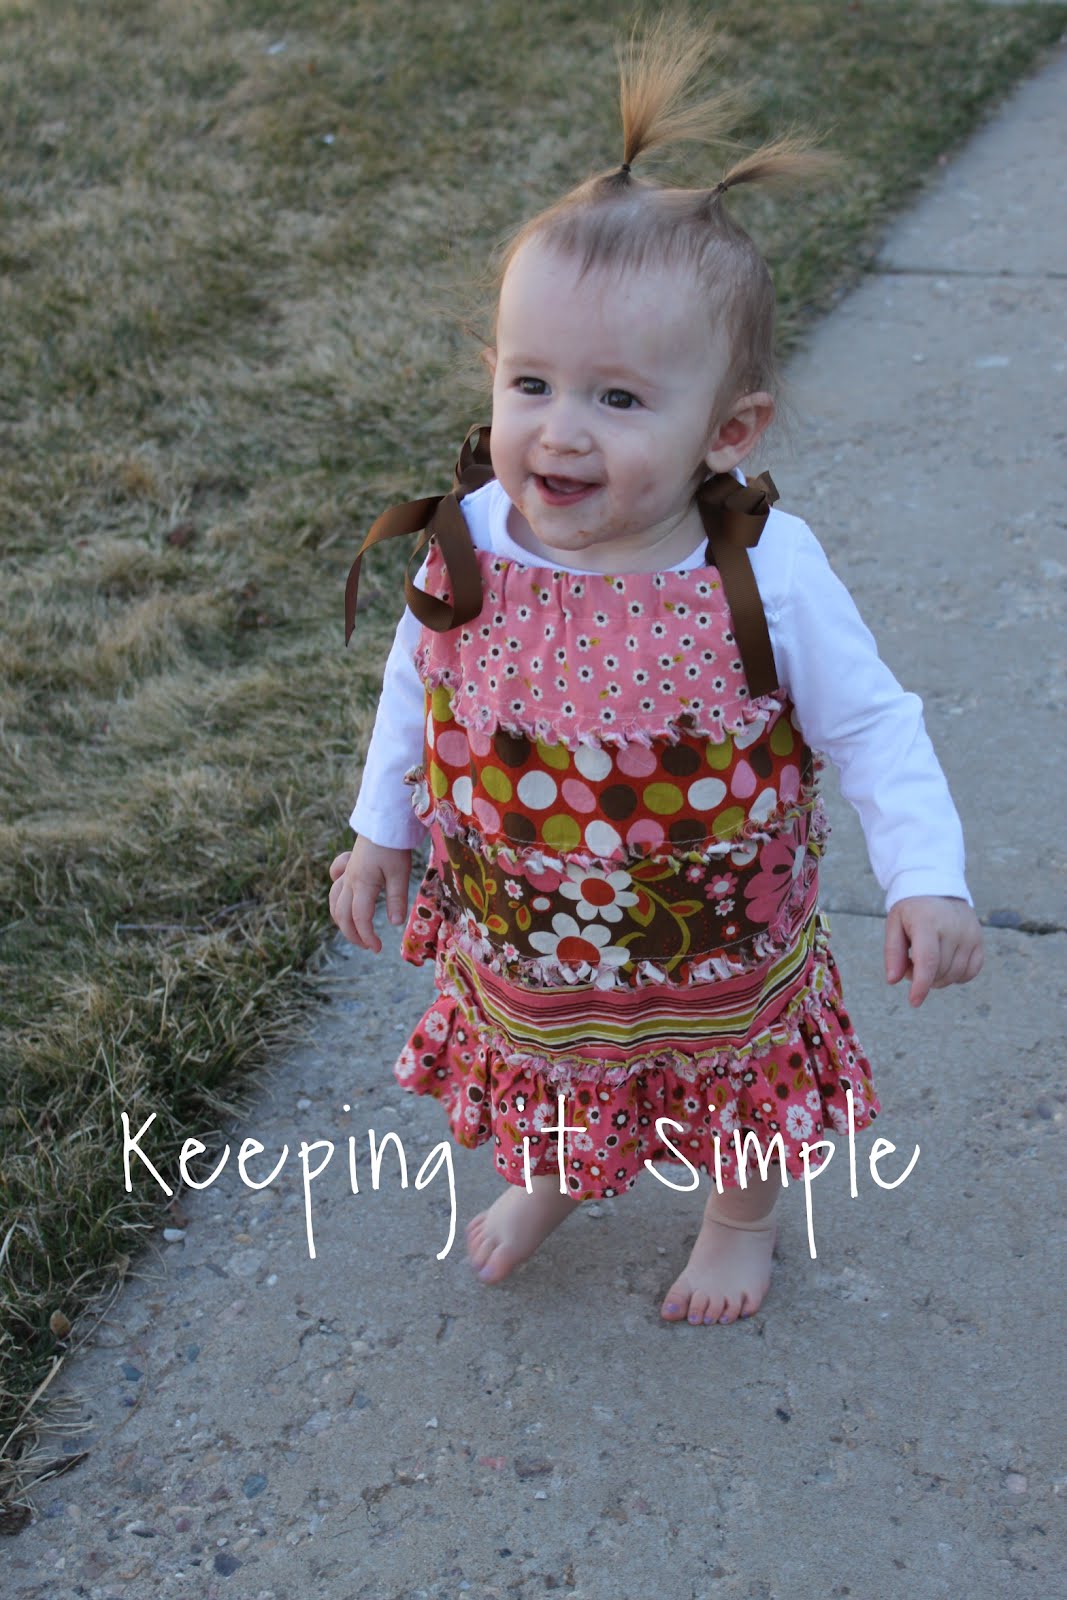

I absolutely love the fabrics! They compliment each other well!
Helen
Blue Eyed Beauty Blog
very cute! Love it even more after it's been washed. Wish I could find my daughter more colored shirts to match some of her outfits instead of white onesies all the time =)
This turned out so cute! Makes me wish my daughters were little again! 🙂
Oh my gosh, your baby is too adoreable.