This post contains affiliate links.
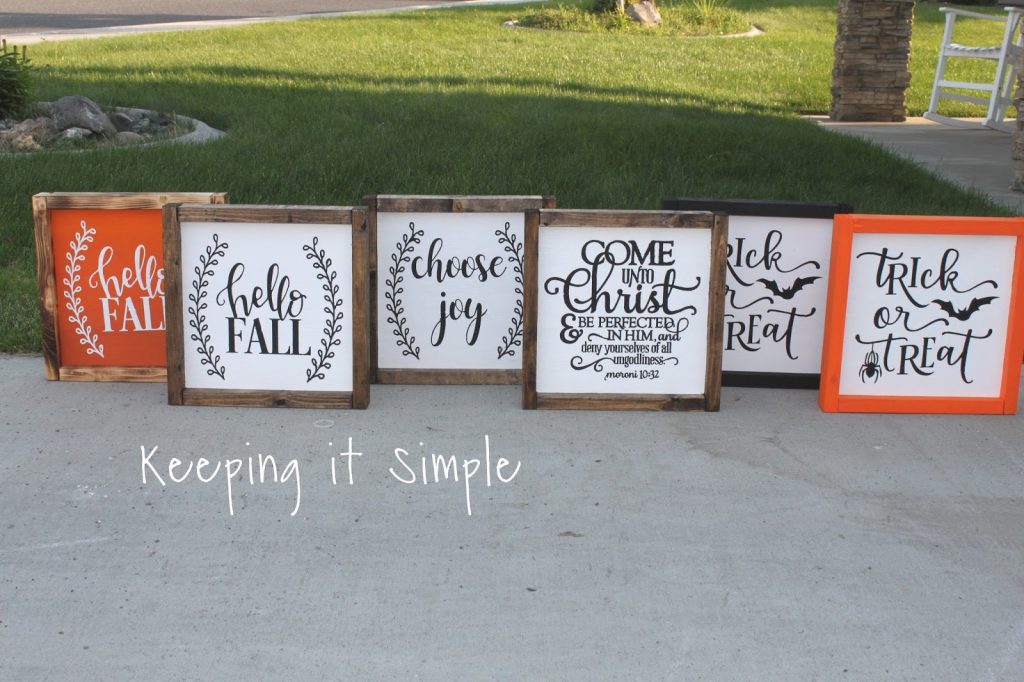
Today is the first day of fall, woohoo!!! I love fall! I especially love the month of September because you get to enjoy school being in, the cooler weather and not have to worry about the holidays (that’s a completely different story come October!). Last week I made up 6 different farmhouse signs for a boutique and I thought I would show you all the different designs and styles that I did. I designsed all of them differently but made them all the same way :). If you haven’t made one of these signs before, you should, they are super popular and super easy to make!
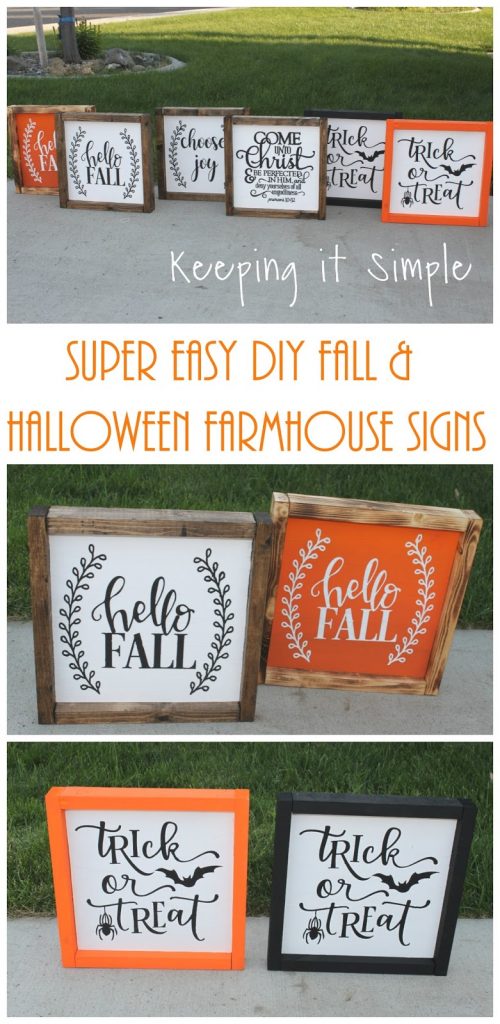
This is how I made them.
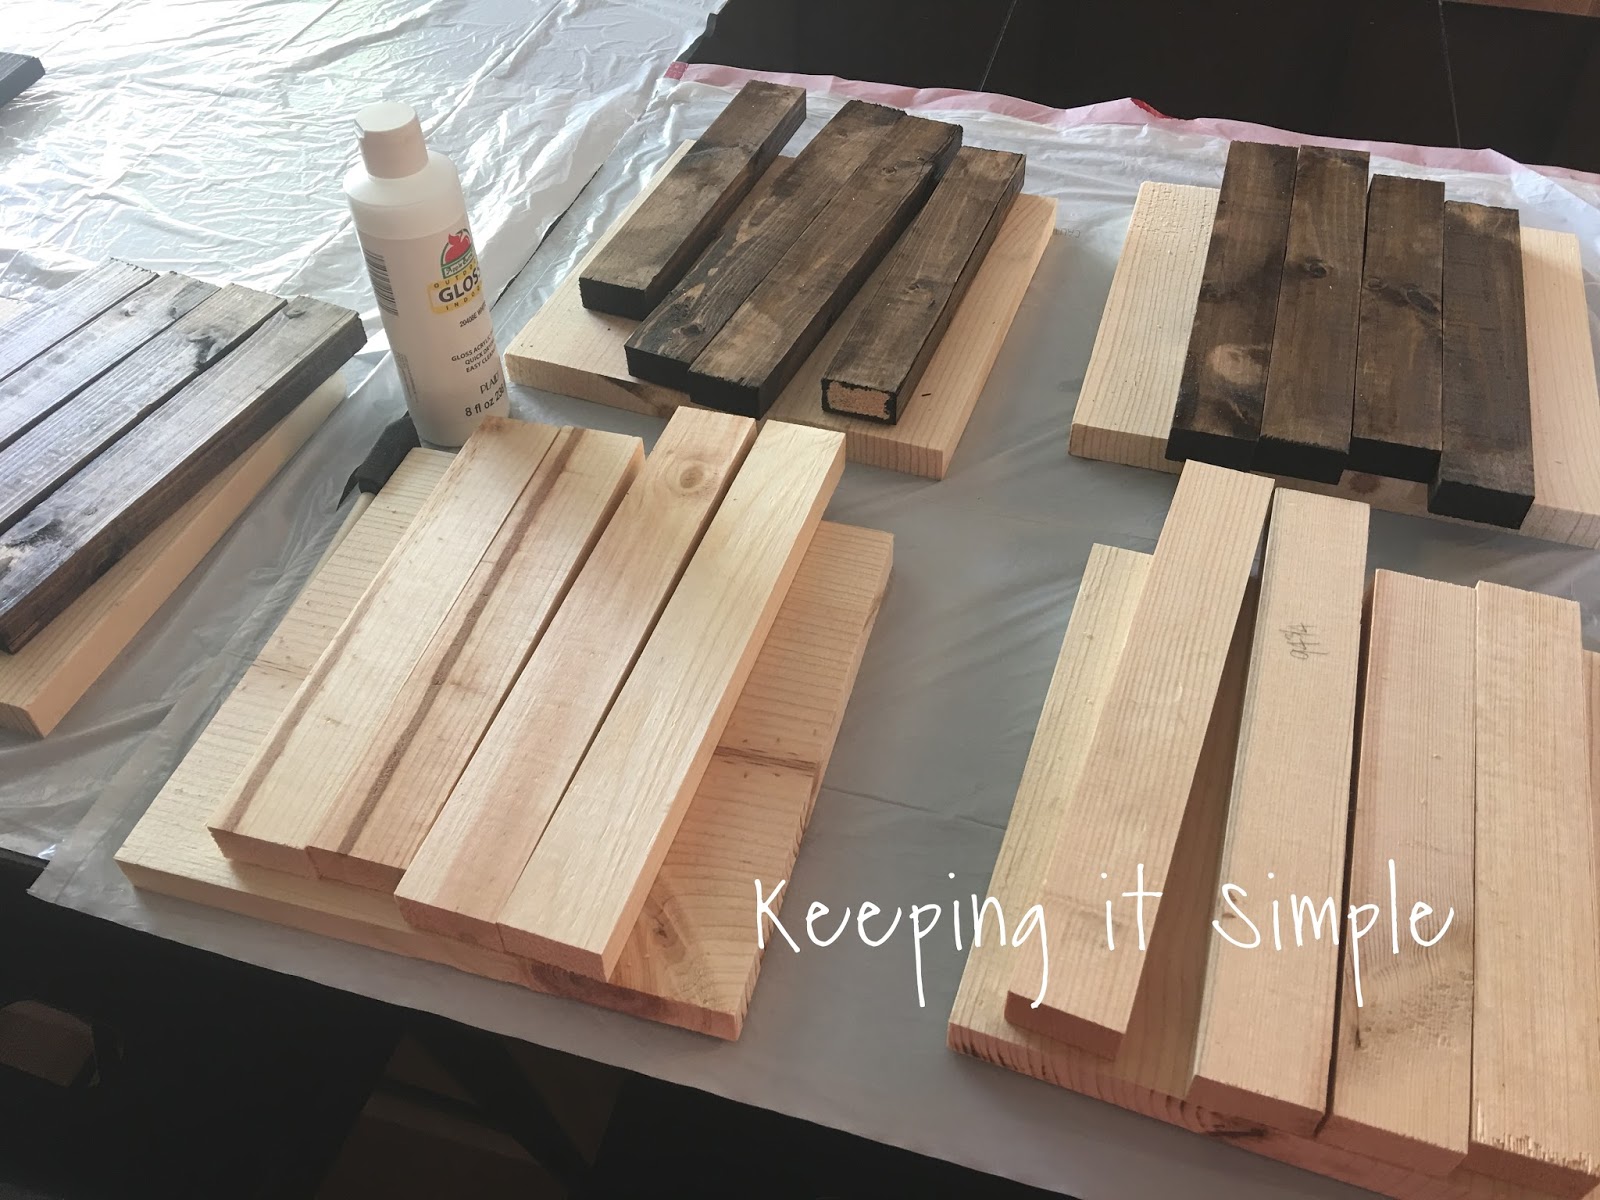
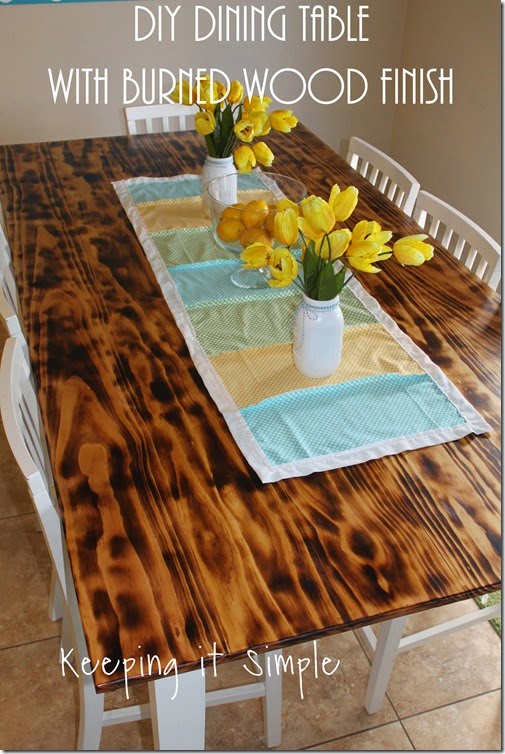
I made each one the same size, so it was easy to cut and prep the wood. I got a 1″ x 10″ x 6 feet piece of wood for the sign and then 1″ x 2″ x 8 feet board for the frames. The 1×10 is actually about 9.5 inches wide, so I cut them into a square, 9.5″ x 9.5″. As far as the frame, I did each frame individually (meaning I didn’t do a set measurement, I marked each piece of the 1×2 with the board itself). When you cut the 1×2 for the frame, you’ll have two shorter pieces that are the same size as the board (so roughly 9.5 inches in this case) and two longer pieces that are the size of the board plus the two shorter boards (so roughly 11″ inches in this case). Once I cut out all of the wood, I then stained and painted the frames. One I even burned with a blow torch.
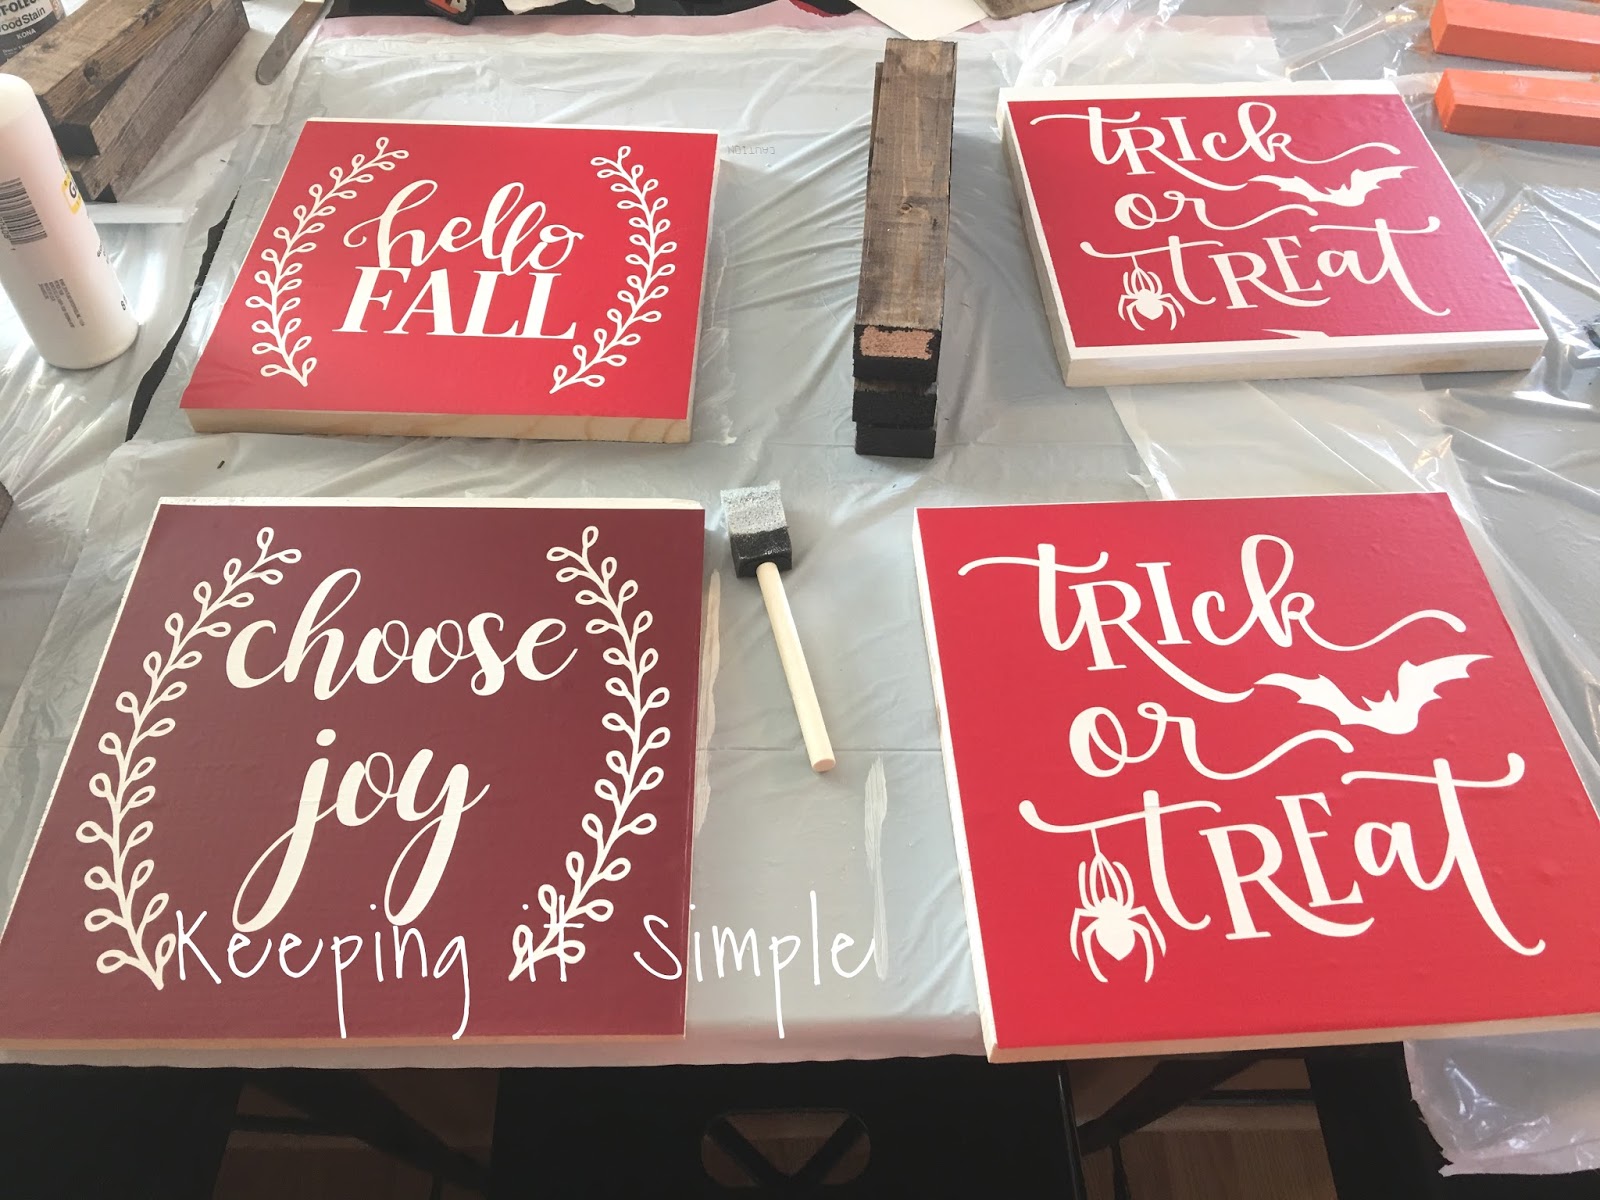
Before I put on the vinyl (I forgot to take a picture of this) I painted the sign. Most of the signs I had a classic white background but for one fall one, I did an orange ombre look (that one was my favorite). Once all of the signs were painted and dried, I put on the vinyl. I cut out the vinyl and then removed the image to make the a stencil. I cut the vinyl out using my Silhouette CAMEO.
You can get the cut file for the Silhouette and SVG files here:
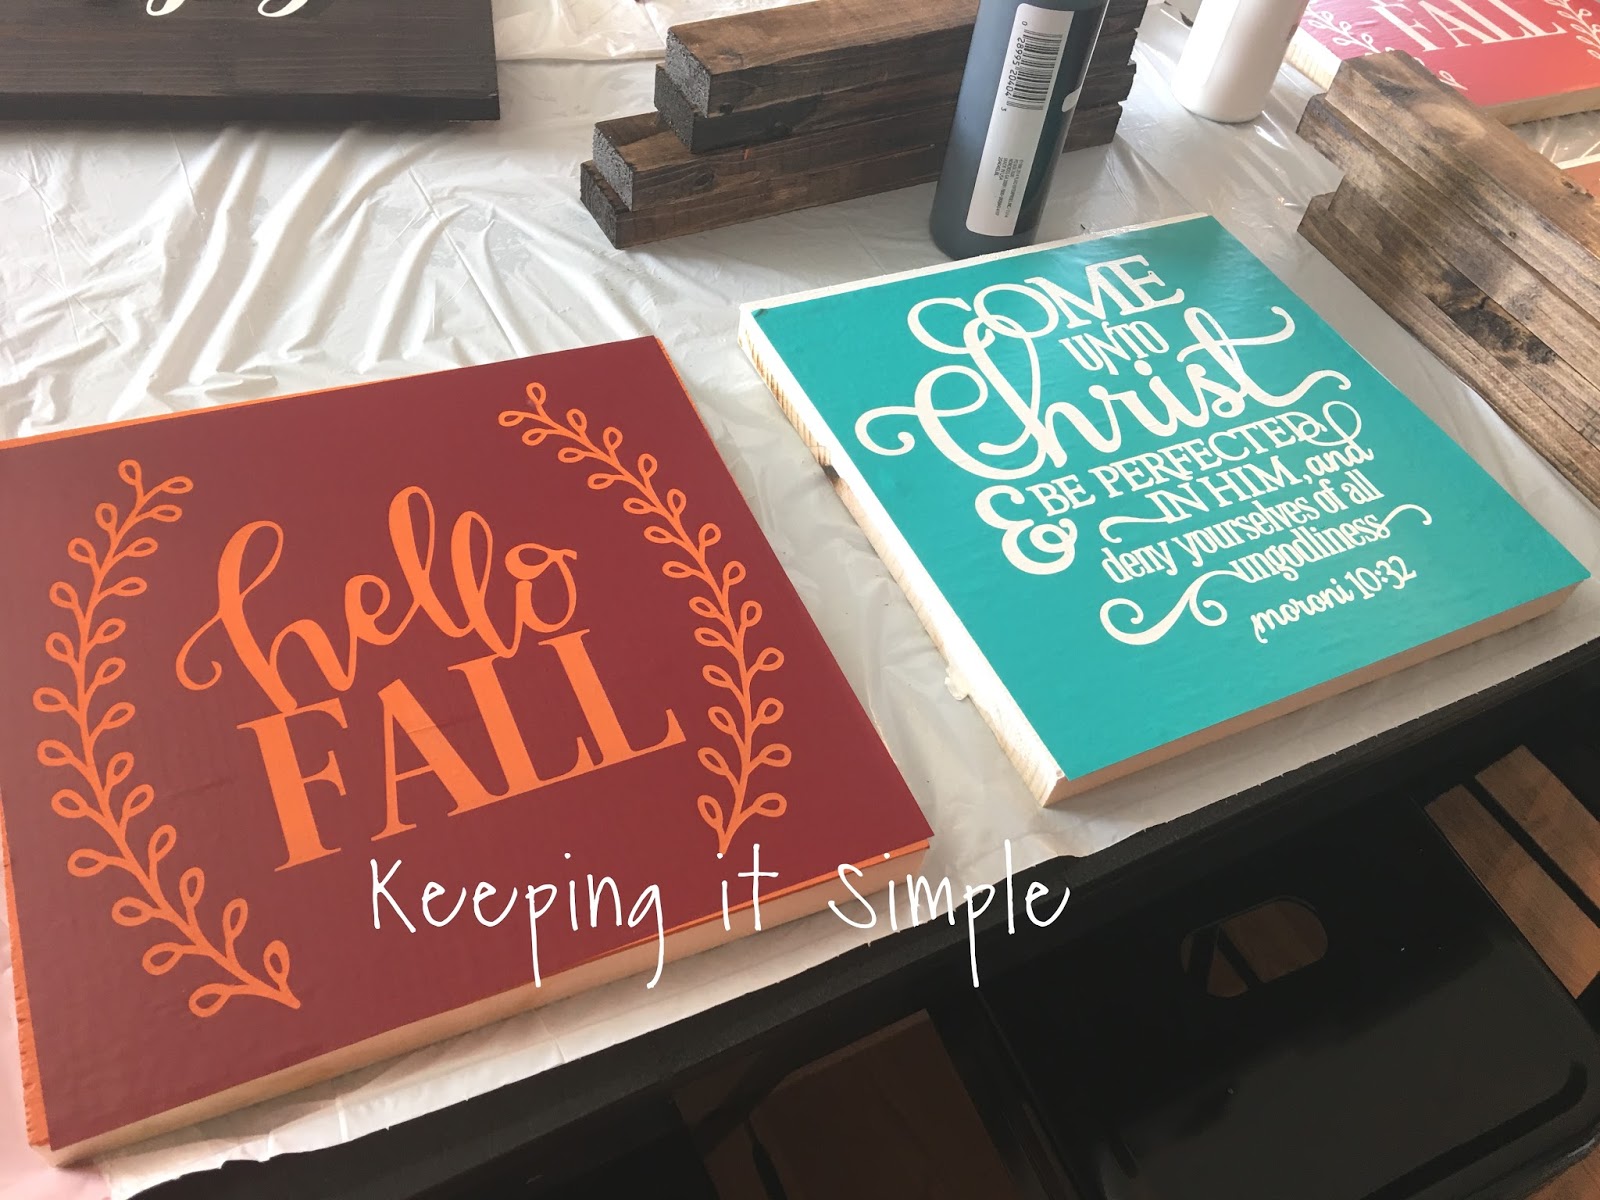
Here are the other two, as you can see, the fall one is orange :).
Now to paint the words. Using a foam brush and a dabbing motion, I painted the vinyl.
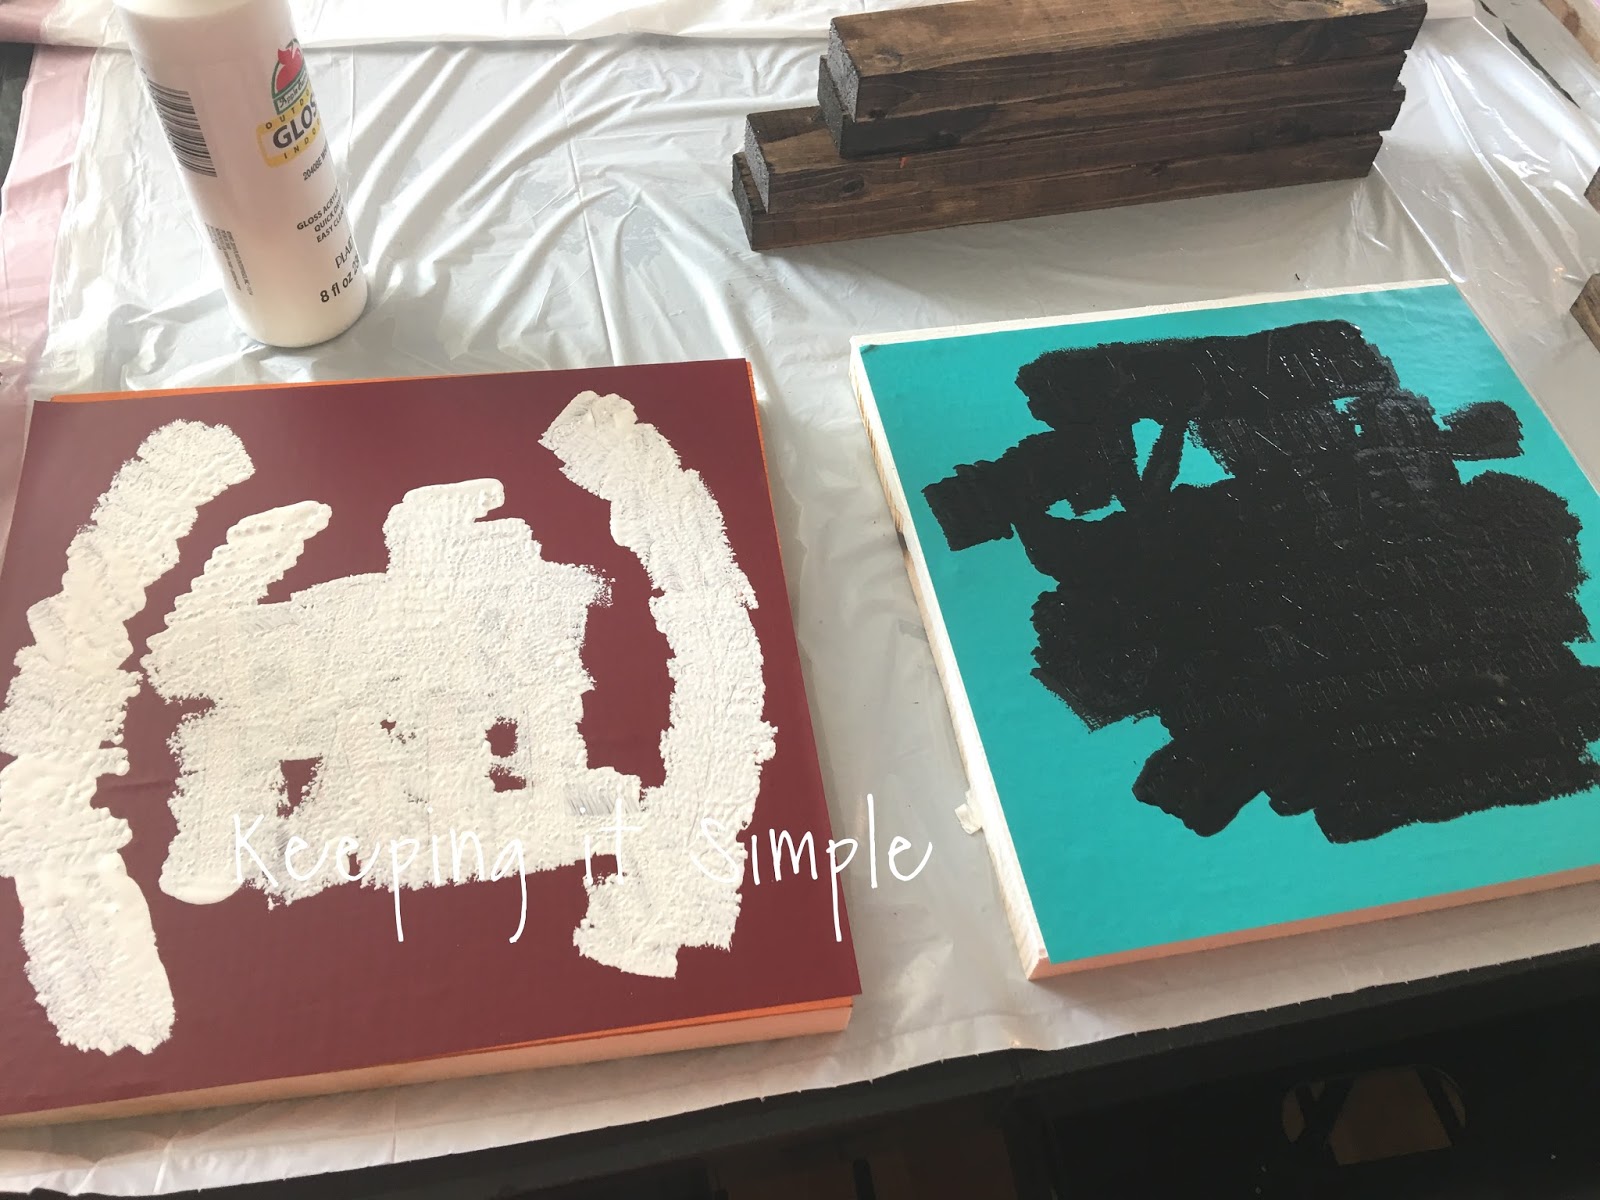
You will want to let the paint dry completely before taking off the vinyl… I know this from experience and trust me, wait, LOL.

Once I took off the vinyl (sometimes you have to do a few touch ups) I then nailed the frame onto the board. I used a brad nailer with 1 1/4″ brad nails.

And that’s it! Aren’t they so much fun?! I love all the different designs.
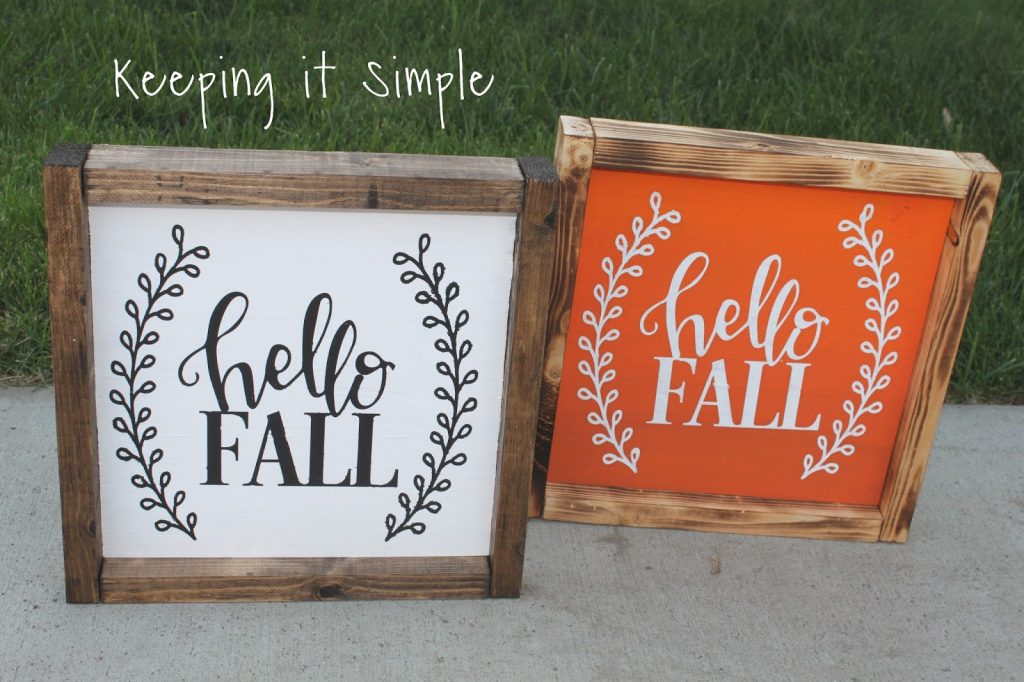
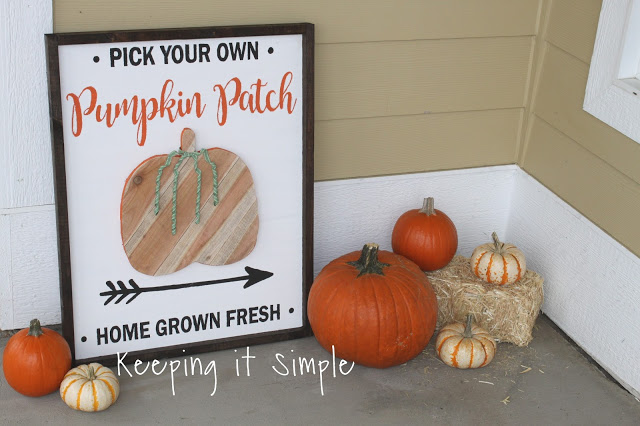
Here are the two fall ones. The orange one has the burned wood frame (which I LOVE!)
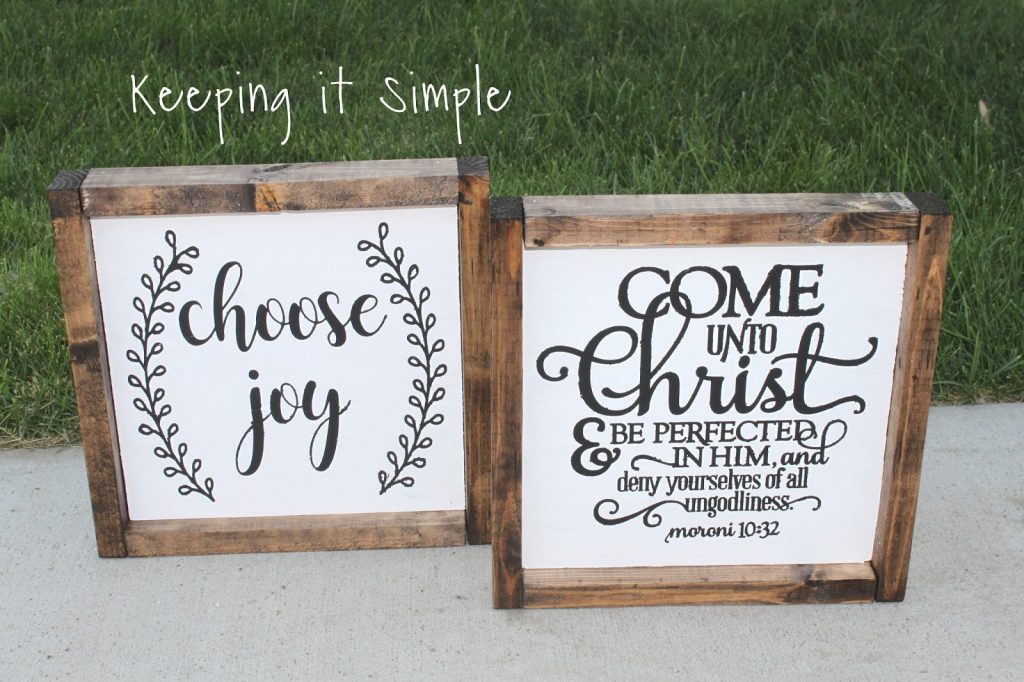
These two aren’t really fall or Halloween, but still fun :).
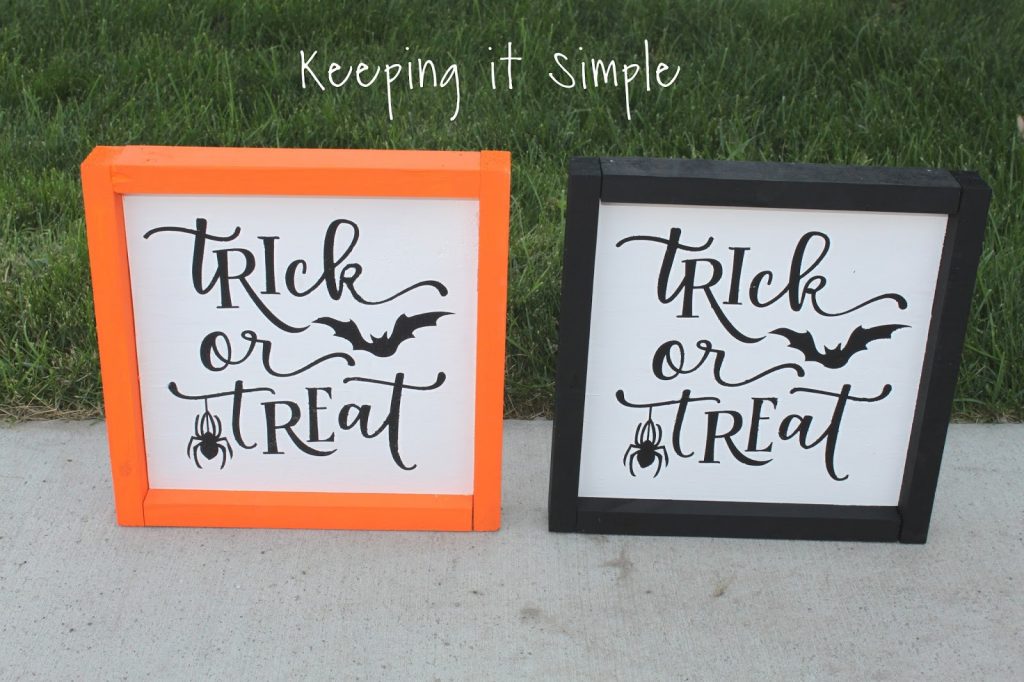
And here are the Halloween ones, I loved the orange one that I kept it for myself :).
Here is a quick video to show how I make these signs with vinyl.
Like this post? Then you might like my other DIY ideas!


love all ur crafting ideas