
This post contains affiliate links.
I LOVE the look of hardwood floors. They are so pretty!! We have been wanting to put in hardwood floors in our living room ever since we moved in (18 months ago). We love the look of it plus we wanted to have hardwood because our bar/kitchen area is really close to the carpet and it was a mess with our kids. Well we finally did it and put in hardwood floors and we LOVE THEM!!! Seriously I cannot believe how good our house looks and I cannot believe that we did it ourselves and it didn’t take us very long at all. It takes time but installing hardwood is not very hard to do at all. I am going to share some of the things that we learned along the way and some tips on how to install it.

Here is our living room before. I have never really liked the color of the carpet anyway, so I wasn’t sad to see it go.
")
The first step is to remove the carpet and the padding and the tack strips.
")
")
The easiest way I found to do it is with a hammer and a flat head screwdriver. You just hammer the screwdriver under the tack strips and then pry them off. To scrape off all the glue and the padding that was on the floor, we used a scraping tool. It worked great.
")
Once the carpet and padding are off, it’s time to take the trim off. I was actually really worried about this part because in our last house when we took off the trim to put in laminate, we broke several pieces. I did not want that to happen in this house, it’s really nice trim and I did not want to break it. So we got a trim puller tool. If you ever take off trim, you have to get this. It’s awesome!! We were so worried that it would take hours to get the trim off, nope just 30 minutes or so and they came off perfectly. No breaks, so damage, it just came right off! All you do is put the tool behind the trim and with a rubber mallet, tap the tool behind the trim. Continue to do that all around the time until it comes off cleanly.
*When do you use this tool, you will need to break the seal of the trim and the wall with a box cutter. If you don’t (we tried) it will damage the wall by taking off the paint or drywall. The best way is to stick the blade behind the trim so you know you aren’t cutting into the wall or the trim*
")
Now for the fun part, putting in the floor! For hardwood you’ll need some kind of under layment. You put that down and put the wood over it.
")
")
Starting on one side and working towards the other start laying down the wood. Make sure to measure twice before cutting it. And when you decide what way to lay the floor, go with the light. We have two windows to the left of the fireplace, so we went that way to be with the light. For the cuts on the fireplace, we made an angel with paper and use that to make the cut for the wood. And make sure to leave a gap for your transitions when you are cutting. For the angled cuts, we used a table saw. For the straight cuts, we just used a miter saw. We also used a joint glue for the joints. We also used an installation kit, it has the spaces, hammer and tapping block and pull bar.
")
")
When we were working on the transitions to the kitchen, there were some “fun” angles that we have to cut for the transition woods. In order to do that we first cut some strips of paper the same size as the transitions and then cut the angle onto the paper. That way it was easier to cut the correct angle and we saw how it would match up before cutting.
")
")
Here is the pretty flooring!! It’s so great! We got the click flooring (floating) and we got a bamboo strand handscraped hardwood in a honey color. We picked the honey color because it was dark but not too dark and it really matched the other woods in our house, like our cabinets and railings. We picked the bamboo because it’s a less expensive hardwood and the strand is supposed to be are hard as oak. And we went with the handscraped because we love the texture of it and we won’t notice if it gets scratched with our kids.
")
")
Using finishing nails and a nail gun, we put the trim back on (after getting all the nails out with nail nippers).
")
")
We actually ended up completely redoing our fireplace and replaced the floor tiles. Click the link to take you to a tutorial on how we did it.
")
")
For the transitions we couldn’t nail them in (we have concrete floors underneath) so we used a very strong adhesive to glue them on. Then we used stainable wood filler and a stain pen to make the angles look more natural.
")
")
We absolutely love how it looks and I want to do a few other rooms (like my craft room!). I have found it’s definitely more slippery, so we had to get a rug mat for our rug.
")
")
And instead of sweeping 2-3 times a day, I got a hardwood vacuum.
")
If you’ve been thinking about putting in hardwood, you should!! I love it and it makes our room feel bigger.
Check out these DIY ideas:
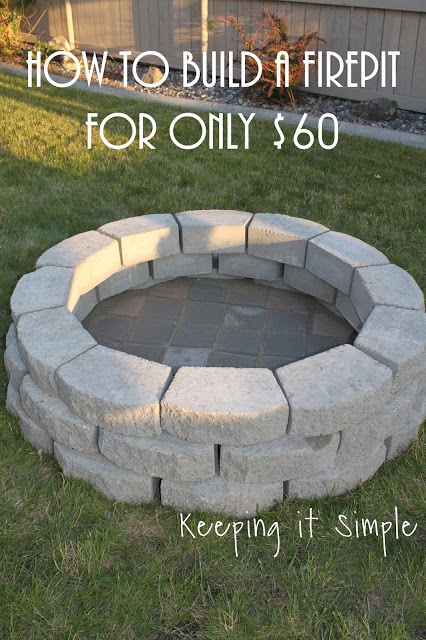
DIY Fire Pit
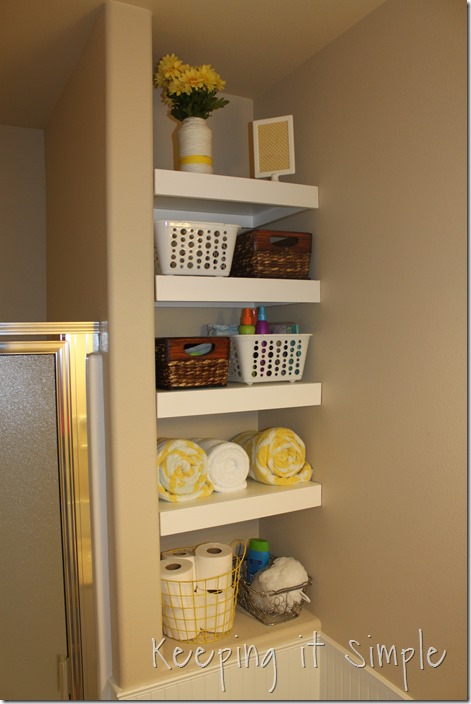
Storage Shelves
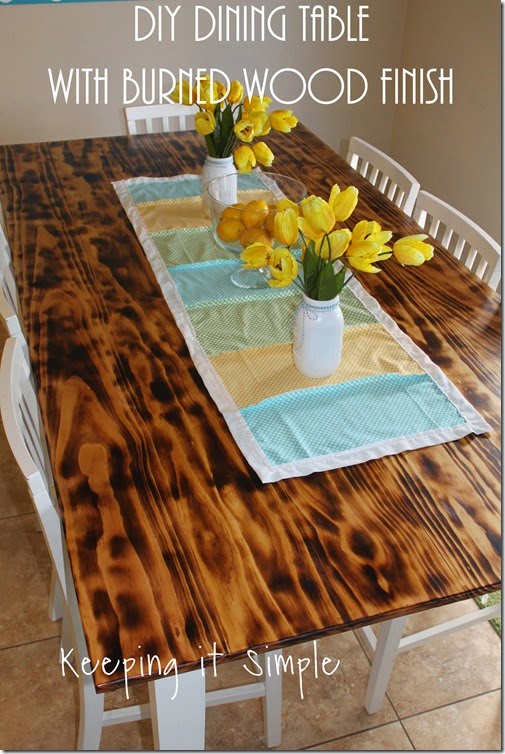
DIY Dining Table
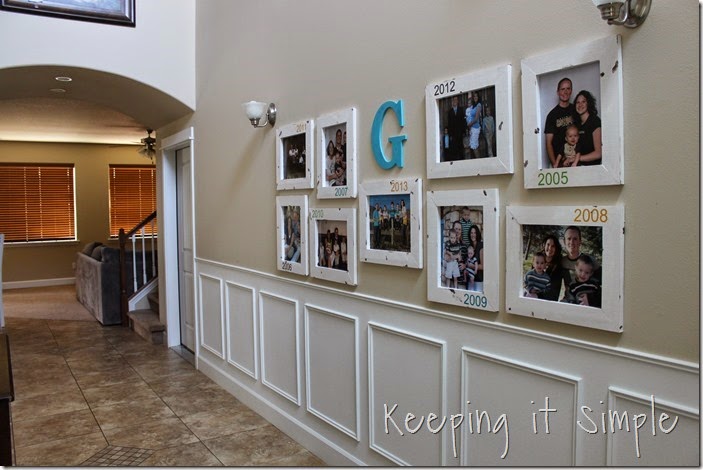
Family Photos Gallery
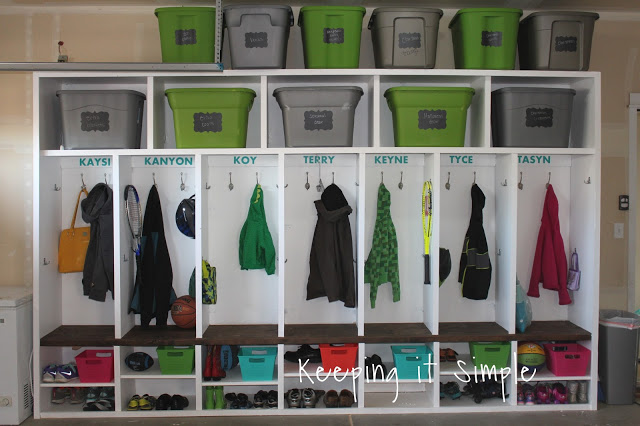
Garage Mudroom Lockers
DIY Fire Pit
Storage Shelves
DIY Dining Table
Family Photos Gallery
Garage Mudroom Lockers

Leave a Reply
You must be logged in to post a comment.