This post contains affiliate links.
This winter has been really, really long. We have had 10 snows days, 8 of them since the beginning of the year. We were trapped in our house for several days and I was going crazy. So I needed something to do. I’ve been wanting to redo my master bathroom for awhile now (I love it but it’s very dark and not very modern) so I finally convinced my husband to start the process with me (it only took 10 snows day, hahaha!). This is the first time we have tiled a floor, so we learned along the way. It was a lot of work but man do I LOVE the outcome! The difference is night and day in my bathroom and I cannot wait to show you the rest of the bathroom when it’s all done!
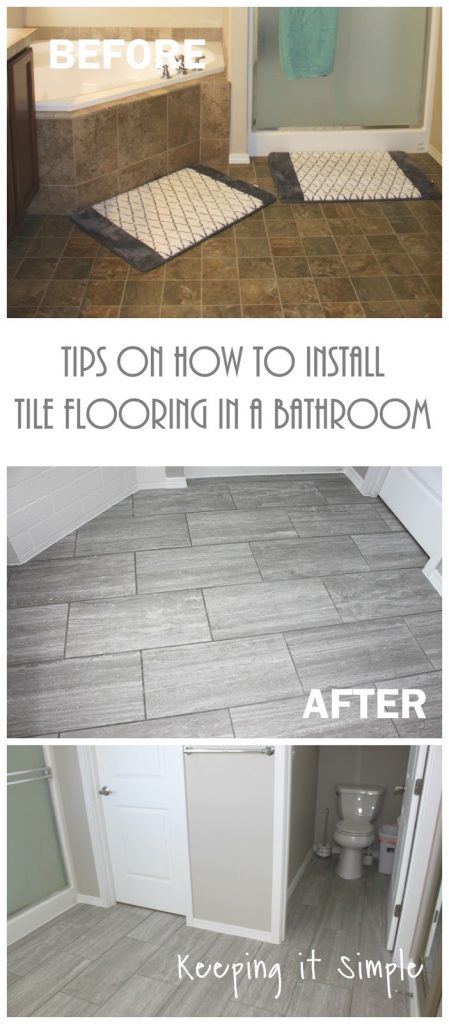
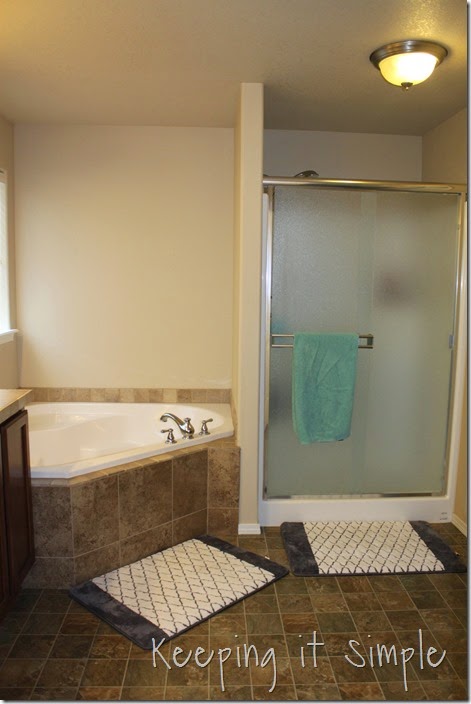
Here is the before pictures: I liked it a lot when I moved it but then after awhile the brownness of it was wearing on me :). Plus I don’t love linoleum in my bathrooms, although it was nice one, tile looks so much better!
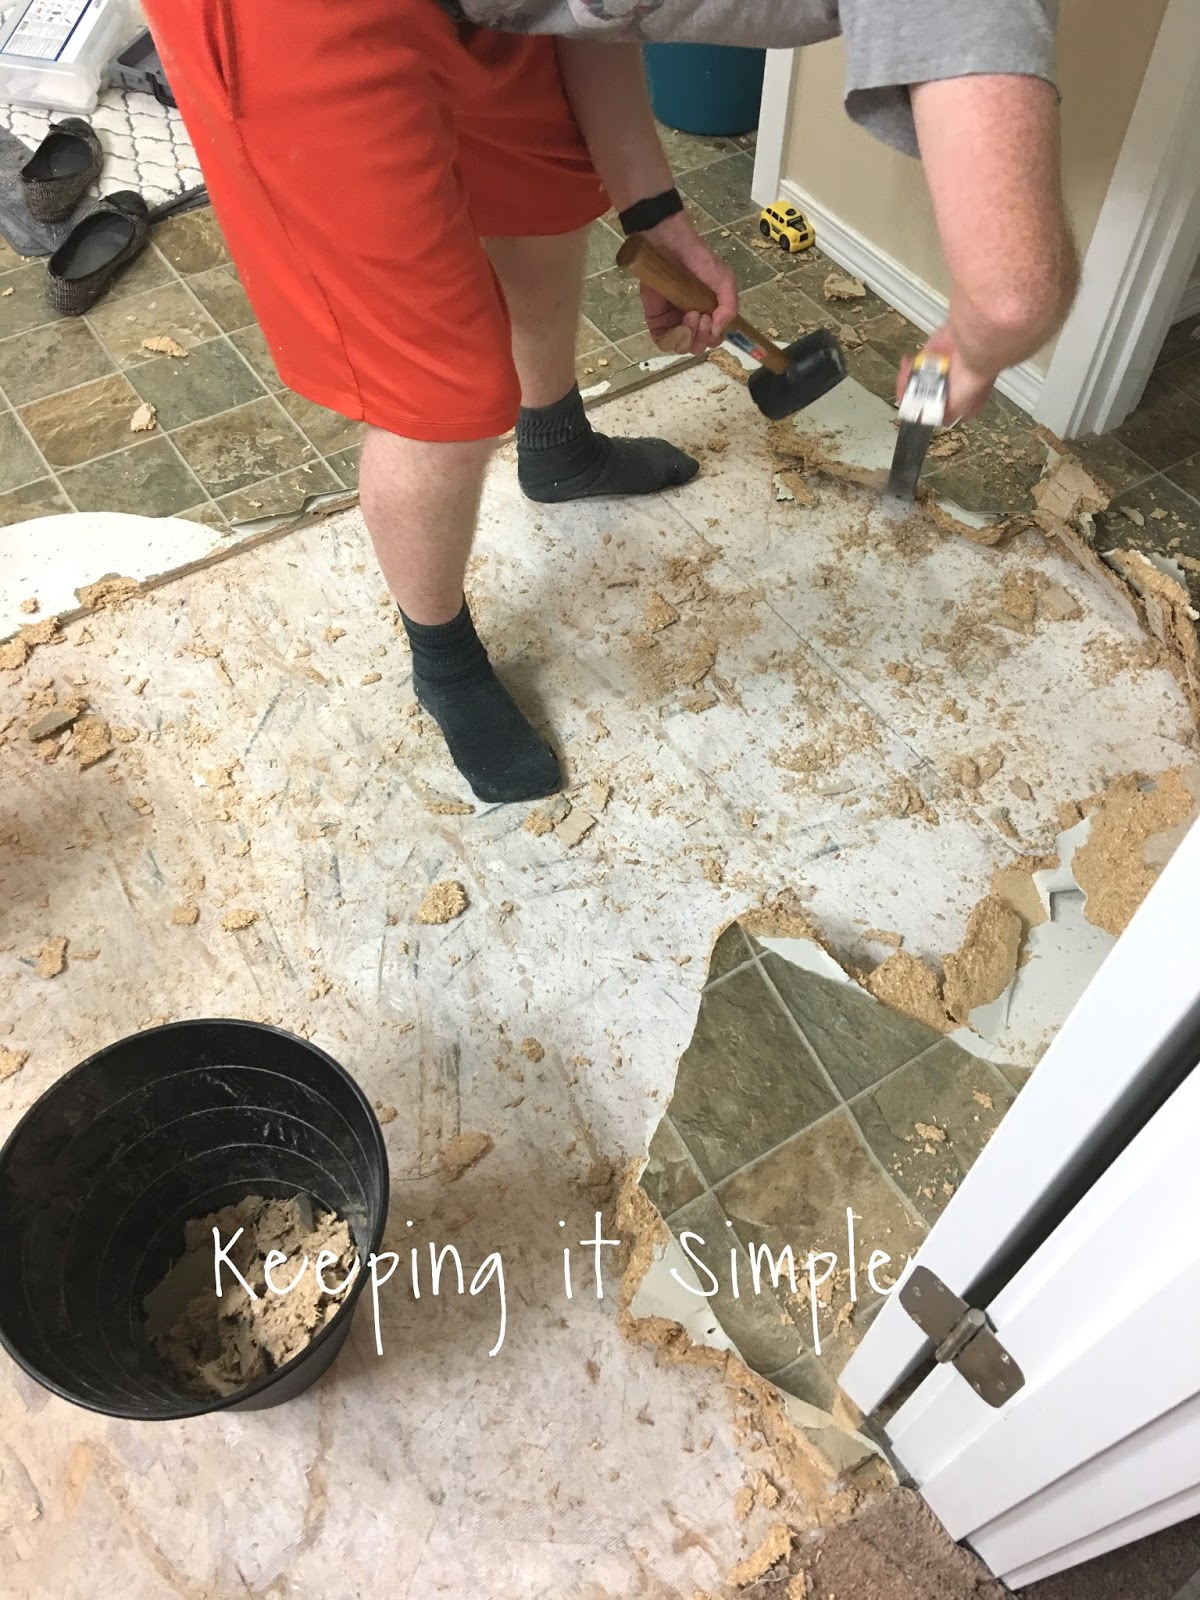
The first thing we did was took out the old flooring. Our linoleum flooring was glued to a 1/2″ piece of plywood, so it was “fun” to take out. We first started with the baseboards and took them off with this trim puller. Then using a crowbar and rubber mallet we started taking off the floor. It was a process and we enlisted the kids to help too (they were pulling out nails with nail nippers).
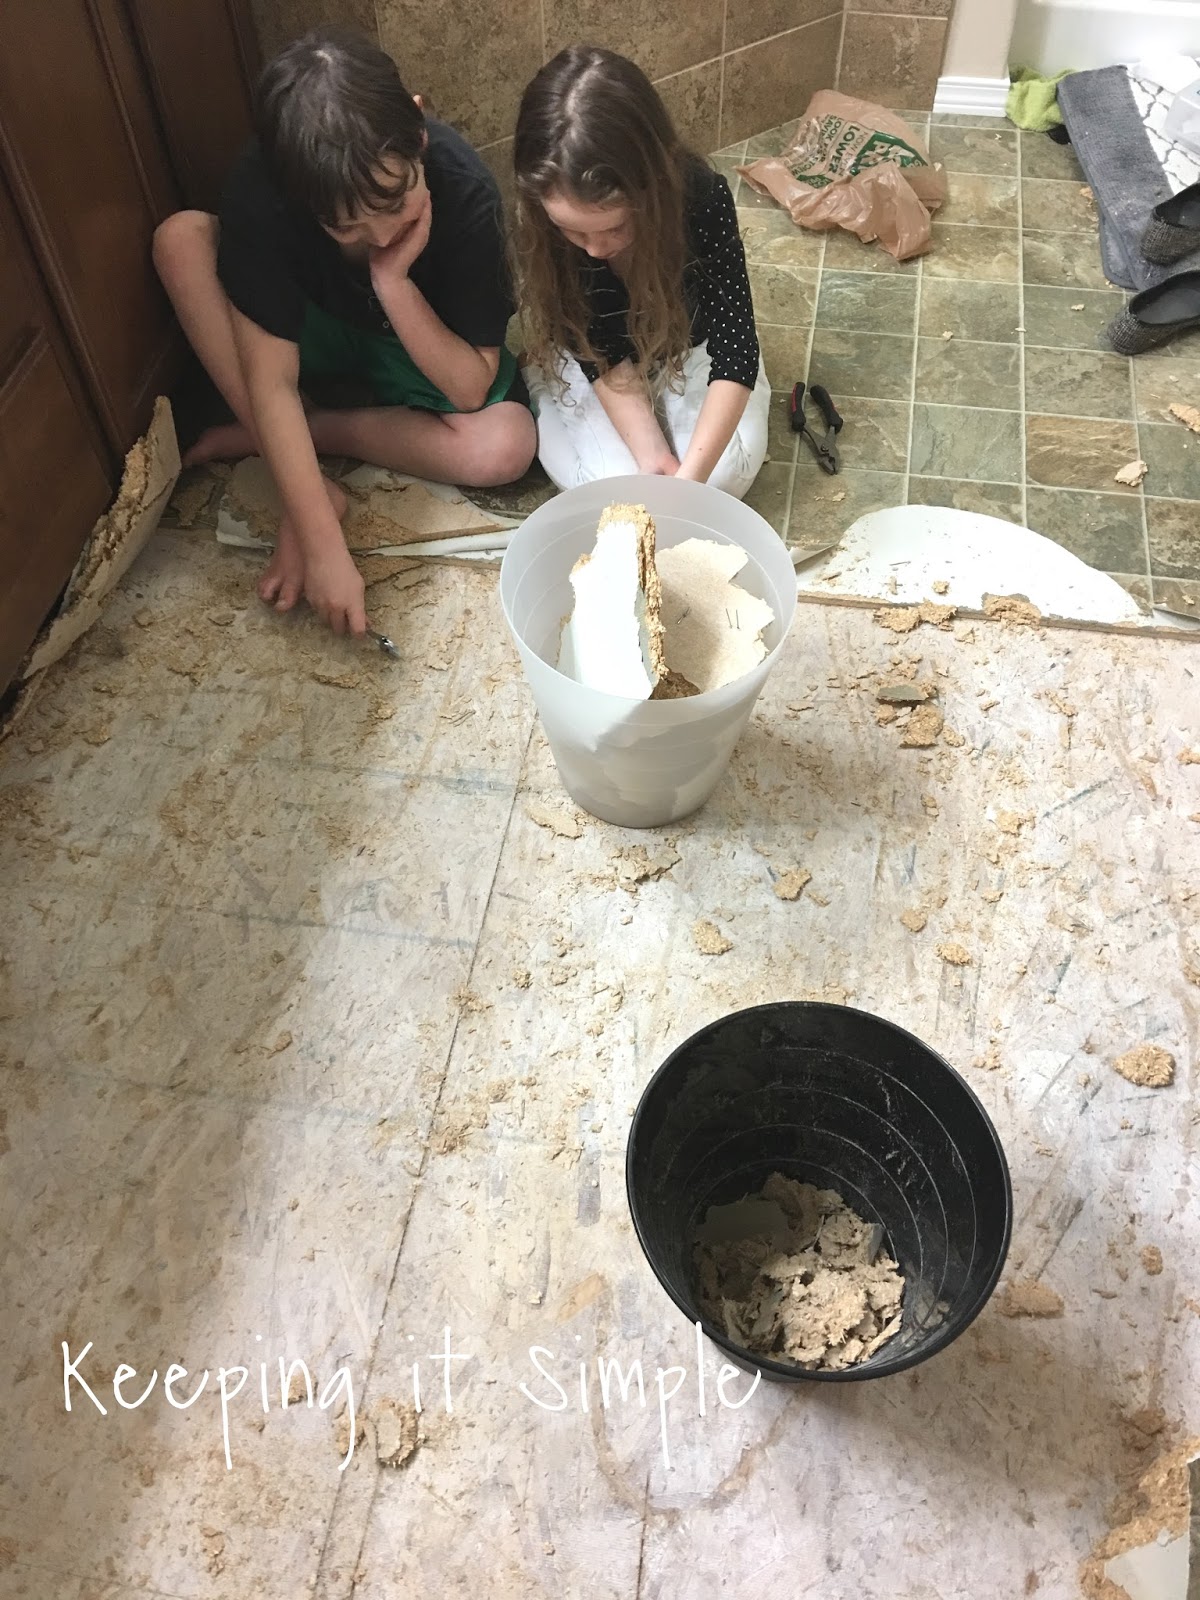
We continued to work through out the bathroom removing the floors. It took a few hours to do.
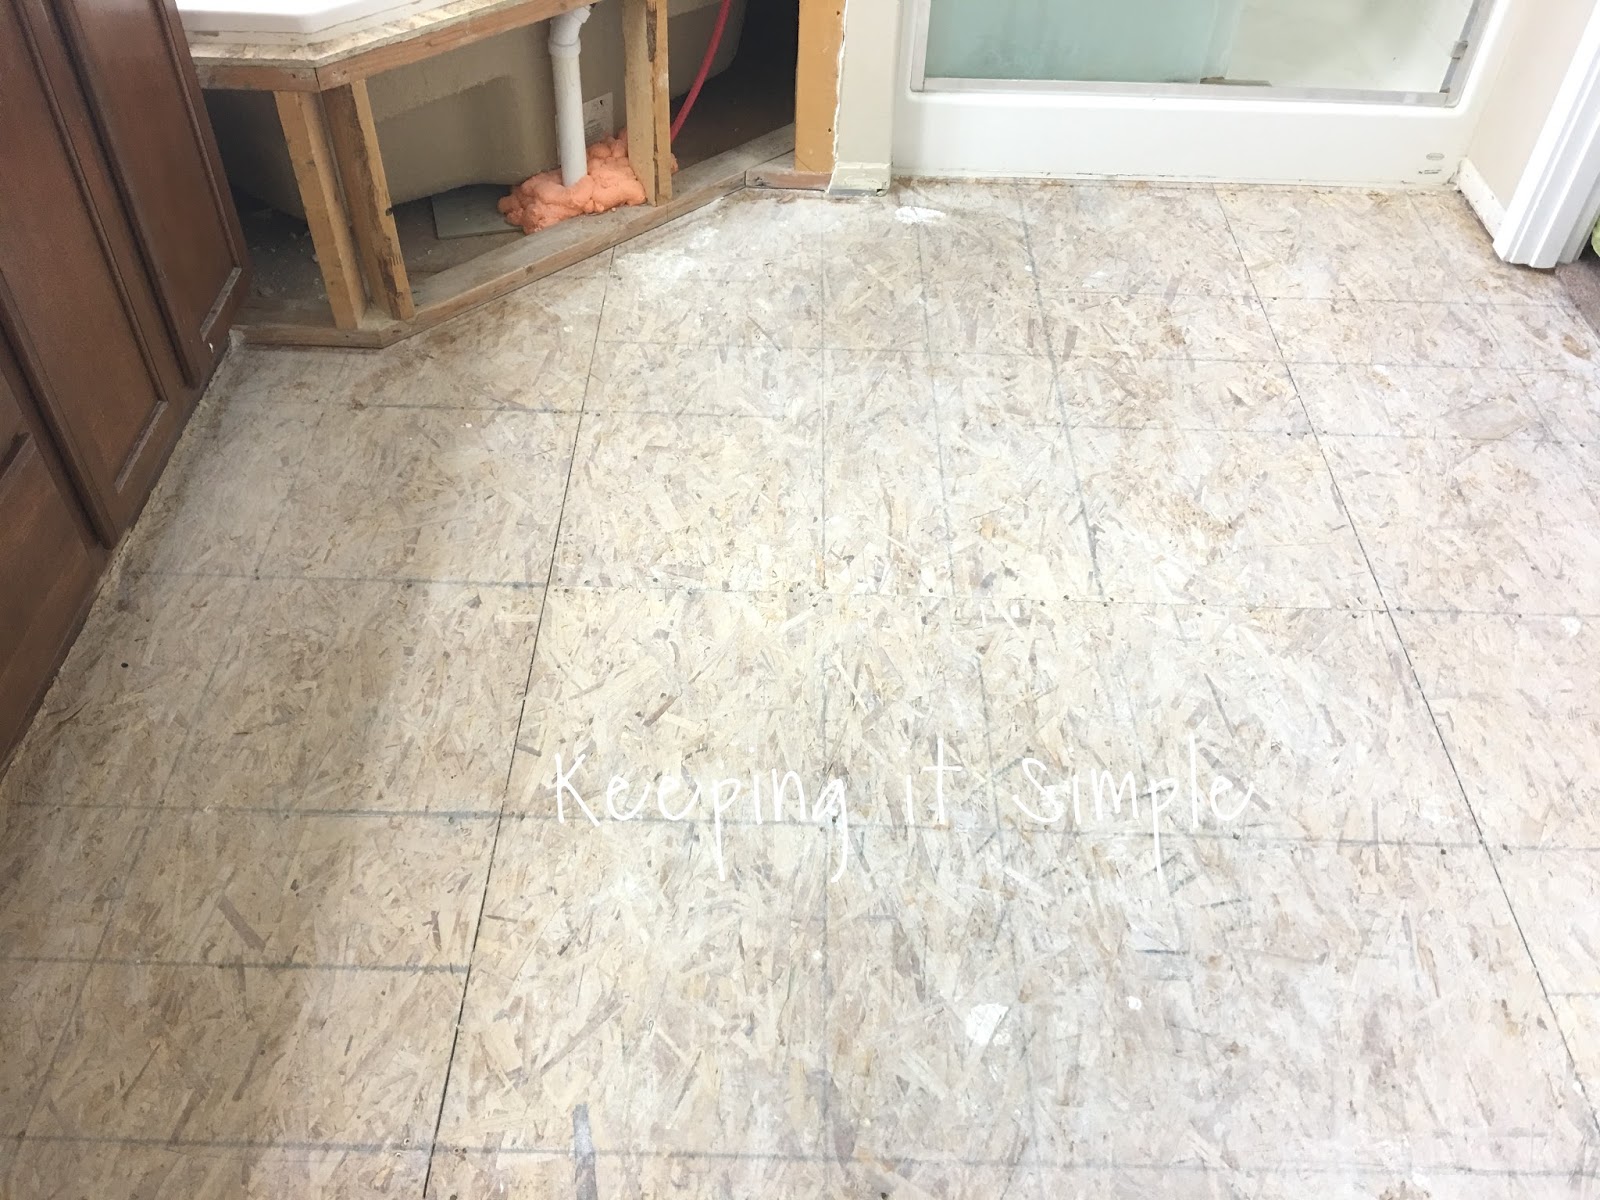
It’s starting to look like a blank slate, woohoo!

We got all of the flooring off including the tiles off of the corner tub!
Before I get to the installation process, there are several different things you will need for each step of the way. Like you will have three different kinds of mortar/grout, one for under the backer board, one for under the tiles and then the grout for over the tiles. I’ll try to explain it the best I can but it doesn’t hurt to ask the people at the store for help, since they can direct you to the correct product you need. Also make sure you read the directions on all of the products so you know what kind of waiting times and how much square footage it covers :).
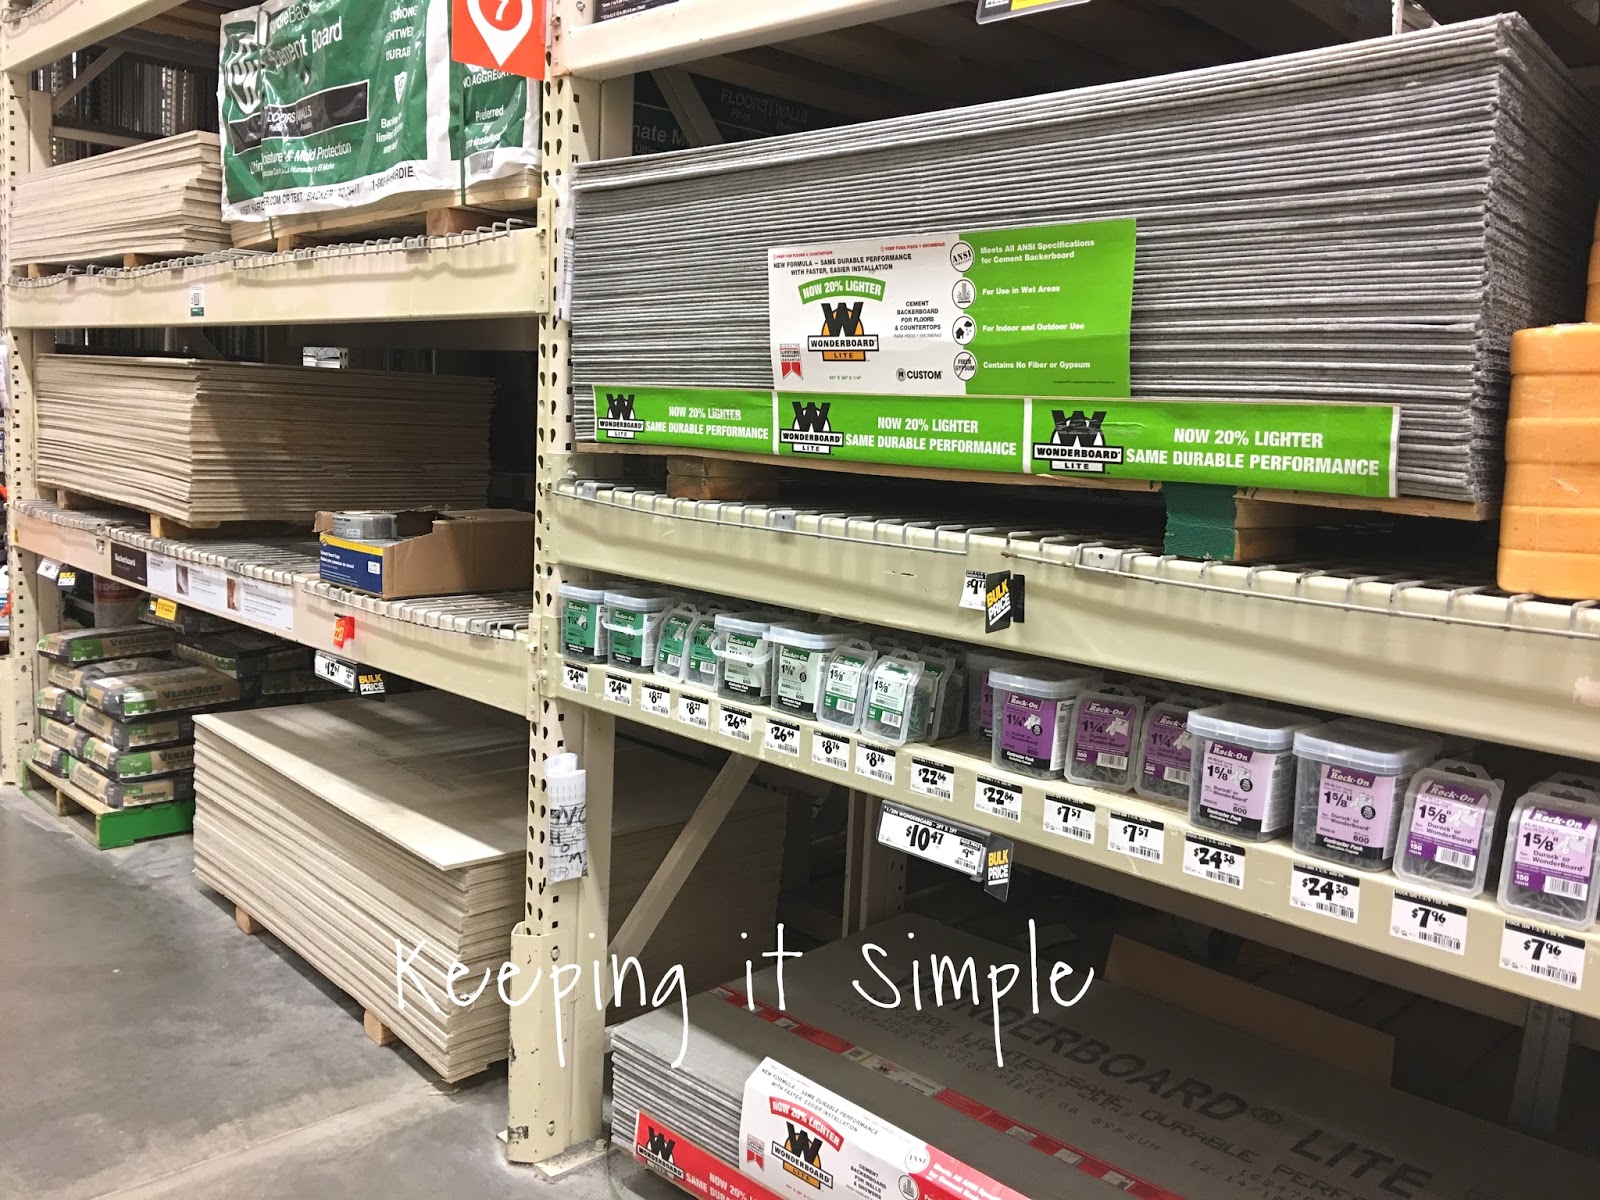
Now time for the backer board.
This is what you’ll need for the backer board
1/4″ backer board
Mesh tape
Thin set mortar
Bucket
Cement mixer attachment for drill (trust me, this is amazing and saves a lot of time).
Utility knife or scoring tool
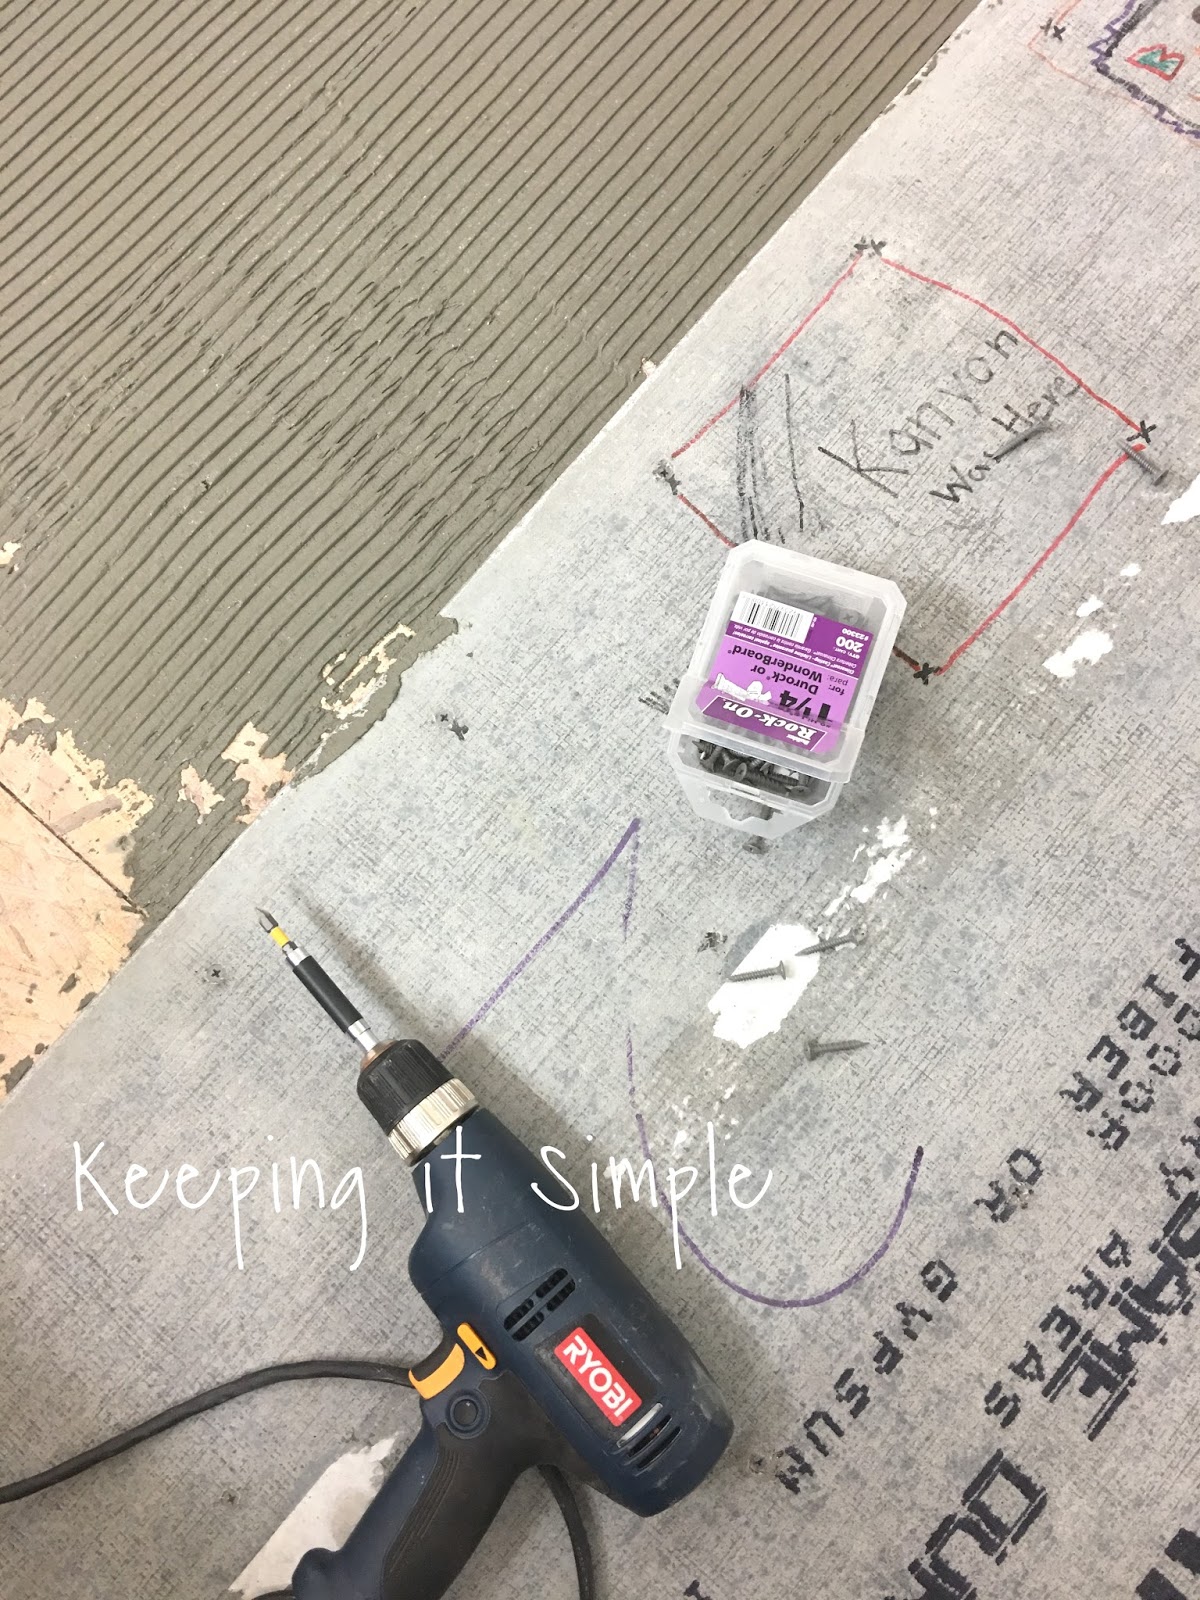
Backer board screws. The backer board we used was 3×5 feet and took 50 screws.
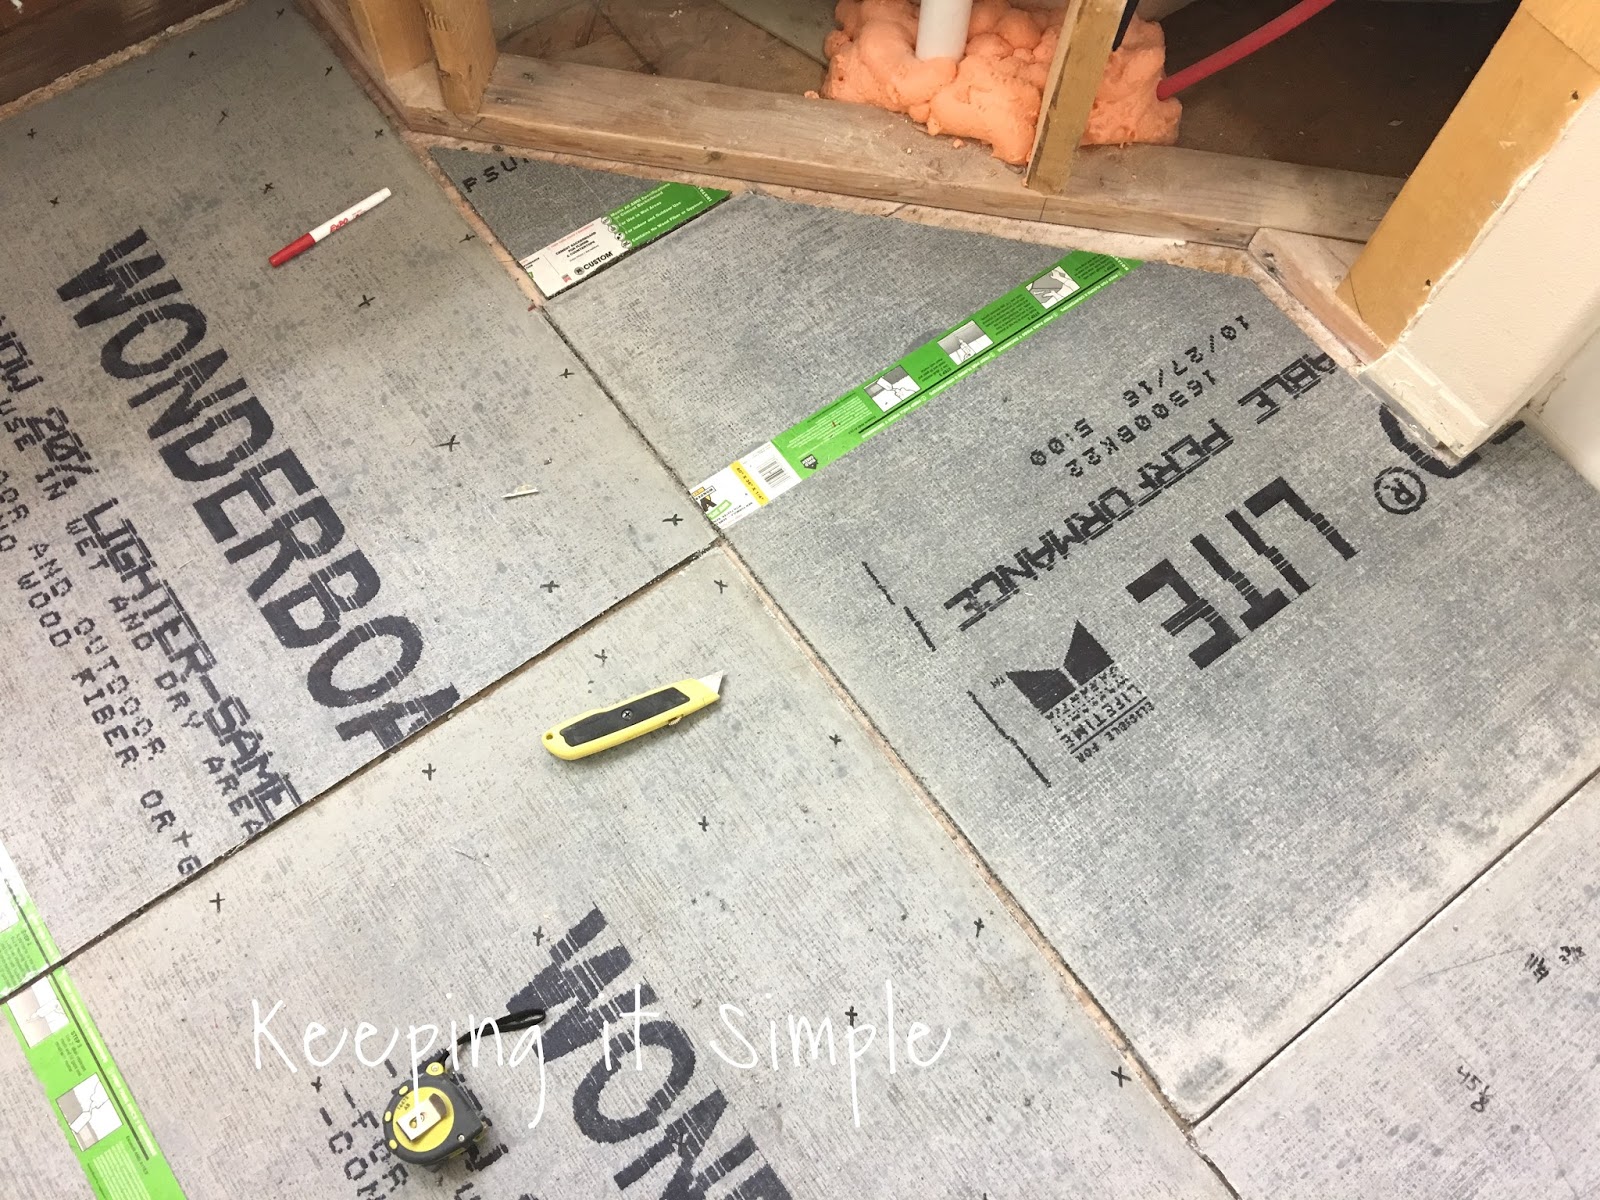
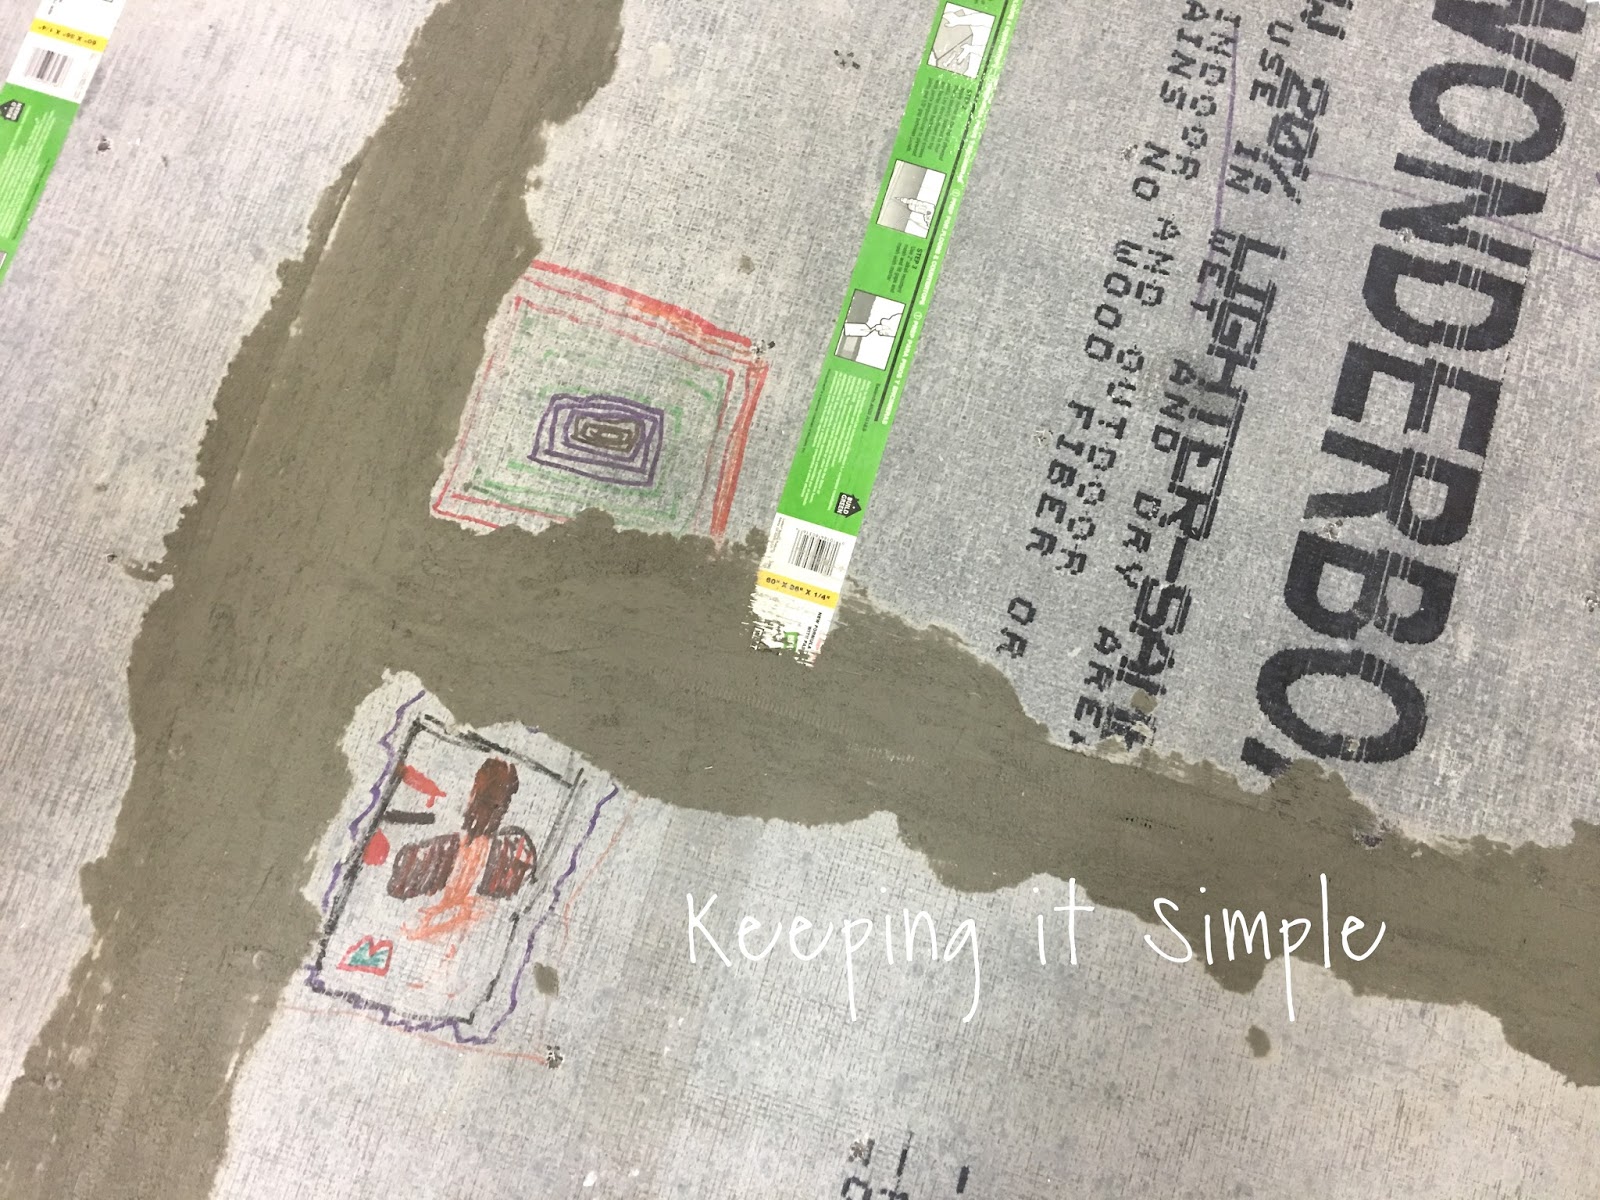
The first thing you will want to do is set down the boards before you put the mortar down. You want to make sure that your ground is completely clean. And when you are arranging the boards DO NOT have more than three seams meet each other, you do not want to have four corners line up. To cut the backer board, you score it with the utility knife or scoring tool and then put it up on something and bend it at the score line and it should break. I also marked the backer board with little x’s for where the screws should go. They are supposed to be about 1-2″ from the edge and about every 6 to 8 inches. It takes several screws, like I said before each board took about 50 screws.
Once you have all of the backer board placement figured out, it’s time to put down the mortar and begin. This is a two person job. My husband put down the mortar and I then I immediately started screwing it in. Using the 1/4″ trowel, he put the mortar on the floor and did a start line motion (not a back and forth motion).
Once all the boards were down, we then put the mesh tape on all the seams. I used a putty knife to really smooth it down.
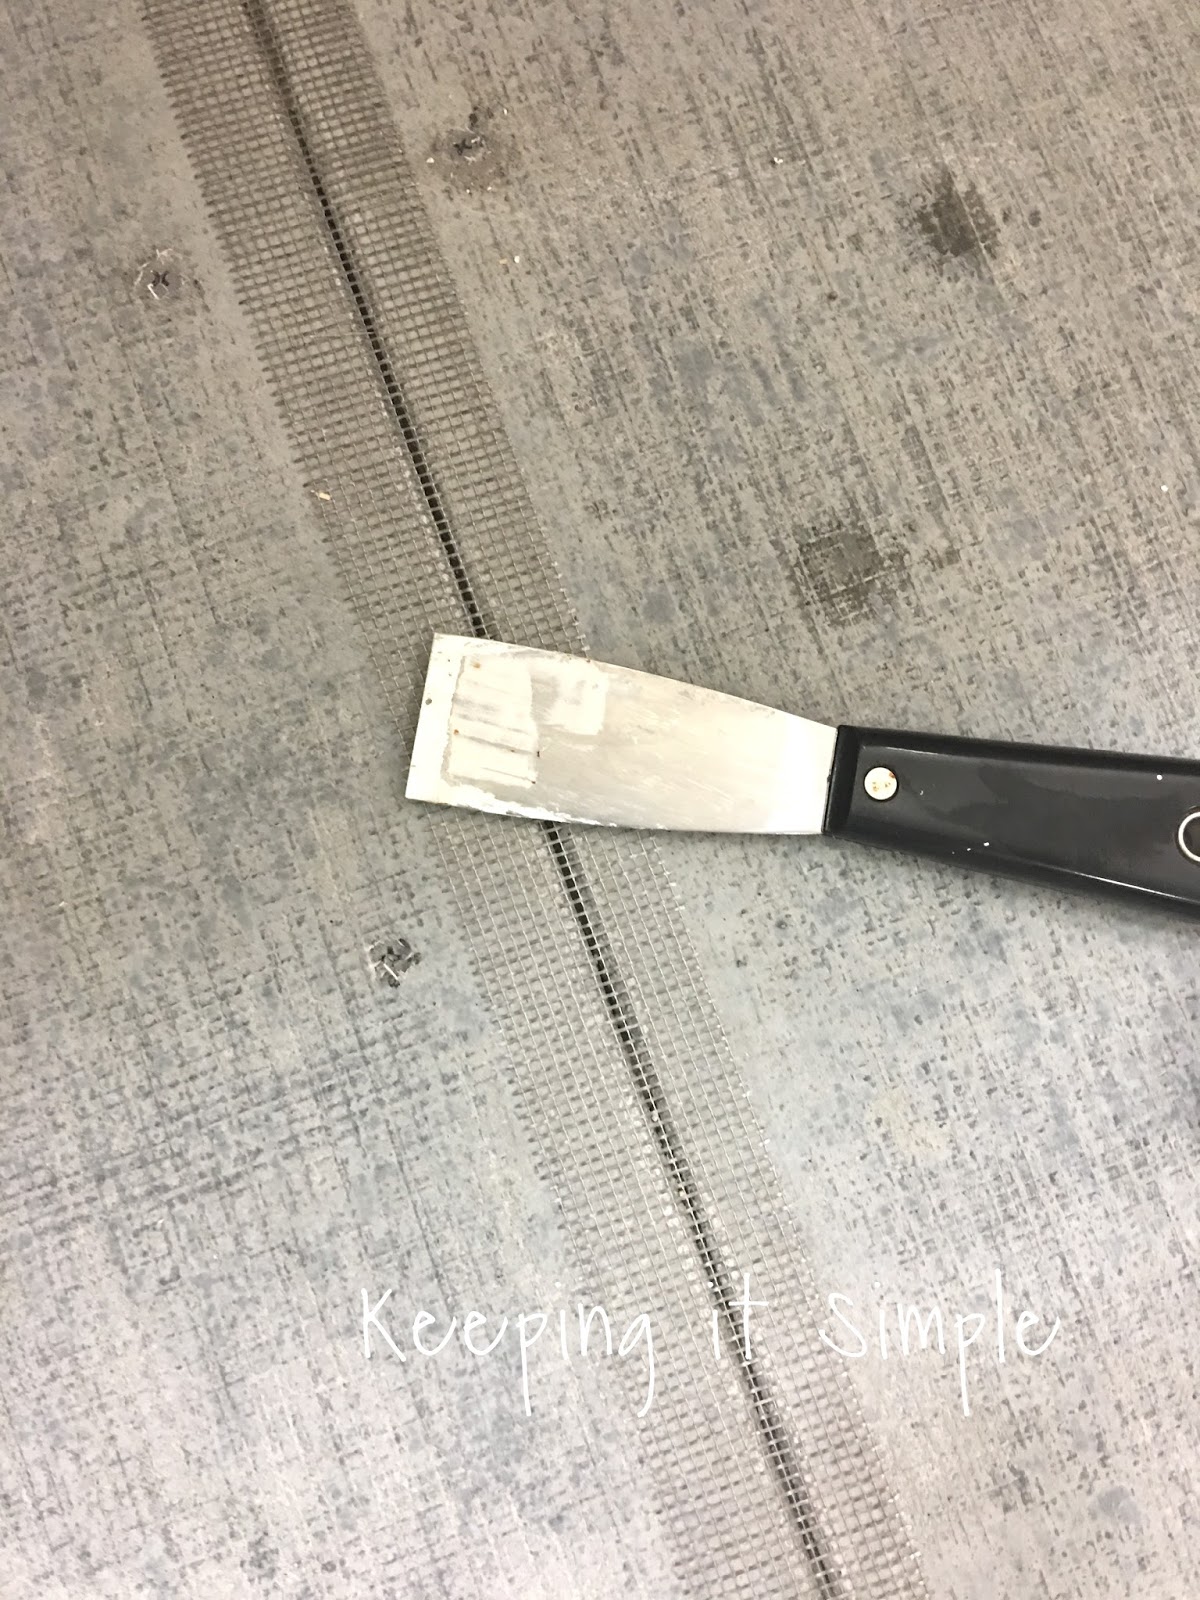
Then with the putty knife we put a little bit of the mortar onto the seams. The mortar has to dry for 24 hours before you put on the tile.
Now for the tiles:
We used the Ridgemont 12×24 Silver Porcelain tiles from Lowes. You should used porcelain compared to ceramic in bathroom flooring because it handles water better.
This is what you’ll need:
12×24 Tiles
Tile mortar- there are two colors to choose from white or gray. The guy at the store told us that sometimes the gray can bleed through the grout, so he always recommends getting the white mortar
Bucket
Cement mixer attachment from thin set mortar

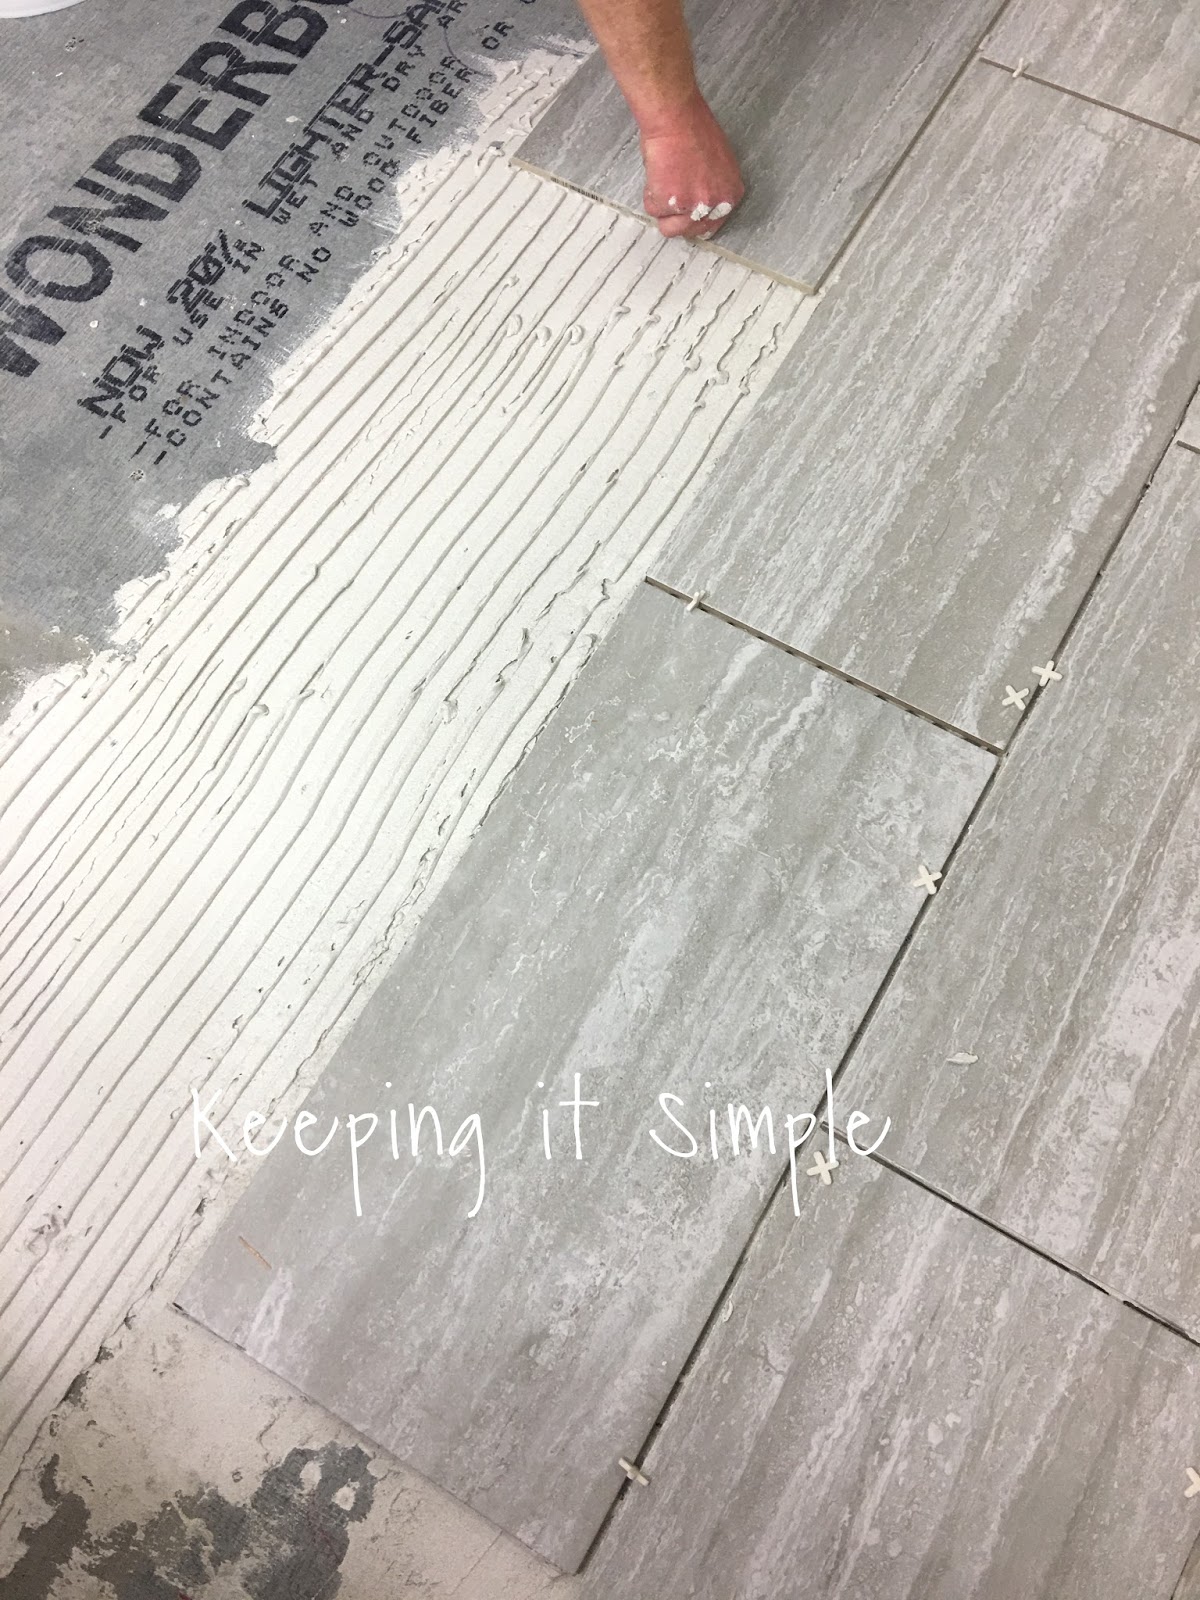
Before we started tiling, we watched this video that shows the best way to put on tiles. It recommends going in a straight motion instead of going back and forth.
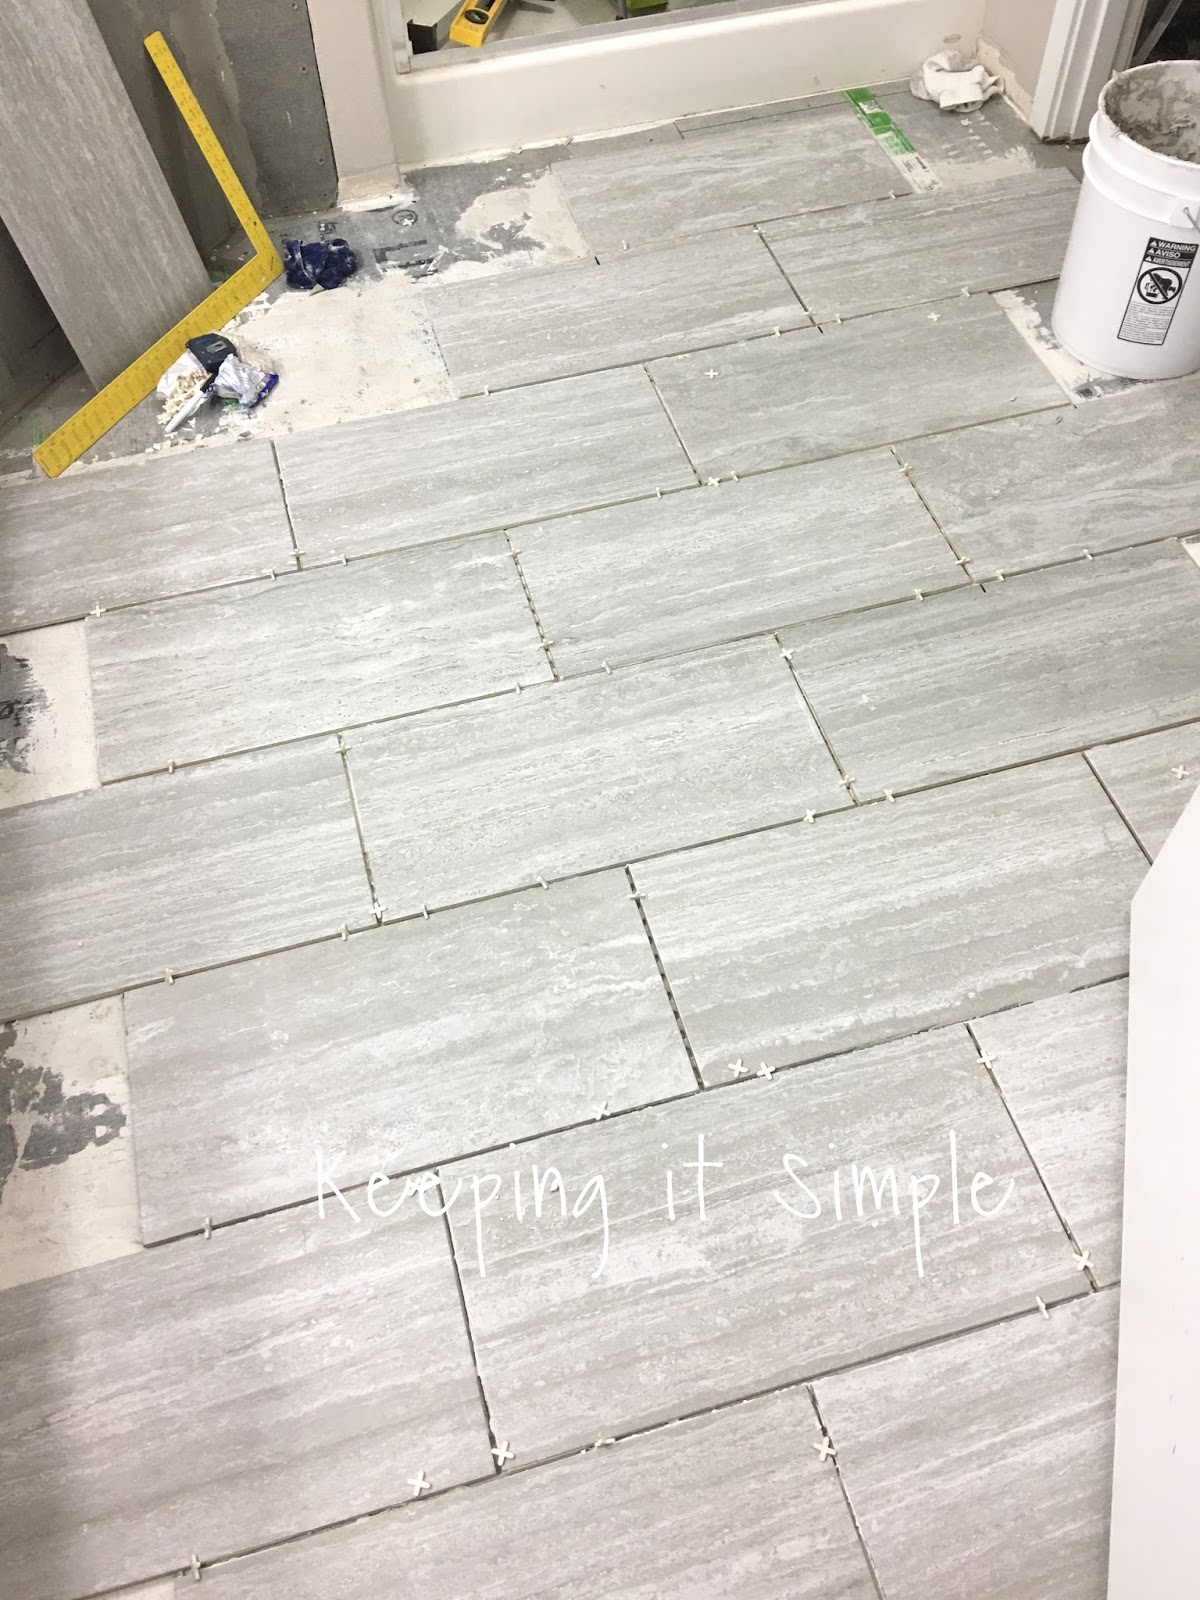
When we started tiling we started with the full pieces and then put them on and then went back and worked with the pieces that needed to be cut. Using the trowel, my husband put the mortar onto the ground then carefully put the tile onto it, pushing it down to set it. Then he put in the spacers and put down another tile.
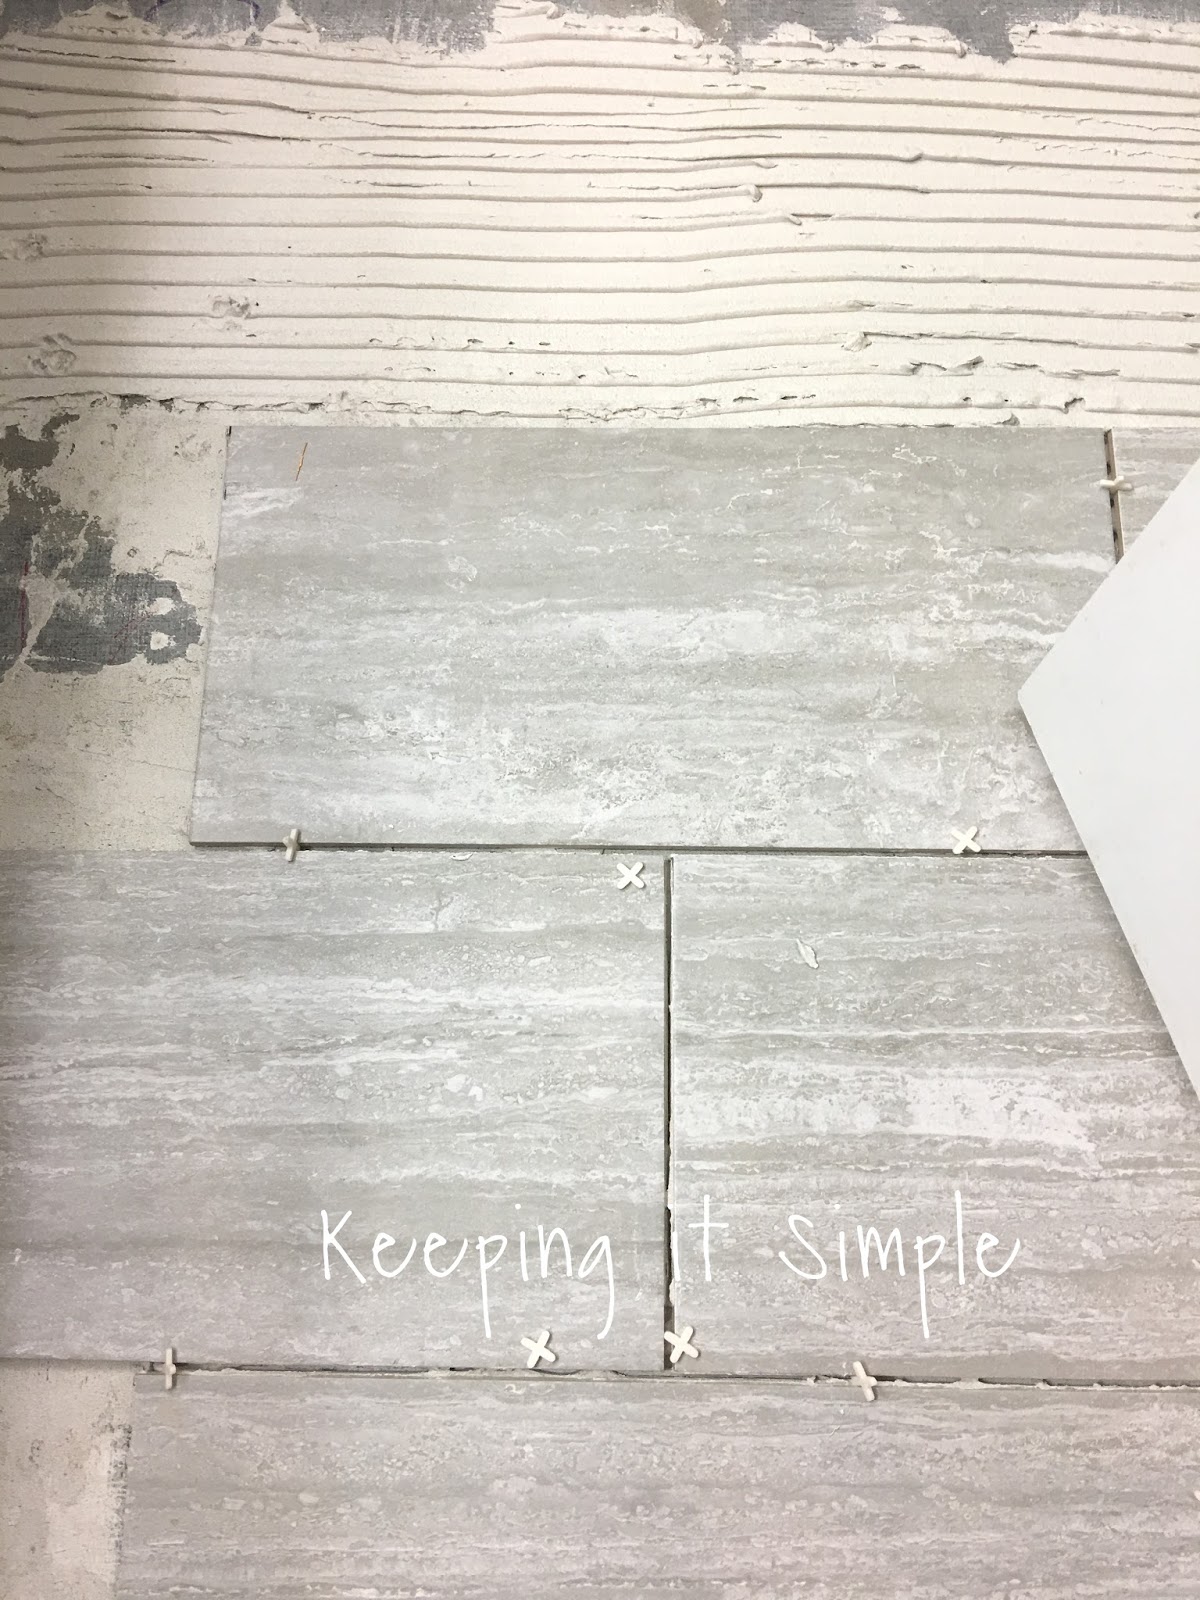
He kept on working one row at a time. When he finished a few tiles, he put down a long piece of 2×4 wood and then tapped it with a mallet to press it down even more.
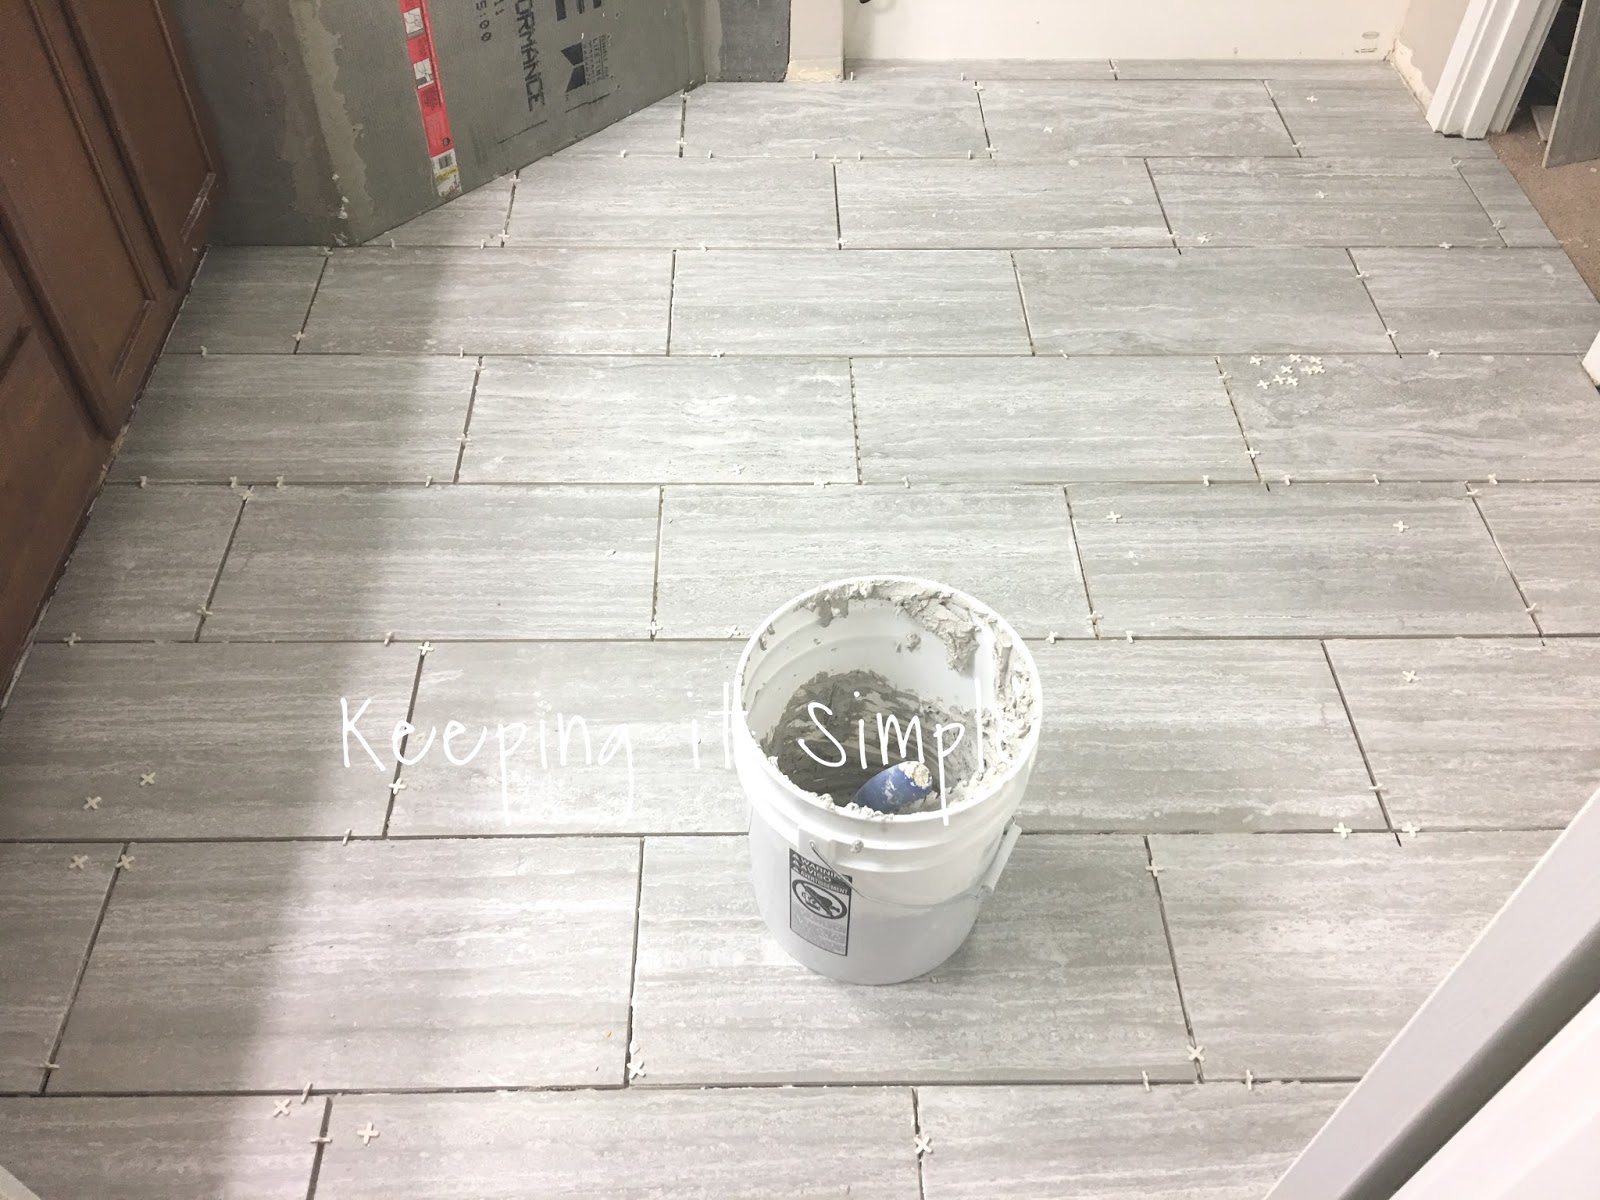
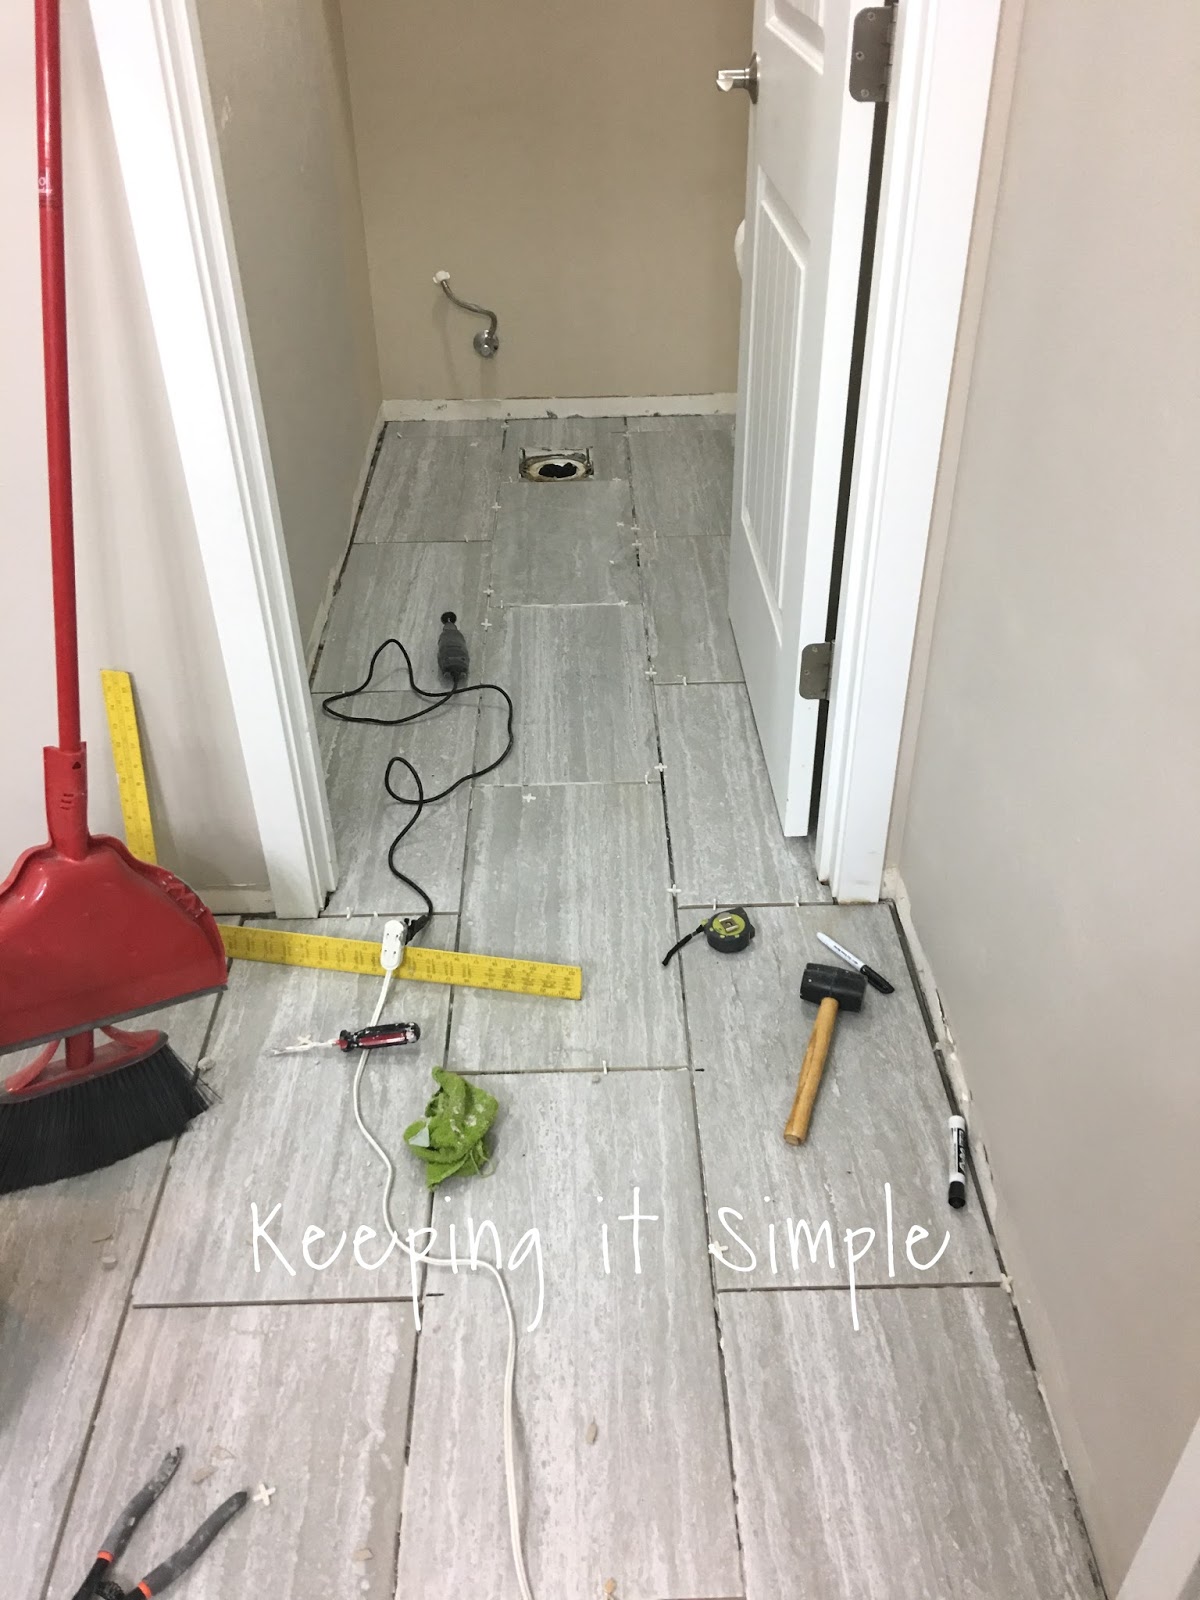
Here is the floor with all the full pieces.
Then using the tile saw, he started adding the tiles that needed to be cut. (We did the toilet room later because we did the backer board a different time and had to wait for it to set, that’s why it’s not going into there yet).
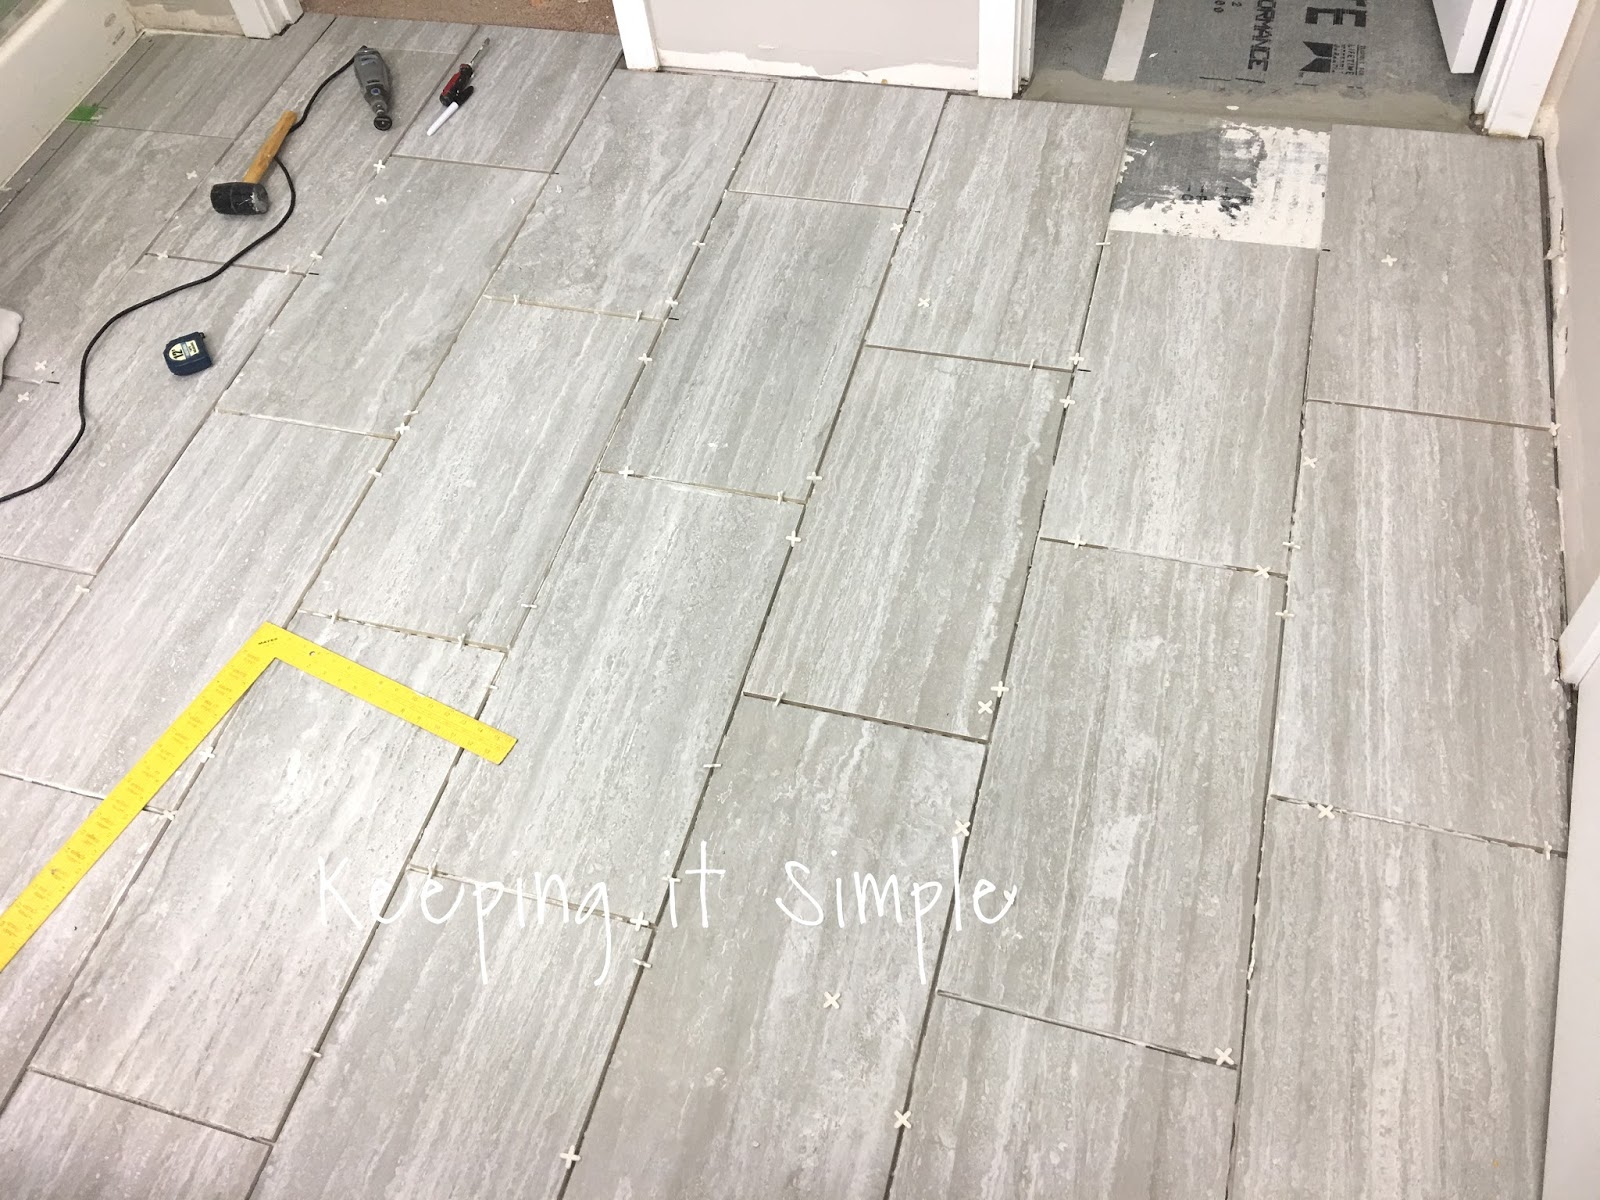
Doesn’t it look amazing?! Oh I just love it!
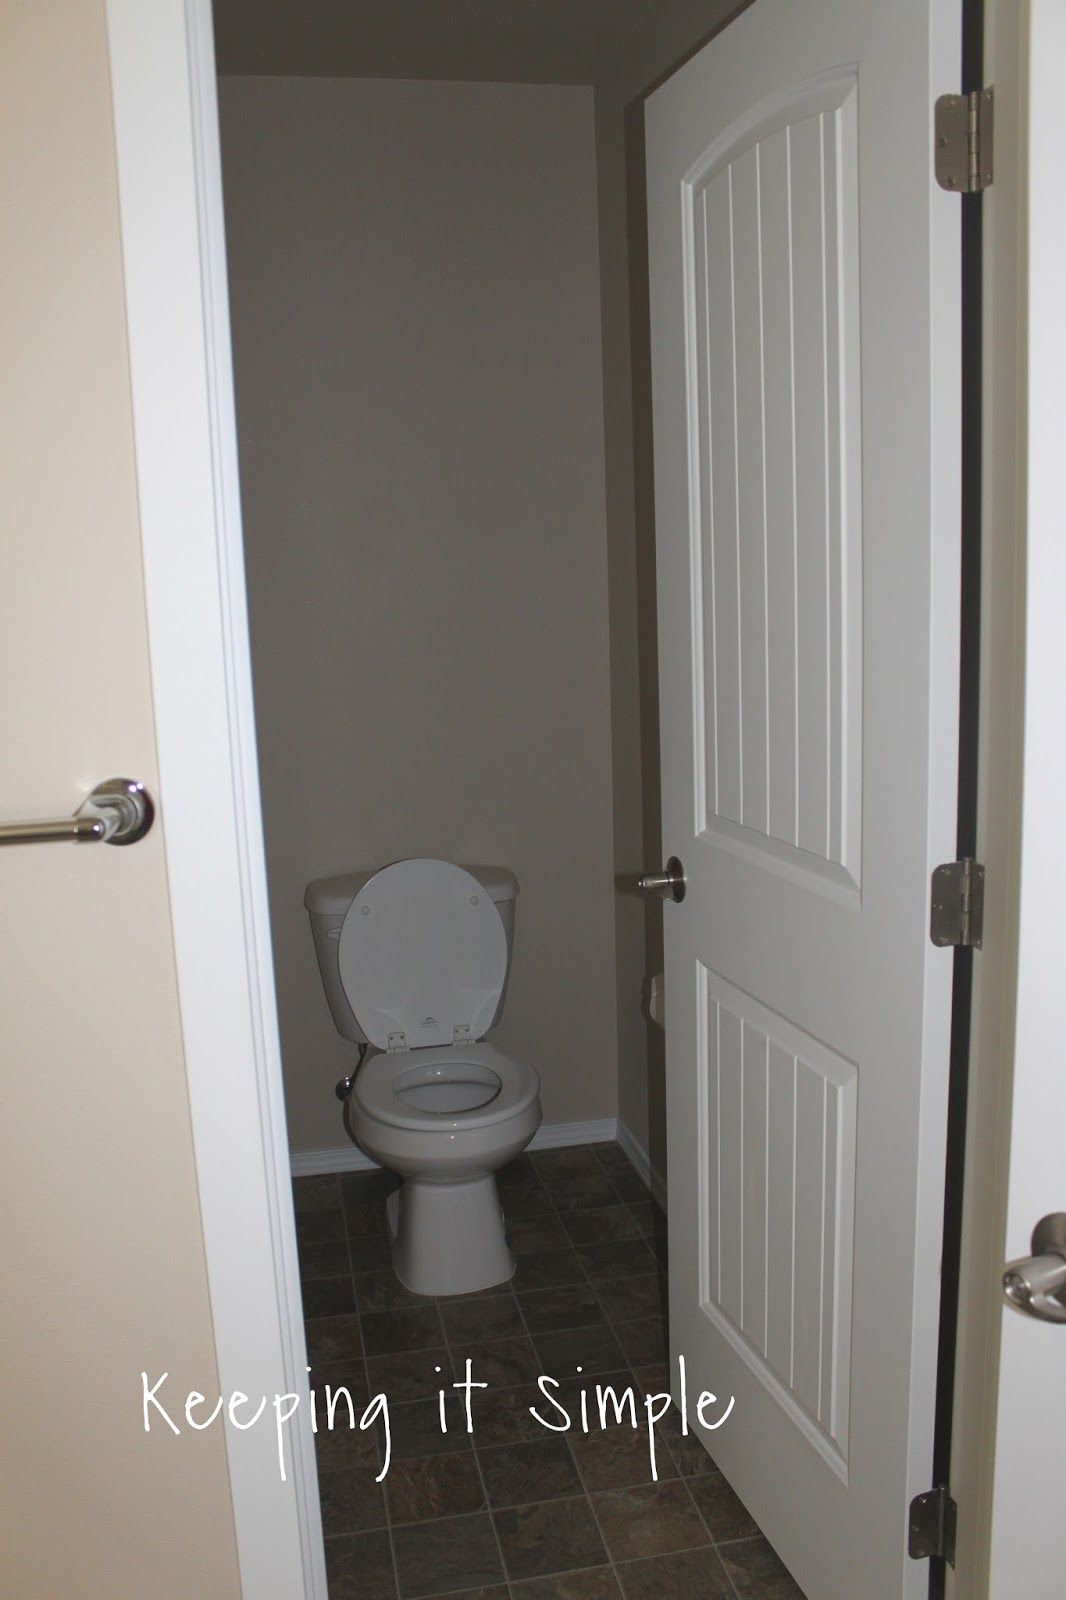
Finally we started working on the toilet room (we did that later because I didn’t want to be with out my toilet for longer than a couple days, sharing a toilet with 4 young boys is not fun!).
You have to let the tiles set for 24 hours before adding the grout.
This is what you’ll need for the grout:
Sanded grout. There are a lot of different colors, we went with natural gray.
Buckets- One for mixing and then you will need several buckets with water in them to clean off the grout.
Before we started grouting, we watch this video and it was helpful to see what kind of motion you have to do when you clean it off with the sponge.
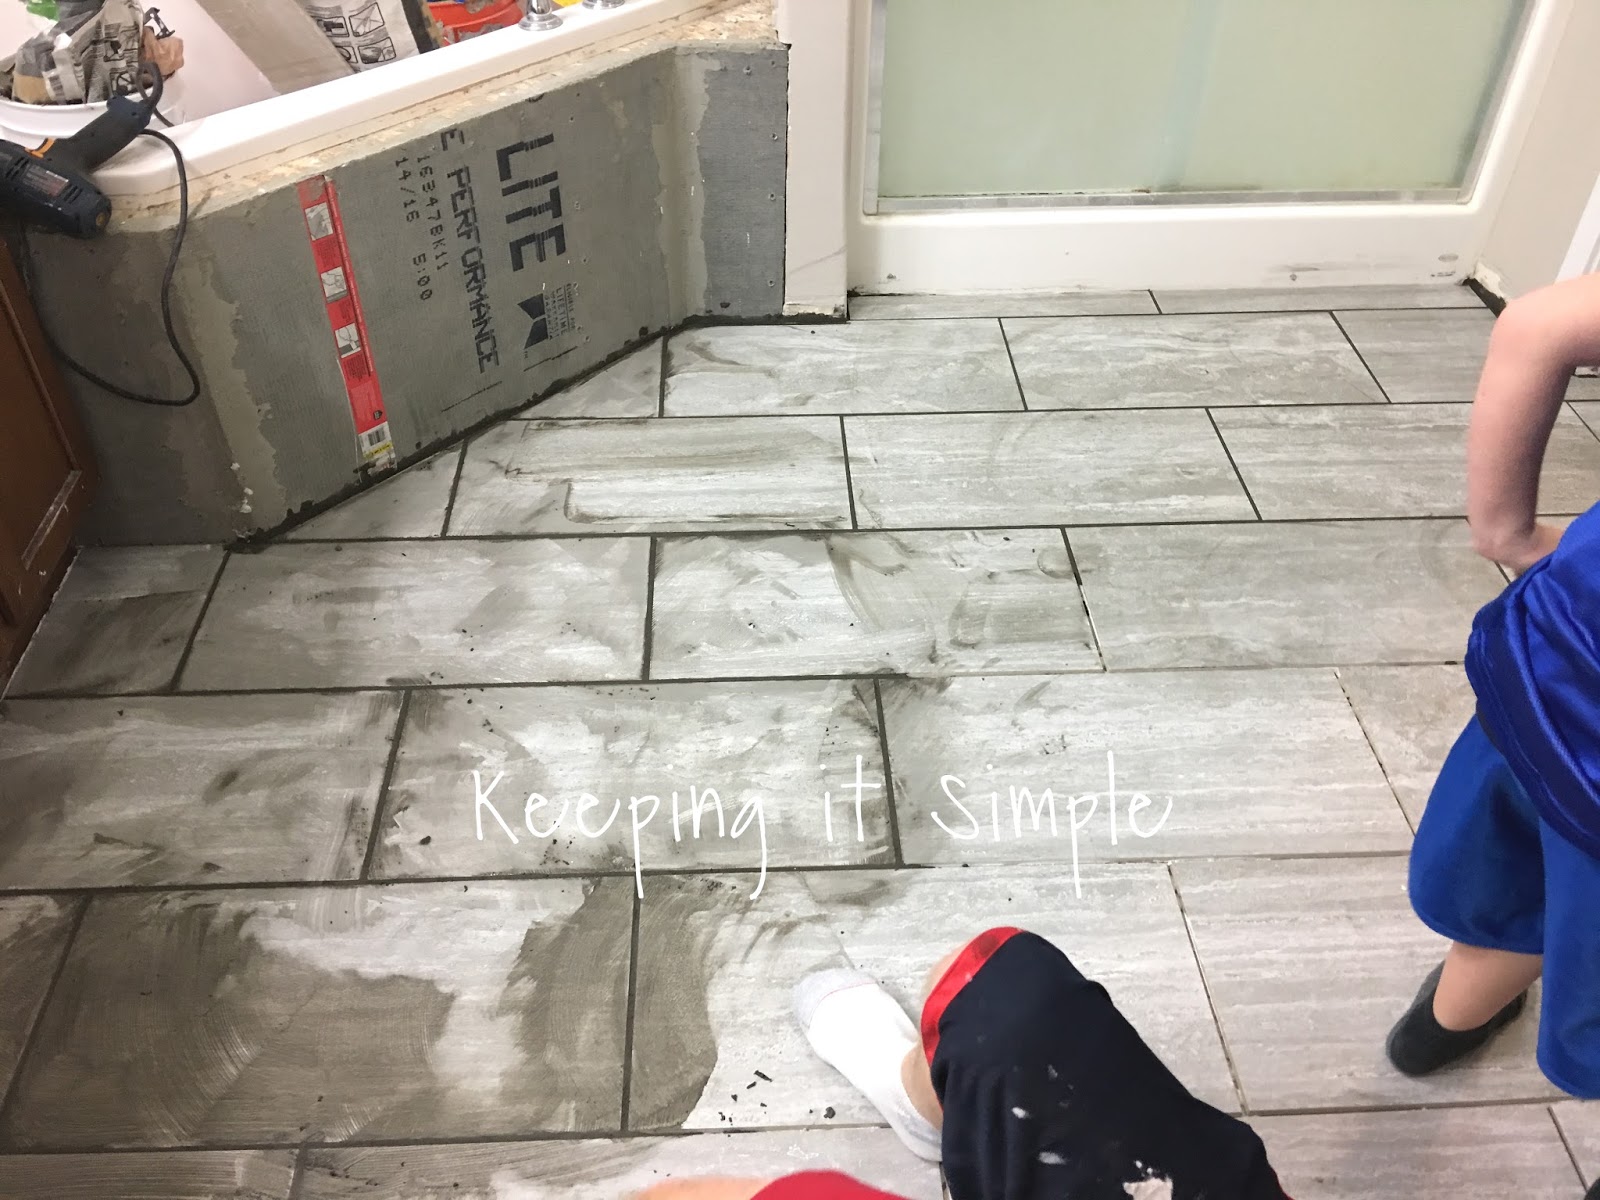
Grouting is also a two person job, my husband grouted while I did the clean up part with the sponge.
Once we mixed the grout, my husband put it into the cracks and then let it set for 10 minutes. Then using the damp sponge, I wiped the tiles to get rid of the excess grout.
Here is another view of it.
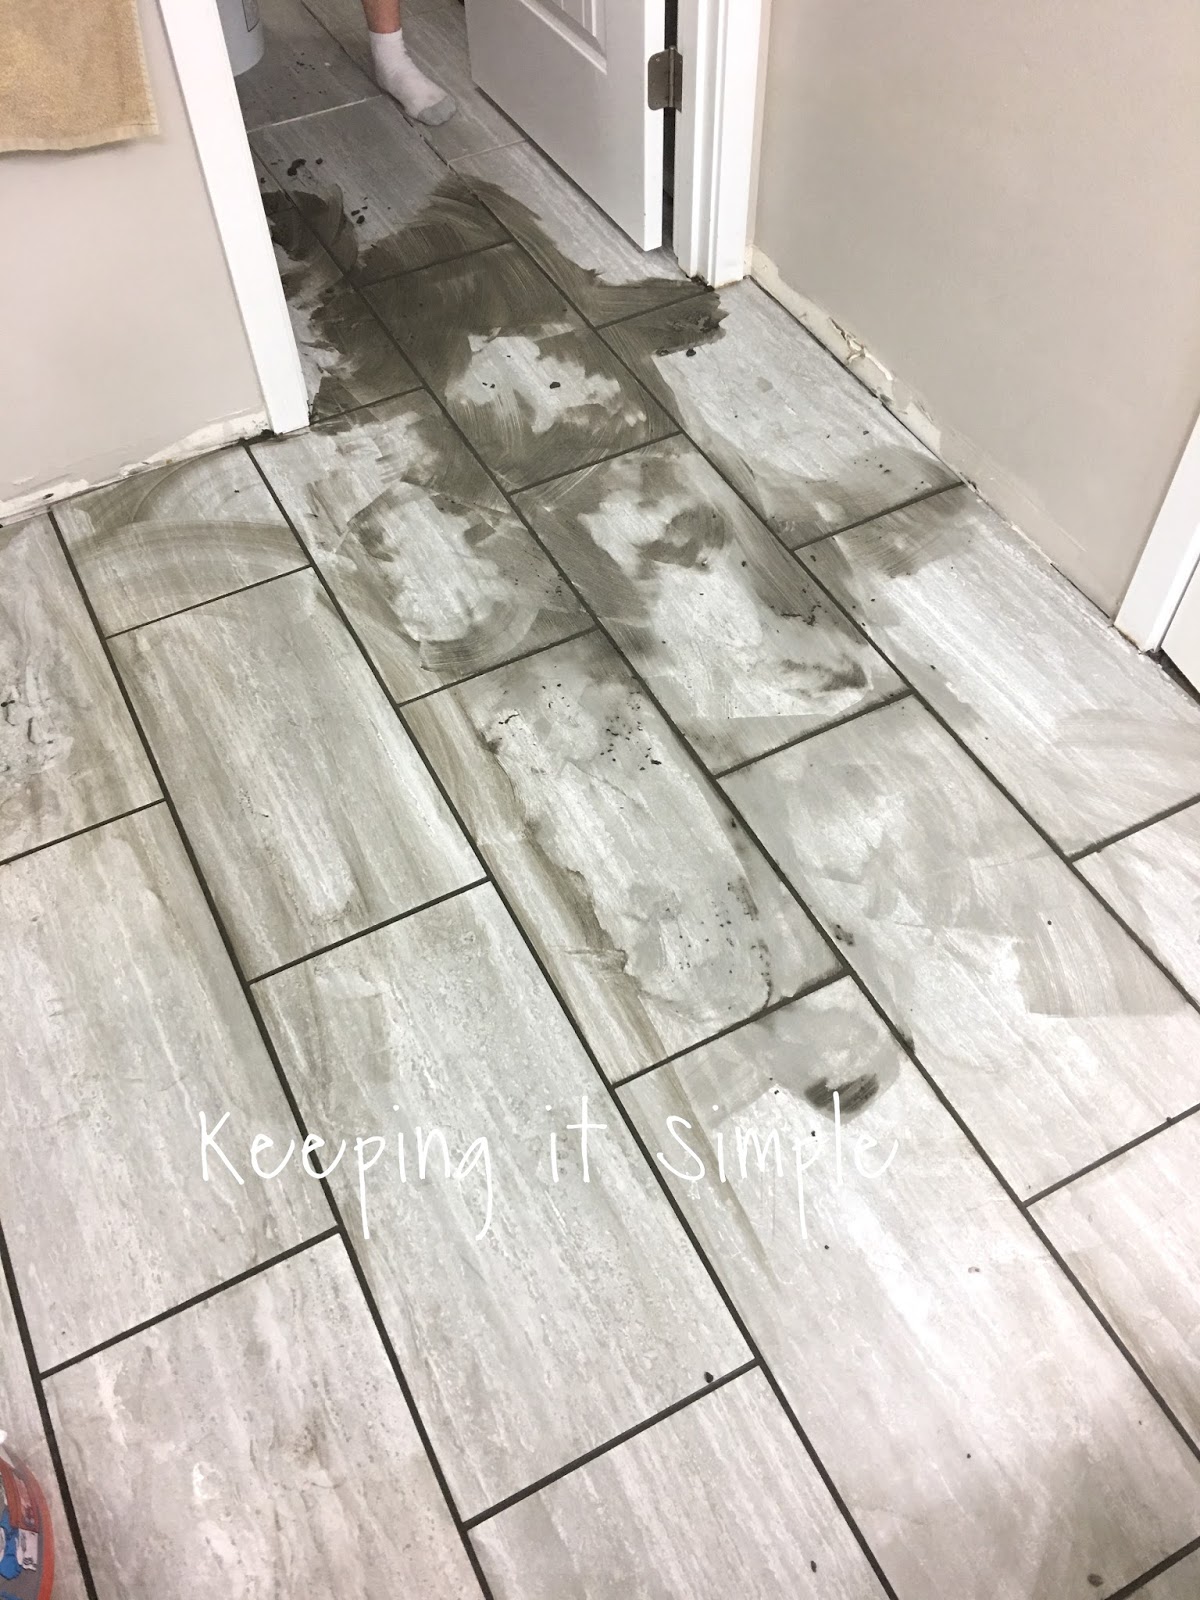
We waited about 2 hours and then went back over the tiles with the sponges to clean up the haze that was left over from the grout. As you can see the grout lines are really dark when they are wet. It actually looks pretty cool, even though we did go with a lighter grout.

Once the grout had set for about 36 hours we sealed the grout lines and then we put the toilet back on. We ended up getting a new toilet :). If you had linoleum or vinyl before most likely you will have to get an extender kit for the wax seal for the toilet (the floor is now higher so you need a bigger wax ring). Or you can get the ones that you can stack on to each other to make it thicker.

We then put back the baseboards (I painted them to give them a nice fresh look) and then caulked the edges to give it a nice finished look. I also painted the walls with Sherwin Williams paint in Worldly Gray, it’s a greige (beige/gray) color so it will go with my warm and cool tones in my house.
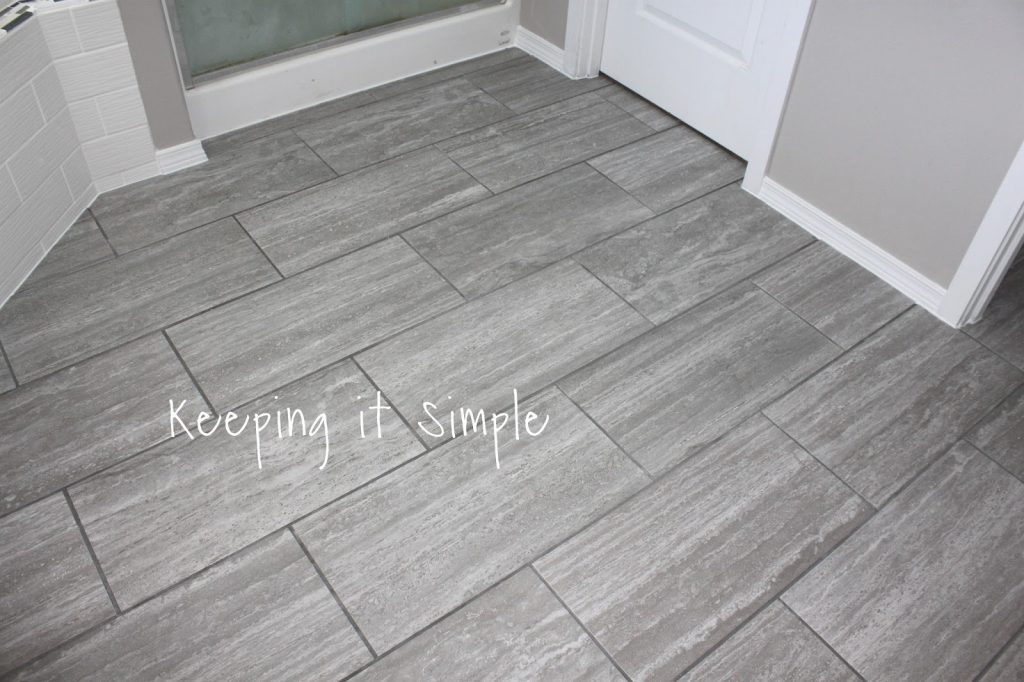
Doesn’t it look amazing!?!?! I seriously love it so much! It does so much for the room.
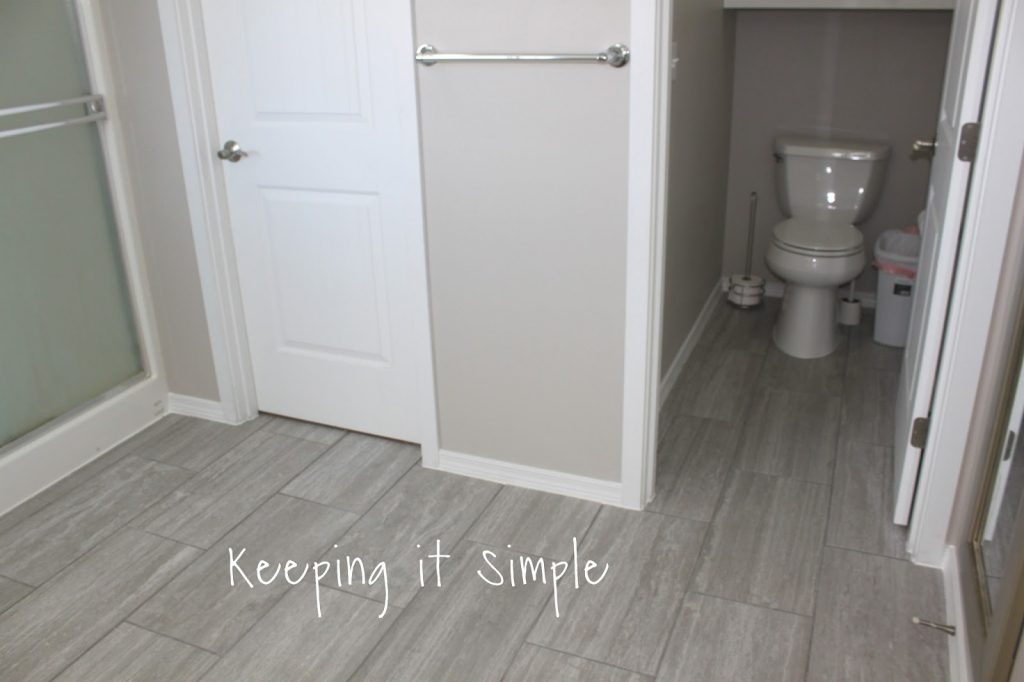
I can’t stop looking at it :).

Want to see the rest of the bathroom?? Here is what the vanity looks like now and here is what the bathtub looks like now! And if you want to see the whole bathroom check out my master bathroom reveal.
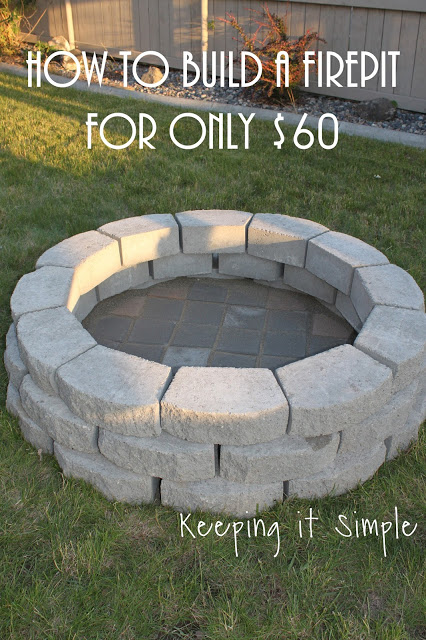
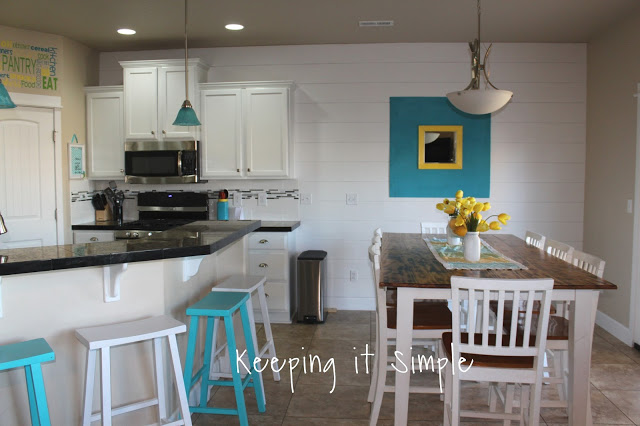
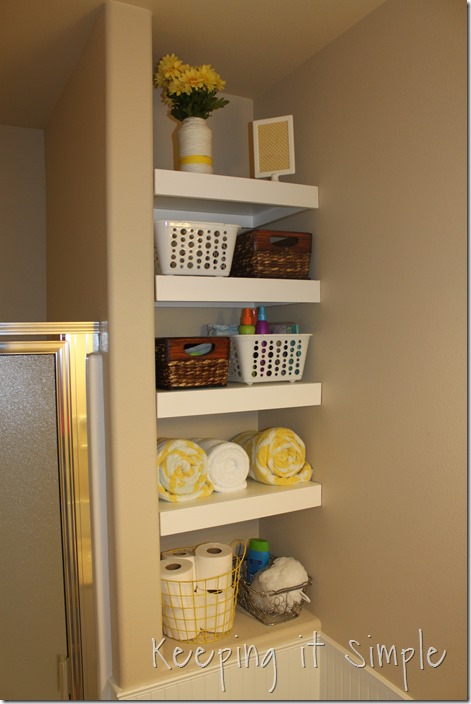
Here are a few more DIY ideas:

Leave a Reply
You must be logged in to post a comment.