This post contains affiliate links.
This past month we have been remodeling our master bathroom and I am LOVING it! The difference is just night and day and it makes me so happy when I walk in there everyday. This is part 2 of the journey and if you missed part one, check it out here– it’s on how we tiled the floor! The bath tub was one of my favorite things about our master bathroom and now I love it 100x more!! I can’t wait to show you it and how we did it :).
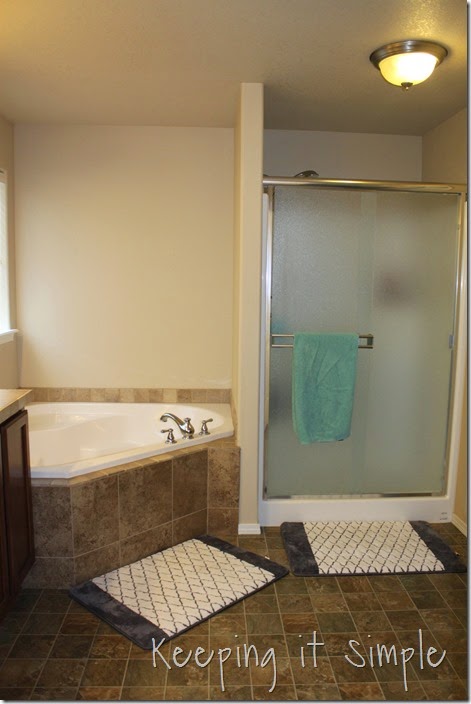
So here is the before. Pretty dark and dated.
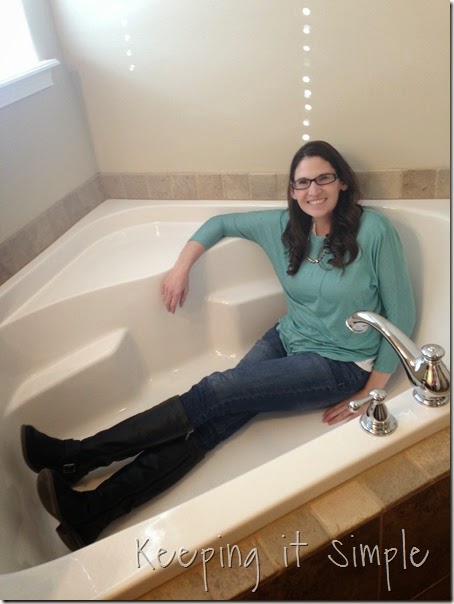
And just for fun, here’s a picture of when we were looking at the house to buy. We wanted to make sure we had a nice big bathtub, so I was trying it out for size :).
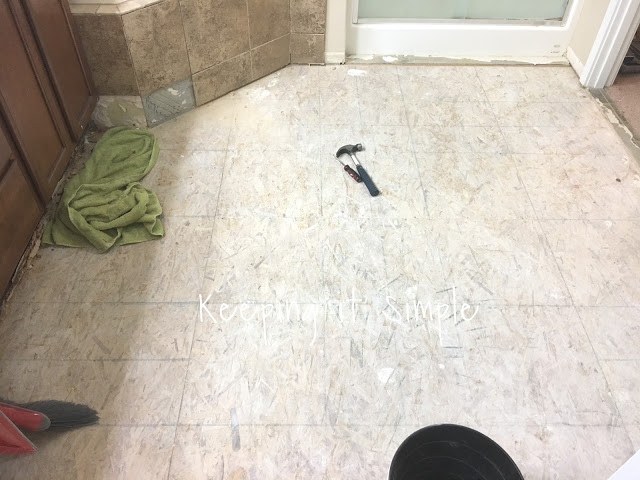
Now time to get to the installation process.
I didn’t take a ton of demo pictures for the bathtub because we were doing it the same time as we were doing the floor, so hopefully you get the idea!
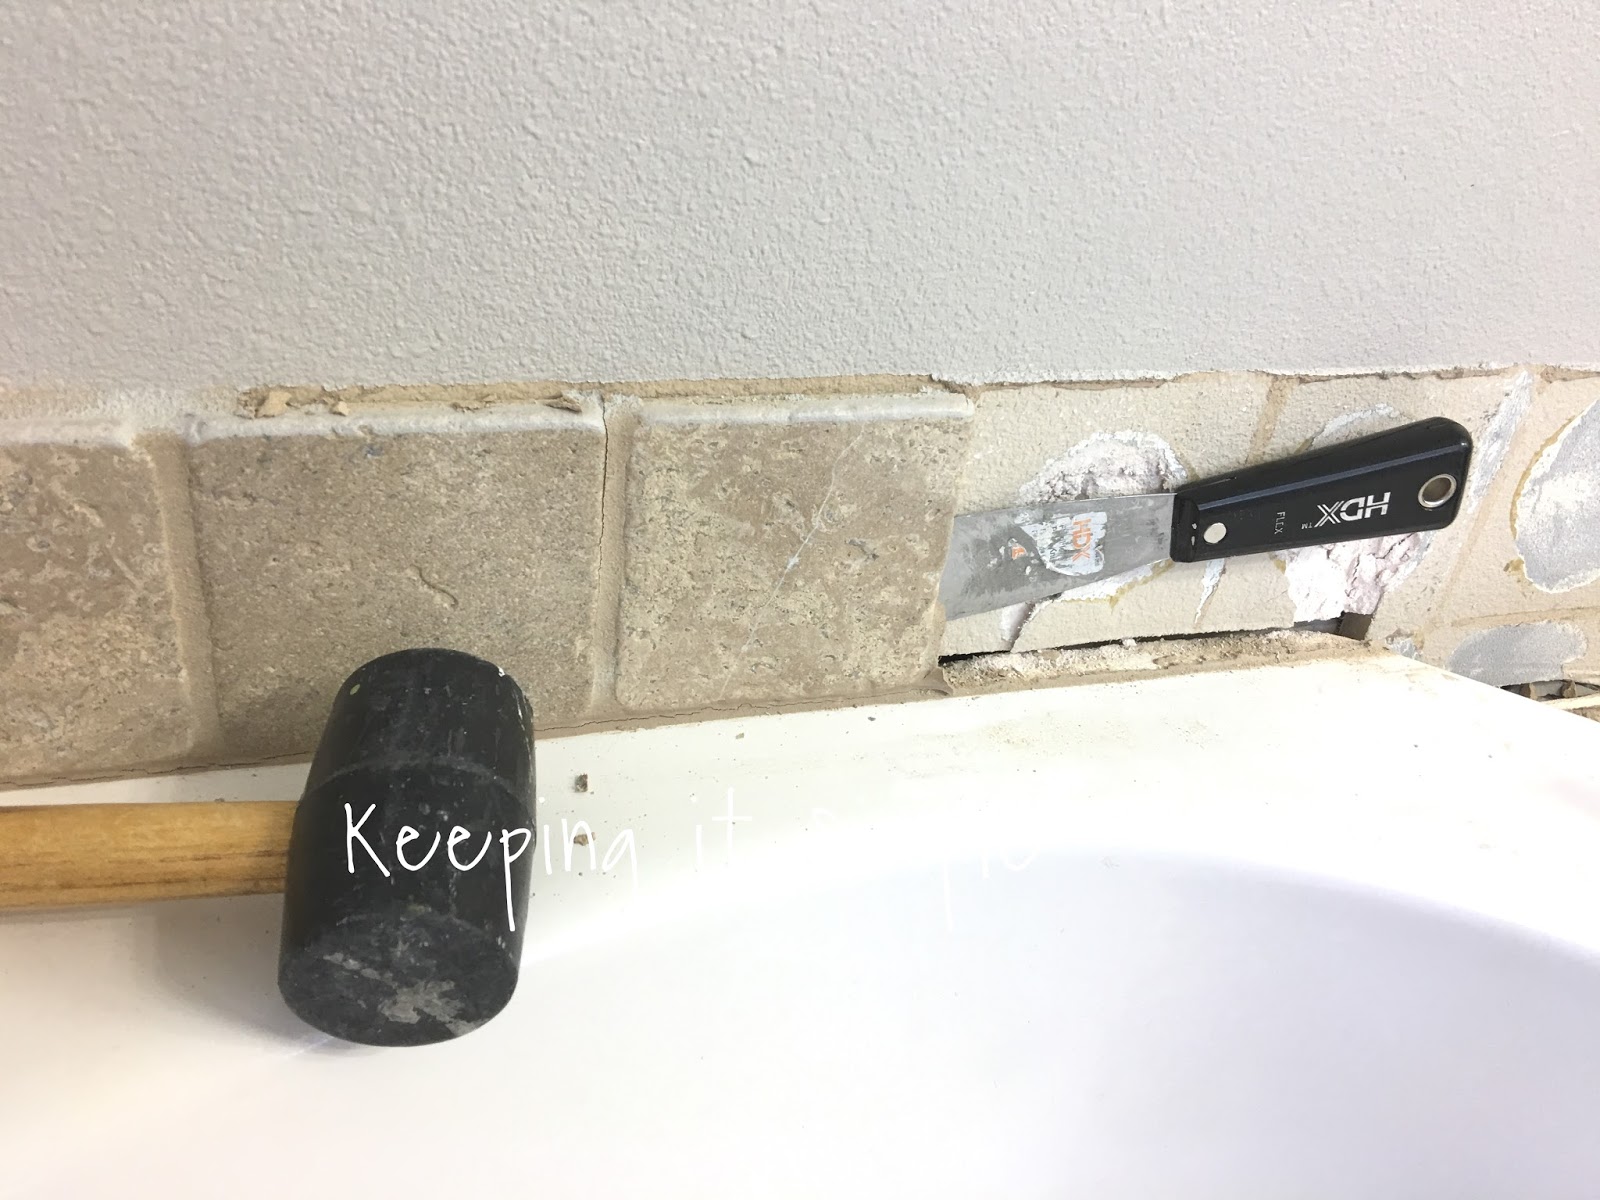
So the first thing we did was take off the awful tiles (I was never a big fan of them!). We used a crowbar and a rubber mallet.
We took everything off, including the backer board that was on it.
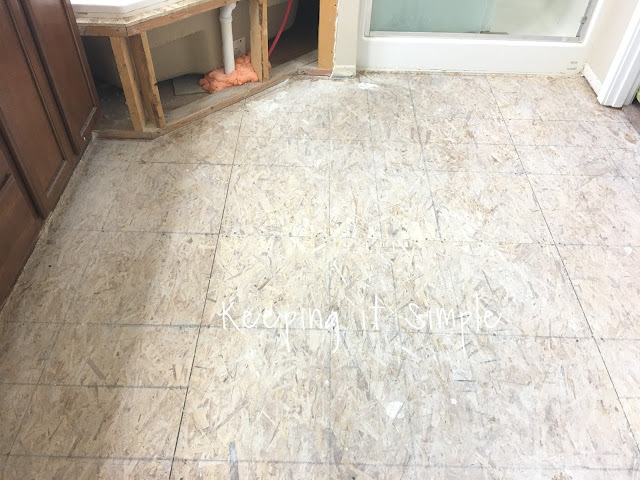
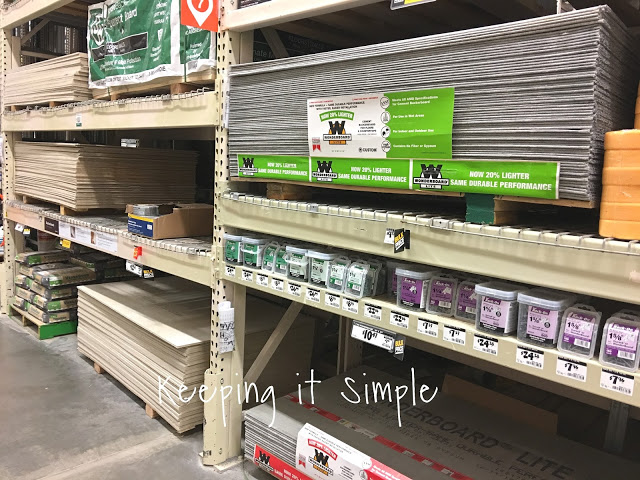
Now for the backer board.
This is what you’ll need:
1/2″ backer board
1 1/4″ backer board screws
Mesh Tape
Thin set mortar
Utility knife or scoring tool
Cement Mixer for drill
Bucket
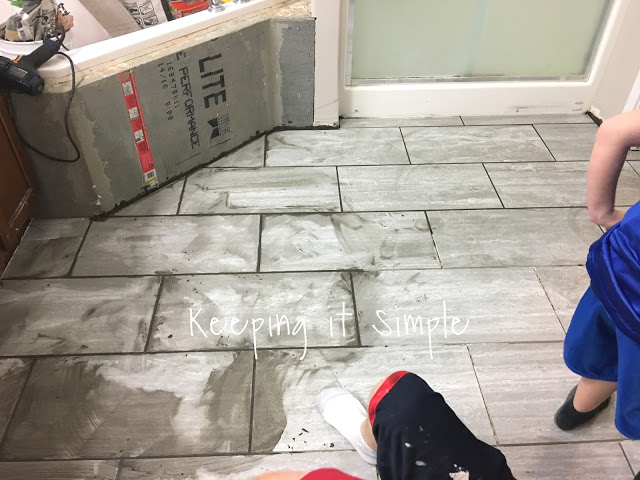
What you have to do
Before you put the backer board on you will want to measure it and then with the utility knife you can score the backer board and then on a flat surface break the piece off. Then using the backer board screws, screw the backer board onto the 2x4s on the tub. Then with the mesh tape, tape the seams and then cover the tape with the mortar. I didn’t take a ton of pictures because we were doing it the same time as the floor, so check out my tile flooring post to see more details about backer board.
Once the backer board was on and set, I started on the tiles on the wall. I just used a putty knife and a rubber mallet.
Now time to put the tiles on. The mortar on the backer board has to set for 24 hours before you tile.
This is what you’ll need for the tiles
Venatino Linear Mosaic tiles
Thin set mortar for wall tiles (we used the pre mixed kind)
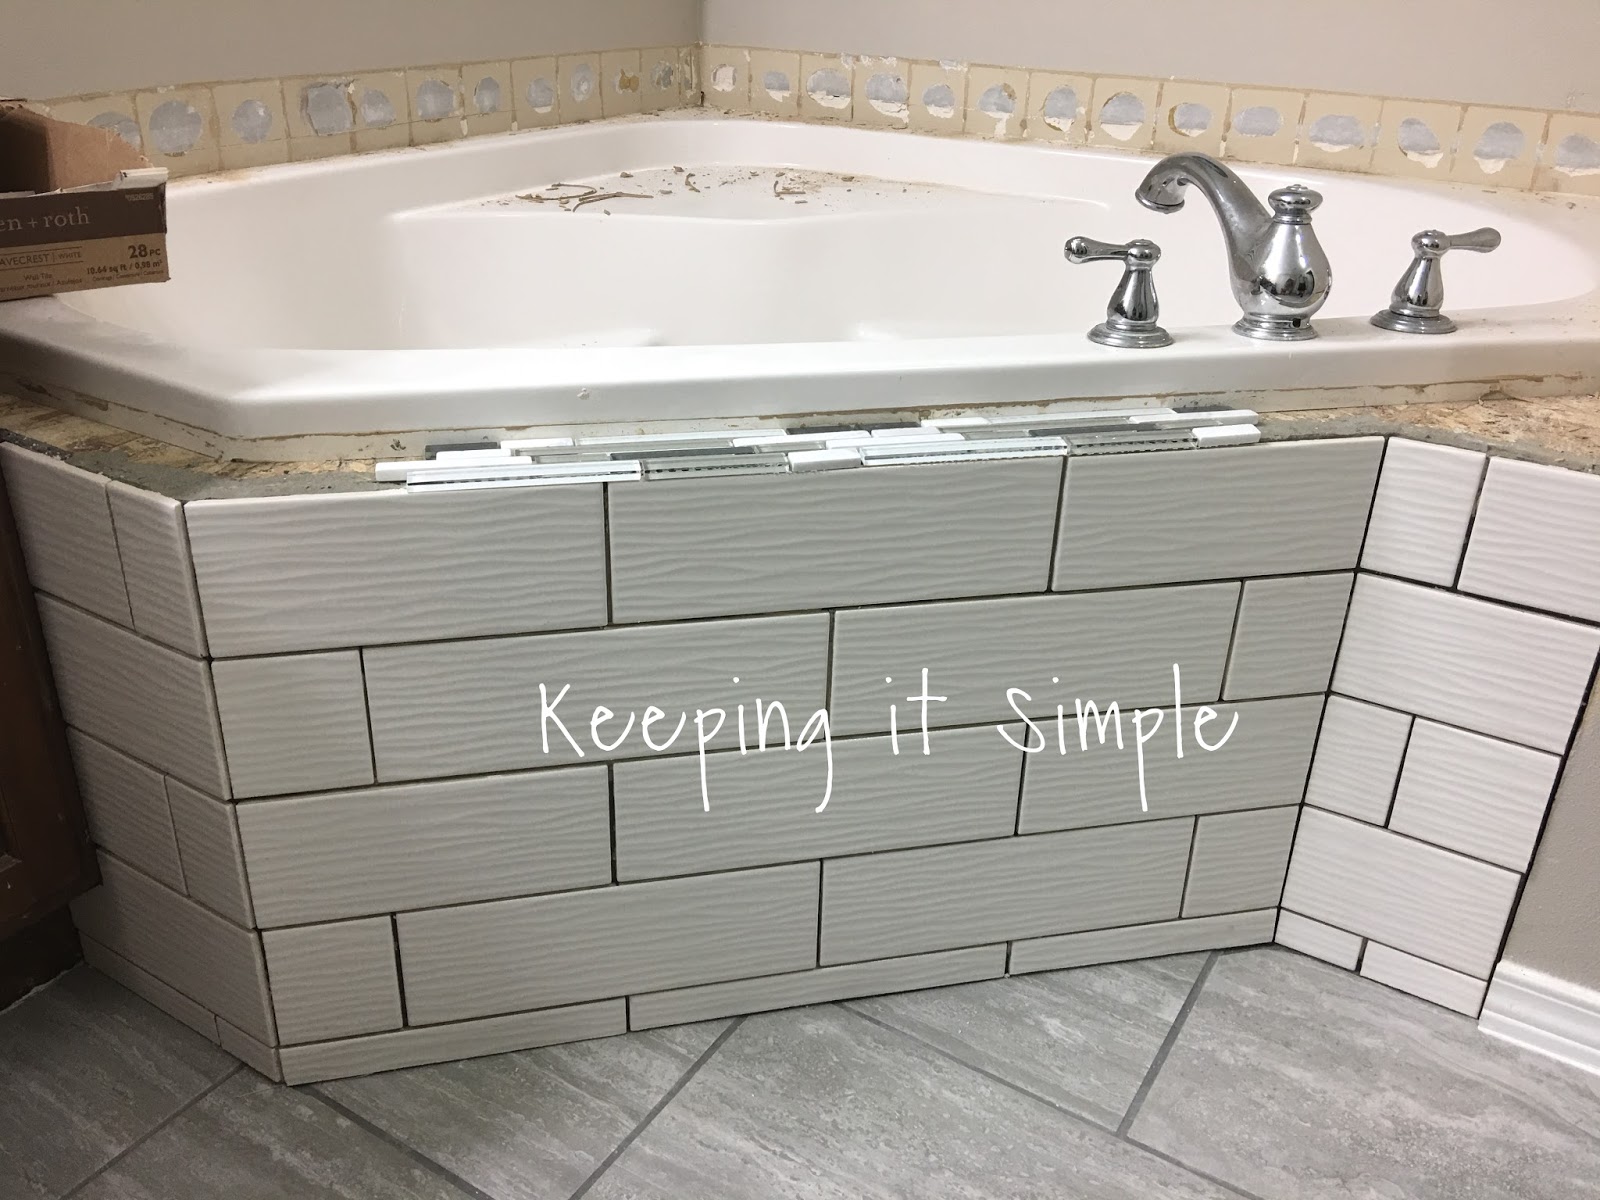
Starting from the center, put a thin layer of mortar with the trowel and then press on the tiles. We did an off set design, so we started from the top and worked down. We put on all the tiles that didn’t need cut on first.
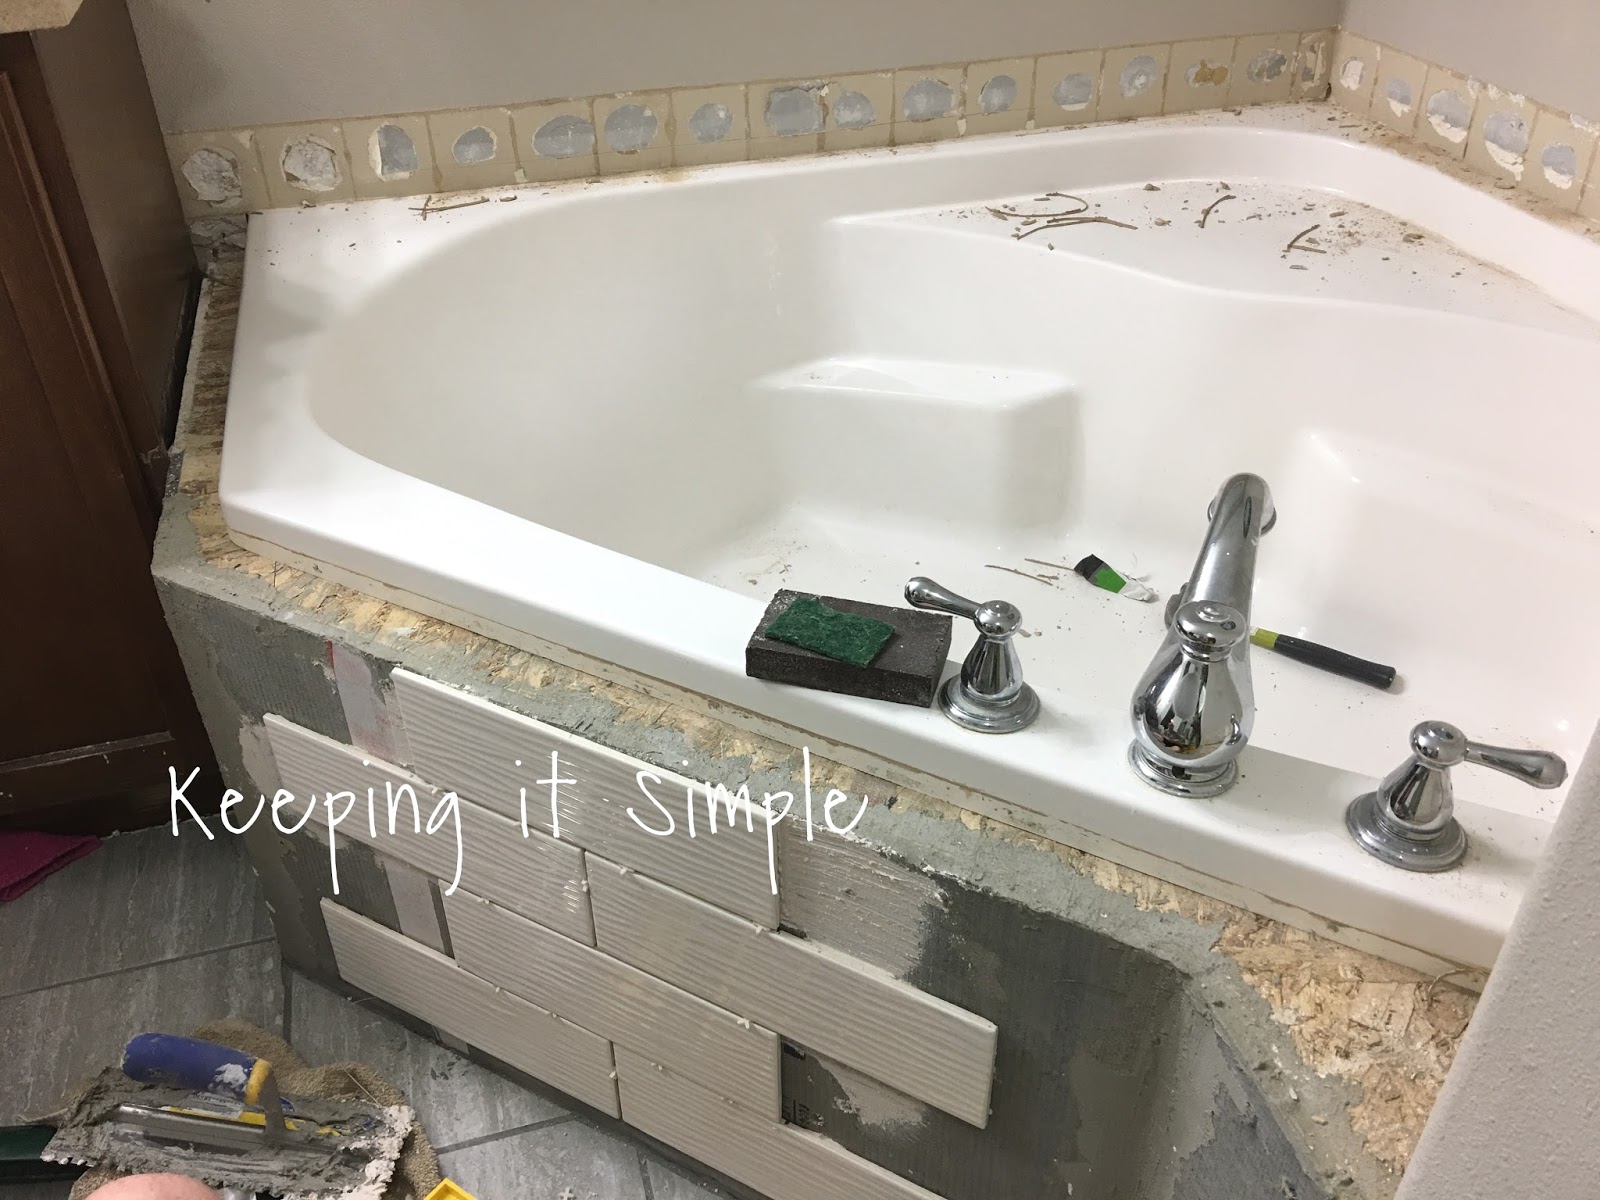
Once all the tiles were on that were full, it was time to start working on the ones that needed cut. You just measure them and then put them on the same way you put on the full ones.

Here is what it looks like with all the of the white tiles, doesn’t it look amazing?!?! I love it!
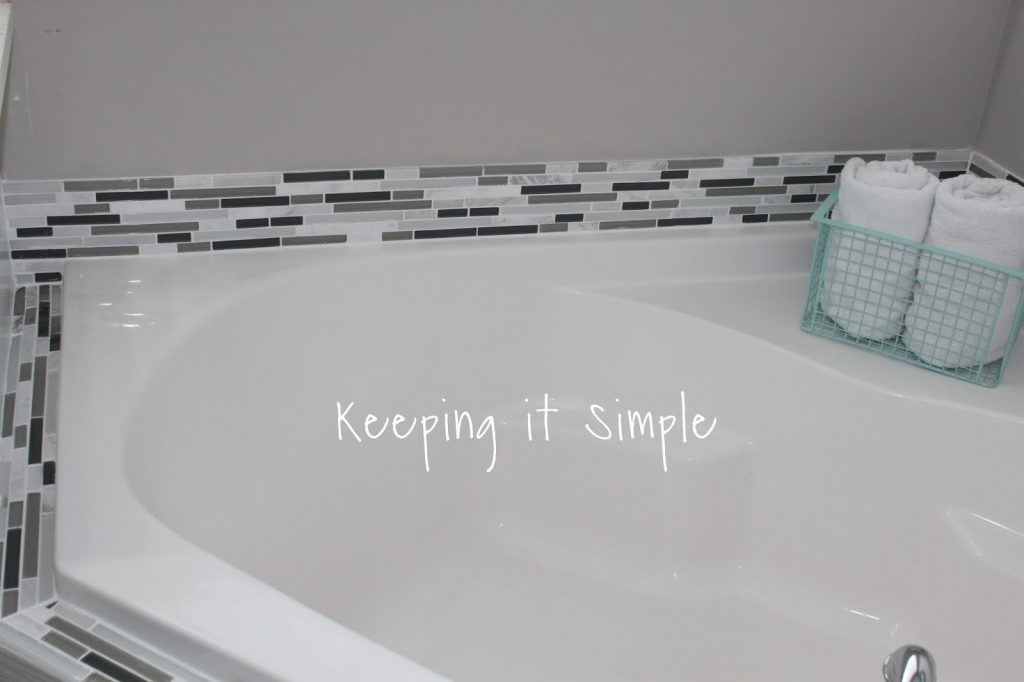
After waiting 24 hours for the mortar to set, we started working on the mosaic tiles. You’ll need the same things as the white tiles.
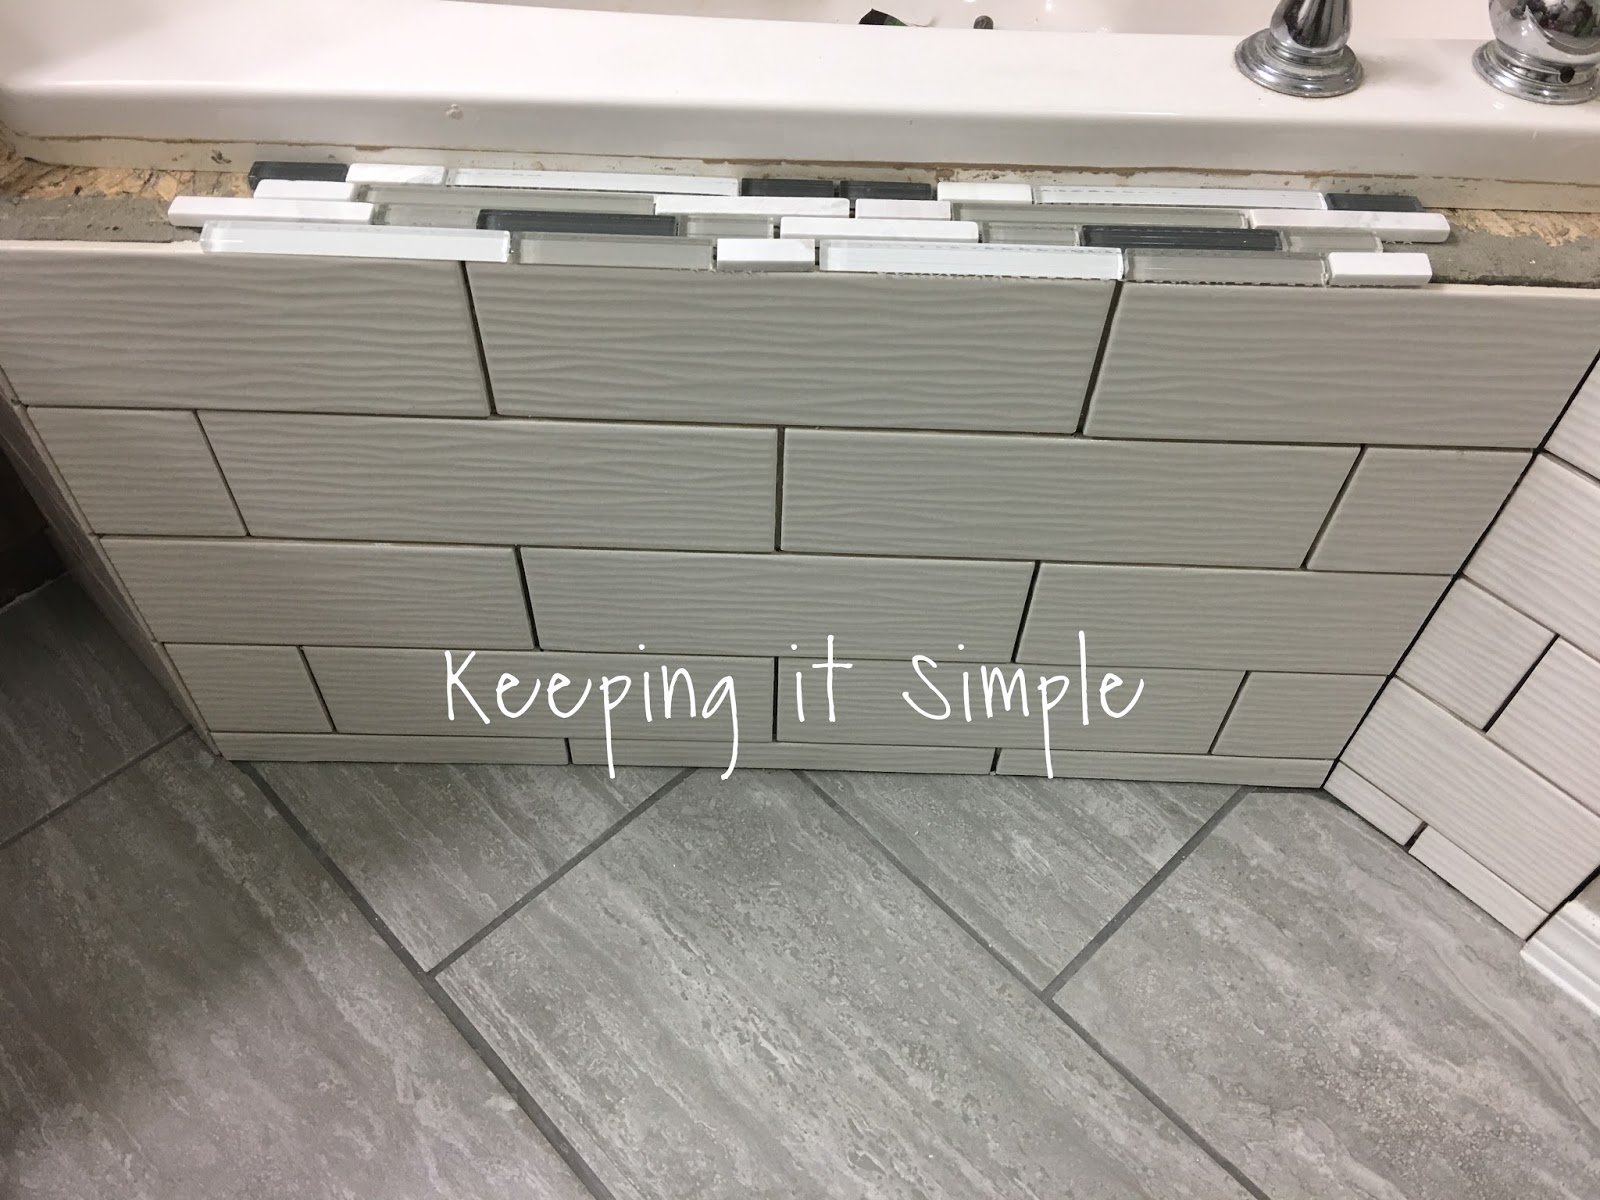
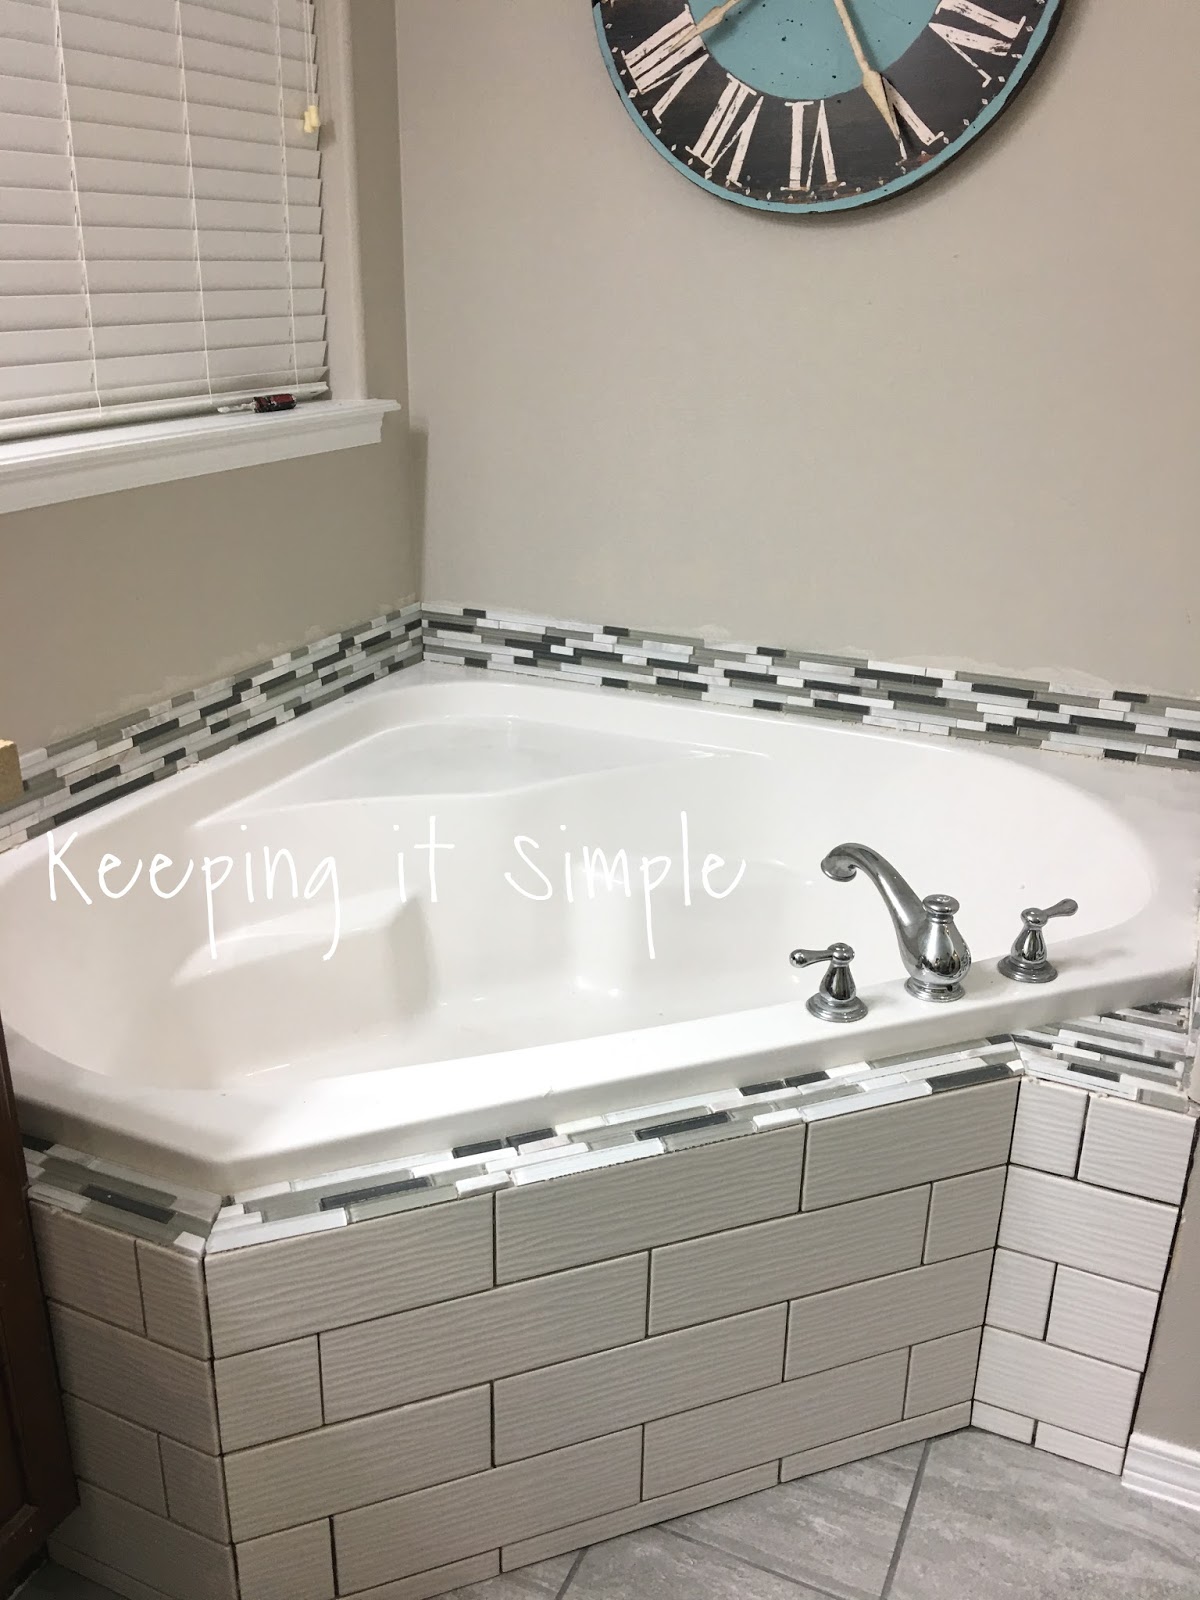
We put the mortar down and put the tiles onto the tub. We decided to have the tiles go with the curve of the bath tub (so the tiles that hit the wall were perpendicular to the tiles that will be on the wall).
We just keep on putting on the tiles (doesn’t it look amazing?!).
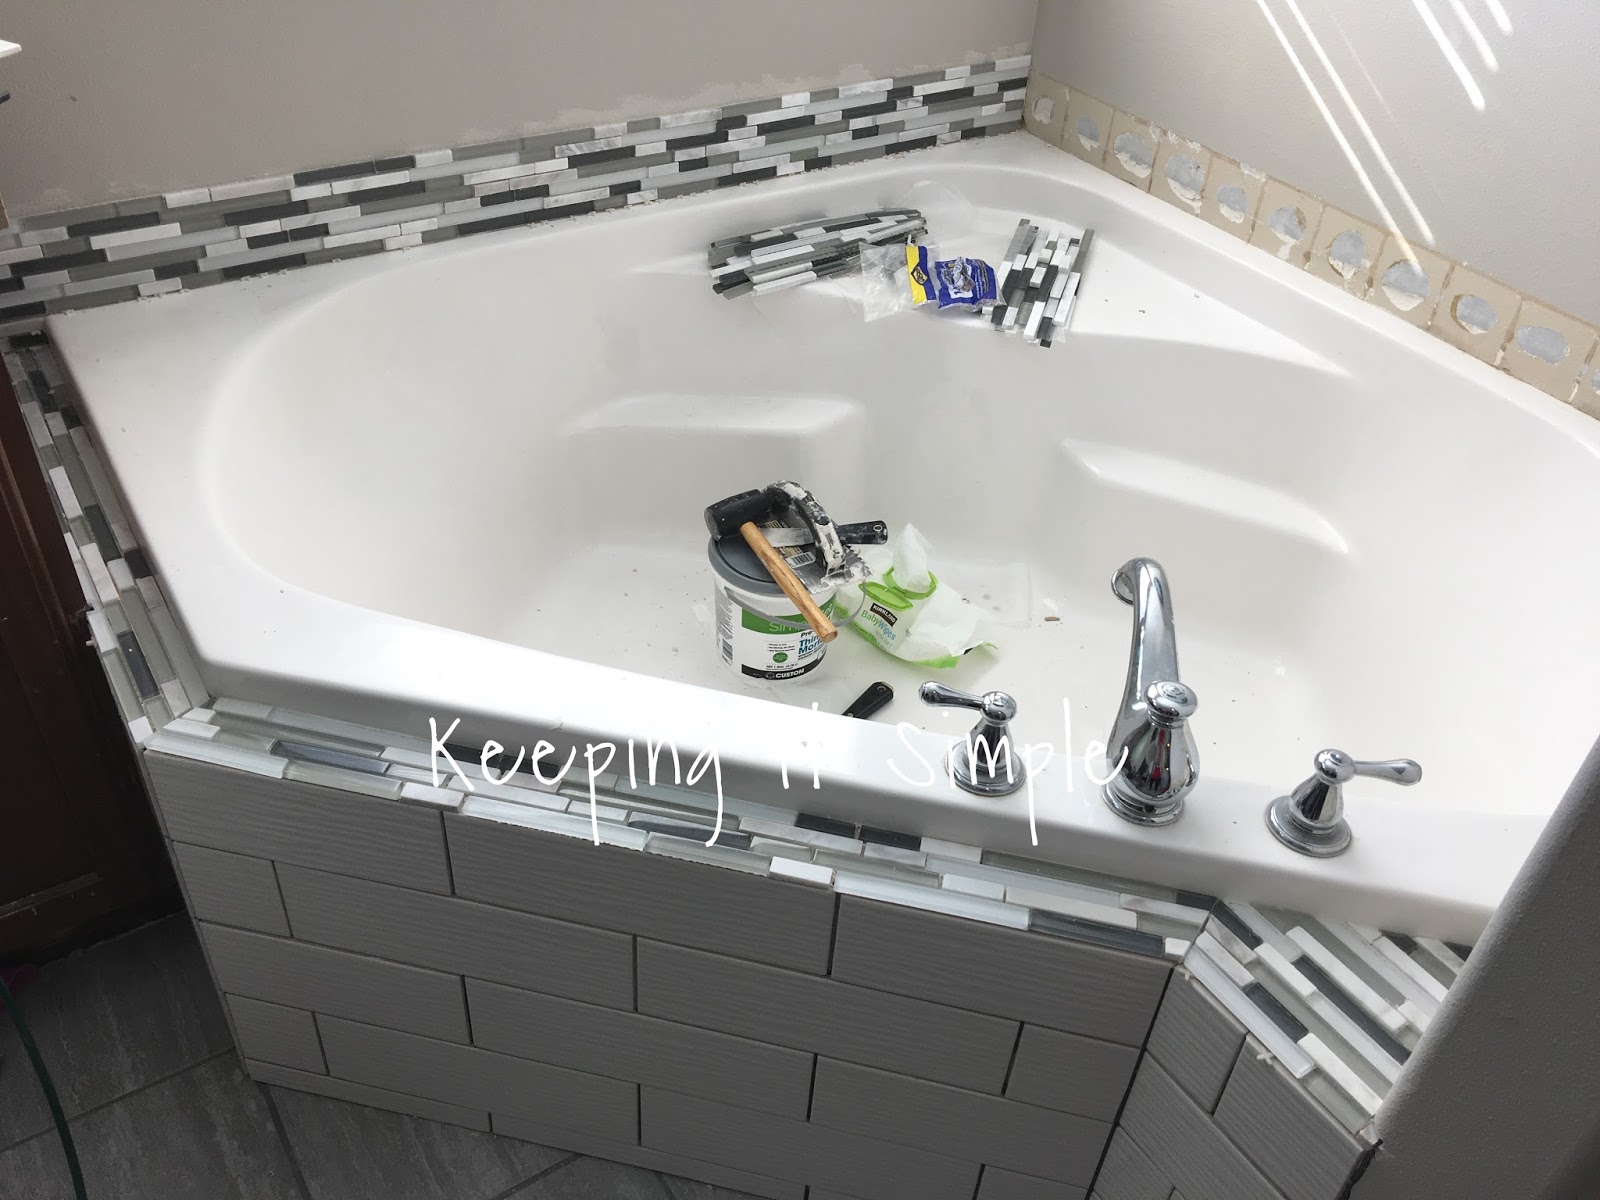
Here it is all done! We waited 24 hours before we put on the grout.
Now for the grout.
This is what you’ll need for the grout:
White grout (we did not get sanded grout)
Rubber grout trowel
Sponges
Buckets (one for grout and several for water to put sponges in)
This is what you’ll need for the grout:
White grout (we did not get sanded grout)
Rubber grout trowel
Sponges
Buckets (one for grout and several for water to put sponges in)
I didn’t take any pictures of us grouting, but you can see the process here, this is my kitchen back splash with the same tiles. One the grout is dry, we then caulked the edges and then after 3 days we sealed the grout with grout sealer.
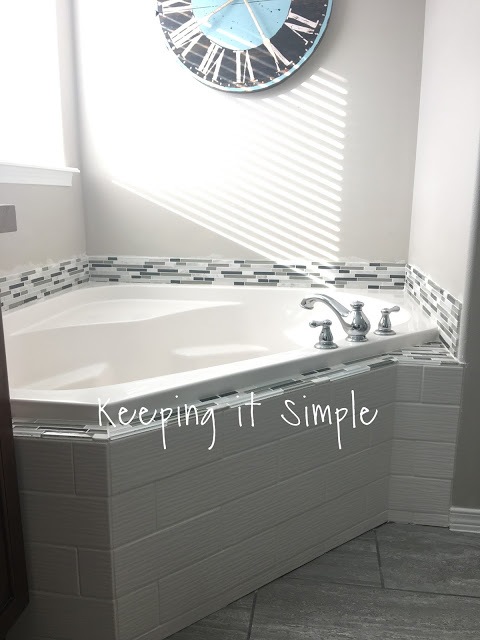
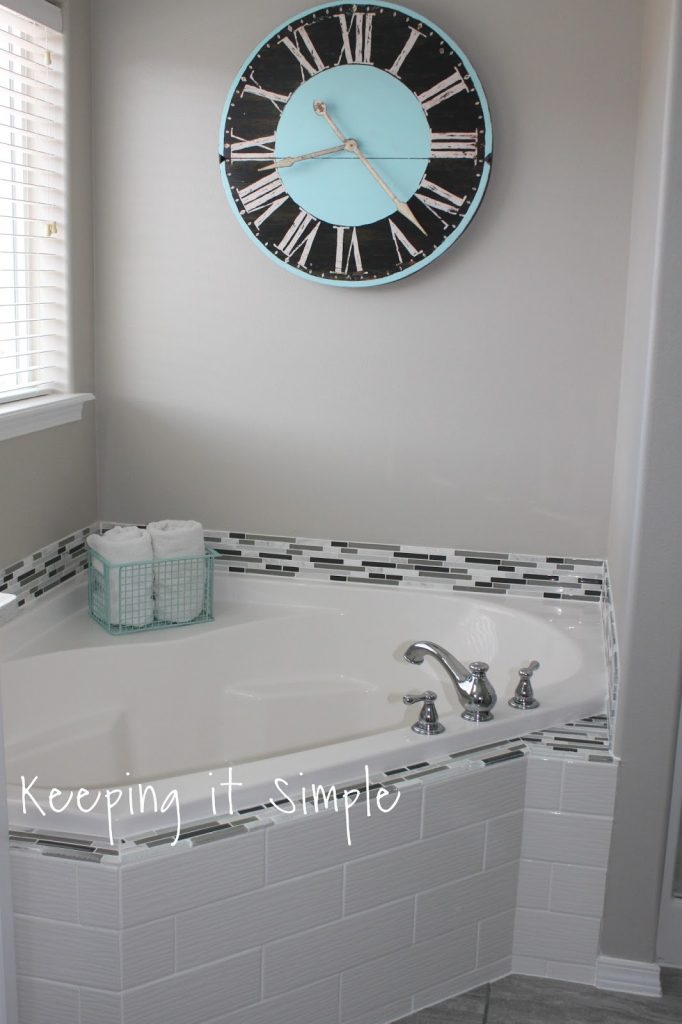
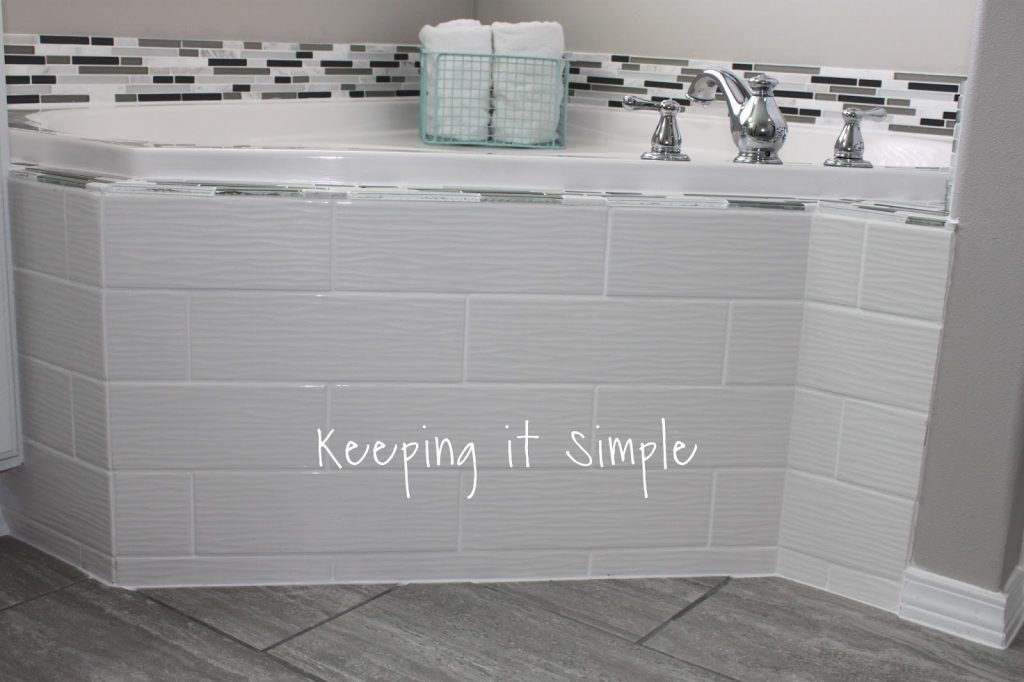
And here is the after!! Doesn’t it look awesome?! I seriously makes me SO VERY HAPPY!! I just love how it turned out!
I absolutely love the waves in these tiles because they give it some glam without being too distracting.
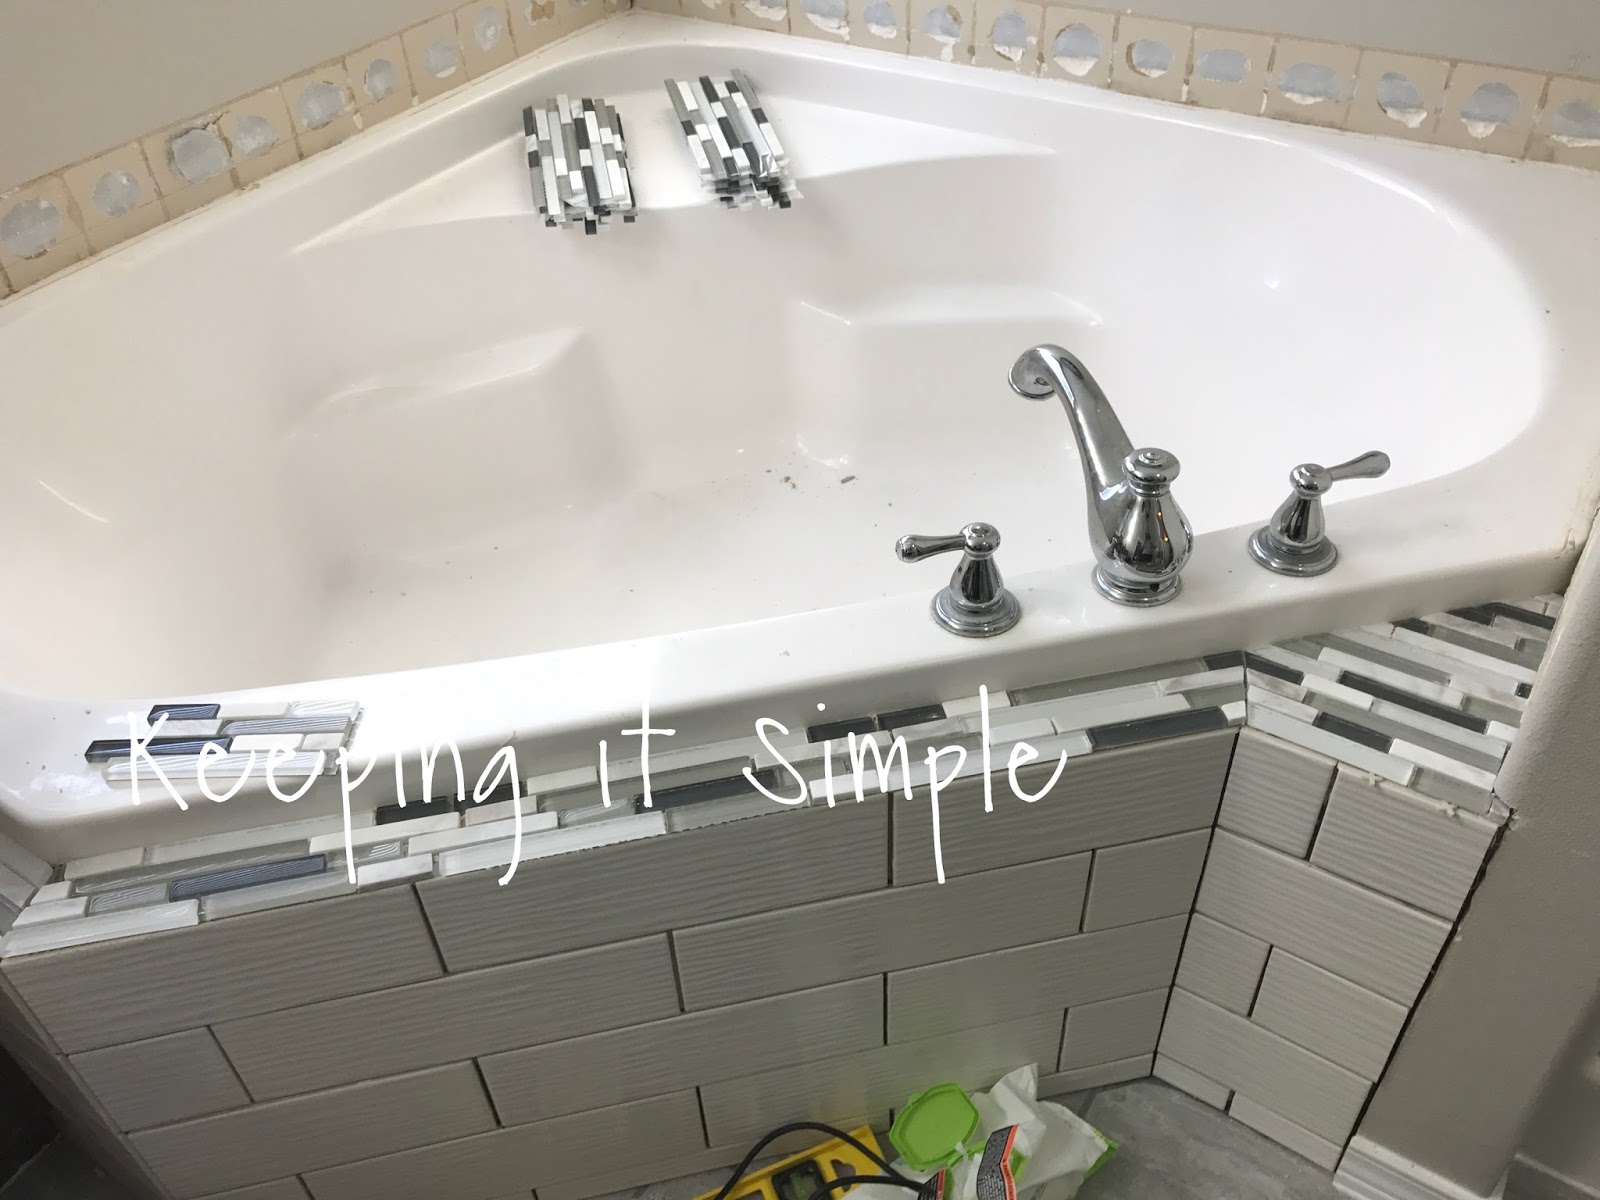
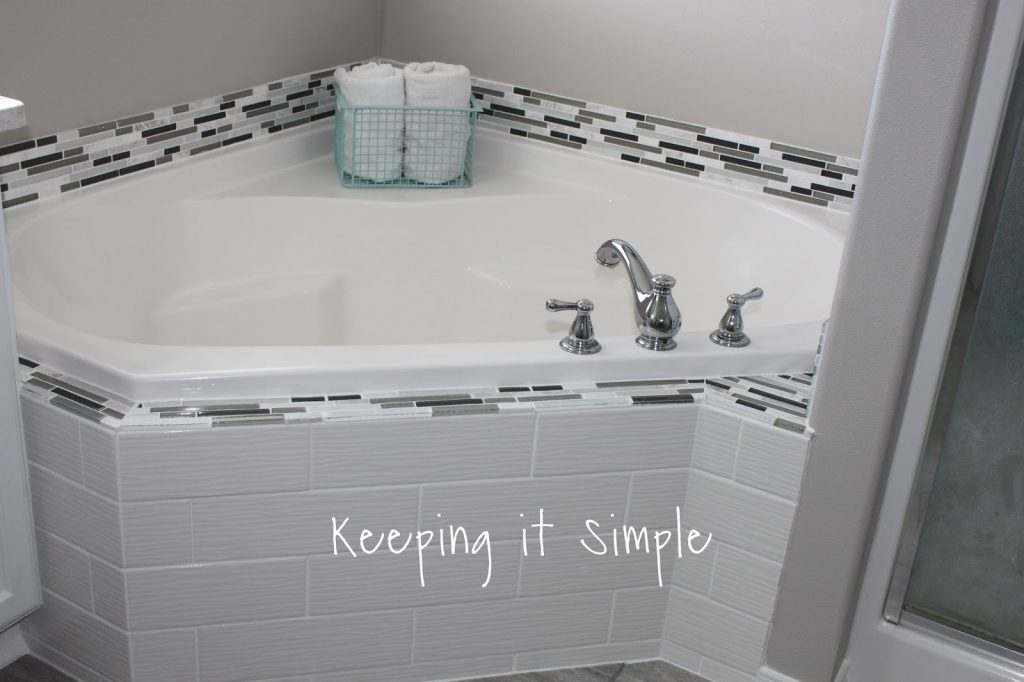
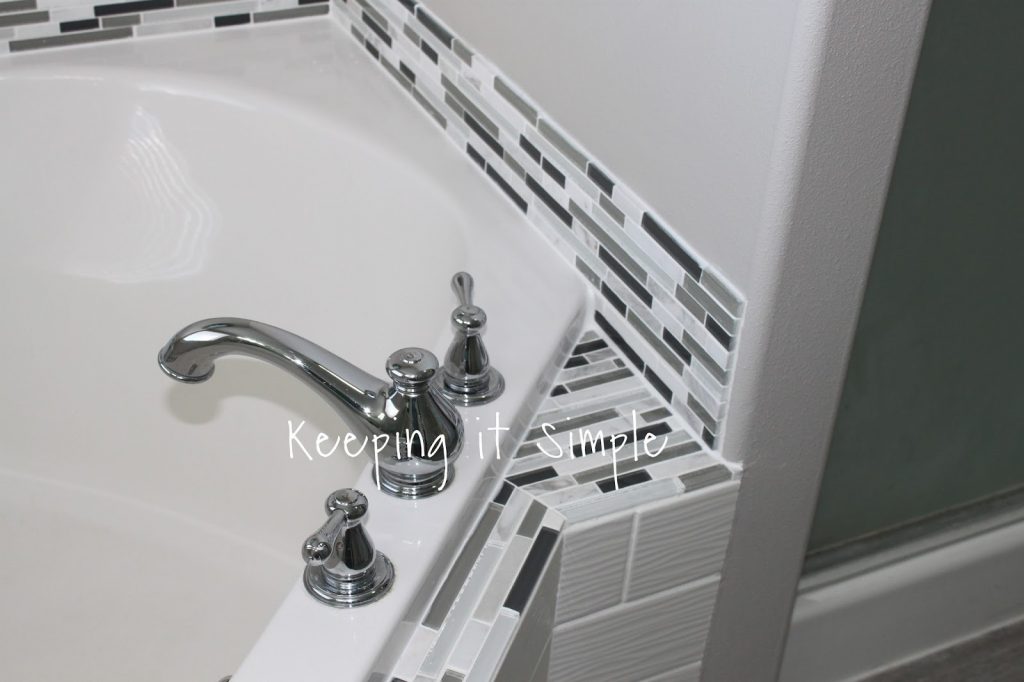
Here is what the corner looks like.
And here is the other corner, both sides the tiles make a 90* angle with the tile on the walls.
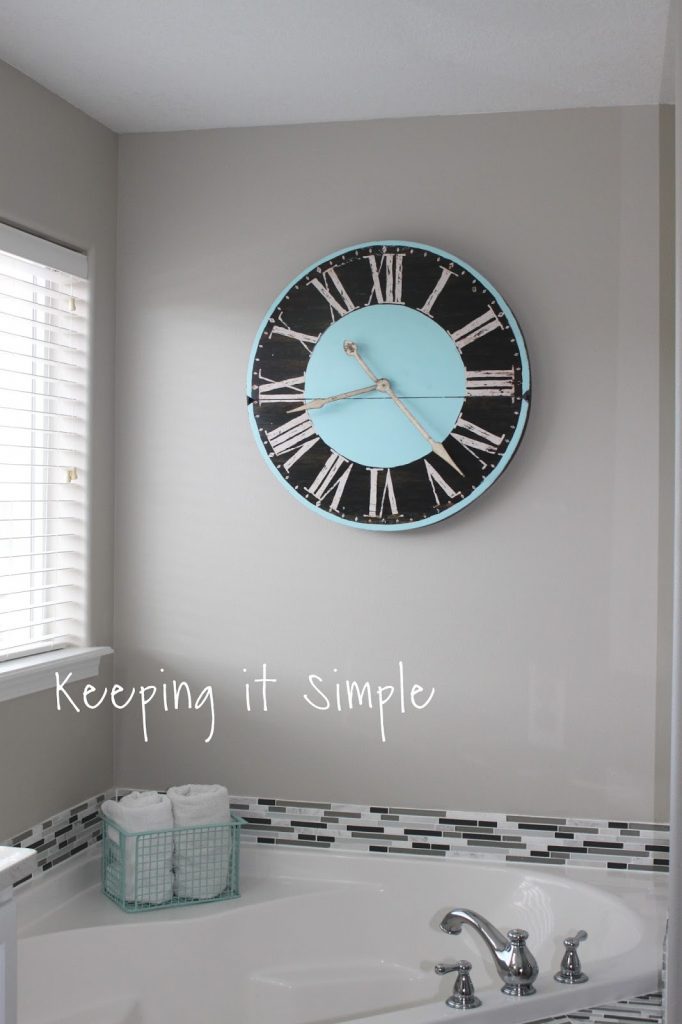
I also painted the walls and the ceiling. I used Worldly Gray from Sherwin Williams for the walls and then just a white paint in a flat finish for the ceiling (I didn’t mix the color, just used the white base color).
Make sure to check out the rest of my bathroom remodel. Here is what the vanity looks like now and of course how I installed the tile flooring. And if you want to see the whole thing, check out my master bathroom reveal.
Here are a few more DIY ideas:

Looks so amazing!! And so much brighter!!! Excellent job!!!!!
Great job! One question,though: How do you access the tub's plumbing? Hate the thought of having to rip out your tiles in the event of a leaky pipe.
Thank you for sharing! You did an awesome job! A small suggestion is to add hardware to your stunning white cabinets to achieve a completed professional designer look. Enjoy your "spa" often and relish in the joy of a job well done.
Thank you for sharing. Your master bathroom suite project turned out awesome! The colors you chose are beautiful and timeless; in addition to creating a fresh and classic look.
I have only one small suggestion. I would put some hardware on your cabinets' drawers and doors to achieve that completed professional designer look. Enjoy your "spa" often and relish in the joy of a project well done!