Hi Keeping it Simple readers!
Today I’m going to show you how to do a blind hem with your sewing machine. It’s really easy, and really worth it to give your garments a professional finish.
First, to see if your machine can do one, look for a stitch that looks like this:

In my case it’s on a fashion disc that I change out of my machine, but most newer machines will have this stitch as well.
I’m going to show you this hem on a pair of pants. Start by pressing your hem, making sure that the raw edge is turned under at least 1/2″. Baste the hem in place with a seam allowance 1/4″ from the top of the hem.
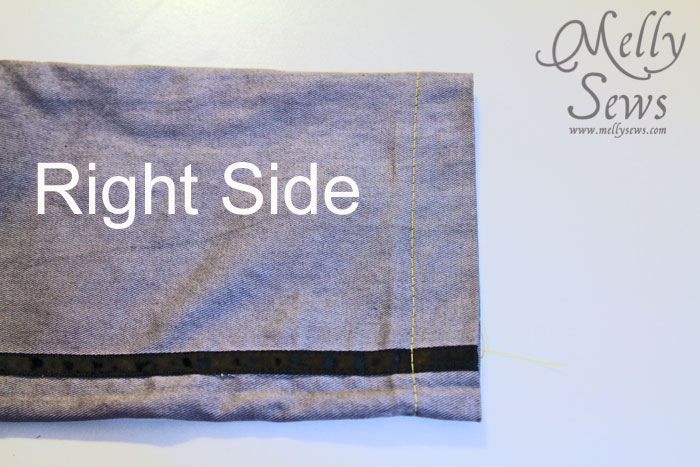
Fold the hem to the right side, so that you can see the 1/4″ seam allowance sticking out.

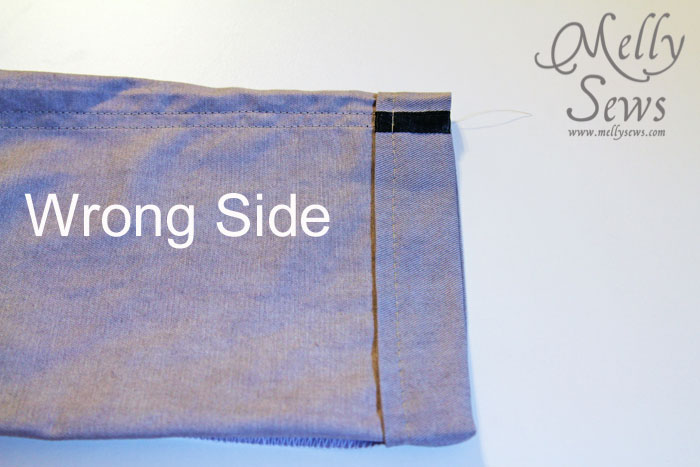
You’re going to line the hem up in your machine so that the straight stitch part of the stitch lands on the seam allowance, and the needle will barely go onto the pants when it zig-zags to the left. Use your fly wheel to make sure you can line your needle up precisely when it goes to the left.

Sew around the hem. If you choose to backstitch make sure you do this on the straight stitch part, not the zig-zag part. Go slowly as you sew around, making sure not to zig-zag too far to the left.
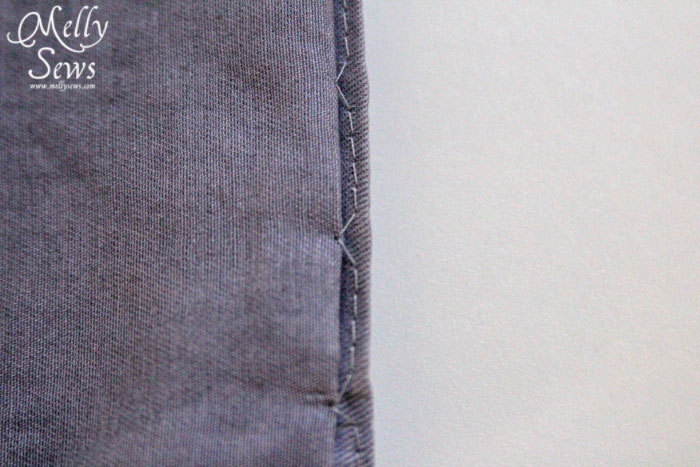
Your stitching will look like this inside.
Remove the basting stitches and press the hem again. This is the final result from the outside.
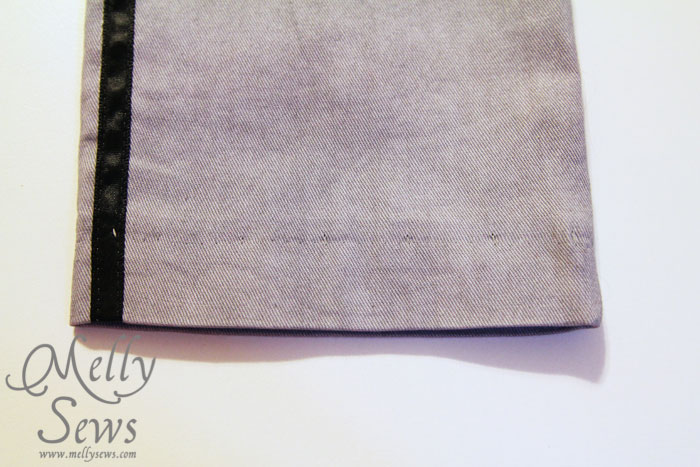
And a close up – you can barely see the stitches, hence, a blind hem.

Thanks for having me!

Thank you so much for this. I've been curious how to do this for a while. I'm just going to have to make something now just to try this out!