I wasn’t planning on doing anything for Easter this year because we will be on vacation that weekend (yay!) and won’t be attending church that day. But then out of the blue, I thought it would be fun if I made ties for the boys and skirts for the girls. So I did just that. At least I decided this a couple weeks before Easter, rather than the week before :).
It actually was really easy and very little sewing on a machine, so anyone can do this!

This is how I made it:
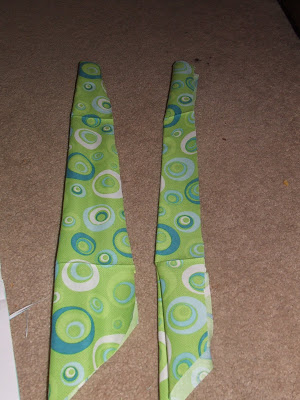
1) I printed out and cut the pattern. I shortened it a little bit to fit my fat quarter. Sometimes it’s not too important to iron your fold, well it is here. You need that line in the middle as a guide. I placed the pattern on the fold and then cut it out. I did this for both front and back of the tie
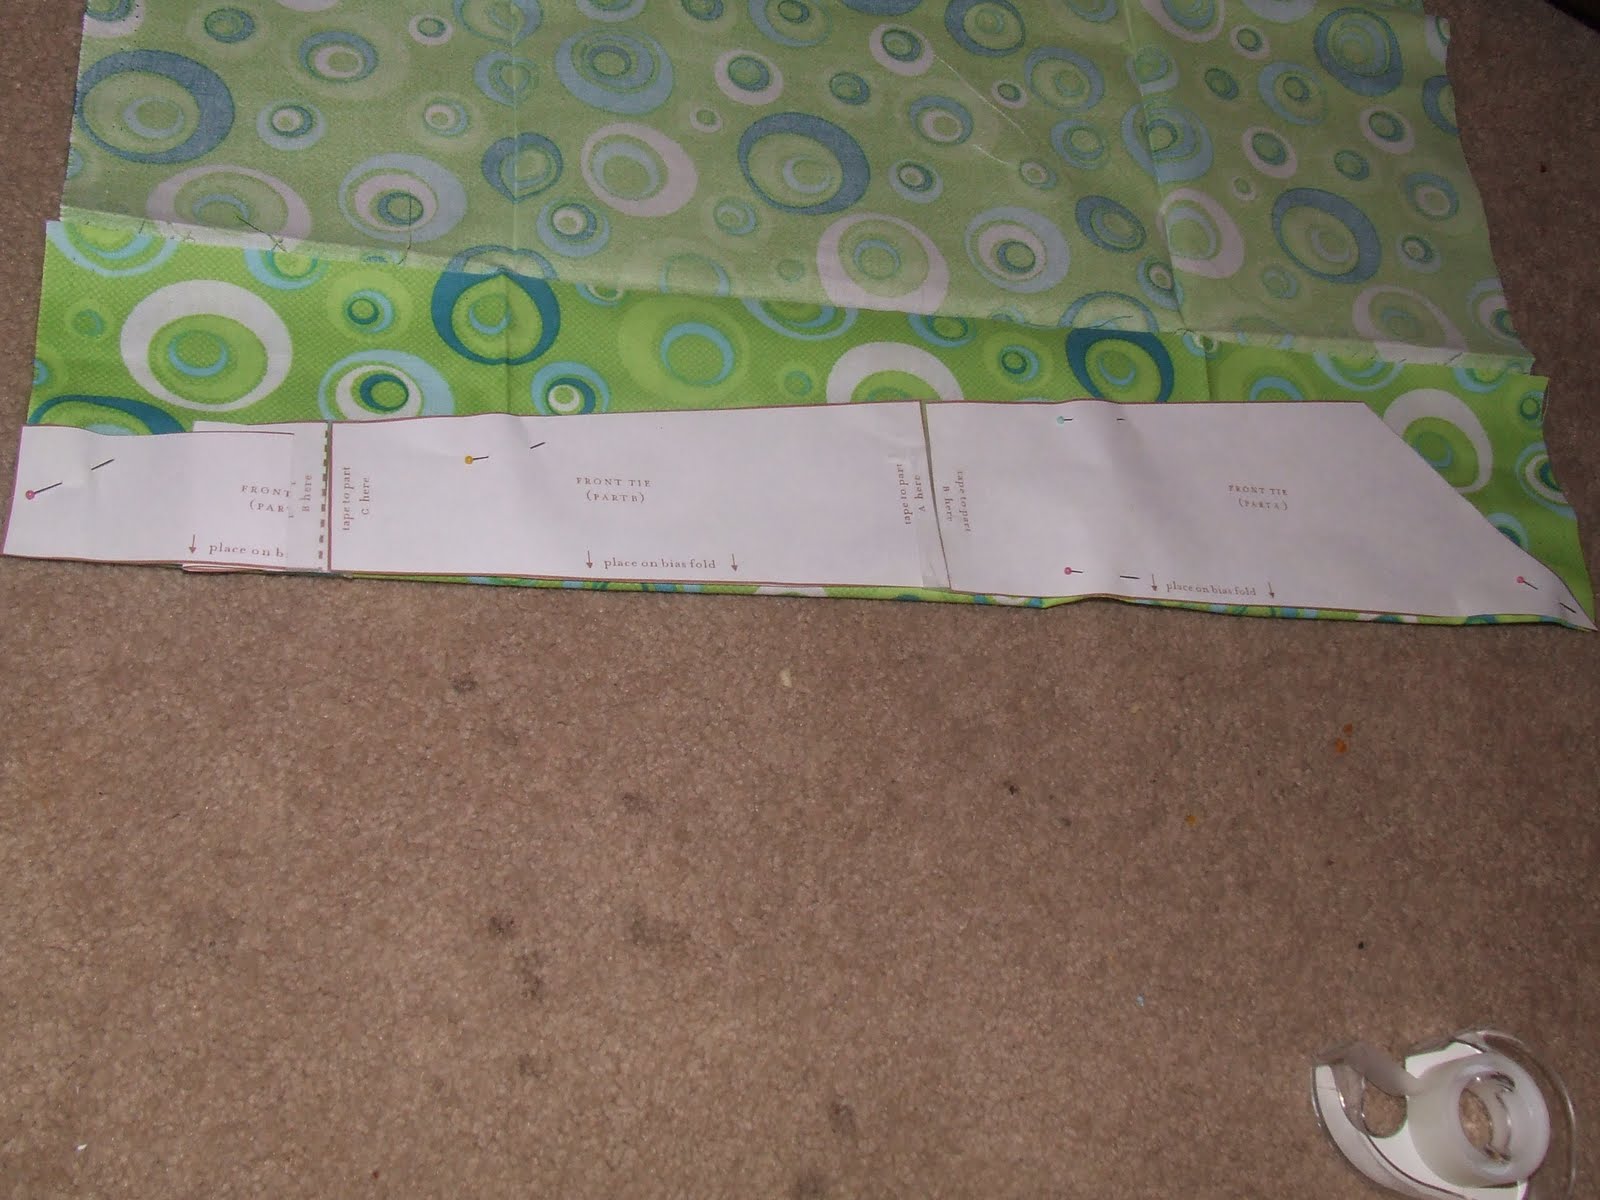
Here are the front and back of the tie…. I didn’t iron it at first, bad me!
2) Then I cut out the lining for the back of the ties. I used the same fabric as the tie.
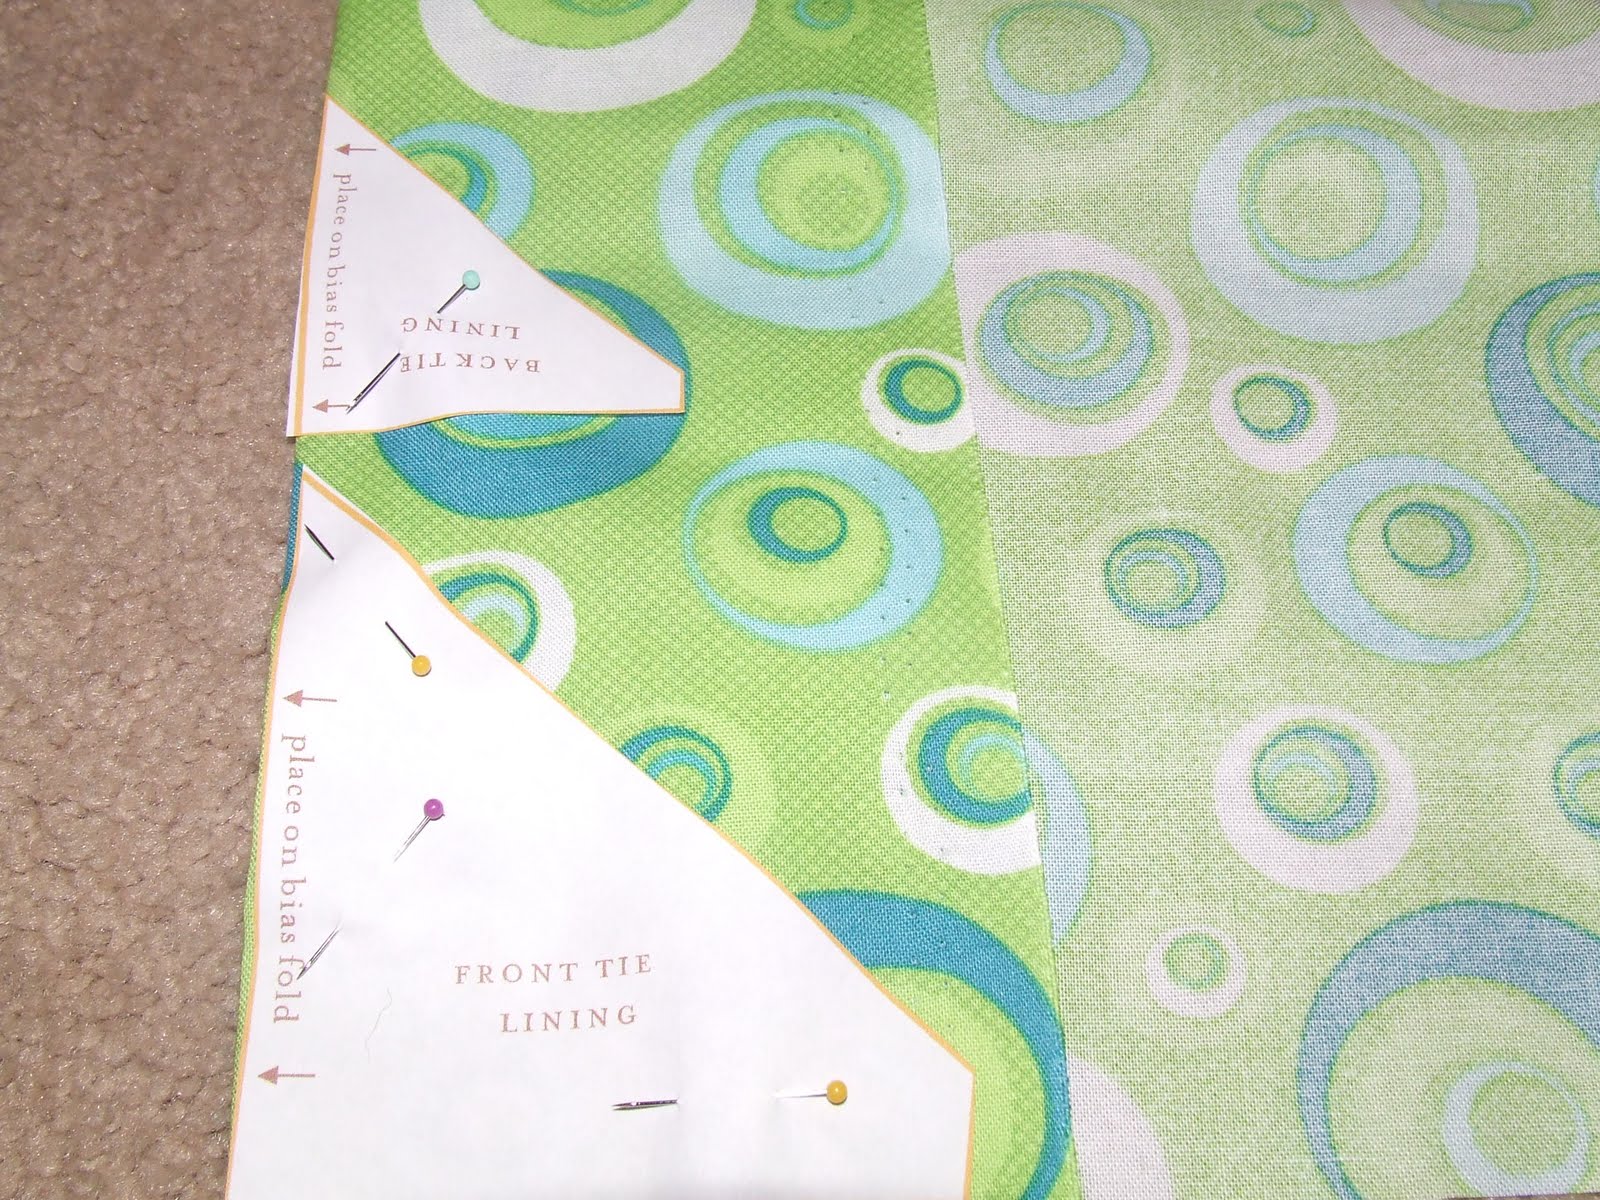
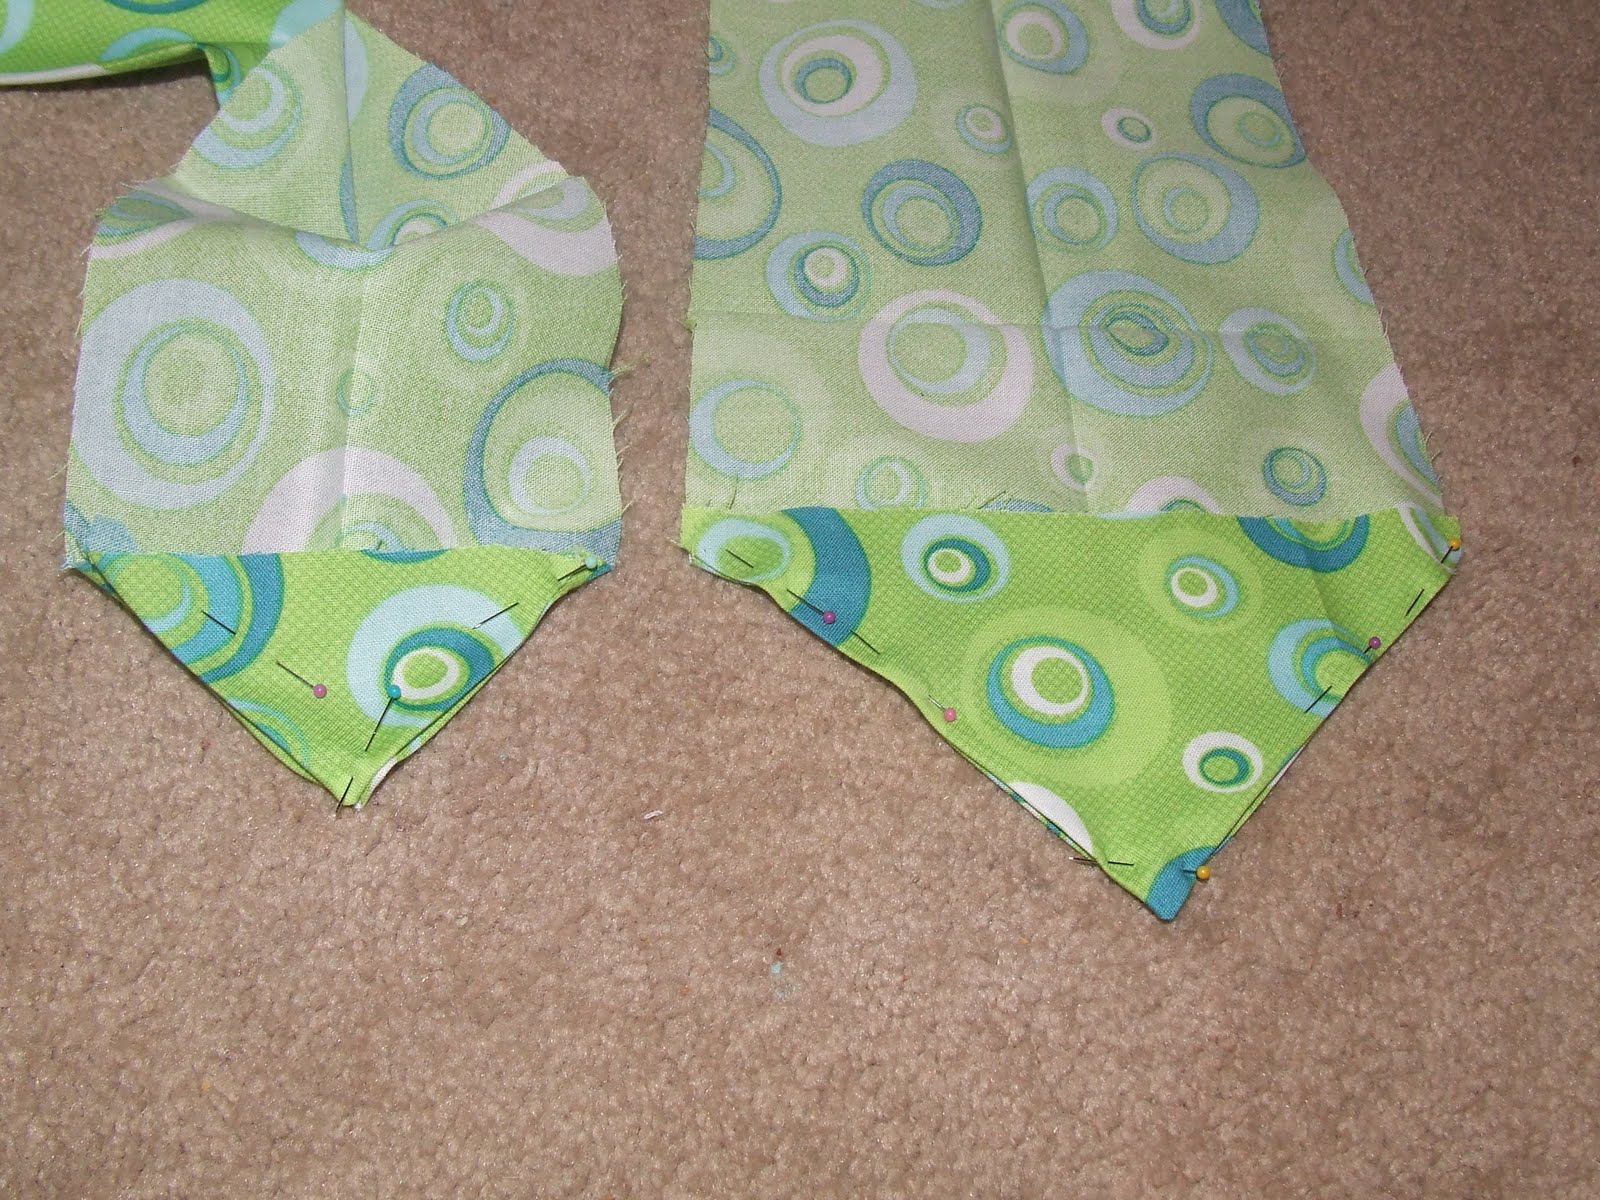
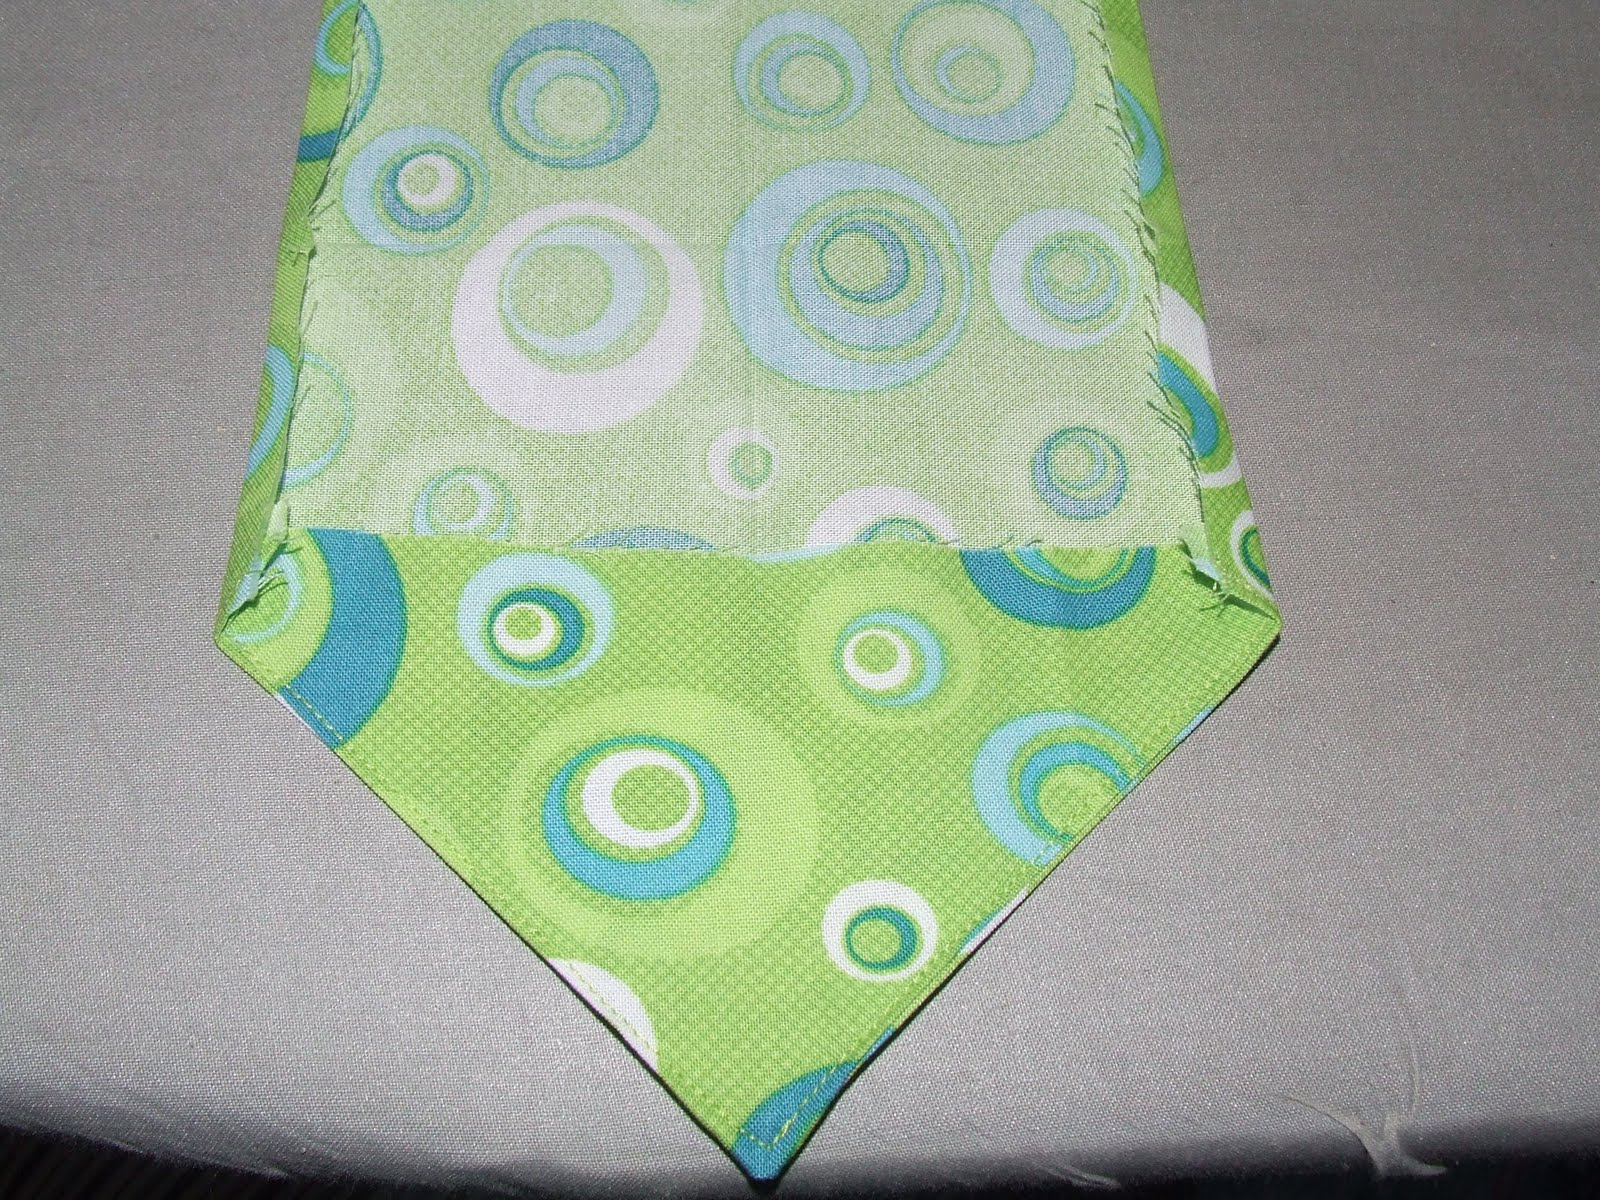
So now you have the front and back of the tie and the lining for the tip of the back of the tie
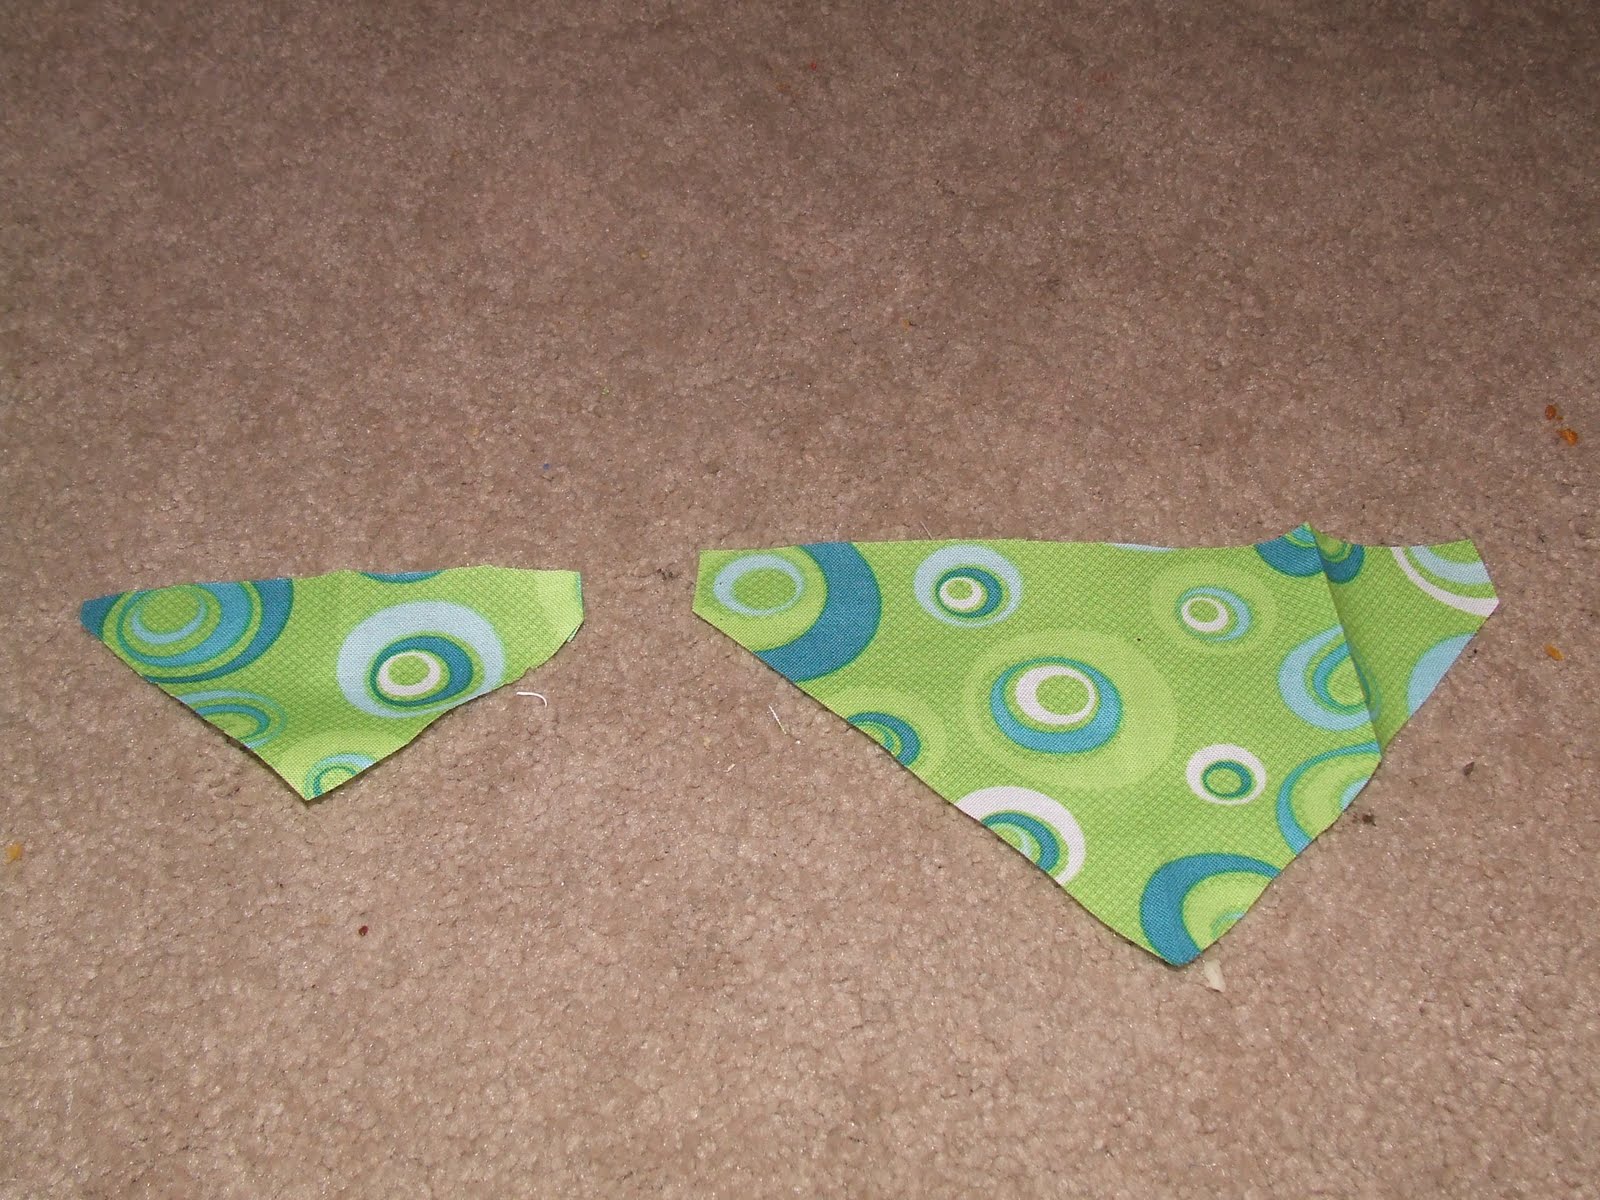
For all 4 of the tips: back and front tie and lining do these next two steps
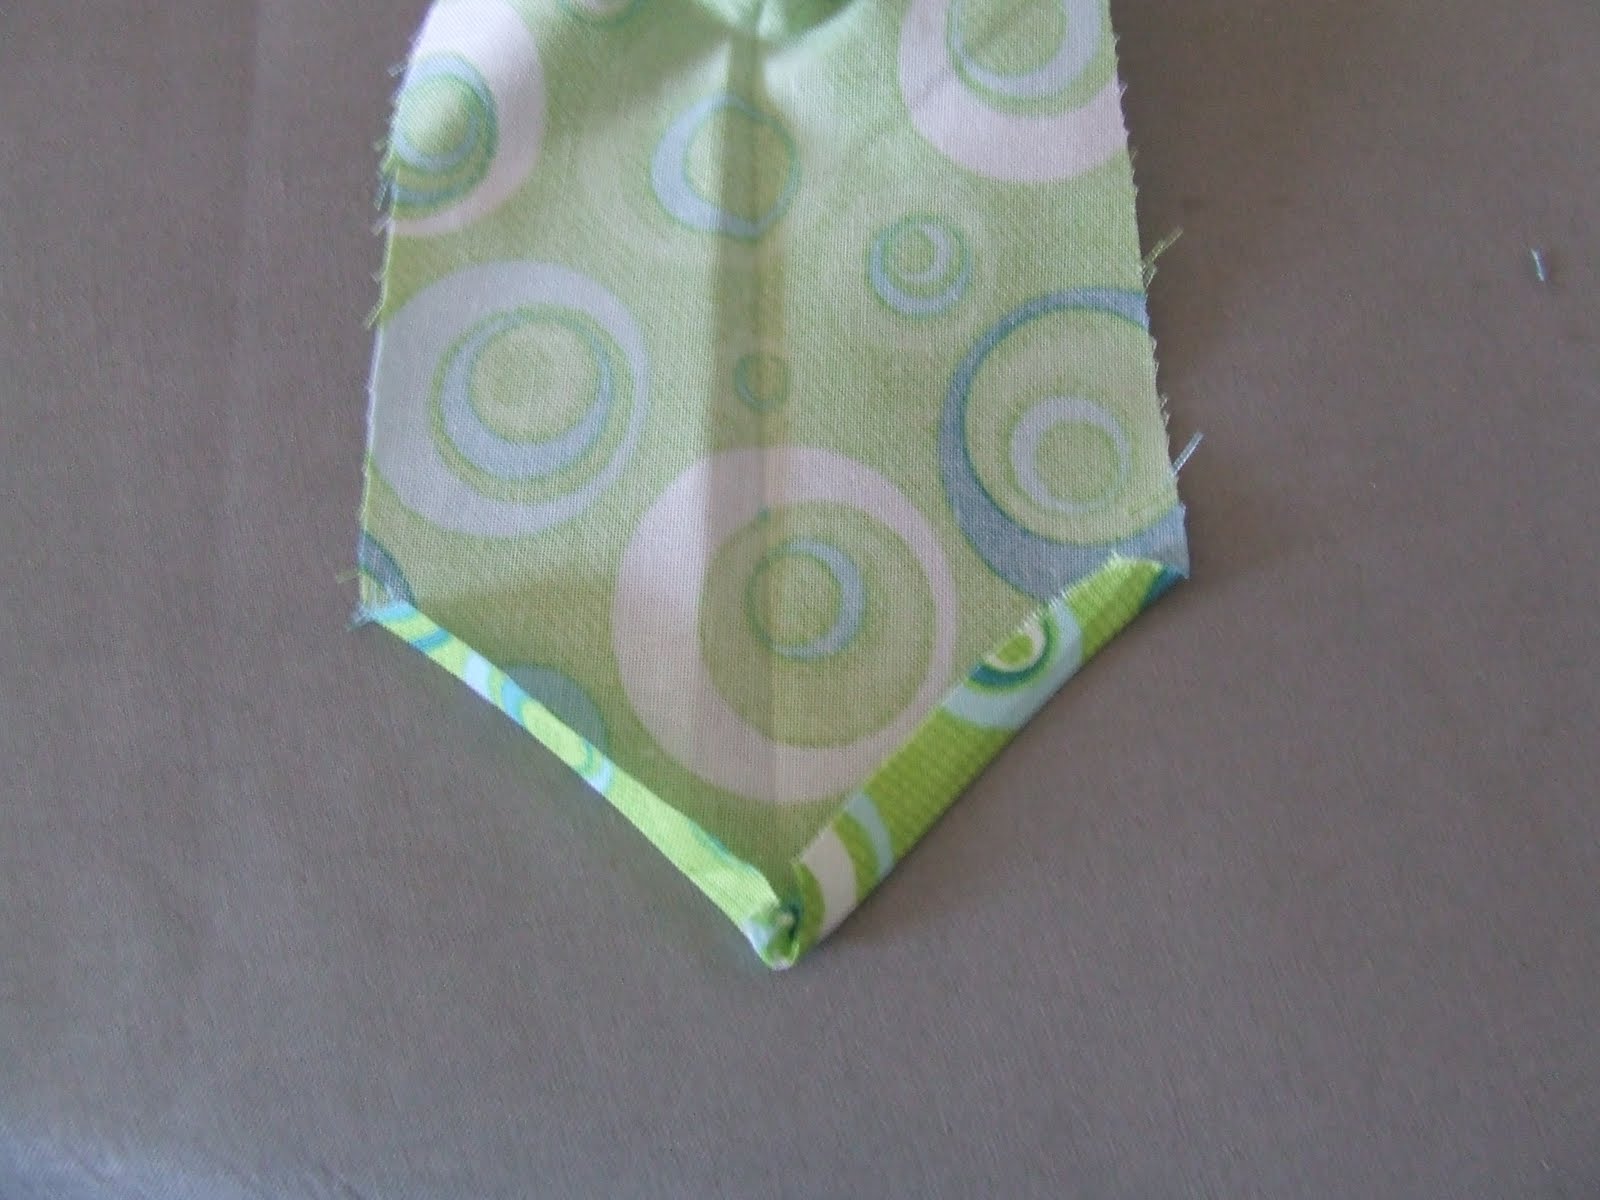
3) I folded the tip of the triangle and ironed it

4) Then I folded 1/4″ of the side. Using the middle line at a guide, I match the two sides together and ironed it.
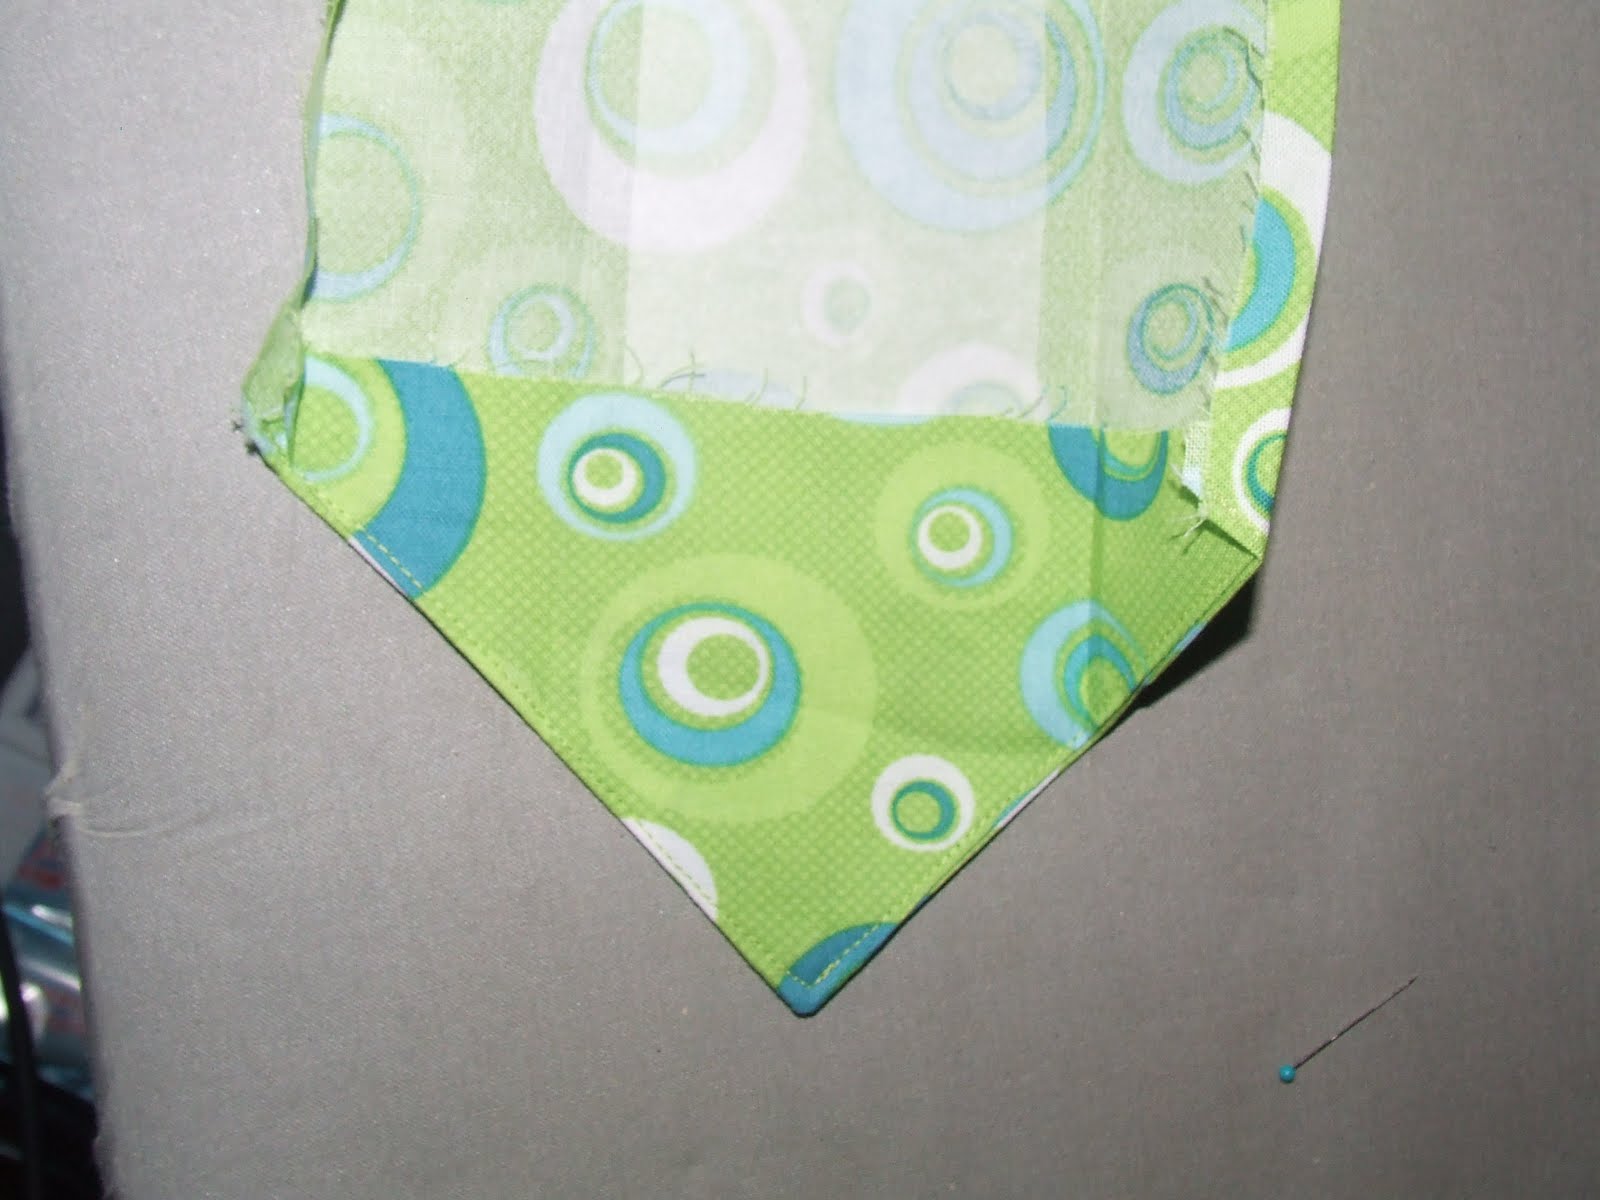
5) After doing that to all 4 sides, I then put the linings and the ties together. I pinned them and sewed them together.
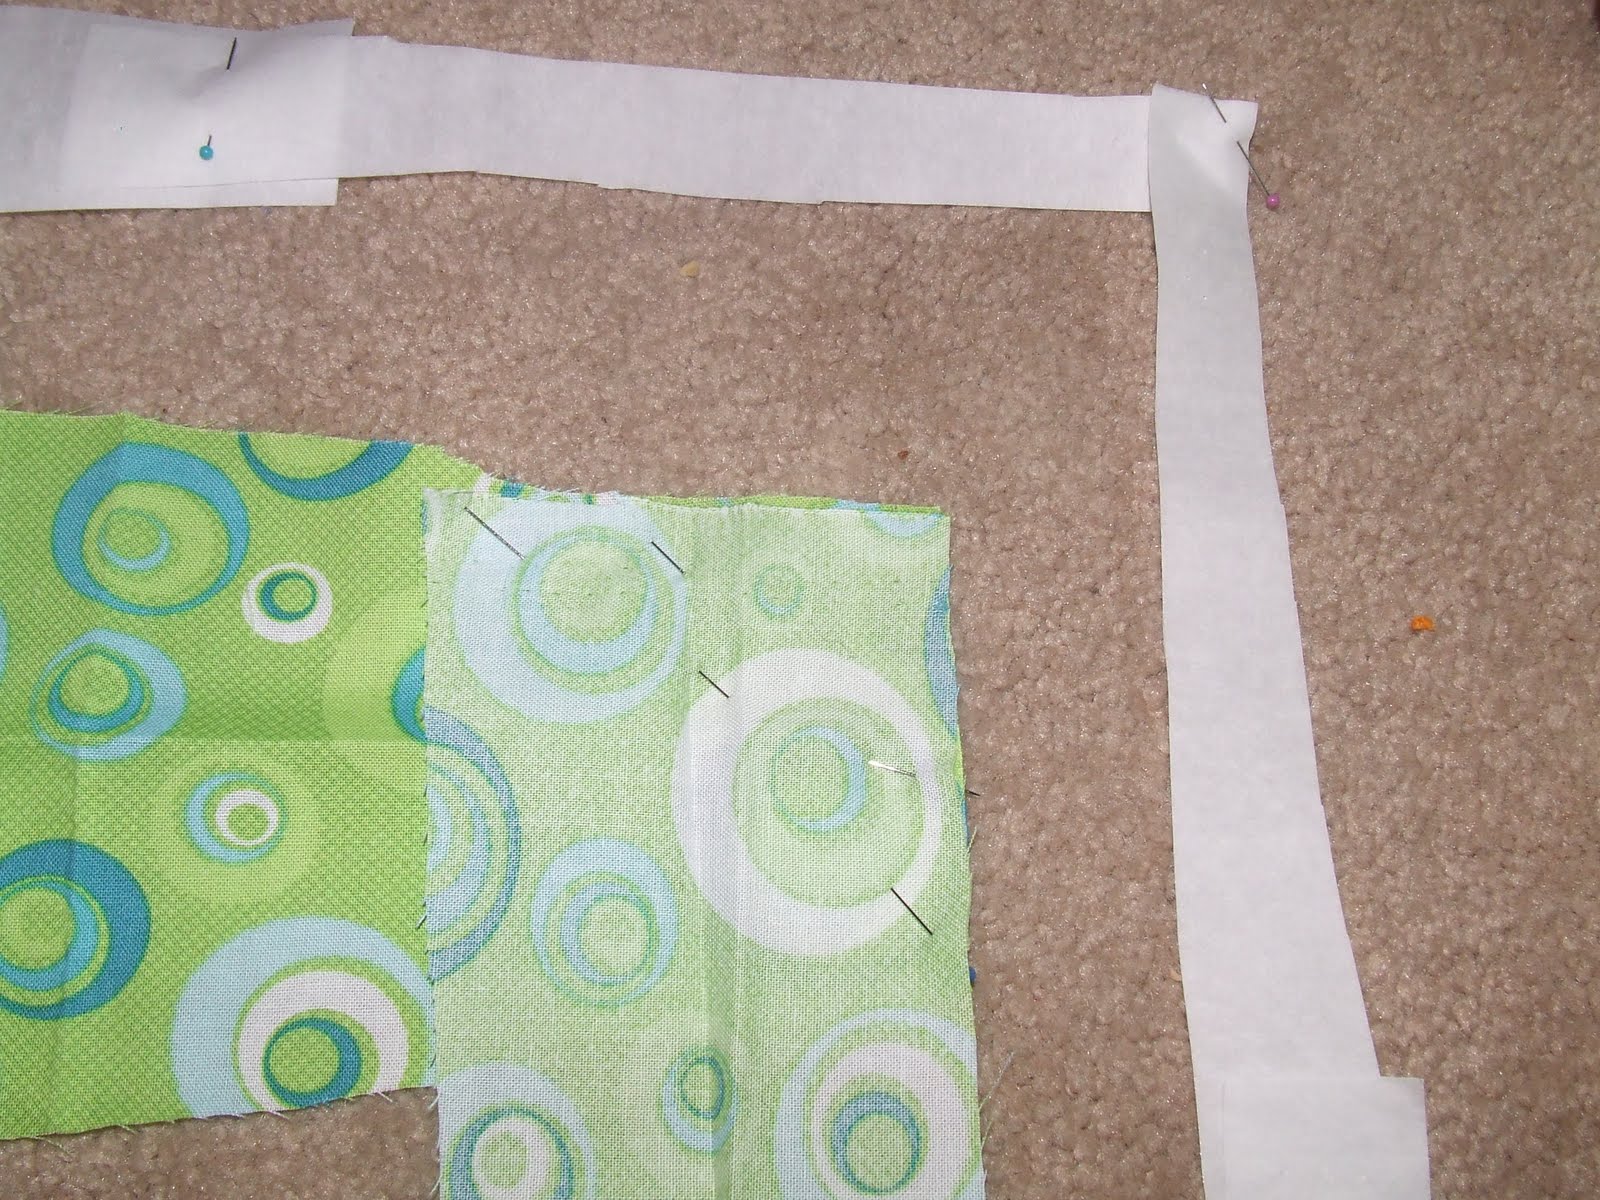
6) I then cut the back and front ties out of the fabric interfacing.
7) I sewed the back and front of the ties together. I placed the top of the ties (the square part) with front of the fabric facing each other and sewed from one side to other side. I sewed where the 3 pins are in the middle of the fabric.
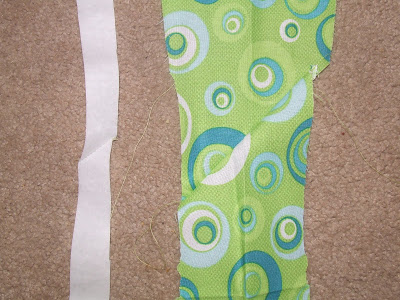
This is how the tie looks sewn together
8) Next I folded and ironed 1/4″ of the edge all the way down the tie
9) Next I folded the sides and met the two sides in the middle and then ironed

10) I opened it again and put the fabric interfacing into it and iron the bottom layer. I had a “well duh” moment. I peeled the paper off on one side, but not the other and sewed it up… had to go back and take off both sides, should have read the instructions on the package….
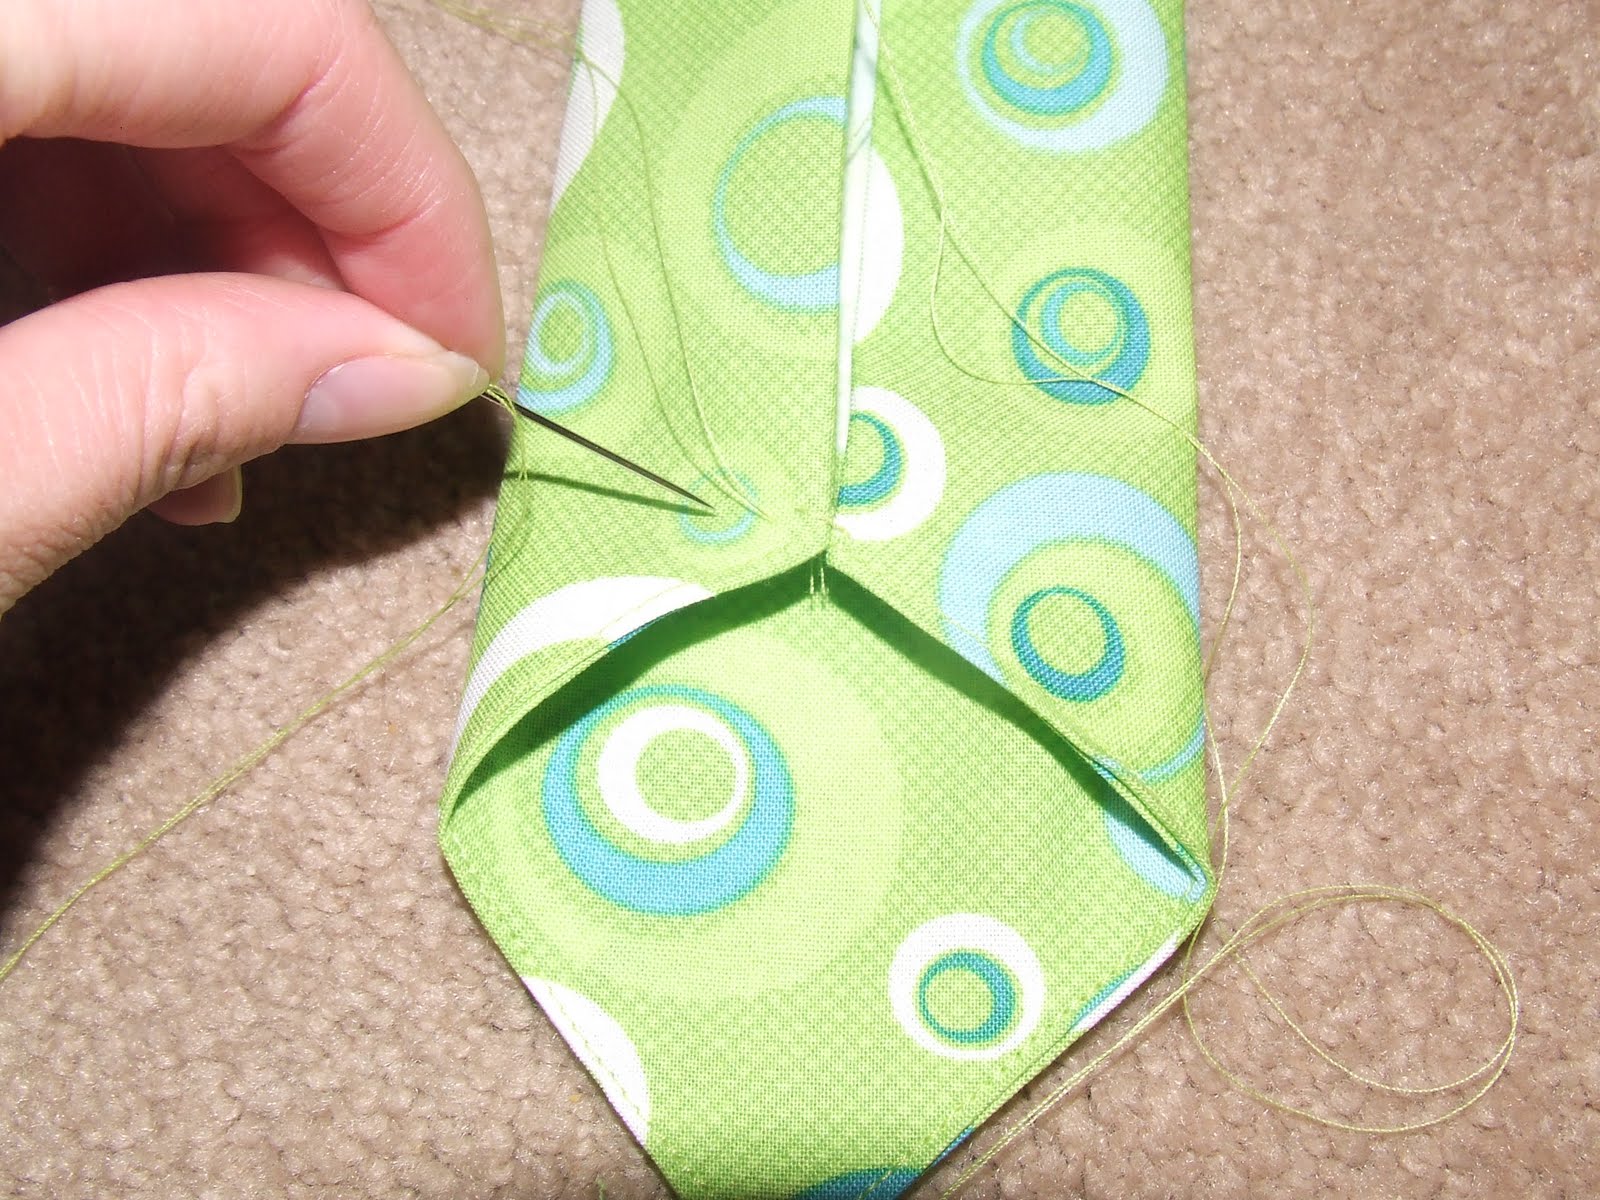
11) I closed the sides, ironed the interfacing and then hand sewed the whole tie together.
And that’s it!! Now I have ties for all three of my boys for Easter! I did cut the pattern smaller for my 4 year old and even smaller for my 2 year old.

I can’t wait to put them on my boys, hopefully they will take good pictures for me 🙂


That is awesome, this might be the very first sewing project I'll try!
Good job of a resourceful mom. Adorable!
I have made a few ties for my son with that pattern. The last one, a Christmas tie, I ran out of time to make, so Christmas eve, I was making the tie, but instead of doing any sewing, I used heavy Heat N Bond! I thinks it looks better, too! I am not sure how it will hold up in the wash, but since it is a tie only worn a few times a year, I think I am safe:)
(I think it took about 30 minutes to make)
Oh how I love little boy ties! Yours look great!
I love your ties! I've bookmarked your post and plan to make ties for my boys, thanks for the tutorial!
I love this tutorial – thanks for posting! How did you go about cutting down the pattern for your 2 year old's tie? Any details would be so helpful! Thanks!
Meghan,
I just cut about 1/2 to 1 inch off the whole pattern and then about 2 to 3 inches (length wise) off.
Kaysi
Thanks so much! It turned out great!