• Skip to primary navigation
  • Skip to main content

Keeping it Simple

creating simple crafts, DIY, recipes and more

  • About Me
  • Advertise
  • Buttons
  • Contact Me
  • Keeping it Simple Designs
  • Privacy Policy
  • Tutorials
  • Home Decor & DIY
  • Recipes
  • Holiday Crafts
  • Gaming & Geek Crafts
  • Printables
  • Kids Crafts
  • Sewing
  • Vinyl Crafts

Laminate Wardrobe Redo with Paint and Pokemon Decals

July 19, 2016 by Kaysi 3 Comments

With all of this talk about PokemonGo this past week, I have Pokemon on my brain.  Pokemon is not a new thing at our house, two years ago we all went as Pokemon for Halloween and back in the day when it was new, I enjoyed watching and playing it with  my nephews.  With fours boys, there’s no surprise that we like Pokemon at our house :).  This past weekend we decided that we needed to change up my boys’ bedroom.  Their bedroom is Minecraft themed, but I want it to be game themed instead.  We are going to have it be a bedroom but also a game room too with video games and things like that.  So I am keeping some Minecraft stuff in there but also added Pokemon and eventually some Nintendo stuff too.  I have been wanting to redo these wardrobes for a long time, I hated the color of them but I knew that painting laminate can be tricky.  So instead of just painting them, I gave them some Pokemon decals too.
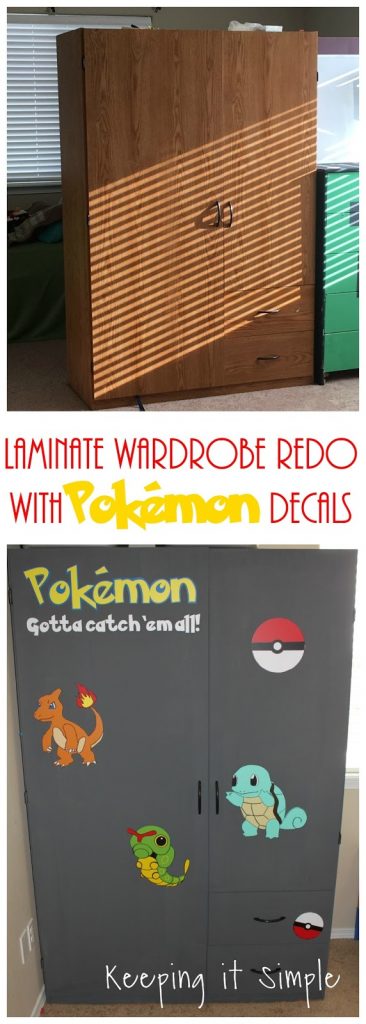
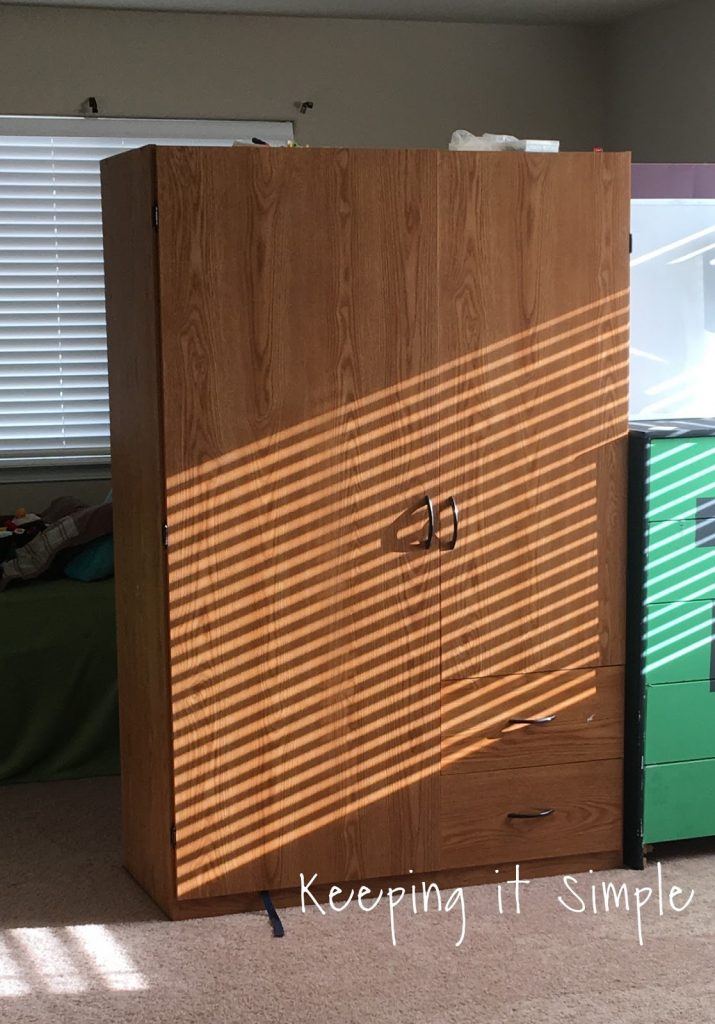
Here is the wardrobe before.  It’s a nice big wardrobe and we like it, just not the color of it.
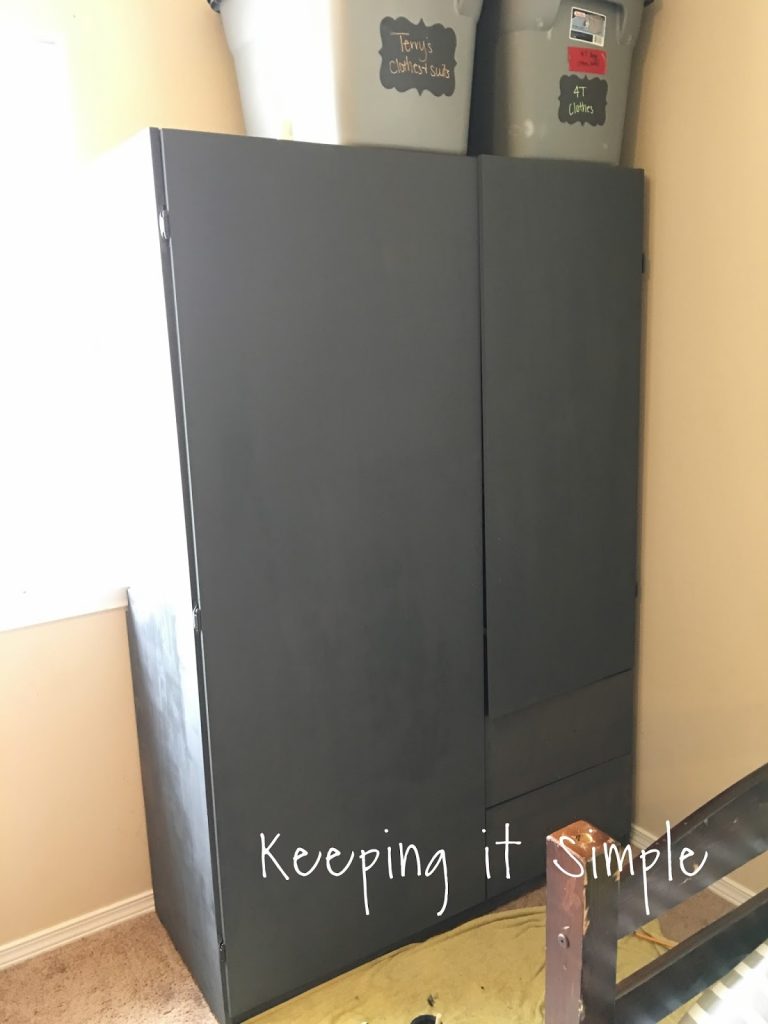
I first sanded it and then primed it and then I painted it with chalk paint in the color of relic.
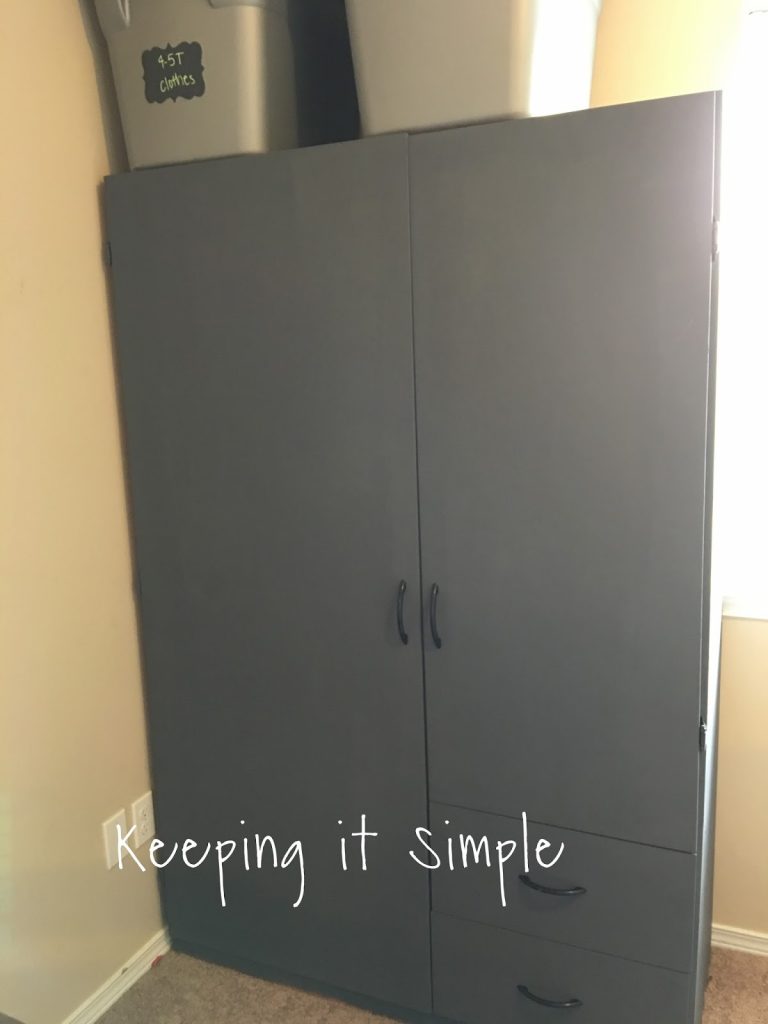
It took a few coats of paint but it looks so much better than the oak color!
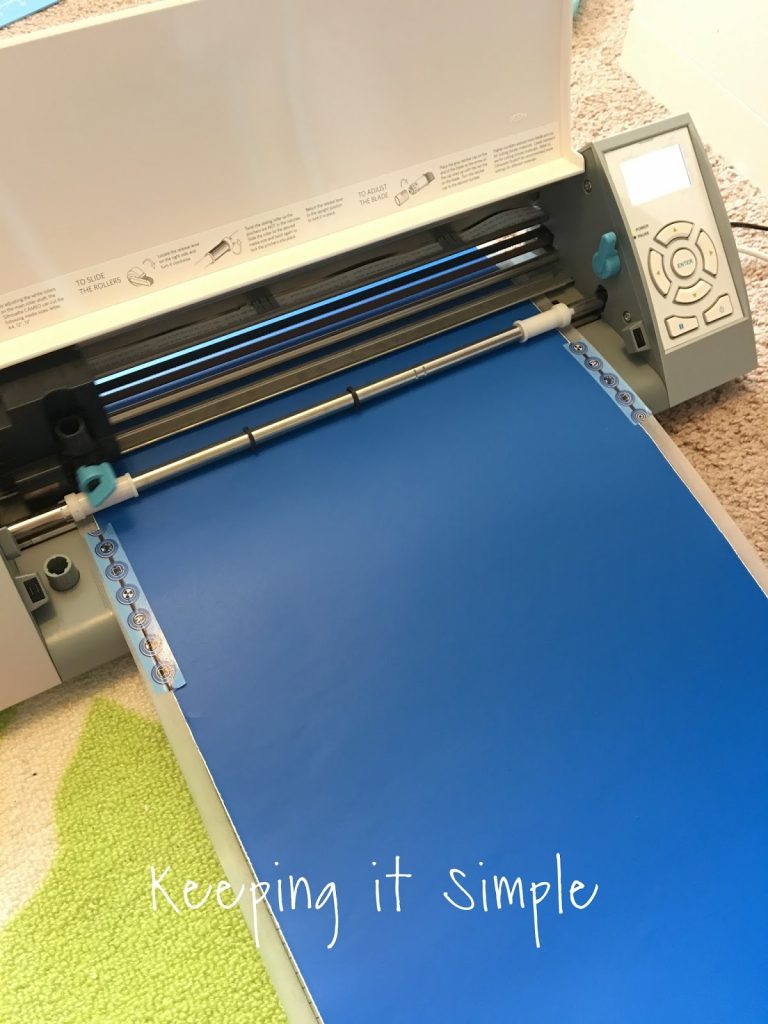
Now for the fun part, making the decals.  I used my Silhouette CAMEO and lot of different color of vinyl.  I used the Oracal 631.  I have made up 9 different designs and you can get the cut files here (there is a Silhouette and SVG file for each design):
Pokemon  • SVG
Poke Ball • SVG
Pikachu • SVG 
Squirtle • SVG
Bulbasaur • SVG
Charmeleon • SVG
Pidgeotto • SVG
Caterpie • SVG
Nidoran • SVG
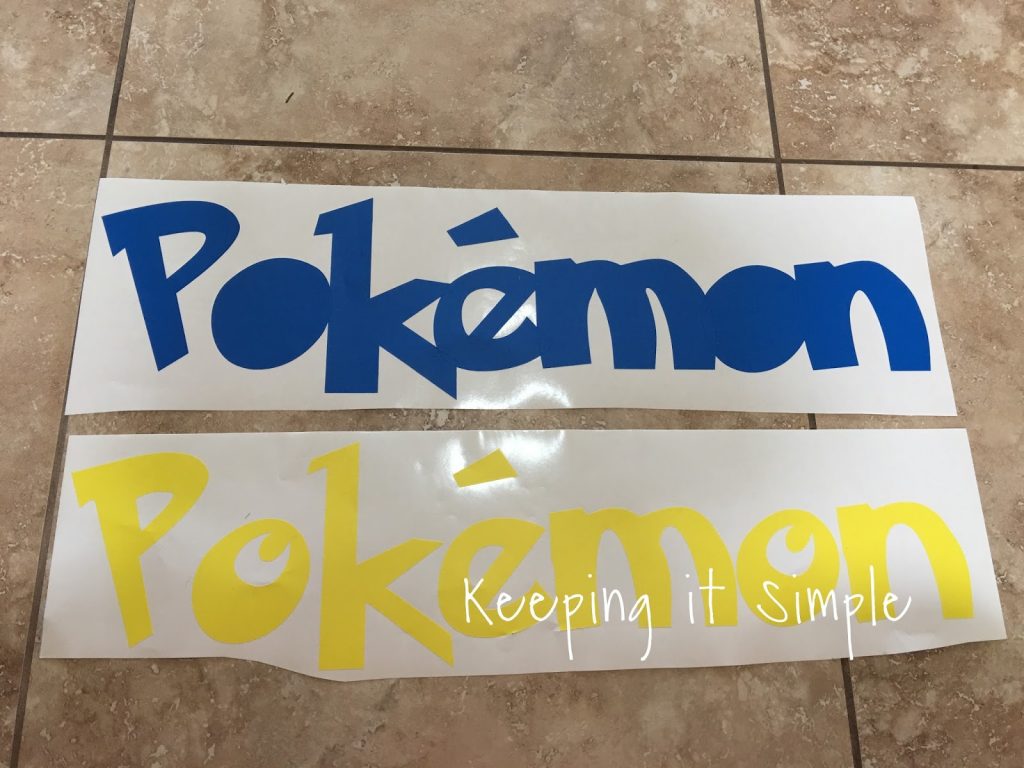
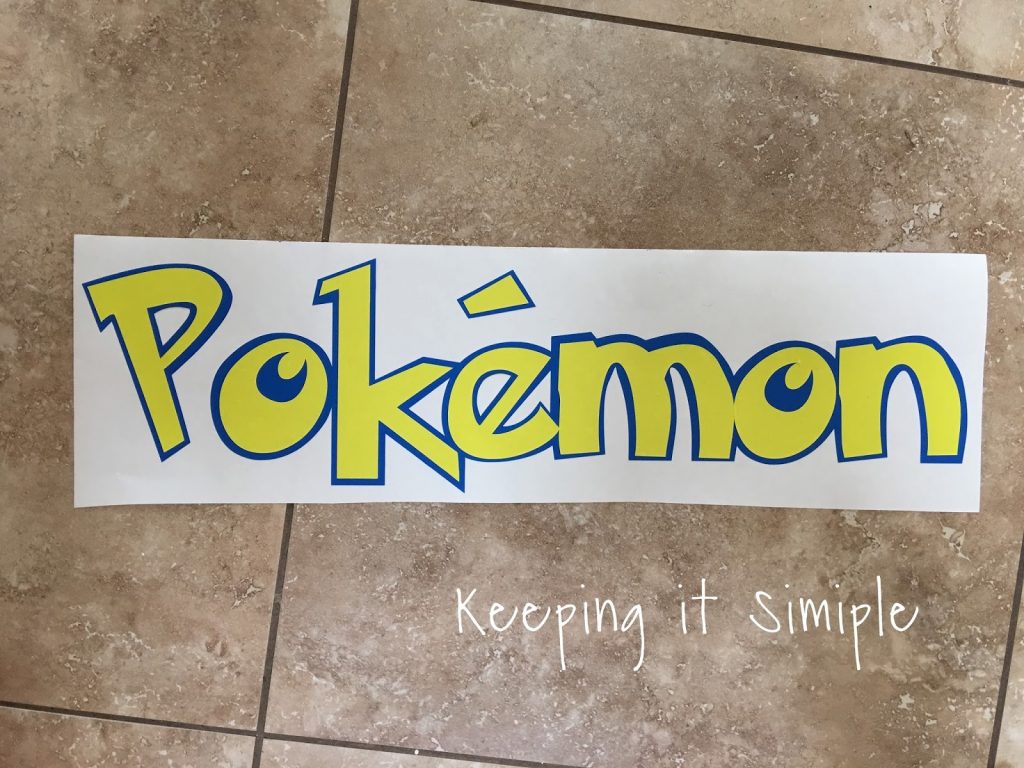
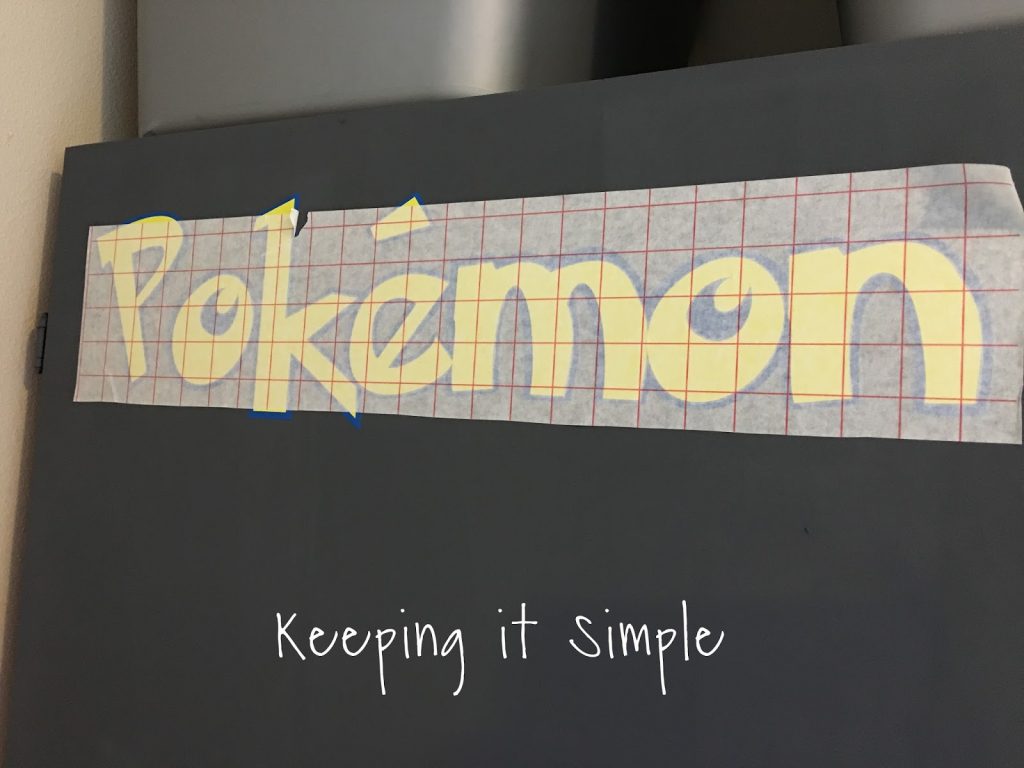
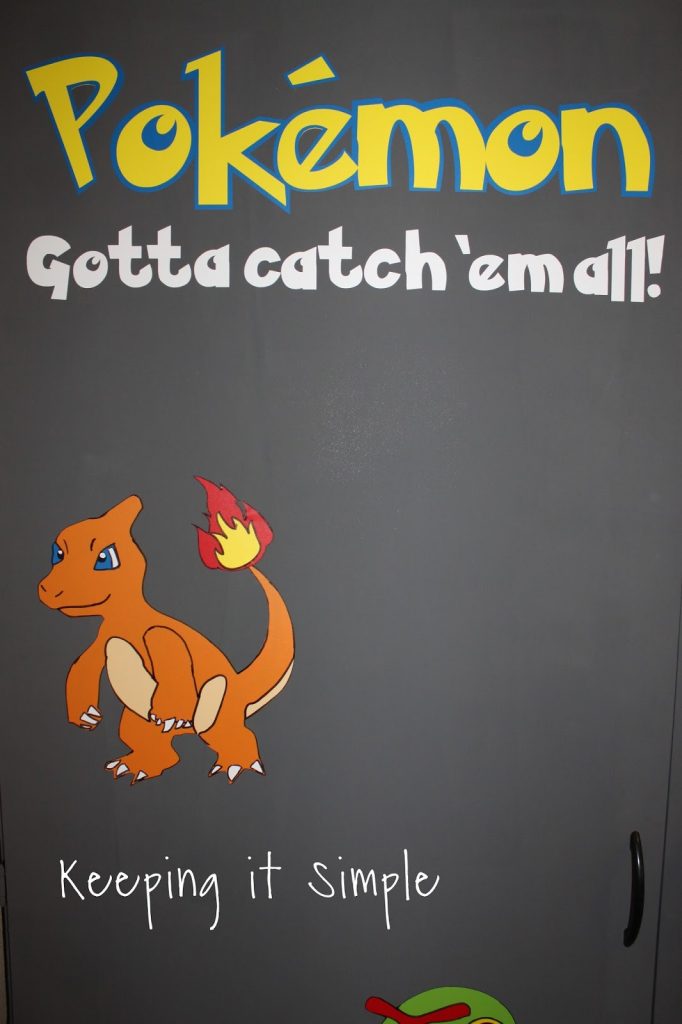
The first thing I worked on was the word Pokemon.  I used this font for the words.  I wanted it to be layered, so I separated the word to make two layers.  I then cut the back layer out of blue and the front layer out of yellow.
I then put the yellow onto the blue, doesn’t it look cool?
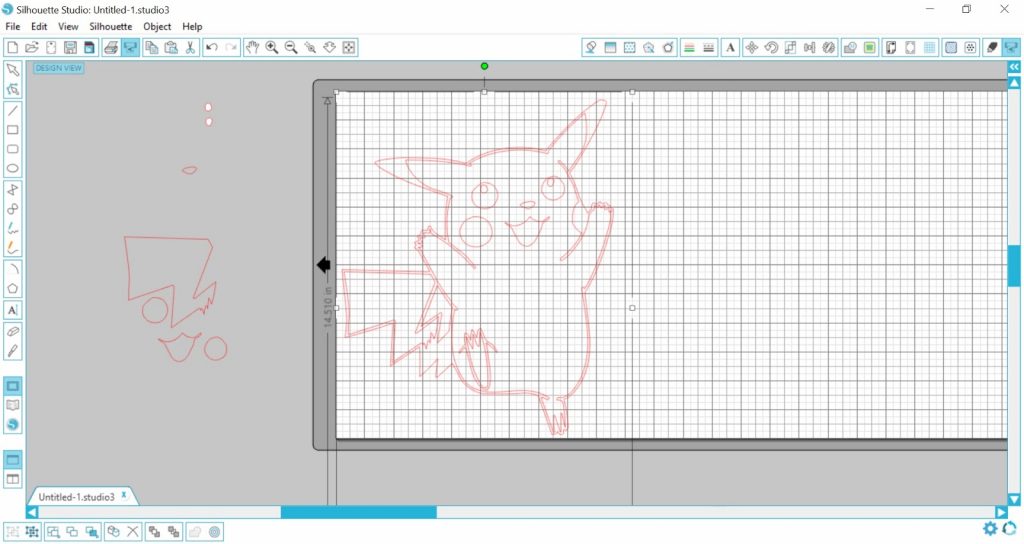
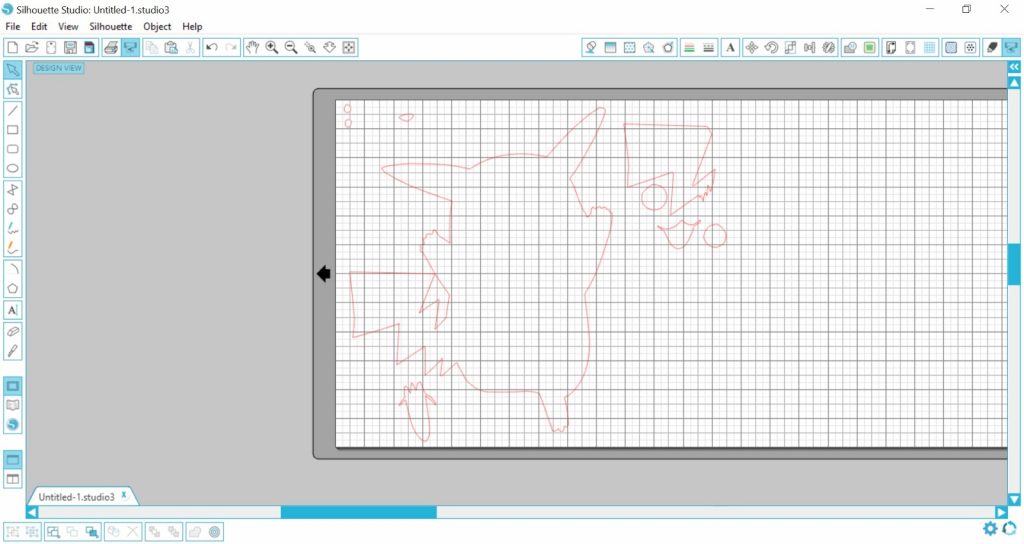
For the different Pokemon, I used a font that I got for free from here.  In Silhouette Studio I found the Pokemon that I wanted to make and then I made it the size that I wanted.  Then I right clicked onto the image and then clicked “ungroup” and then I right clicked again and then clicked on “release compound path”.  That makes it so you can delete and move the parts.
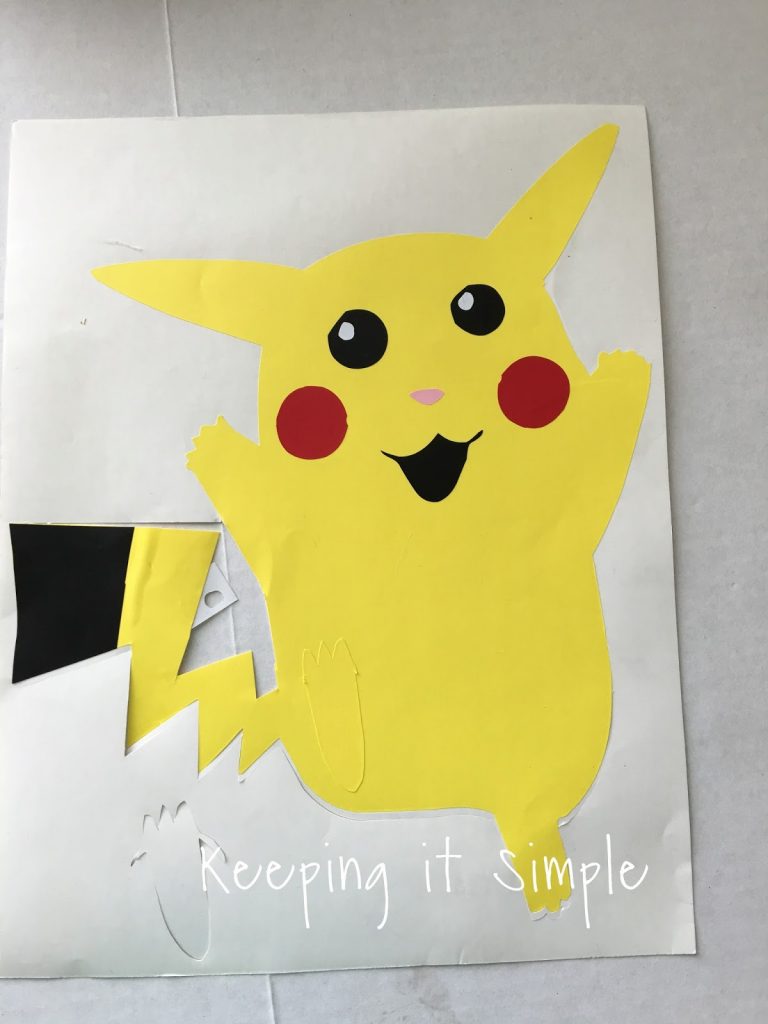
I deleted some of the lines and parts of the image, just leaving the basic shapes that I wanted to cut out.  Then I separated the different shapes and cut them out of different colors.  For example, I did the basic shape of Pikachu adn his foot in yellow.  Then I did his cheeks in red, mouth, eyes and part of the tail in black and I cut out his eyes in white.
I cut them out individually but then I put them all on the yellow basic shape of Pikachu.
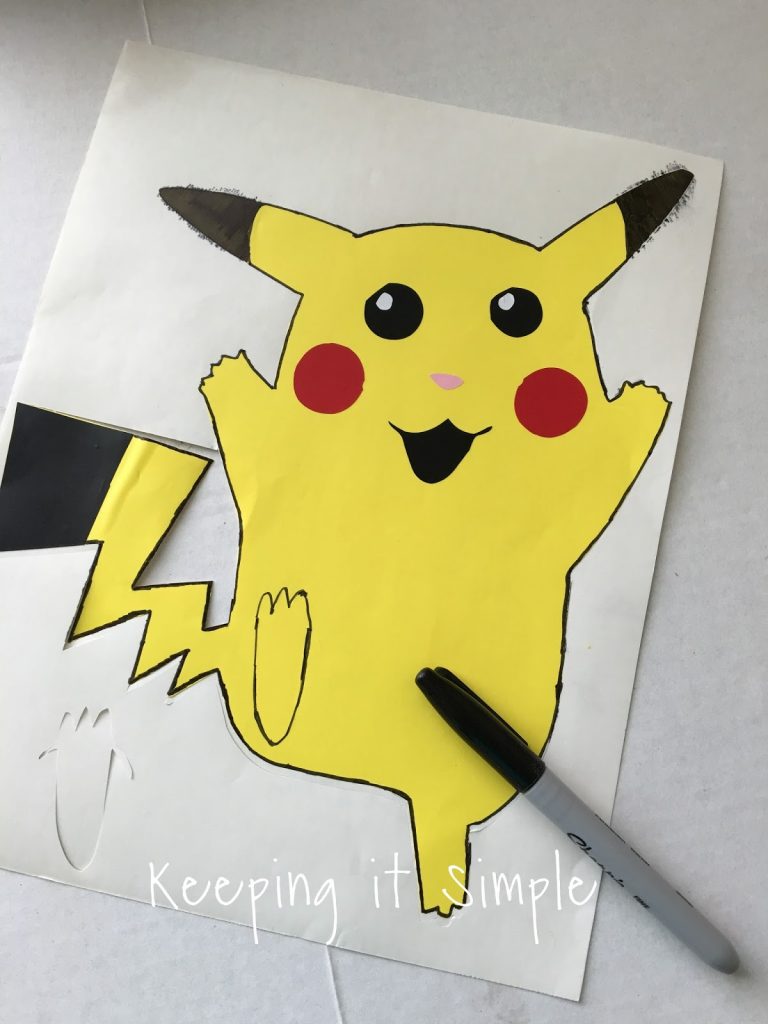
Then using a black marker, I drew on it.  This really makes the Pokemon look more real and it makes it look awesome!
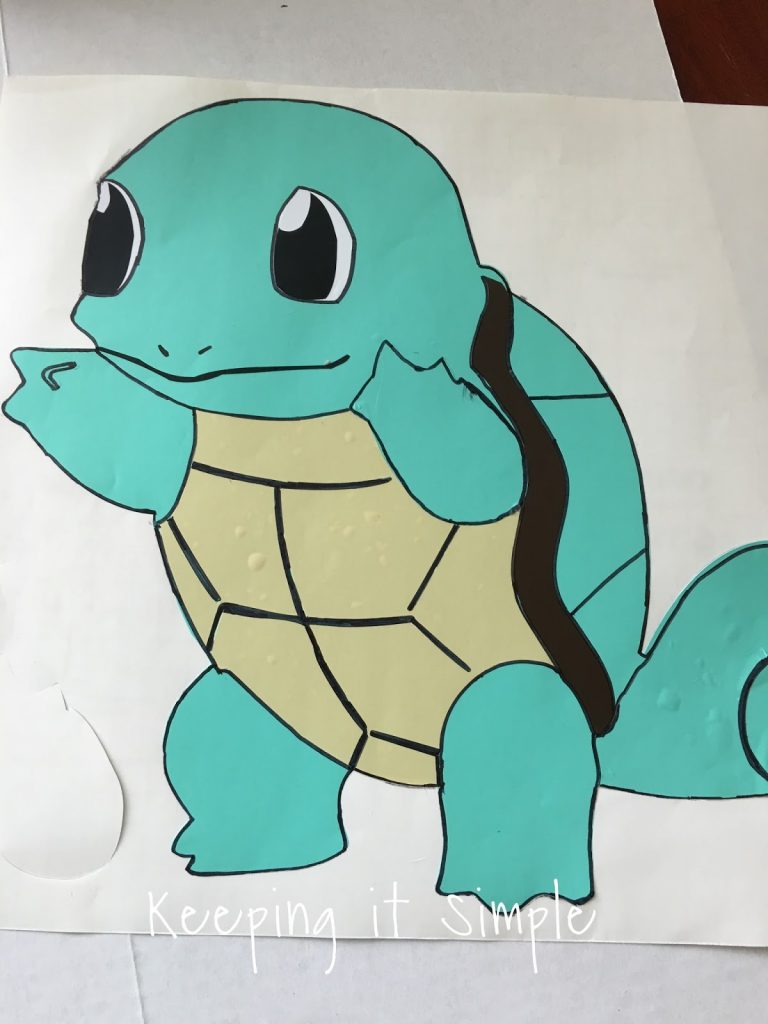
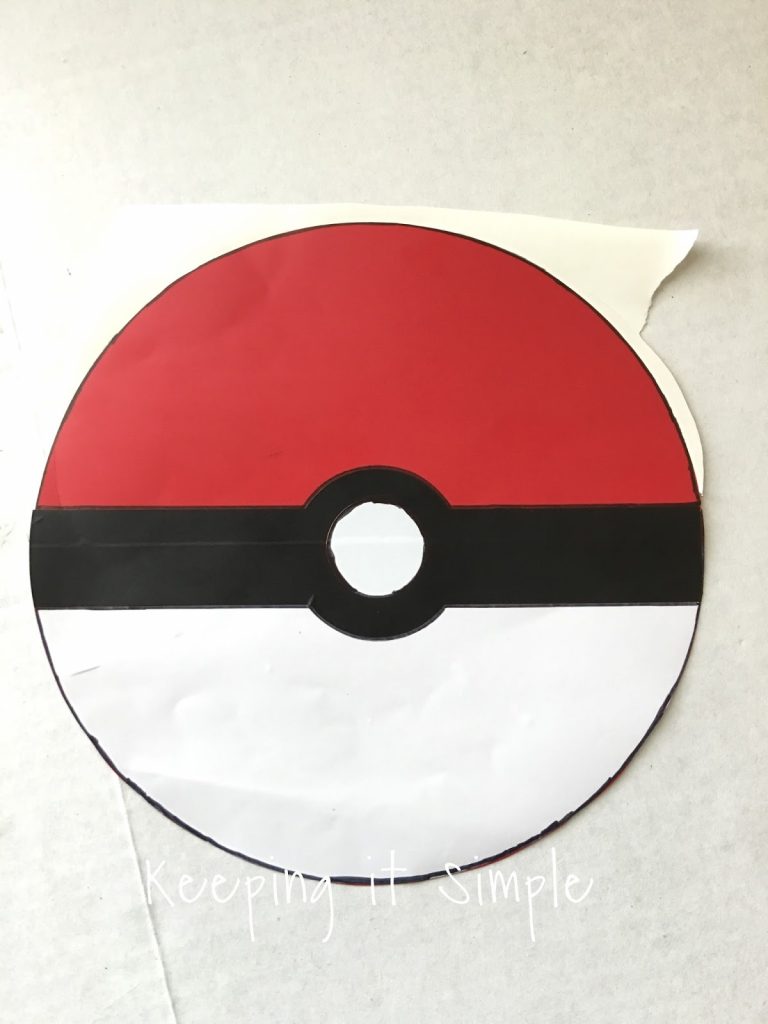
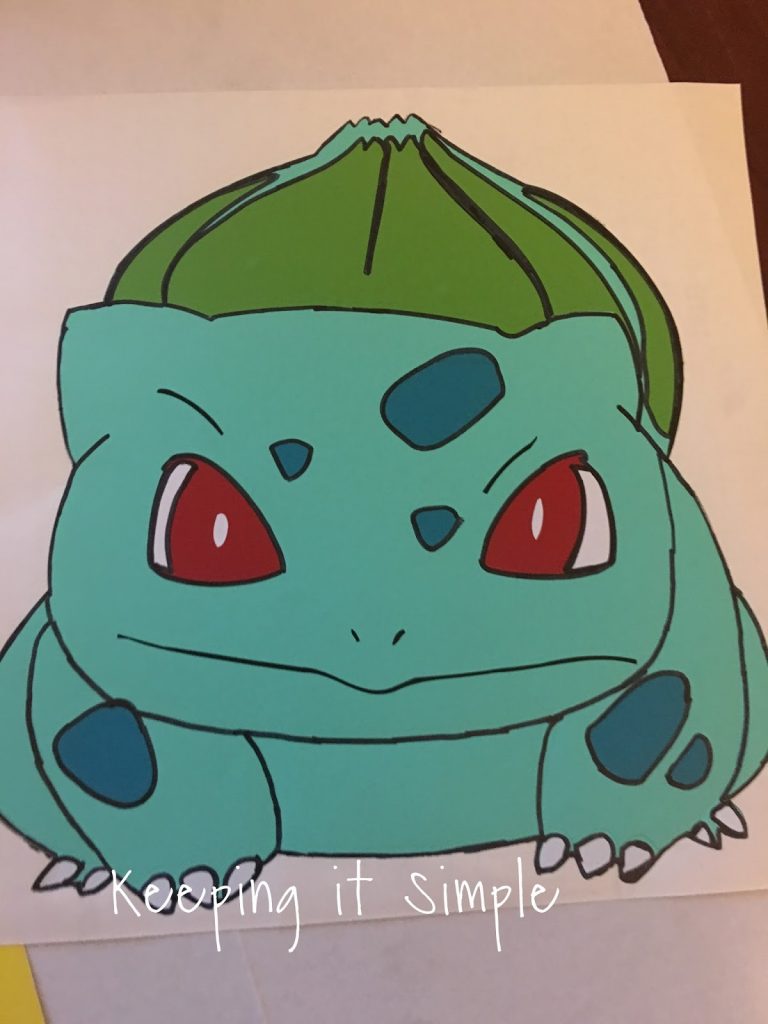
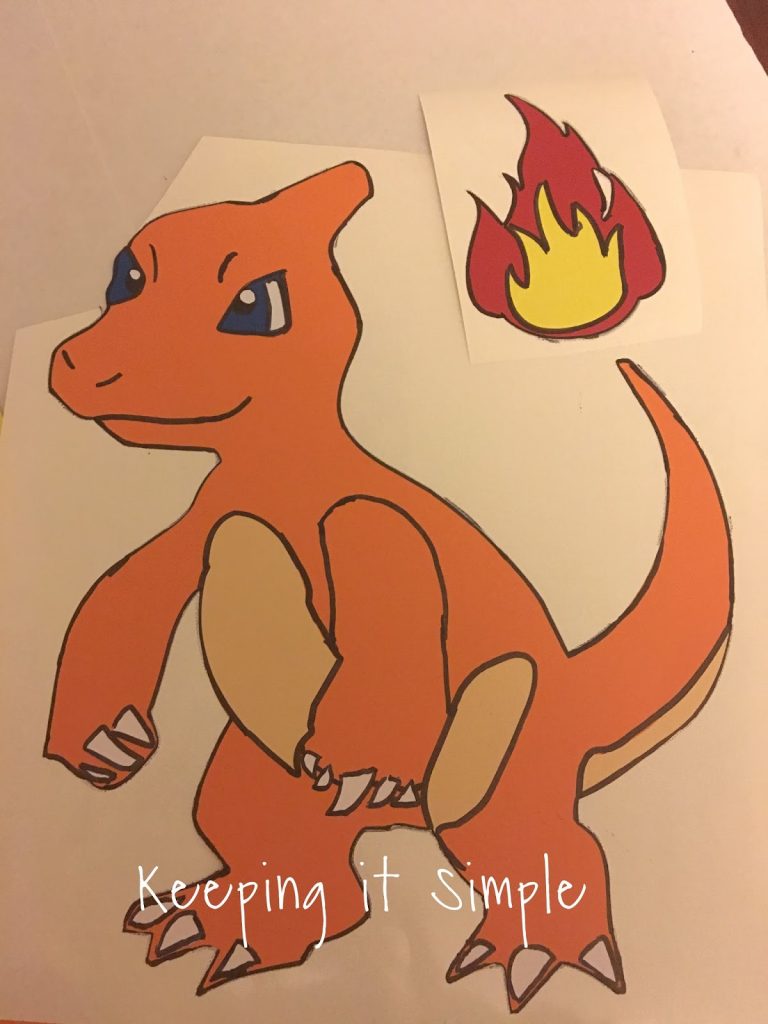
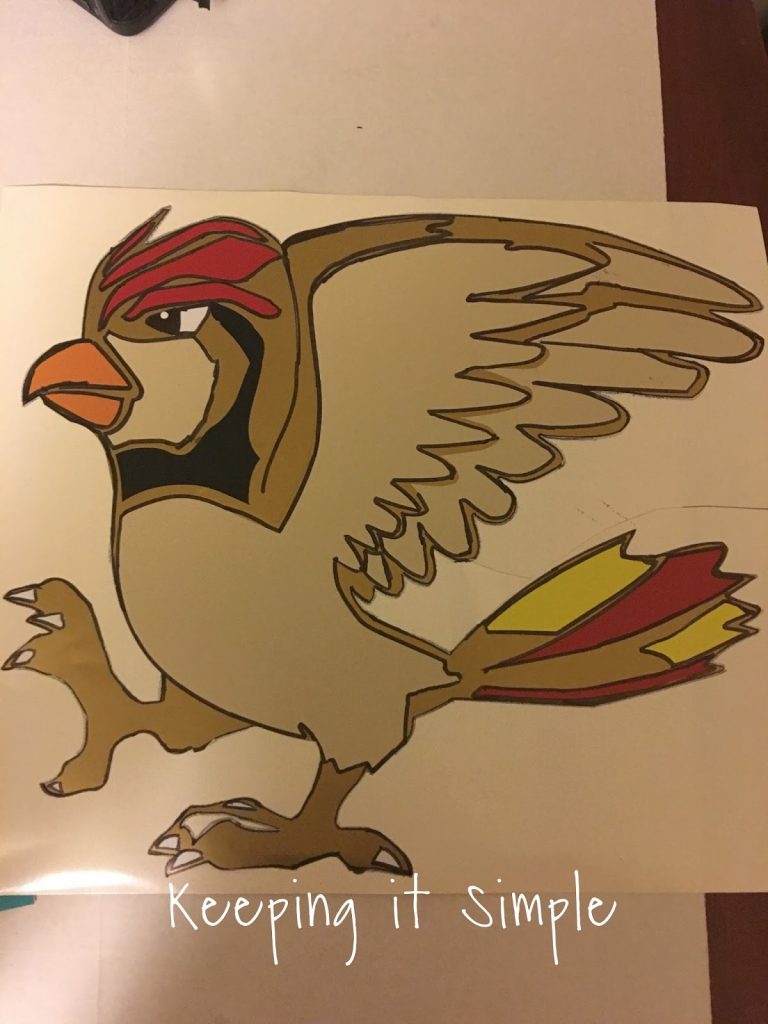
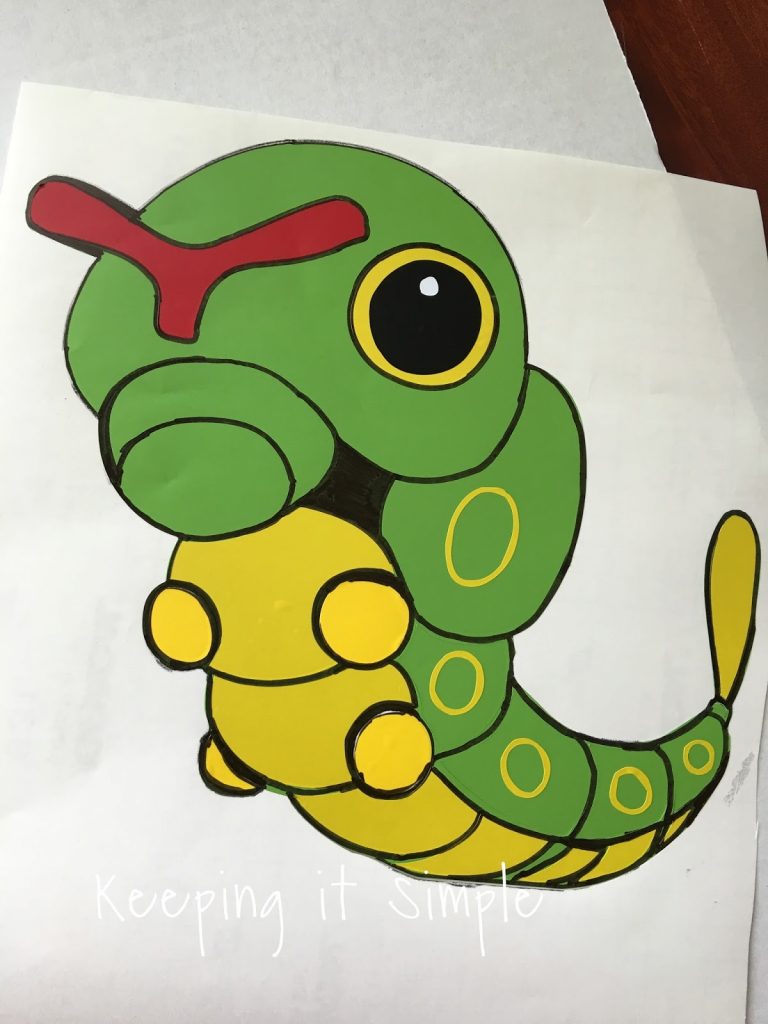
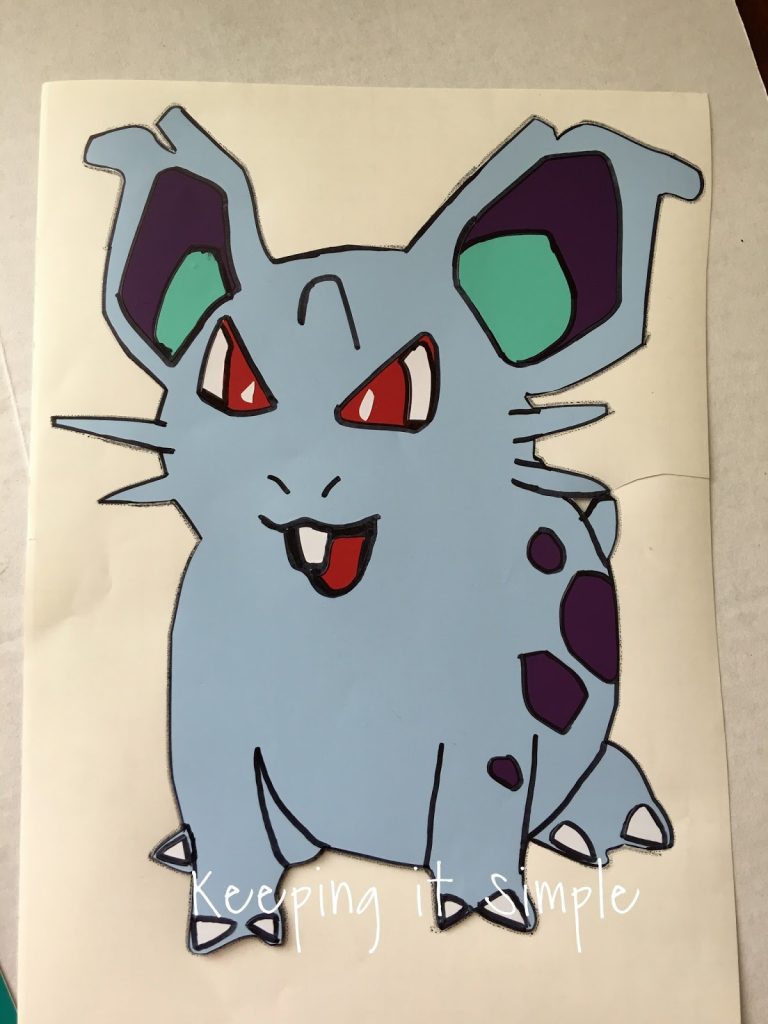
Here are the other Pokemon that I made with that font. I did the same thing for each of them just using different colors of vinyl
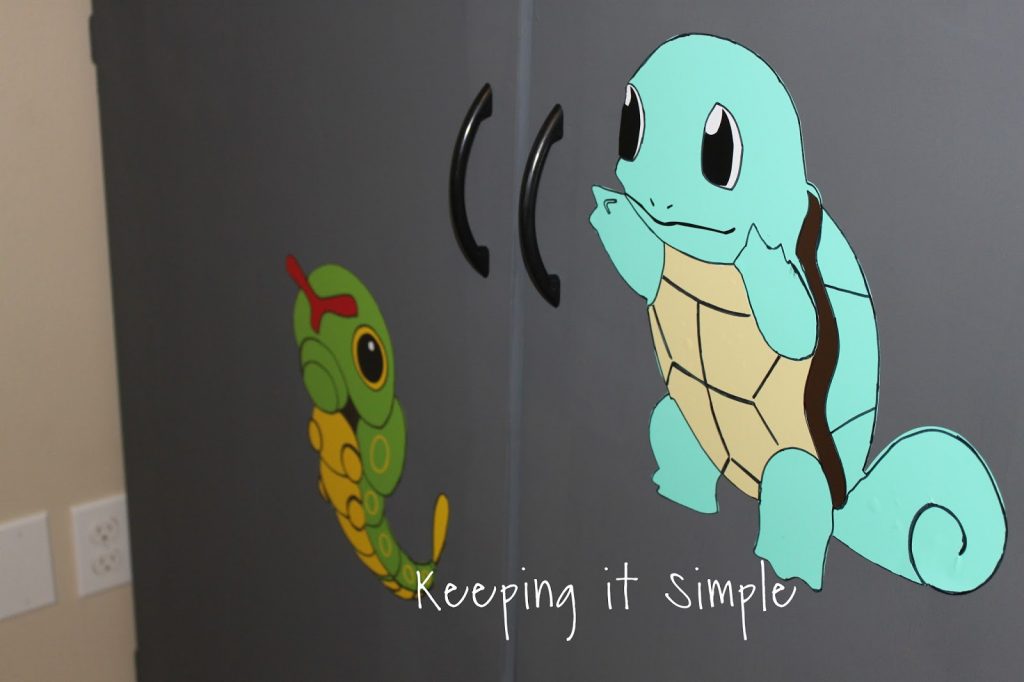
Squirtle
Pokeball
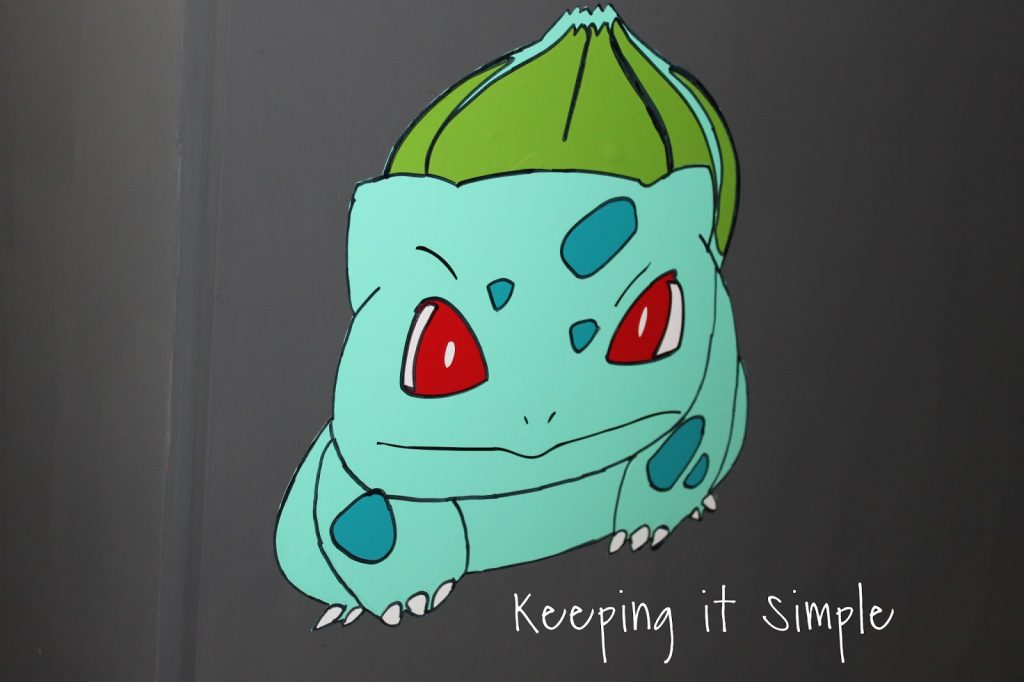
Bulbasaur
Charmeleon 
Pidgeotto 
Caterpie 
Nidoran
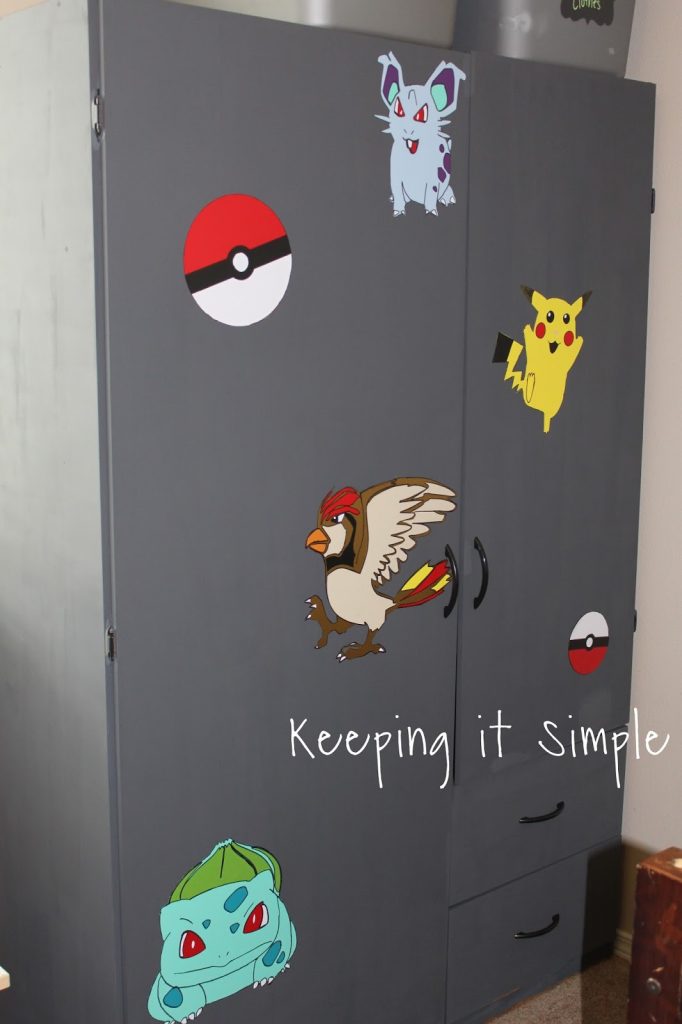
Once I was done cutting out all the vinyl I then put it onto the wardrobe using transfer tape.
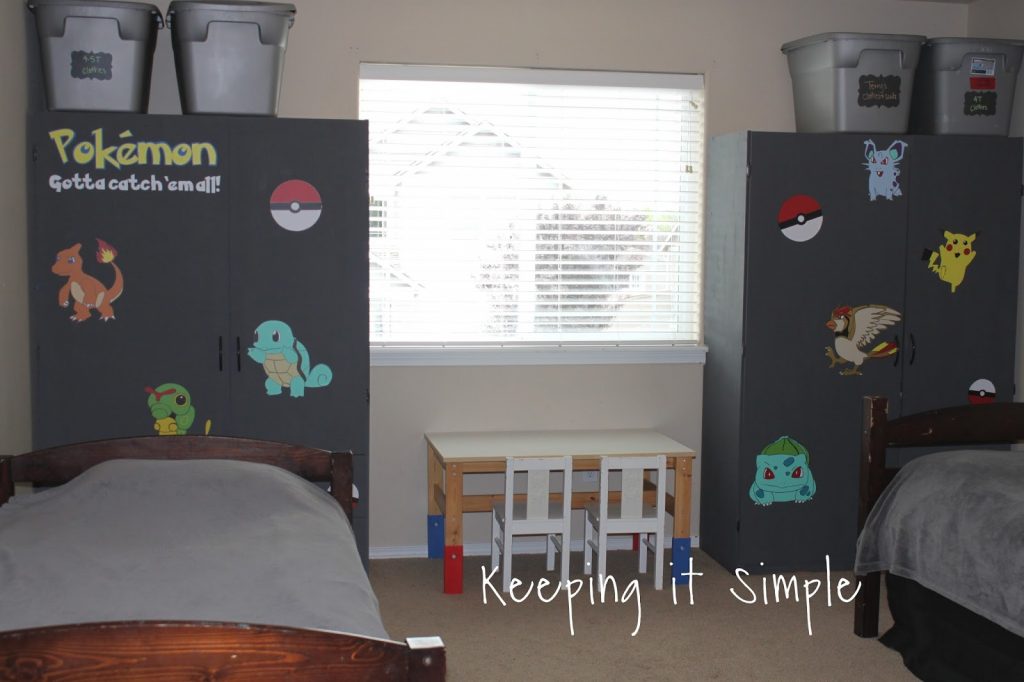
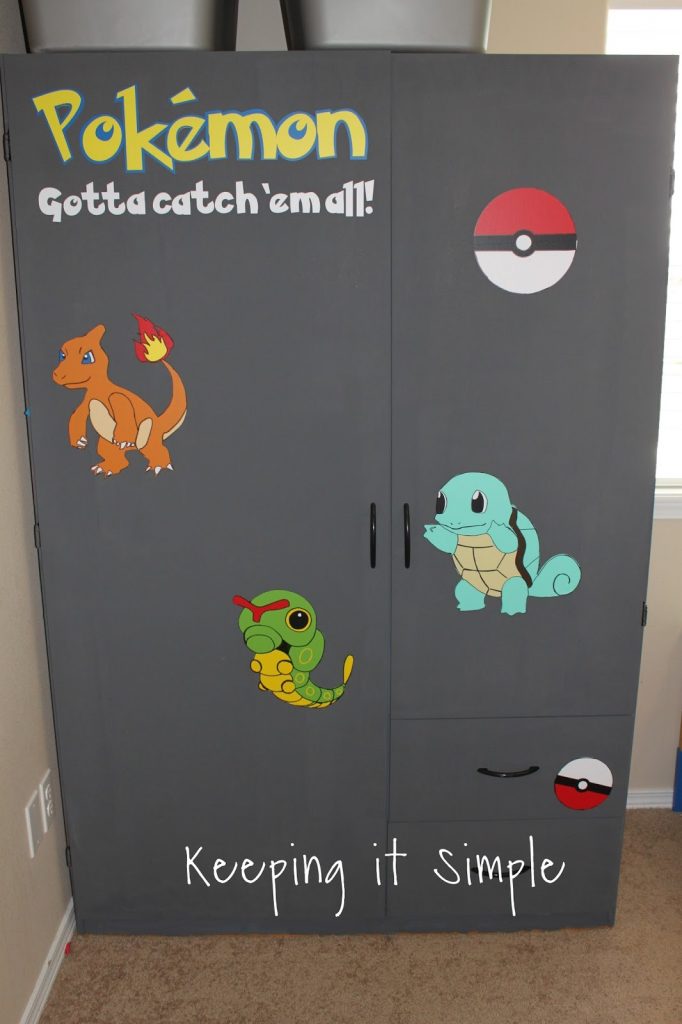
And that’s it!!  Aren’t they so cool and awesome?!?  I seriously LOVE how they turned out, they are so cool and the wardrobes are not so boring anymore.
I love how the vinyl looks on the dark gray.
Bulbasaur was my favorite one to make, he turned out awesome!
And of course I love Squirtle and Caterpie too :).
My boys just love them in their room and are so excited to have Pokemon in it!  Have you been hit with this PokemoGo bug?
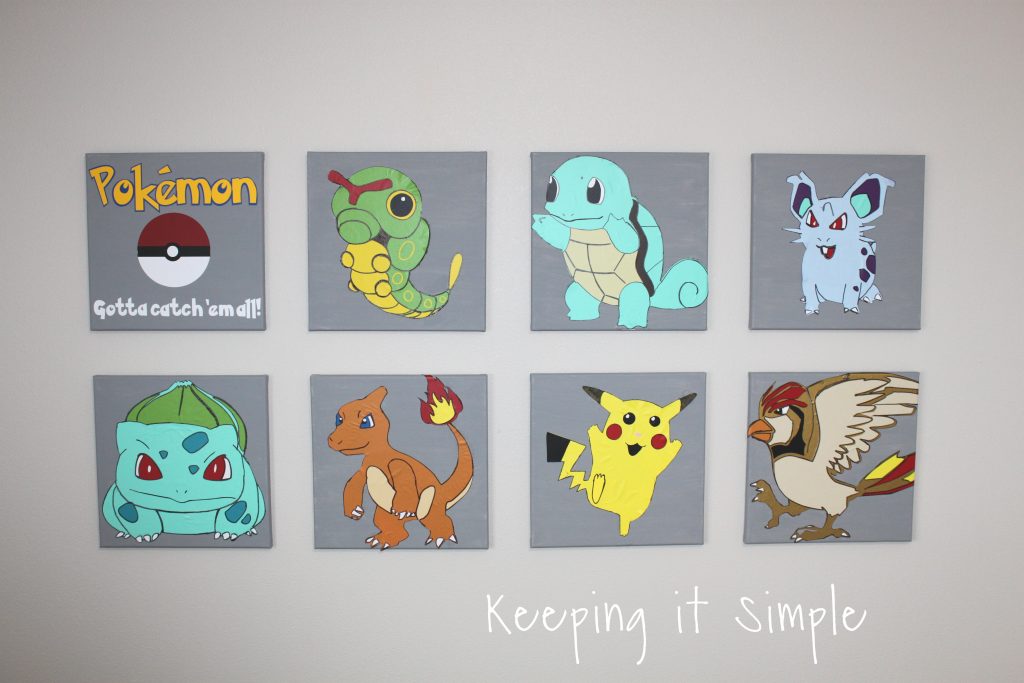
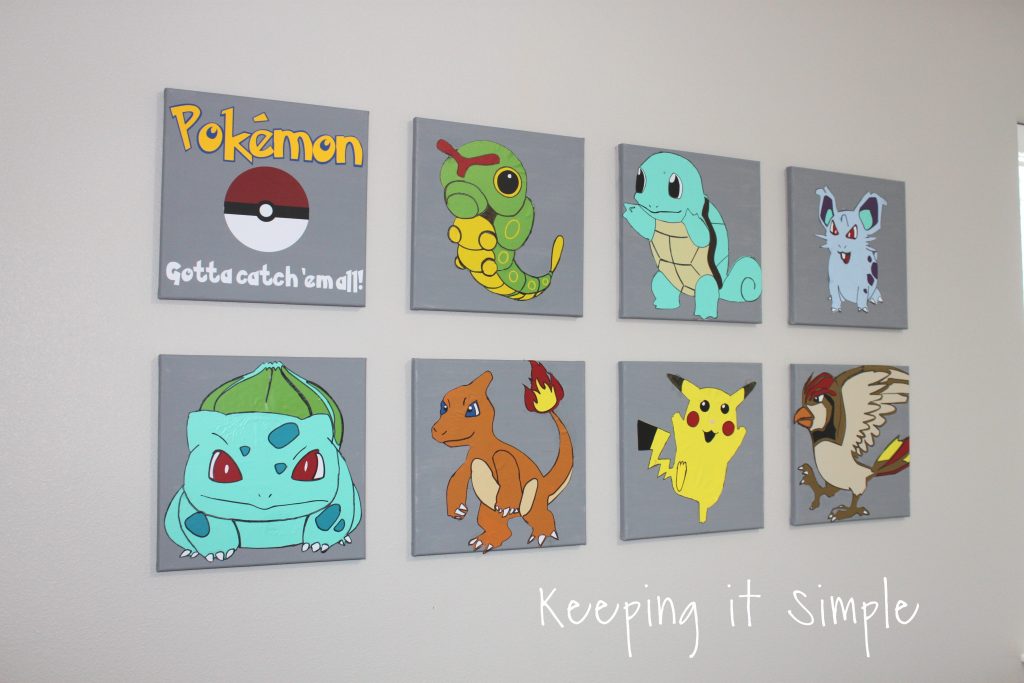
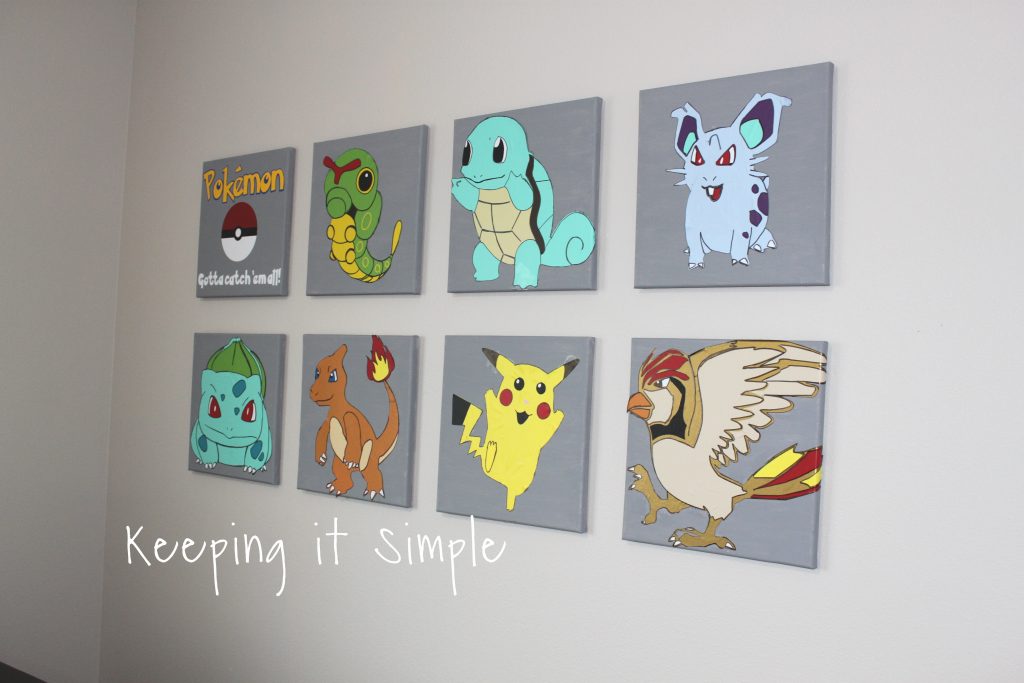
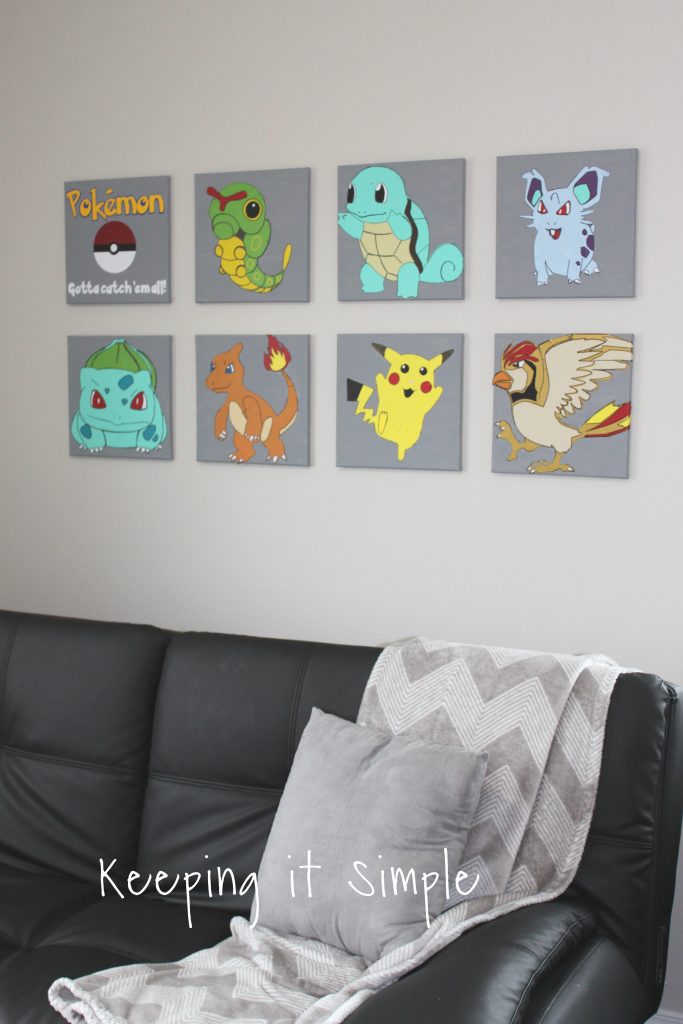
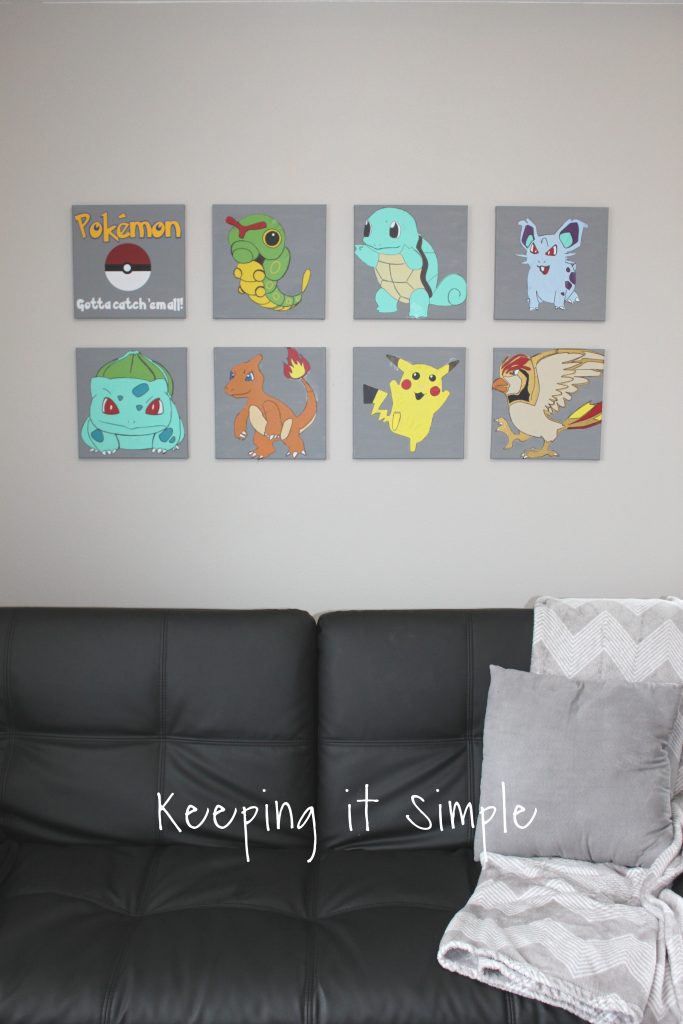
UPDATE!!!  So we recently built a closet in this room, so there was no need for the wardrobes anymore but I loved the Pokemon decals so much that I couldn’t get rid of them!  So instead, I transferred them over to some gray canvases that I painted.  Here is what they look like now :).  You do them the same way that you would do the vinyl onto the wardrobes, just onto the canvas instead.
Here is a quick video to show you the process of how I made them :).
This post contains affiliate links.


Filed Under: boys, furniture, home decor, paint, Pokemon, silhouette, tutorial, Uncategorized, vinyl

Previous Post: « 12 Geeky Crafts, DIY, Recipes and More {MMM #339 Block Party}
Next Post: 26 Delicious Peach Recipes {MMM #340 Block Party} »

Reader Interactions

Comments

  1. Bonnie Dani

    September 15, 2016 at 7:09 pm

    Amazing! I'm a new silhouette user and not too confident yet with the layering of vinyl but this is great to come to when I do feel confident enough.

    Log in to Reply

Leave a Reply Cancel reply

You must be logged in to post a comment.

This site uses Akismet to reduce spam. Learn how your comment data is processed.

Copyright © 2026 · Foodie Pro & The Genesis Framework